Easy Yarn Pumpkin Wreath
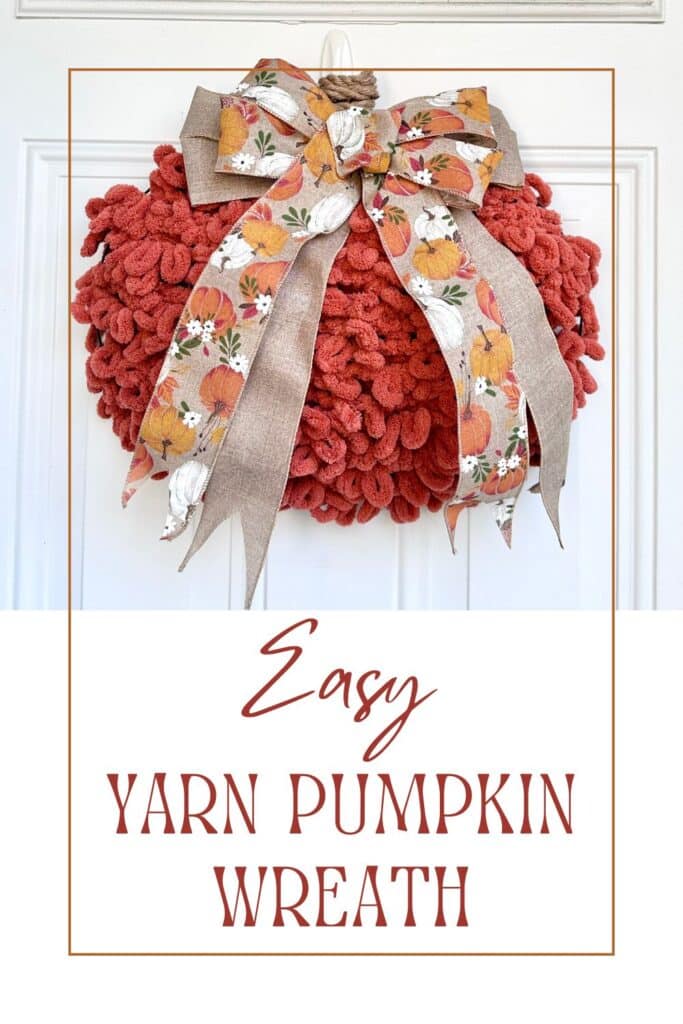
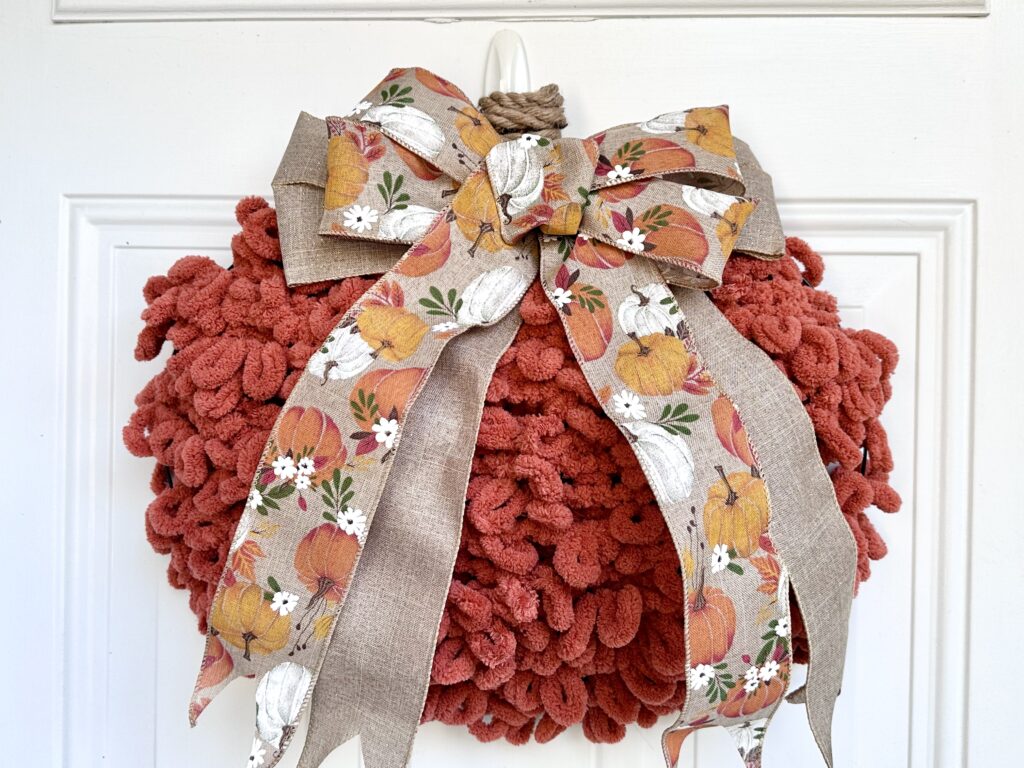
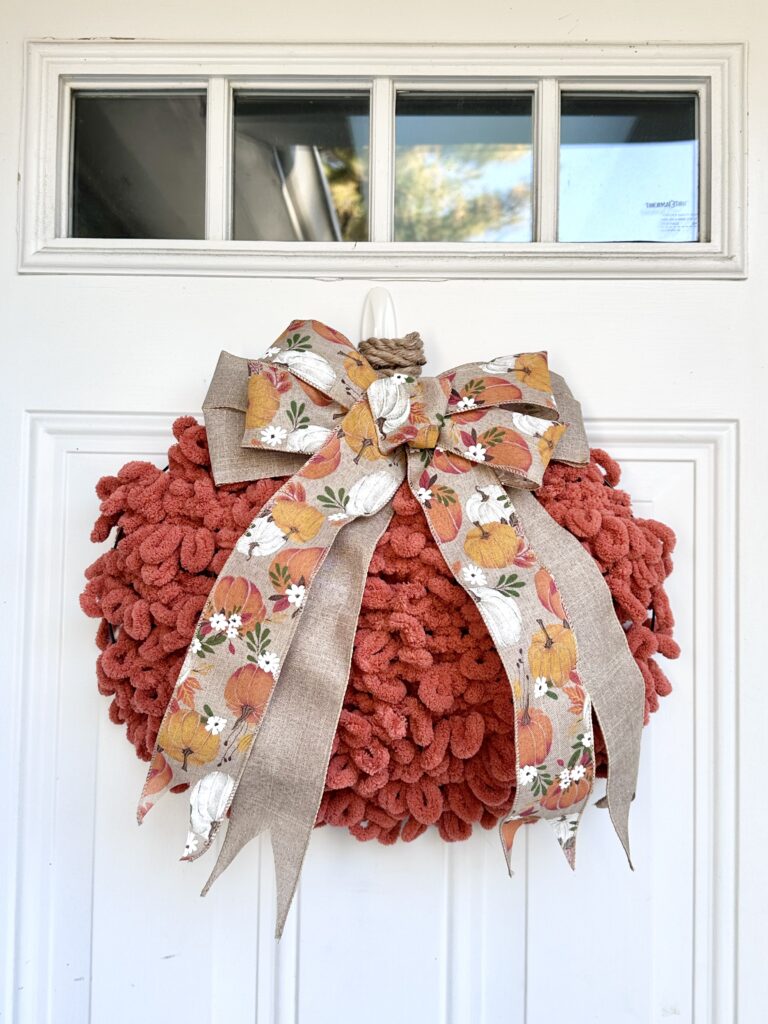
I’m still not tired of pumpkins. I only recently discovered that there were pumpkin wreath forms, so of course I had to try my hand at one. Loopy yarn works perfectly with it and I love the end result. This easy yarn pumpkin wreath is a super quick make and looks great as interior door decor.
This post contains affiliate links.
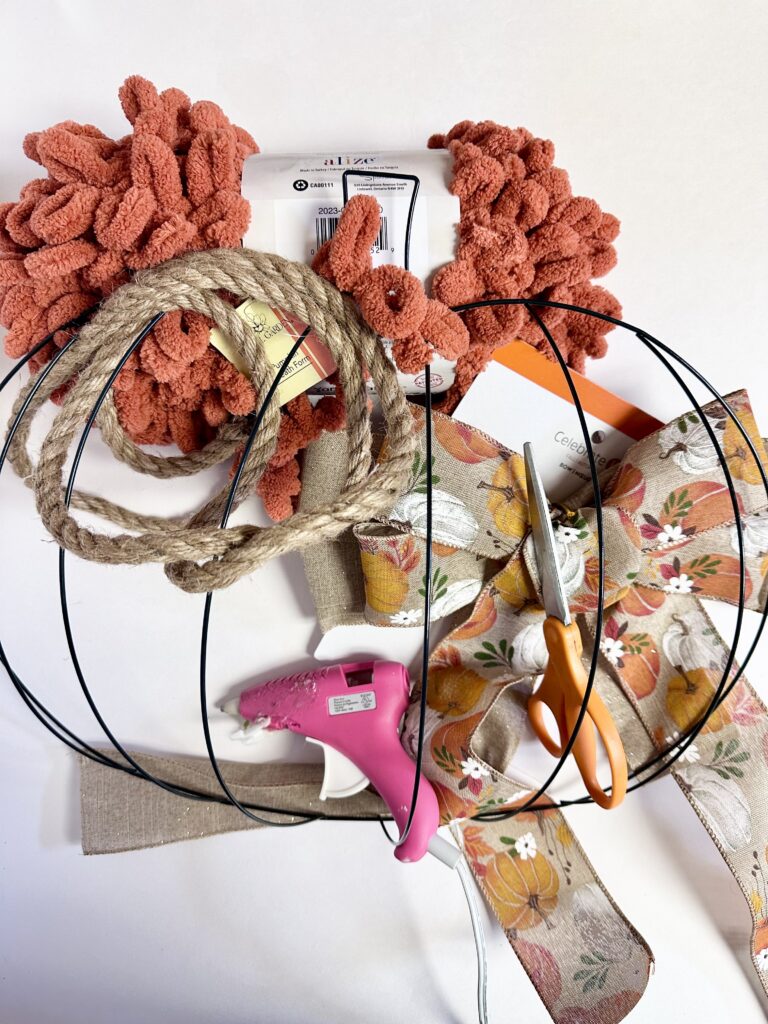
Supplies:
- pumpkin wreath form (I got mine from Dollar Tree–this is similar)
- Bernat Alize loopy yarn in orange
- scissors
- hot glue gun
- nautical craft rope (mine is from Dollar Tree–this is similar)
- premade bow (mine is from Michaels—this is similar)
Instructions:
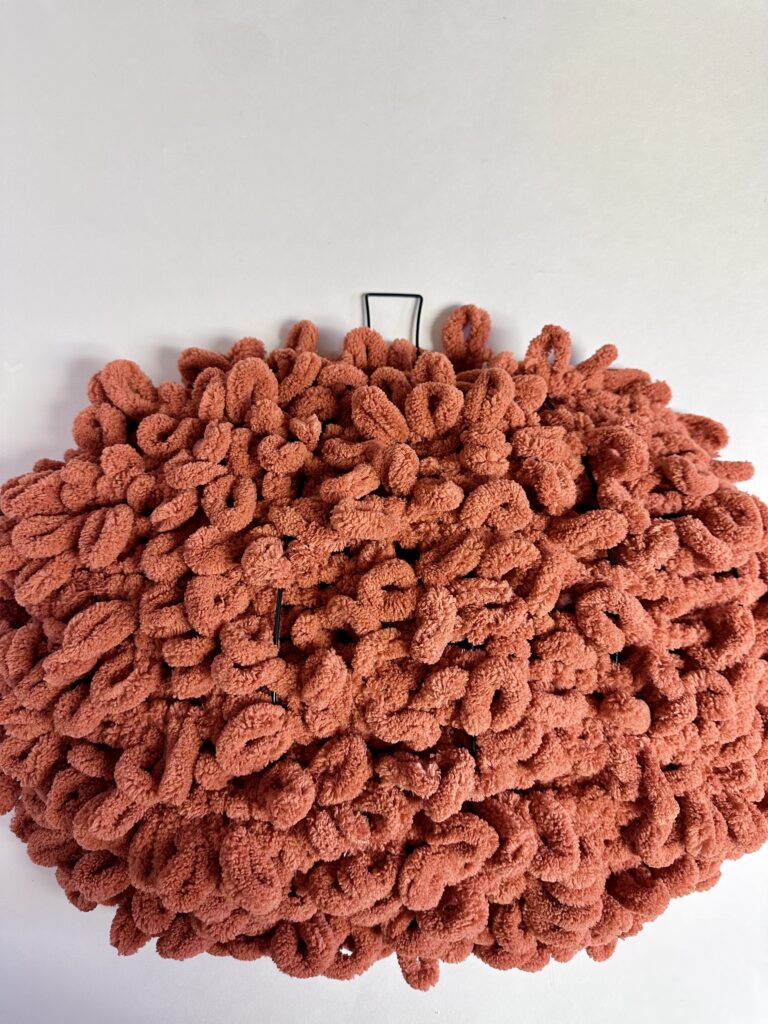
Start by tying the end of the yarn around the bottom section of the pumpkin wreath.
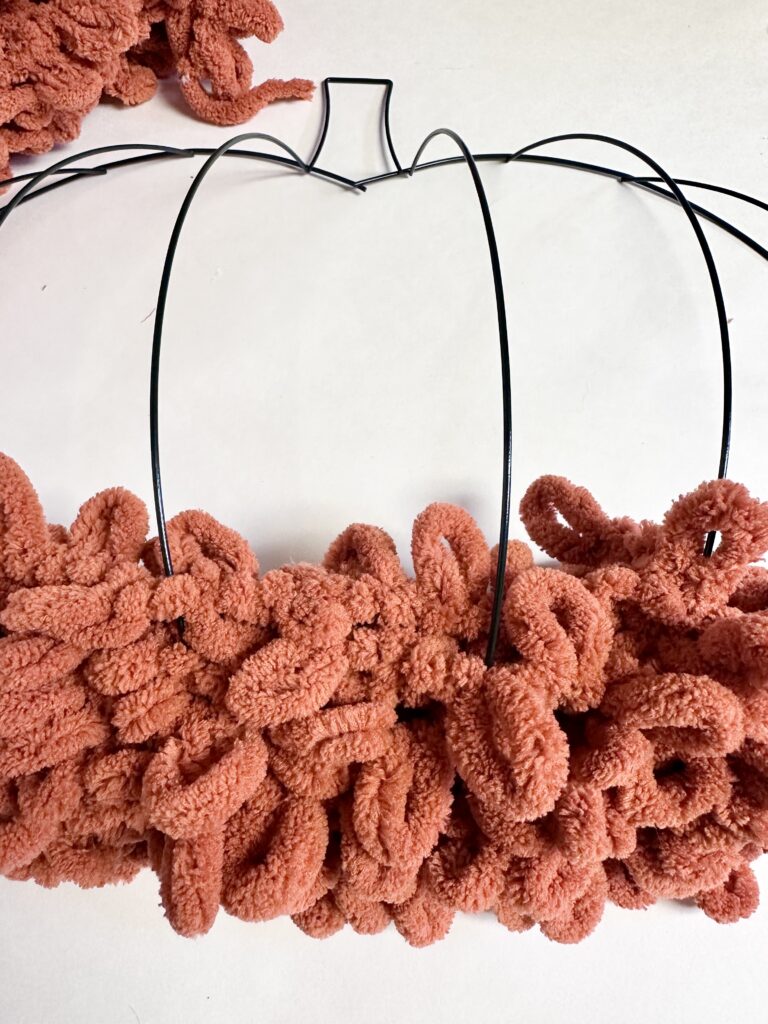
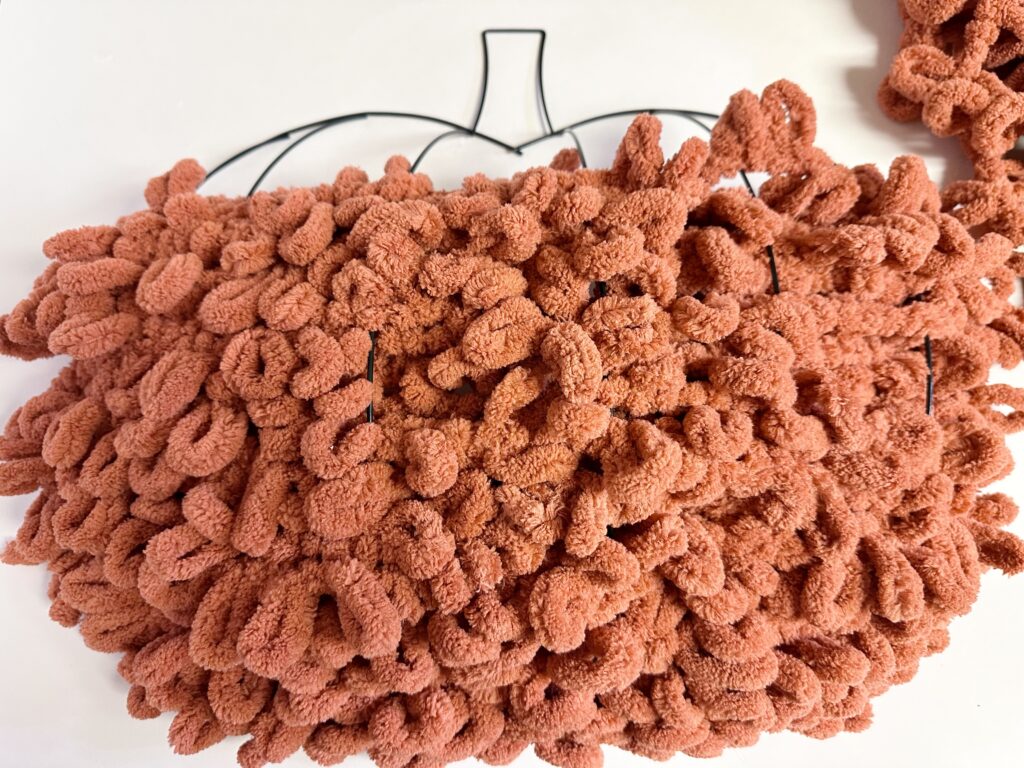
Weave the yarn throughout the wreath form. You can alternate weaving over and under each wire or skip a section or two and weave every other or every two wires. Play with it to get the look you want. When you reach the middle section, you will have to keep pushing the yarn down to make sure the entire pumpkin gets covered so it has a fuller look. Repeat this process until the entire pumpkin is covered. At the top, tie off the end and snip off the remaining yarn with the scissors.
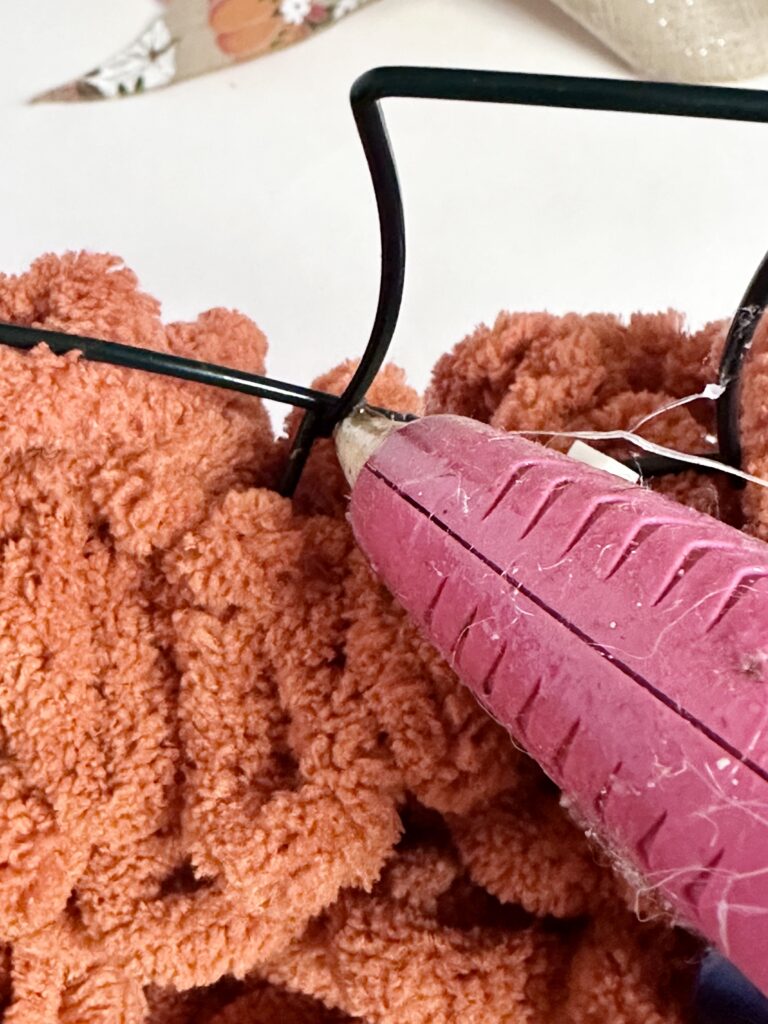
To make the stem you, add some hot glue to the base of the stem section.
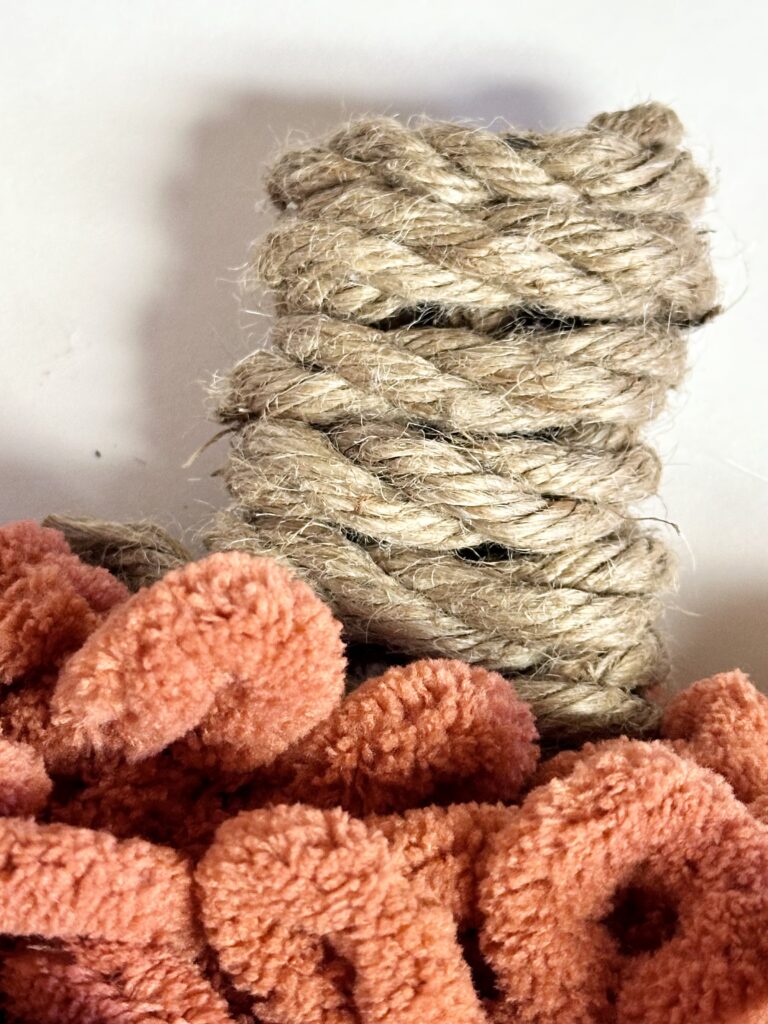
Press the rope firmly onto the glue. Wrap the rope around the stem section adding hot glue when needed to secure it. Cut off the excess rope and tuck it between layers of rope in the back or simply glue it down to secure it.
Most premade bows have twist ties. I simply tied the twist ties around the bottom of the stem. If your bow doesn’t have ties or if you feel it isn’t secure enough, just add some hot glue.
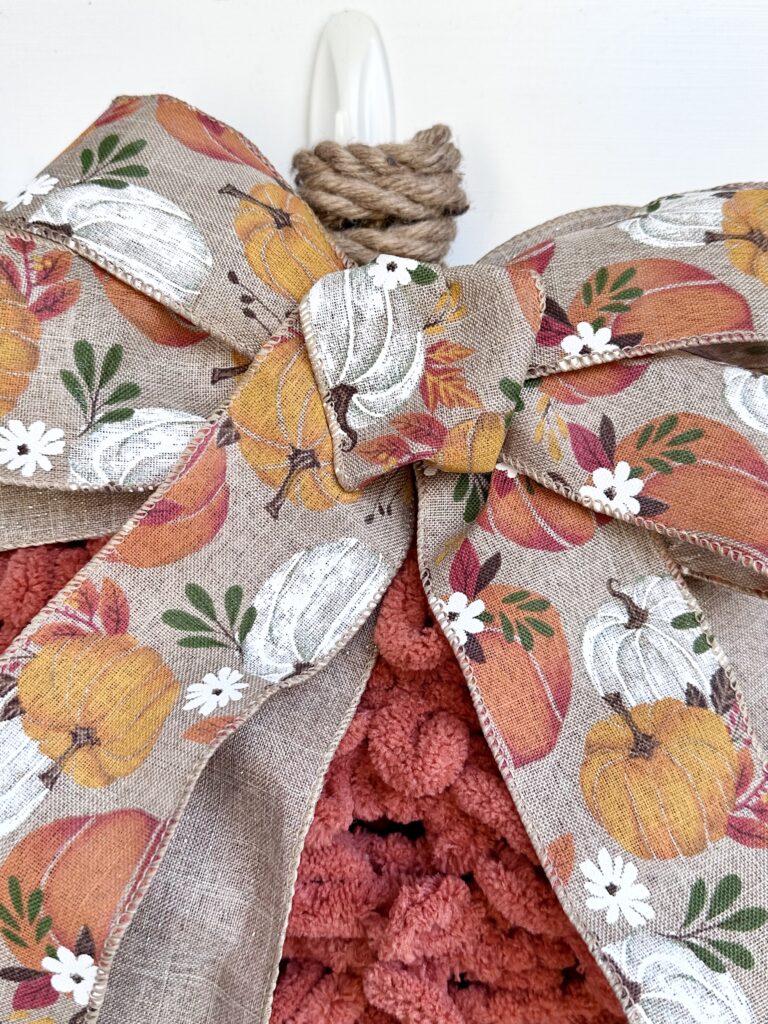
This yarn pumpkin wreath is so fun and easy. It’s great fall and Thanksgiving decor. Customize your pumpkin with different bows and yarn colors (although I’m obviously partial to orange!).


Hoi! How much loopy yarn did you use?
Just one skein. 🙂