How to Take Your Own Passport Photos
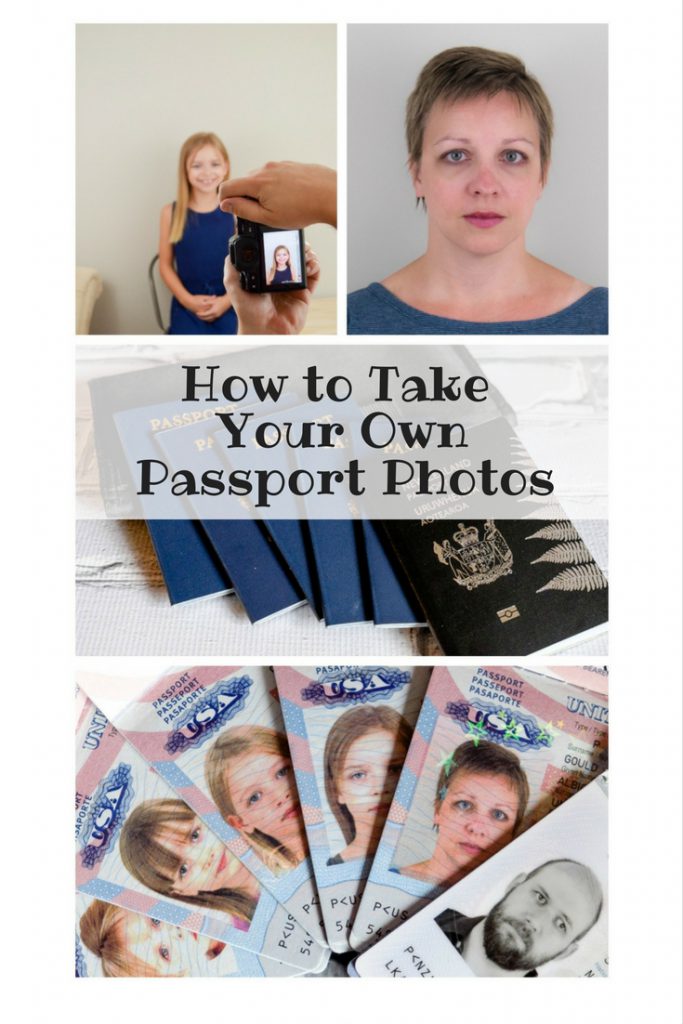
We found ourselves in the awkward position of not having a single valid passport in the family. With a lot of international travel planned, it was important to get that rectified! Our family has two passports (USA and New Zealand), and they have slightly different requirements for their photos. We also have super rambunctious kids (ahem Matilda) and for us, it’s easier to take the photos we need ourselves. Today I’m sharing some tips on how to take your own passport photos.
This post contains affiliate links.
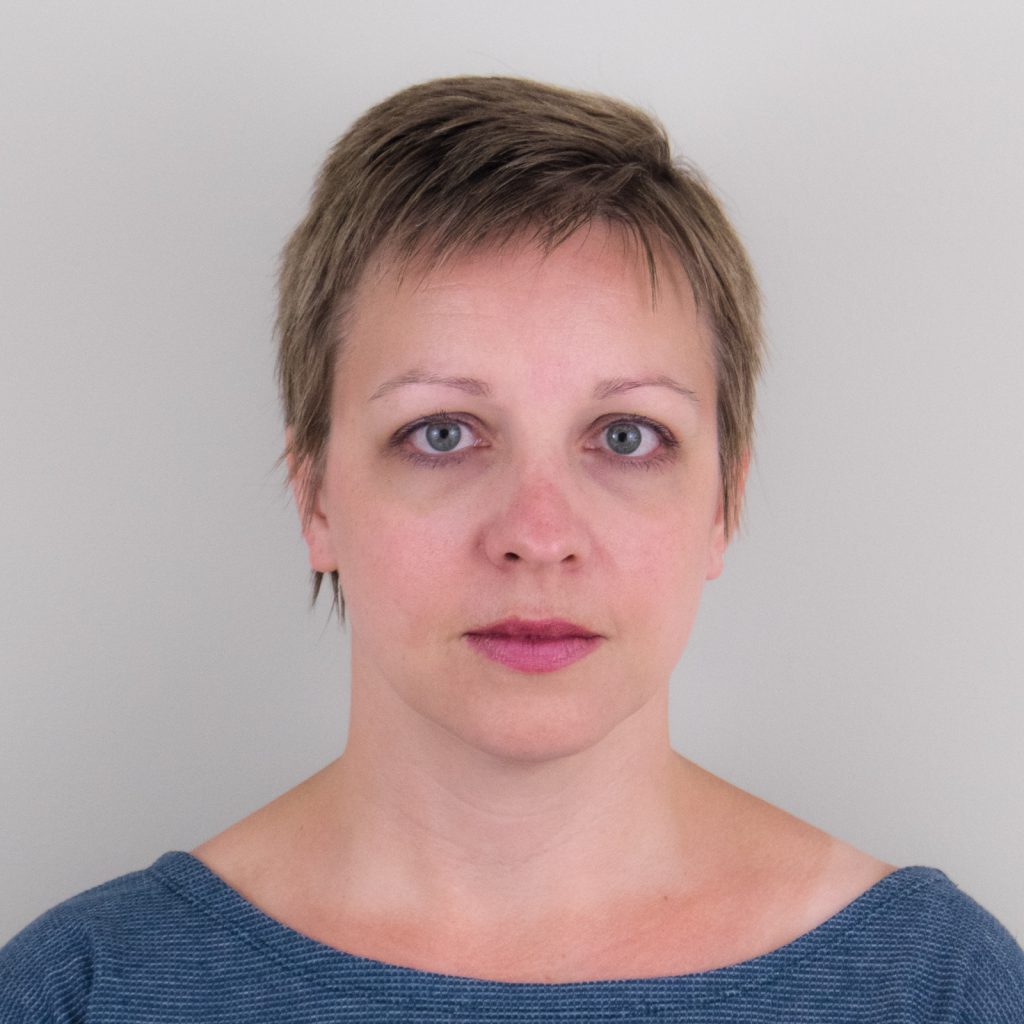
It’s important to look at the guidelines for photos for the country you need. For example, it’s ok to have a natural smile for American passports, but New Zealand requires a neutral expression. For the full up to date photo guidelines for the United States, check the Department of State’s website. We wanted one picture for both passports, so we went with the neutral expression.
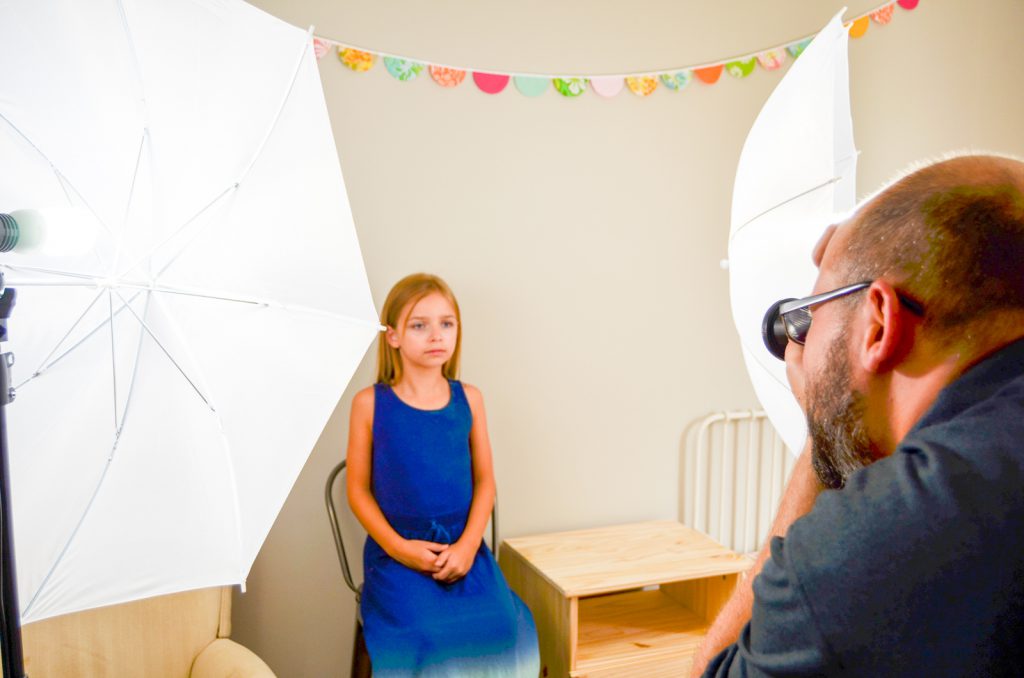
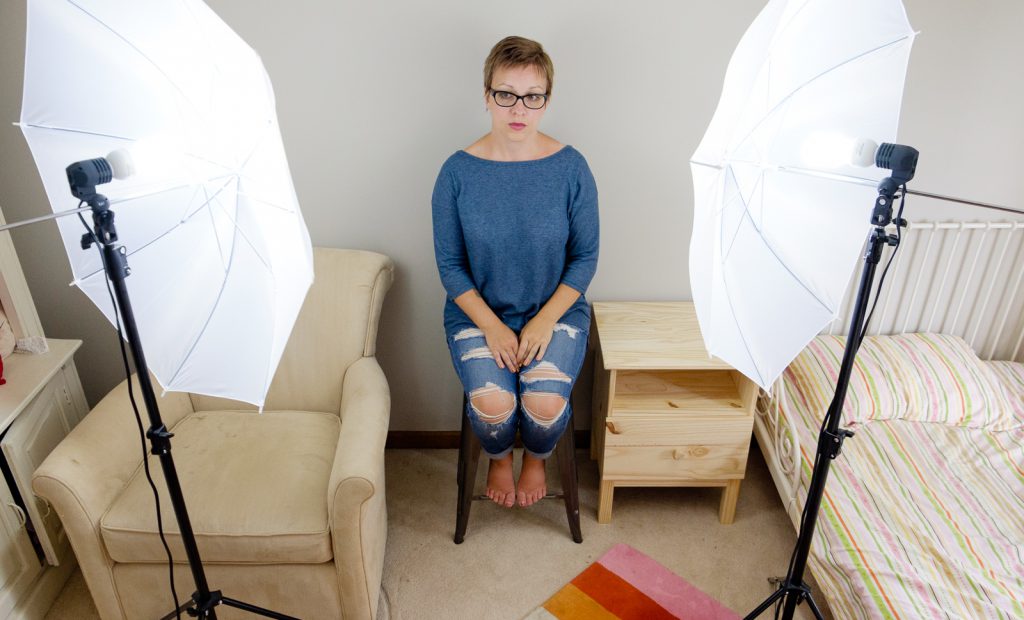
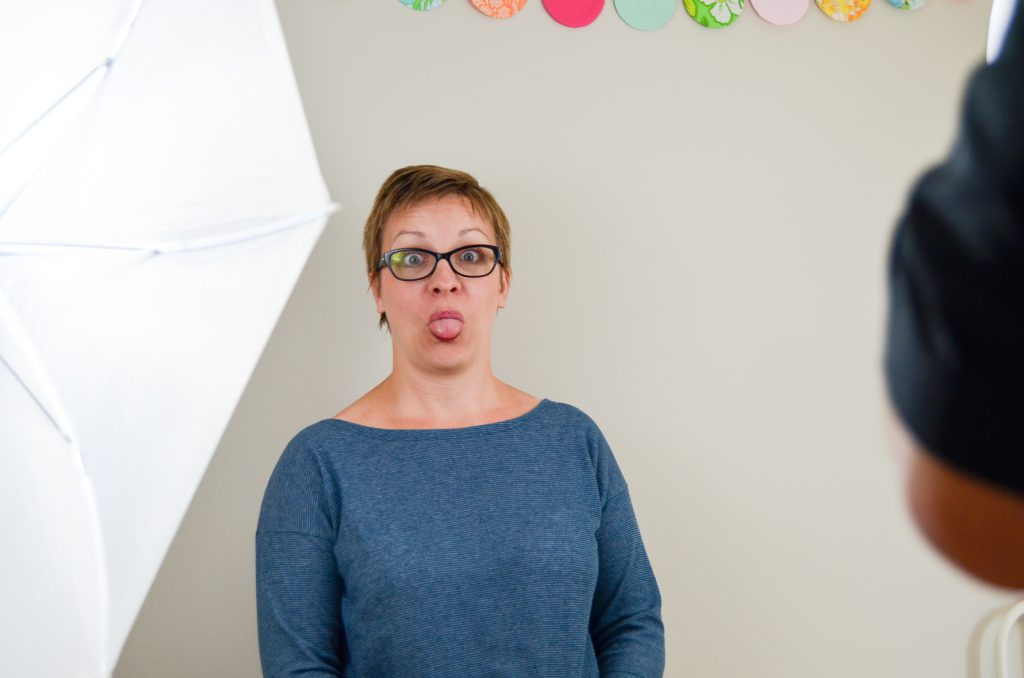
A well lit space is super important. We took our passport photos in the room with the best natural light, which happened to be Matilda’s room. The photos needed a plain wall, and her room also had that space. We already had an umbrella kit because of my blogging needs. I’m obviously not going to recommend you buy one just to take these photos, but a basic kit runs as little as $50 so it can be a good investment. For our family size, it paid for itself just with these passport photos. If your room is well-lit, you won’t need them. When I say that Matilda’s room has the best light for us, it’s still rather dark–our whole house is.
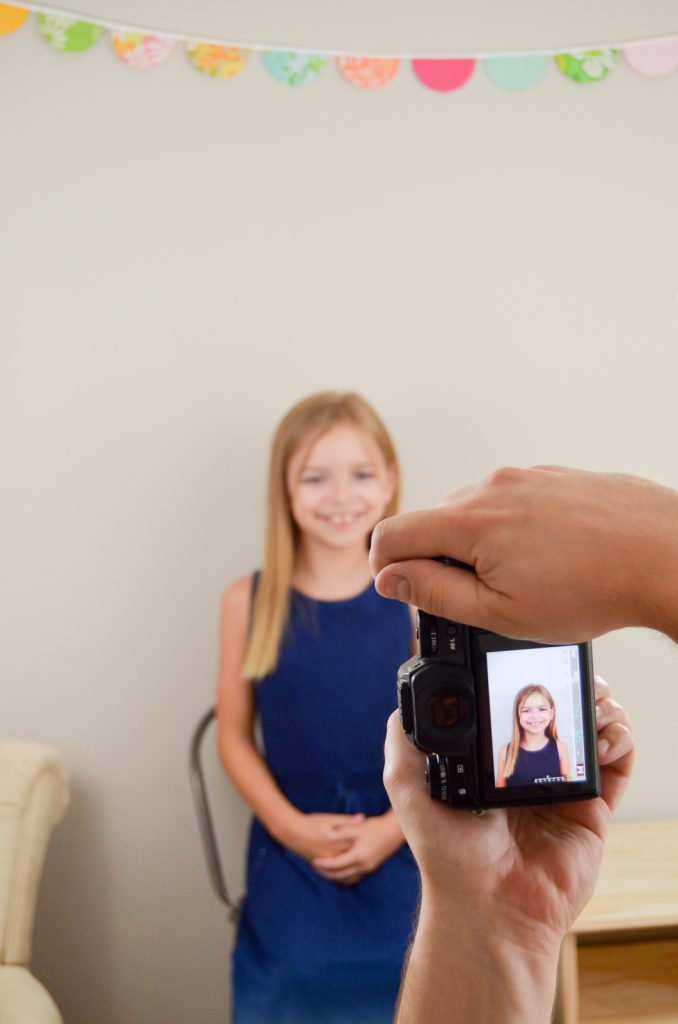
Clothing needs to be simple–no loud patterns/designs/characters/logos/etc. When we took these photos last year, the stated requirements said that glasses with thick frames need to be removed. As I’m writing this, the requirements have changed to no glasses for Americans. ALWAYS double check the current requirements for your country!
If you need to take a baby or toddler’s photo and they can’t/won’t sit up straight, you can lay them down on a plain sheet. Make sure it’s as unwrinkled as possible.
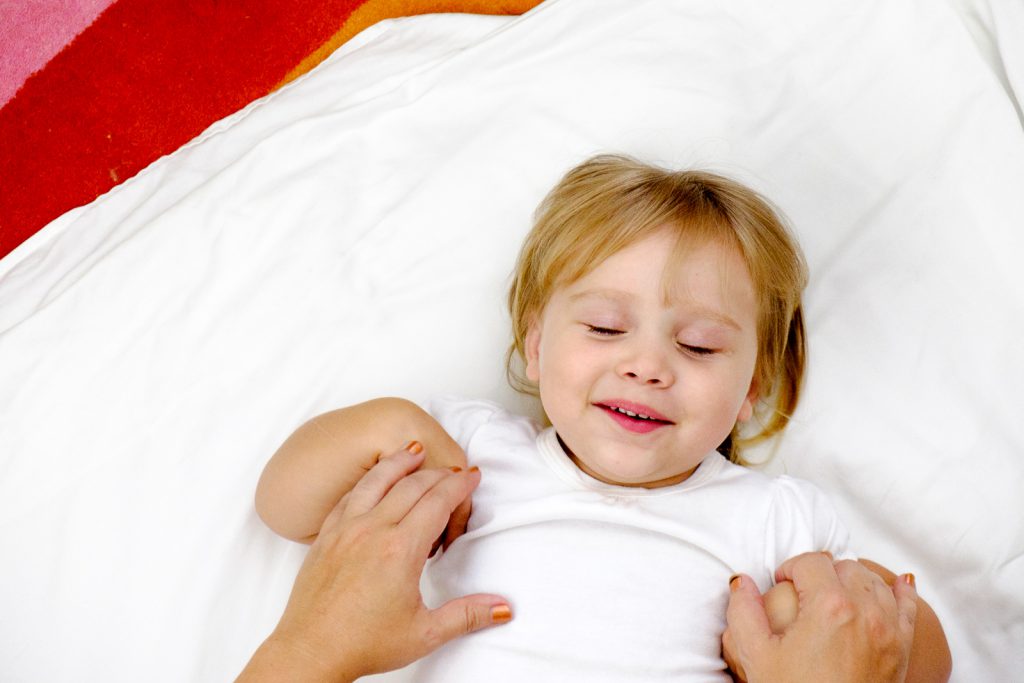
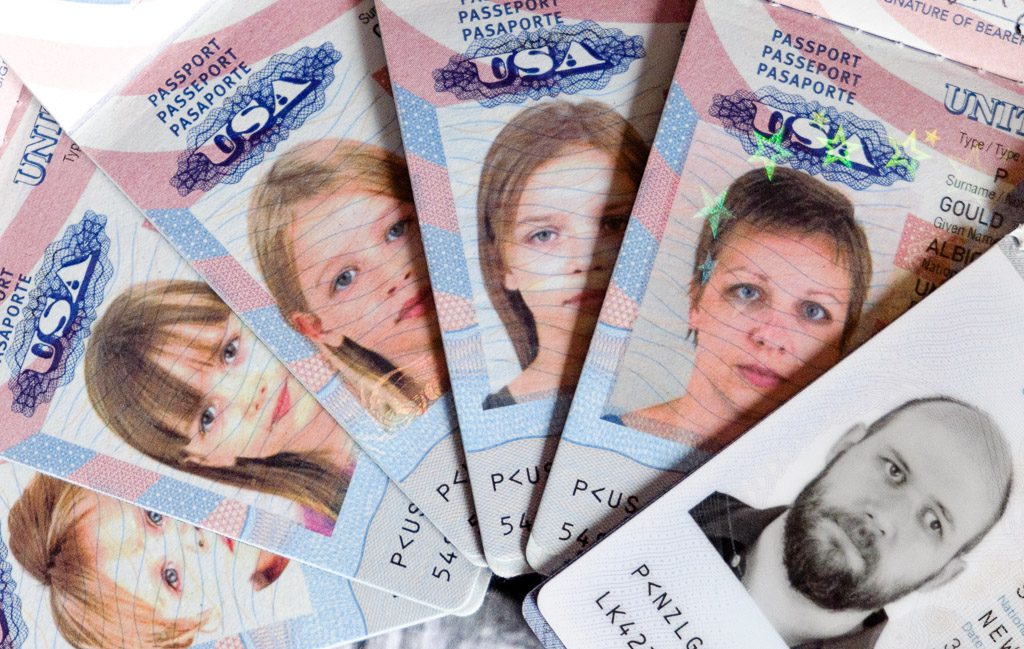
We had to use every trick in the book to get Matilda to look straight at the camera with a (fairly) neutral expression.
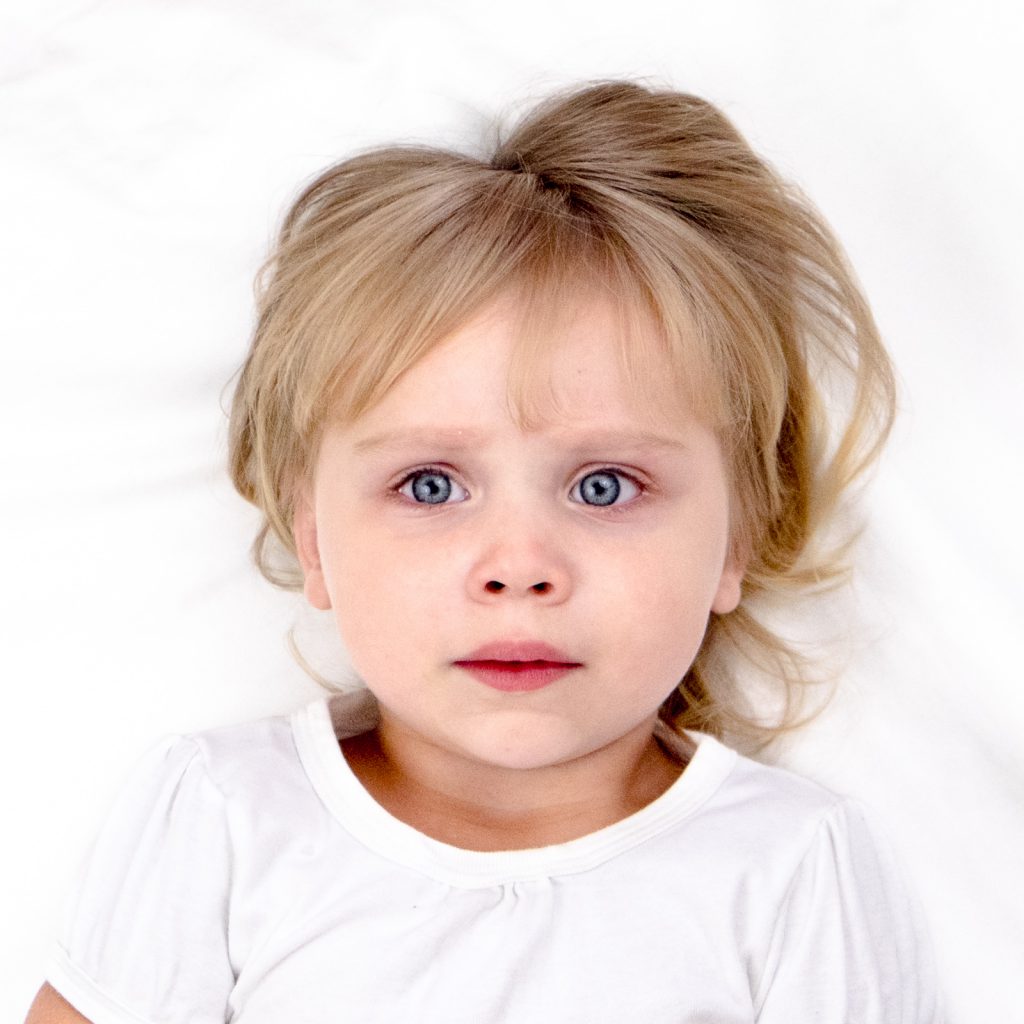
We laughingly refer to our passport photos as our mugshot gallery, but they work.
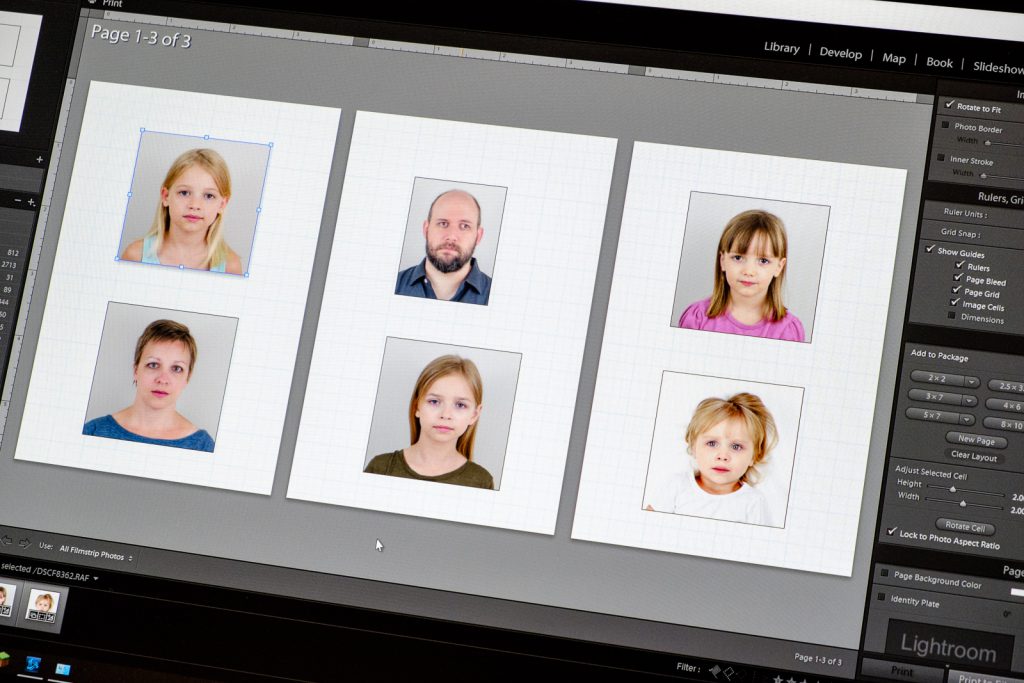
We sized our photos appropriately in Lightroom. As always, the size requirements are listed on the passport website. If you don’t use Lightroom, another program that will allow you to size your pictures and clean them up is fine! I printed out the pictures using my photo printer. I’ve been really happy with the quality of the Canon SELPHY CP910. Again, I’m not going to recommend a photo printer just for this task, but I use mine all the time. The newer model is the Canon SELPHY CP1200.
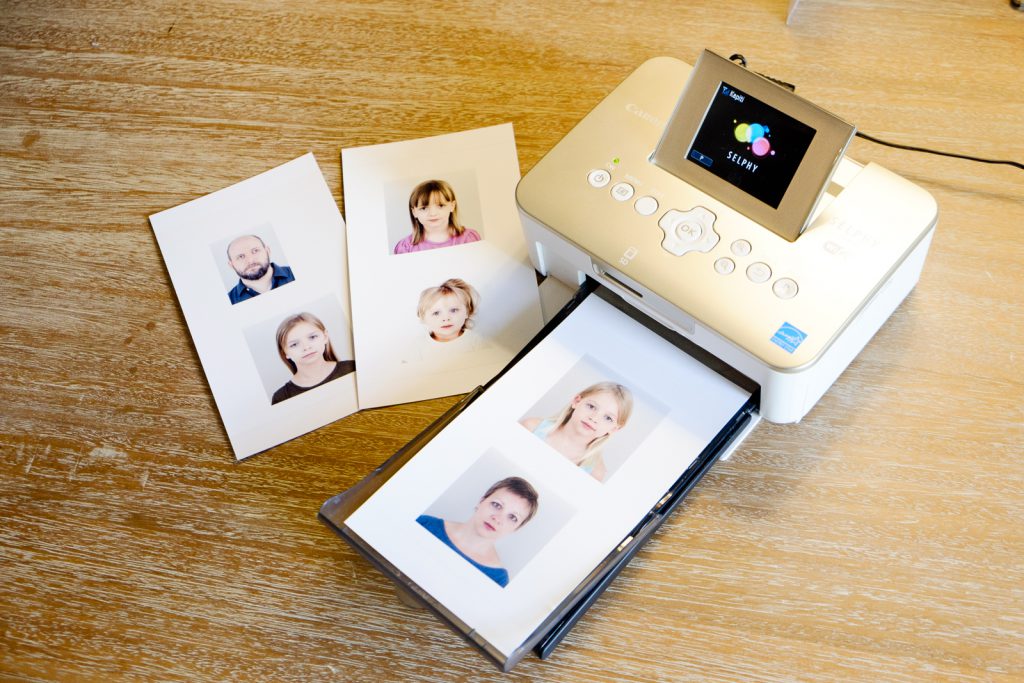
Once the photos are printed, they need to be carefully cut out. To make sure all the lines were exactly straight, I used my Fiskars paper trimmer.
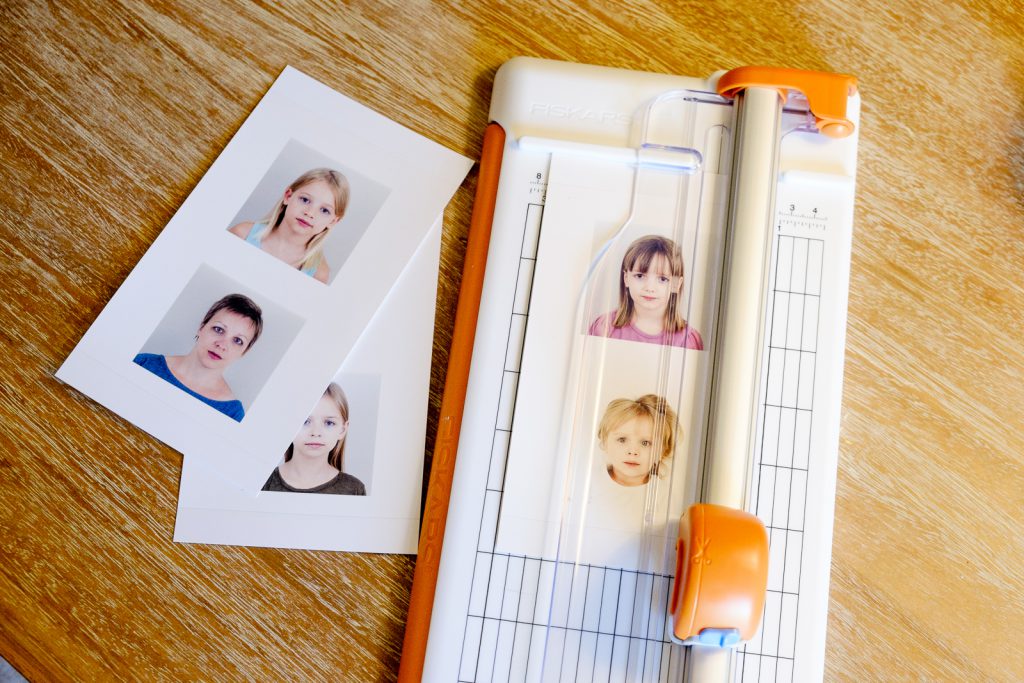
At this point, it’s just a matter of double checking that your applications and photos are all correct and then sending them off!
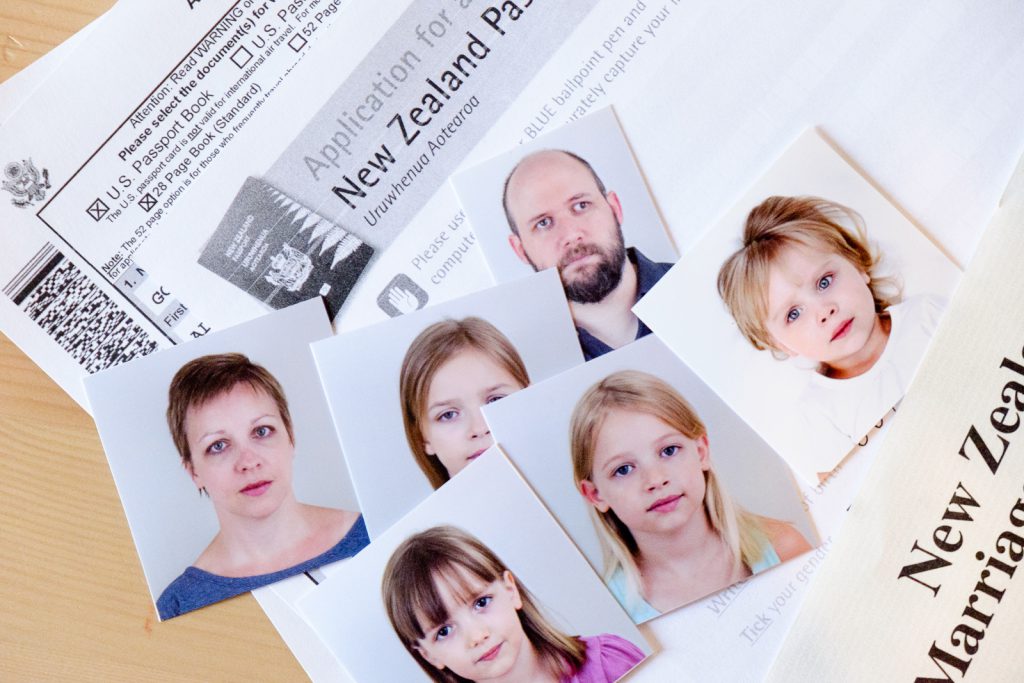
We have ten passports for our family of six due to the girls being dual citizens. Who knows how many we’ll end up with by the end!
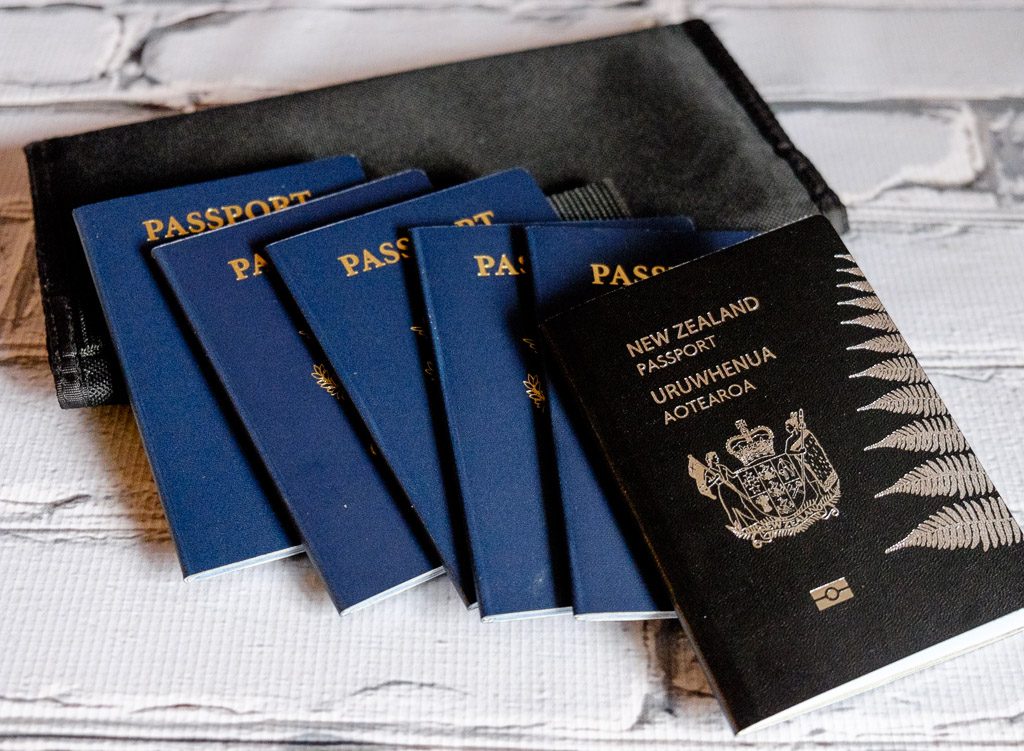
In the meantime, it’s nice to know that we could jump on a plane tomorrow for a grand adventure if we wanted. We started taking our own passport photos when Madeline was a newborn in New Zealand in order to get her American passport. We had to really research how to take your own passport photos at the time, but now it is so much less stressful to just do it ourselves. Here’s to the adventures these new passports will bring!


The best feeling when getting your passport is knowing that it provides more freedom than a driver’s license.