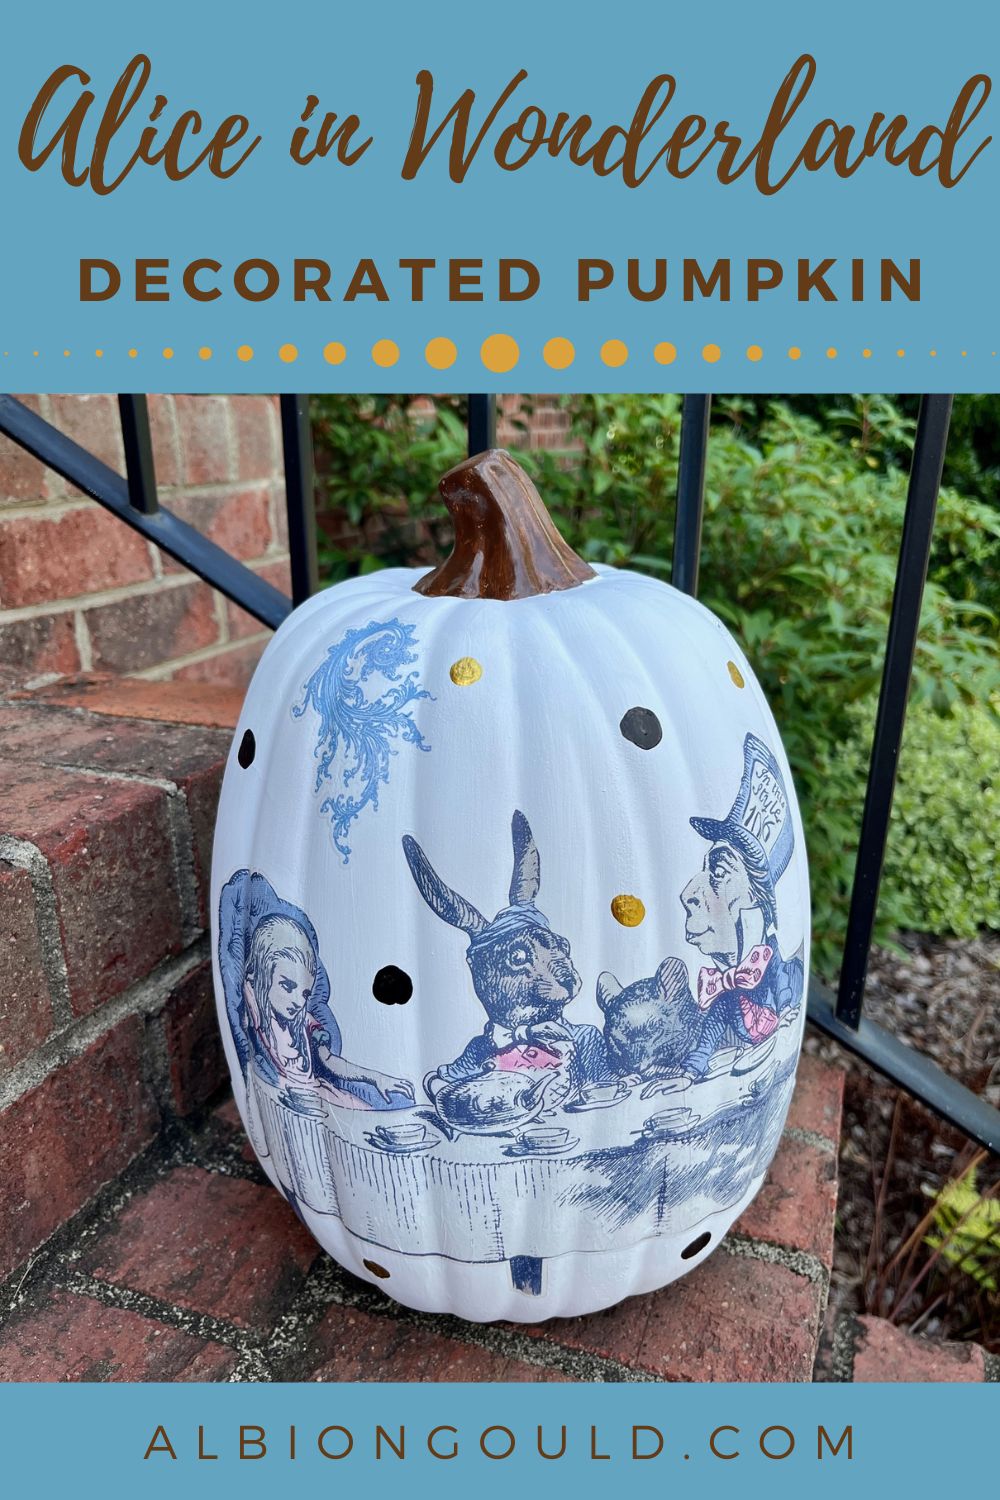
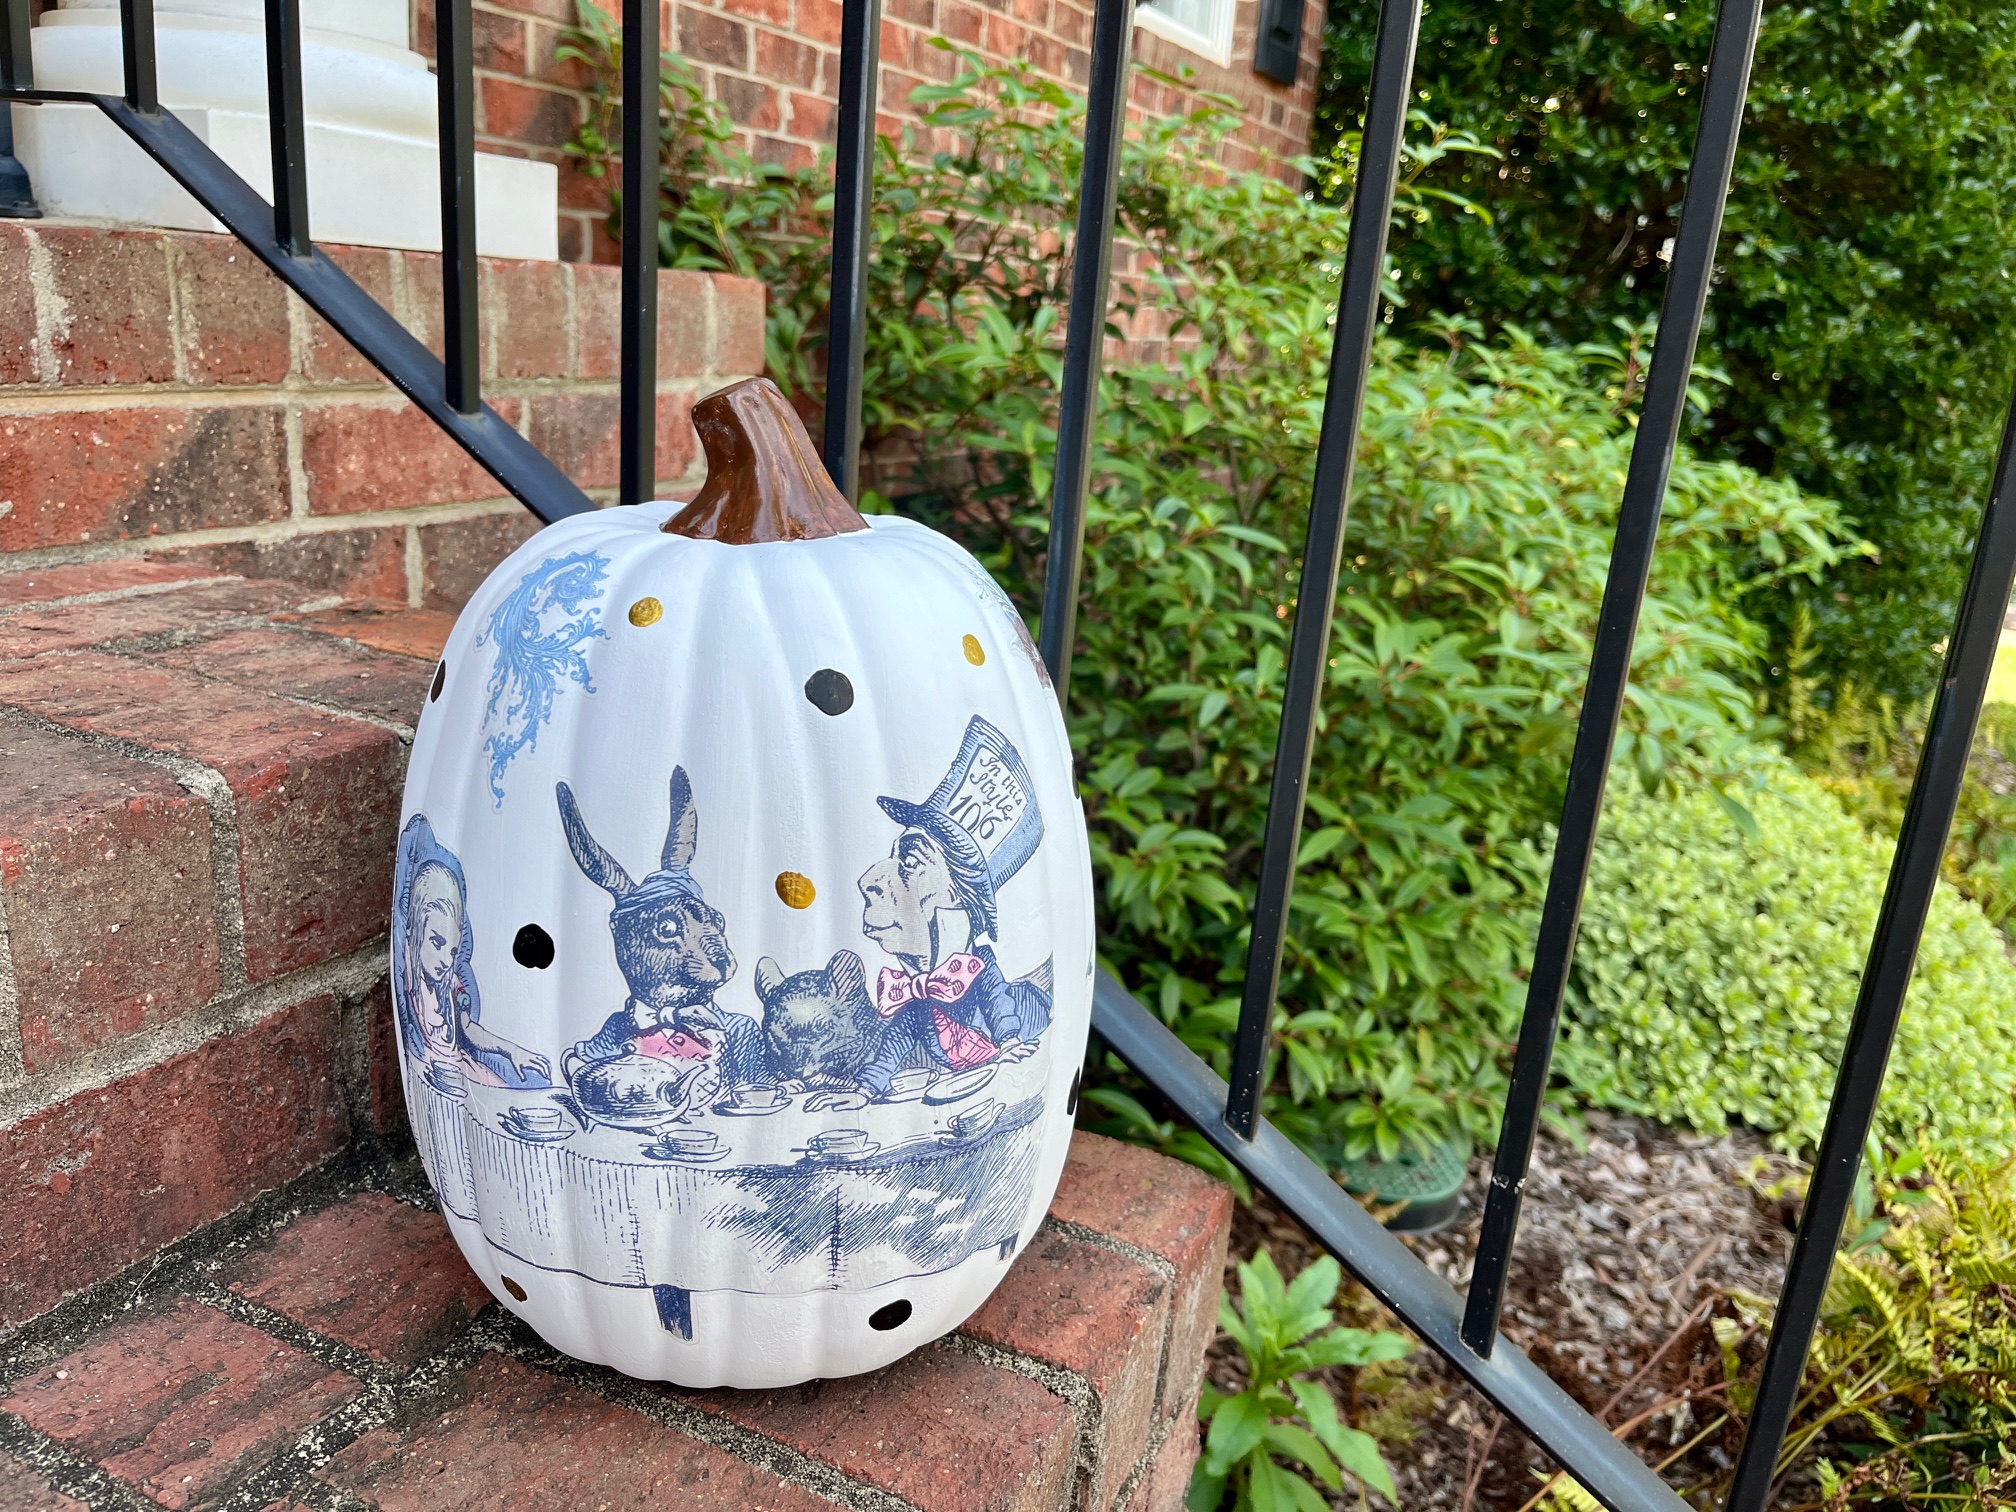
One of the problems I’ve encountered with all of our moves and wanting to use up supplies that I already have is that I make something, go to write it up, and then discover that the main supply I used has been discontinued or I got it in the wrong country. I then get stuck deciding if I I want to share it or not since I can’t give you the exact supply details. This was the case when I finished this Alice in Wonderland decorated pumpkin. It’s really cute and the pictures don’t really do it justice, but the transfers that are the whole point of the project aren’t made anymore. The line is, but not the specific transfer. Because I’m really happy with the end result and the tutorial remains sound, I’m going to go ahead and share the project, but please keep in mind that not only can I not find the exact transfer anymore, I can’t even find anything similar.
This post contains affiliate links.
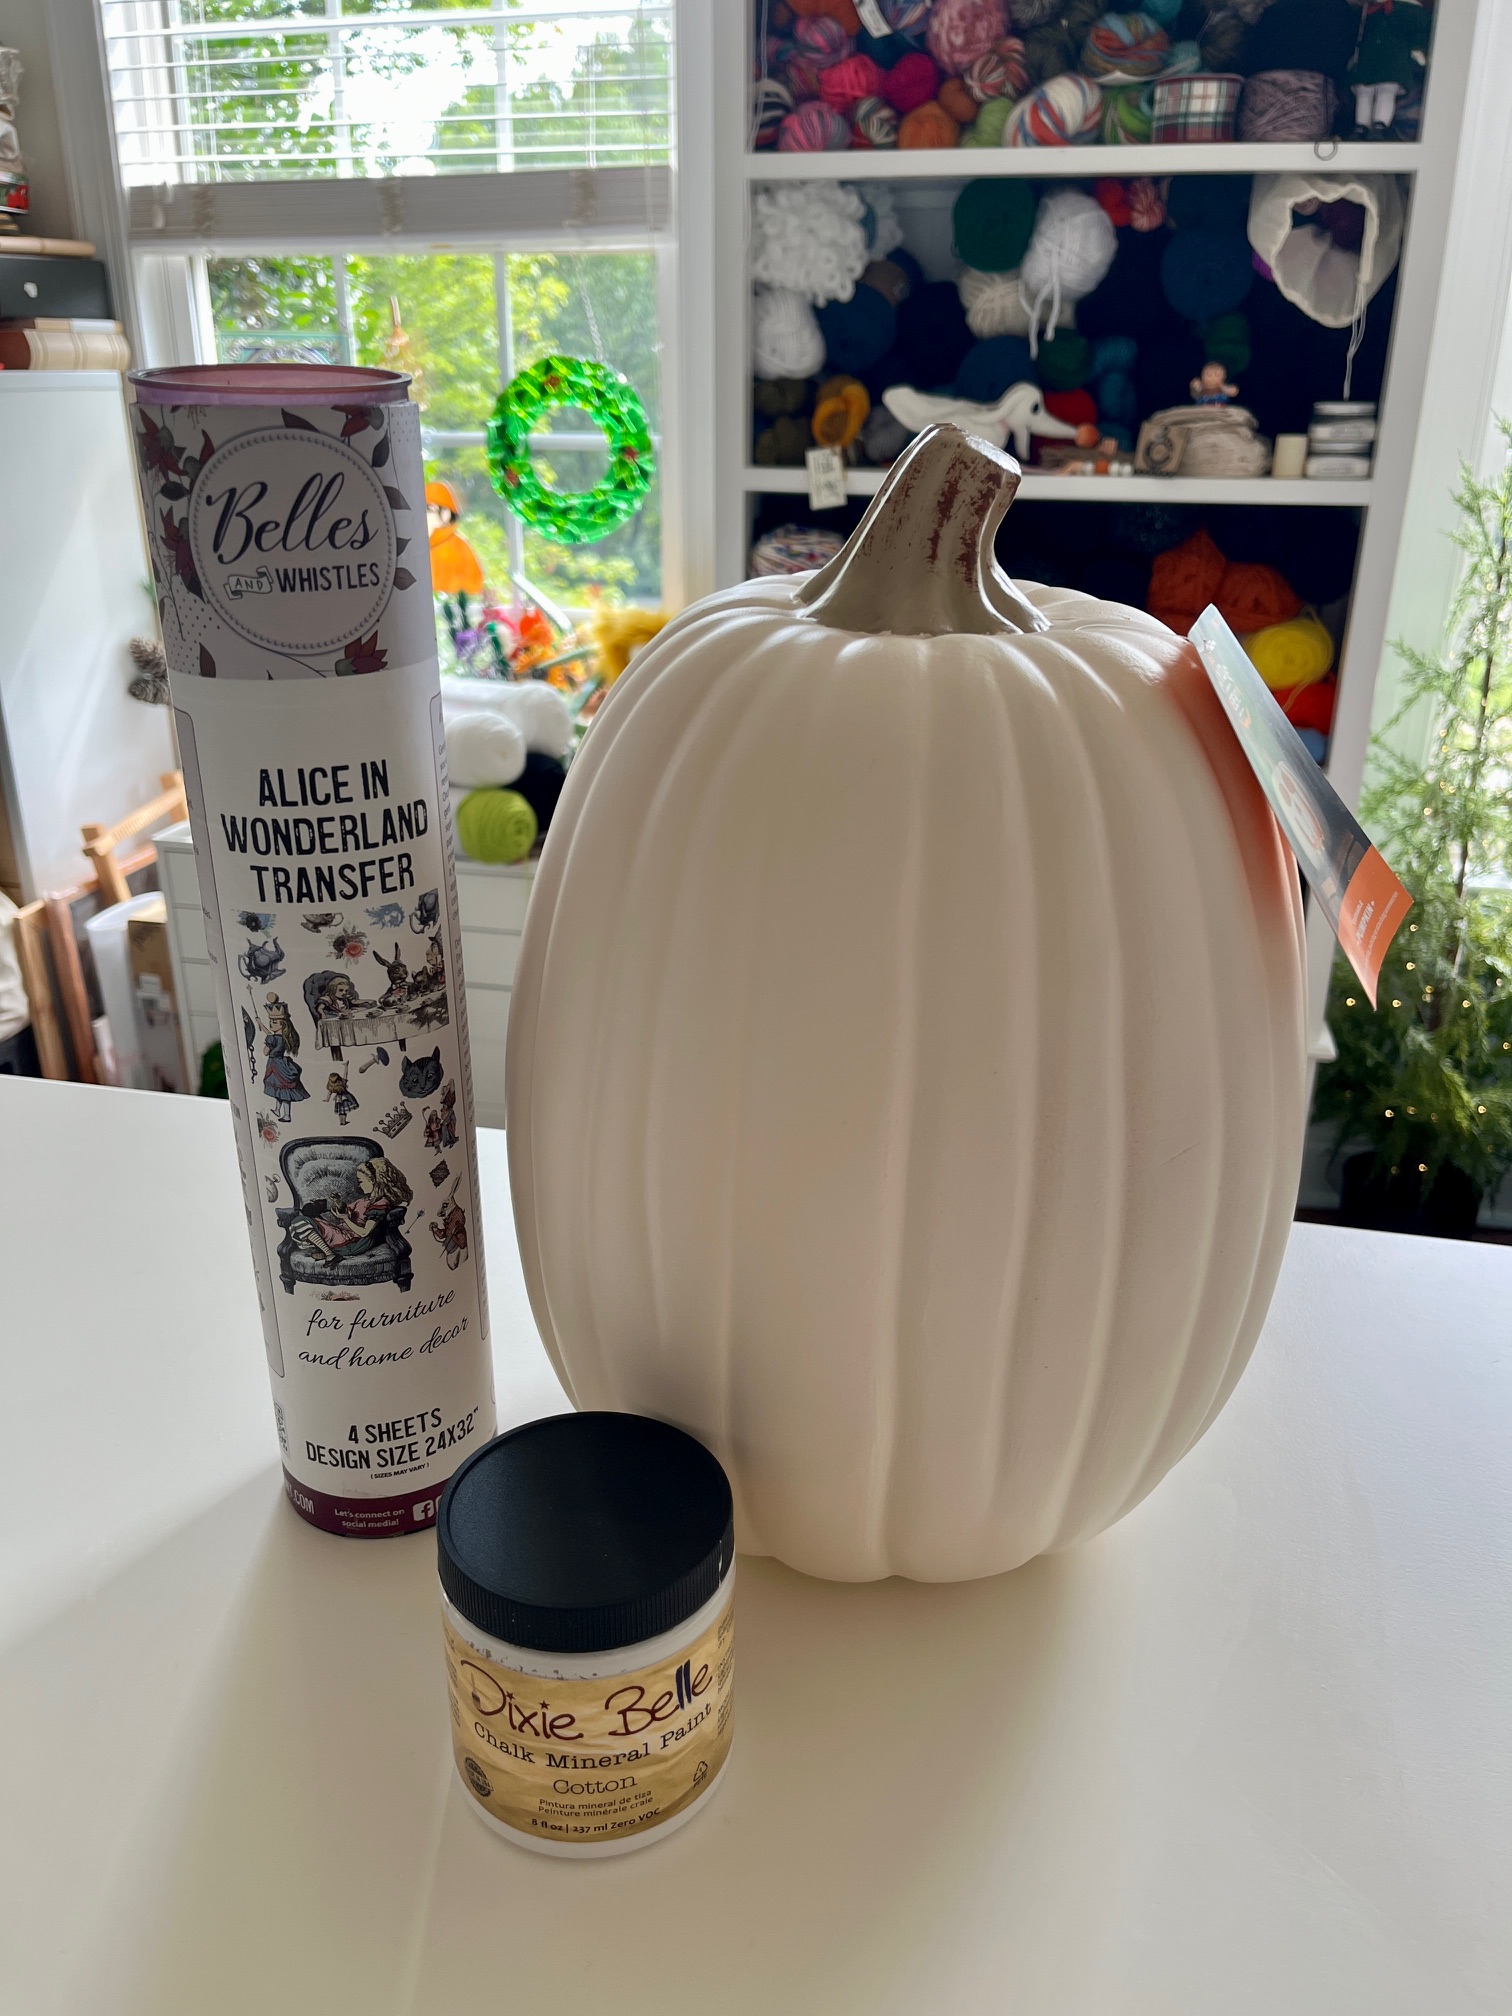
Supplies:
faux pumpkin (mine is from Target last year and is roughly 12.5″ tall)
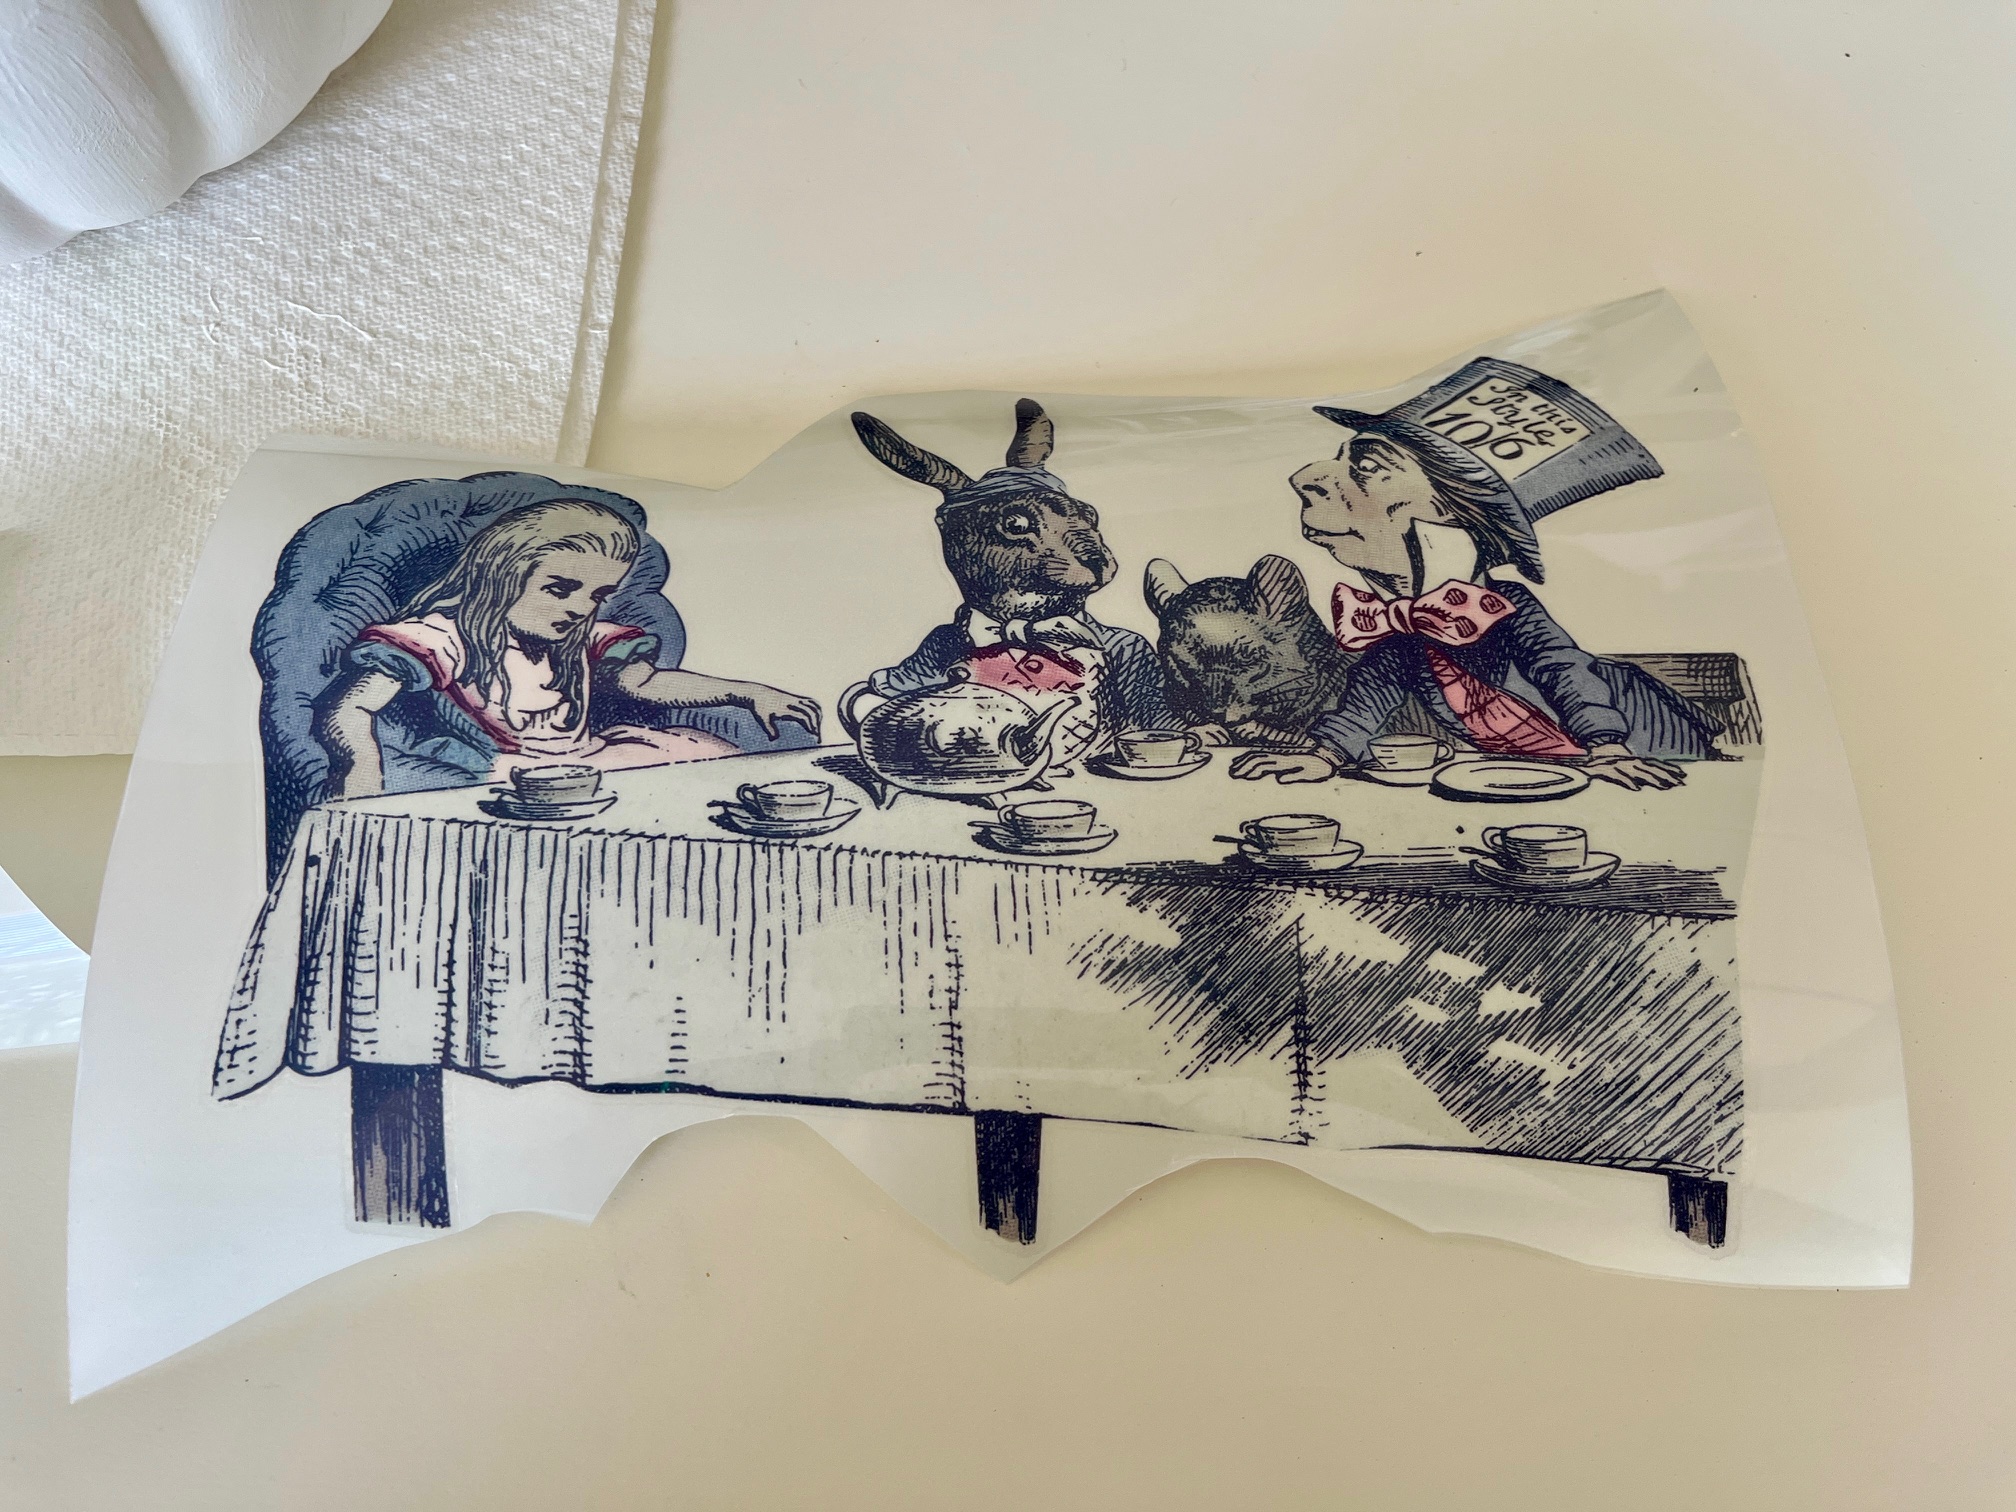
Belles & Whistles Alice in Wonderland Transfers (This seems to have been sadly discontinued. This link goes to the brand’s current transfer offerings. This is a general link to rub on transfers on Amazon. I’ve also seen the transfers on Etsy and Ebay, so if you have your heart set on these exact ones, I’d check there.)
paint brushes
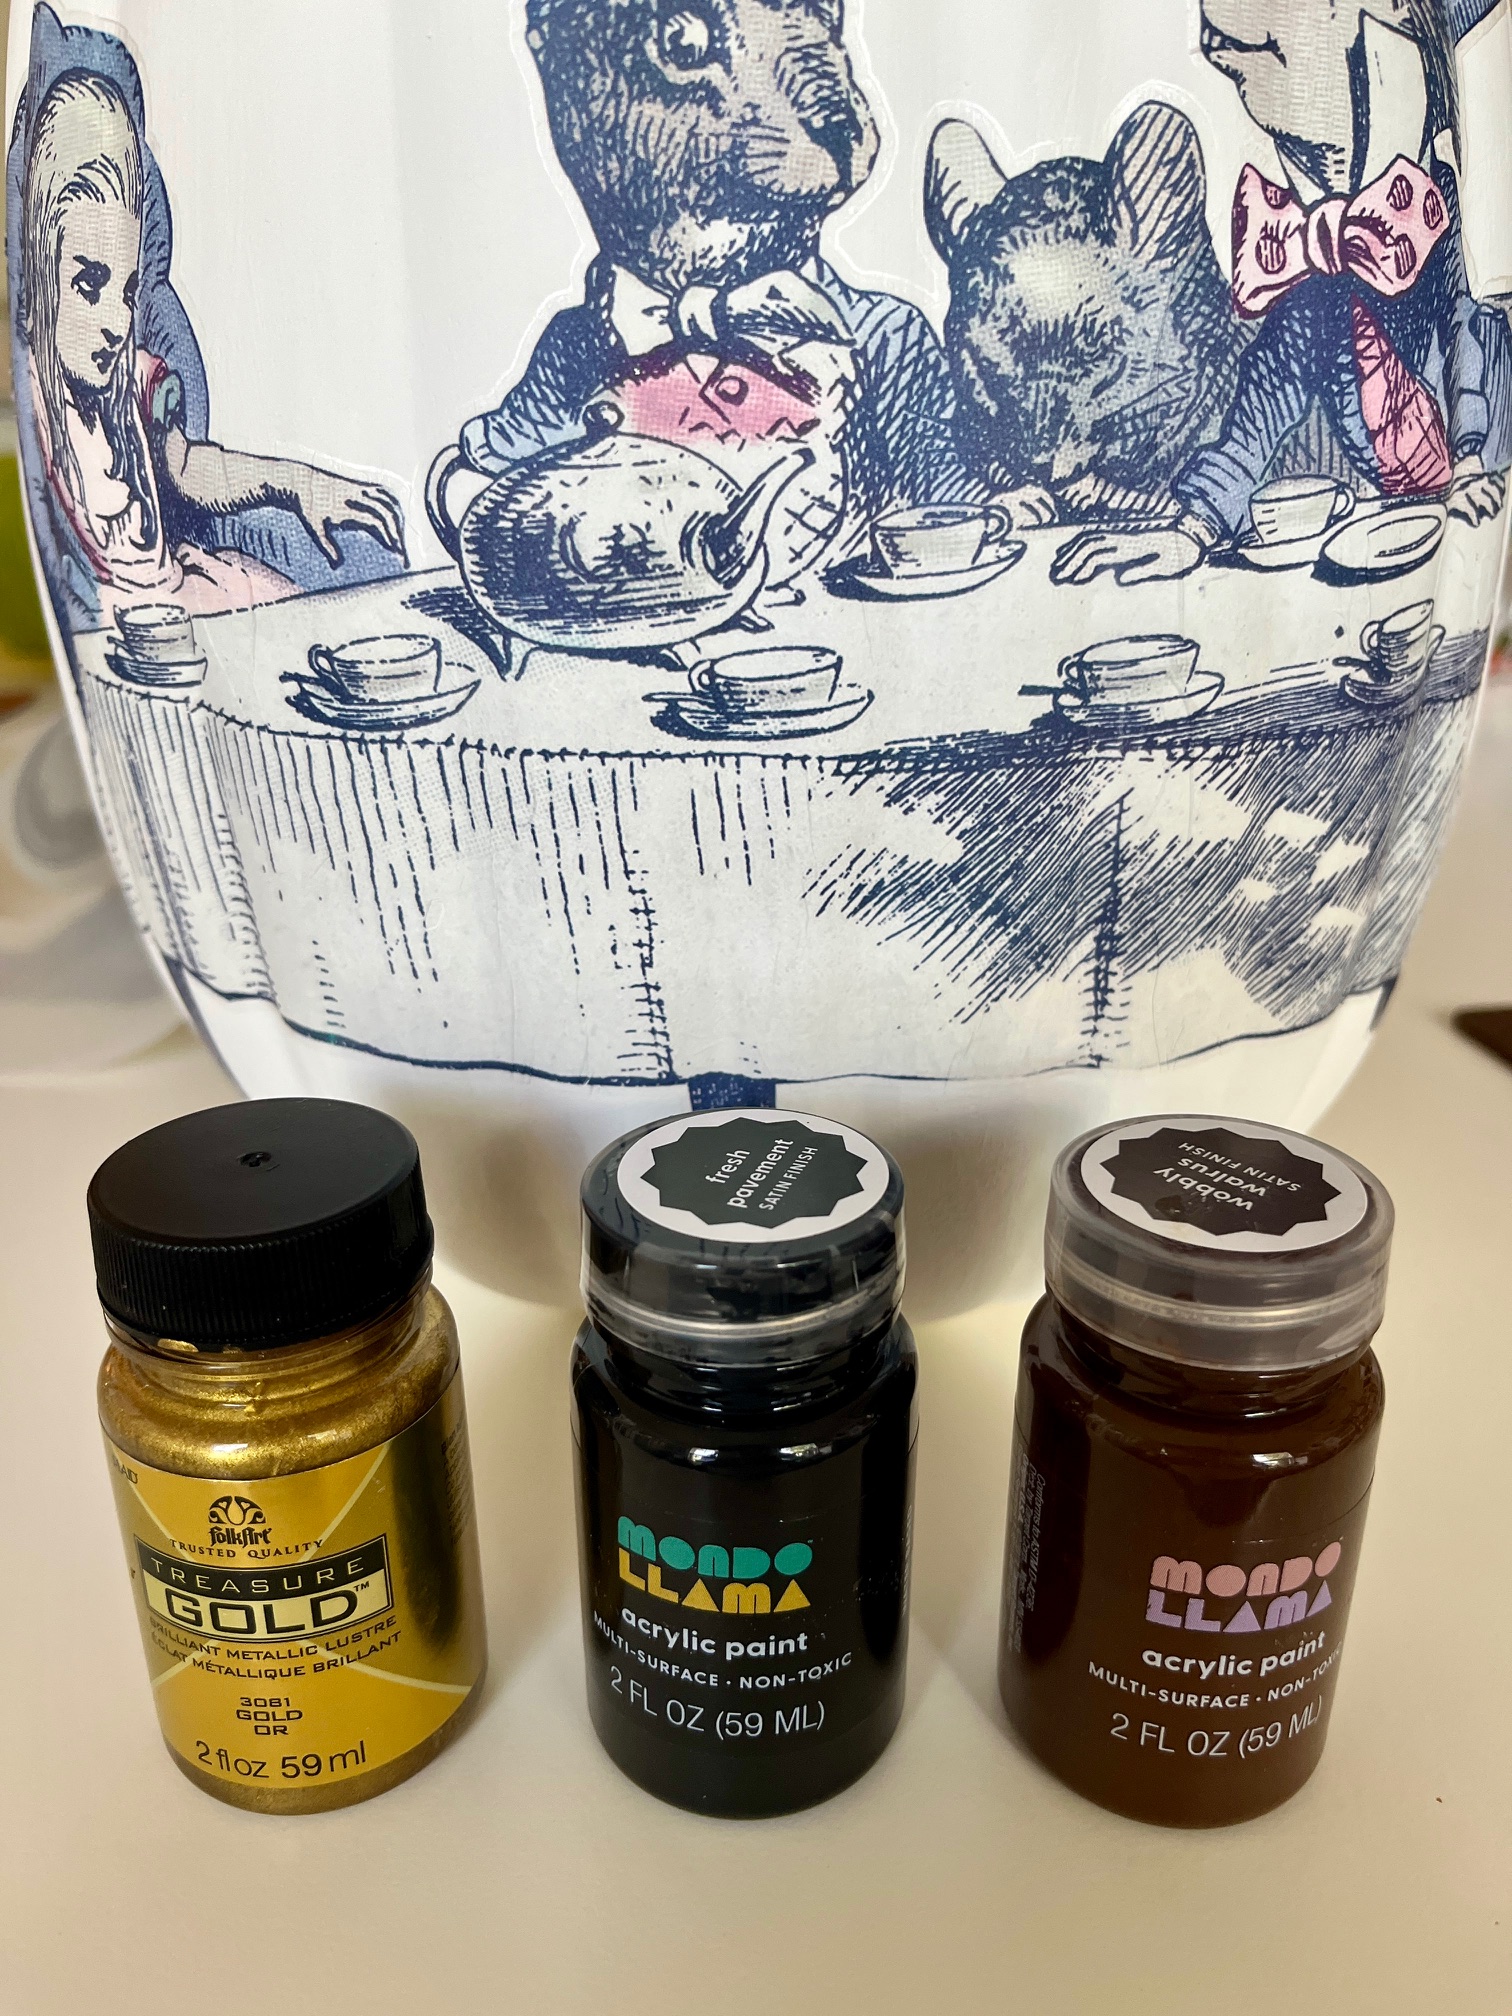
brown, black, and gold paint
I stock up on faux pumpkins whenever they’re on sale. Pumpkins are a favorite crafting supply of mine but can be quite pricey. The original price of the one I used here was $15, but I know I got it when Halloween went on sale last year. Keep an eye out!
So while these exact transfers aren’t available, the basic tutorial for decorating a pumpkin with transfers still holds true.
Instructions:
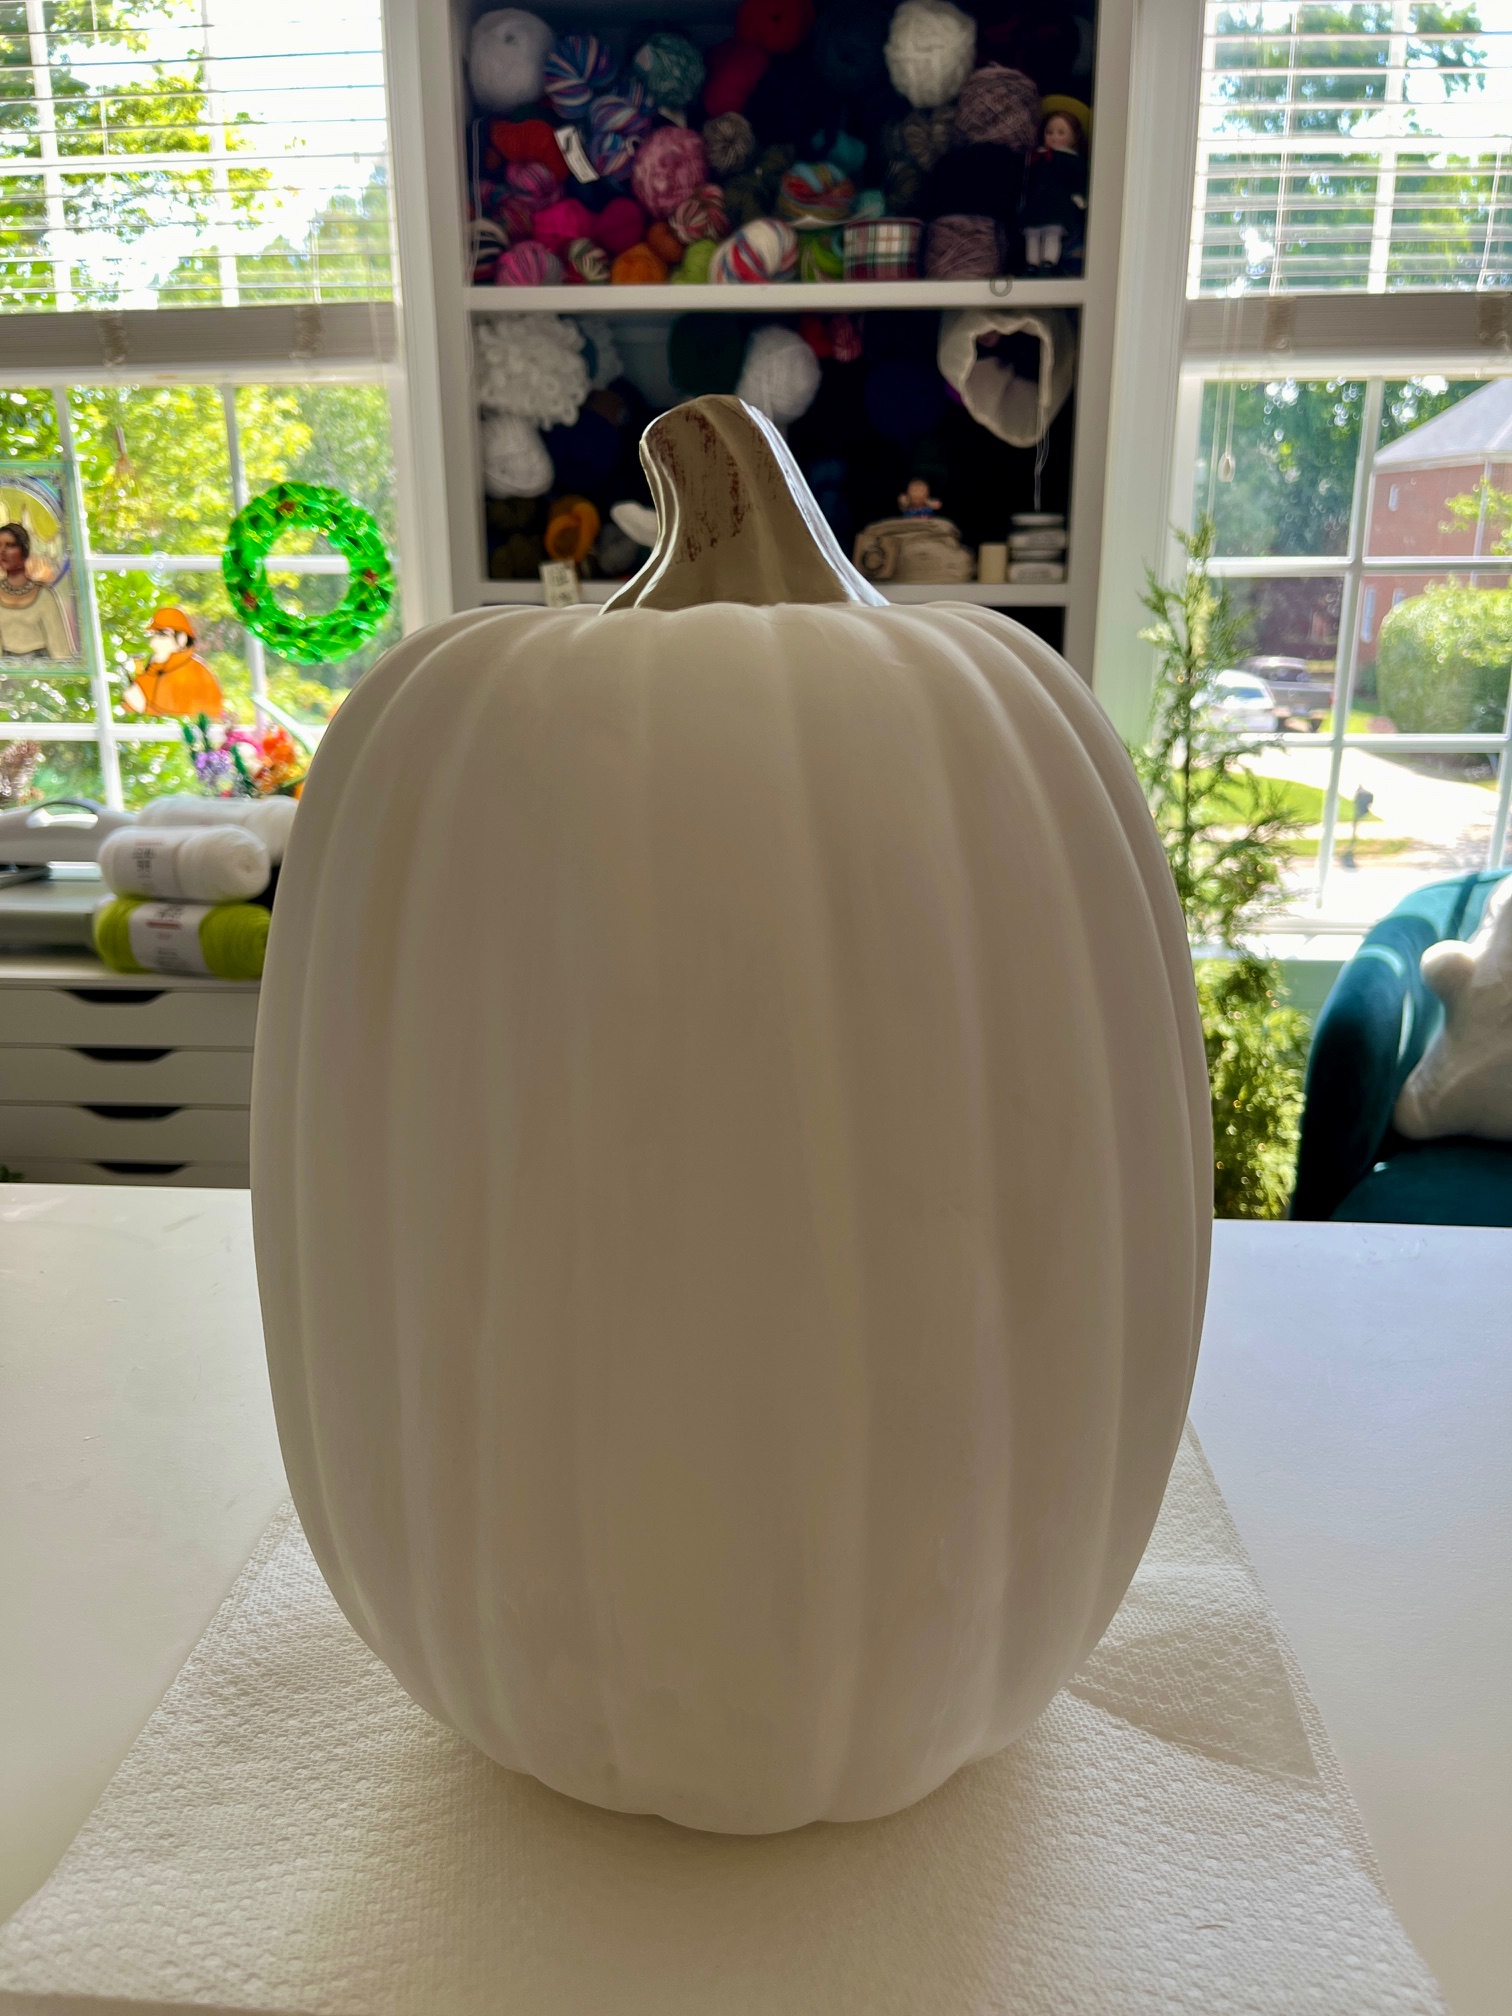
Paint the pumpkin white.
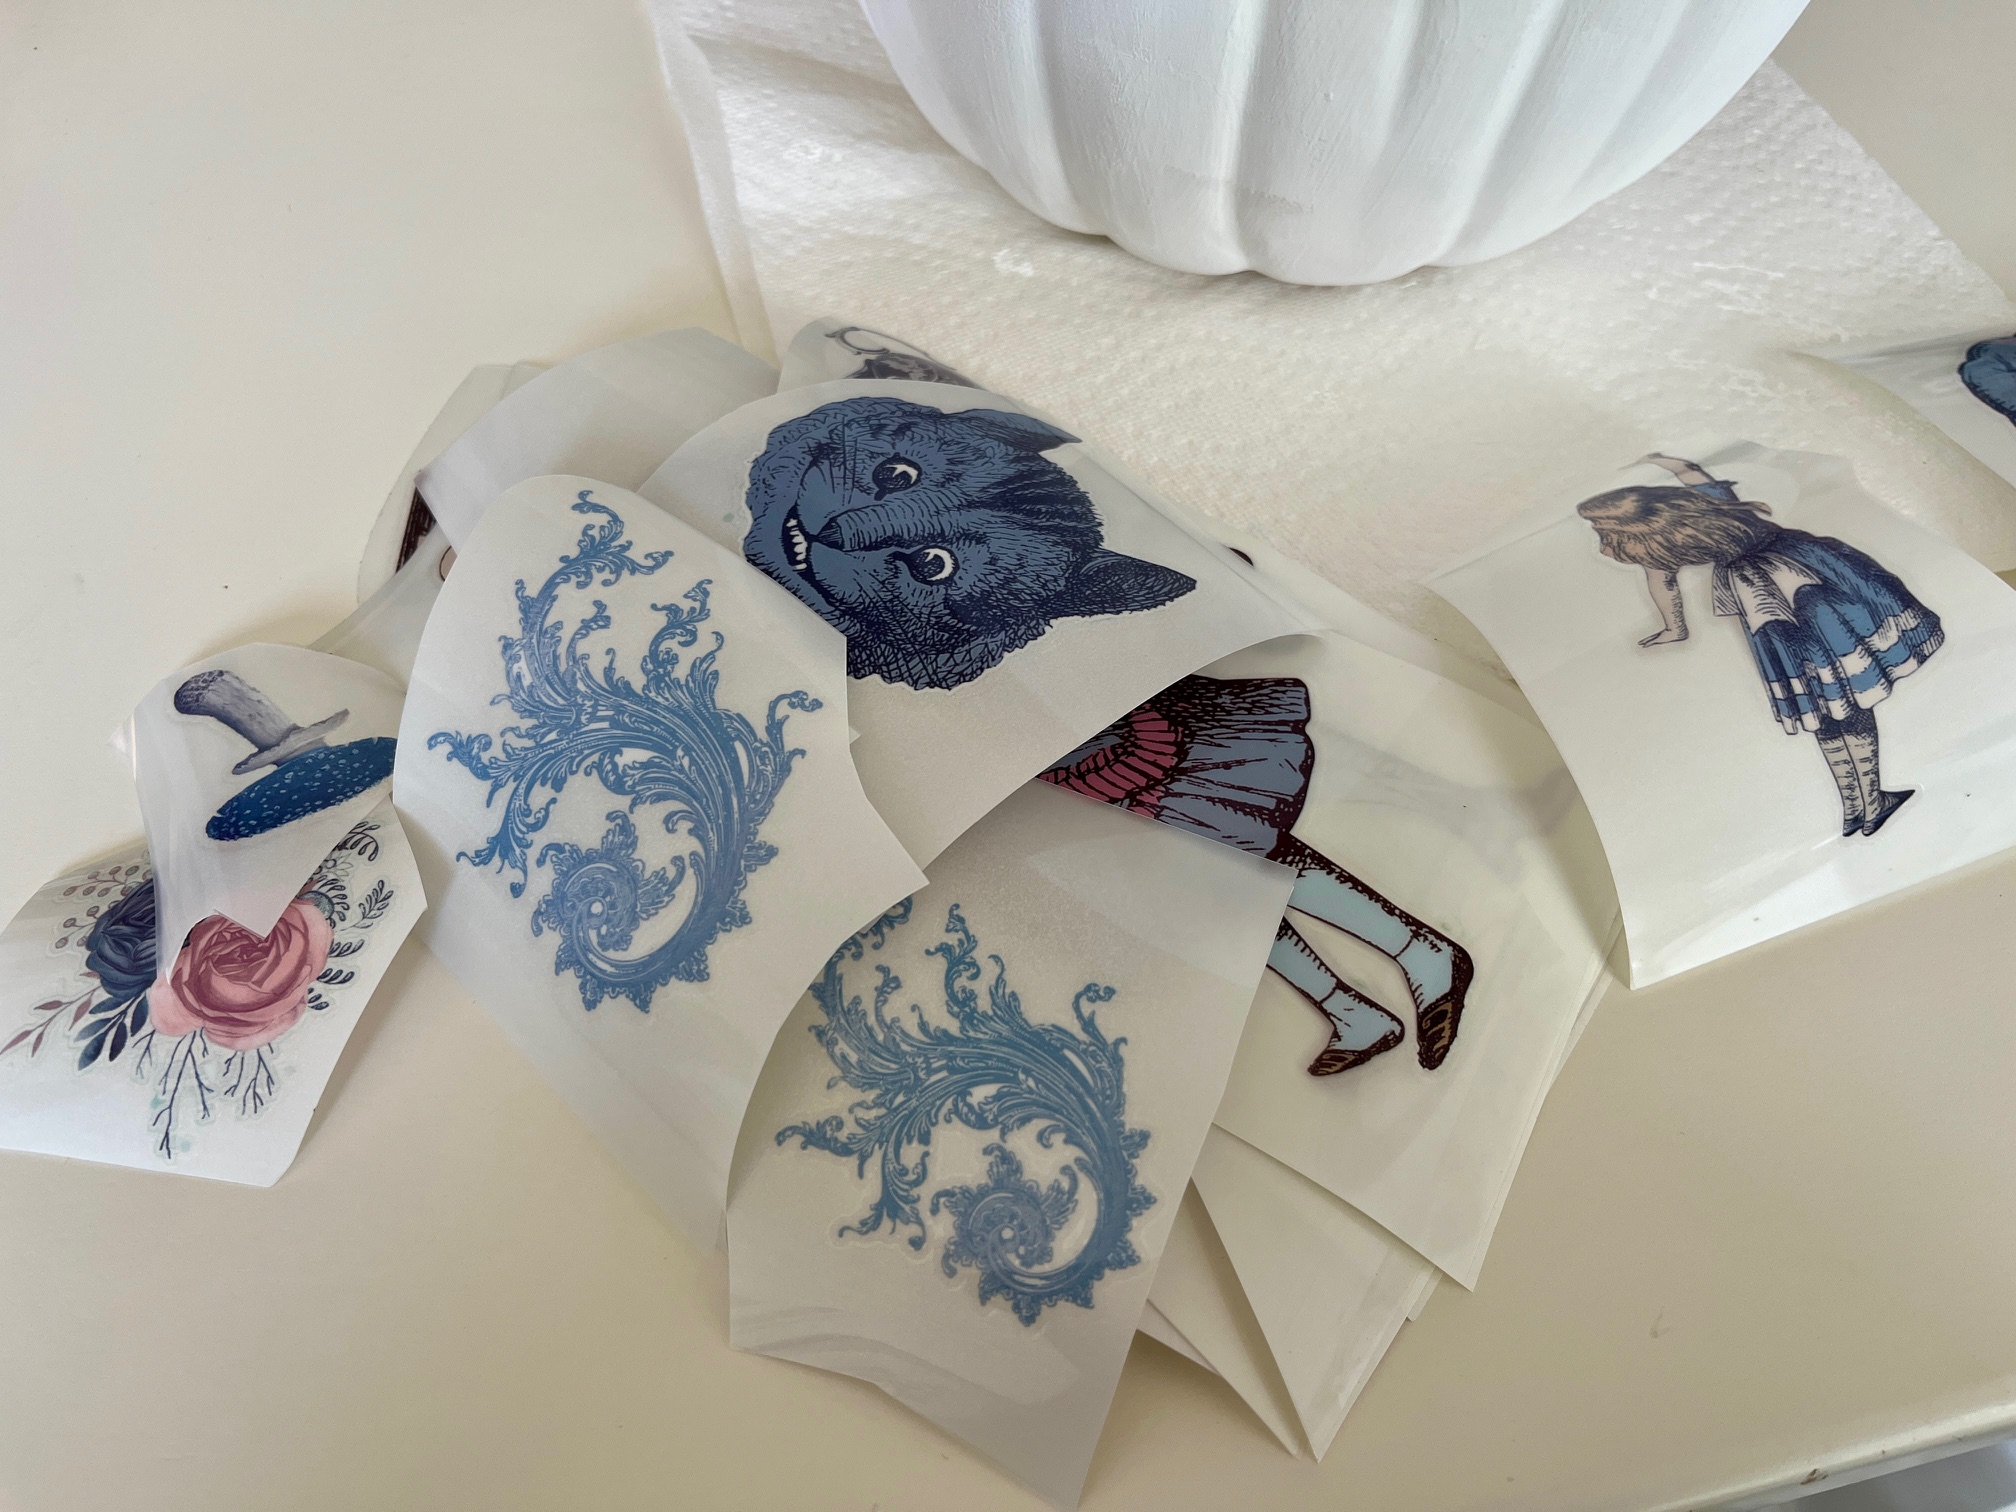
Get your transfers out and cut out the designs that you plan on using.
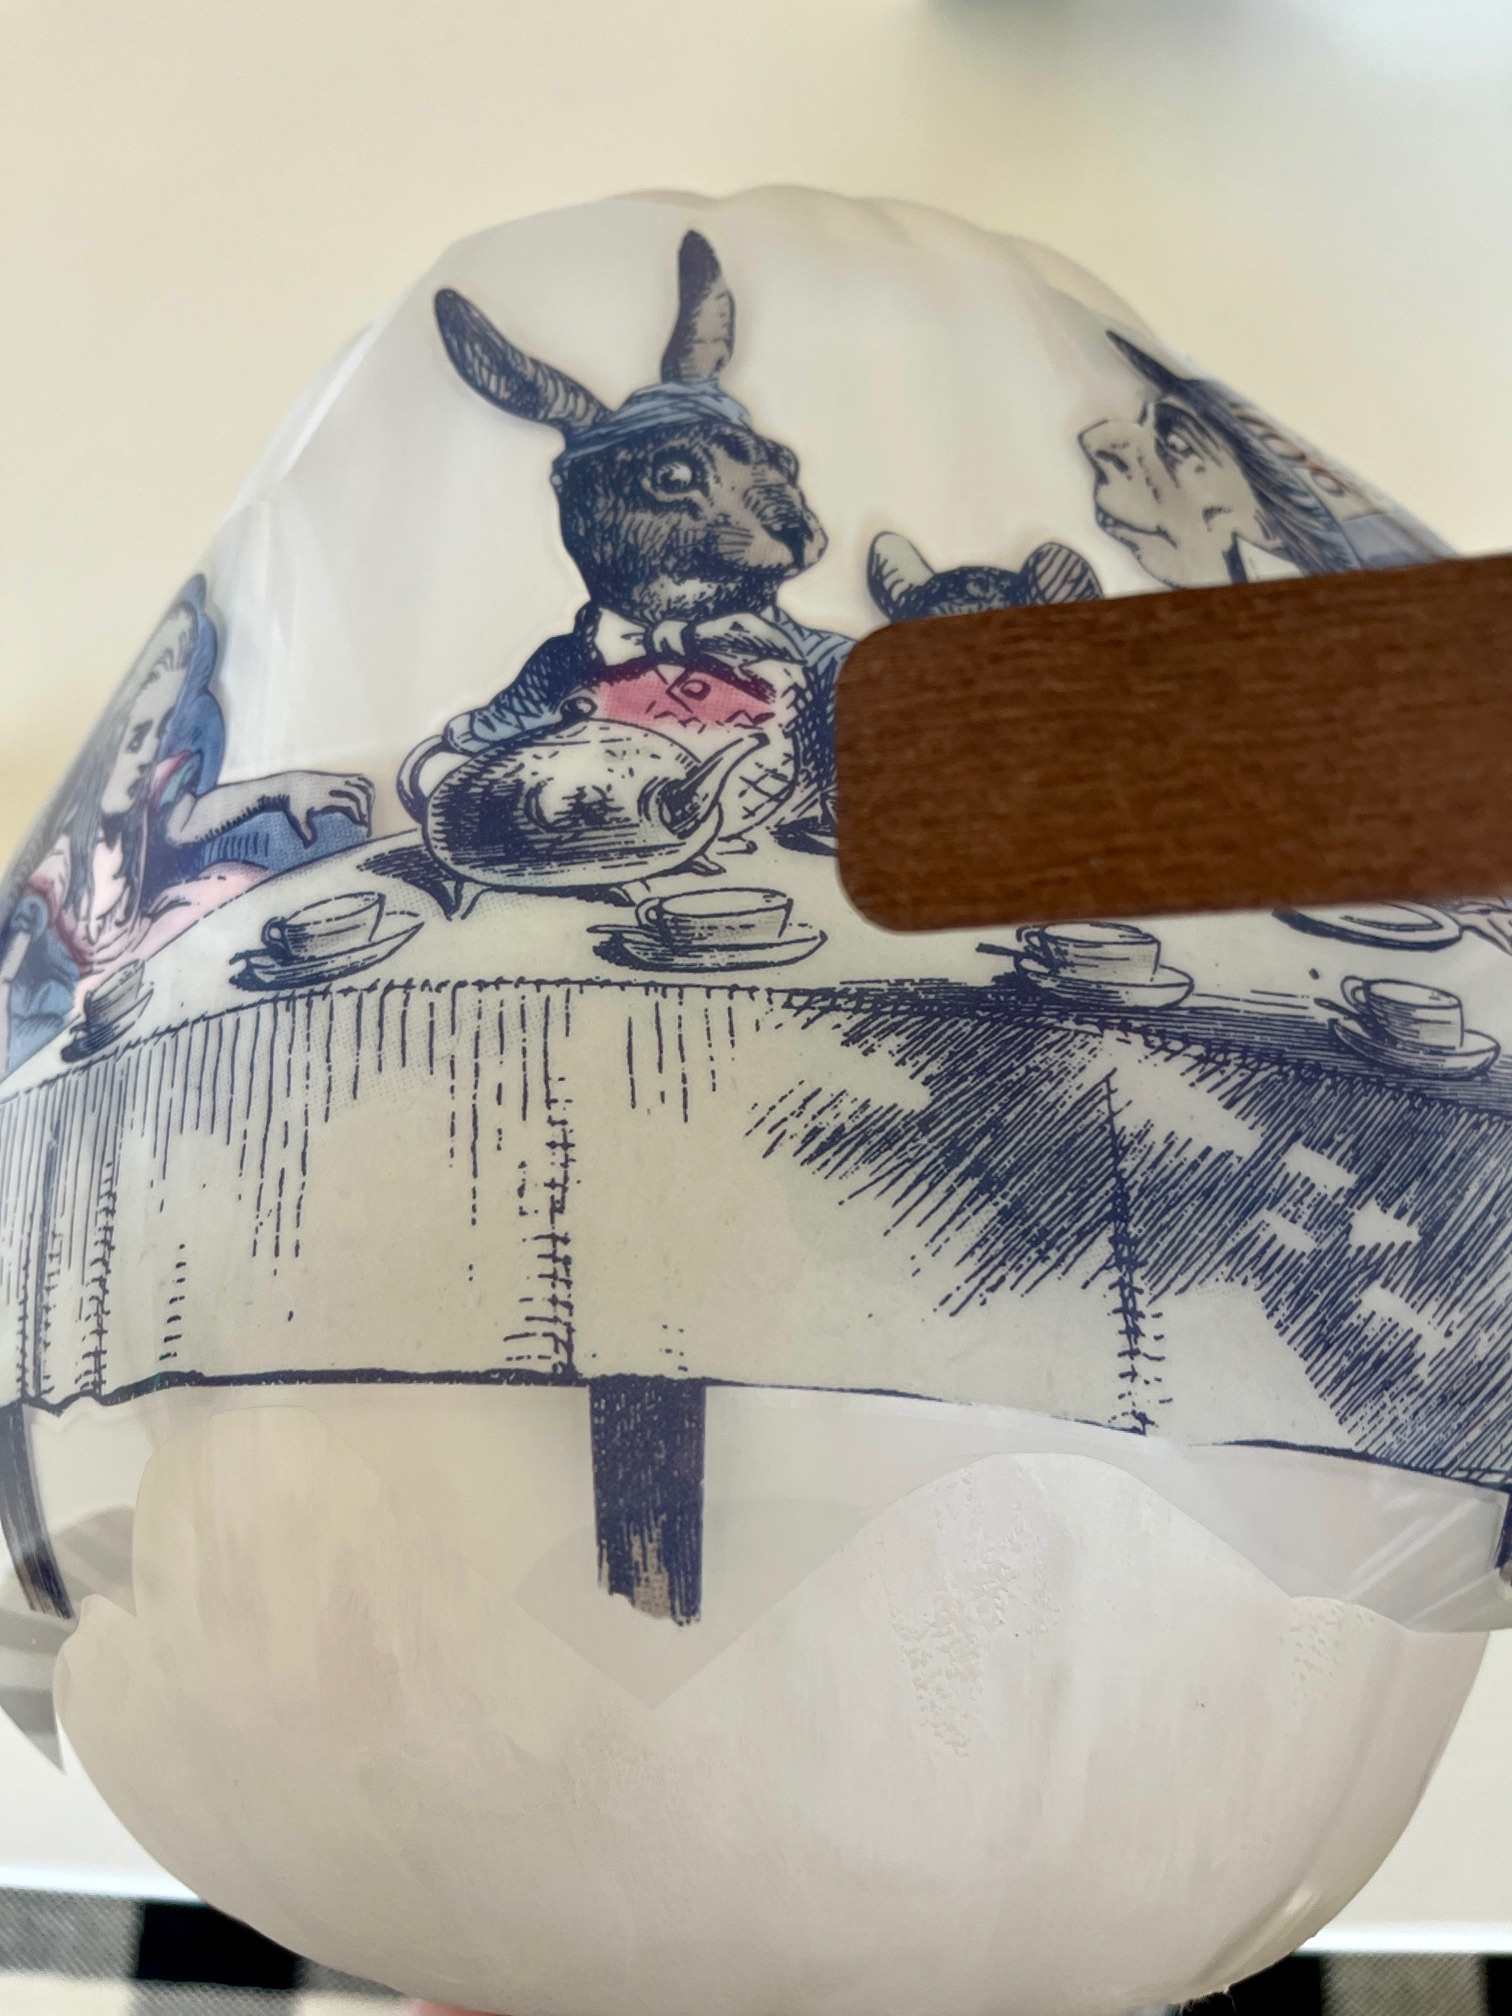
When the pumpkin is completely dry, decide where the first transfer will go. Carefully peel back the backing and start rubbing the transfer onto the pumpkin. Because the pumpkin has grooves, I started in a groove and worked my way out. Slowly peel back the top plastic. If something hasn’t been transferred completely, lay the plastic back down and rub some more.
I wanted to add a bit more dimension to the pumpkin so painted some black and gold dots around it. Paint the stem brown at this point as well.
If you want, you can coat the entire pumpkin in a layer of Mod Podge once everything is dry. I didn’t but may yet change my mind.
While I took these pictures outside, this is very much an indoor decoration unless you finish it with a coat of outdoor Mod Podge.
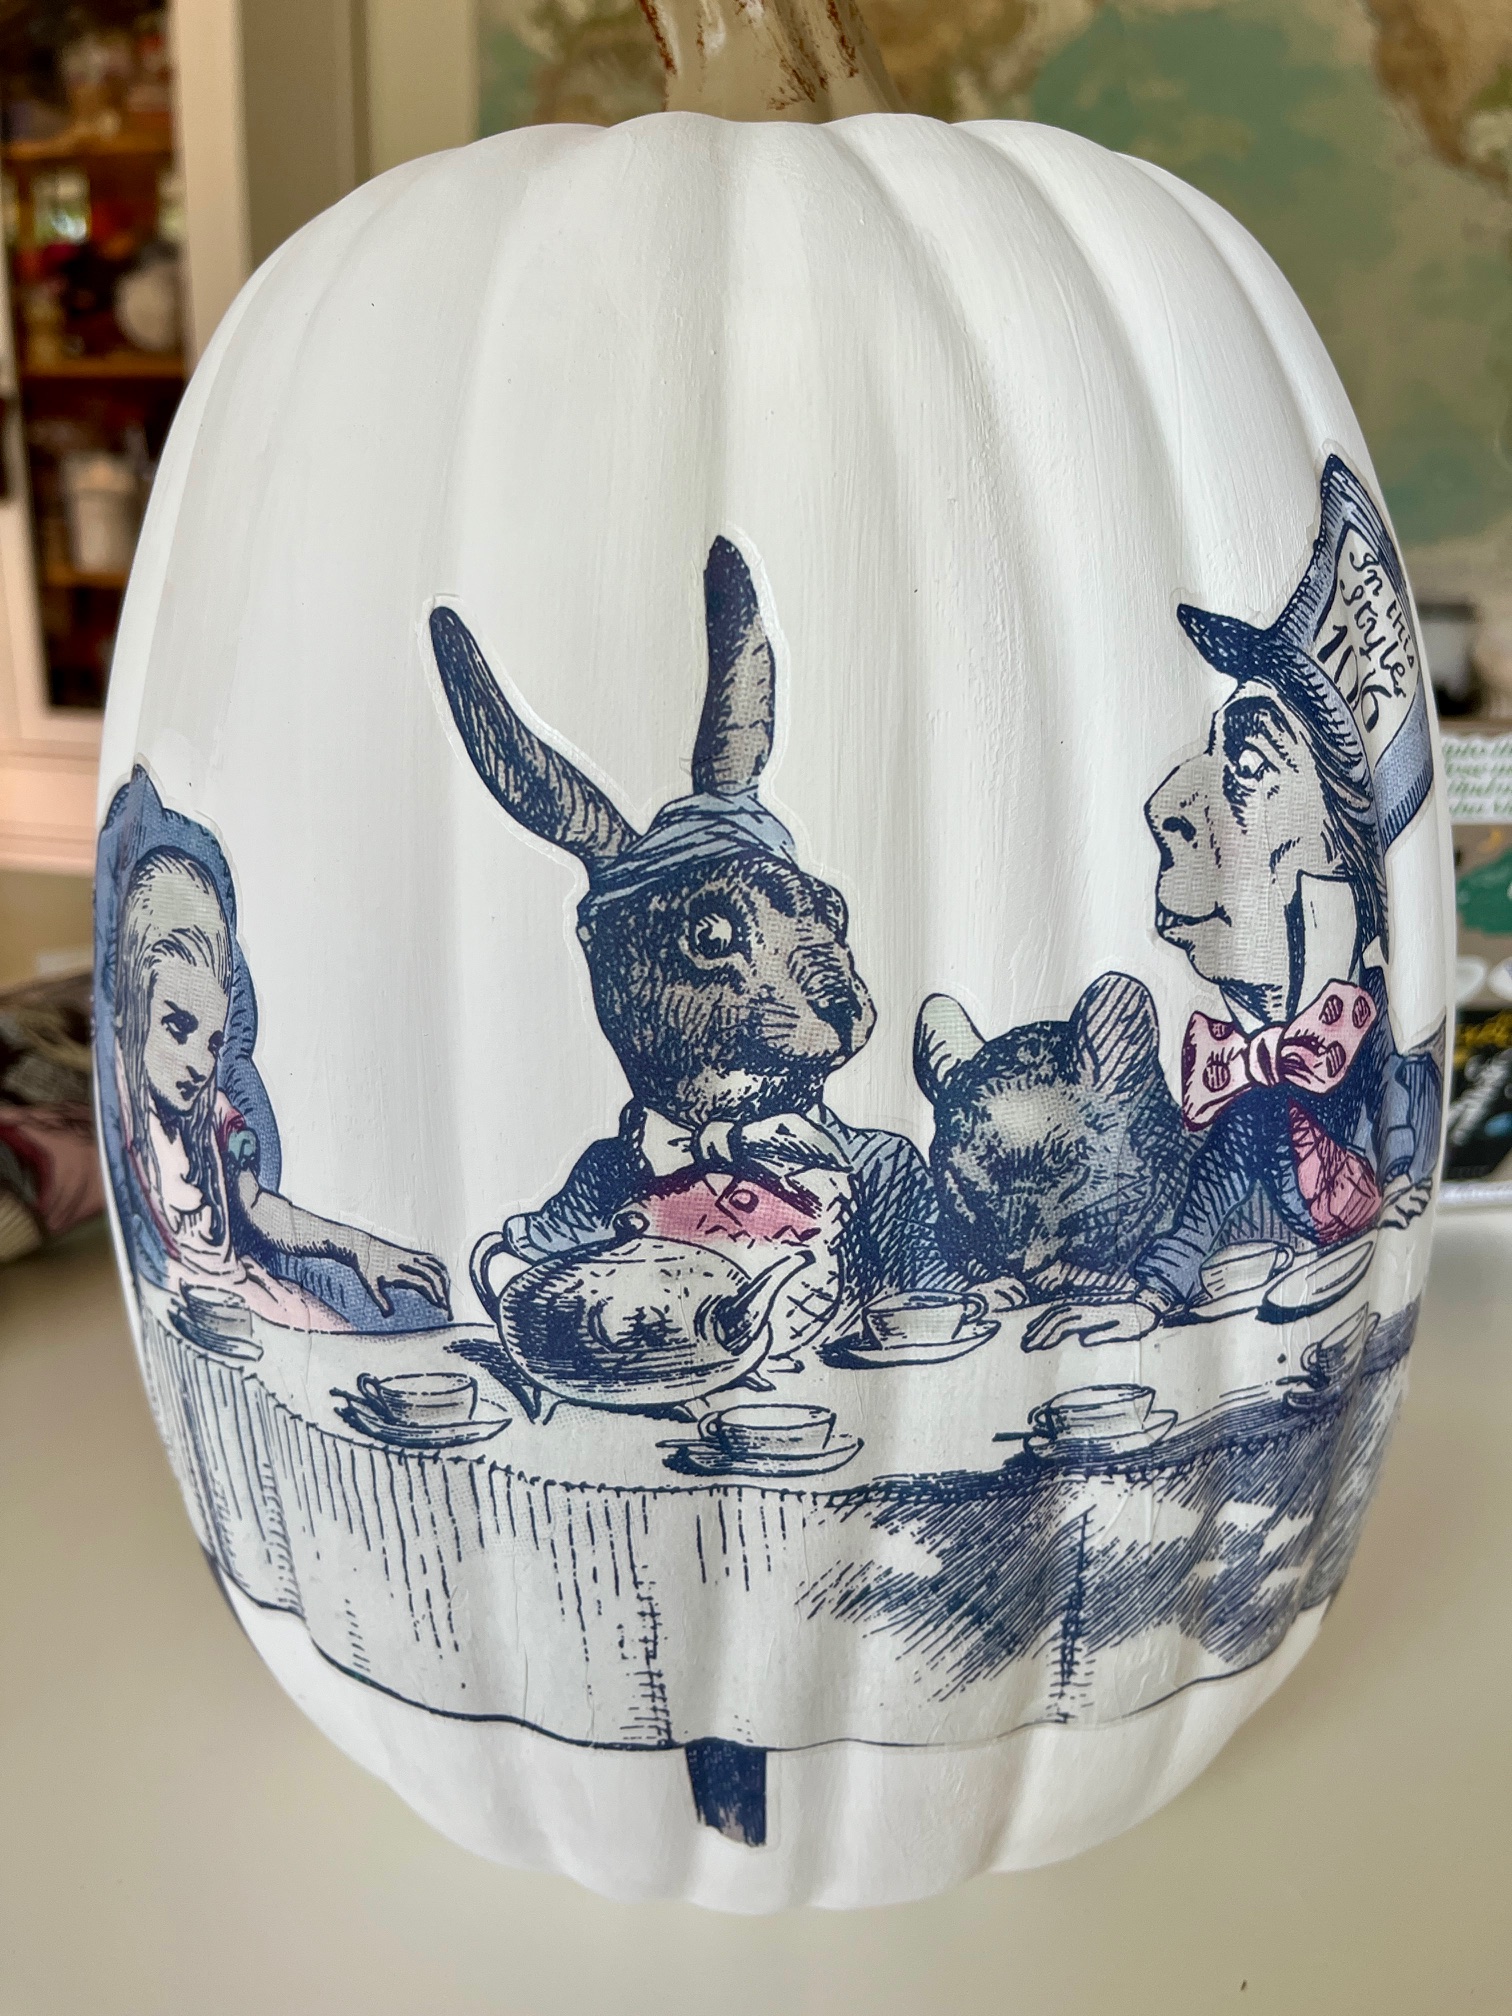
While you can’t make this exact Alice in Wonderland decorated pumpkin (unless you have the transfers in your stash like I did!), it’s still a lot of fun to decorate faux pumpkins with rub on transfers. I suspect that this pumpkin will become year-round decor in my house!
This website uses cookies to improve your experience. We'll assume you're ok with this, but you can opt-out if you wish.AcceptRejectRead More
Privacy & Cookies Policy
Privacy Overview
This website uses cookies to improve your experience while you navigate through the website. Out of these, the cookies that are categorized as necessary are stored on your browser as they are essential for the working of basic functionalities of the website. We also use third-party cookies that help us analyze and understand how you use this website. These cookies will be stored in your browser only with your consent. You also have the option to opt-out of these cookies. But opting out of some of these cookies may affect your browsing experience.
Necessary cookies are absolutely essential for the website to function properly. This category only includes cookies that ensures basic functionalities and security features of the website. These cookies do not store any personal information.
Any cookies that may not be particularly necessary for the website to function and is used specifically to collect user personal data via analytics, ads, other embedded contents are termed as non-necessary cookies. It is mandatory to procure user consent prior to running these cookies on your website.