Rustic Glitter Woodland Pumpkins
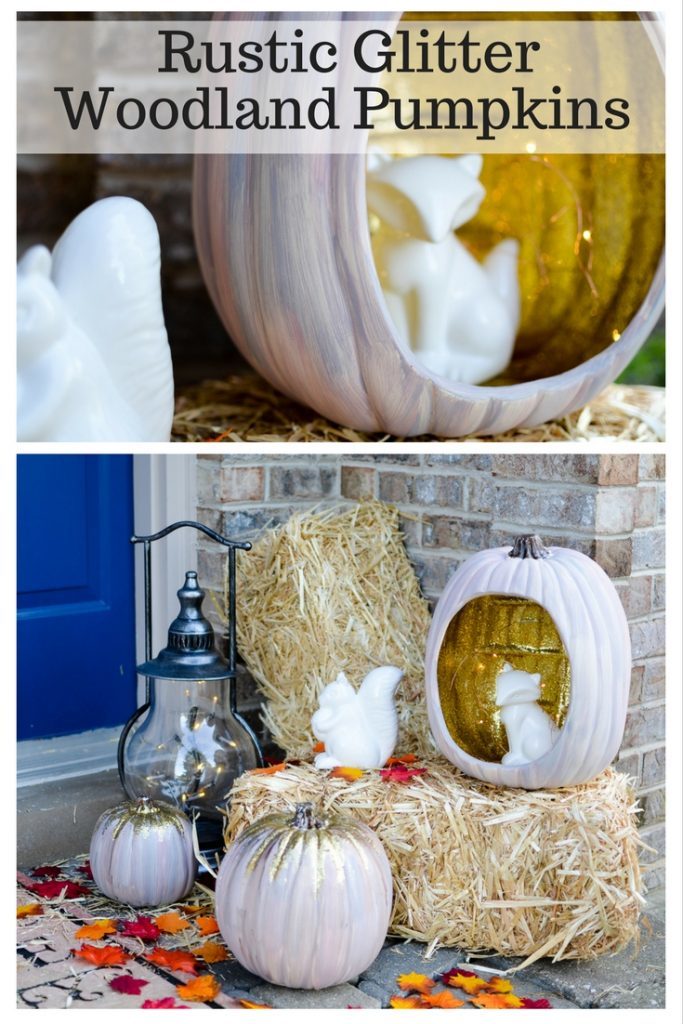
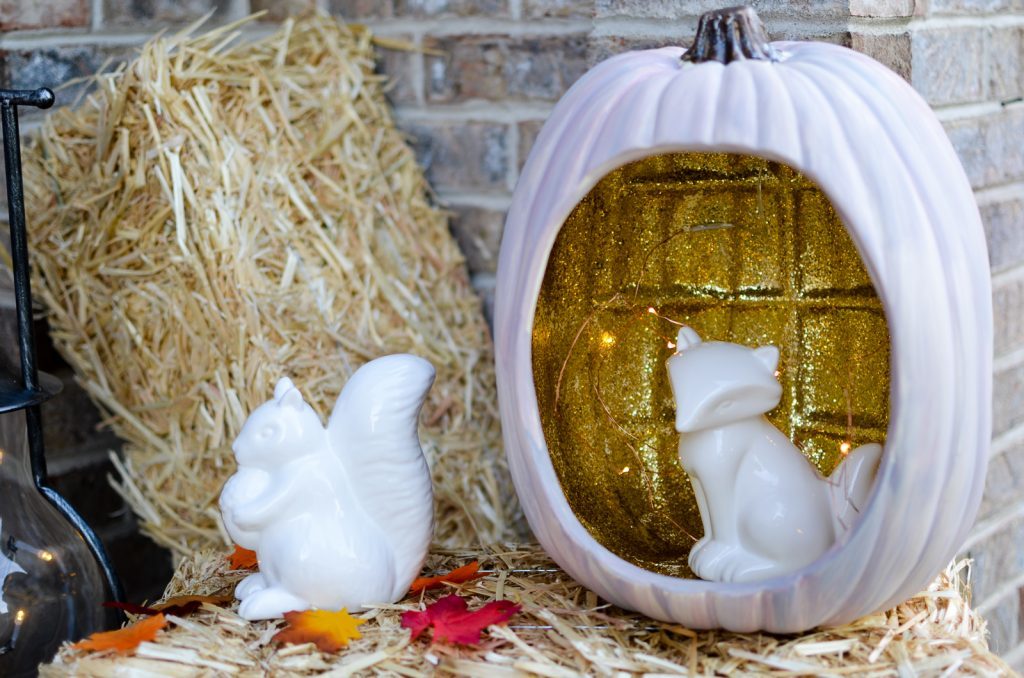
I couldn’t wait another week to paint some pumpkins. Seriously. They were calling to me and I needed to do it. I wanted a pretty vignette this year and rustic glam is always my go-to style. I grabbed some white craft pumpkins from Michael’s, my favorite DecoArt paints, and some glitter and got to work on my Rustic Glitter Woodland Pumpkins.
This post contains affiliate links.
I used:
- three white pumpkins of varying sizes, including an open pumpkin
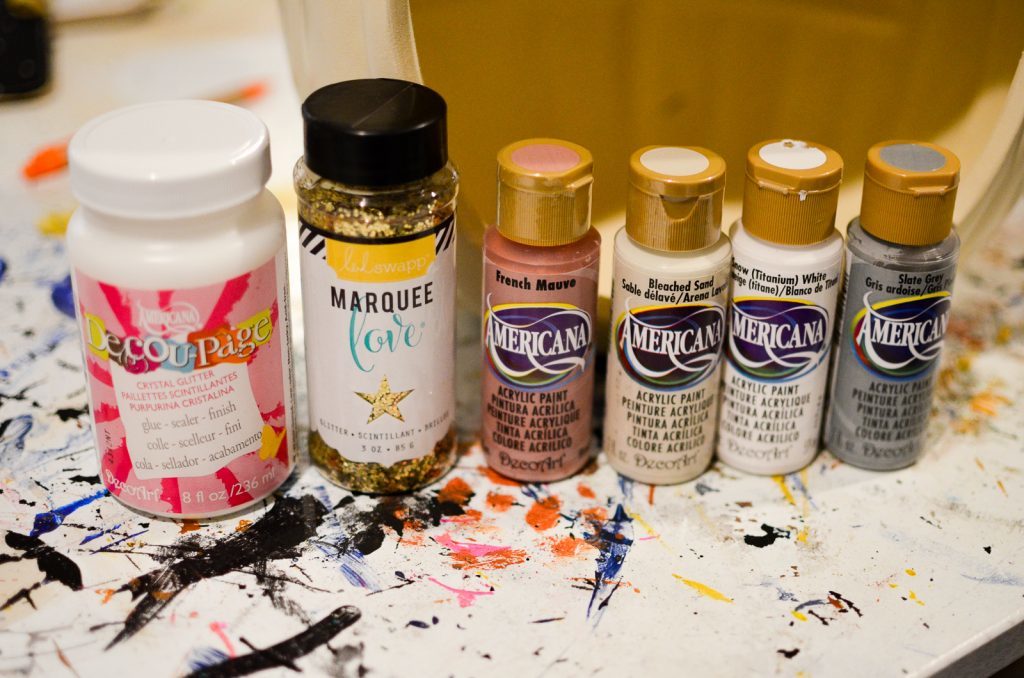
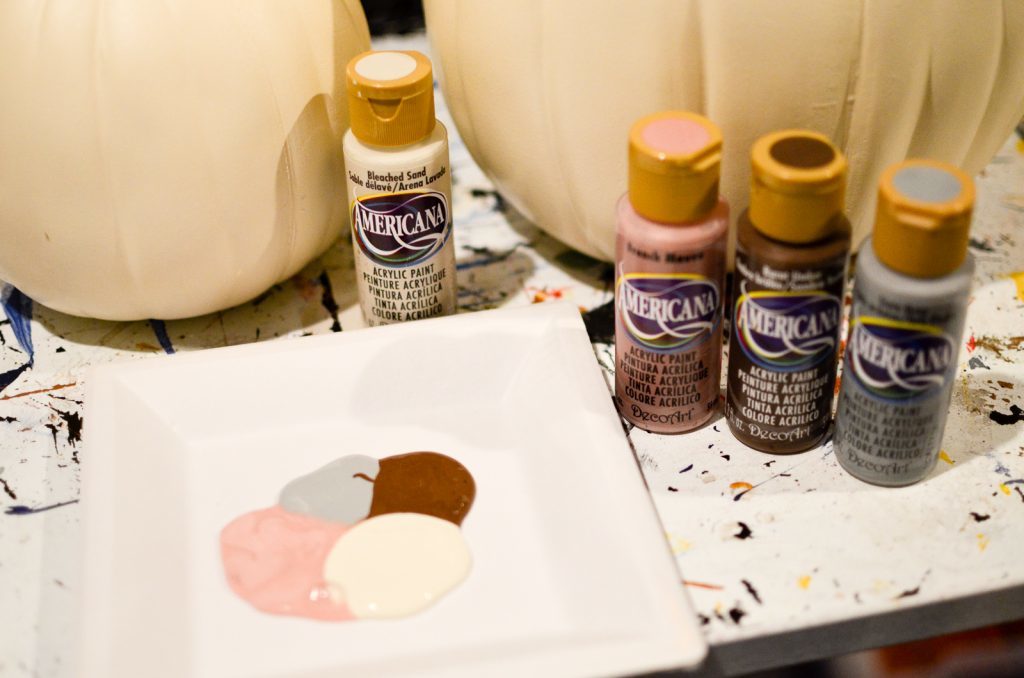
- Americana paints in French Mauve, Bleached Sand, White, Slate Grey, and Burnt Umber
- decoupage in crystal glitter
- chunky gold glitter (similar)
- brushes
- battery operated string lights
- woodland creatures statues
- outdoor Mod Podge
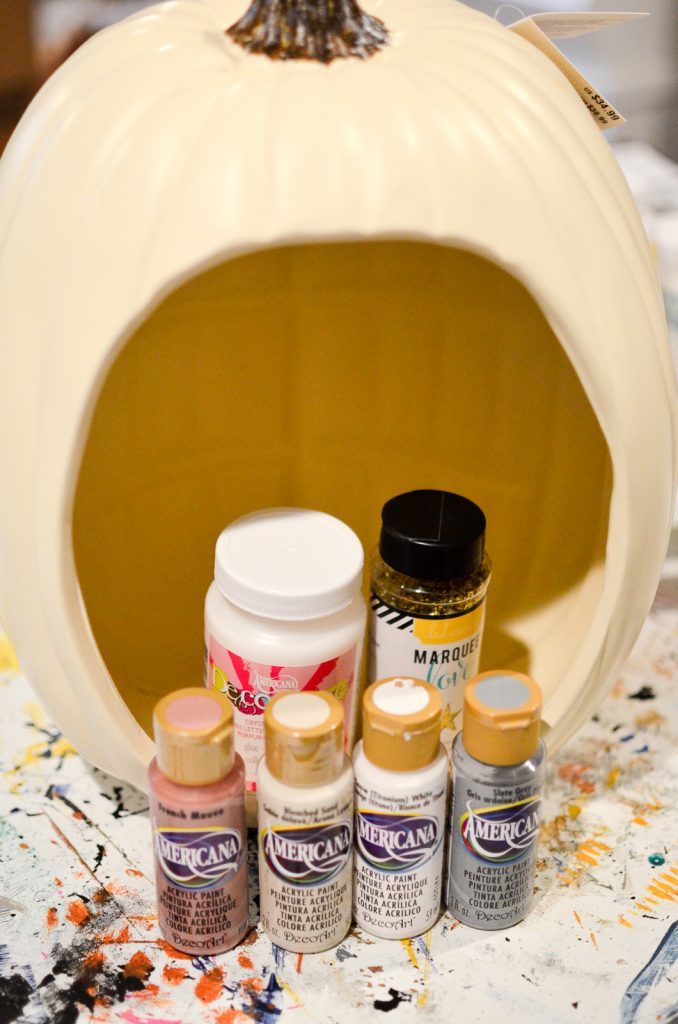
I’m going to point out the obvious–you don’t need the ceramic animals. These came from Target’s Dollar Spot one year, so finding the exact same ones again isn’t going to happen. Any sort of smallish figure will work–you can even put a haunted house inside the open pumpkin. The point is that you can completely customize these pumpkins with both colors and figurines. Use this tutorial as a starting point for your own twist.
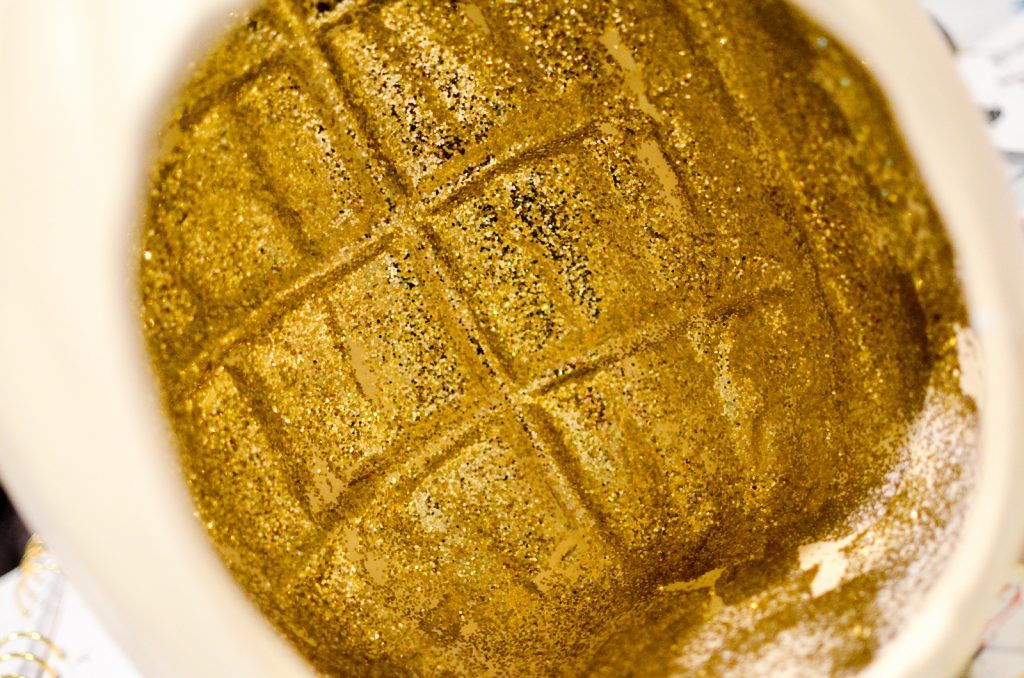
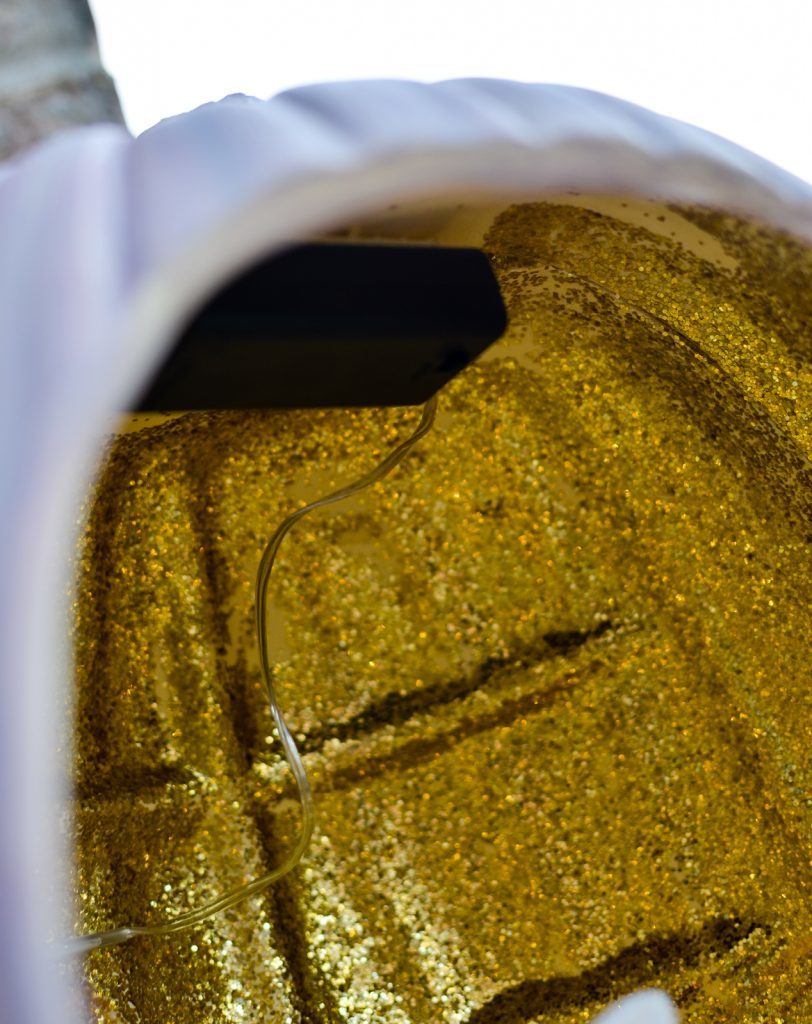
Paint the inside of the open pumpkin with the decoupage and sprinkle the gold glitter until everything is covered. I actually waited for the decoupage to dry and did a second coat of glitter because I wanted a super glitter look. When the bottom decoupage was dry, I painted on a top coat.
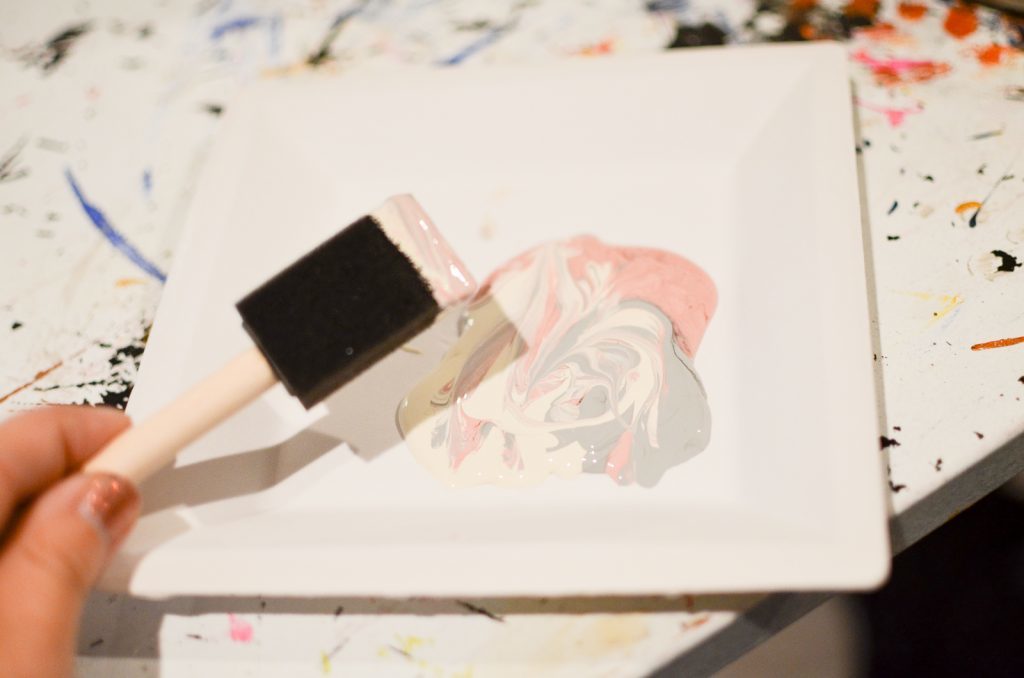
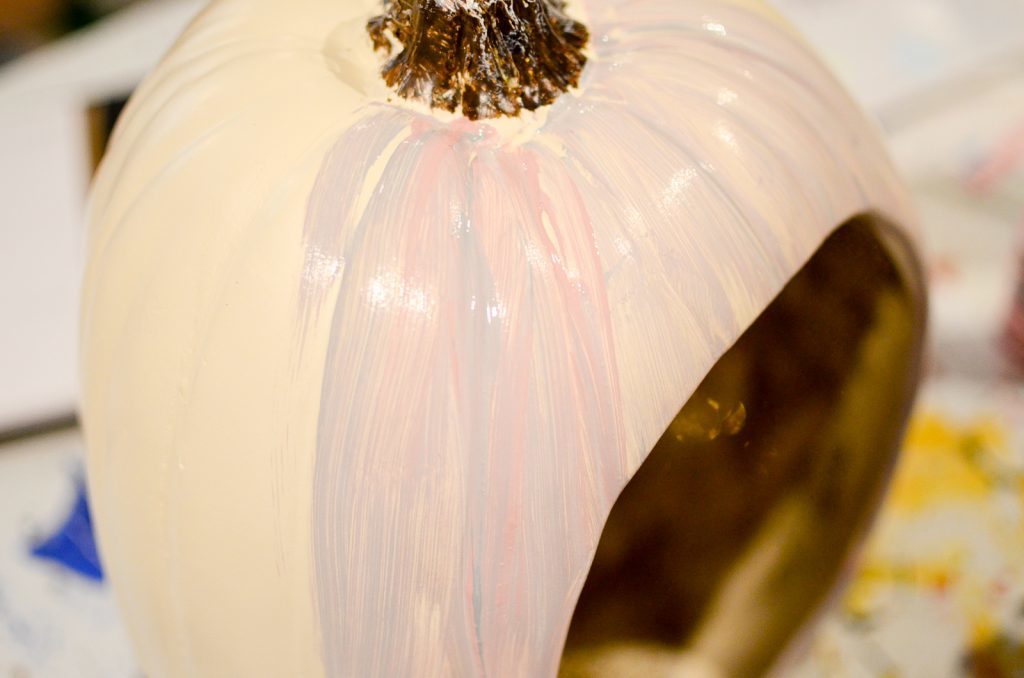
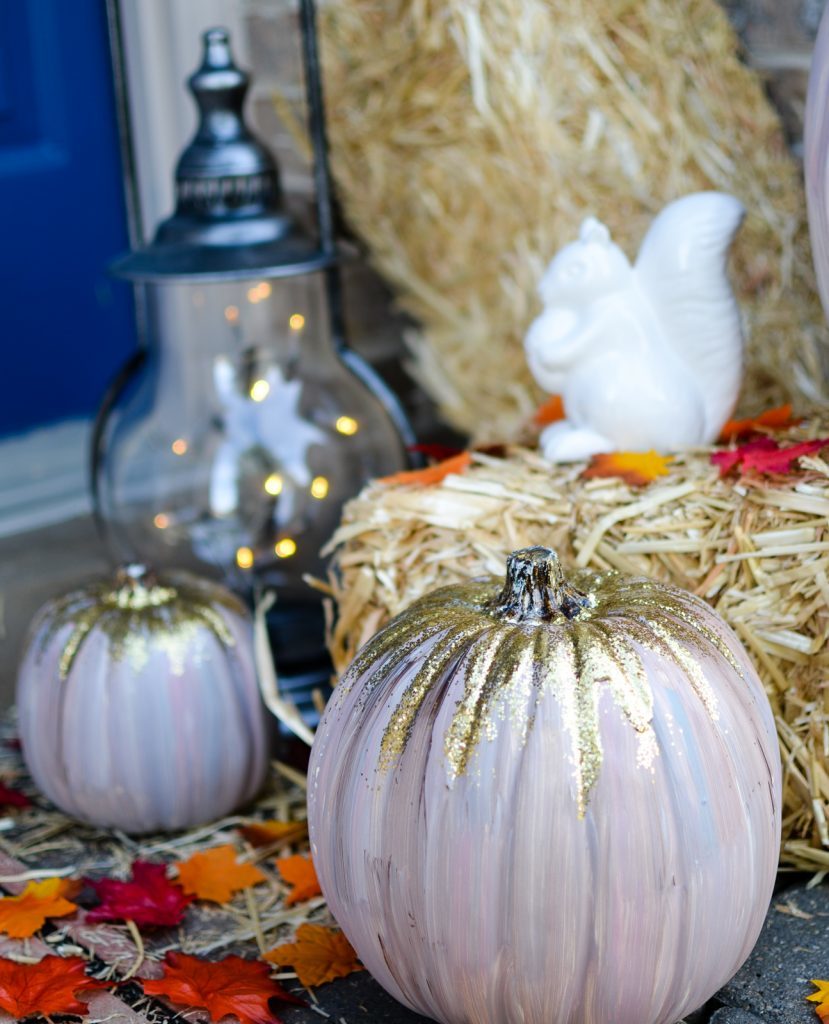
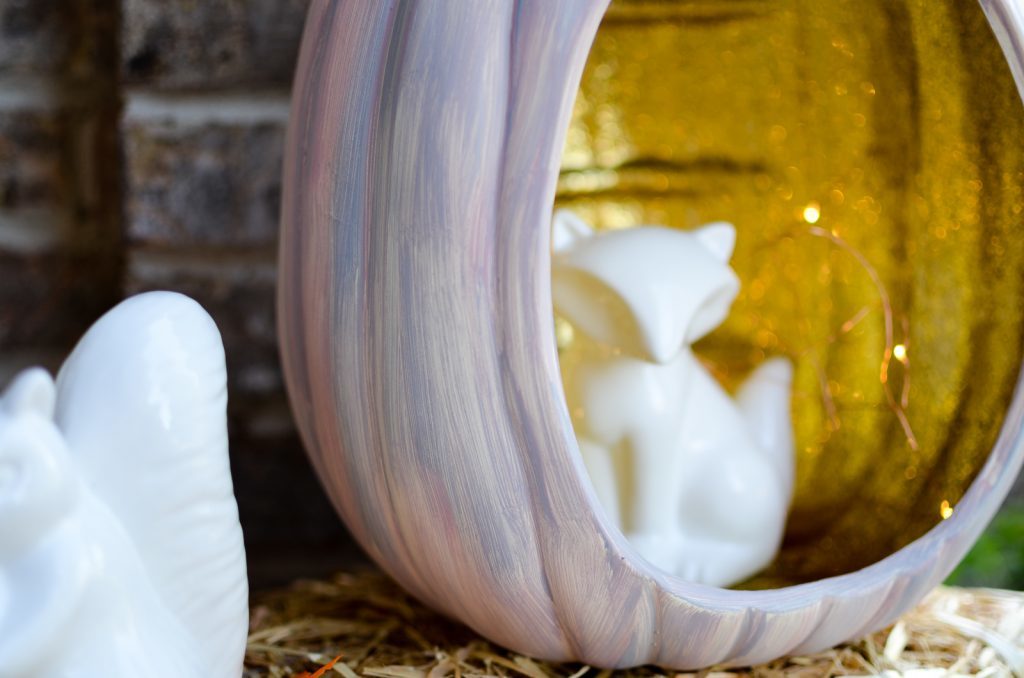
When the inside was dry, I put a bit of each paint color on a plate and lightly swirled it. I dipped my brush into the paint straight on so that the swirl stayed intact. I painted the pumpkin my putting my brush at the top of the pumpkin and pulling it down to the bottom in one stroke.
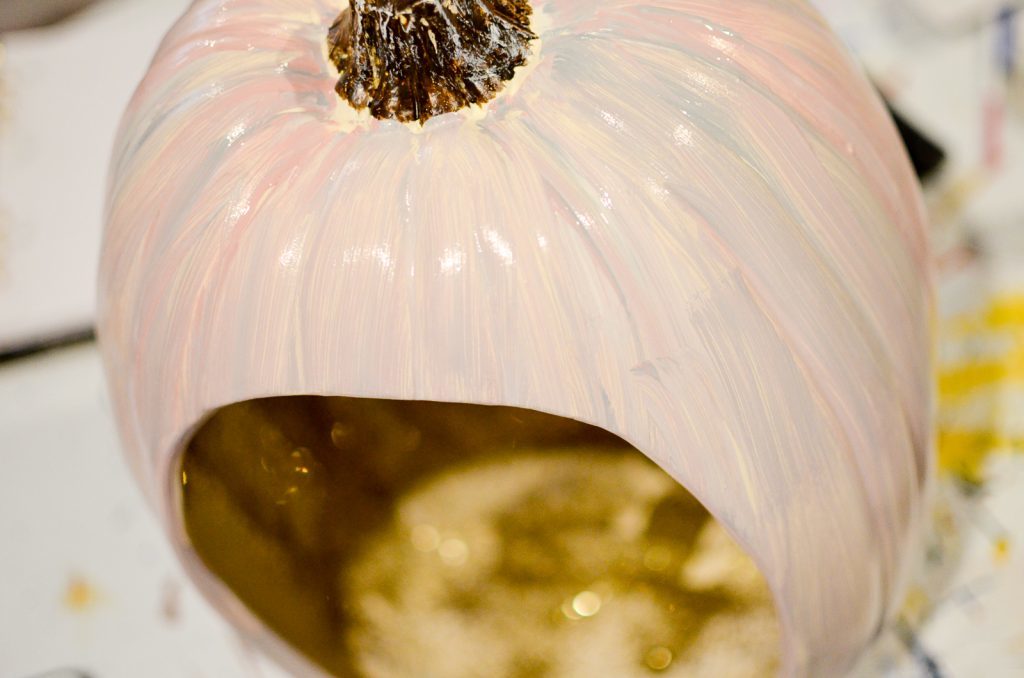
For the smaller pumpkins, I added in the burnt umber and painted them in the same way.
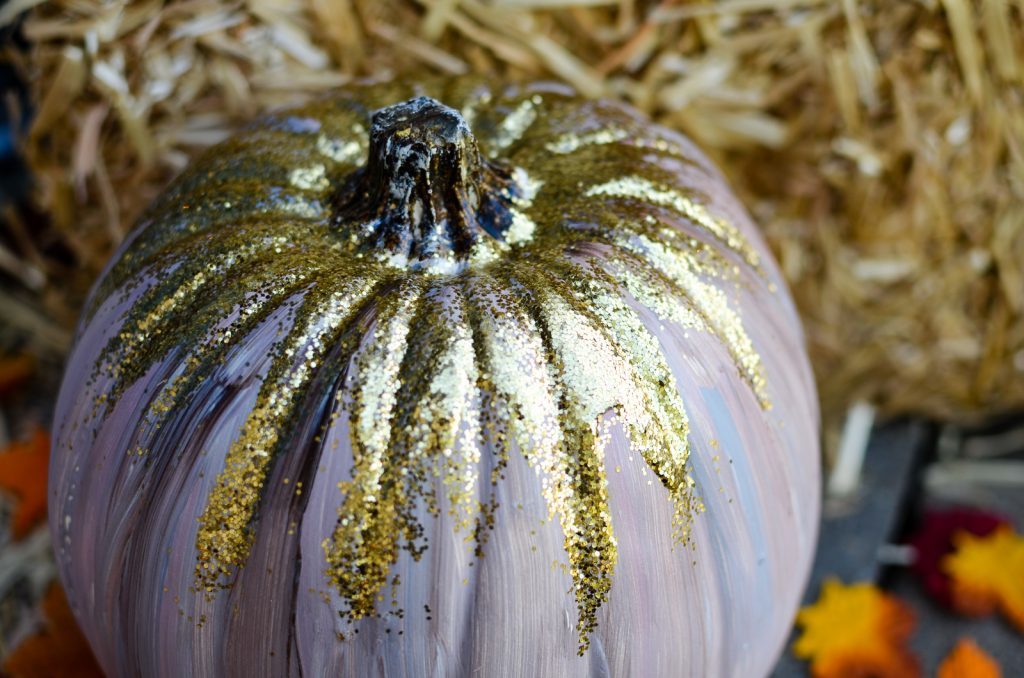
To carry through the glitter, I painted some streaky decoupage on the top of the smaller pumpkins, added the gold glitter, and when it was dry, added the top coat. Paint a coat of the outdoor Mod Podge over everything.
To make the inside of the open pumpkin super sparkly, I added a string of battery operated LED lights by sticking the battery pack to the top of the pumpkin using a command strip.
Once all of the pumpkins were dry, I could set up my Rustic Glitter Woodland Pumpkins. I added some straw bales, a couple of ceramic animals, and some bright leaves.
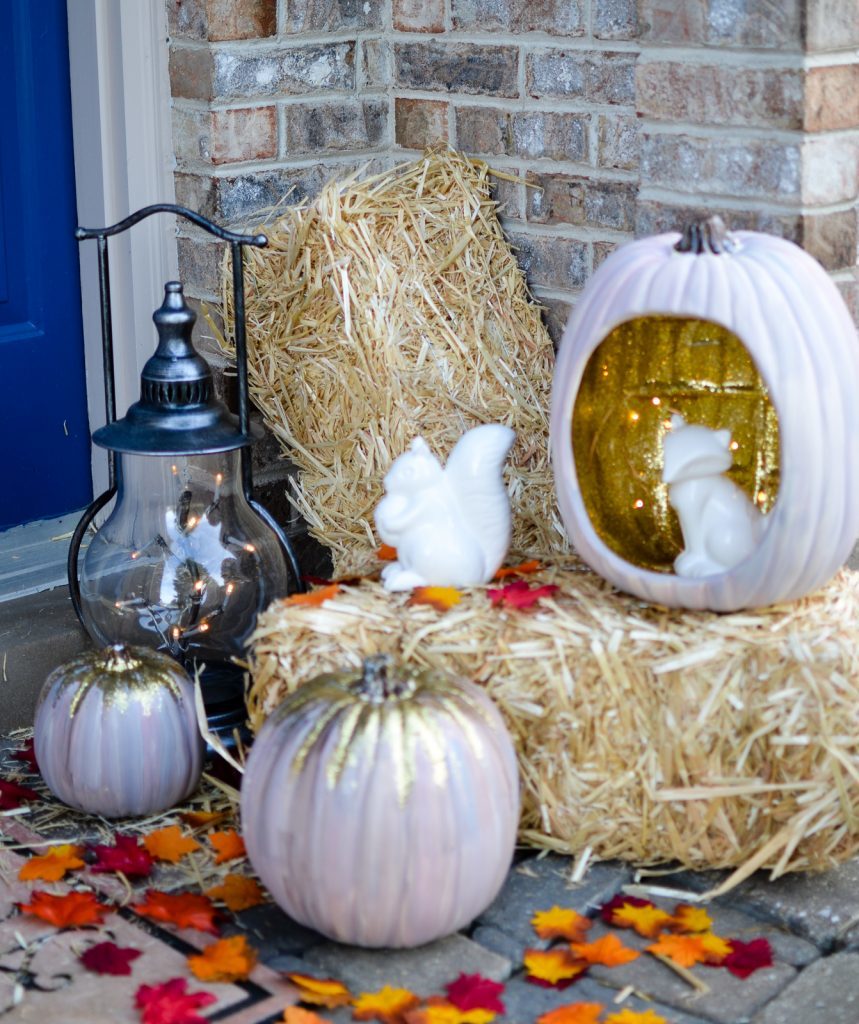
I love love love how my pumpkins turned out. I love the rustic streakiness of the paint mixed with the glitter. Everything sparkles.
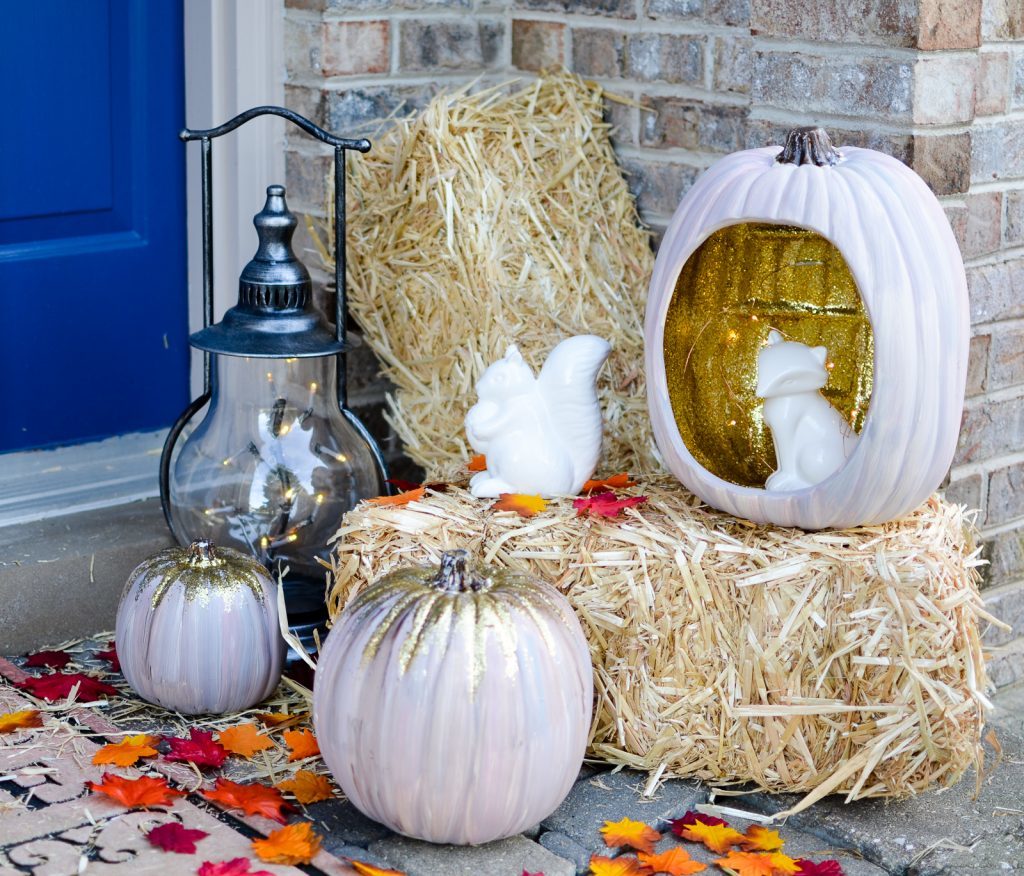
My Rustic Glitter Woodland Pumpkins will work all fall and winter. It’s quite likely I’ll find a place for them all year! Right now, they make me really happy on my front porch.





2 Comments