How to Finish an Embroidery Hoop with Bias Tape
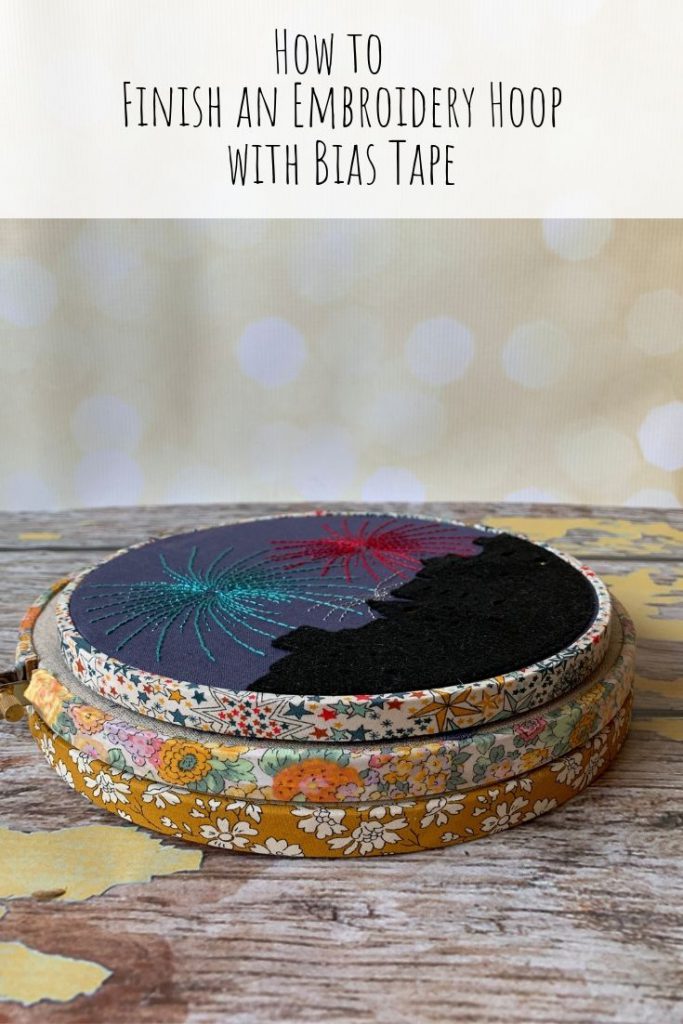
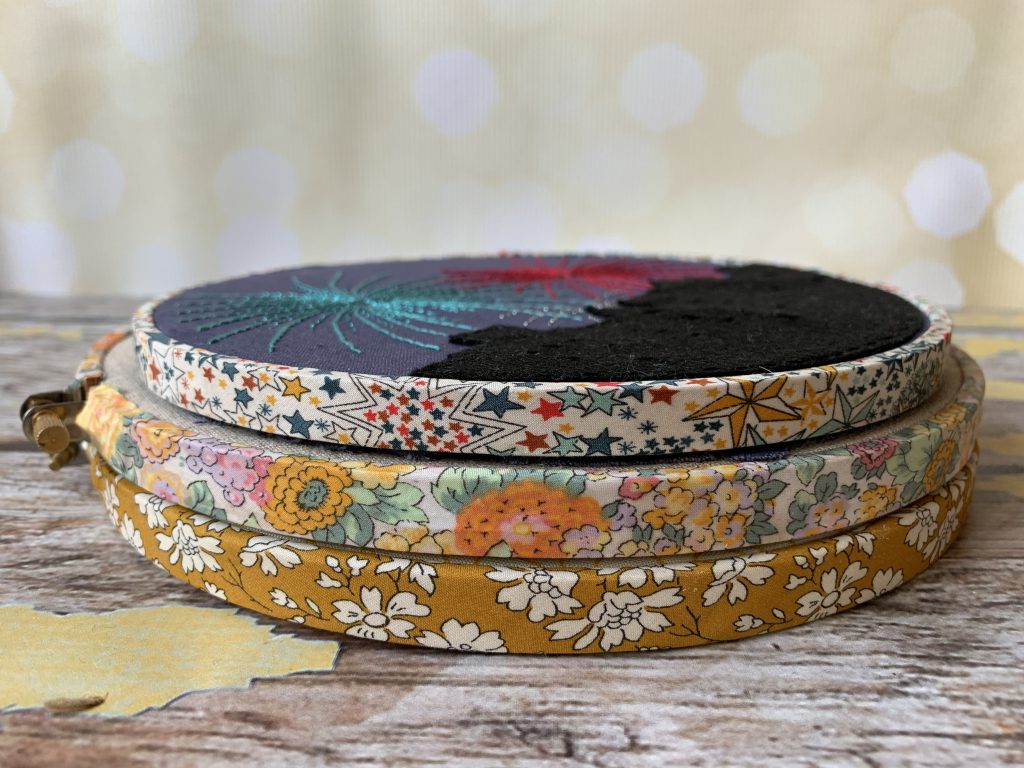
I’m really enjoying being able to sit and stitch again–now that all of my things are in one place, I can finally work on some of the projects that I’ve had on my idea list forever. I have always felt that the hoop in a project can help to really show off your work if you play it up a bit. This is how to finish and embroidery hoop with bias tape–it’s super easy and you can make pretty hoops in batches so that there’s always one ready for your next project.
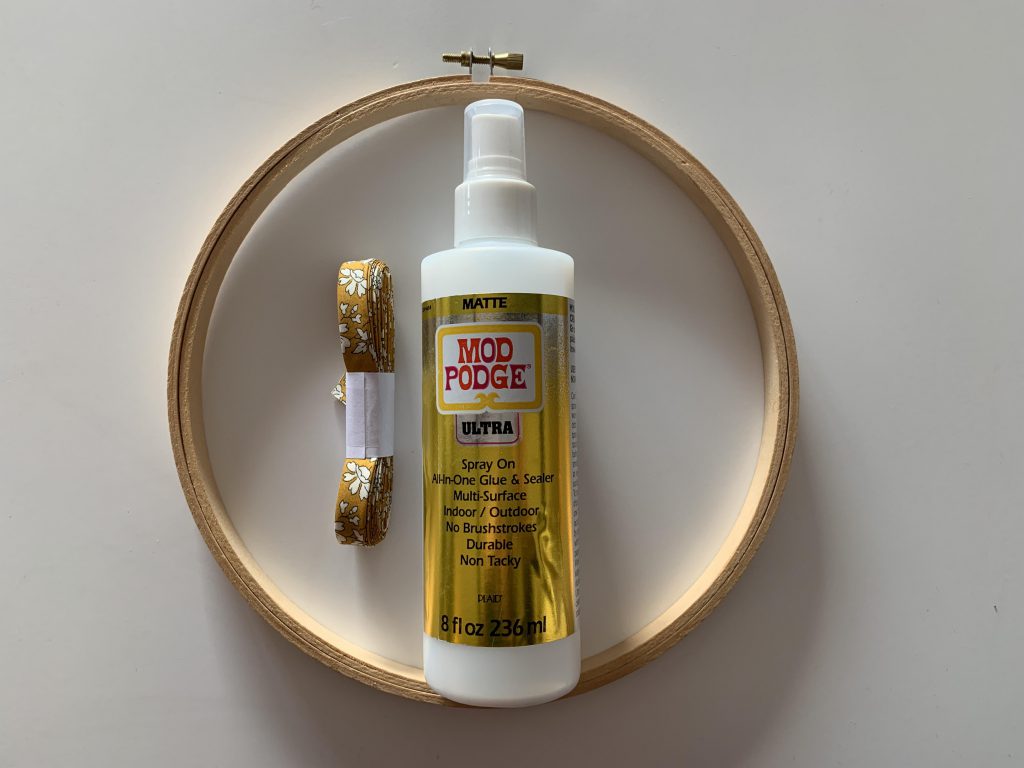
What you’ll need:
- embroidery hoop
- bias tape
- Mod Podge Ultra
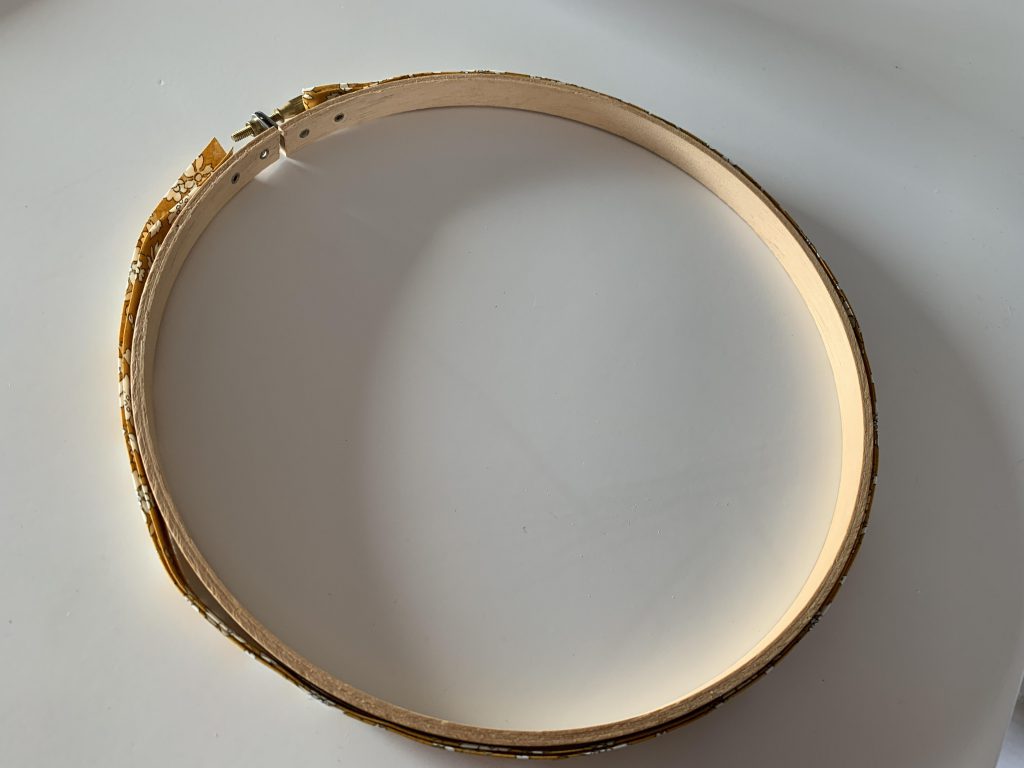
The first thing you want to do is make sure your bias tape fits around the hoop you want to cover. Place the bias tape around the outside hoop and trim if necessary.
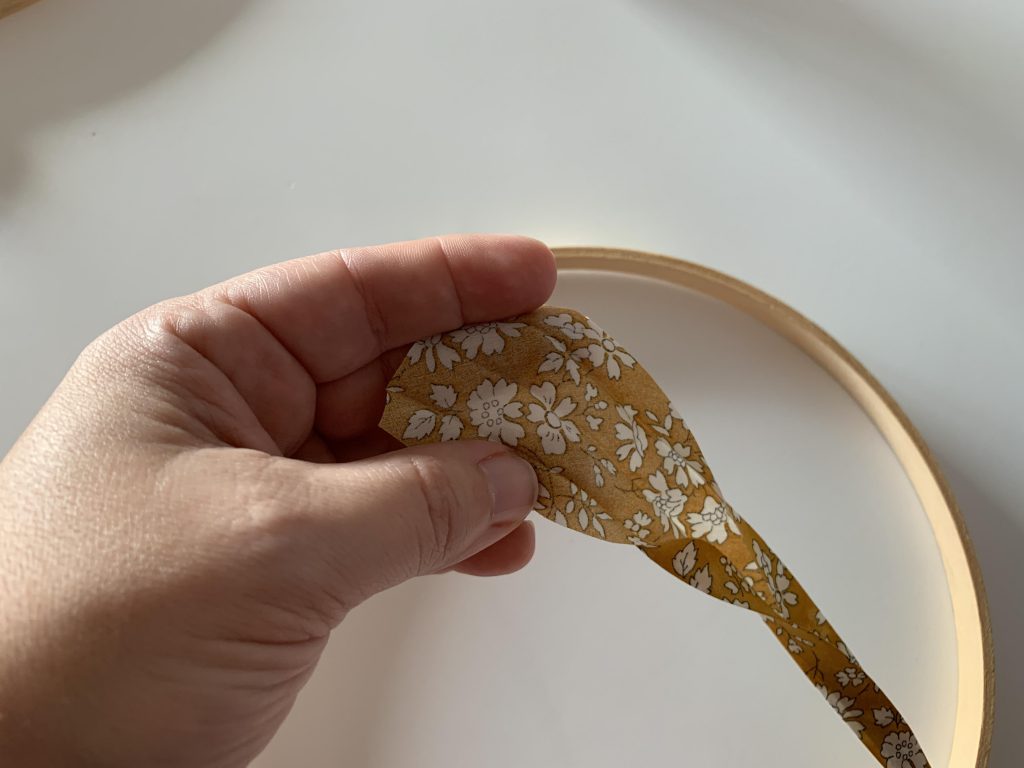
Bias tape comes folded–you’ll want to open it up for this.
Spray the outside of the hoop with the Mod Podge Ultra. Don’t do the whole hoop at once–you’ll want to work your way around.
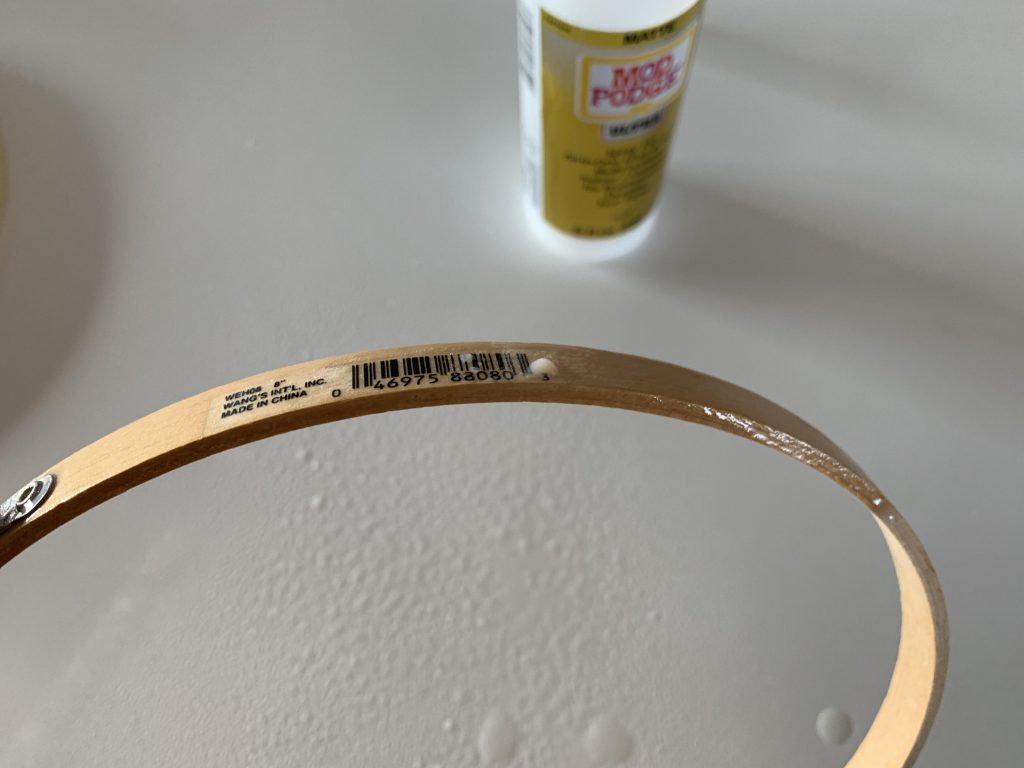
Place the middle of the unfolded bias tape on the outside of the hoop, pressing down as you go. Start at one side of the tightening mechanism and work your way around, spraying more Mod Podge Ultra as you need to.
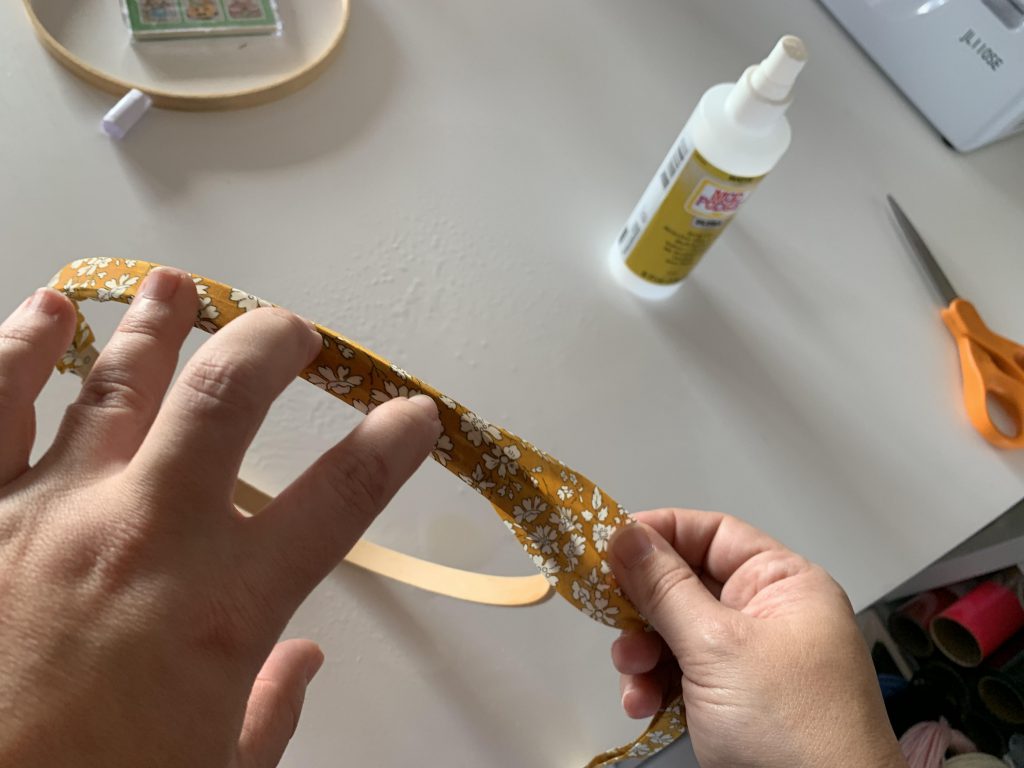
When you’ve gone the entire way around the outside, spray the inside of the hoop and press the rest of the bias tape flat onto it. Spray extra Mod Podge Ultra if the fabric isn’t sticking together.
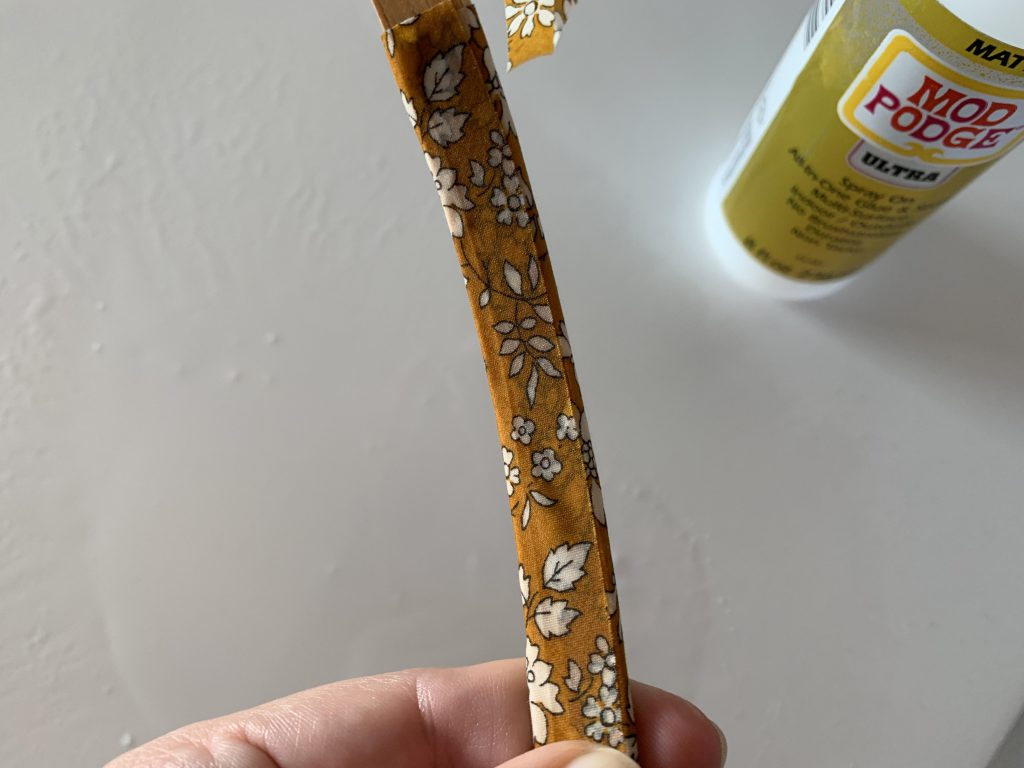
Let the hoop dry. I place mine on a hook to dry so that only a tiny bit of the hoop is touching anything.
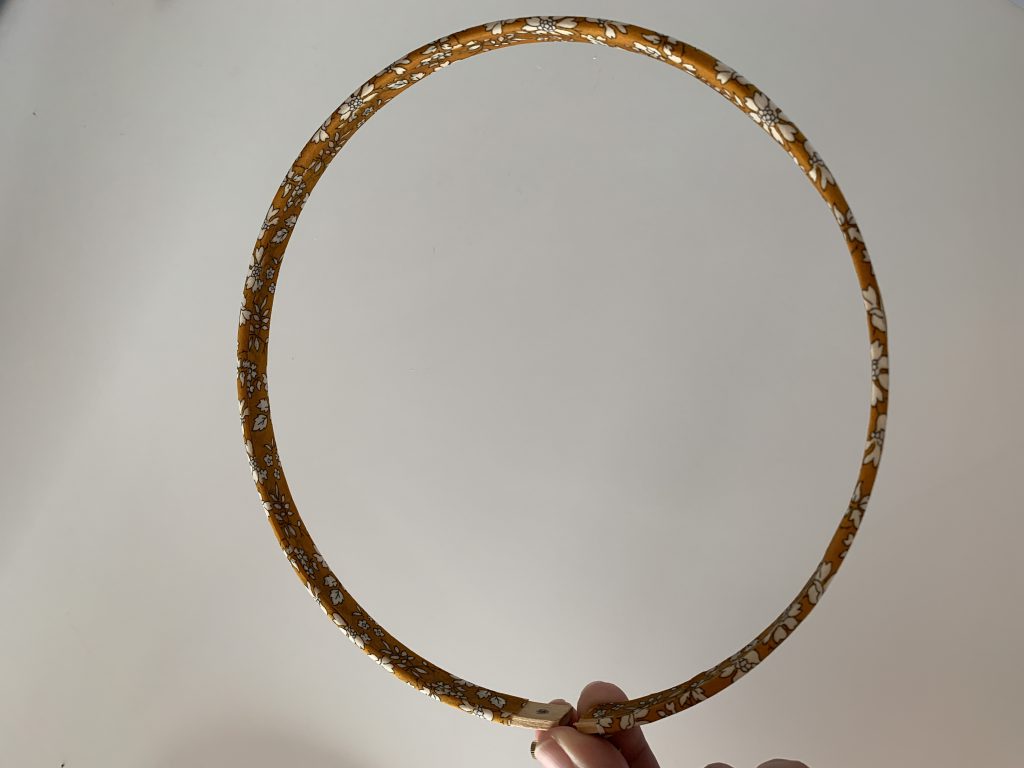
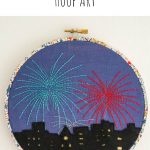
I absolutely love how the bias tape finished hoop looks. It adds such a fun extra dimension to the overall hoop. If you want to see examples of hoops finished in this way, please check out my Felt Spring Bunny Hoop (where I also show you how to use regular Mod Podge to attach the bias tape), City Fireworks Hoop Art, and Sir Edmund Hillary Embroidery Hoop.

Two things: I enjoy making my own bias tape. Yours looks custom made. Great project idea. And I see using this on small hoops for Christmas ornaments. Thanks.
You’re right–I bought this bias tape from a shop on Etsy. I’ve never made my own–I’m impressed! And I have some Christmas ornaments coming up soon with this method–great minds!!