Quick and Easy Scrapbook Photo Frame
By now, you’ve probably caught on to the fact that I’m a craft supply hoarder. It’s bad. Scott trips over my mess constantly. I’ve taken over pretty much the entire house with different crafts in different areas. I promised him that I would use up as much as I could this year instead of buying more. I wouldn’t make that kind of promise to just anyone!
I’m linking up with Craft Lightning for another craft that can be made in 15 minutes or less. My quick and easy scrapbook photo frame is a great way to use up some of those scrapbook supplies you have hanging around.
**This post contains affiliate links and I will be compensated if you purchase items using them**
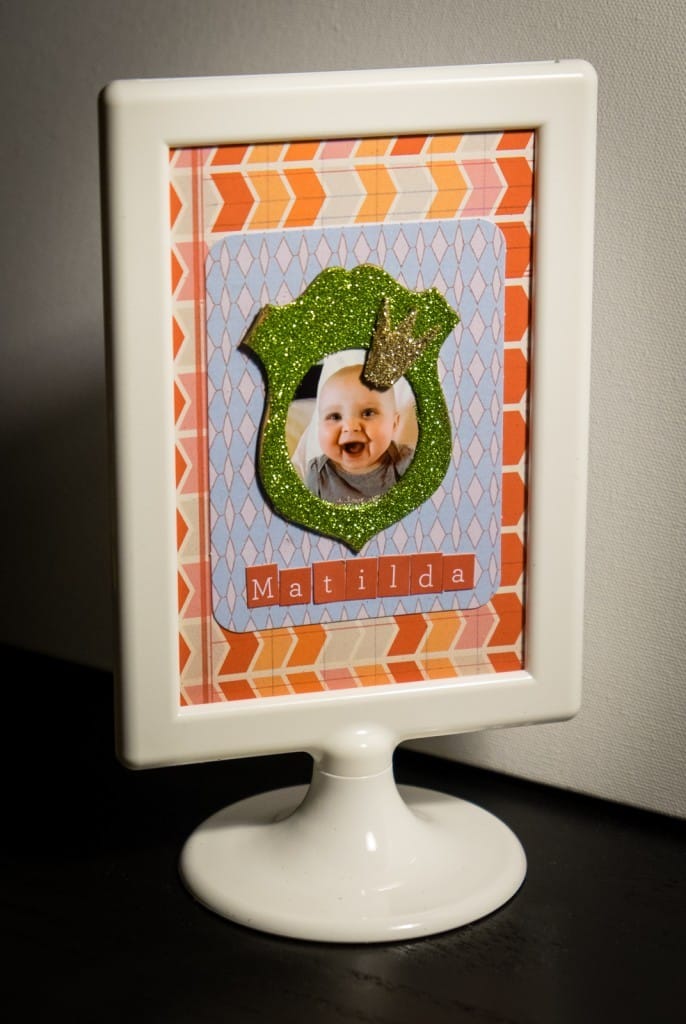
You know that I’m a big fan of quick and easy crafts that pack a lot of punch. I made a version of this scrapbook photo frame for my secret sister at SNAP and thought it only fair that I make one for Matilda, too. My poor fourth born doesn’t have any of the things I had planned on making for her (although I have the supplies! ;)) and this was a super fast way to rectify that.
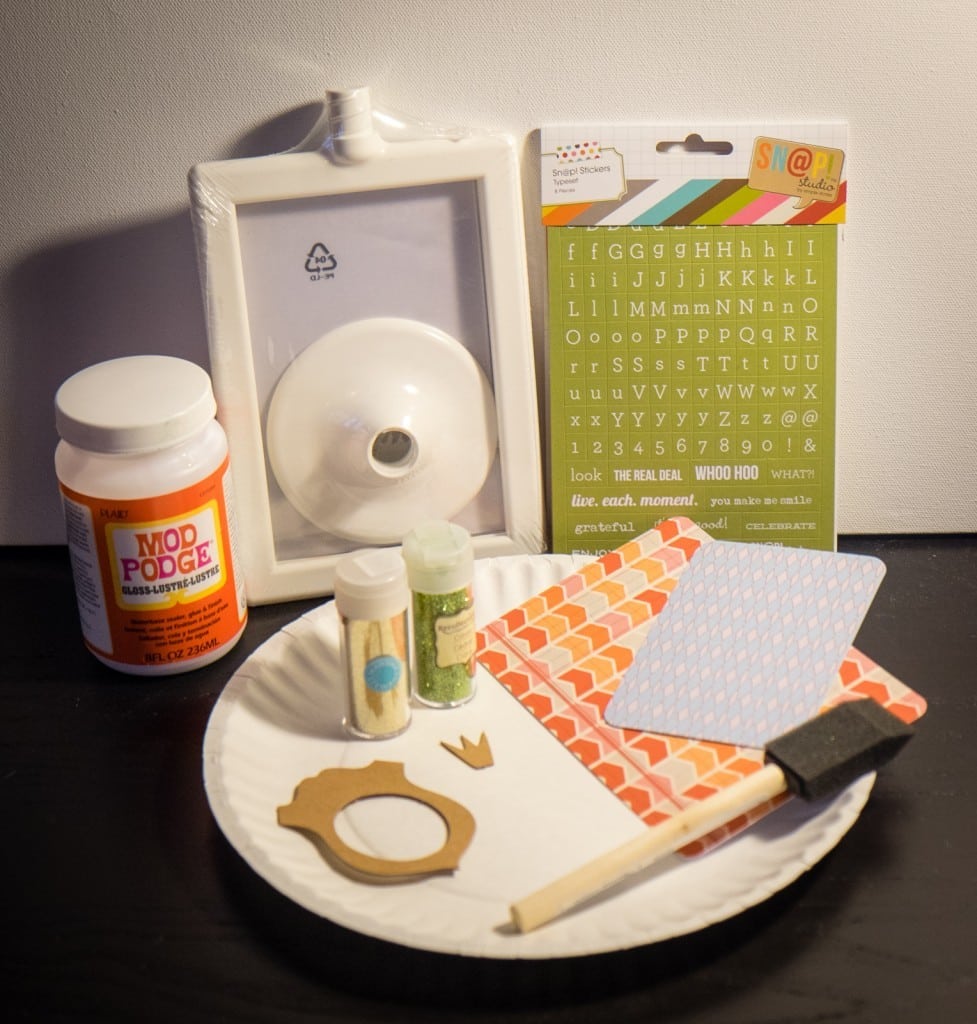
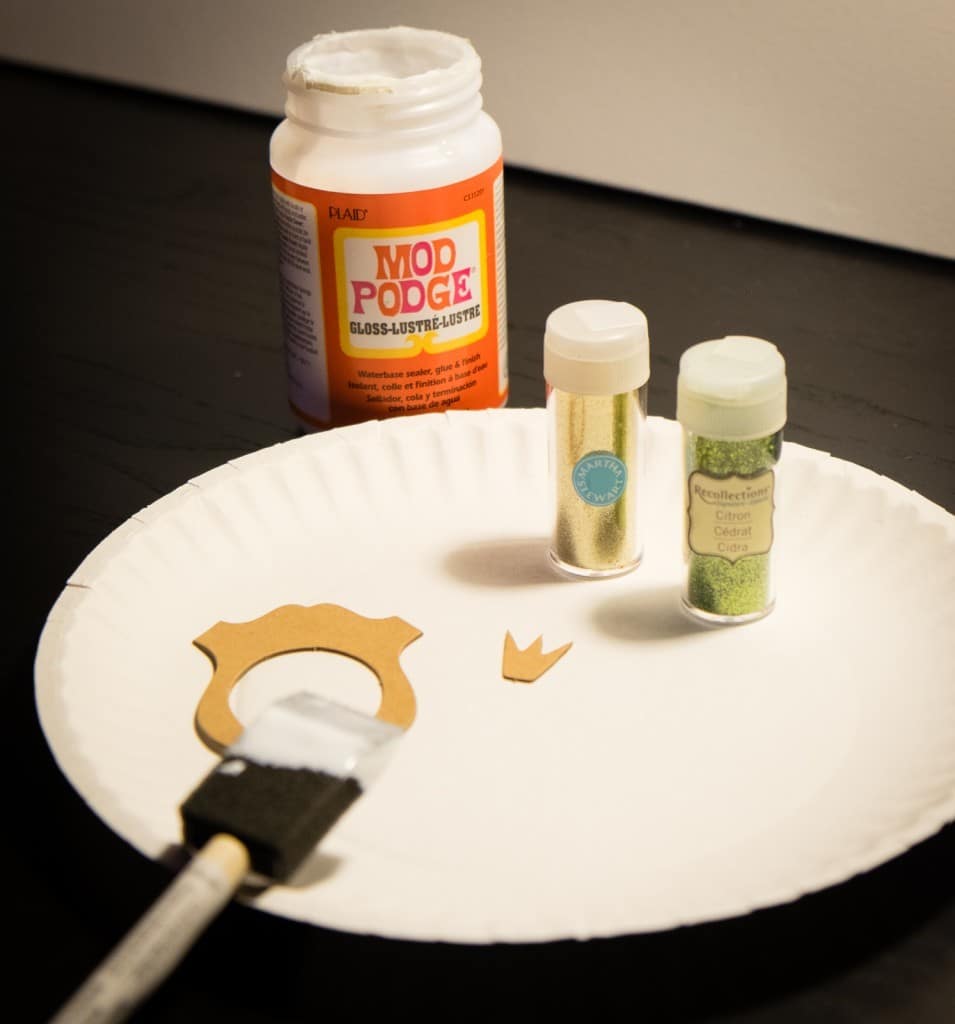
For this craft, you will need:
- Mod Podge
- glitter (similar)
- 4×6 photo frame (I used the Tolsby frame from IKEA)
- 4×6 Project Life card (these cards came out of larger kits)
- 3×4 Project Life card (similar)
- foam brush
- paper plate (to contain the mess)
- letter stickers (similar)
- Stampendous Royal Heart Kraftboard (I purchased this originally from Blitsy)
Please note that I’m sharing what *I* used. You can just as easily use any scrapbook paper and trim it down to size, any other embellishments, cut out kraftboard shapes, etc. One of the great things about this craft is that you can customize it however you want with whatever you have on hand!
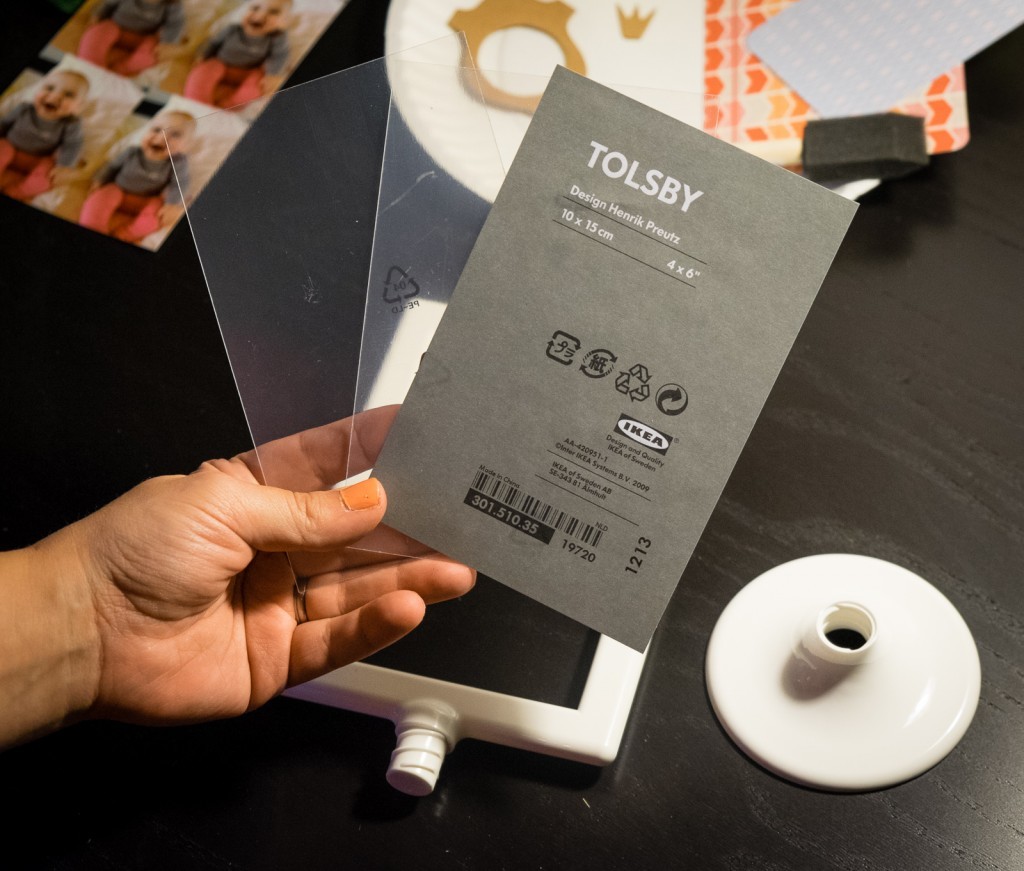
Open up your frame. This one has two pieces of plastic. You’ll only need one for this craft.
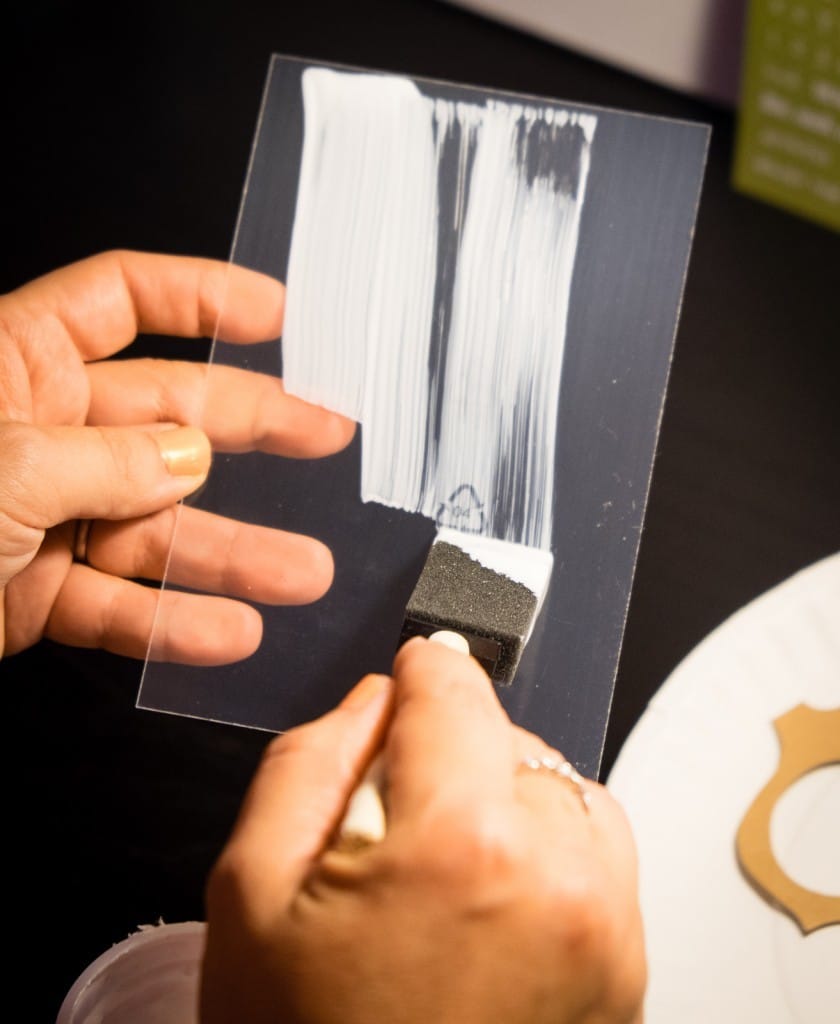
Mod podge one side of it.
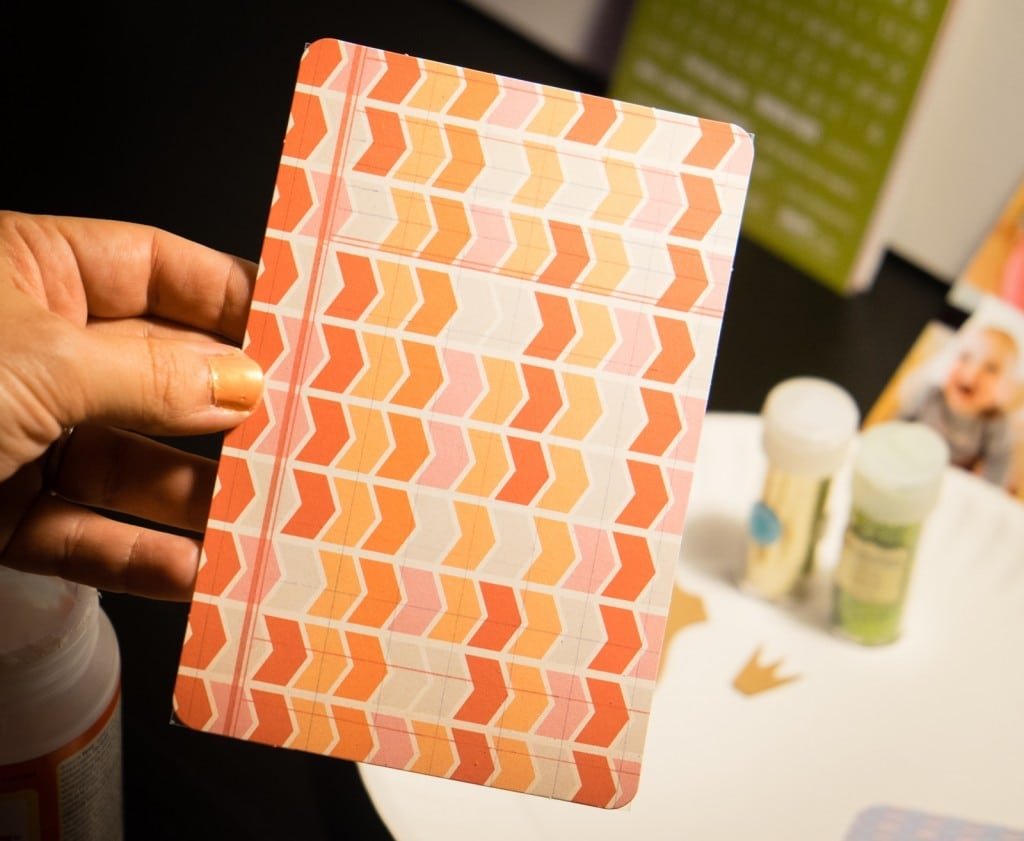
Place your 4×6 card on top.
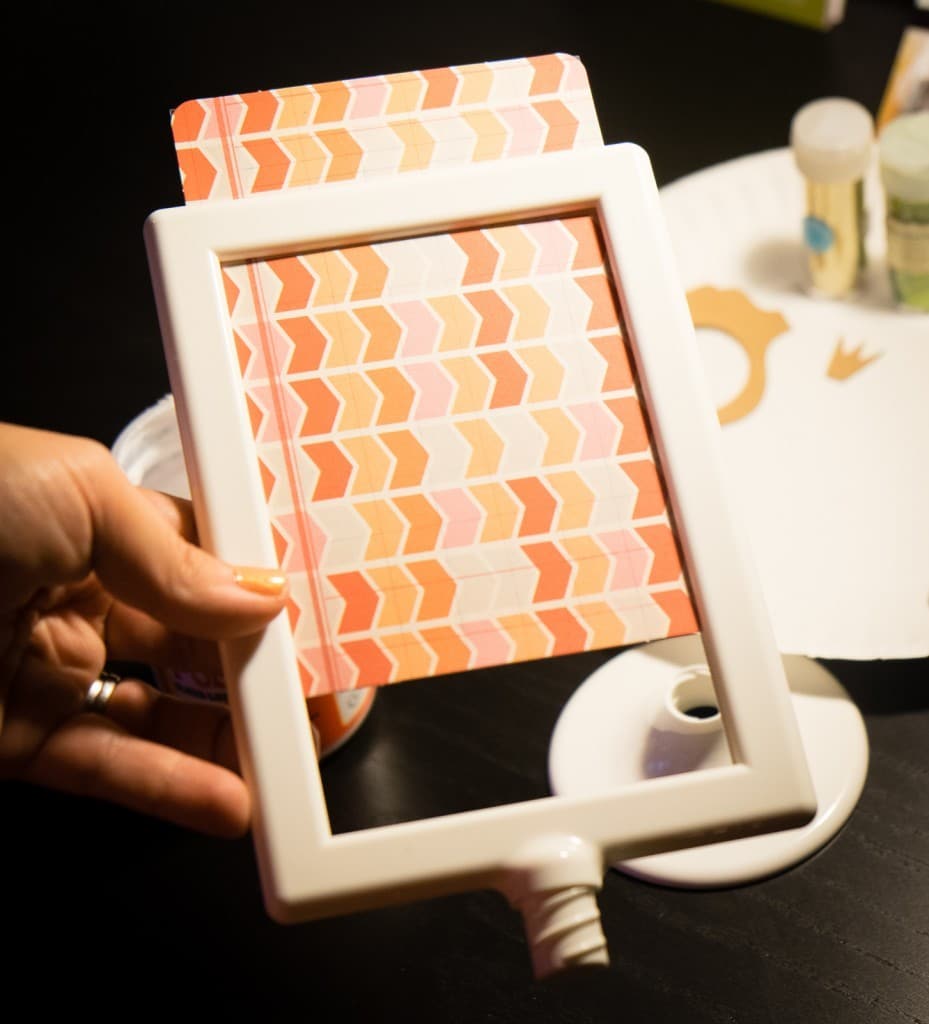
Place into the frame.
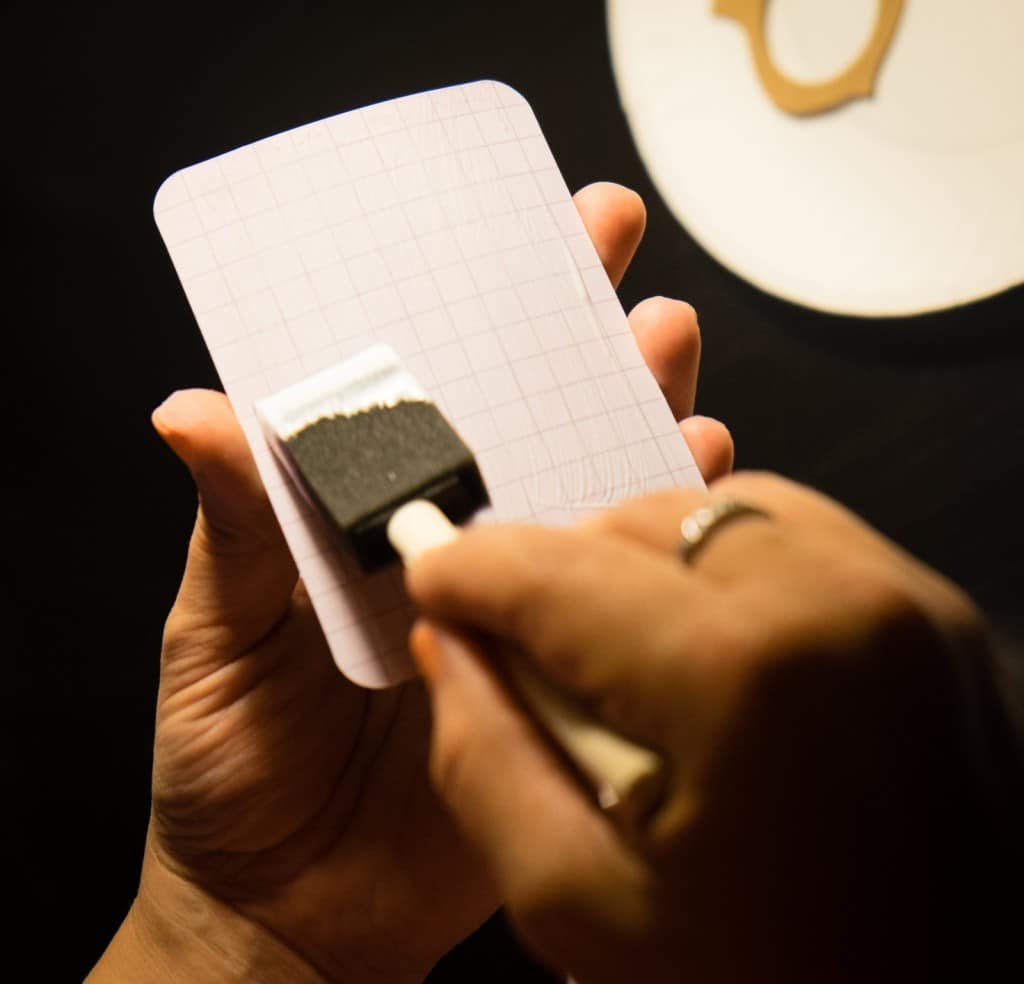
Mod podge the back of your smaller card.
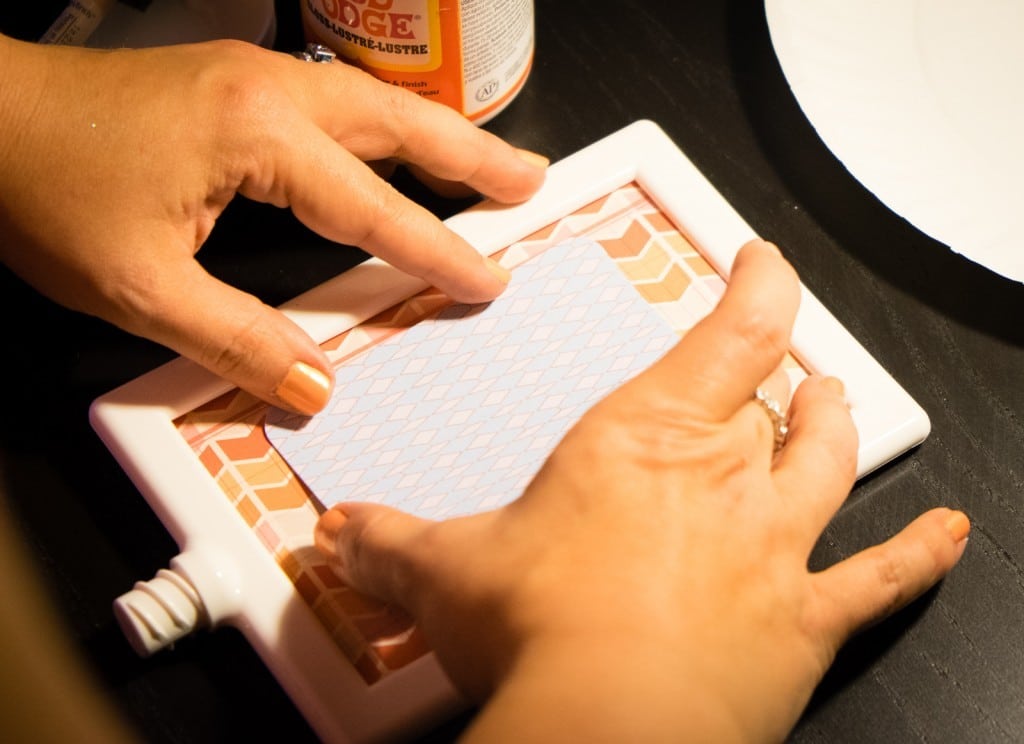
Center it in your frame.
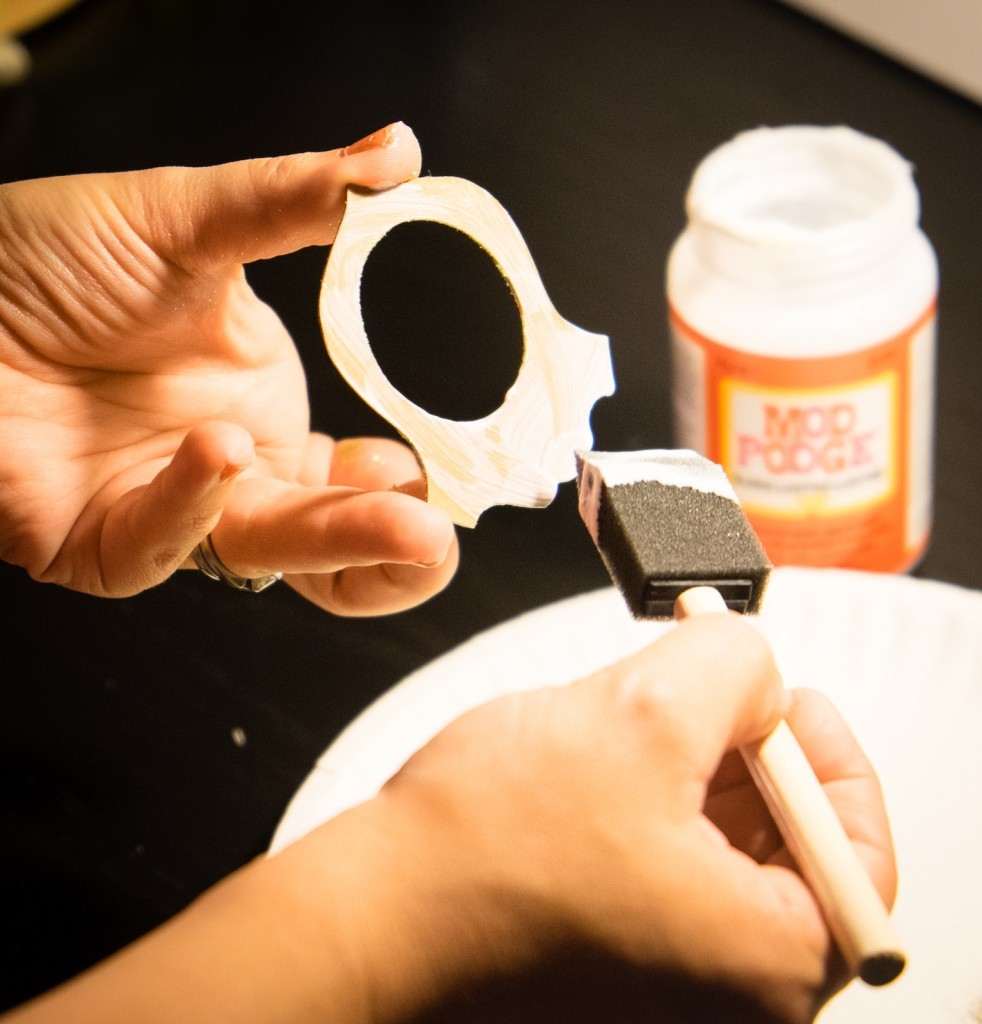
Now it’s glitter time!
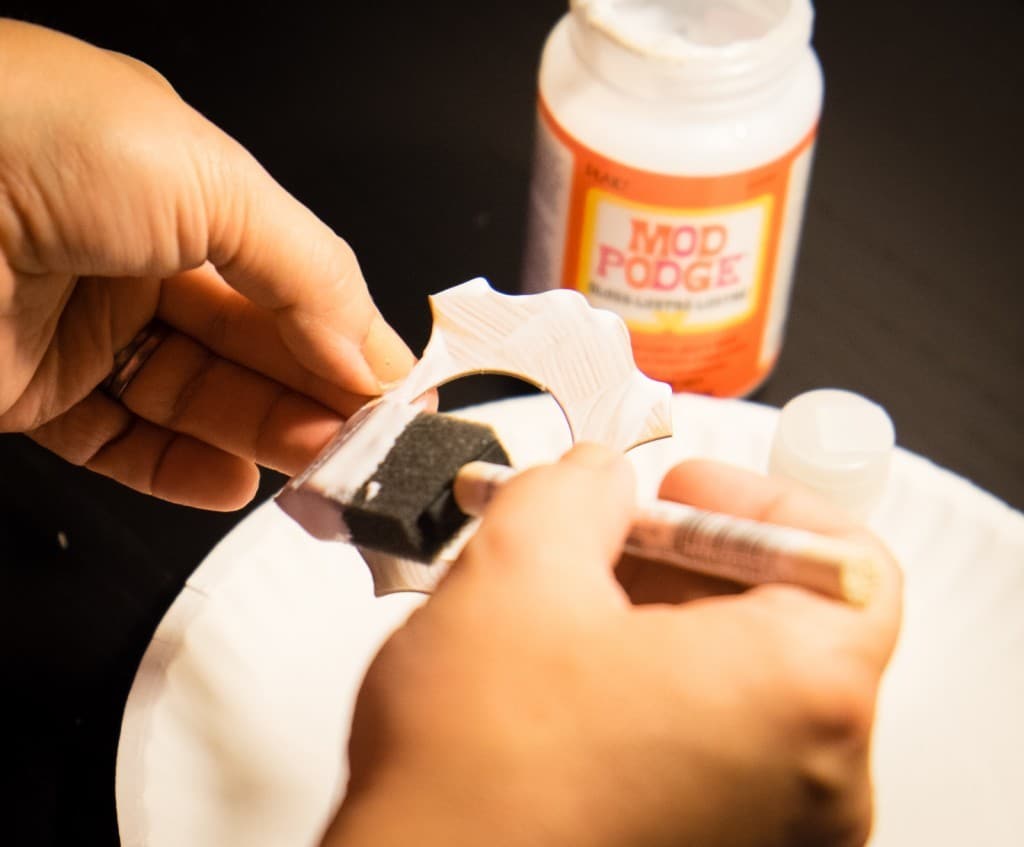
Brush the mod podge onto one side of your cutout.

Gently shake your glitter onto the mod podged shape. Be careful not to pour out too much glitter at once (not that I would ever do any such thing!).
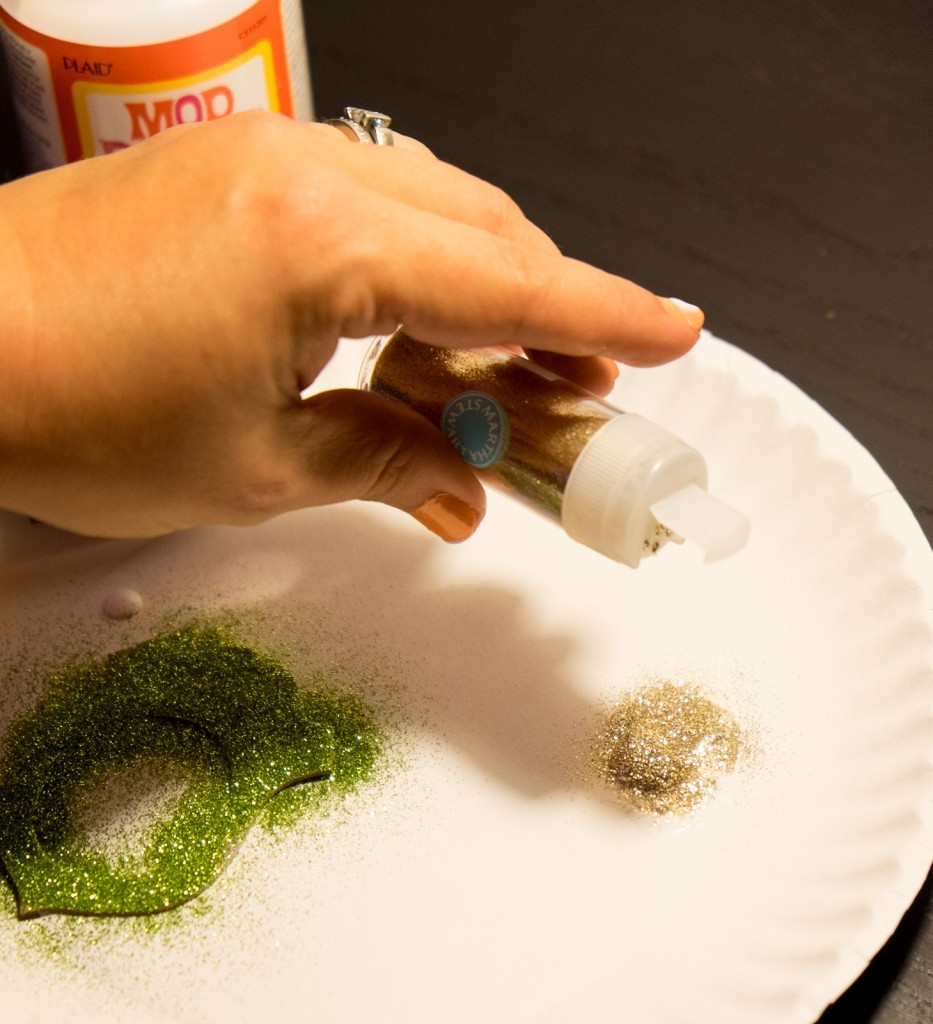
Repeat for your crown.
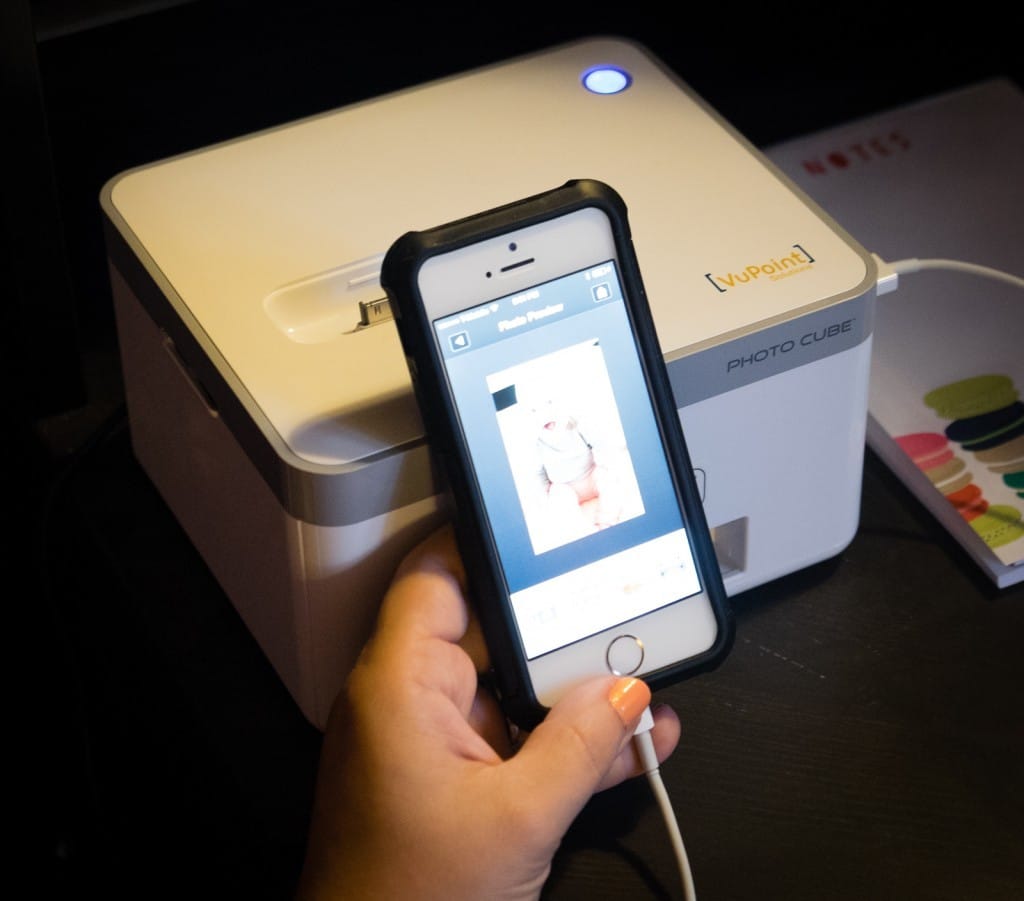
I love my photo printer. I have a VuPoint Photo Cube and highly recommend it. For this project, any printer will be fine. Choose your picture and print it out.

For the size of this craft, I went with the smallest sized partition (four pictures on a 4×6 print).
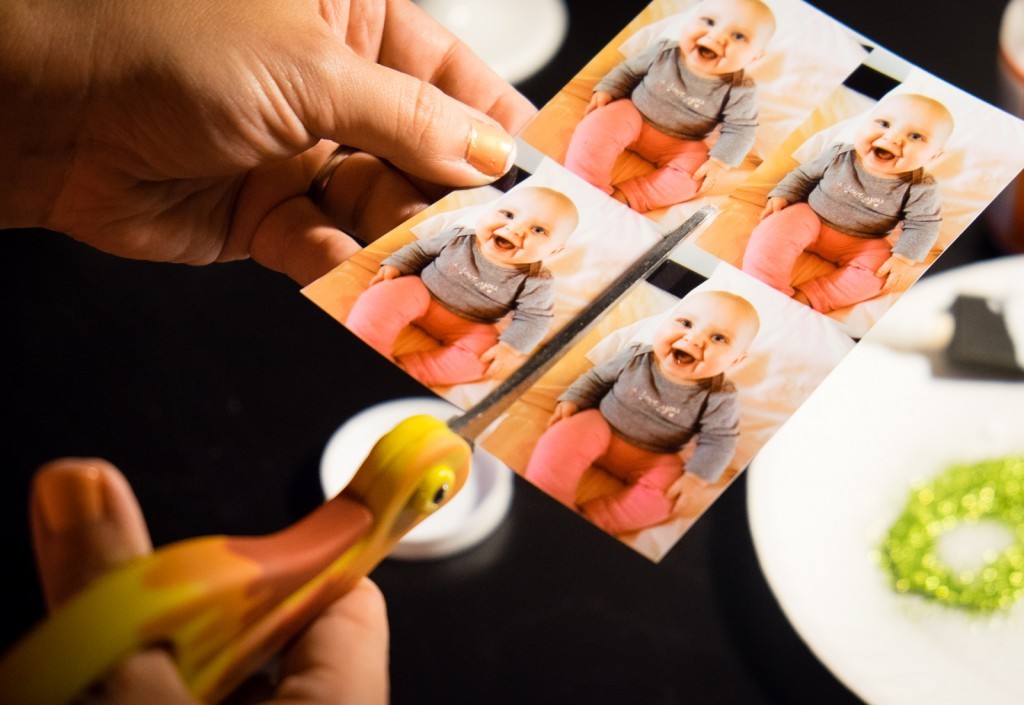
Cut out one picture.
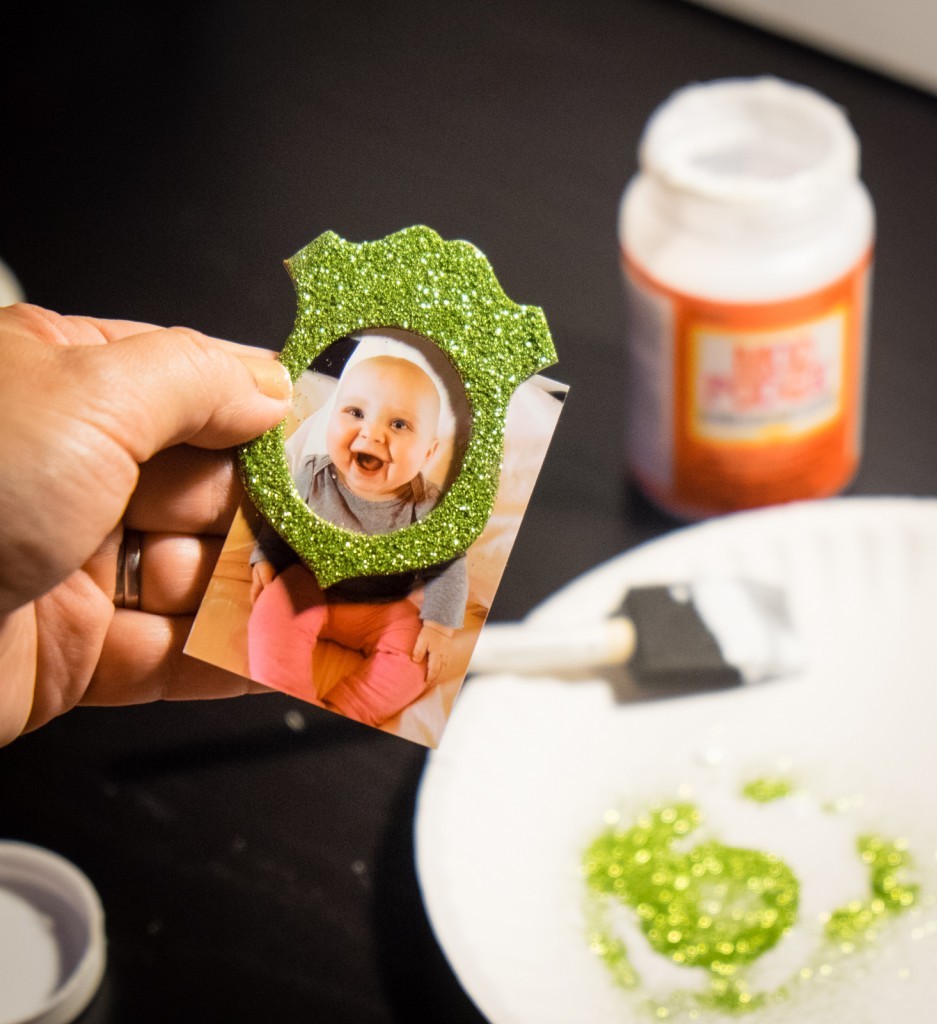
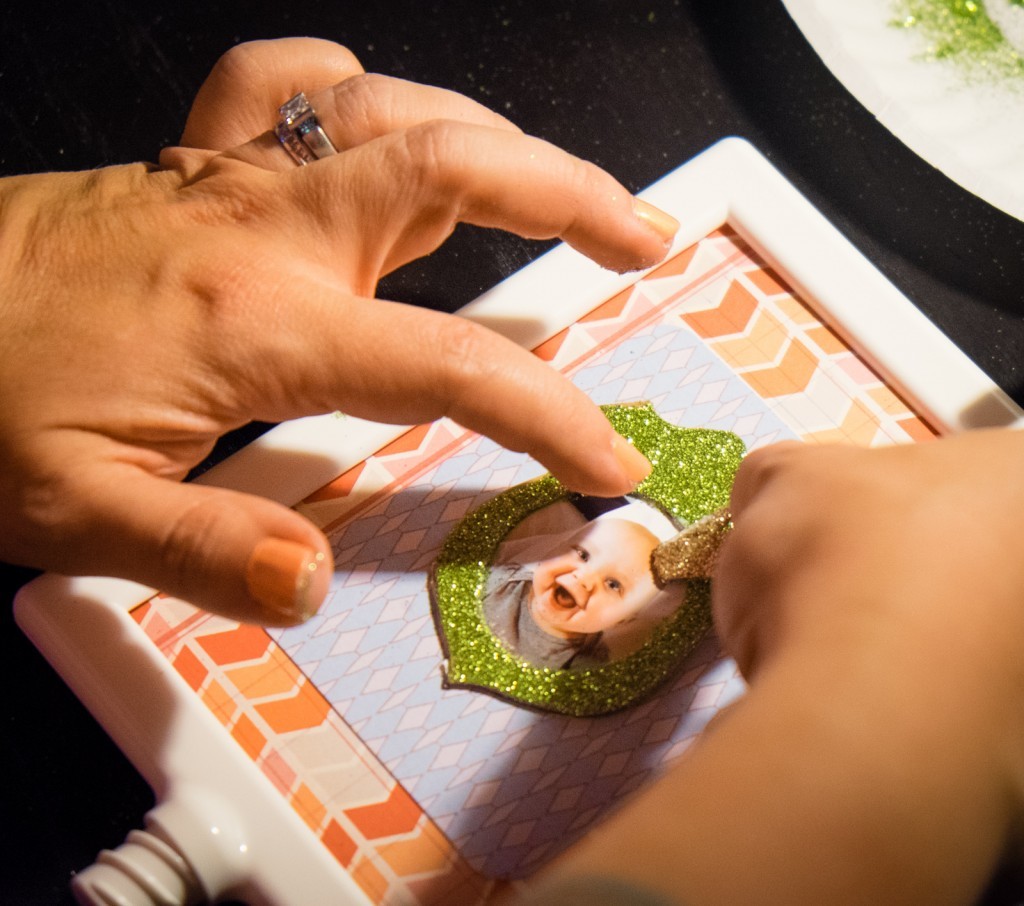
Place your glitter cutout over the part you want to show. I always do this dry first so that I have a sense of where I need to place it once it’s mod podged. If you’re a better judge than me, go ahead and mod podge the cutout first and place it straight on the picture. Trim the picture once the cutout is in place.
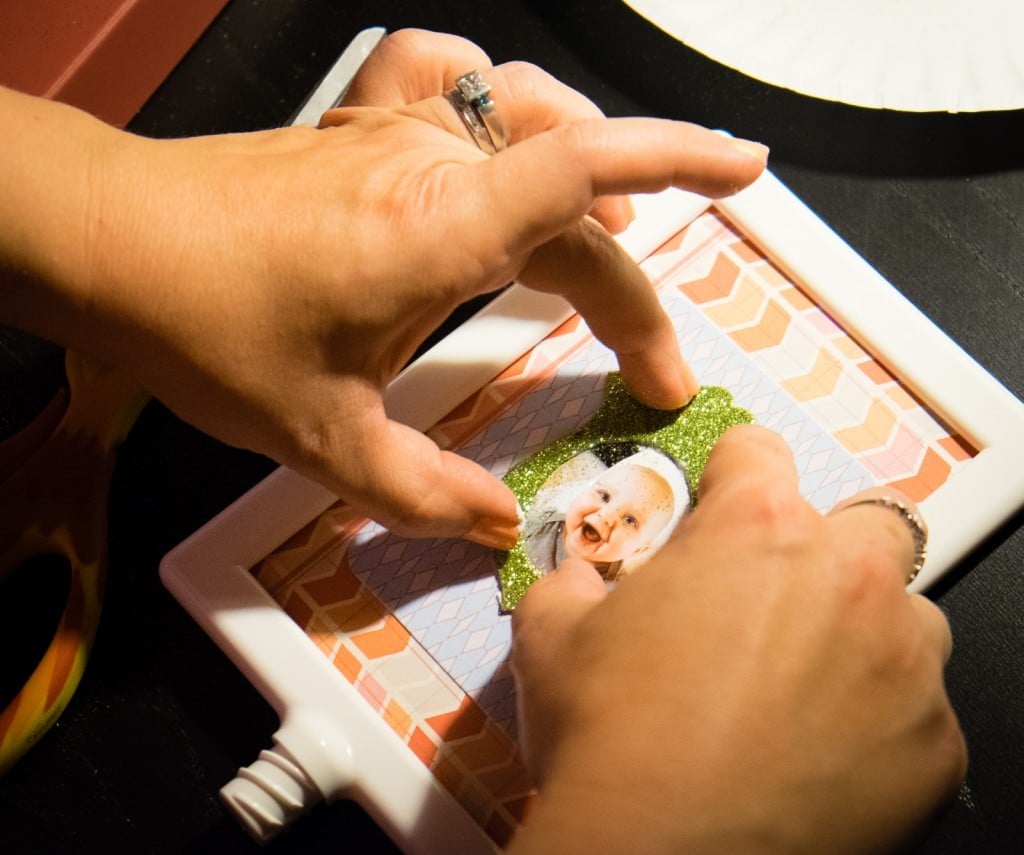
Place the picture and cutout onto your frame.
Mod podge the back of the crown and place it on the picture.
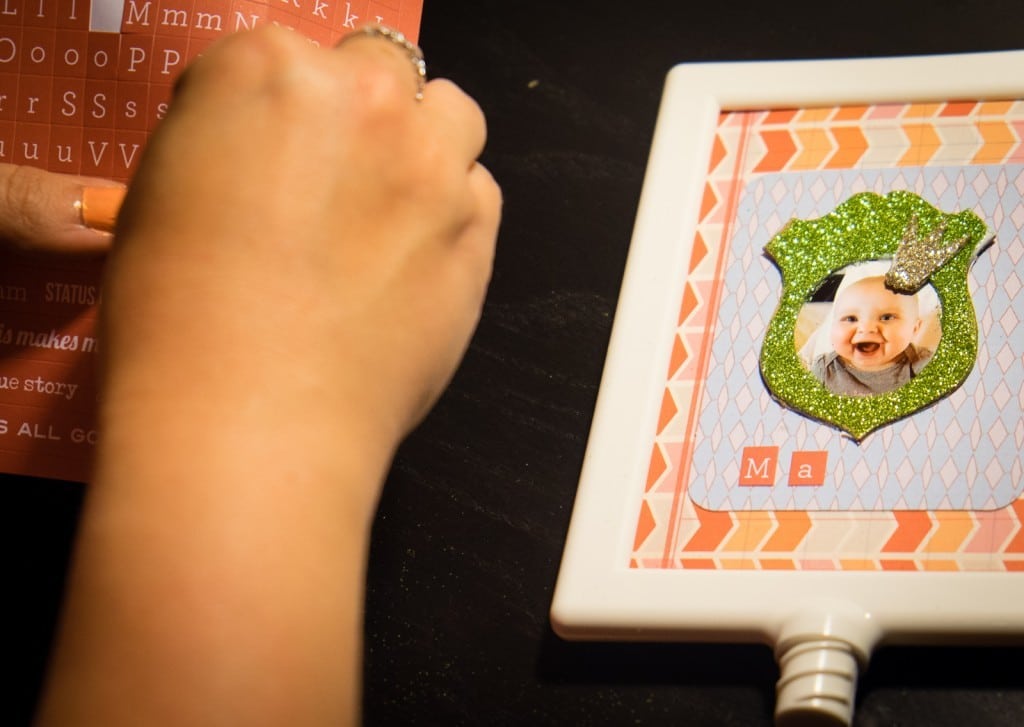
Place your letter stickers (or any other embellishments) where you want them. I also use this time to take a little paintbrush to clean up any excess glitter on the picture.
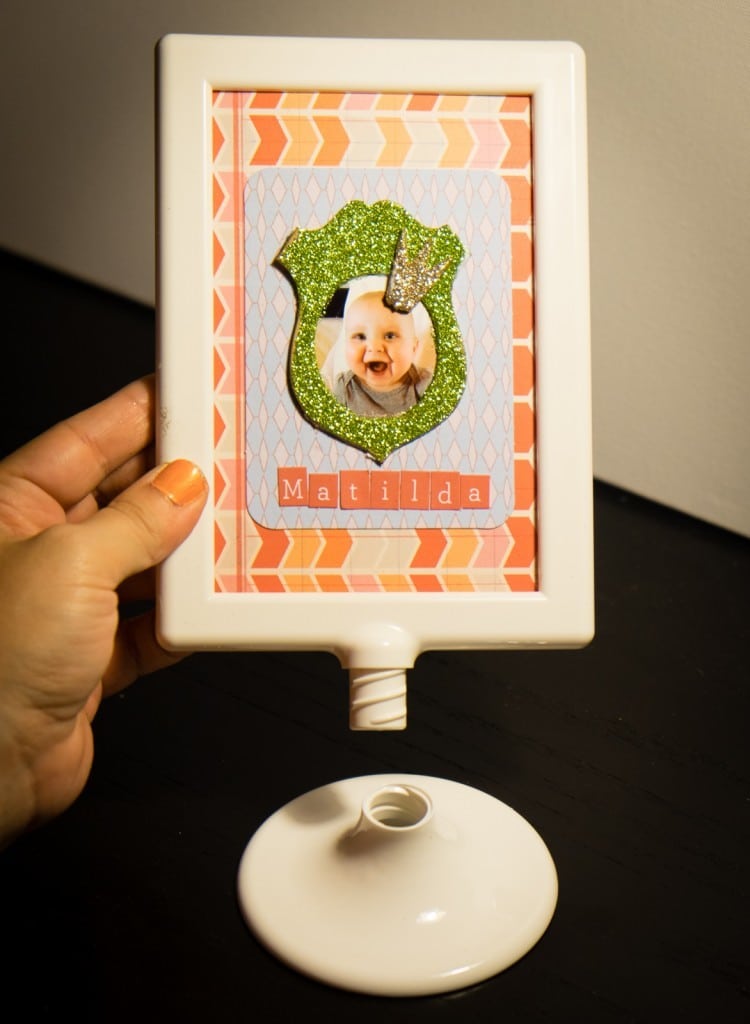
You can decide whether or not you want to put mod podge over the entire project to seal it together. I didn’t, but it would only take an extra couple of minutes. At this point, the only thing left is to attach the frame to the base.
I hope you enjoyed my quick and easy scrapbook photo frame! There are so many things you can do with this craft and I’d love to see your take on it!

I’m linking up with The Creative Collection Link Party and The SITS Girls.


That picture of Matilda is to die for. She SO cute. And so is this little craft! 🙂
Cori @ Let’s Eat Grandpa recently posted…My Little Girl Dream
Adorable and so easy!!
Angie @ CCC recently posted…DIY Rustic Wedding Signs
That is adorable! I always see those frames and can never decide what I’d use them for. Guess I’ll be grabbing a few next time I’m at Ikea.
Alyson M recently posted…five twenty three fourteen
I have been desperate for a way to dress up my plain old picture frames – this is perfect!
Dee @CupcakesandCrowbars recently posted…Summer Marinade with Lemon and Ginger
What an adorable craft! Thanks for sharing!
Laura @ Make Life Lovely recently posted…Homemade Shea Butter Soap
Thank you for sharing. You’ve done wonderfully well.
From: Lizysewcrafts
Thank you!