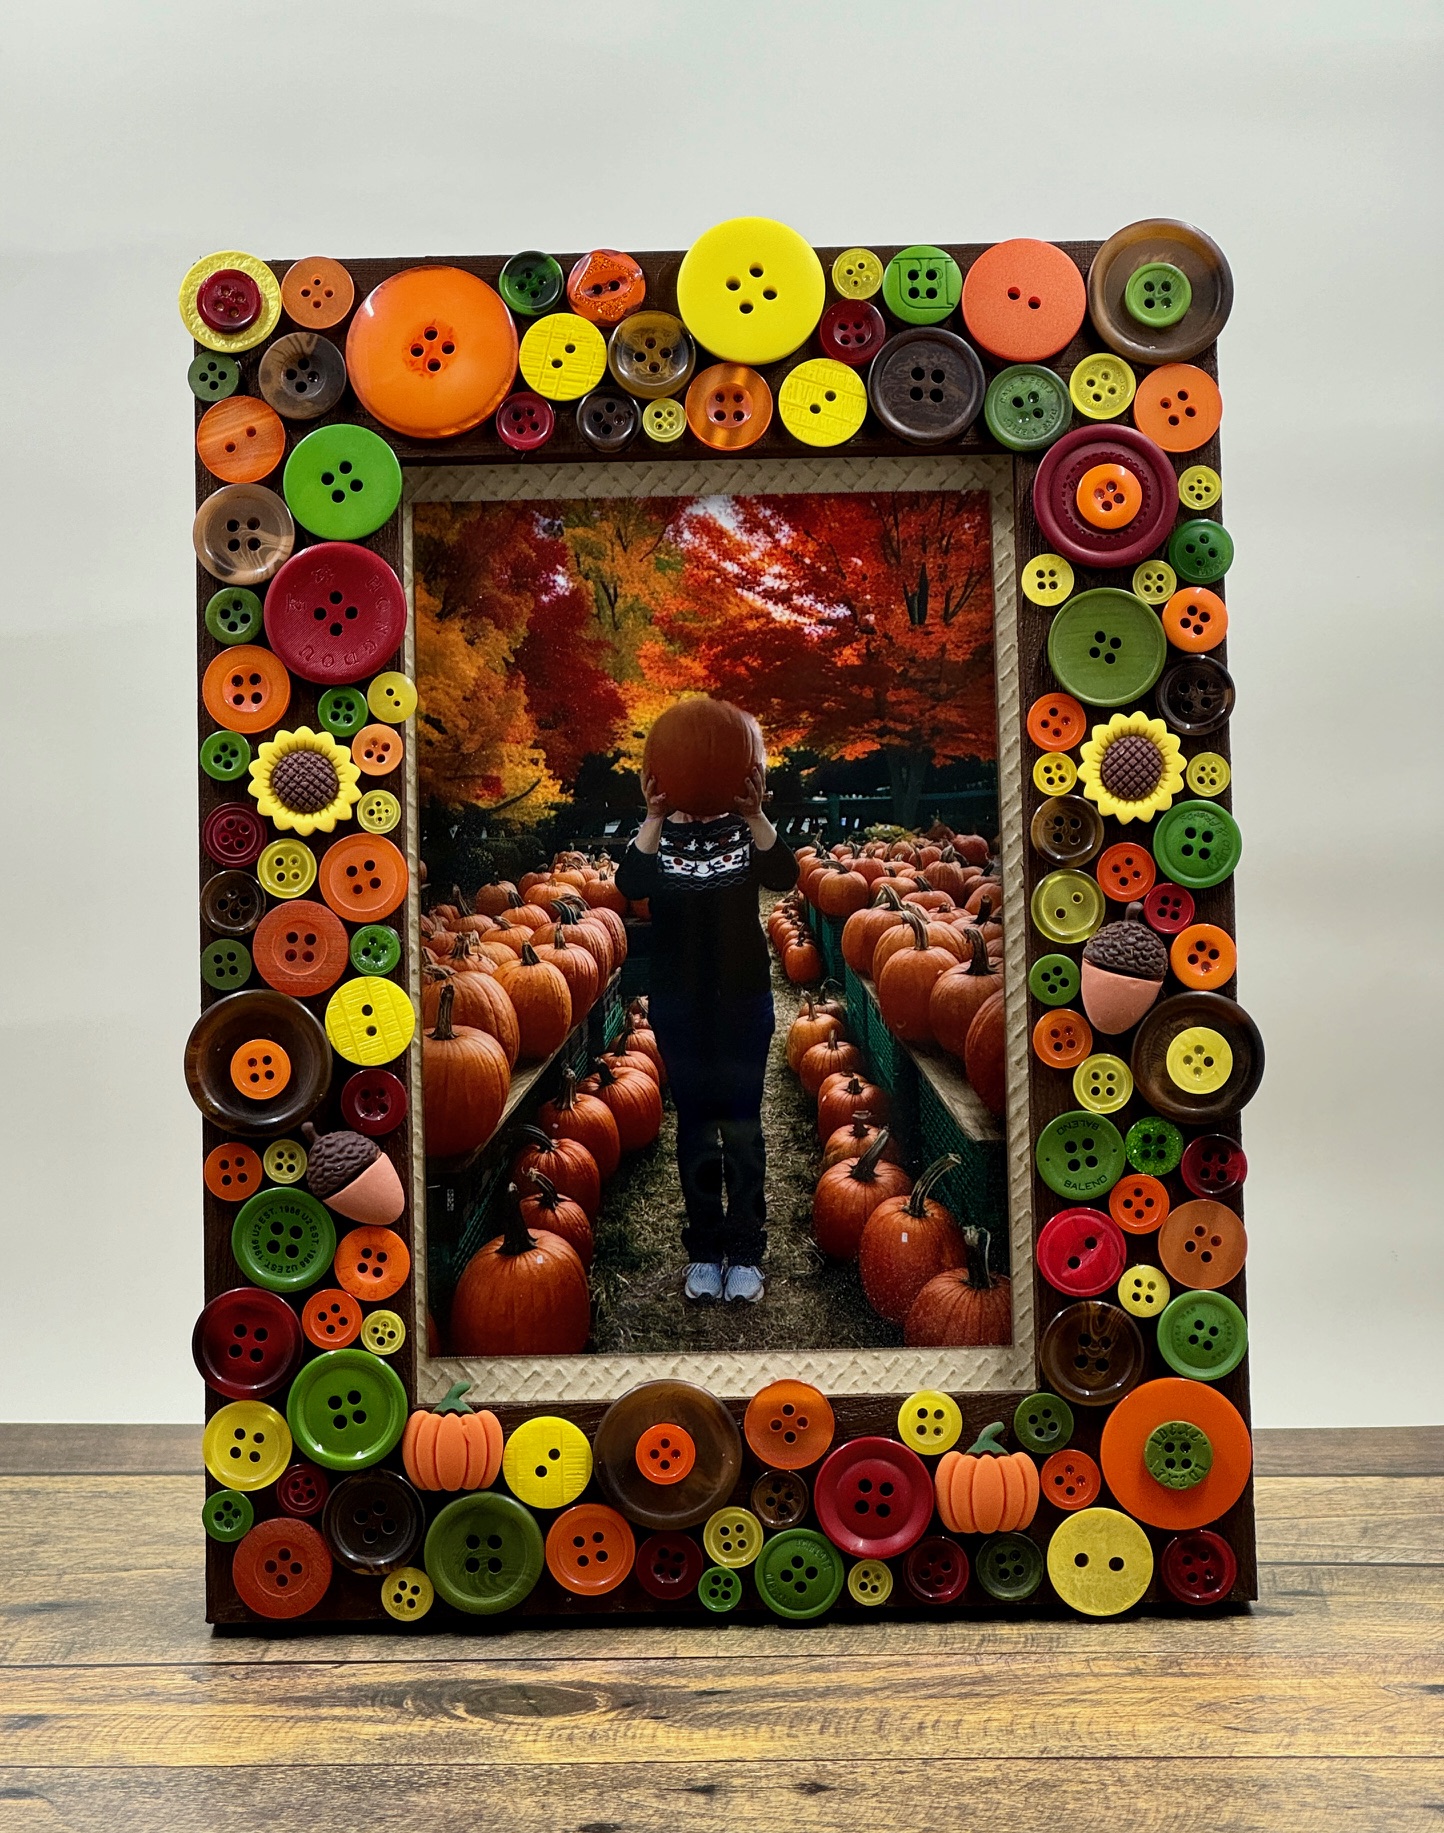
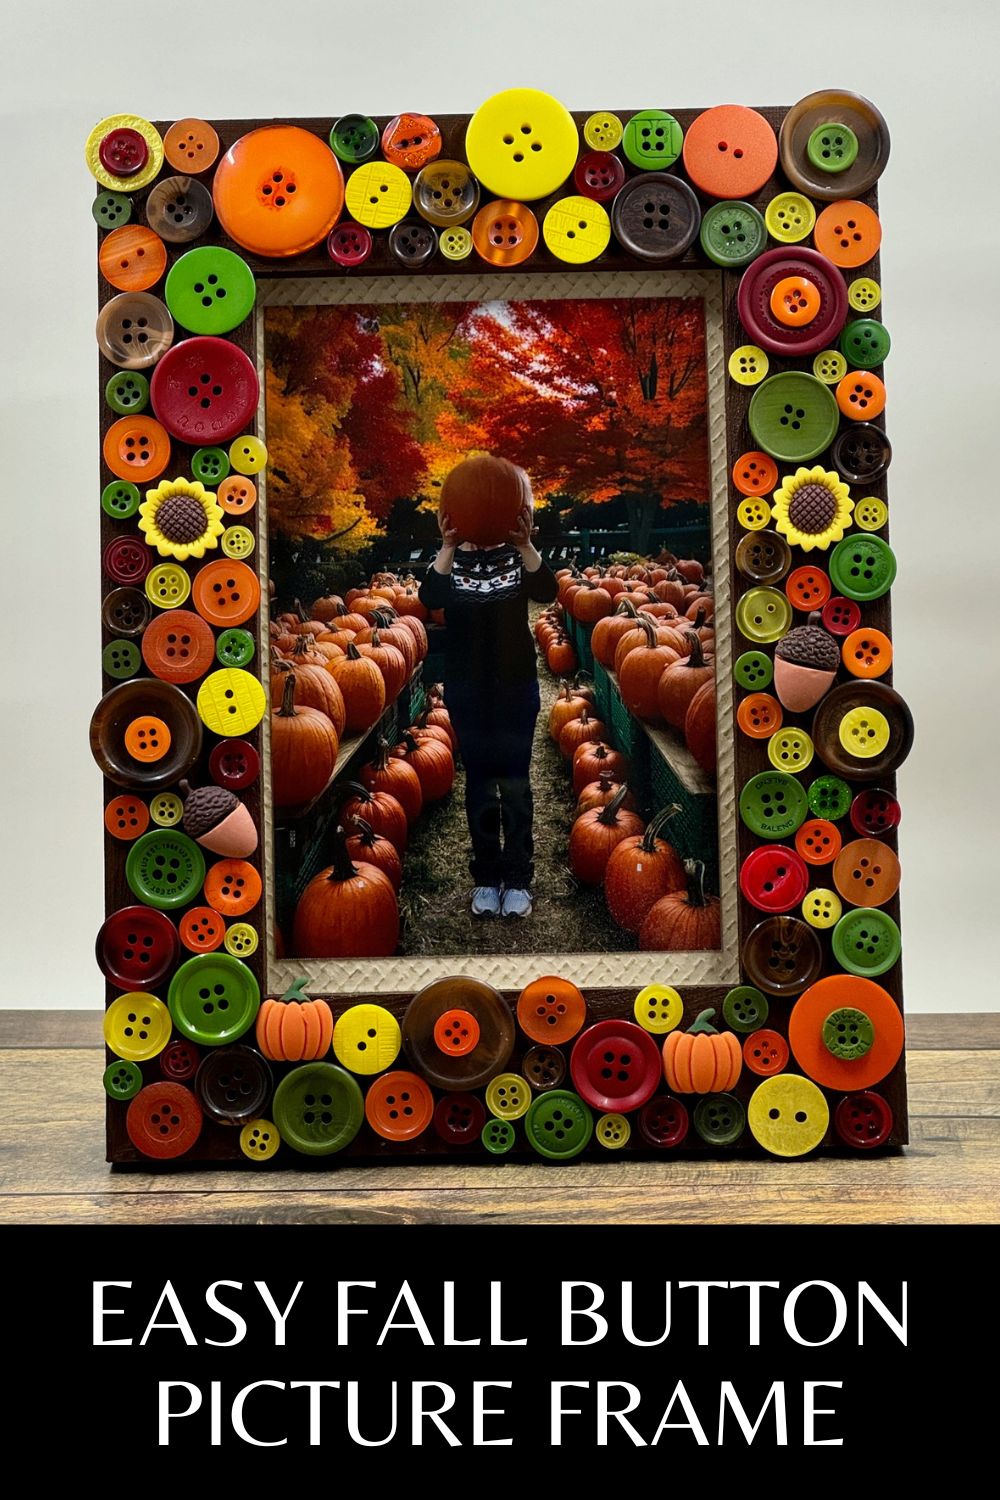
Easy Fall Button Picture Frame
Sometimes I need a super simple craft to get back in the creative groove. Sometimes I need it just because I do! Other times (like now) I need it because I’m so antsy to go from summer to fall that I can’t stand it! It may be July, but I’m fighting the urge to go all out for fall. Since even I can’t quite justify making the overall decor transition, I’m making do with some fun fall crafting. This easy fall button picture frame is a super fun, super simple craft that scratches my fall itch without going full fall (yet!).
This post contains sponsored content and affiliate links.
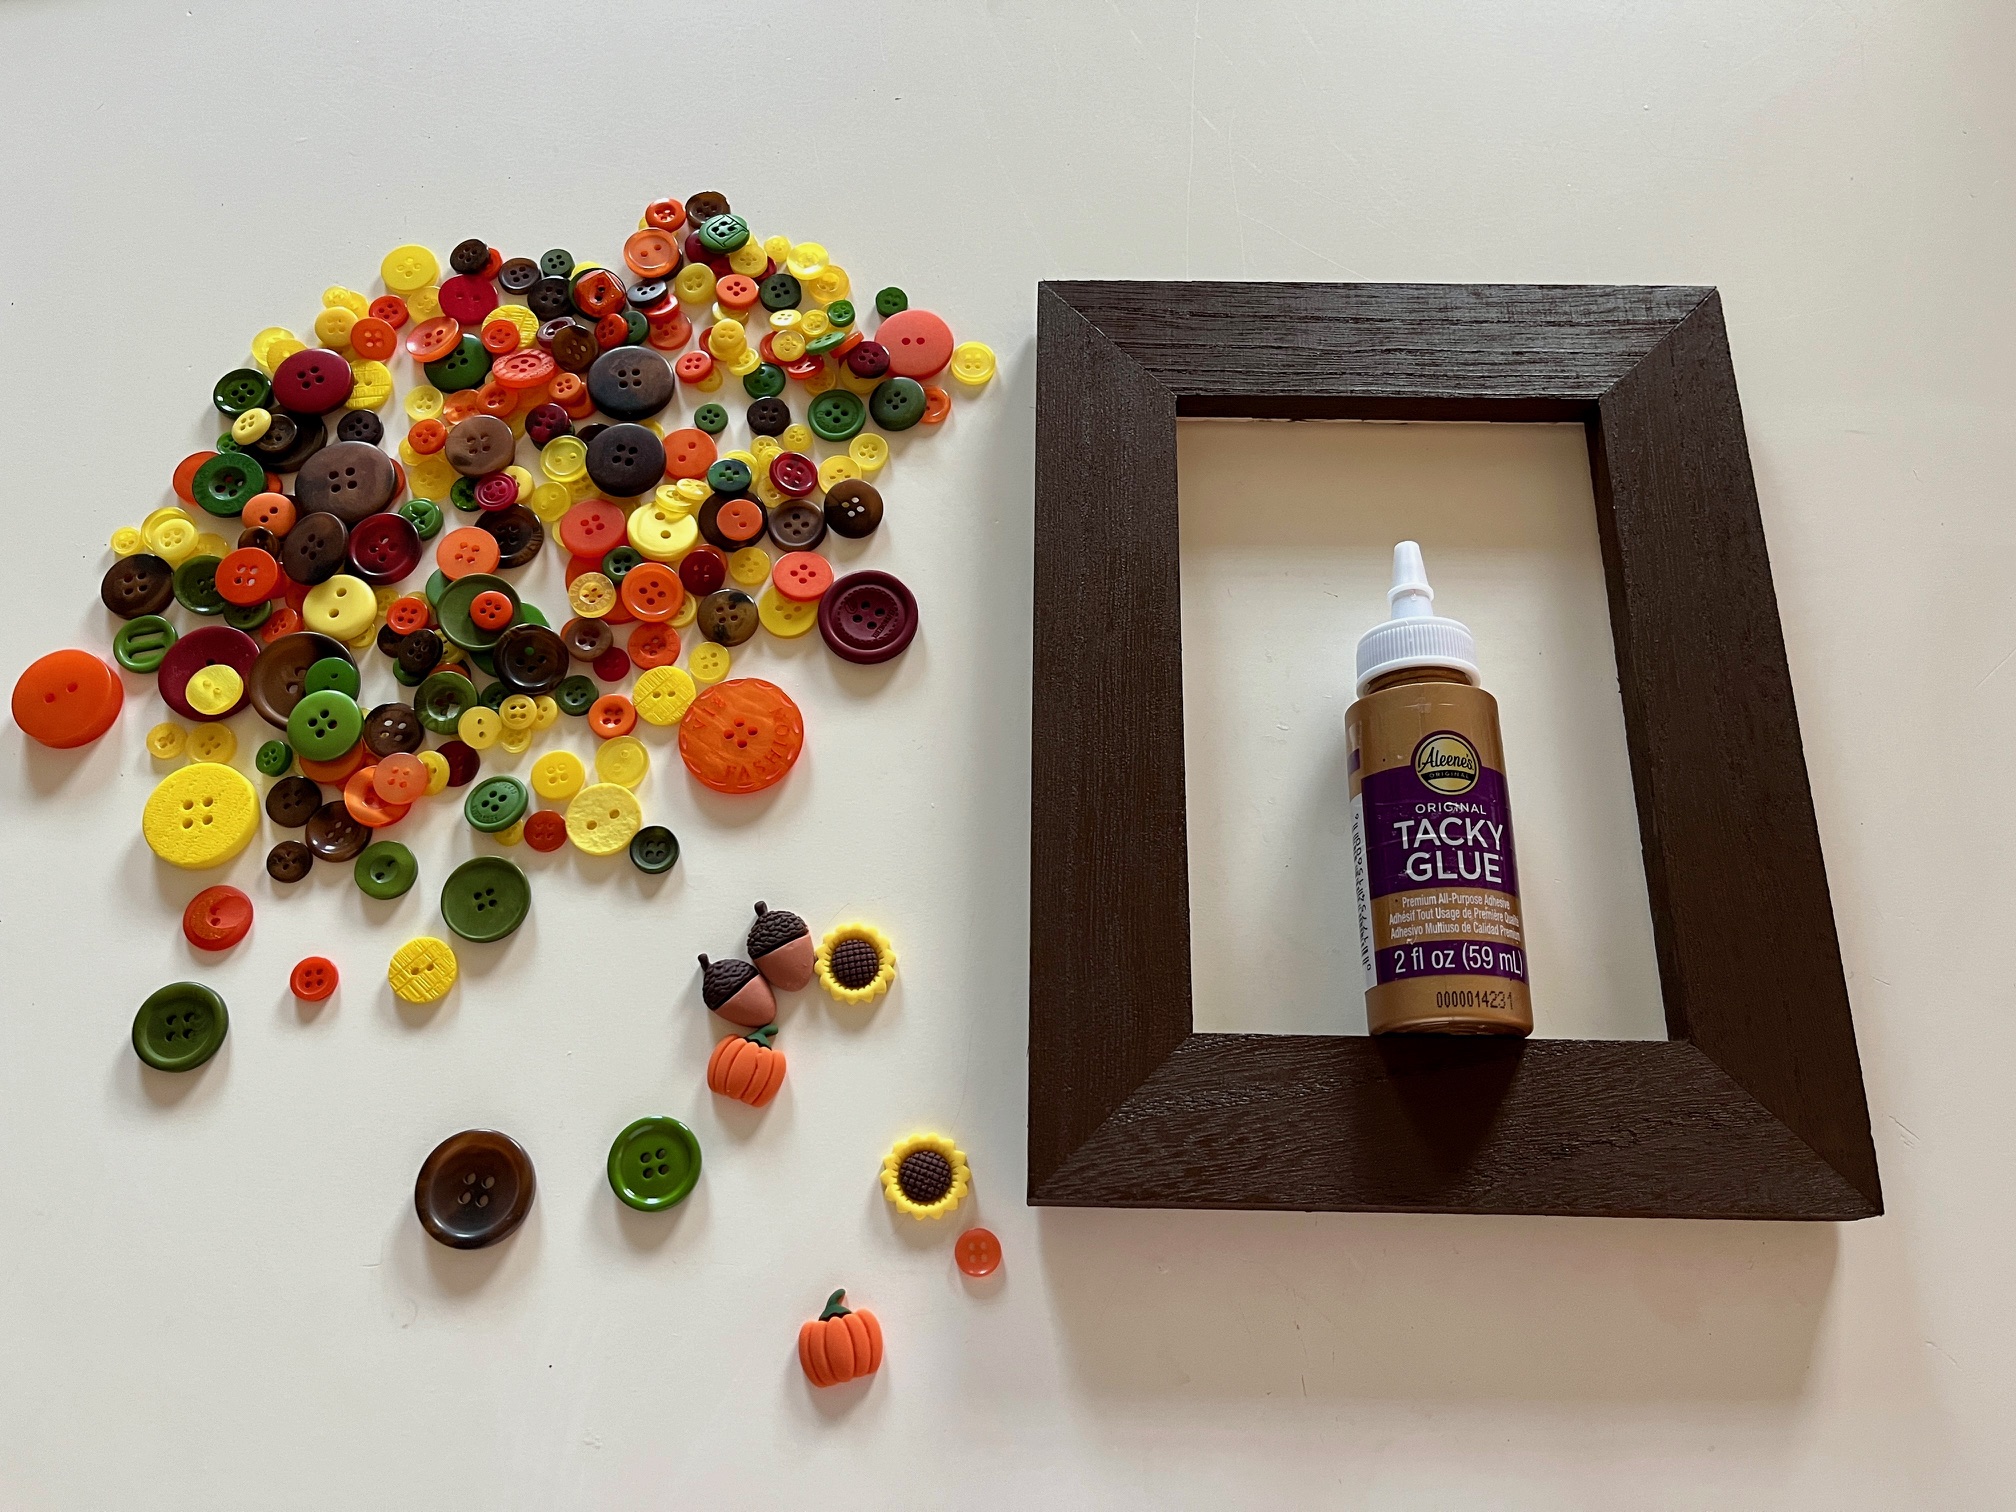
Supplies:
- wood picture frame (a 4×6 frame like mine will see you able to comfortably cover it with some buttons left over)
- brown paint
- paint brush
- glue
- BGM Box Harvest Buttons
- BGM Box It’s Fall Y’all Flatbackz

Instructions:
Remove the glass and backing. Paint the frame brown.
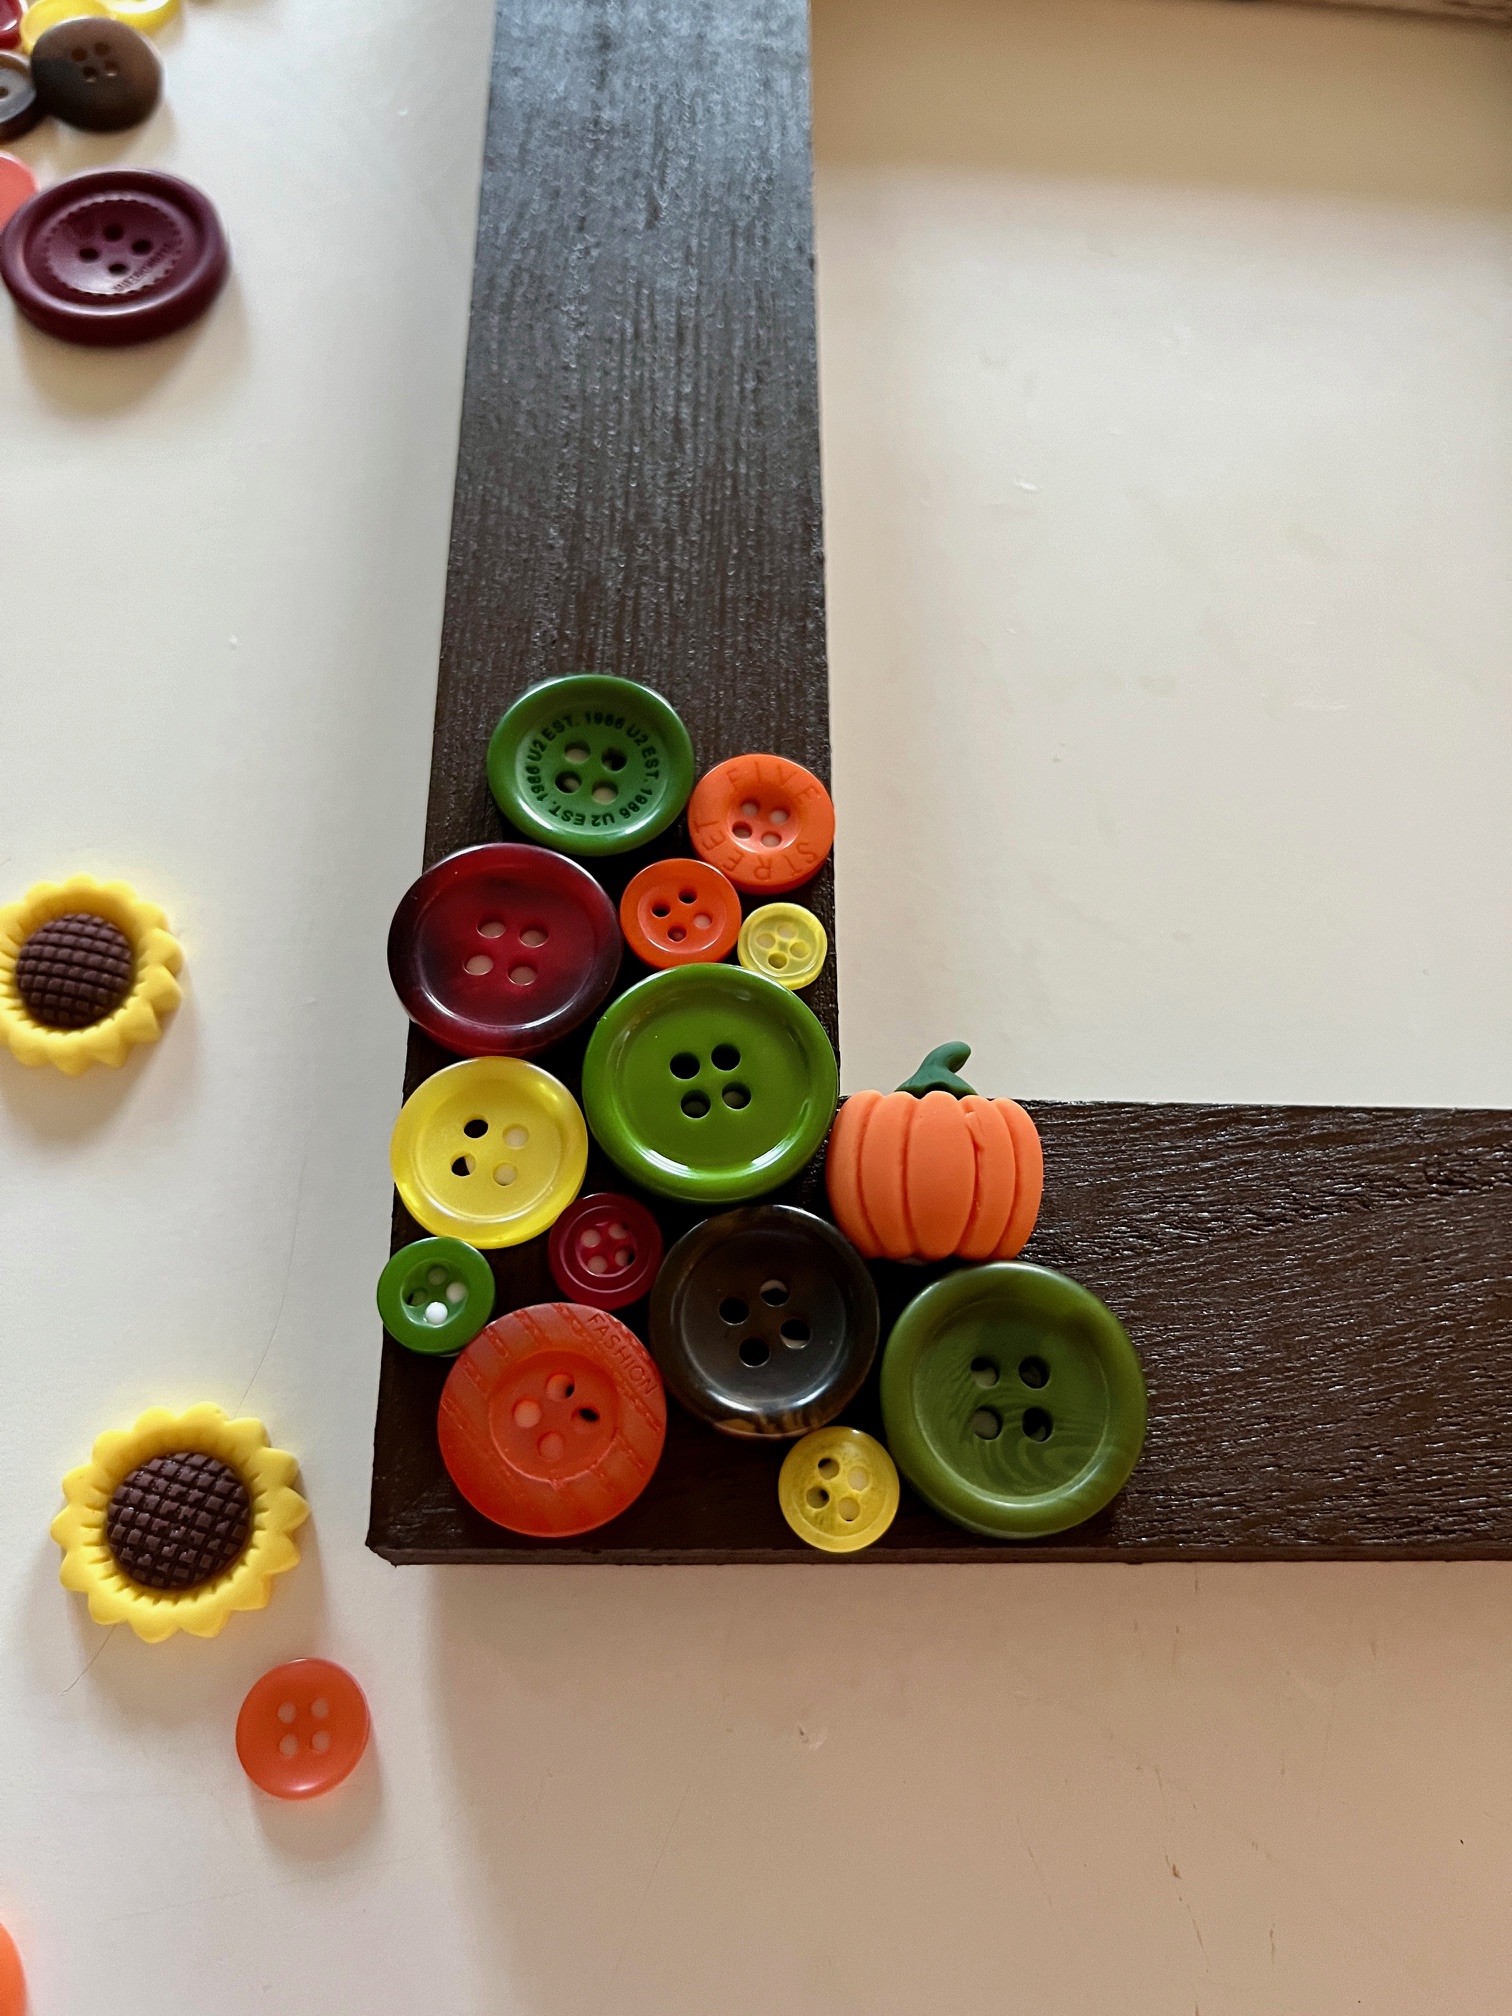
When the paint is dry, start glueing on the buttons and flatbackz in the pattern of your choice. I went for semi-full coverage, mixing colors and sizes as much as possible. Start in a corner and work your way around the frame. Layer some smaller buttons on top of bigger ones.
I wasn’t kidding when I said this easy fall button picture frame was super simple to make! The longest wait was just waiting for the paint to dry. The first buttons were dry by the time I made it around the frame and the rest didn’t take long at all. I love the fall colors with the pop of pumpkins and sunflowers. It’s just the kind of happy craft that I need right now and I am so ready for my favorite season to get here. I’m going to happily display my frame as my first piece of fall decor this year.