Easy Halloween Wreath
Halloween all the things!! I LOVE Halloween. Halloween all the things, all the time. I got the idea for this easy Halloween wreath in July. I tried to put it up in August, but Scott wouldn’t let me. I first made this for April at Illistyle, and now I’m sharing it here.

**This post contains affiliate links. I will make a few pennies if you purchase items using them.**
This wreath is ridiculously easy, but I love it. You will need:
- grapevine wreath
- one can of black Rustoleum
- black thread
- needle
- felt balls in Halloween colors
- scissors
**Note** When I first made this, basic grapevine wreaths were all that I could find. It’s easy to find wreaths that are already black now, so that eliminates the need to paint one. Also, sharp eyes will notice that I’ve used the same wreath for my Spider Wreath–both of these wreaths are easily disassembled and used for a fresh look.
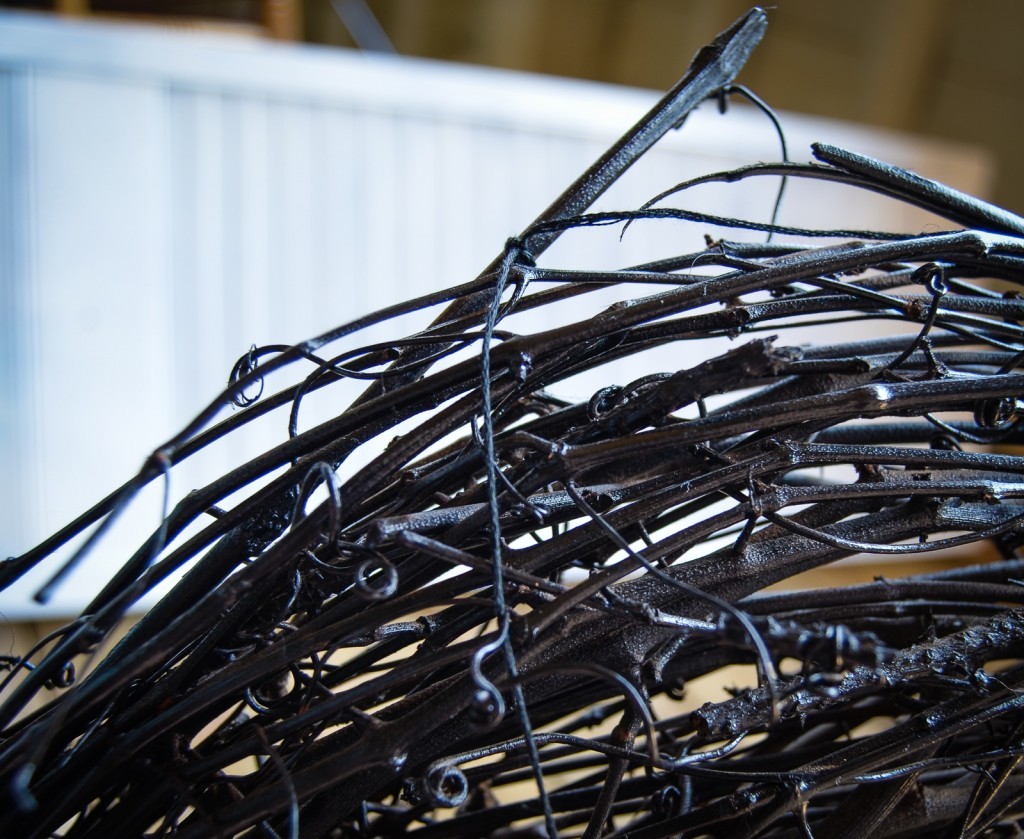
Start by spray painting your wreath. I sprayed one side, let it dry, and then sprayed the other. You can go for full coverage, although I like the bits of natural wood peeking out. It gives just a bit of extra texture.
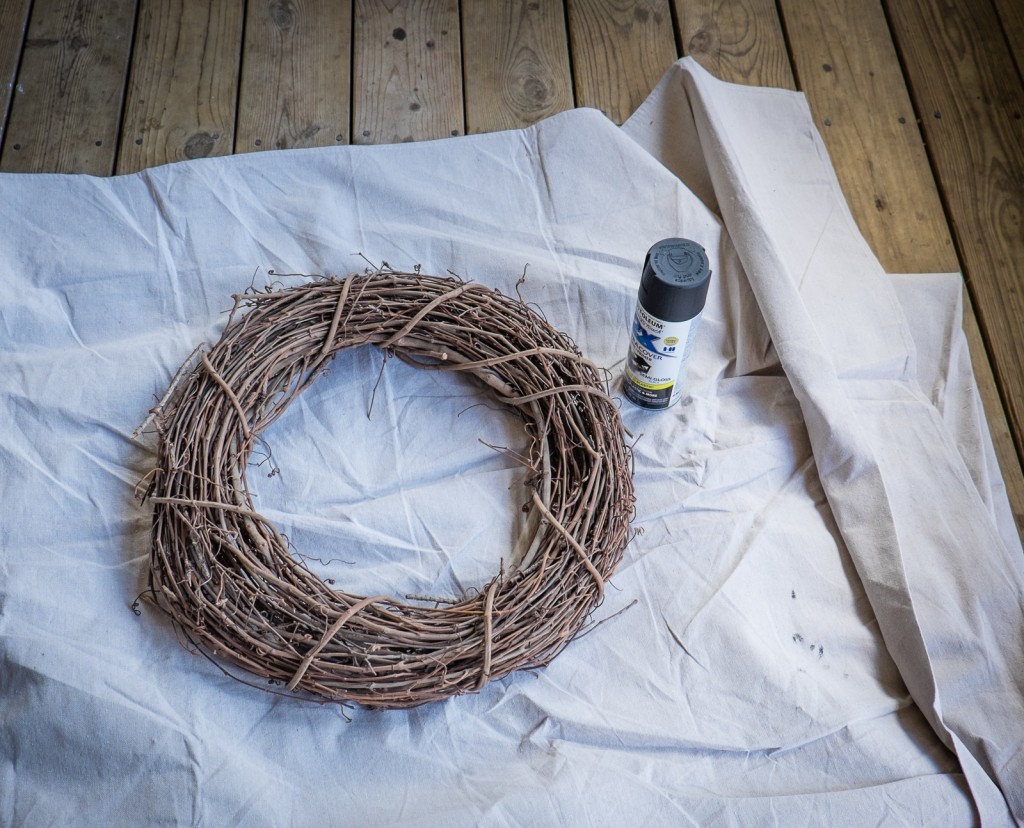
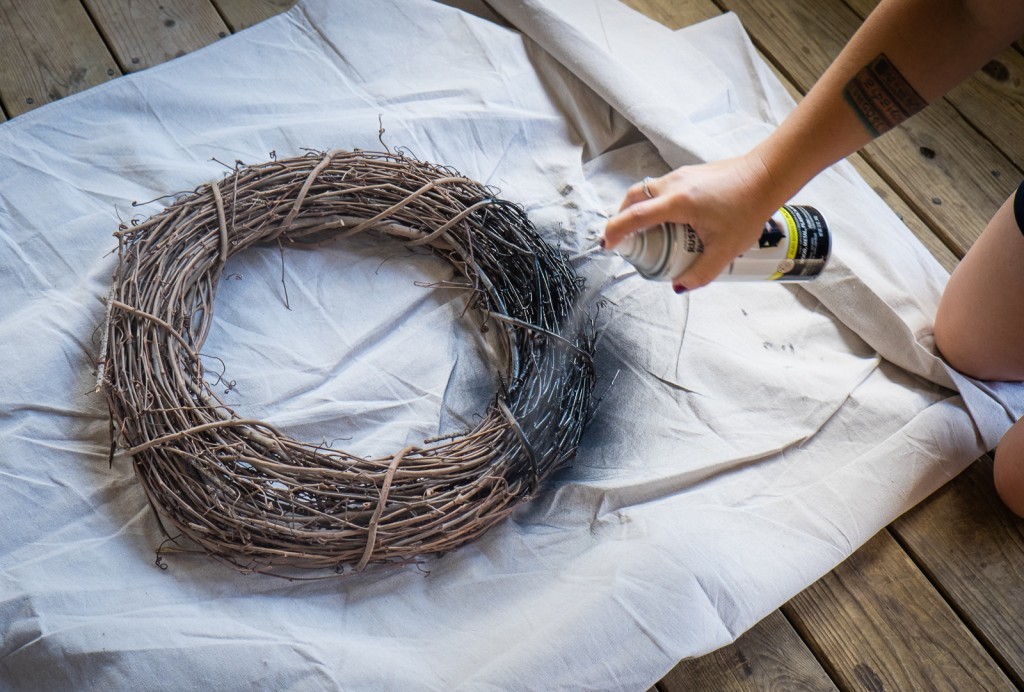
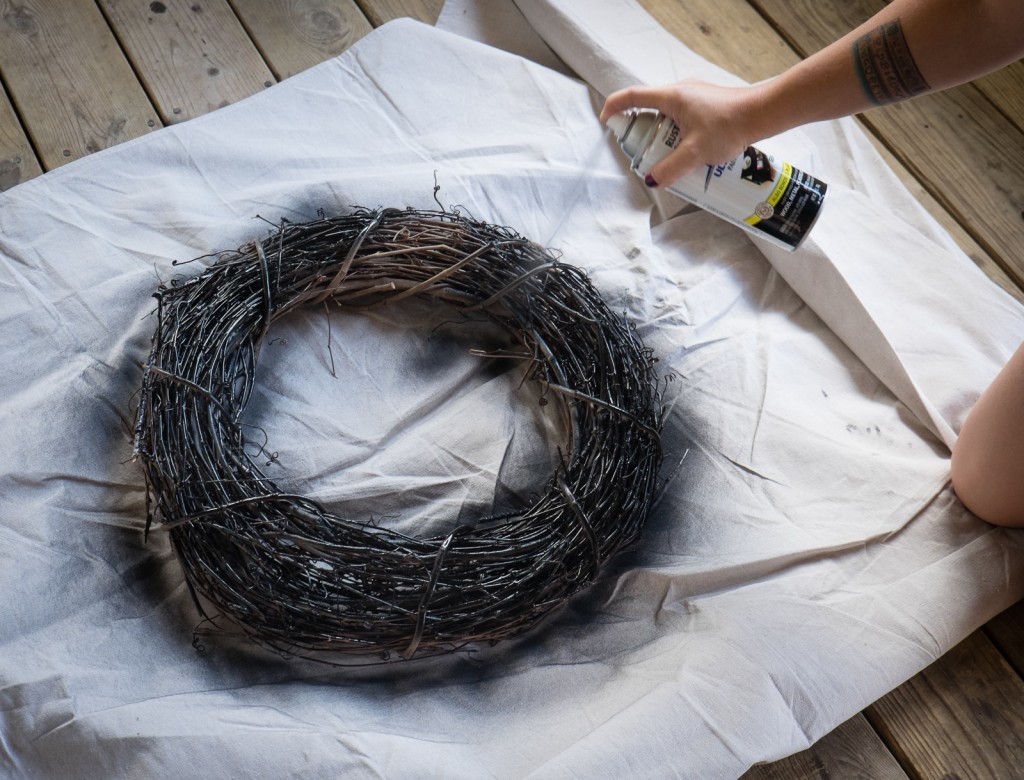
Once your wreath is dry (it doesn’t take long!), get out your felt balls and thread.
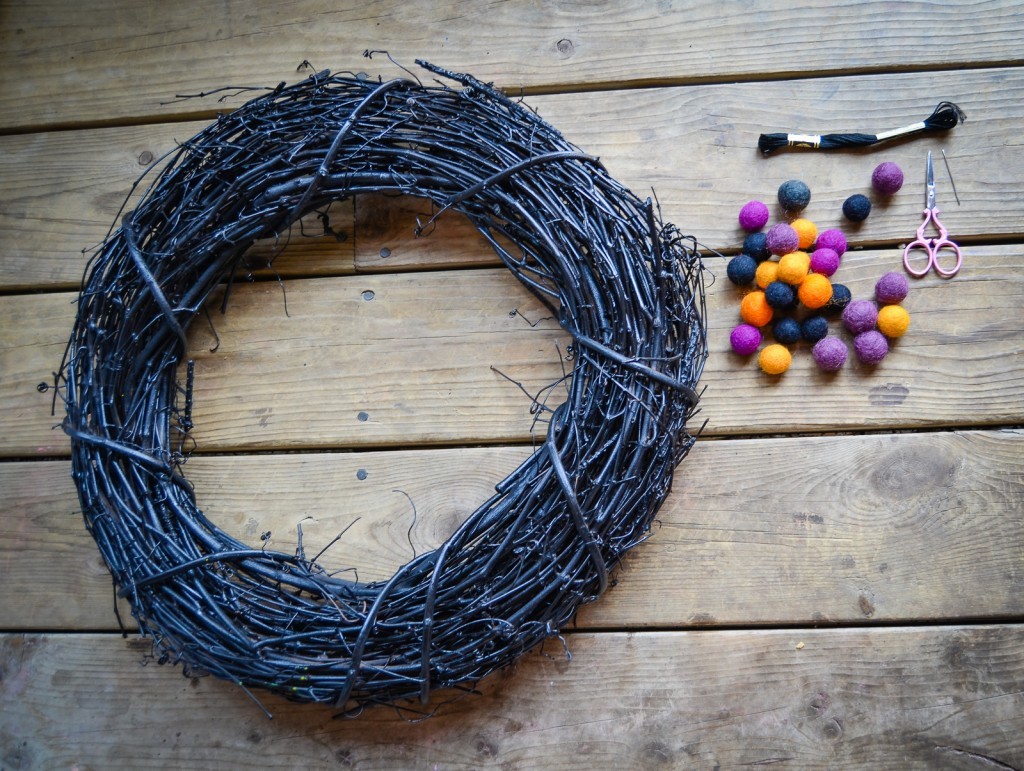
Thread your needle. I love working with felt balls. They’re so easy. Just push the needle through the ball. Continue threading the felt balls until you’ve made your garland as long as you want.


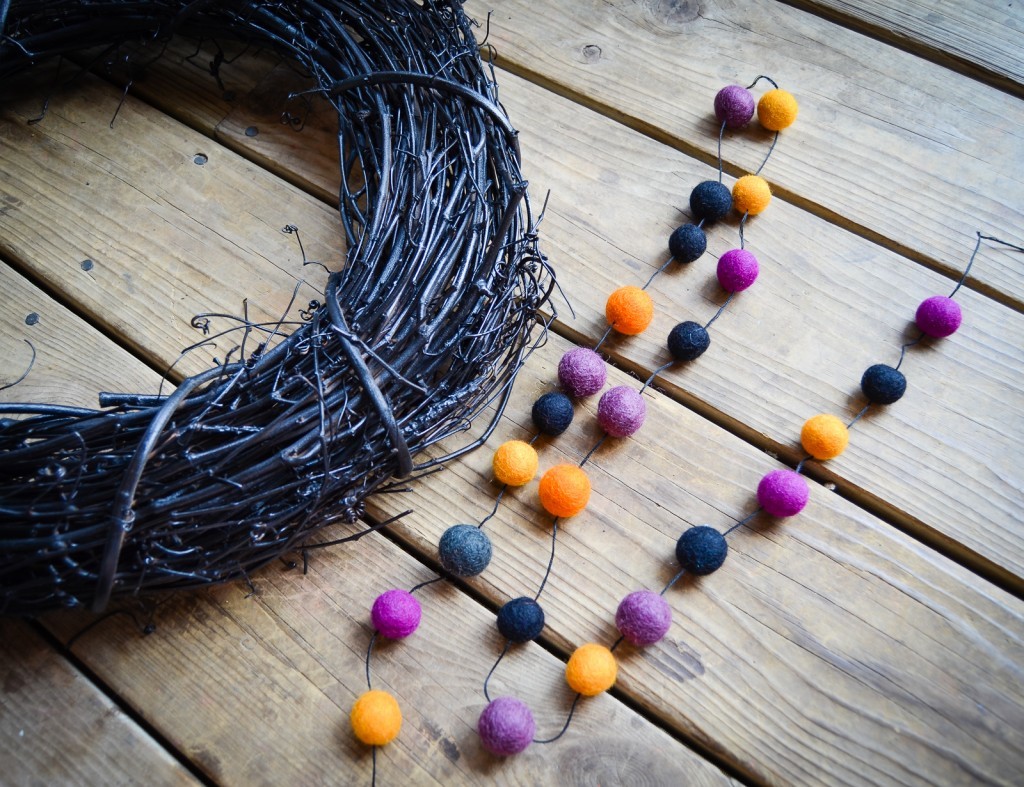
Tie one end of the thread around a bit of the wreath. Grapevine wreaths are awesome to work with when you’re using a light garland because you can just tie and wrap the thread around all the bits that poke out.
Loop your garland back and forth on the wreath until you get the look you want. The felt balls are easy to move along the thread.
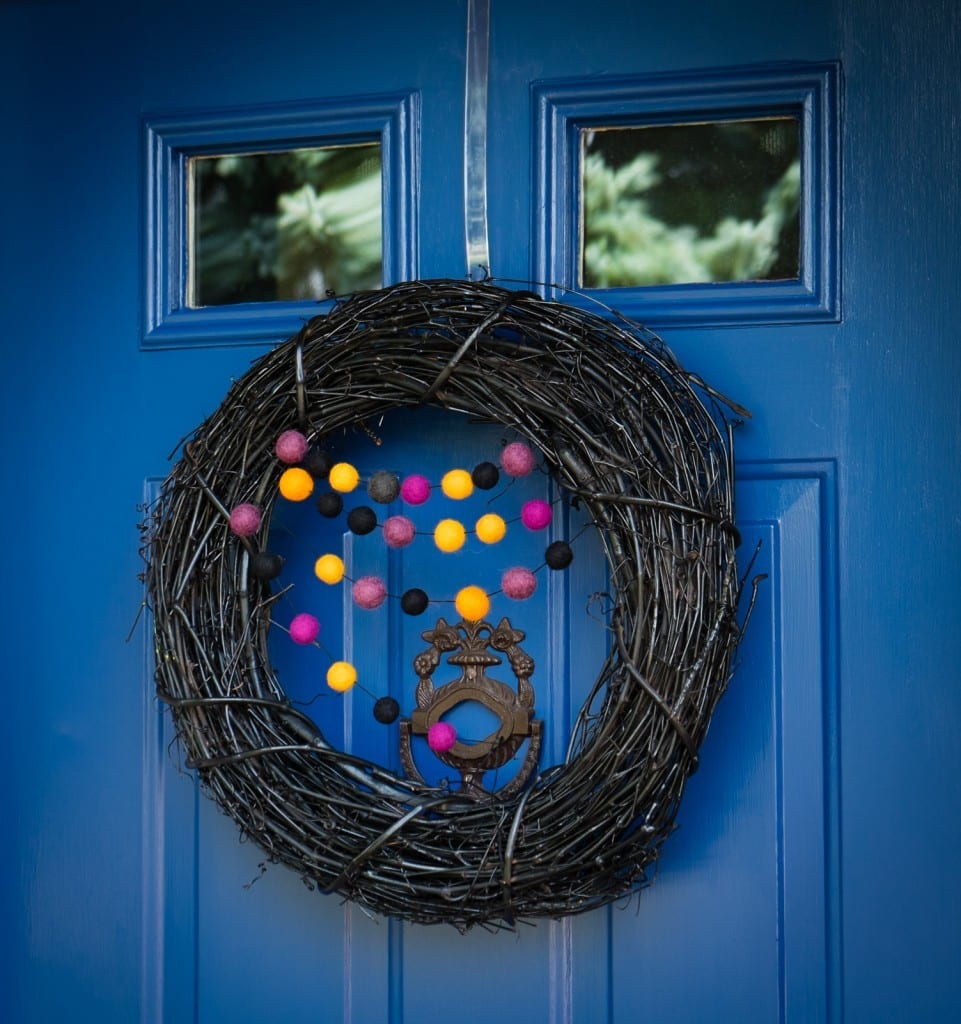
That’s all there is to it!! I love the finished look of this Halloween wreath and especially love how easy it was to make.


3 Comments