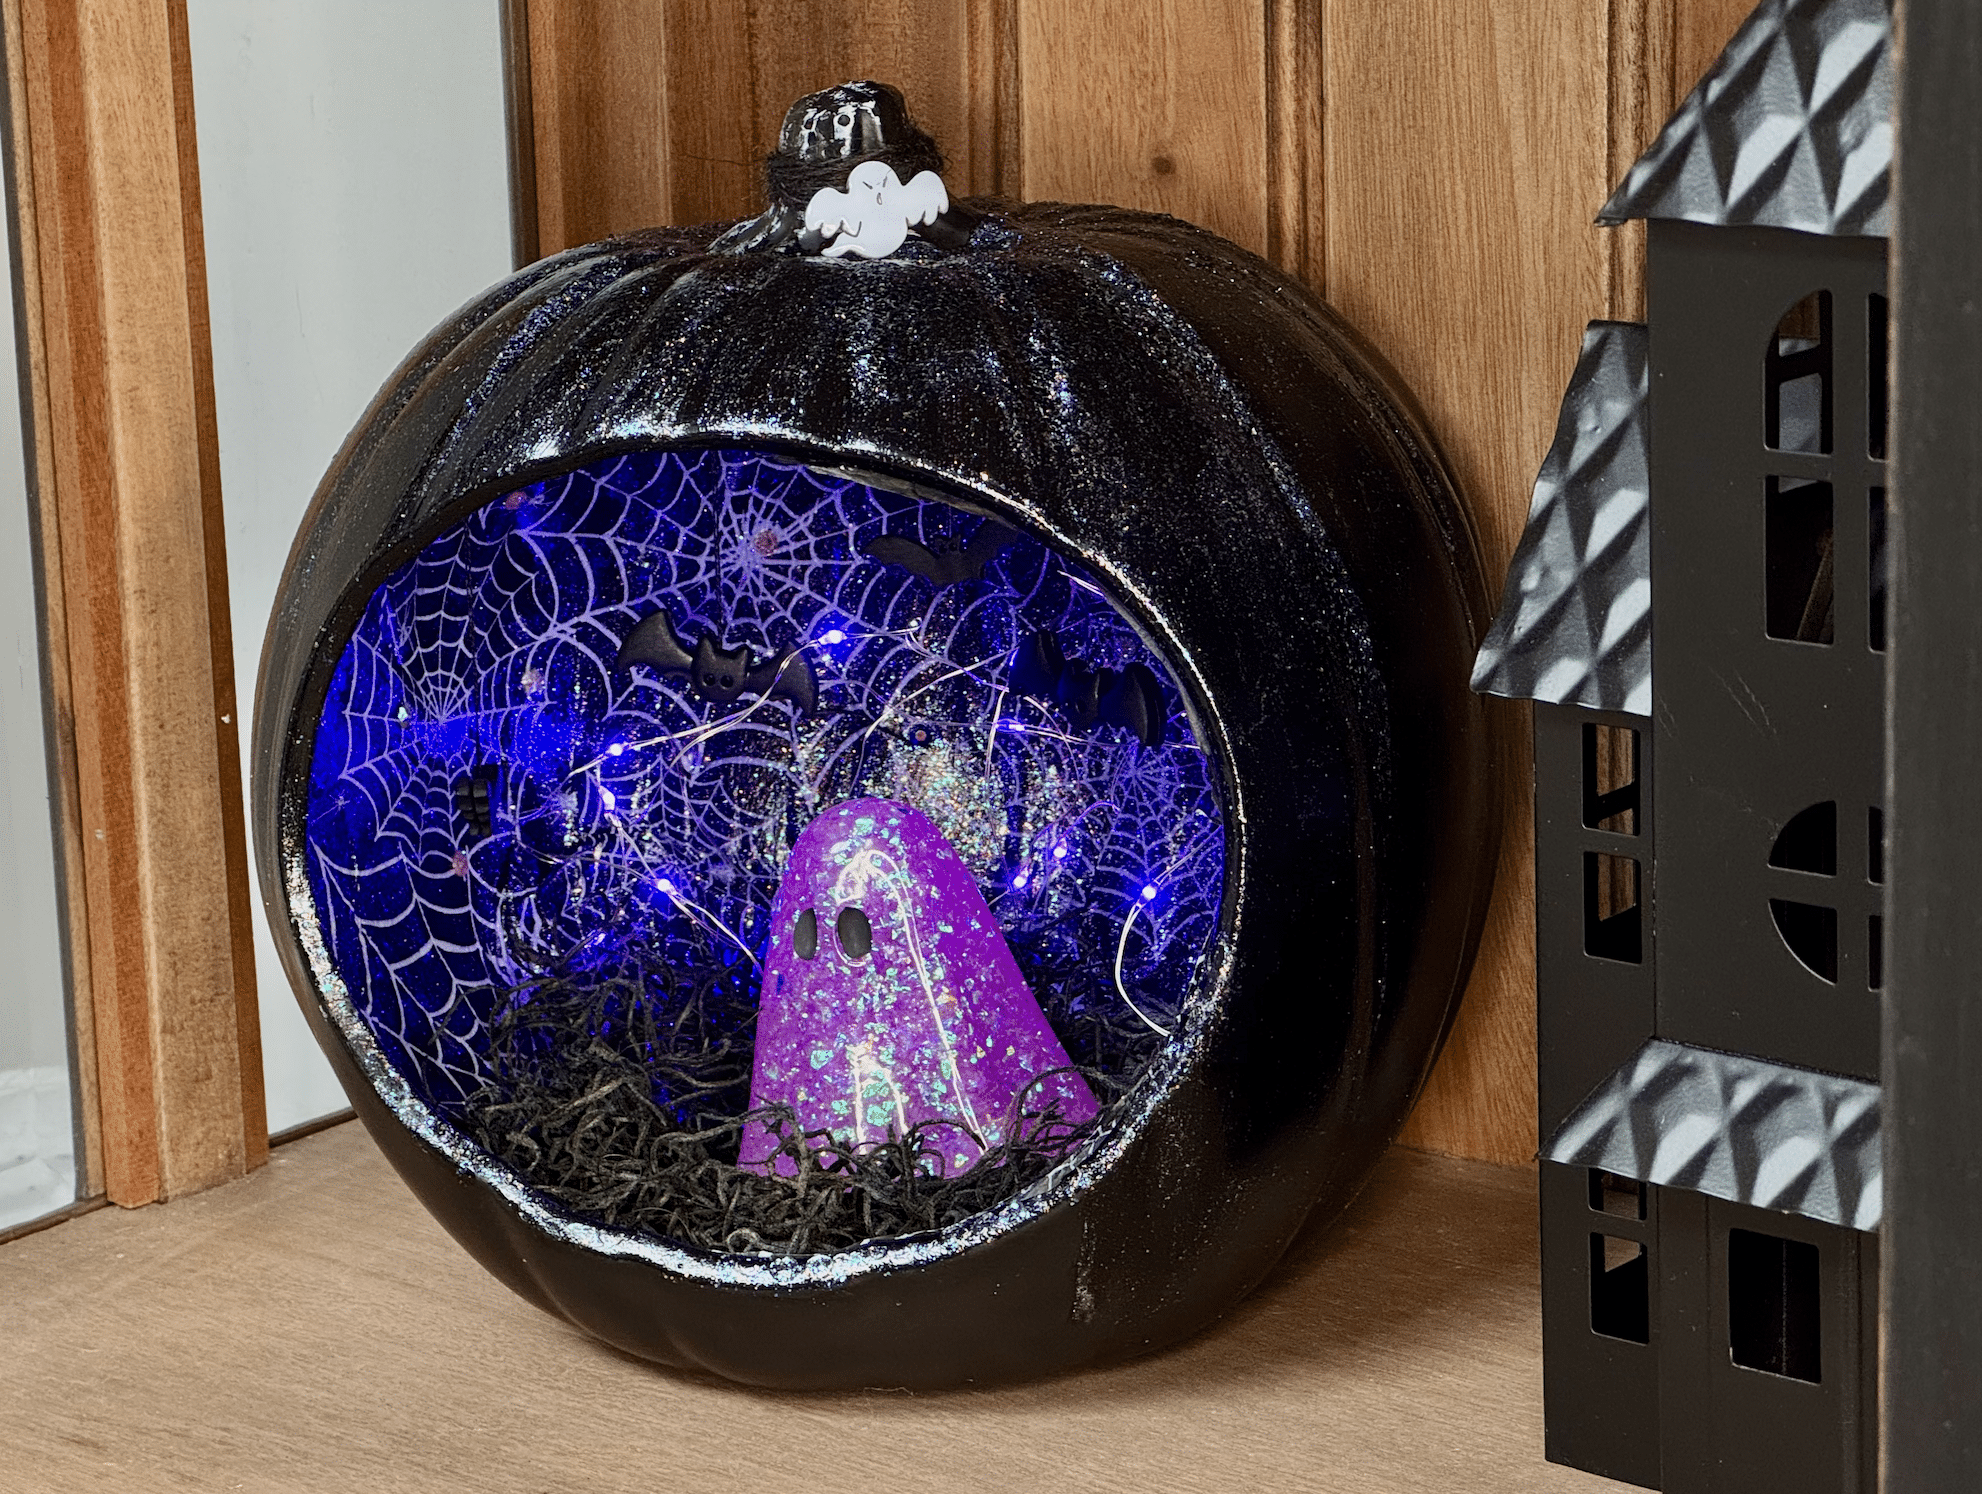
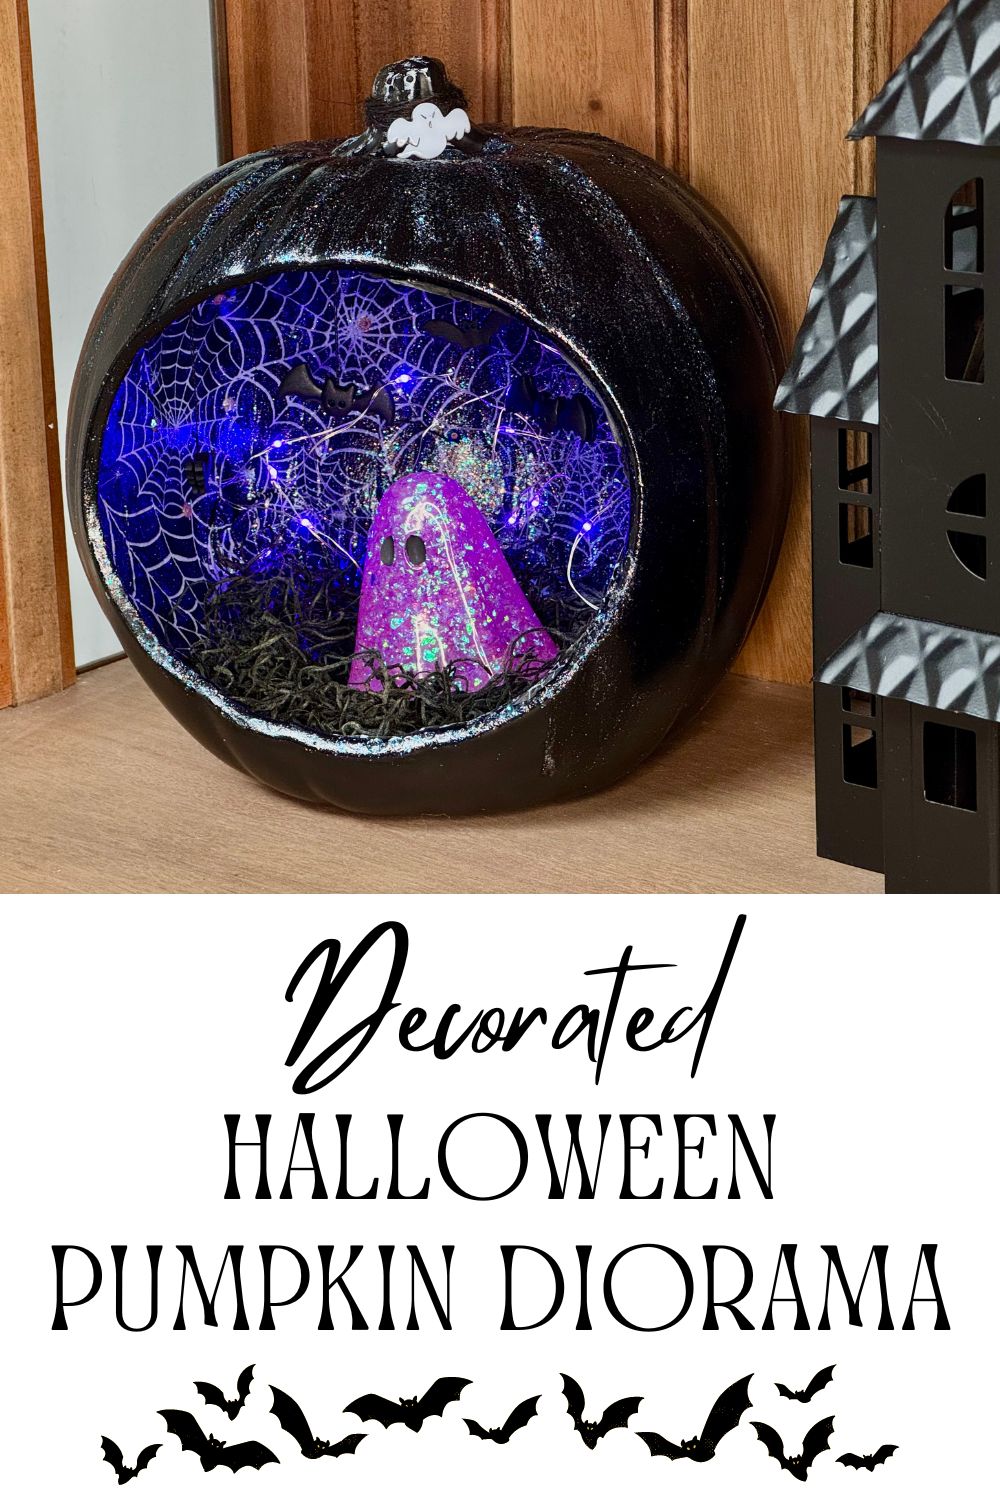
Decorated Halloween Pumpkin Diorama
Seasonal dioramas are one of my favorite things to make but I don’t do it all that often–I’m not sure why. When I saw these great bat buttons from Buttons Galore and More, I knew I wanted to have them “fly”, but I wasn’t immediately sure how I was going to make that happen. This fun decorated Halloween pumpkin diorama came to be bit by bit and I absolutely love the end result!
This post contains sponsored content and affiliate links.
Supplies:
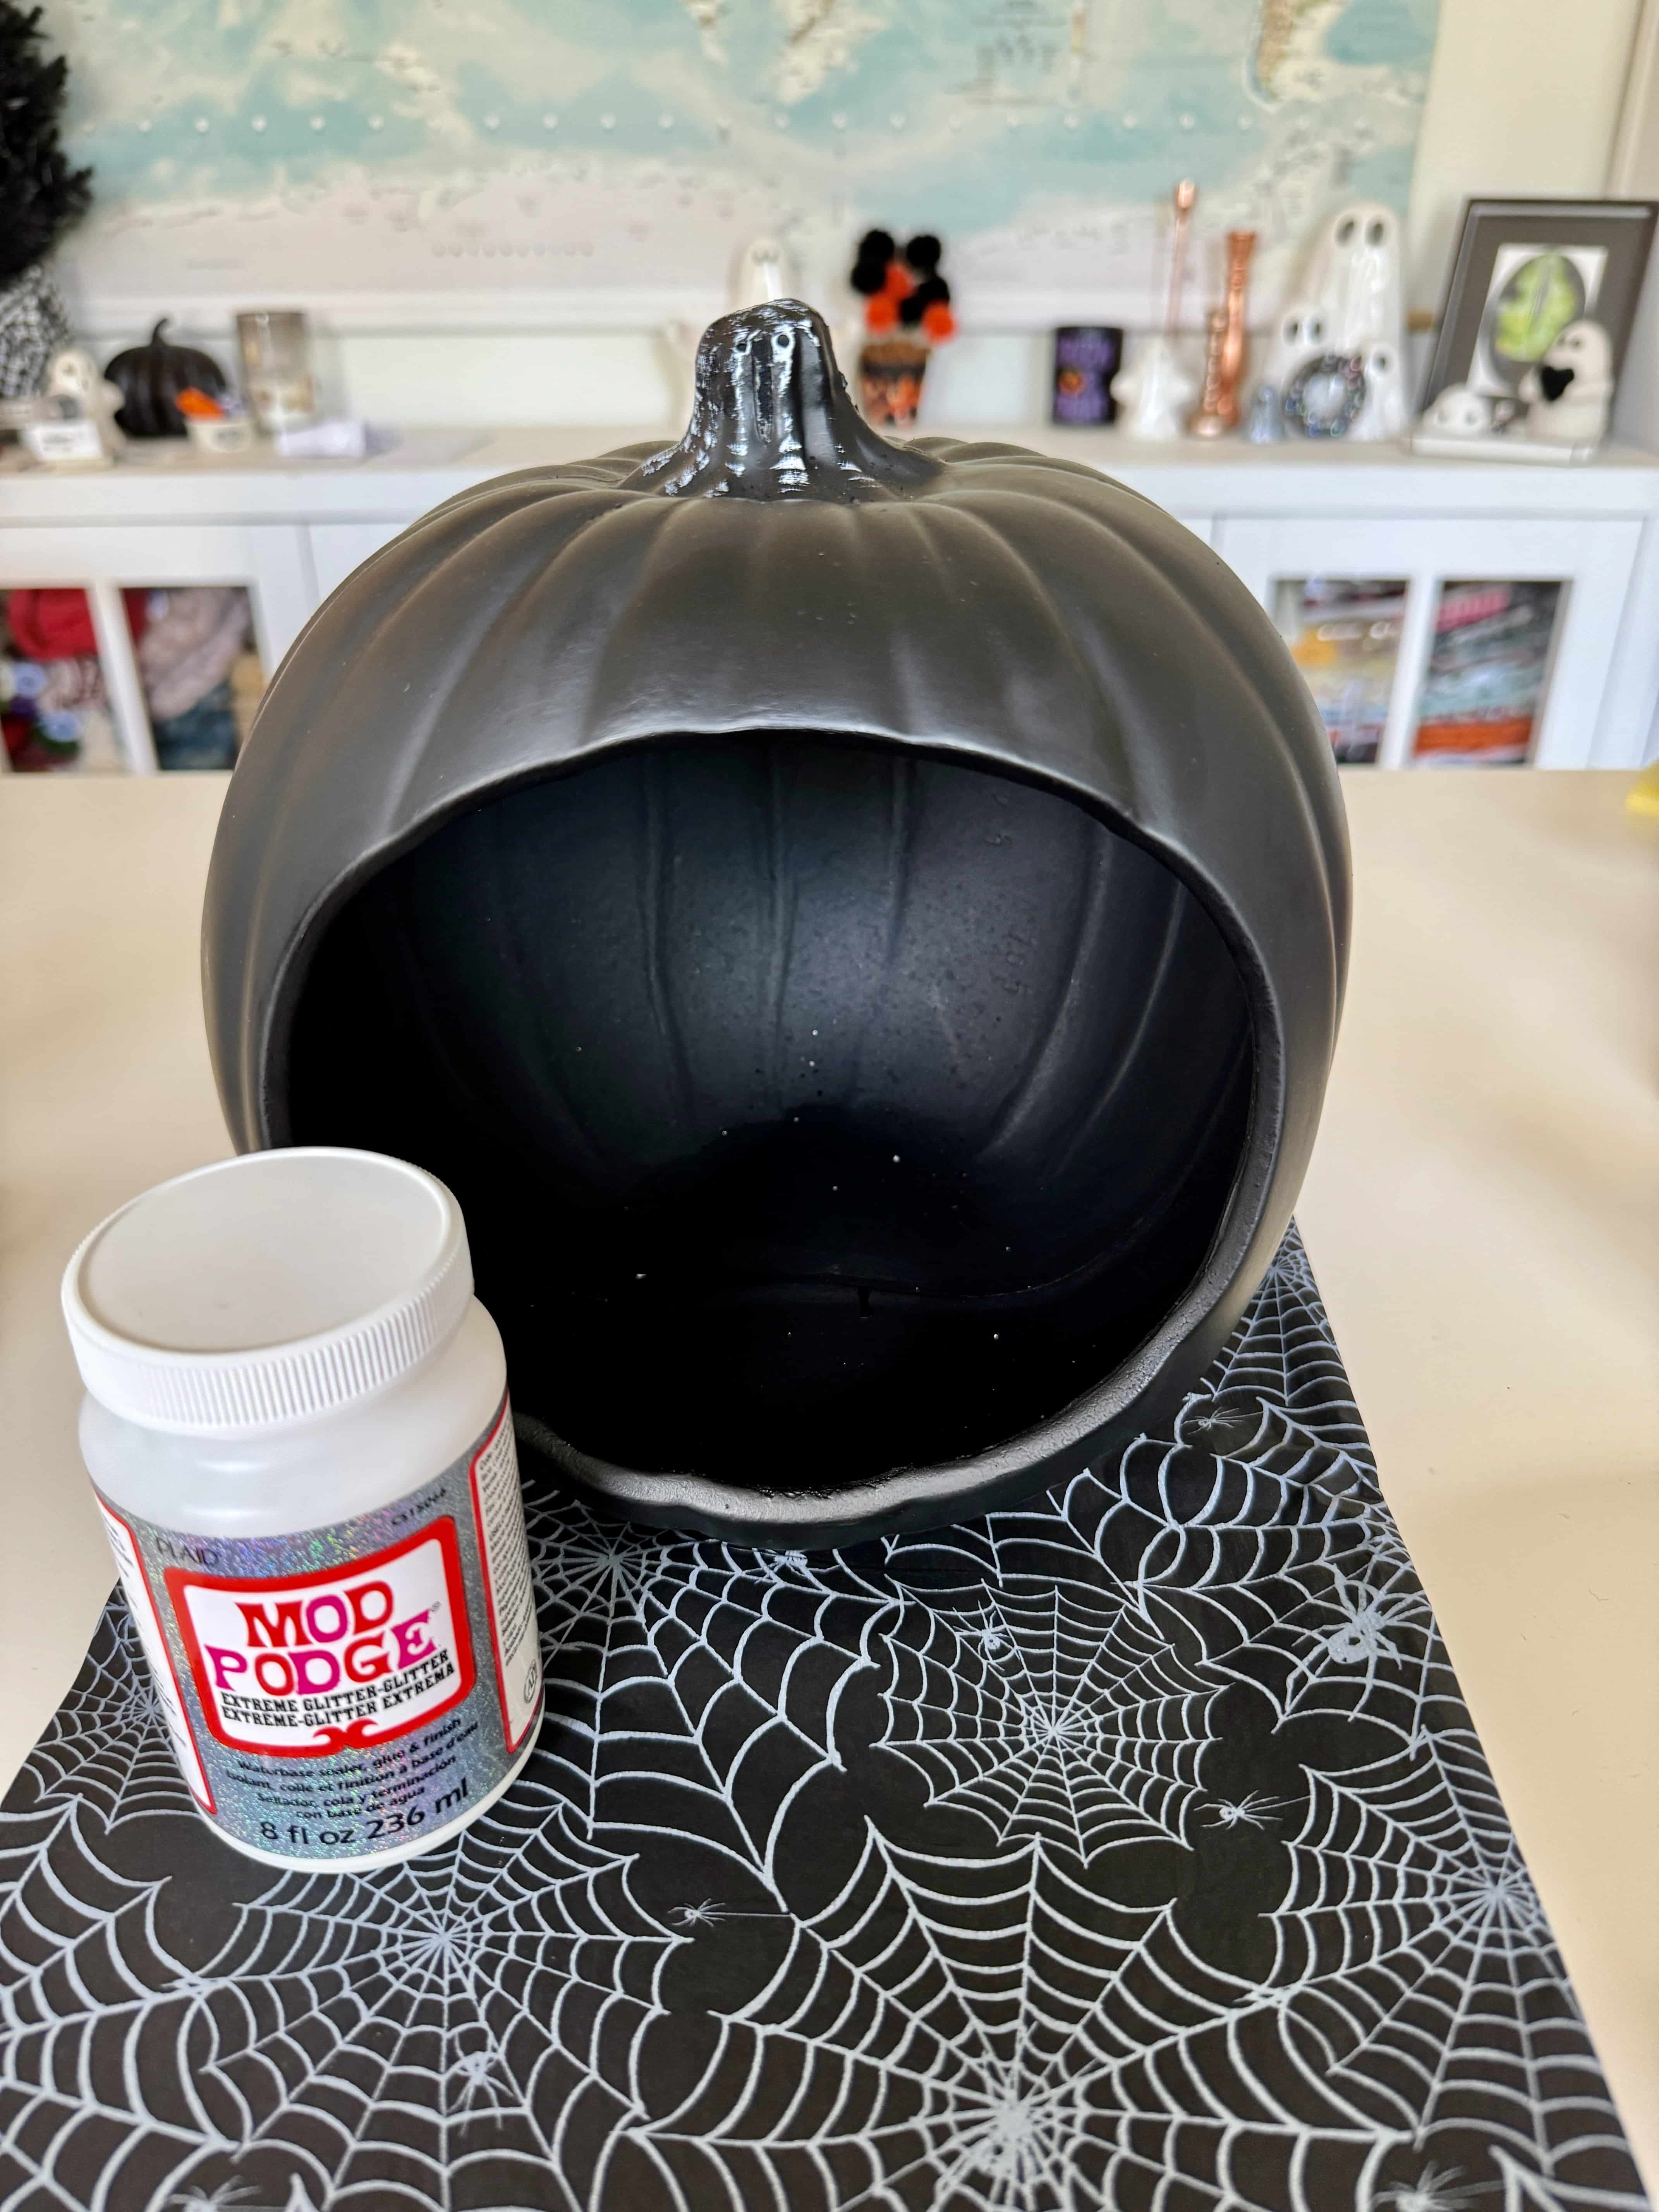
- black diorama pumpkin
- spiderweb tissue paper
- glitter Mod Podge
- paint brush
- string (mine was just scrap)
- ghost button from the Graveyard pack
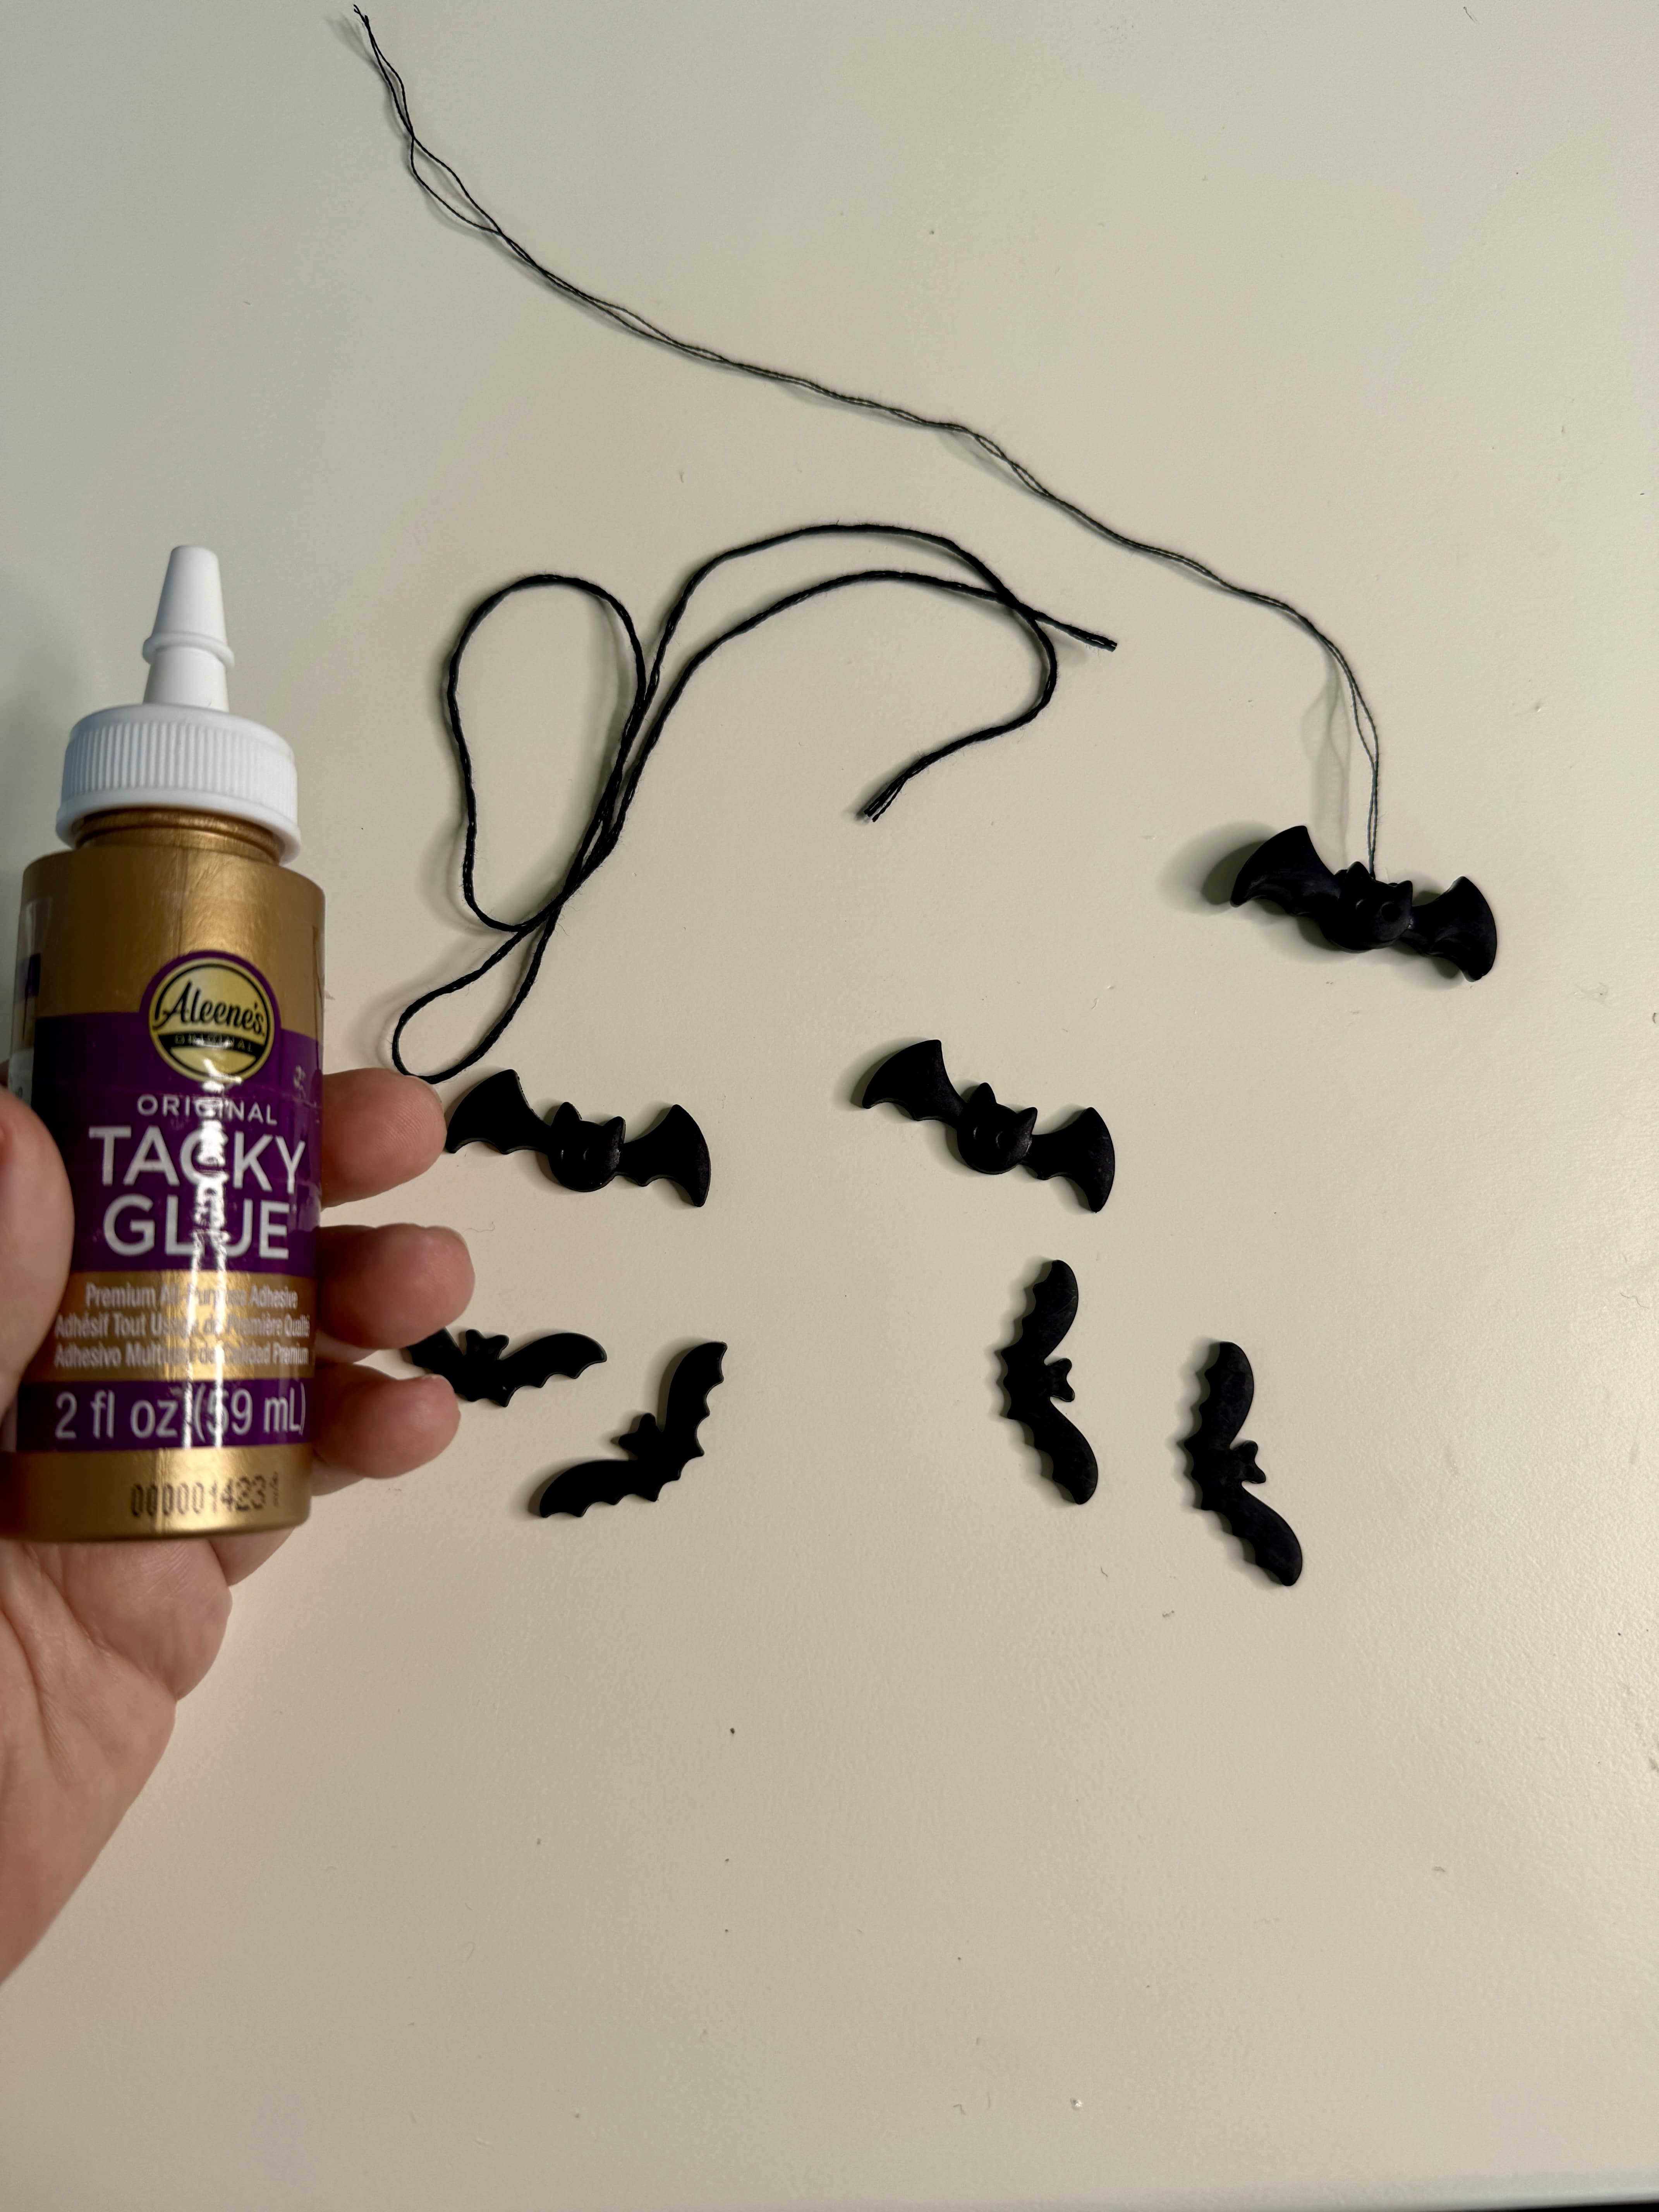
- Aleene’s Tacky Glue
- bat buttons
- black thread
- Mischief Night Sparkletz
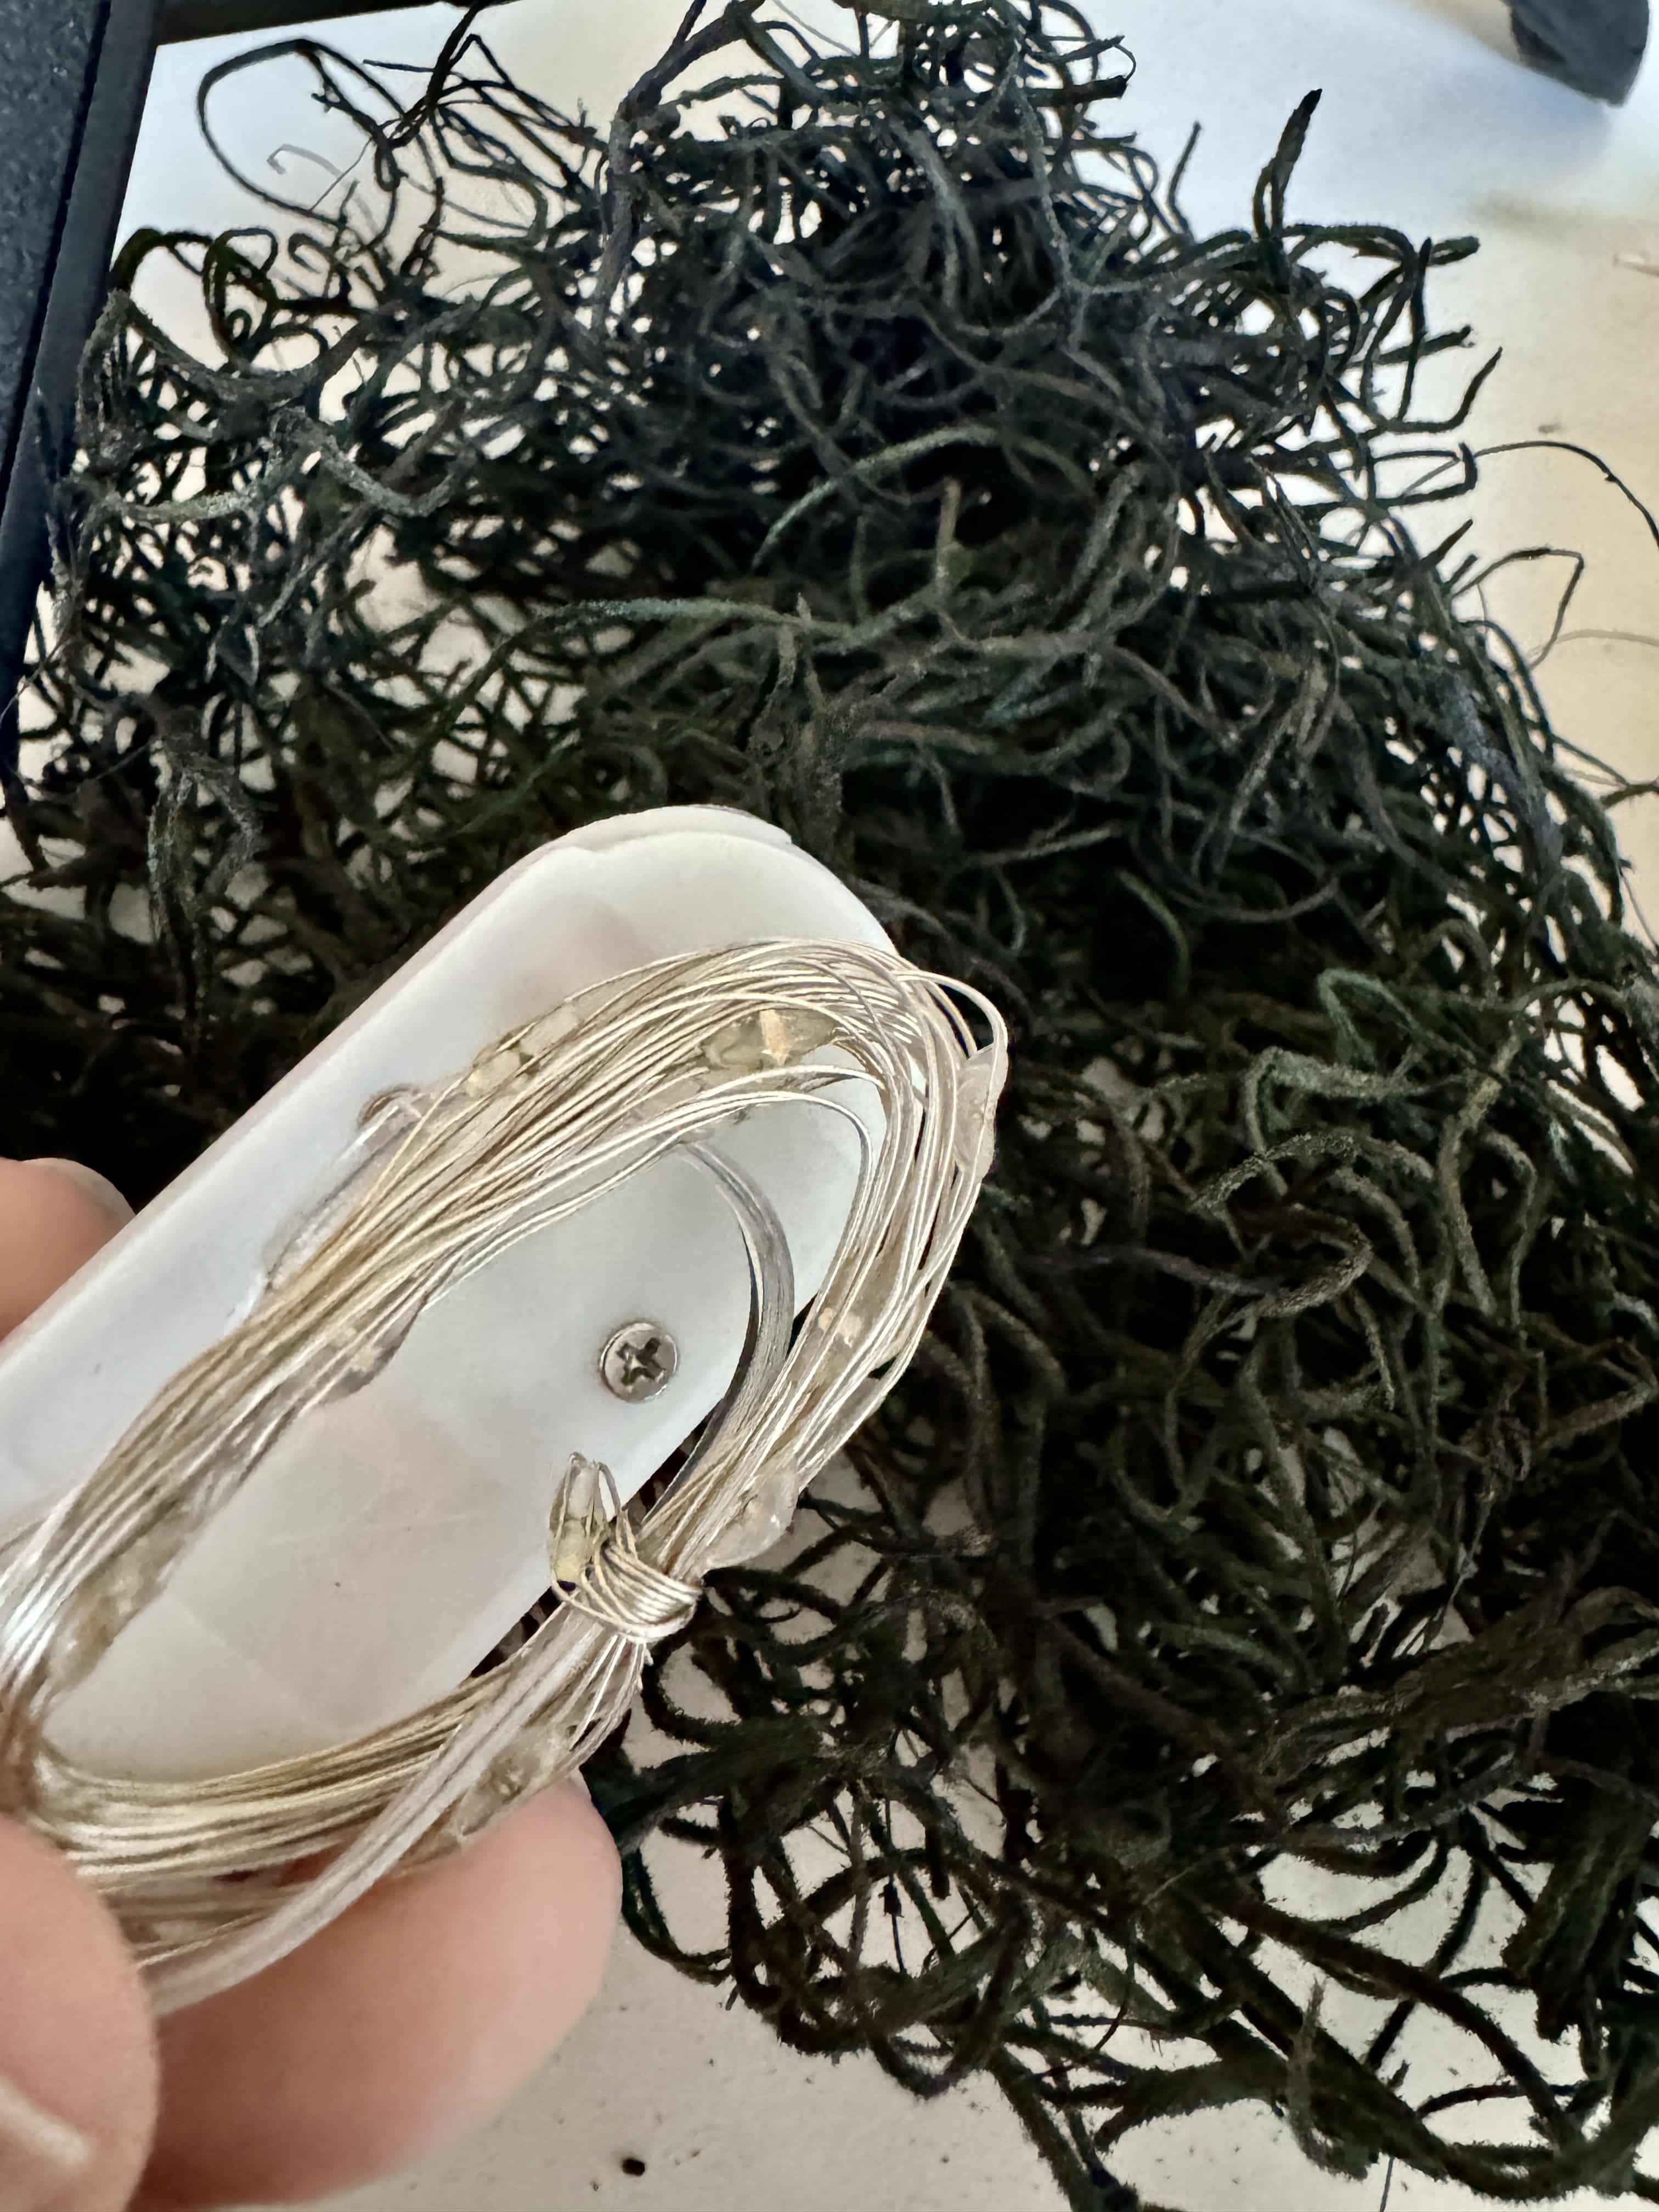
- black moss
- ghost or Halloween prop (I made a resin ghost)
- purple lights
Directions:
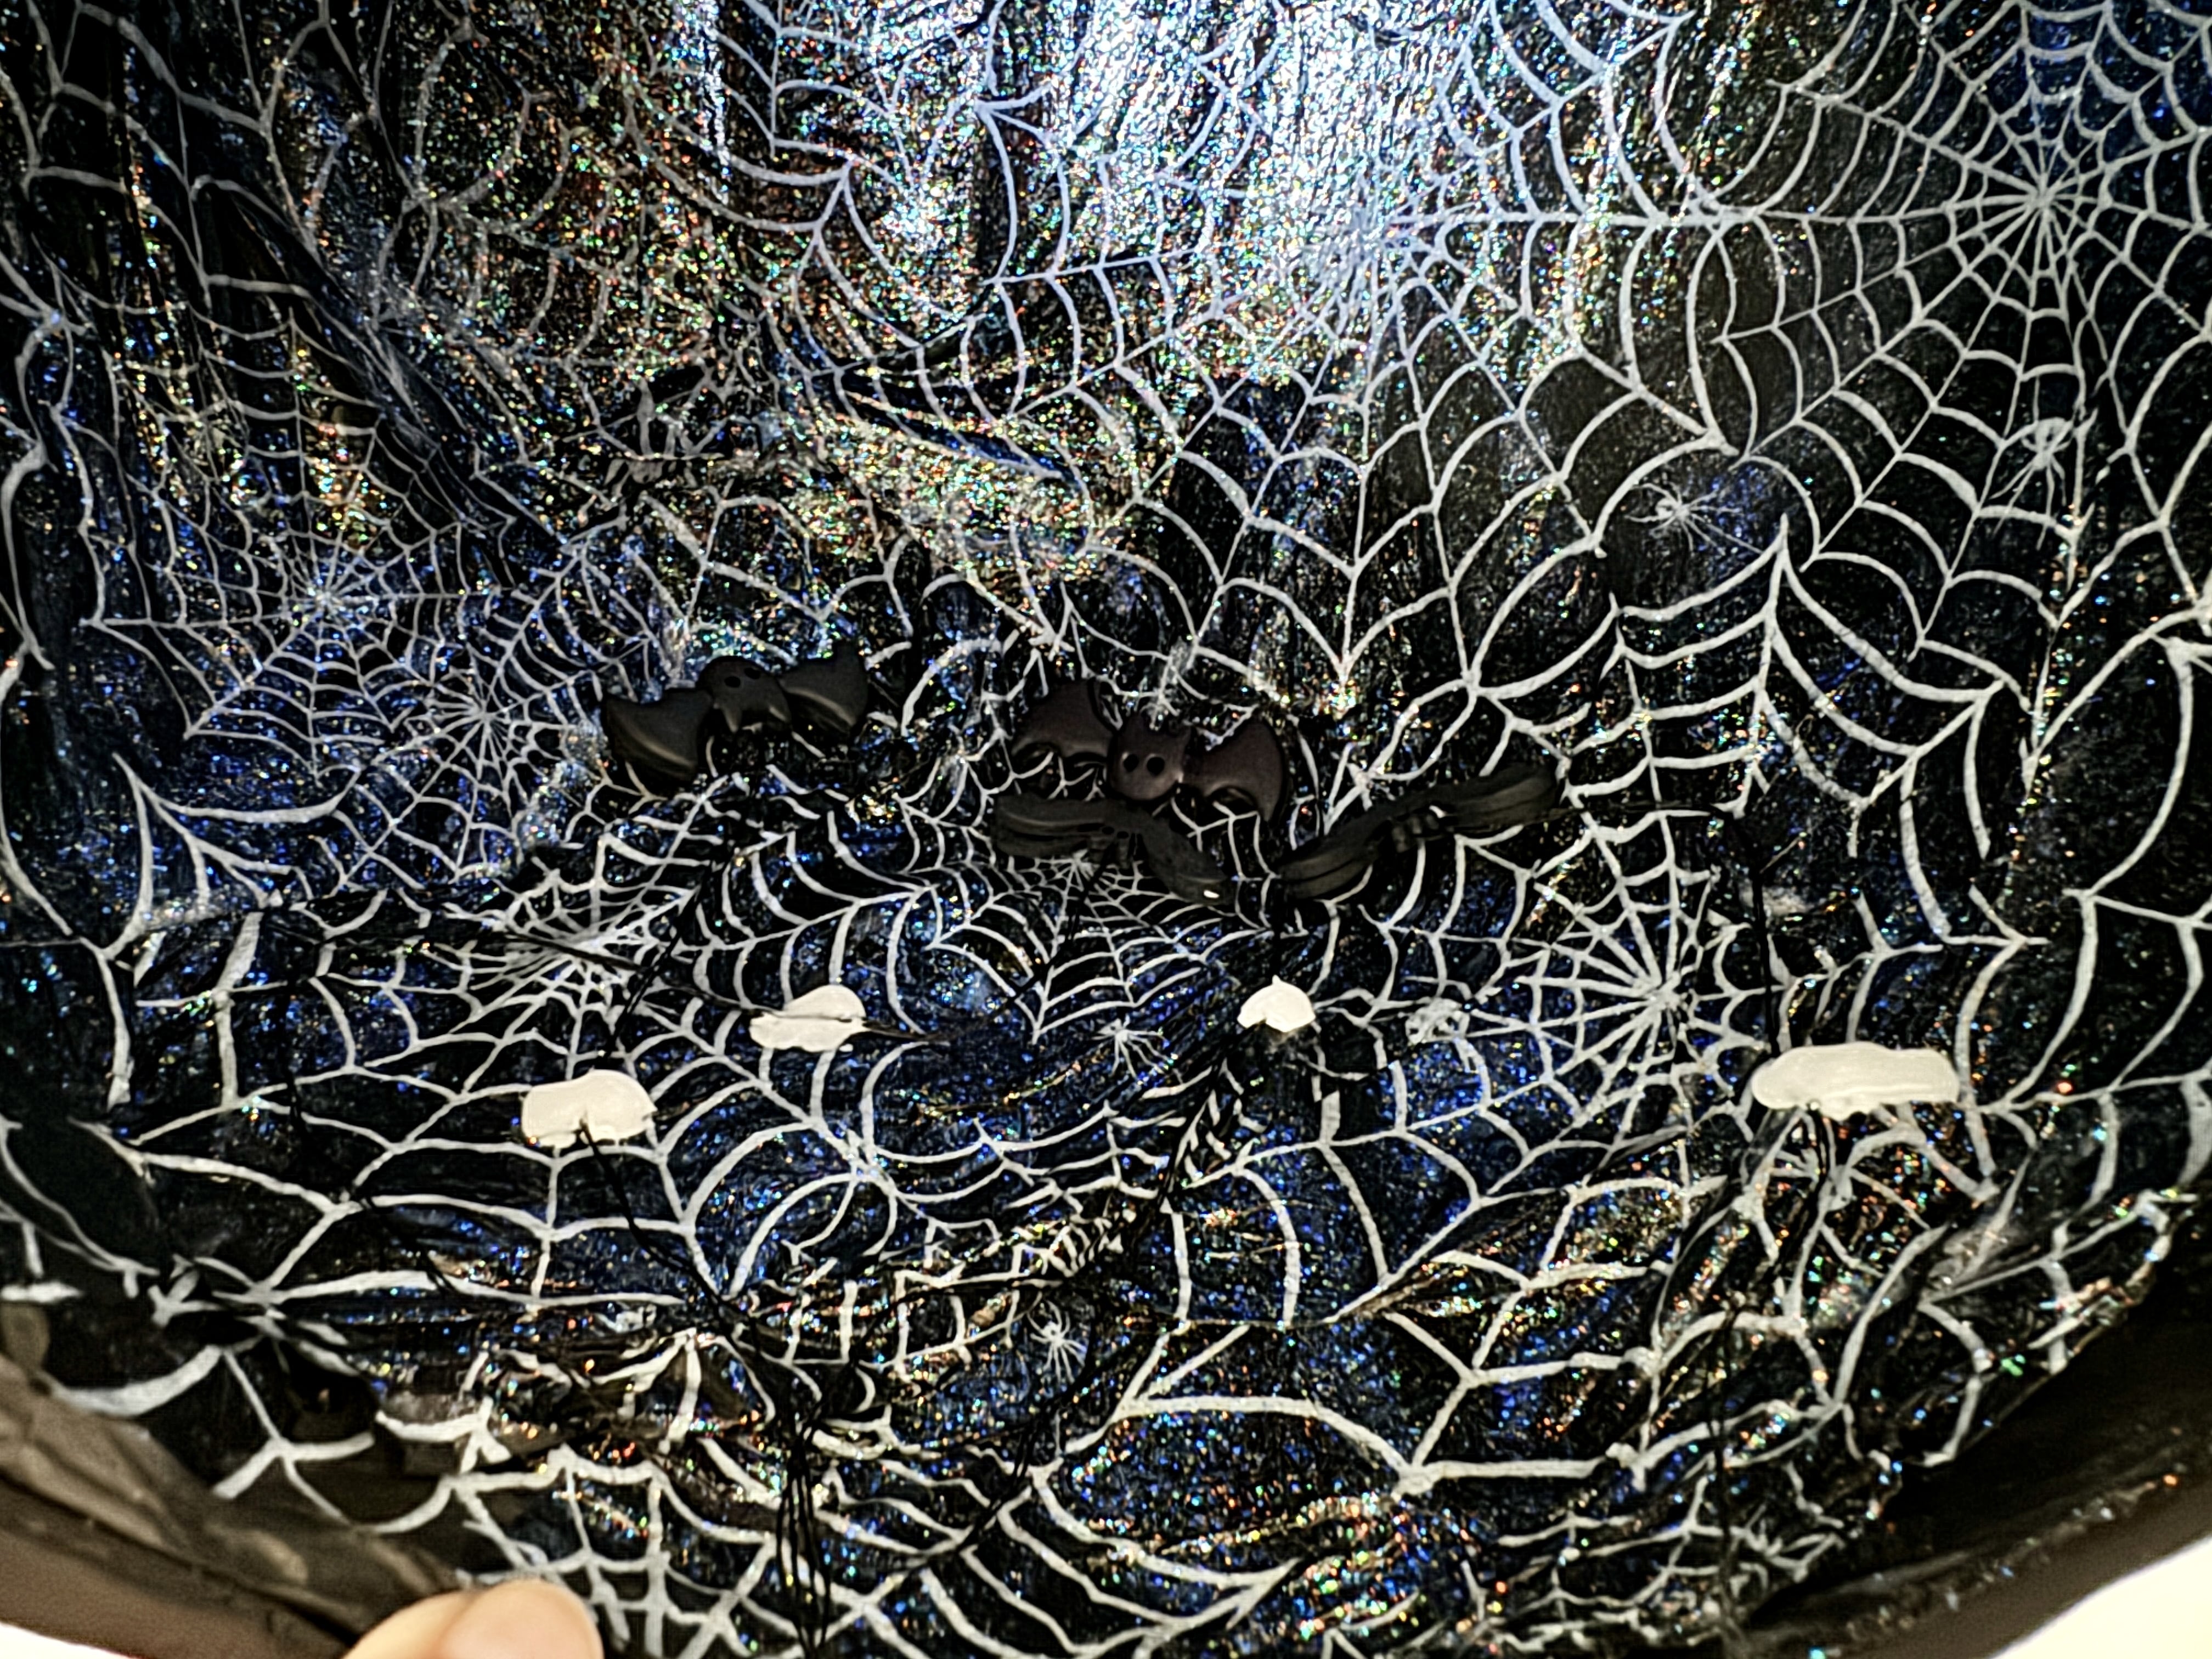
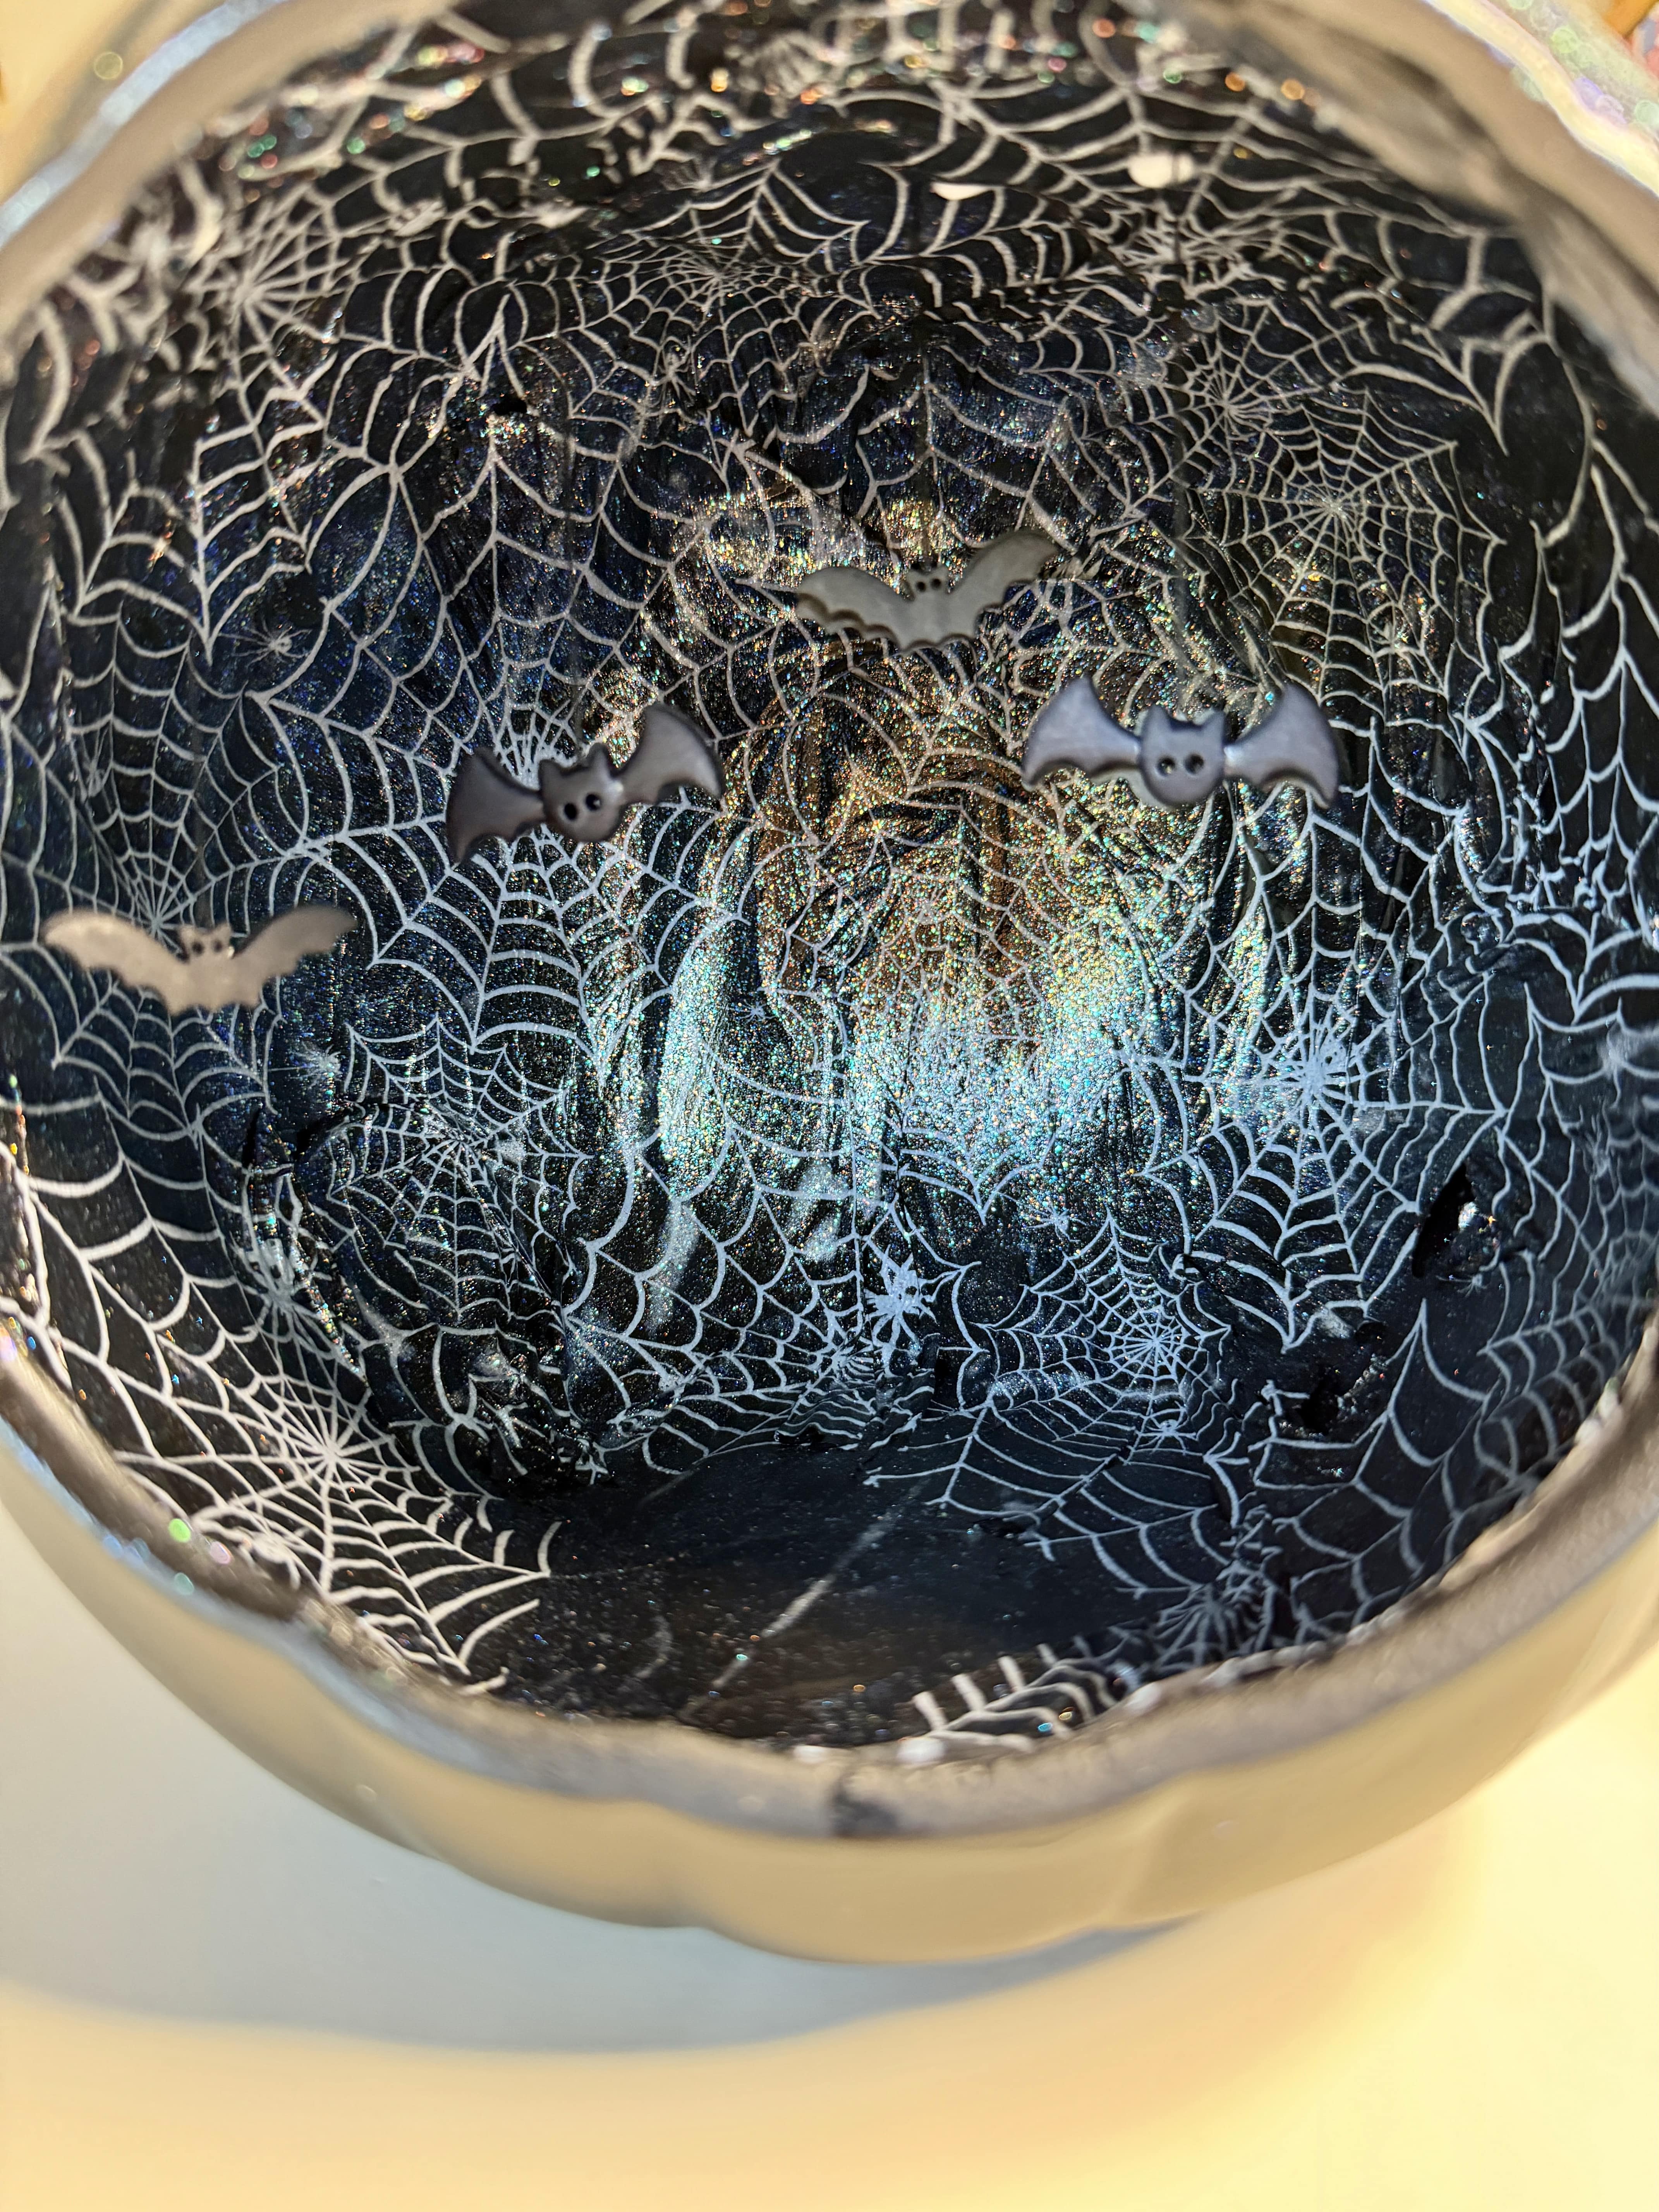
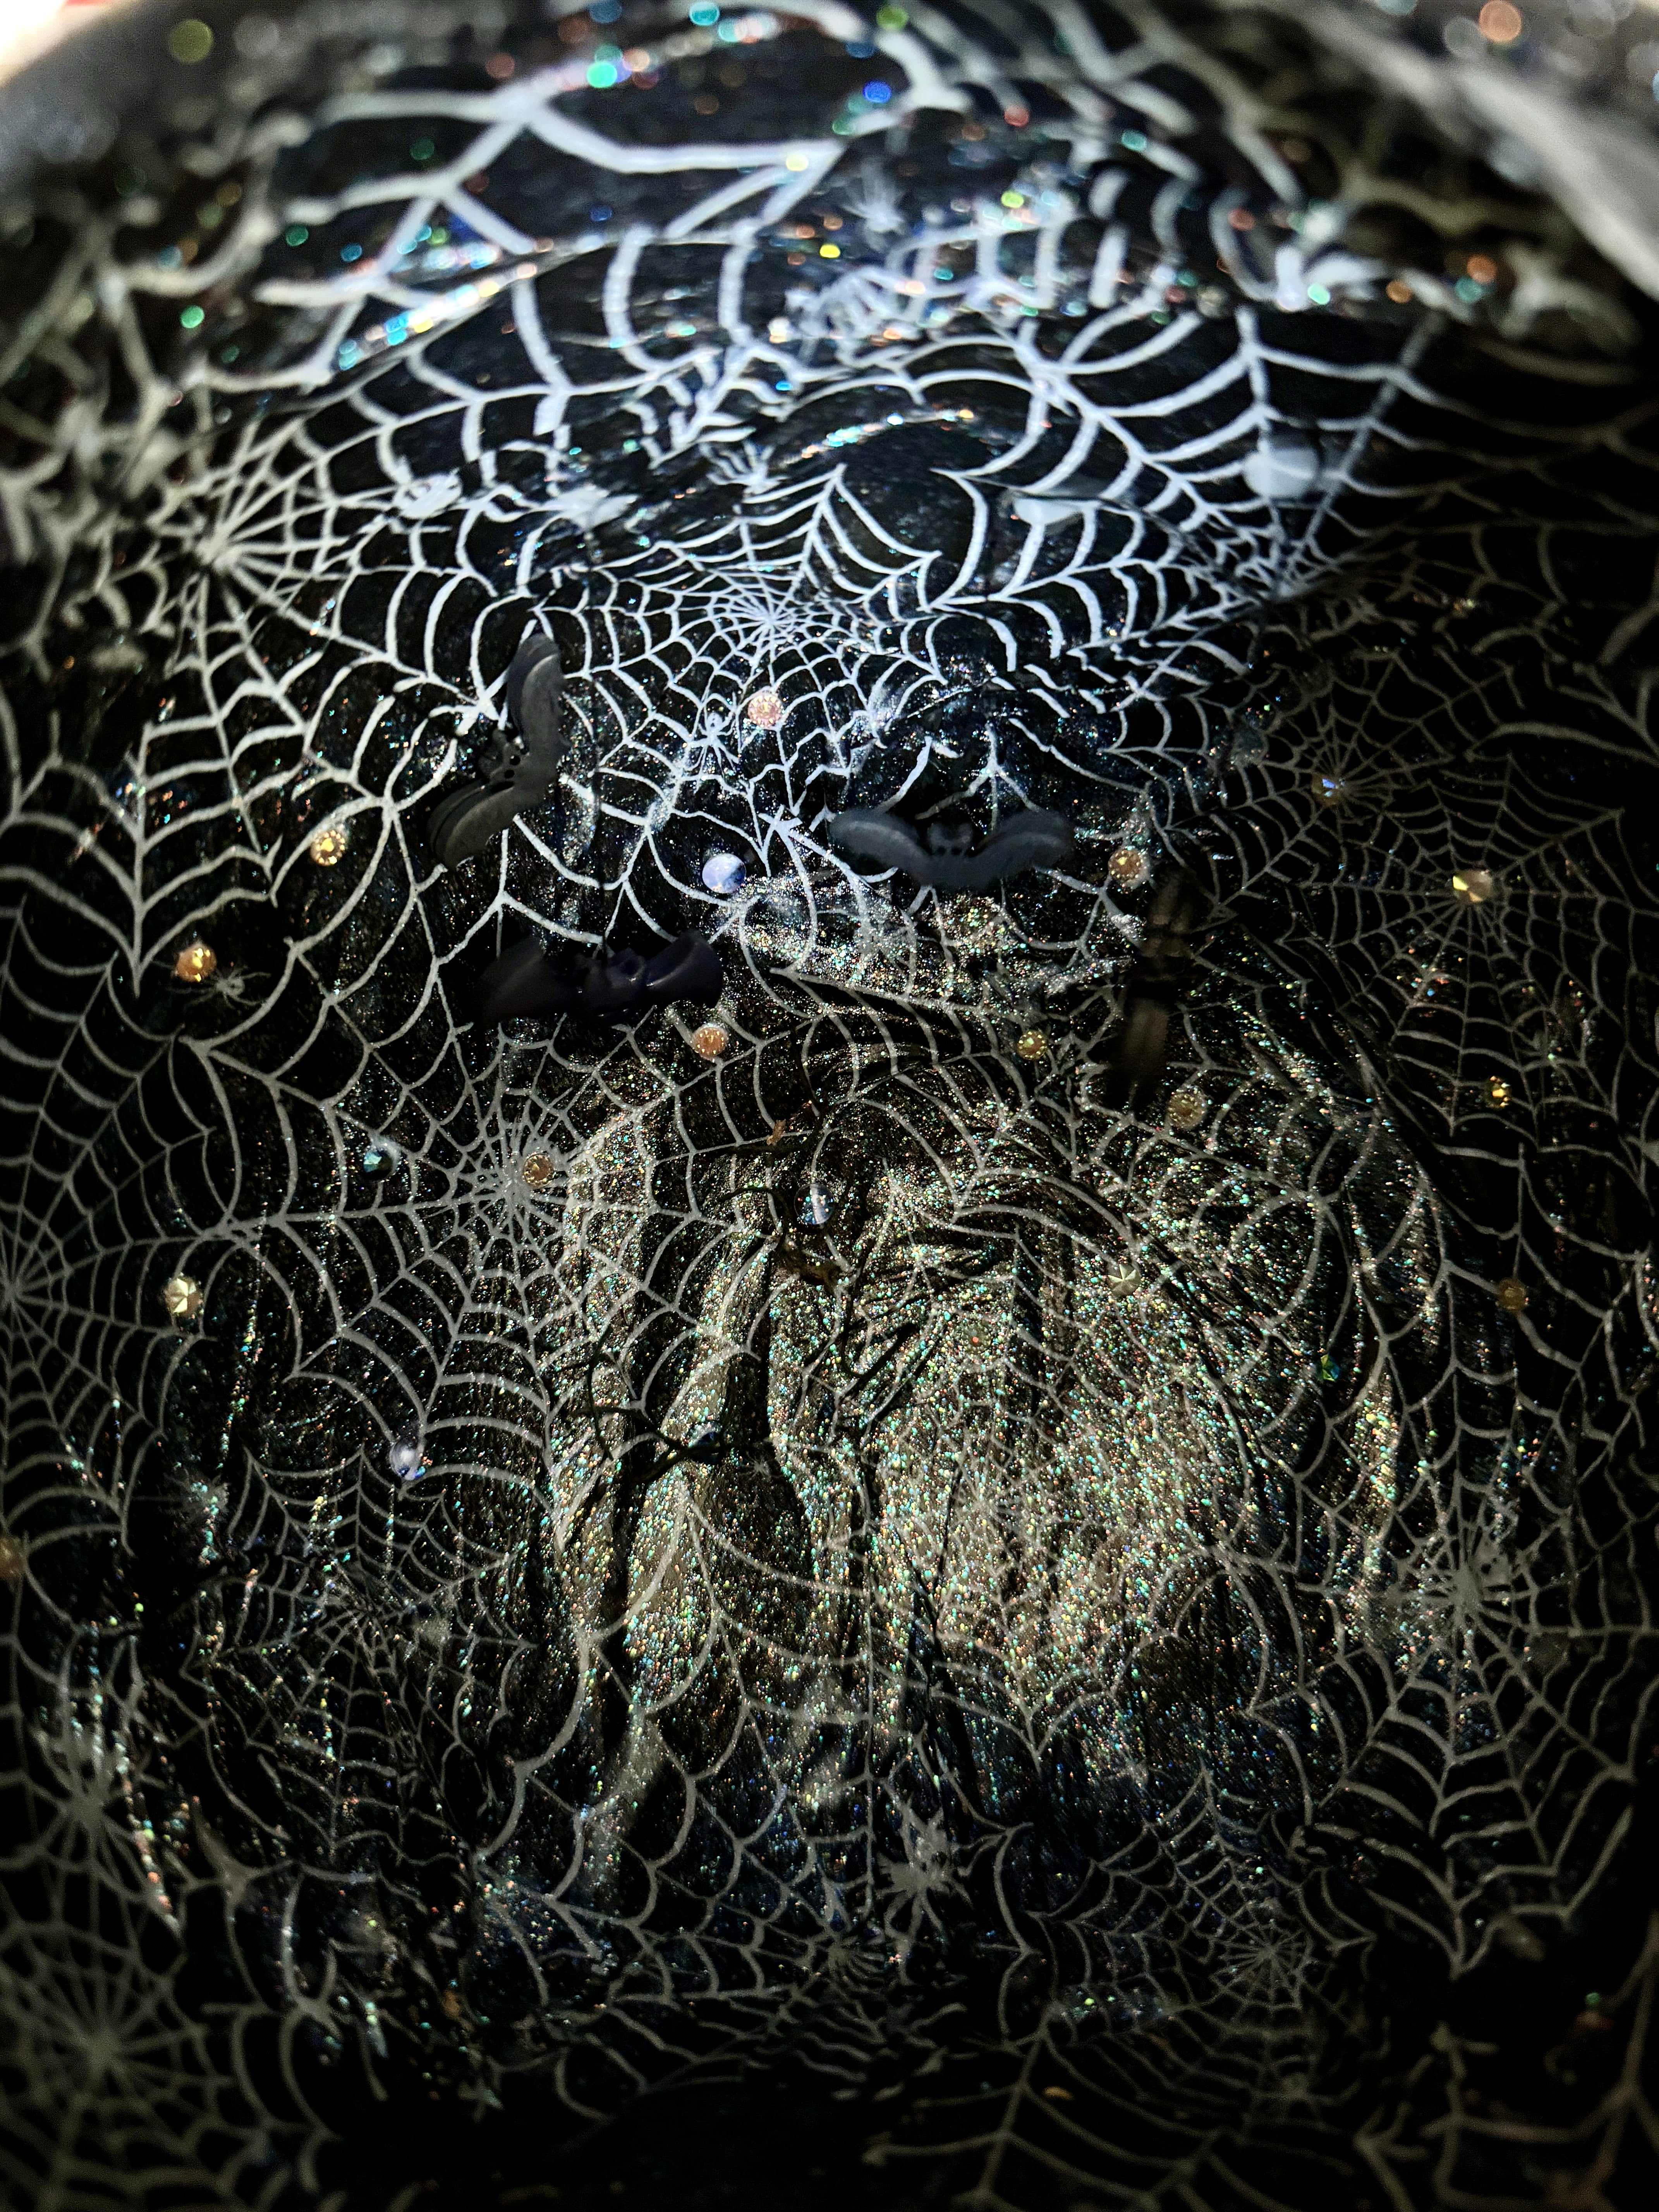
Attach the tissue paper top the inside of the pumpkin using the glitter Mod Podge. Paint the outside of the pumpkin with the Mod Podge as well.
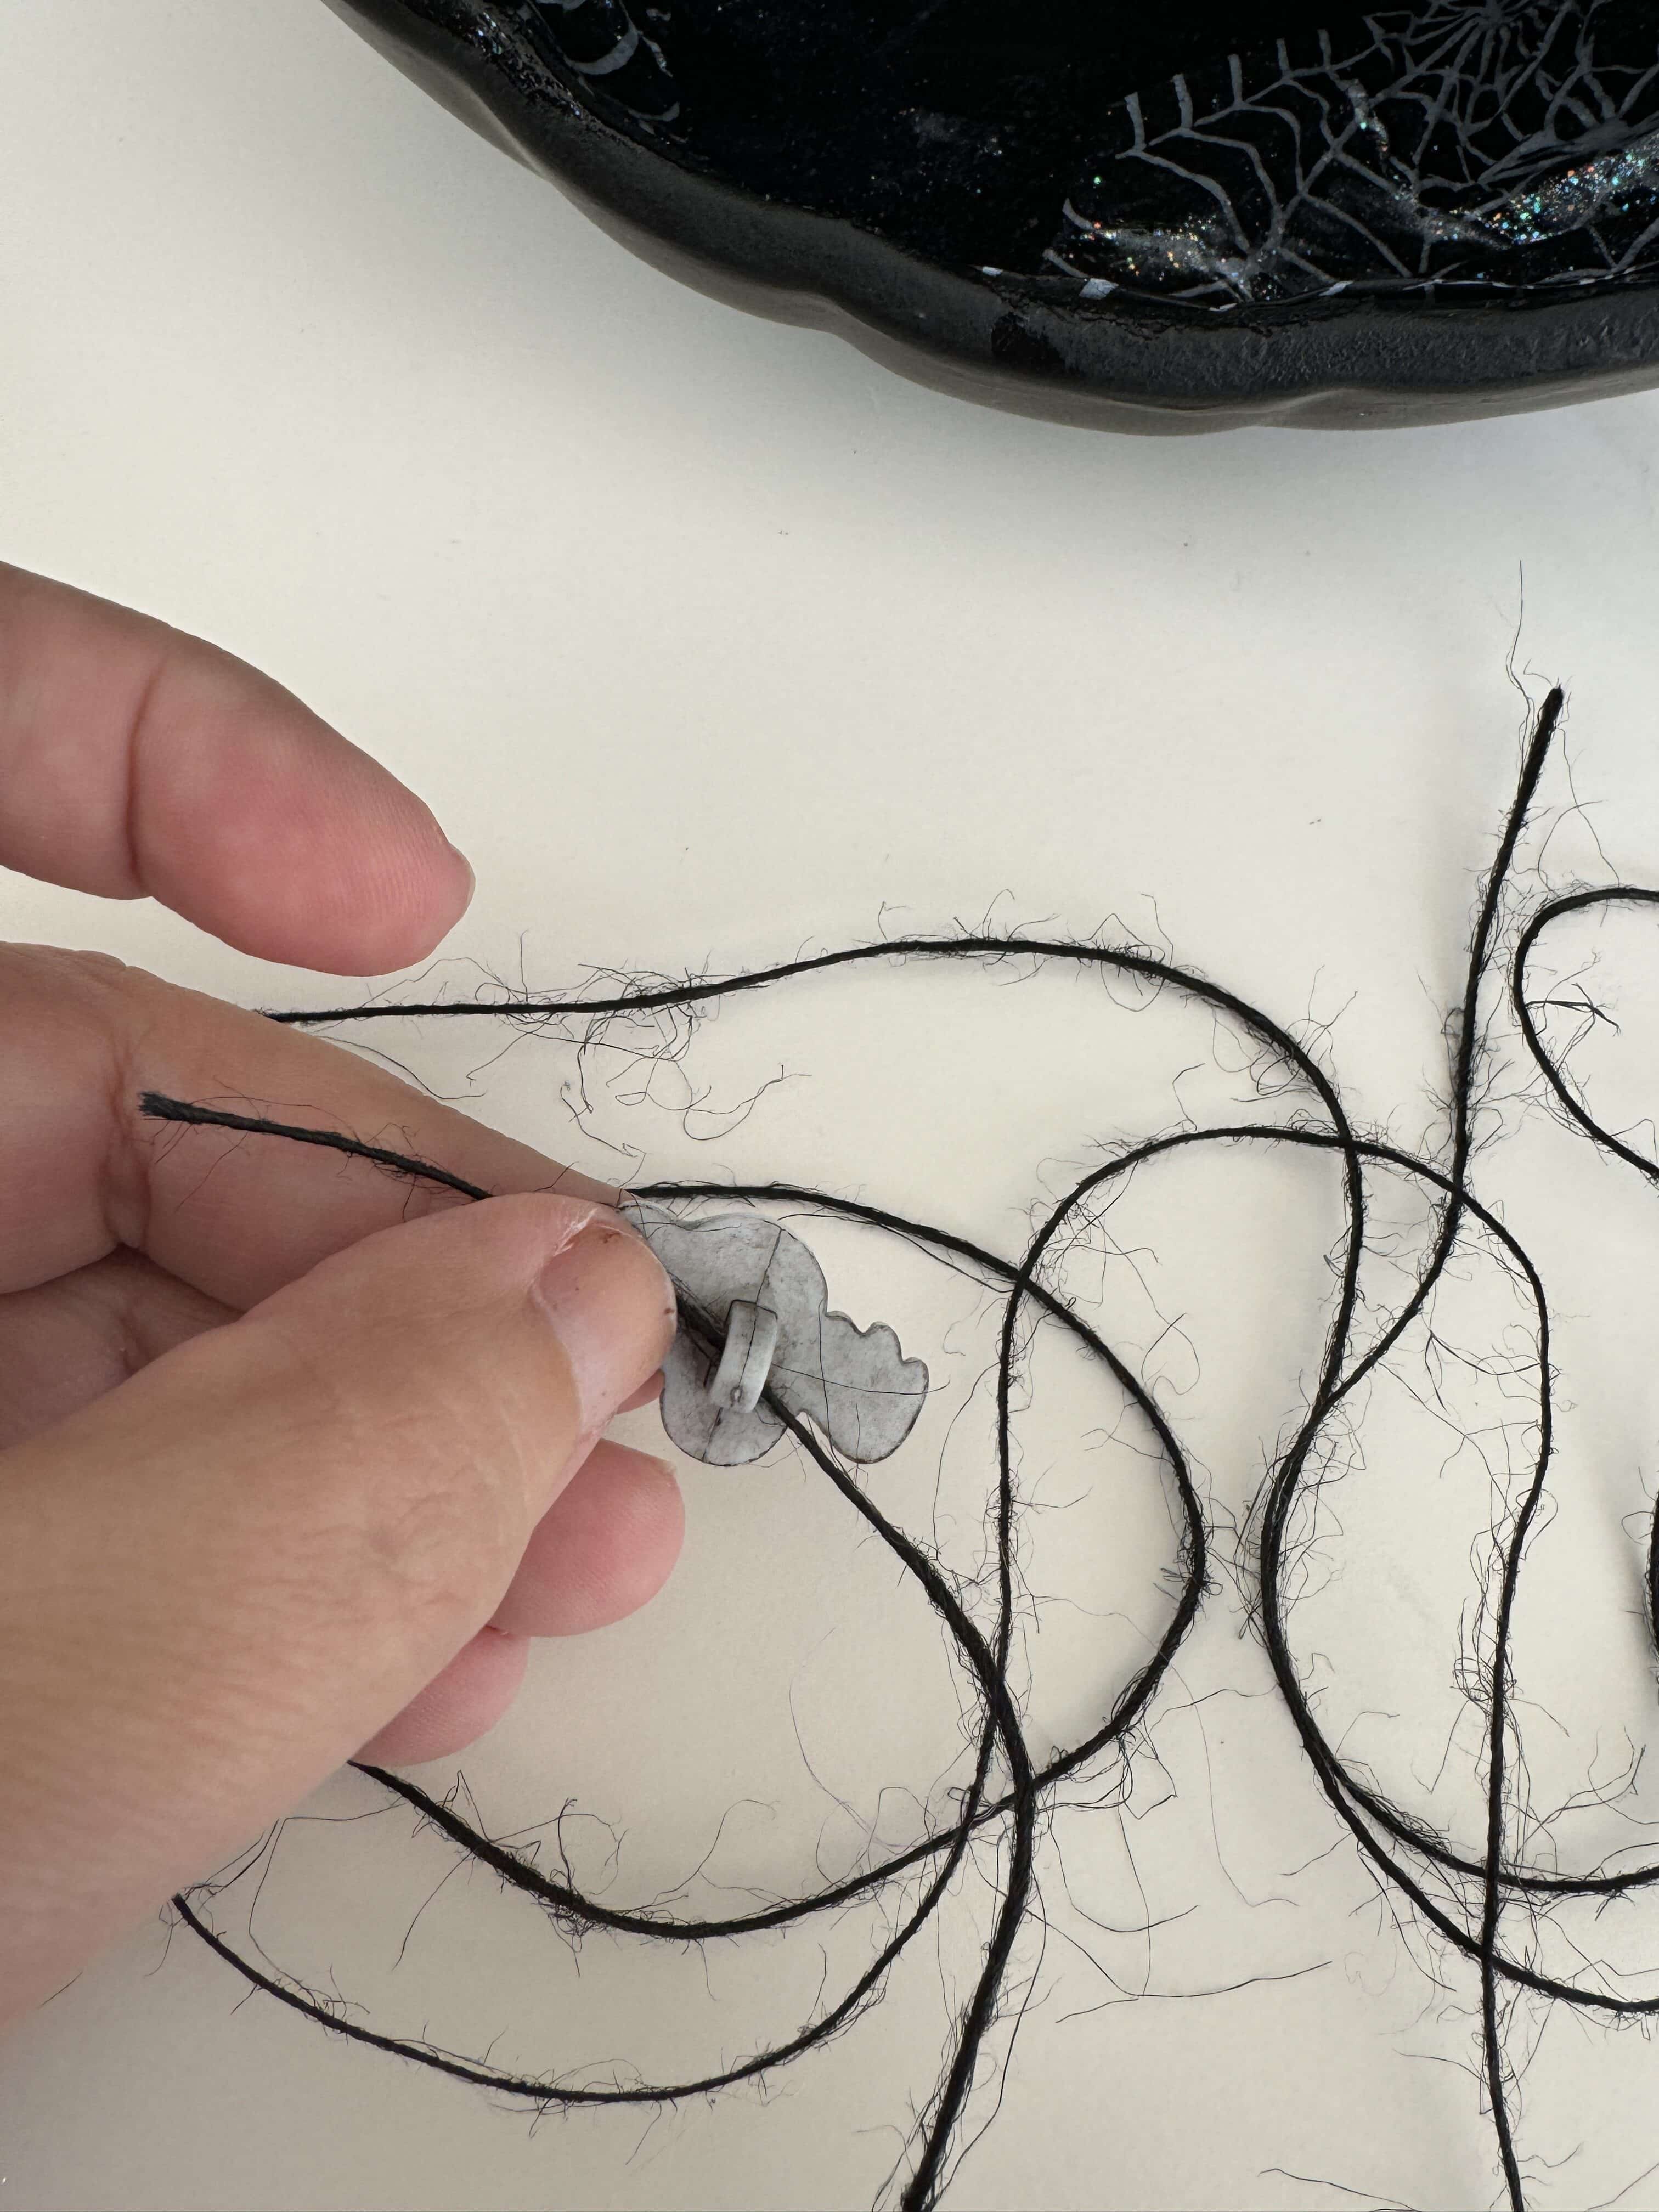
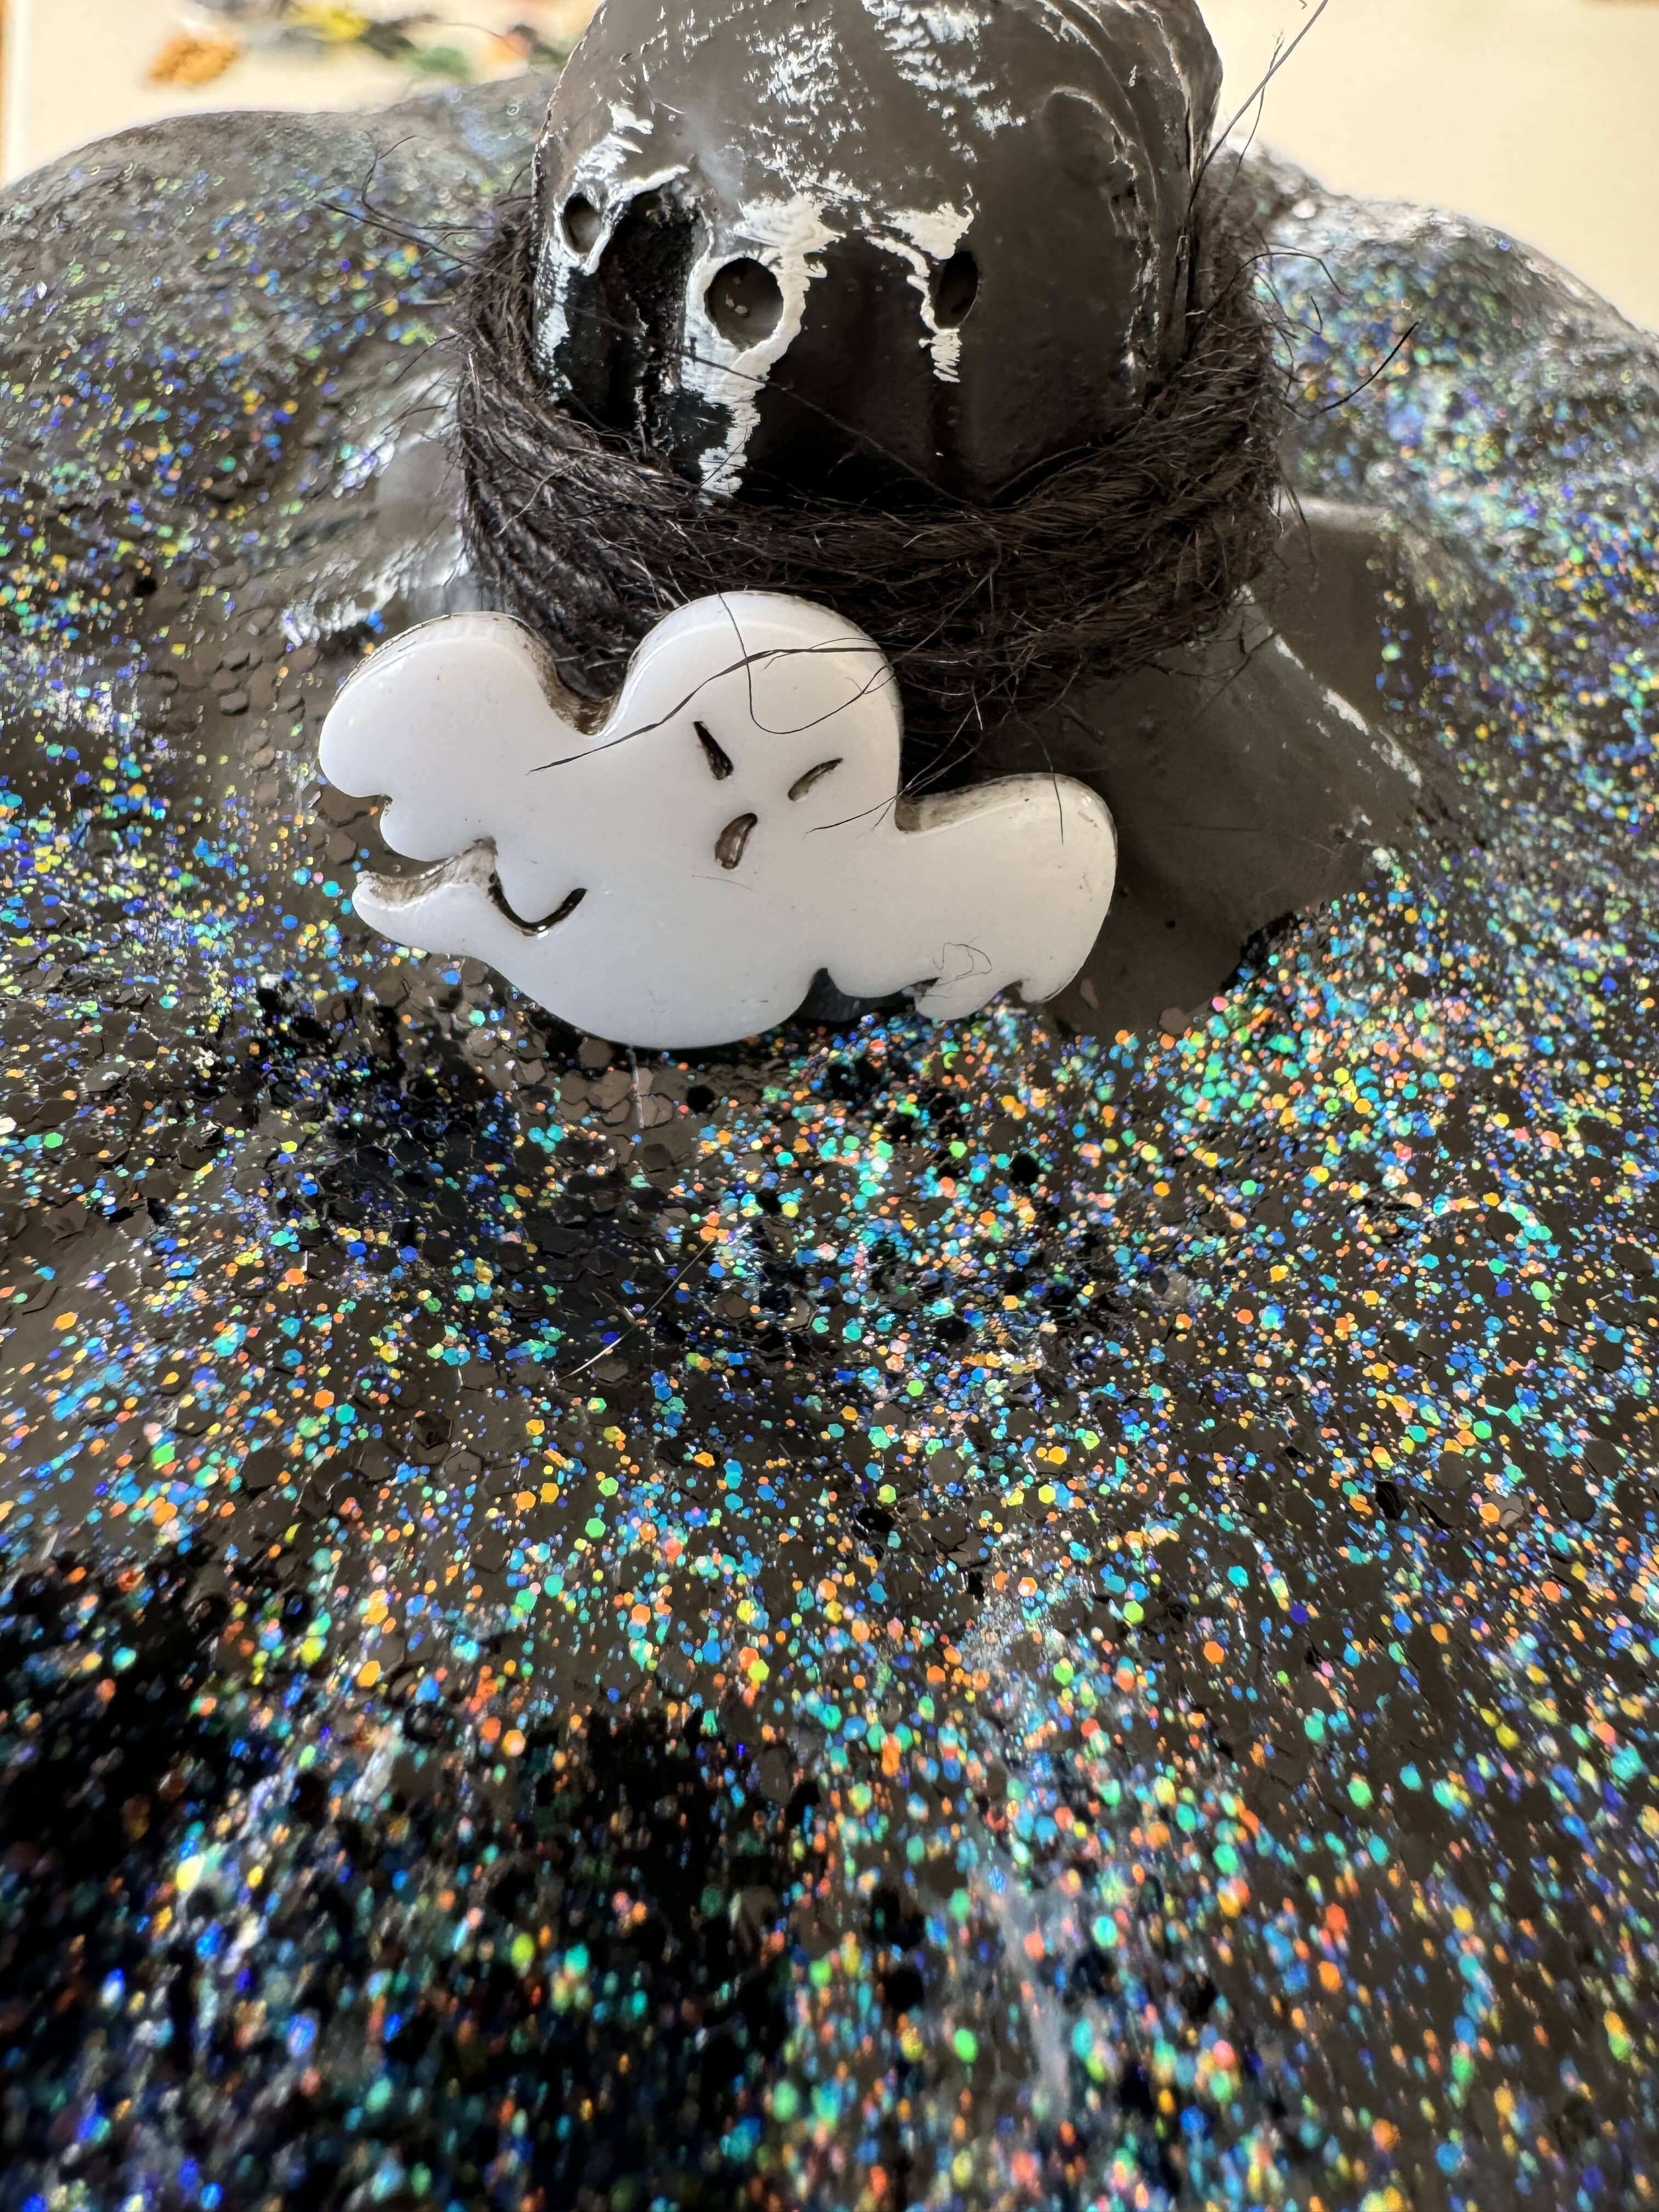
Put the ghost button on the string and wrap it around the stem of the pumpkin, securing it with a knot or glue.
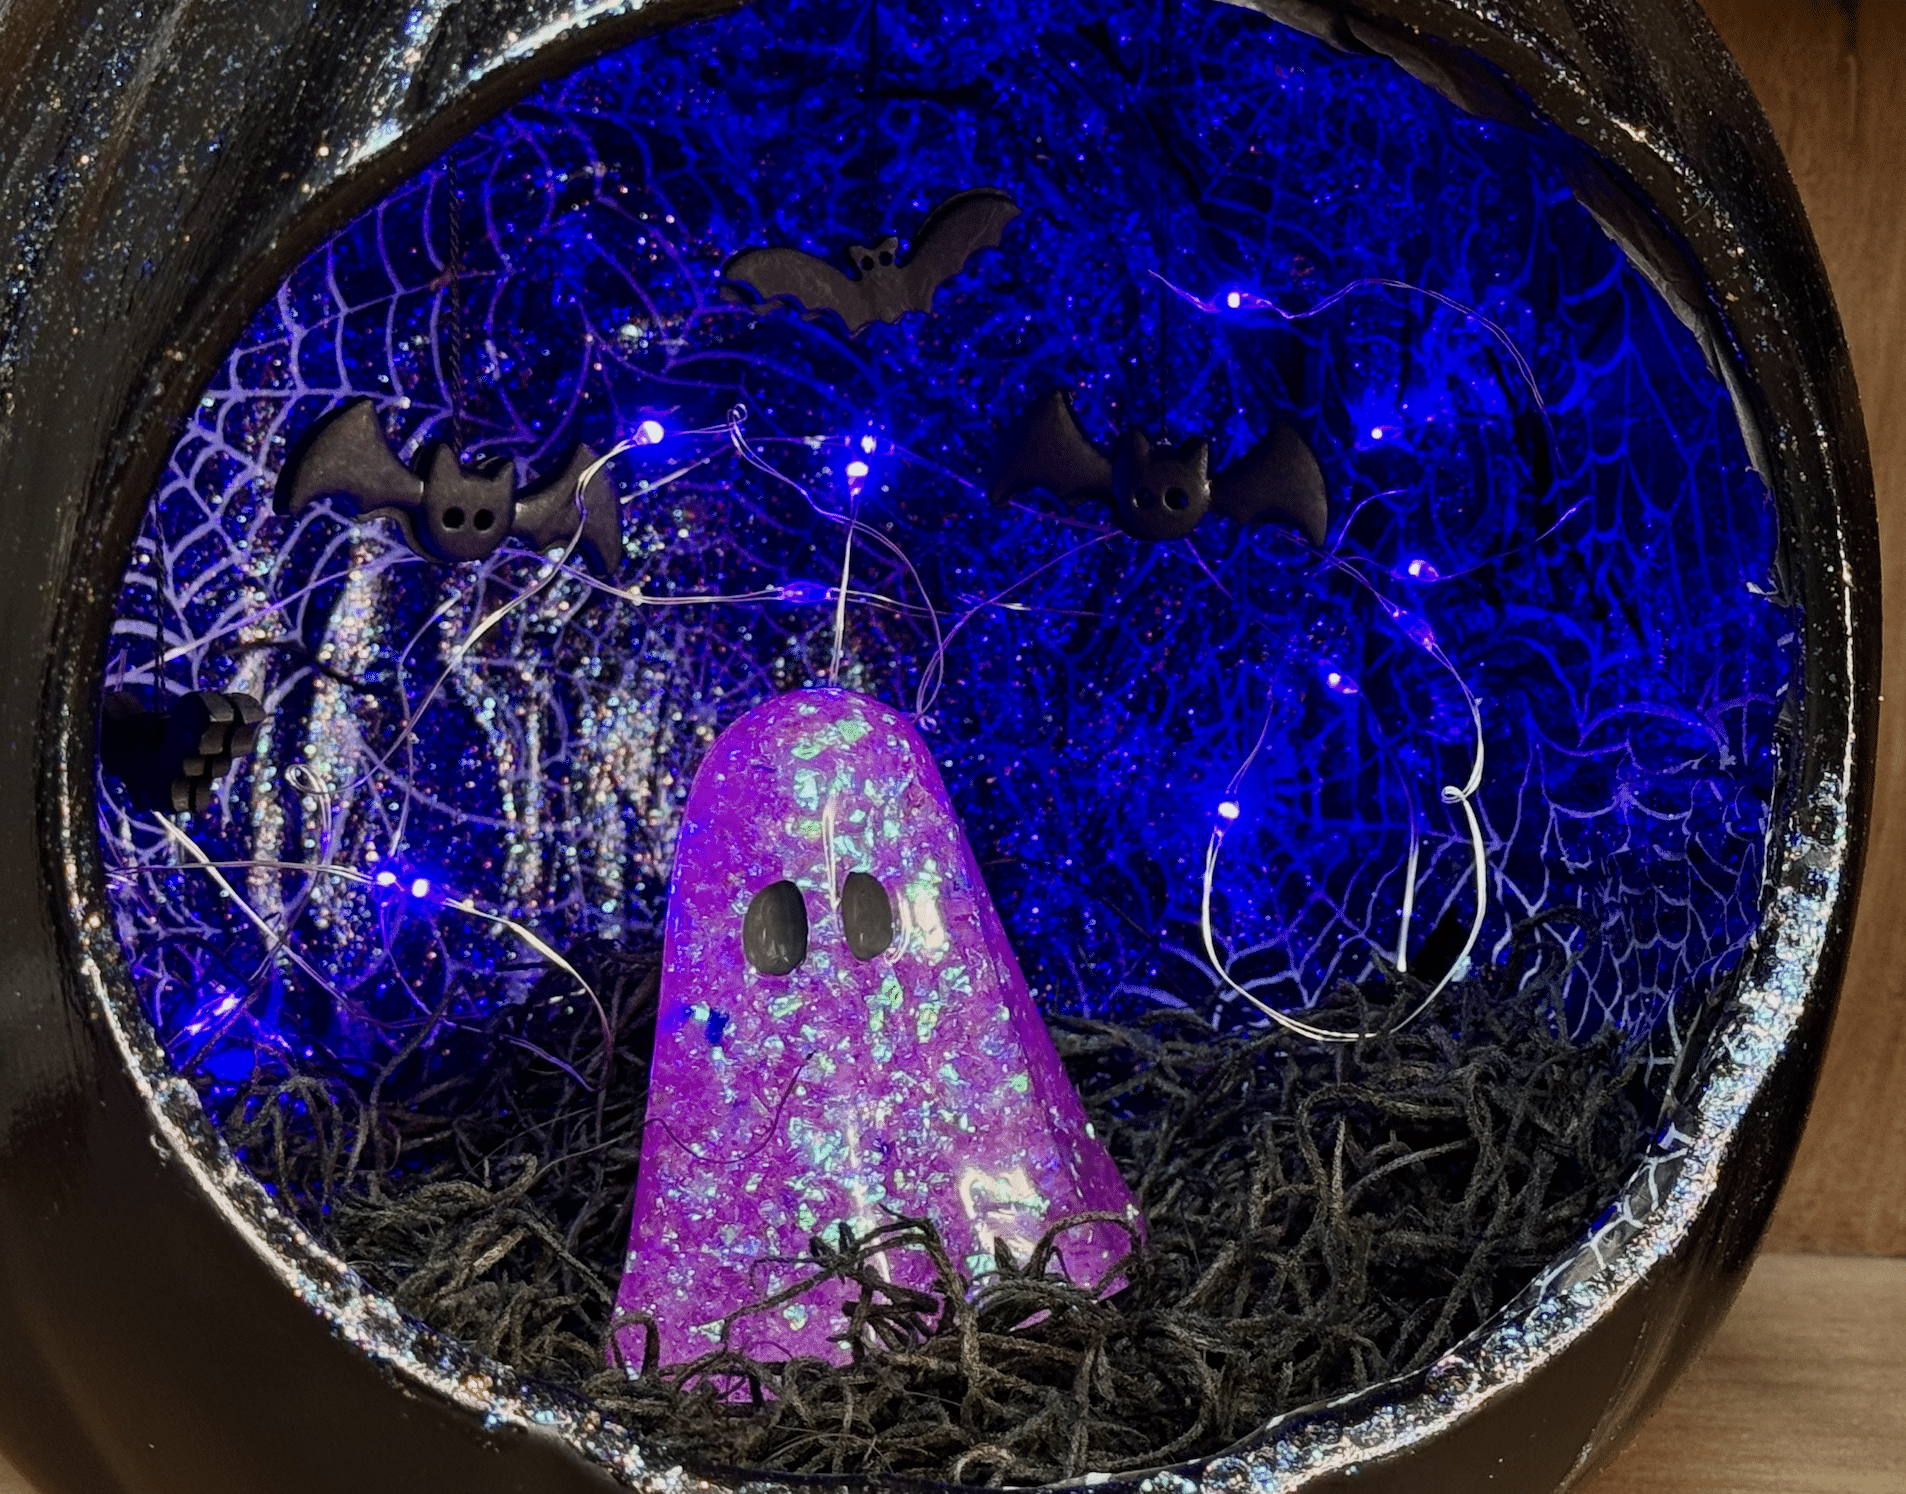
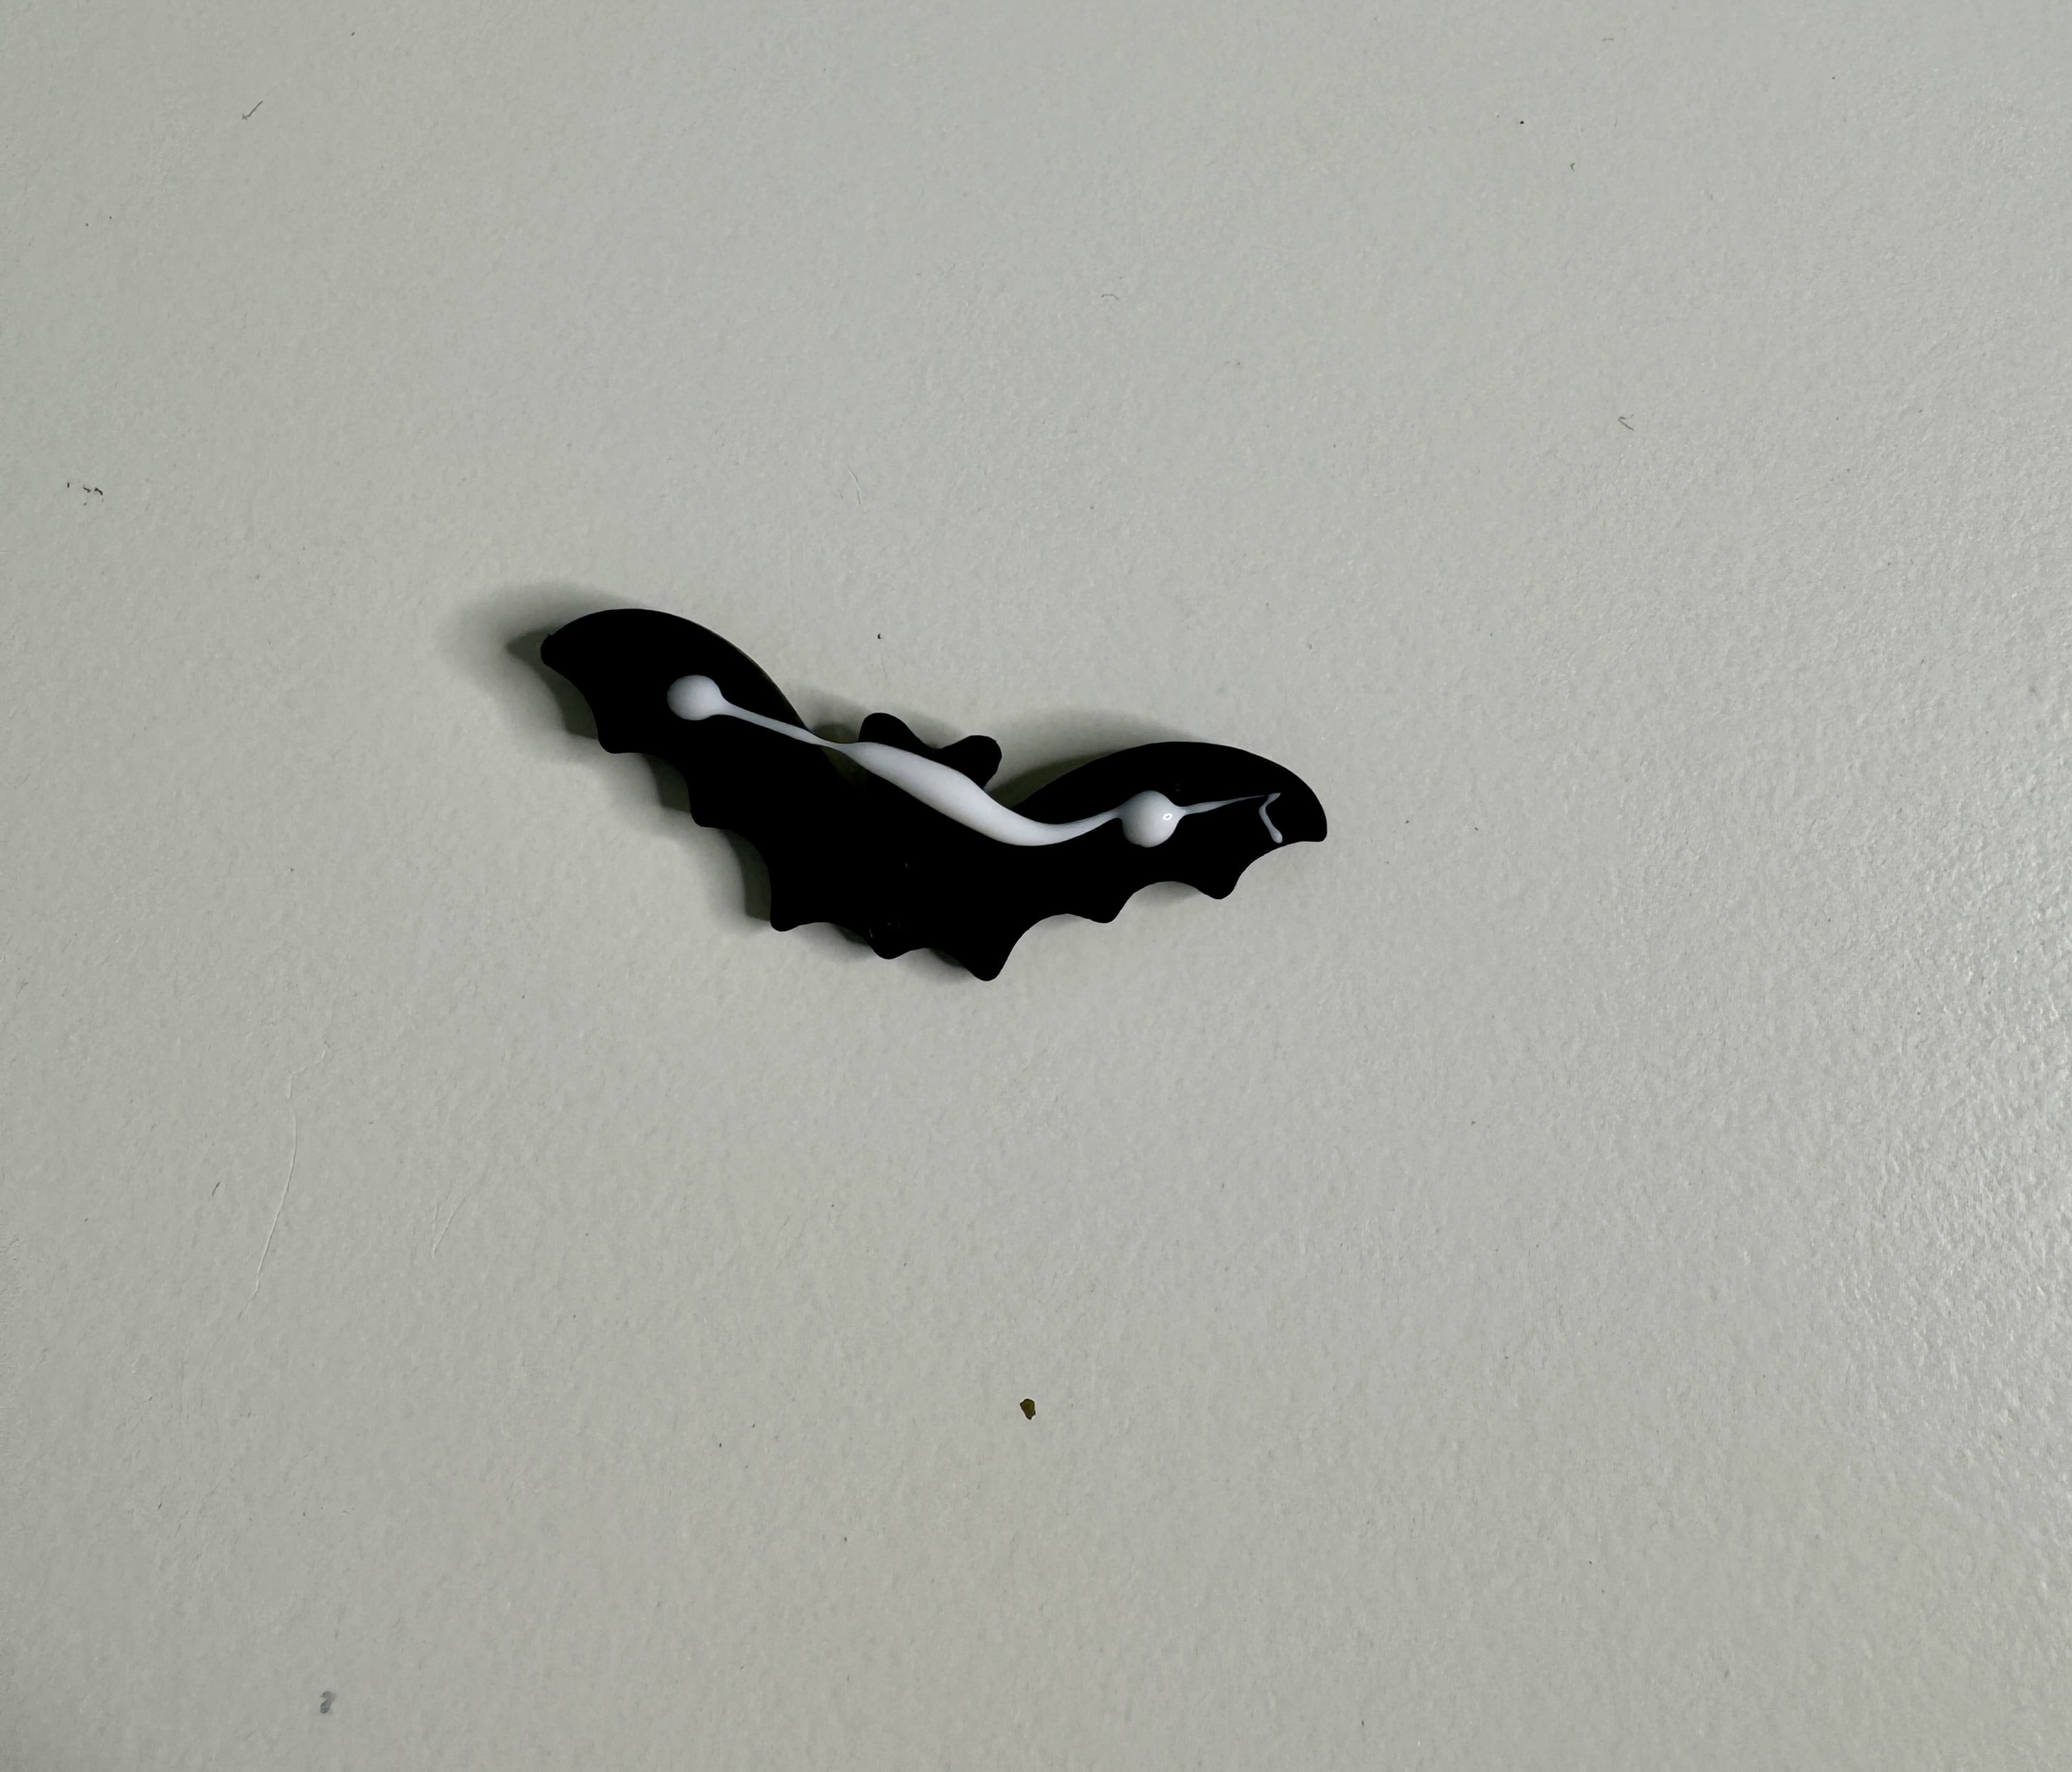
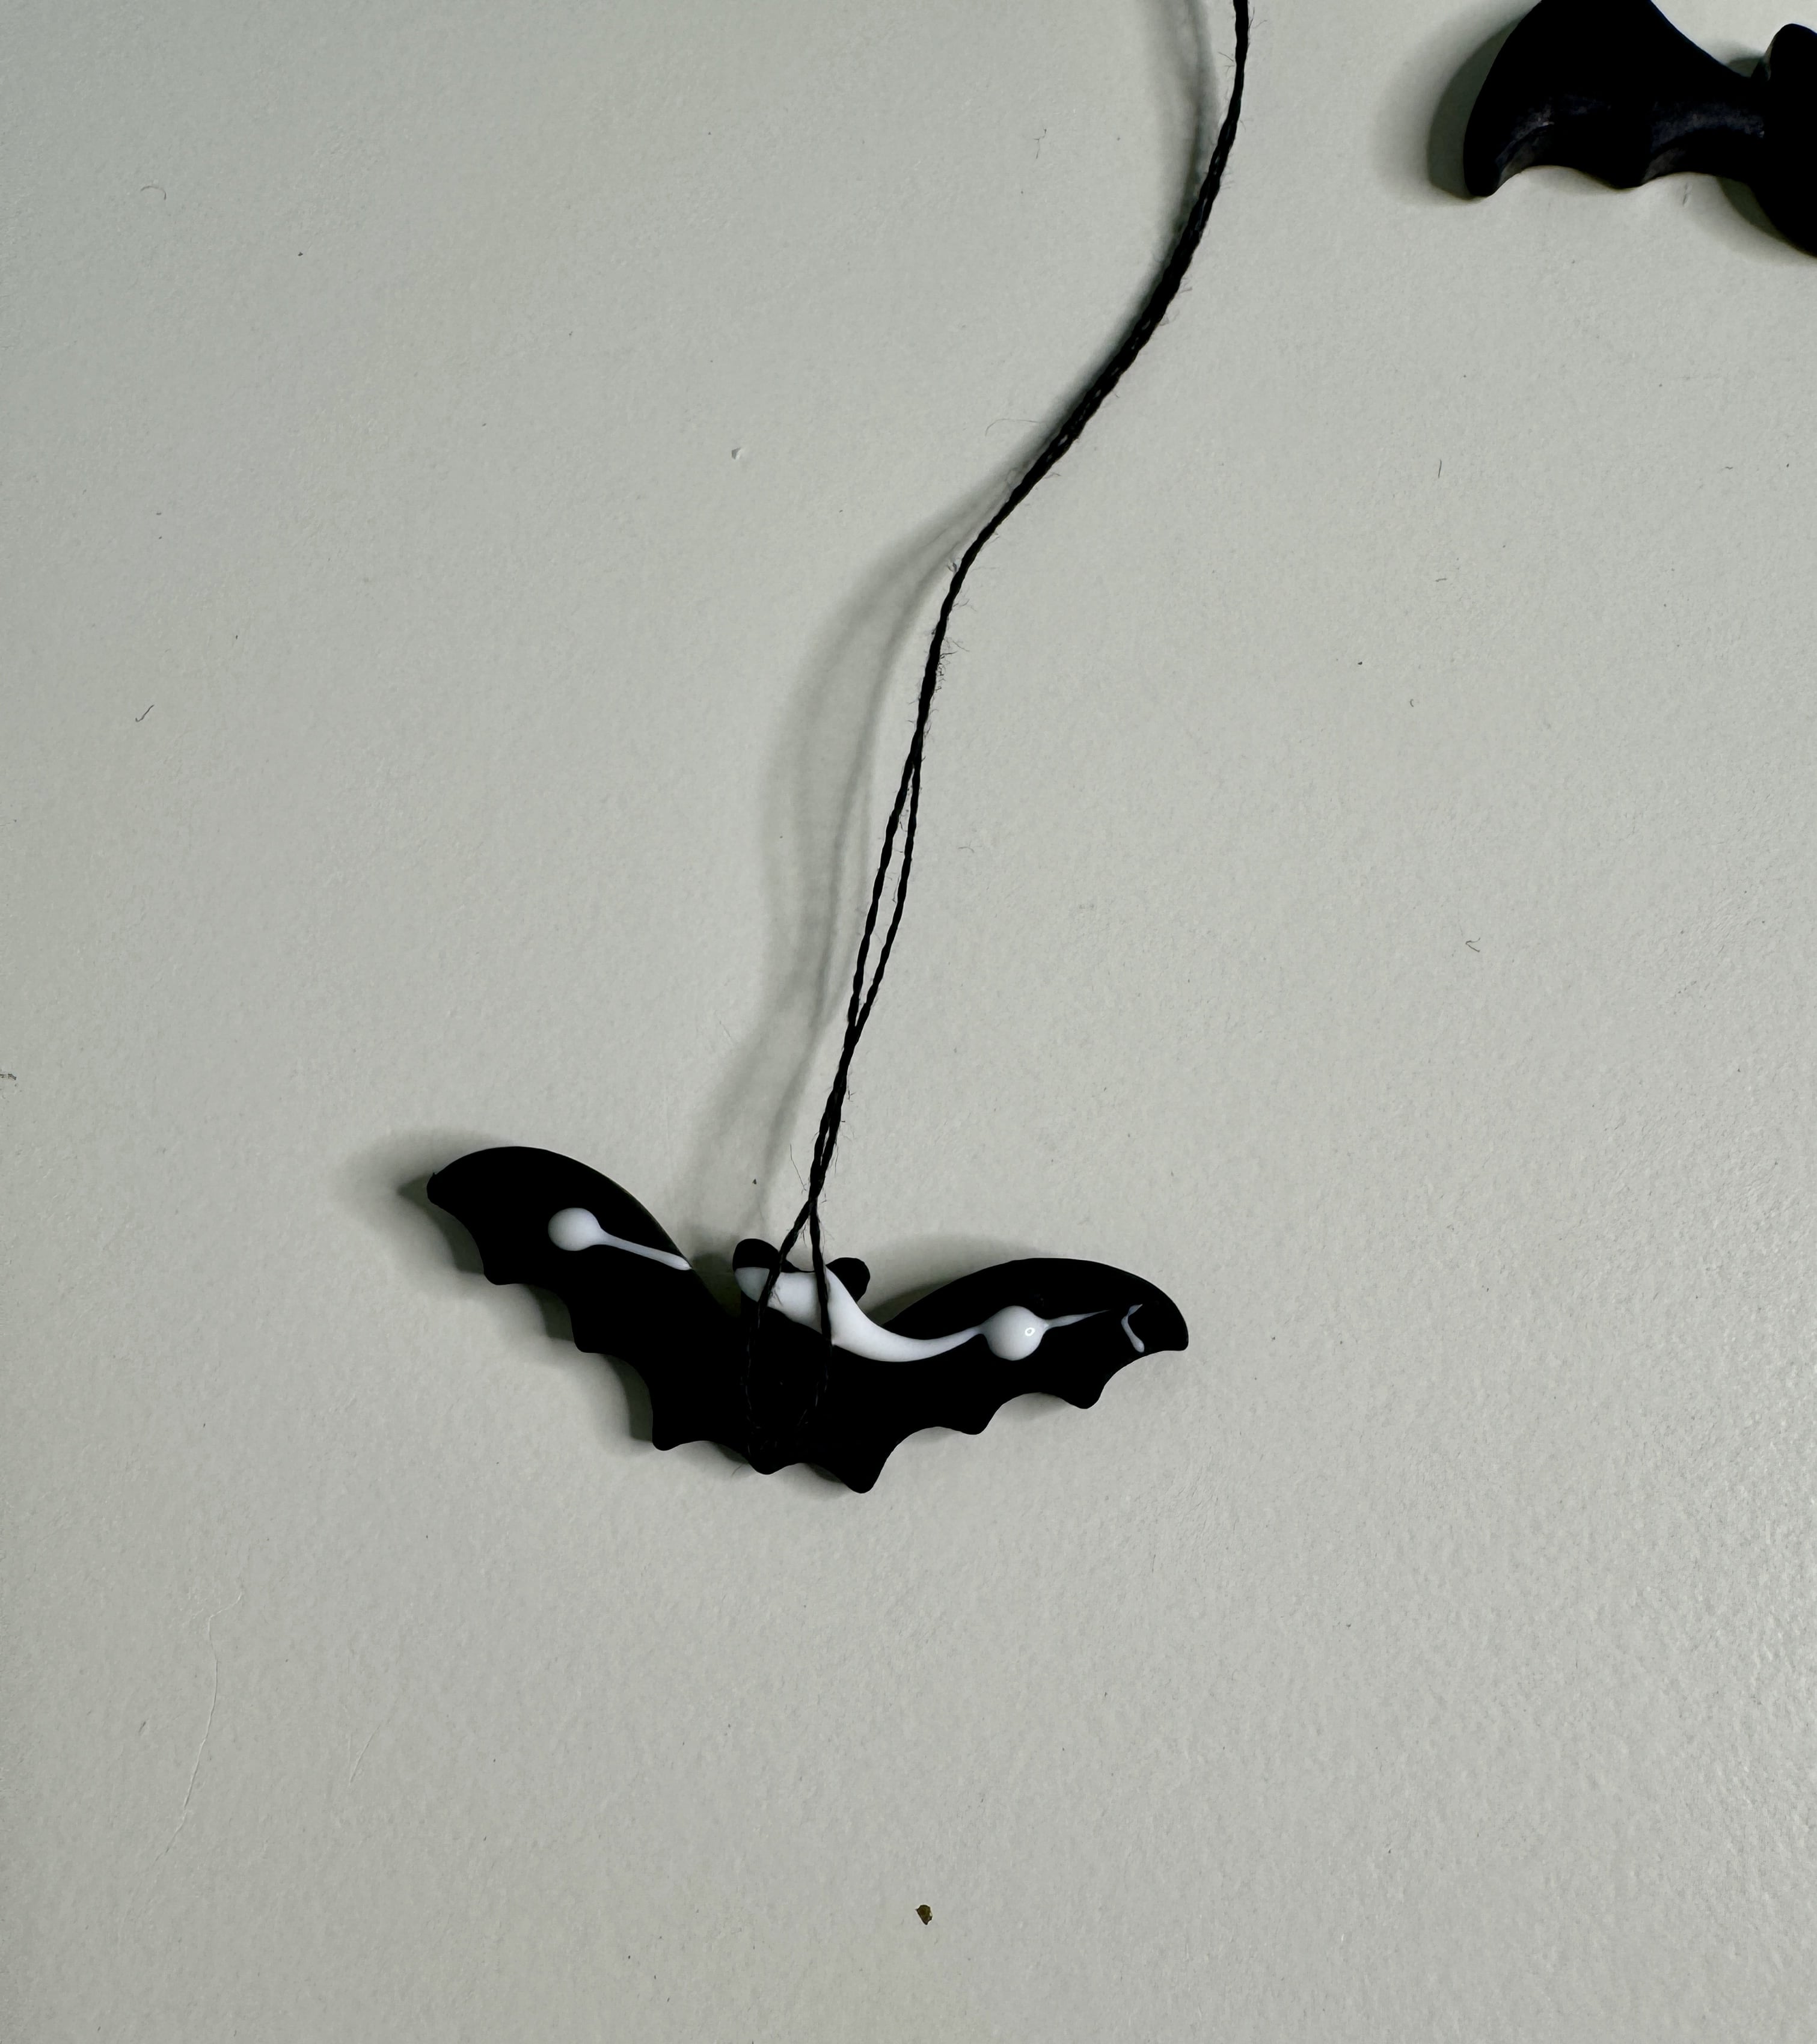
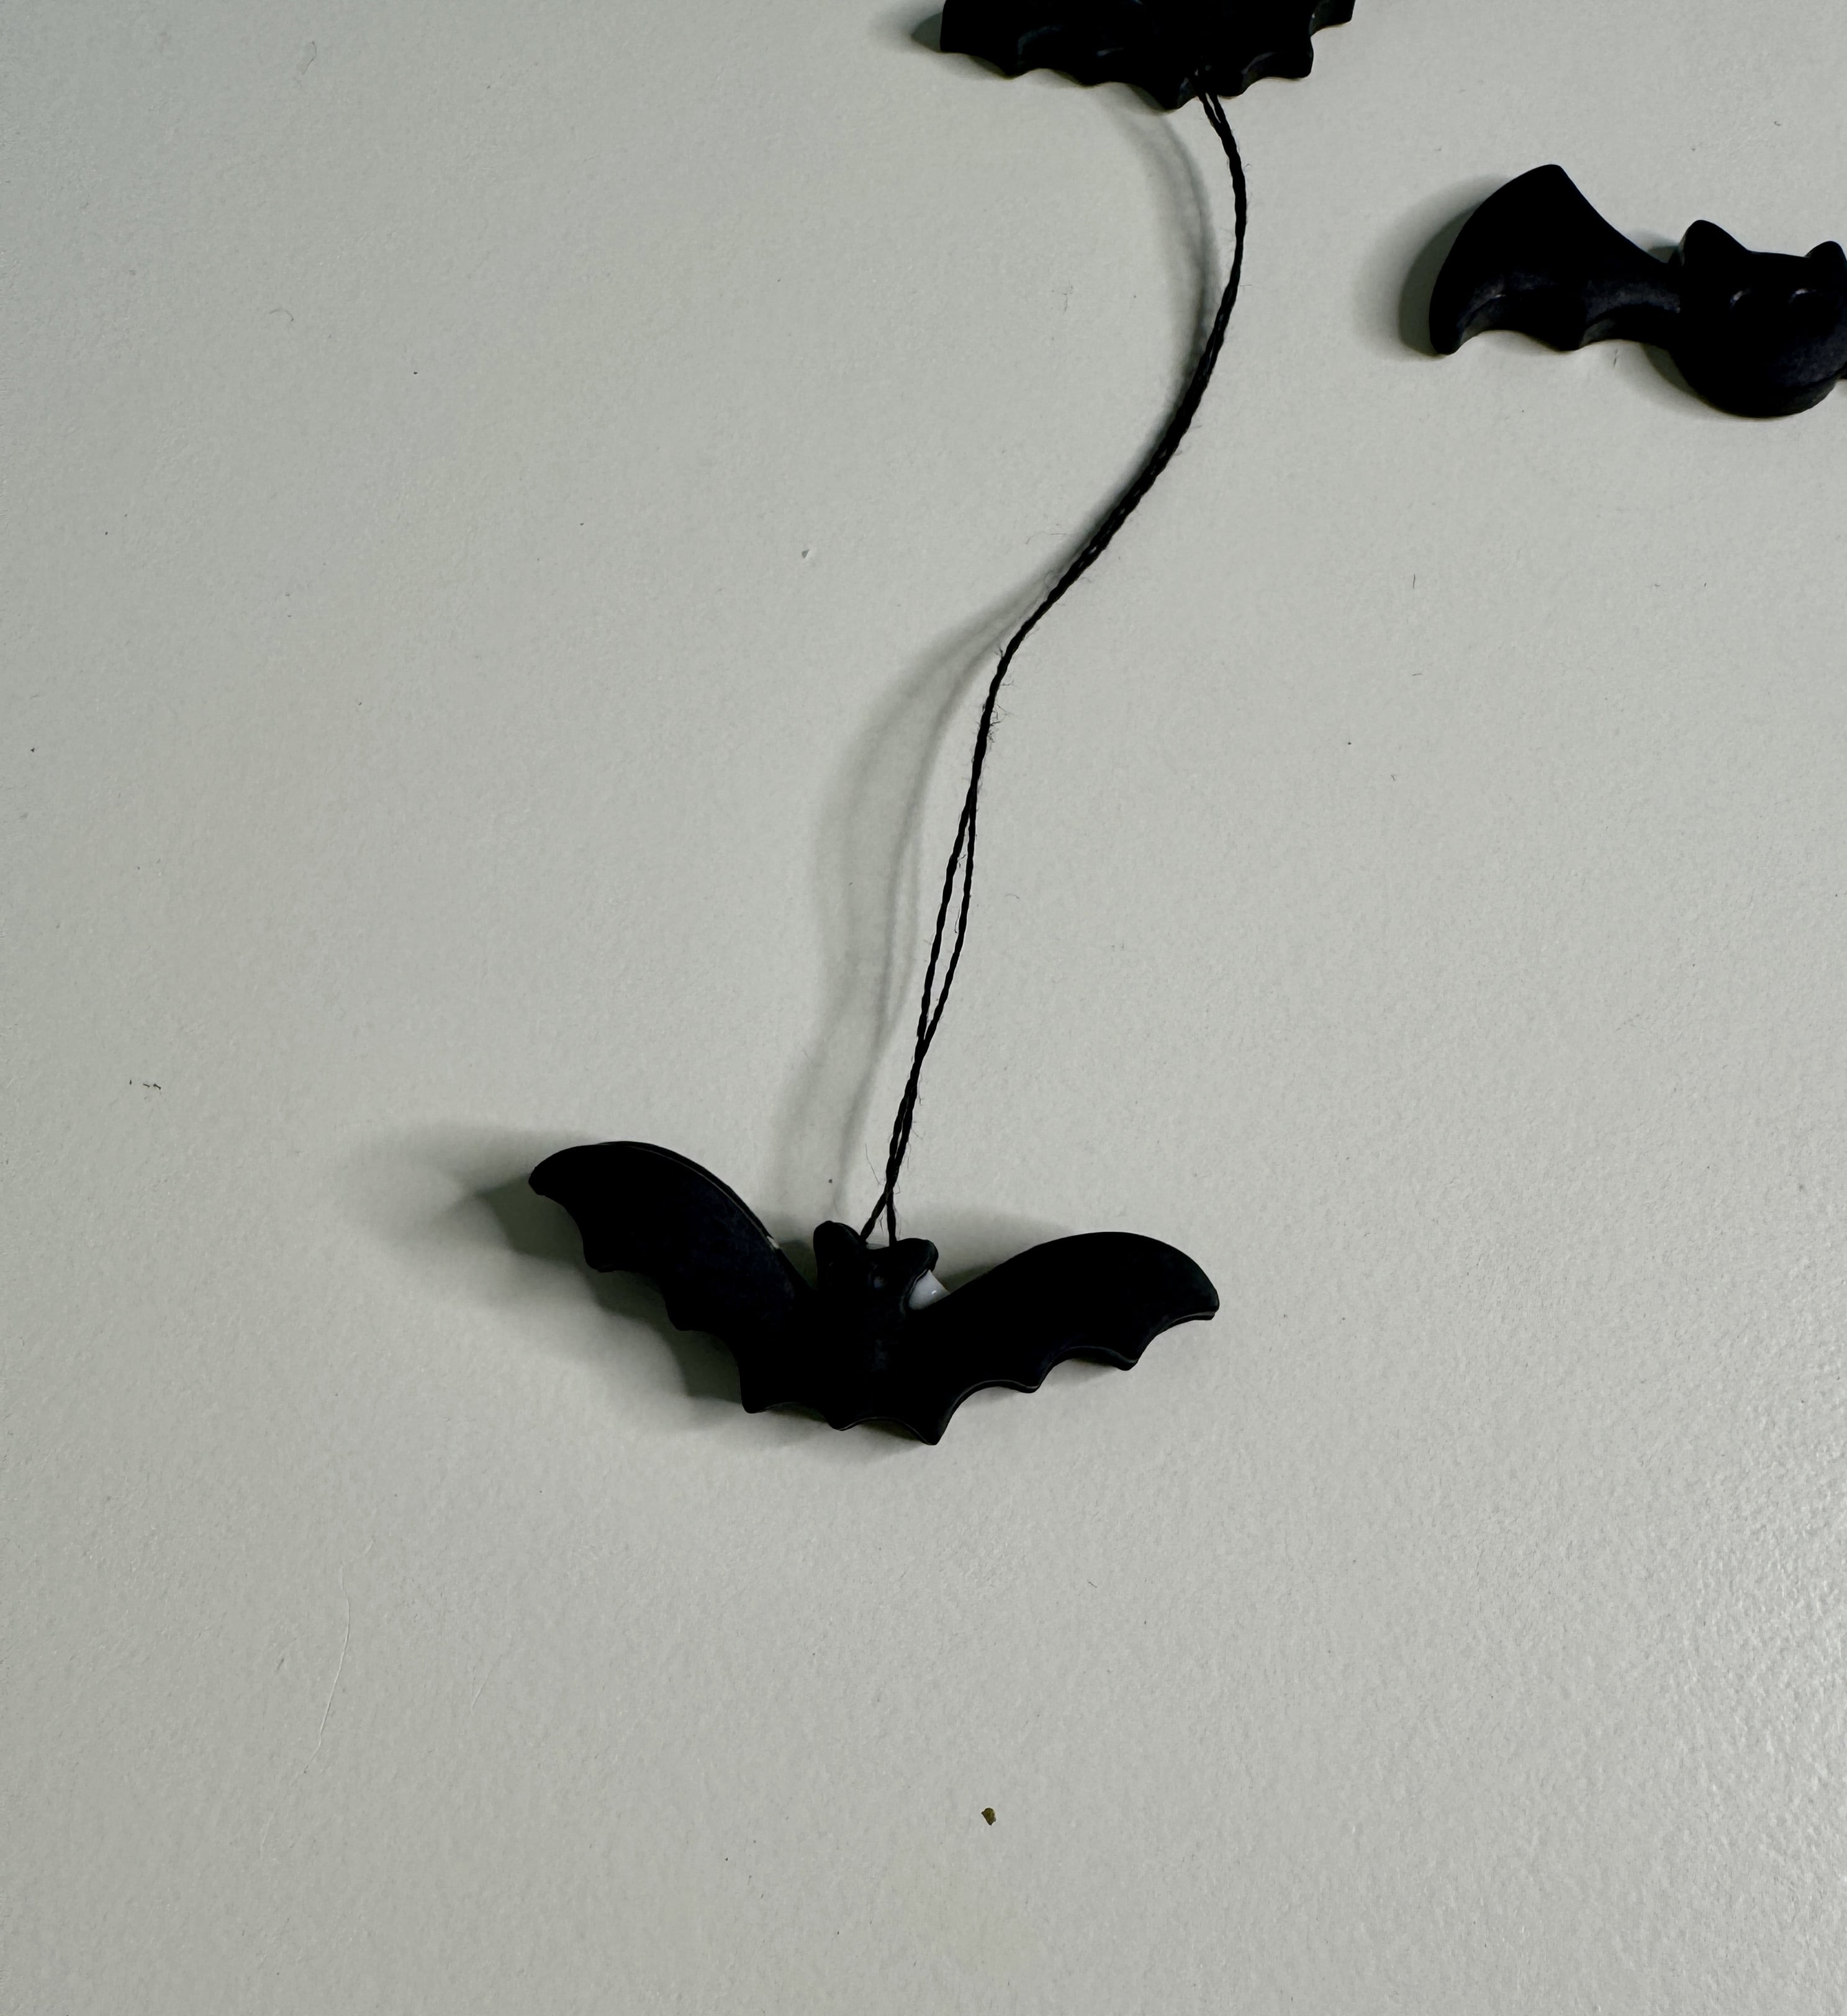
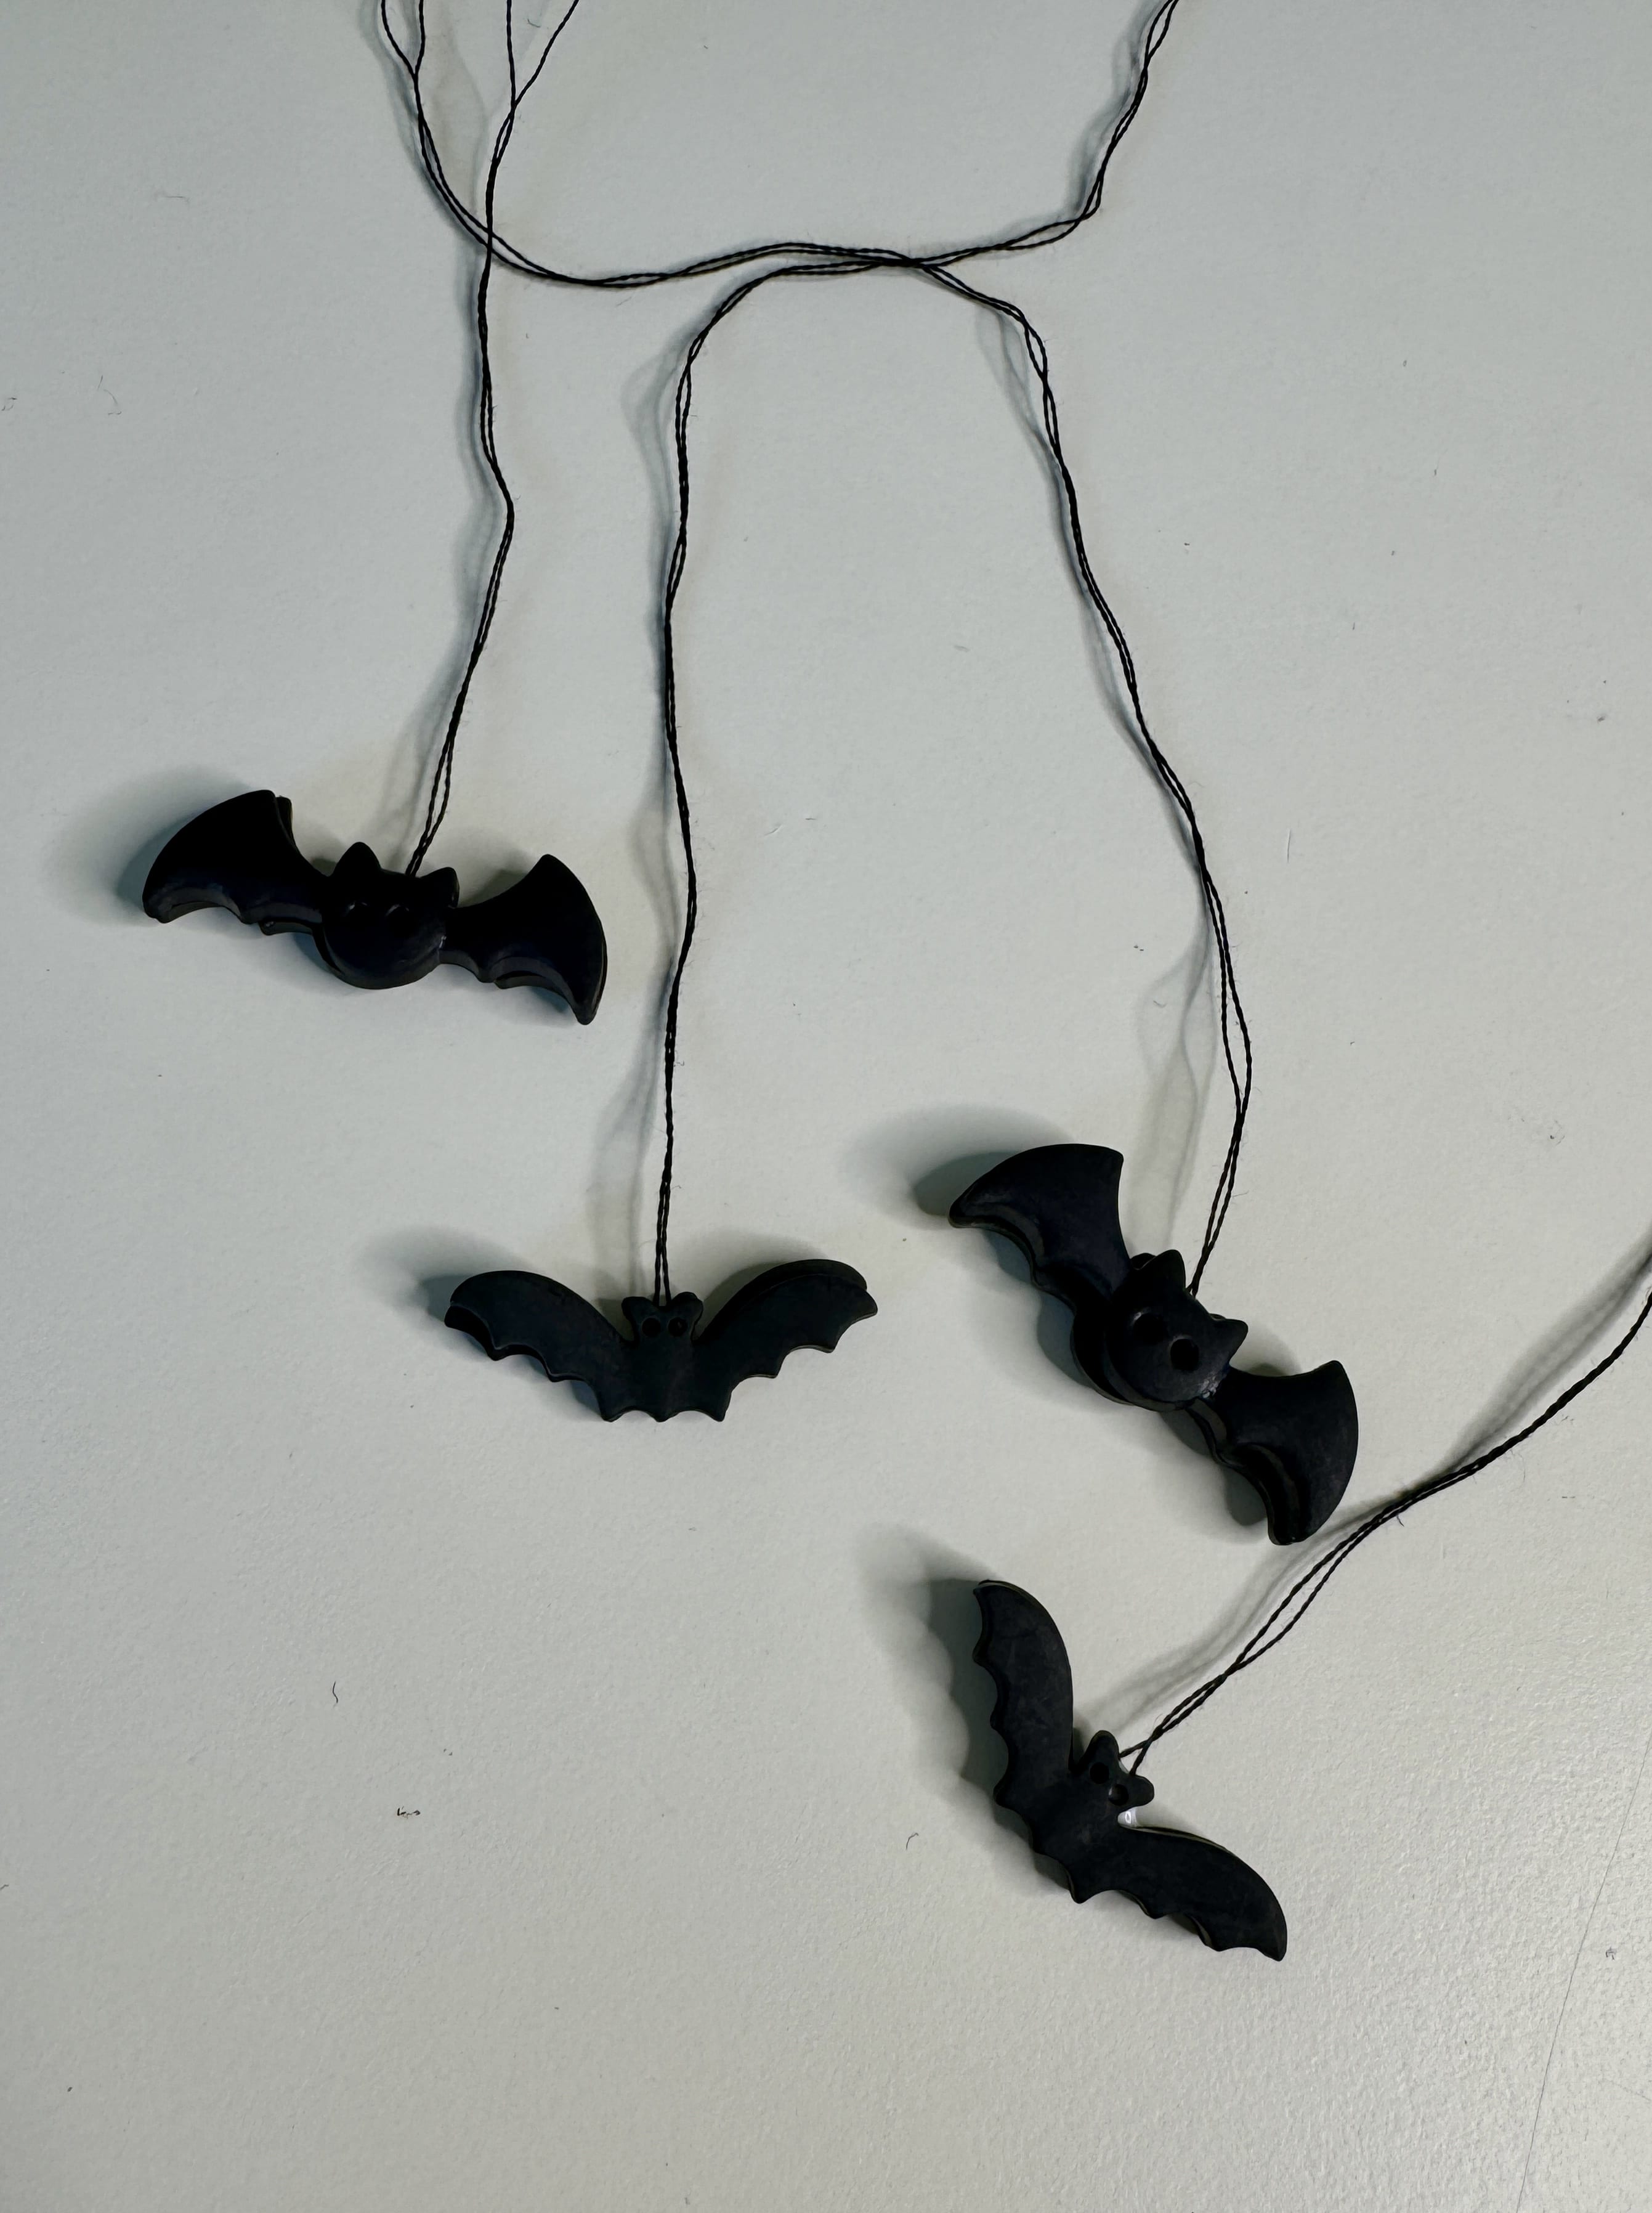
Glue the same size bats together back to back (you should end up with four bats). Do this by glueing one backside, finding the mid point of your black string and placing that on the glue, and then placing the backside of the second bat on top.
Put your pumpkin upside down. Put four spots of glue along the top of the inside of the pumpkin where you want the bats to hang from. Adjust the lengths as necessary and place the cut ends of the string in the glue. Leave the pumpkin upside down until the glue dries completely.
Place some Sparkletz on the tissue paper with glue or Mod Podge for extra sparkle.

Put the lights in the pumpkin with moss on top.
Place your centerpiece on the moss and turn on the lights.
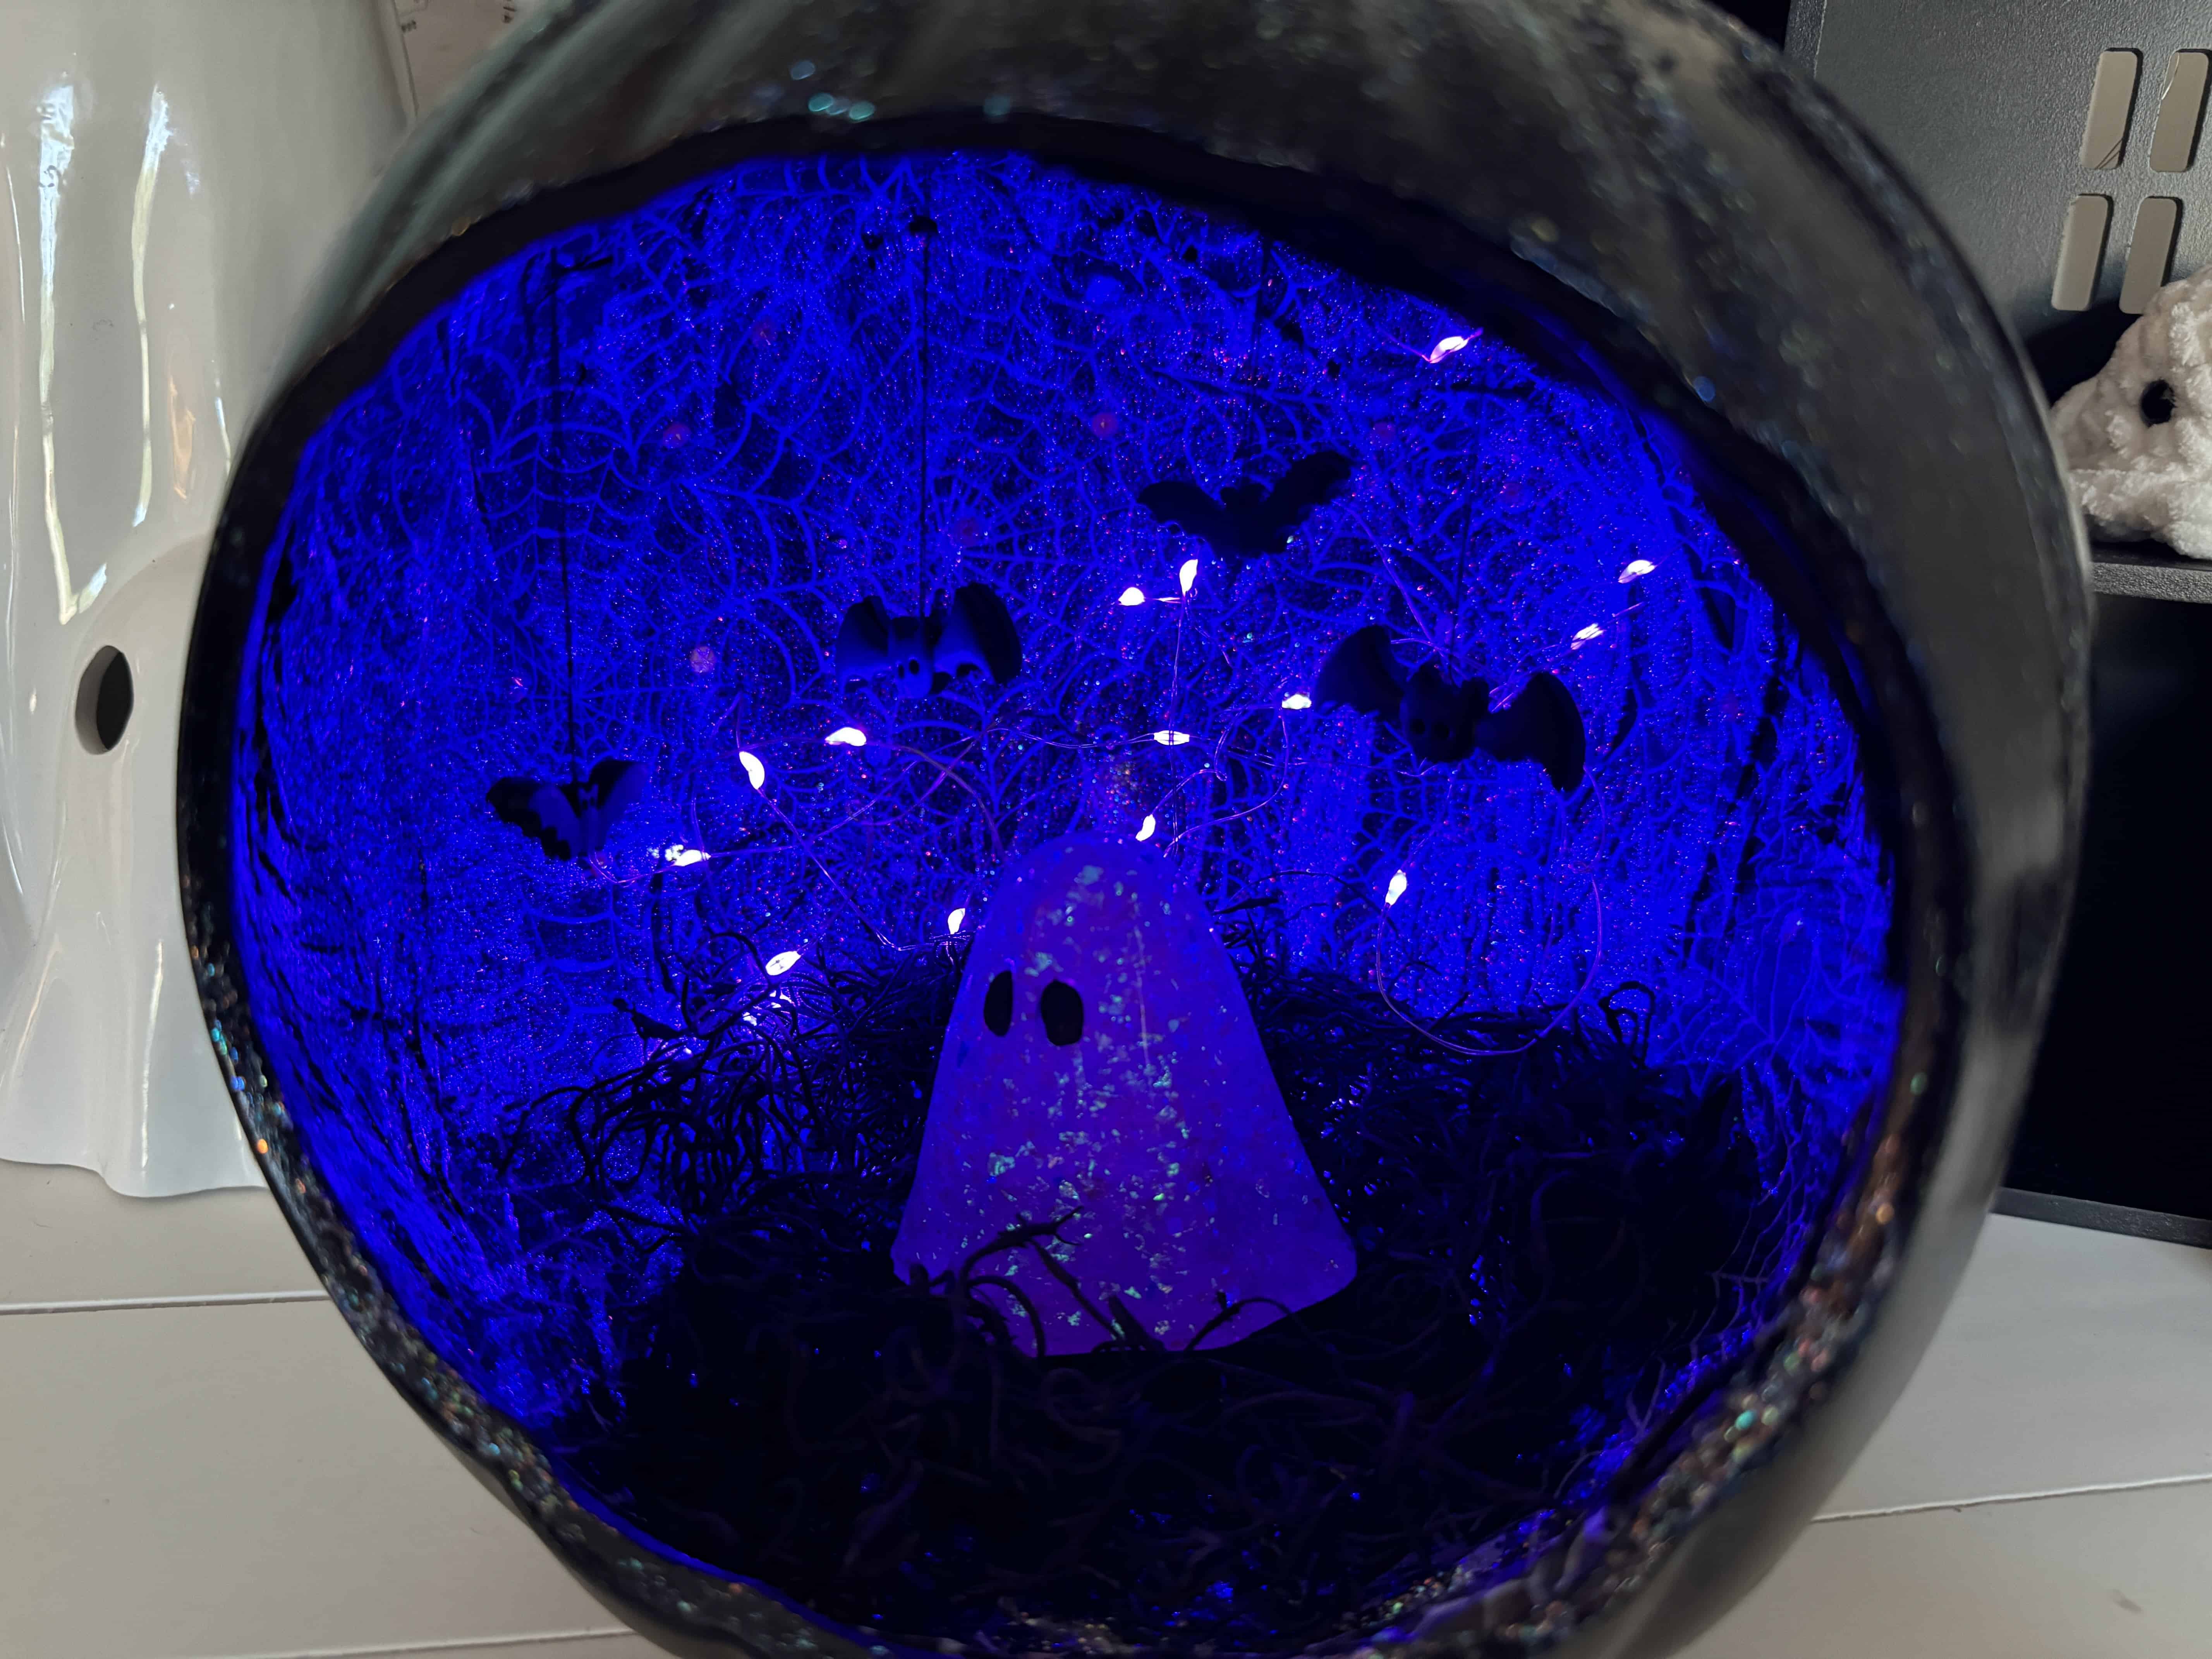
I absolutely love the hanging bats in my decorated Halloween pumpkin diorama. There’s so much sparkle and spook and it’s so easy to make your own. Change up the elements for a different look–choose orange lights and put in a pile of pumpkins!! It’s such a fun craft no matter what you do.