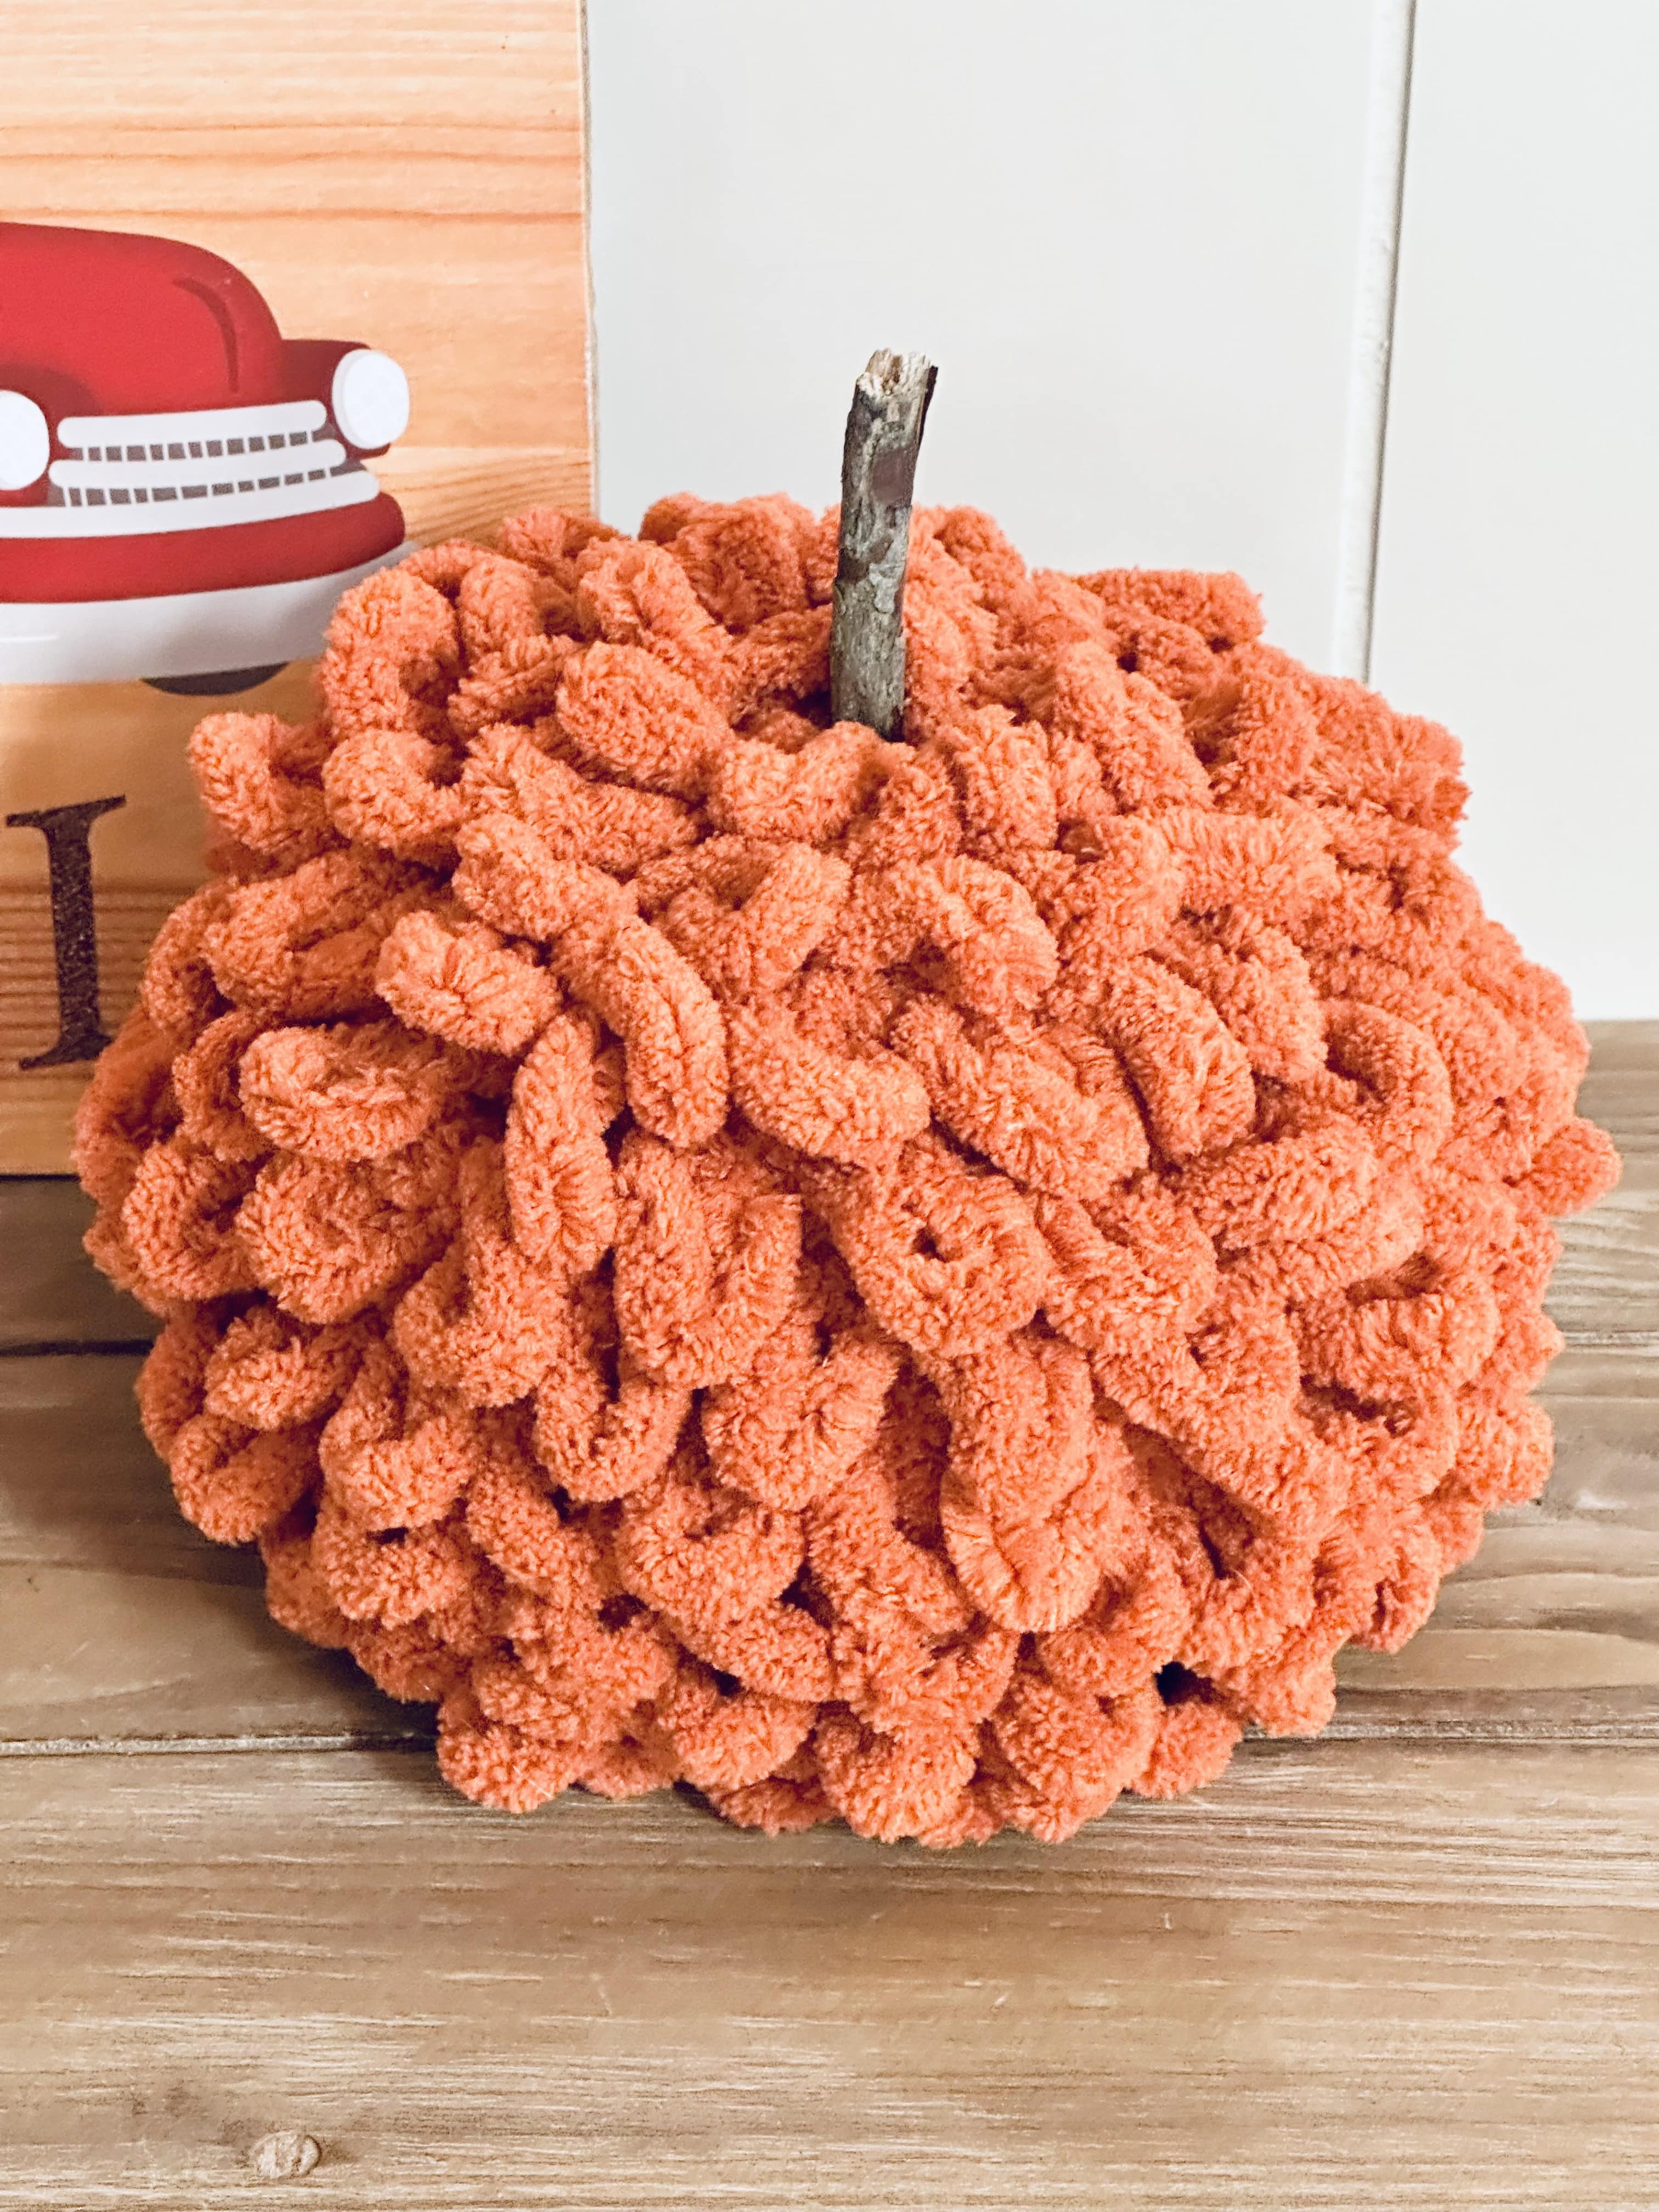
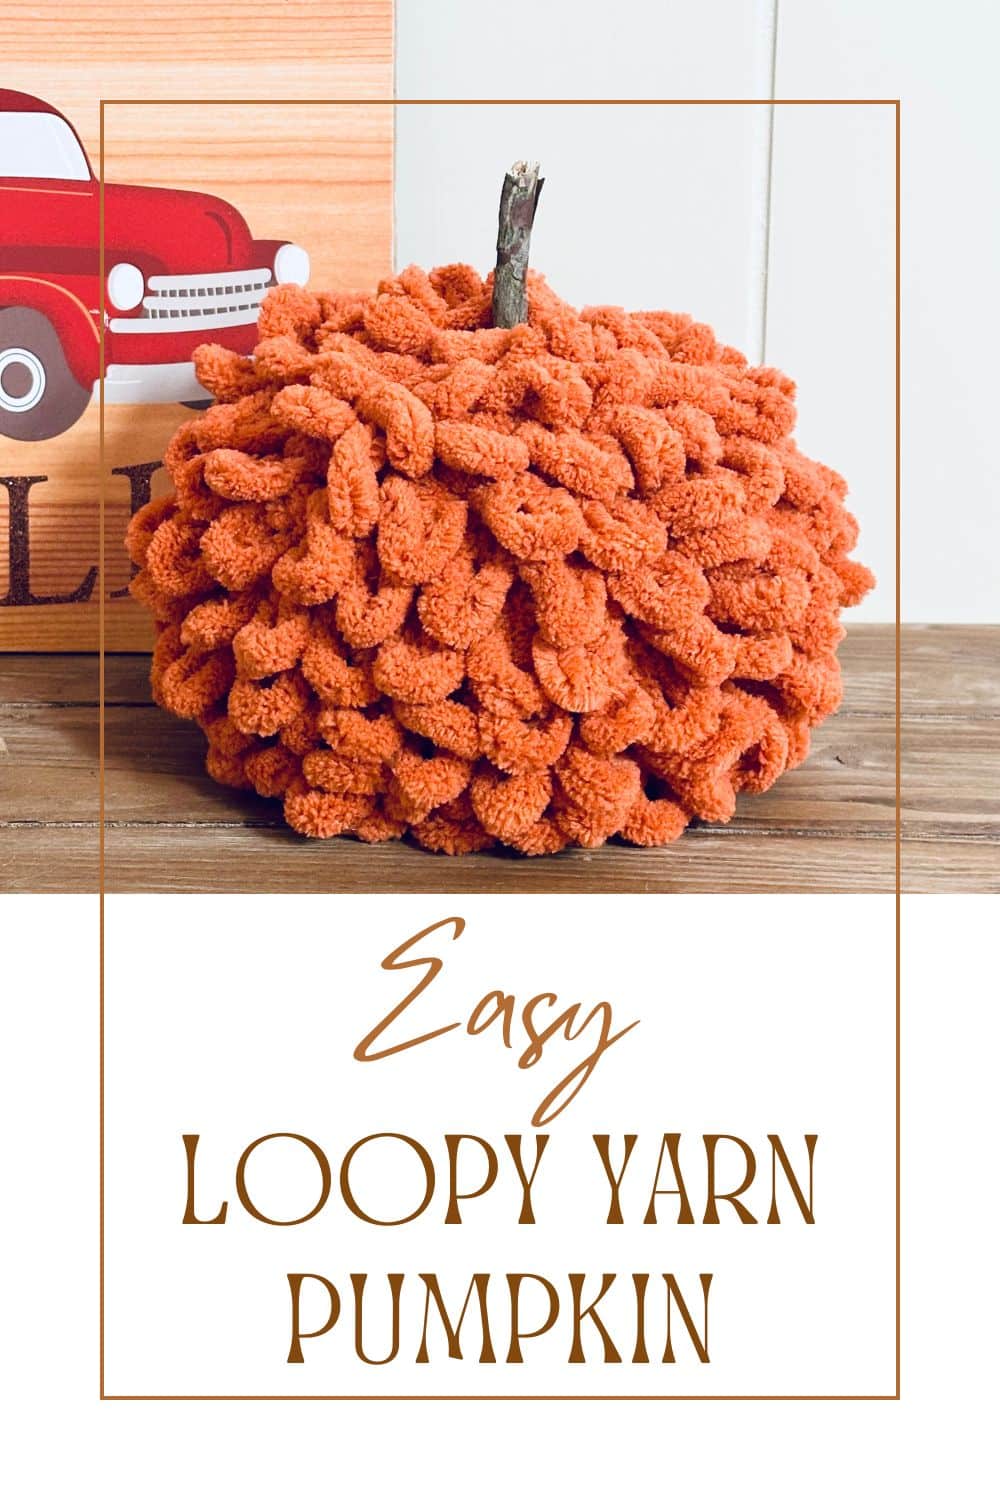
Easy Loopy Yarn Pumpkin
Easy is the name of the game for me right now–I swear my brain is fried! Yarn, glue, and pumpkins seem to be a constant go-to for me (I keep a lot of my pumpkins up all year), so it was only a matter of time before they got combined into one craft. My loopy yarn obsession continues with this easy loopy yarn pumpkin. In just a few minutes you’ll have a favorite new decoration!
This post contains affiliate links.
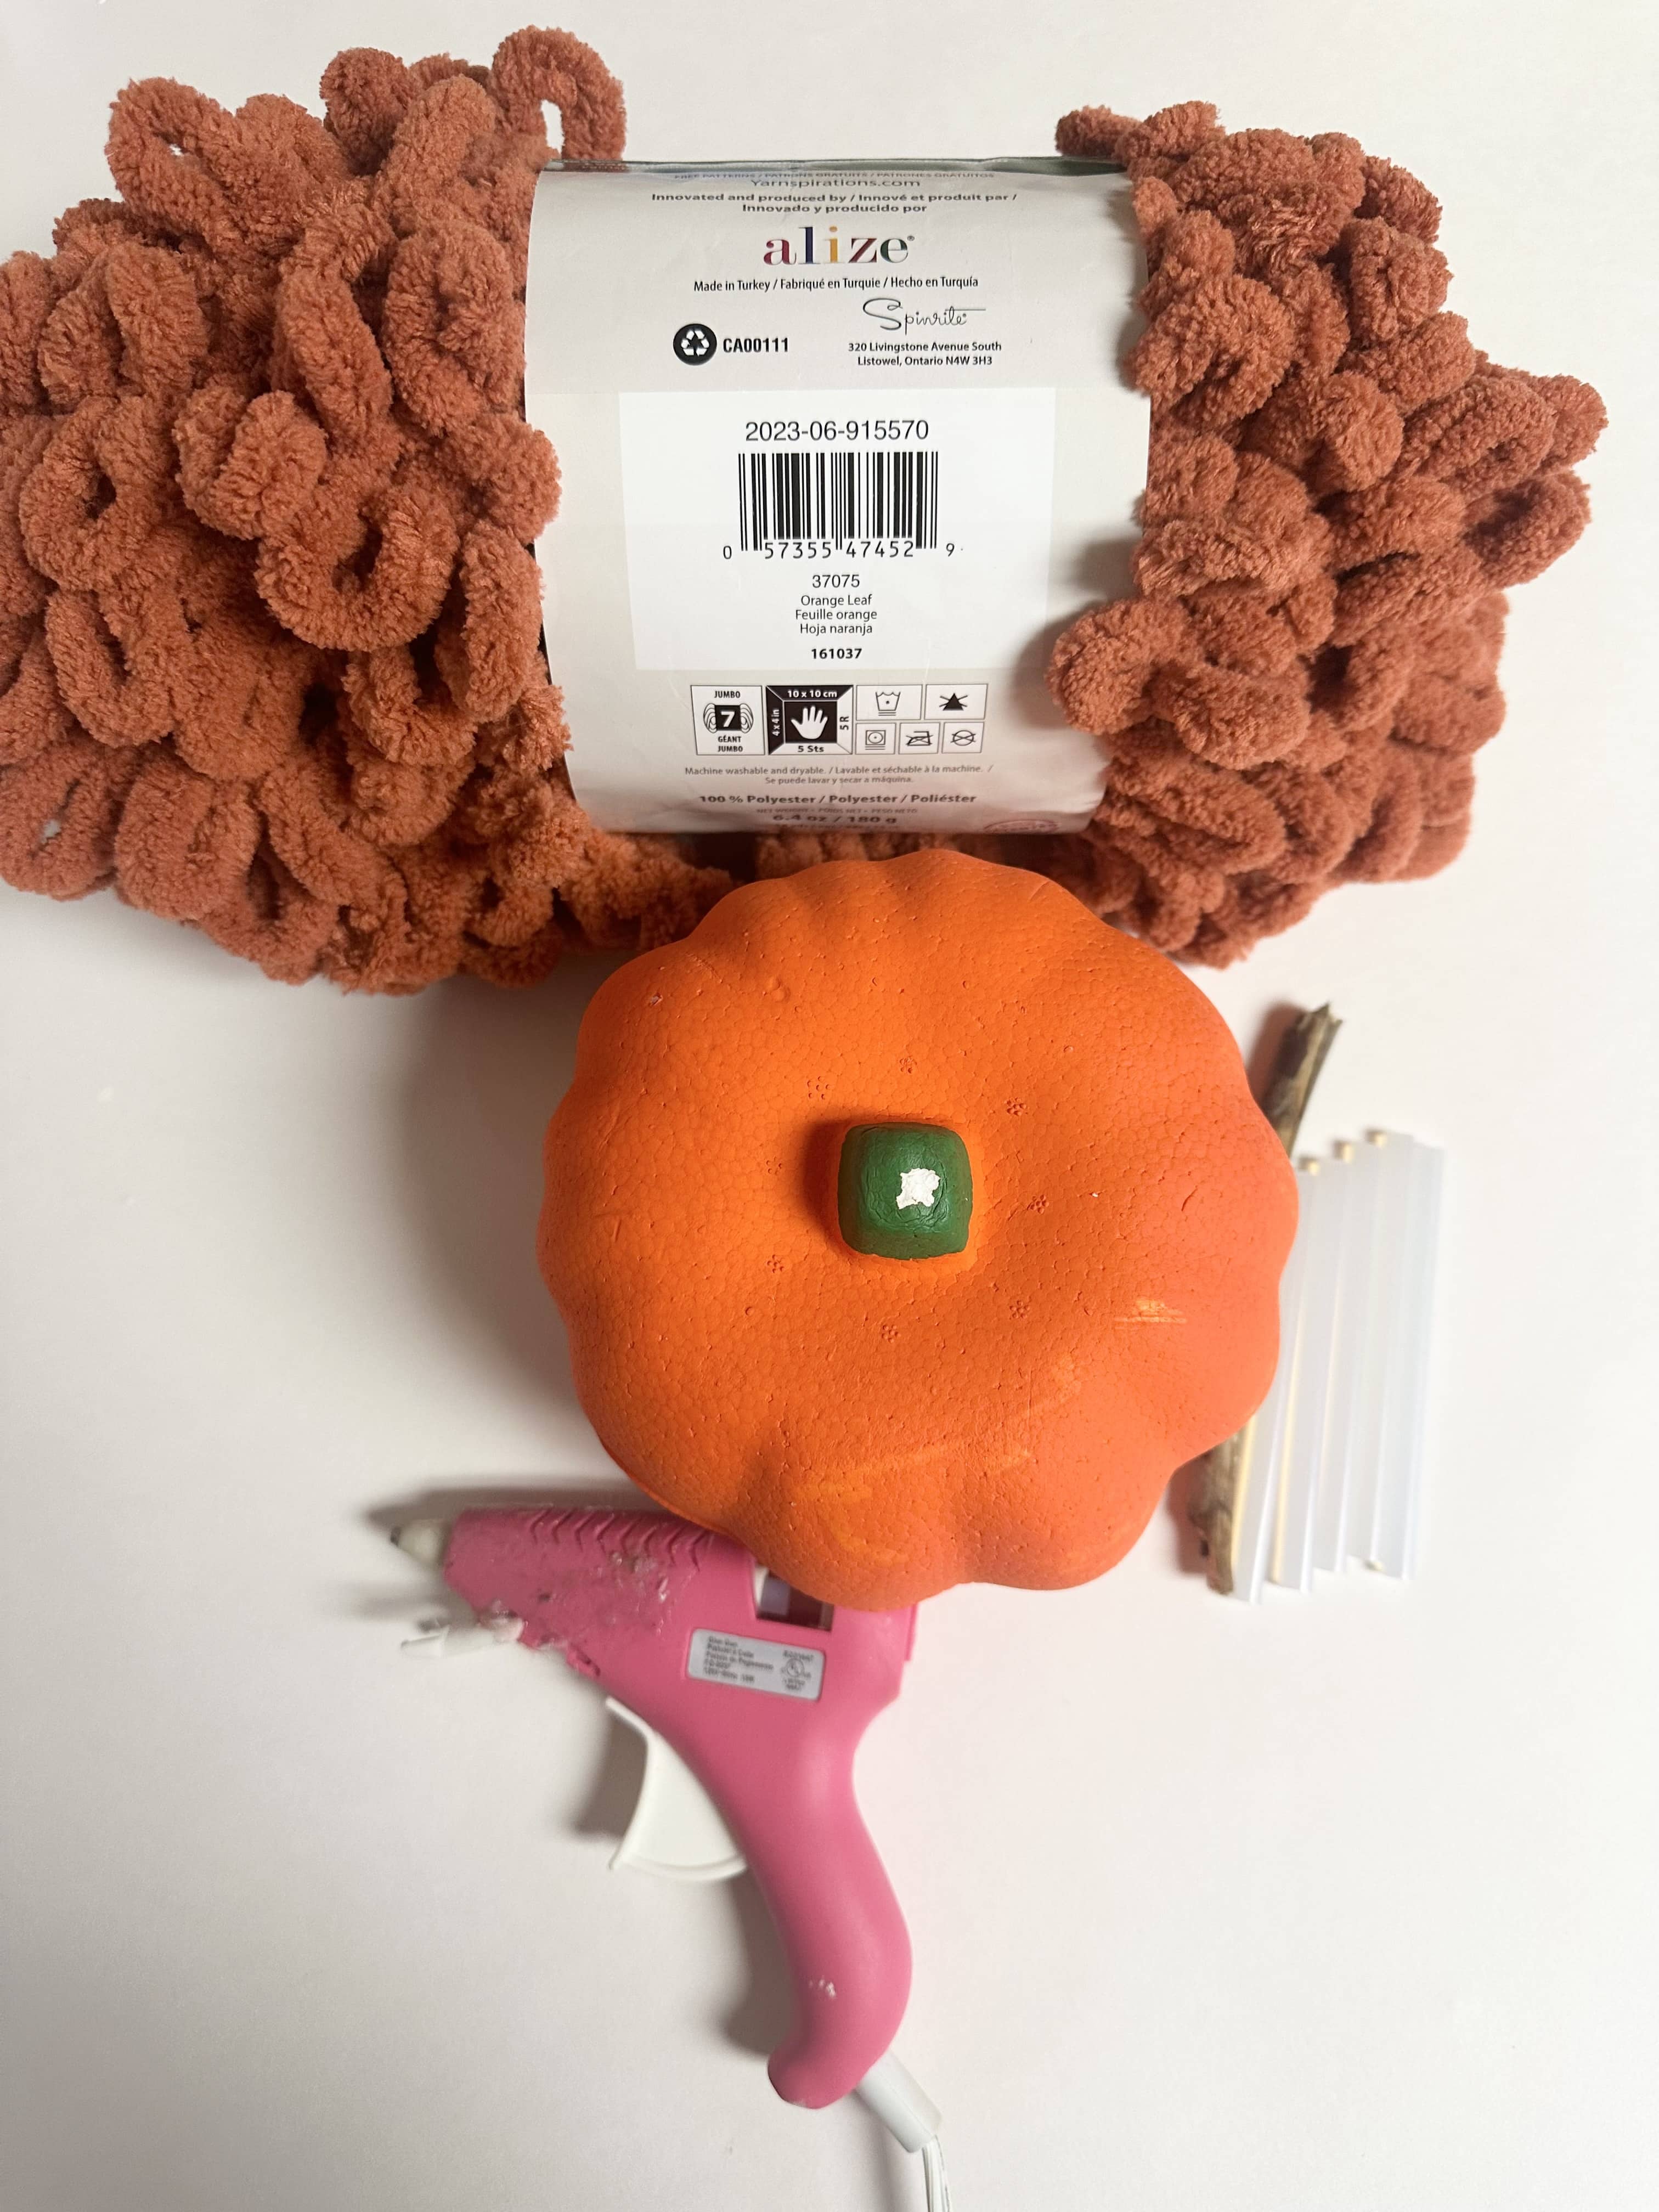
Supplies:
- Bernat Alize Loop Yarn in orange or this similar yarn
- hot glue gun
- scissors
- foam pumpkin- mine is from Dollar Tree but you can get a foam pumpkin almost anywhere in the fall and Amazon year-round in any size you want.
- stick for the stem–mine is from my backyard
Instructions:
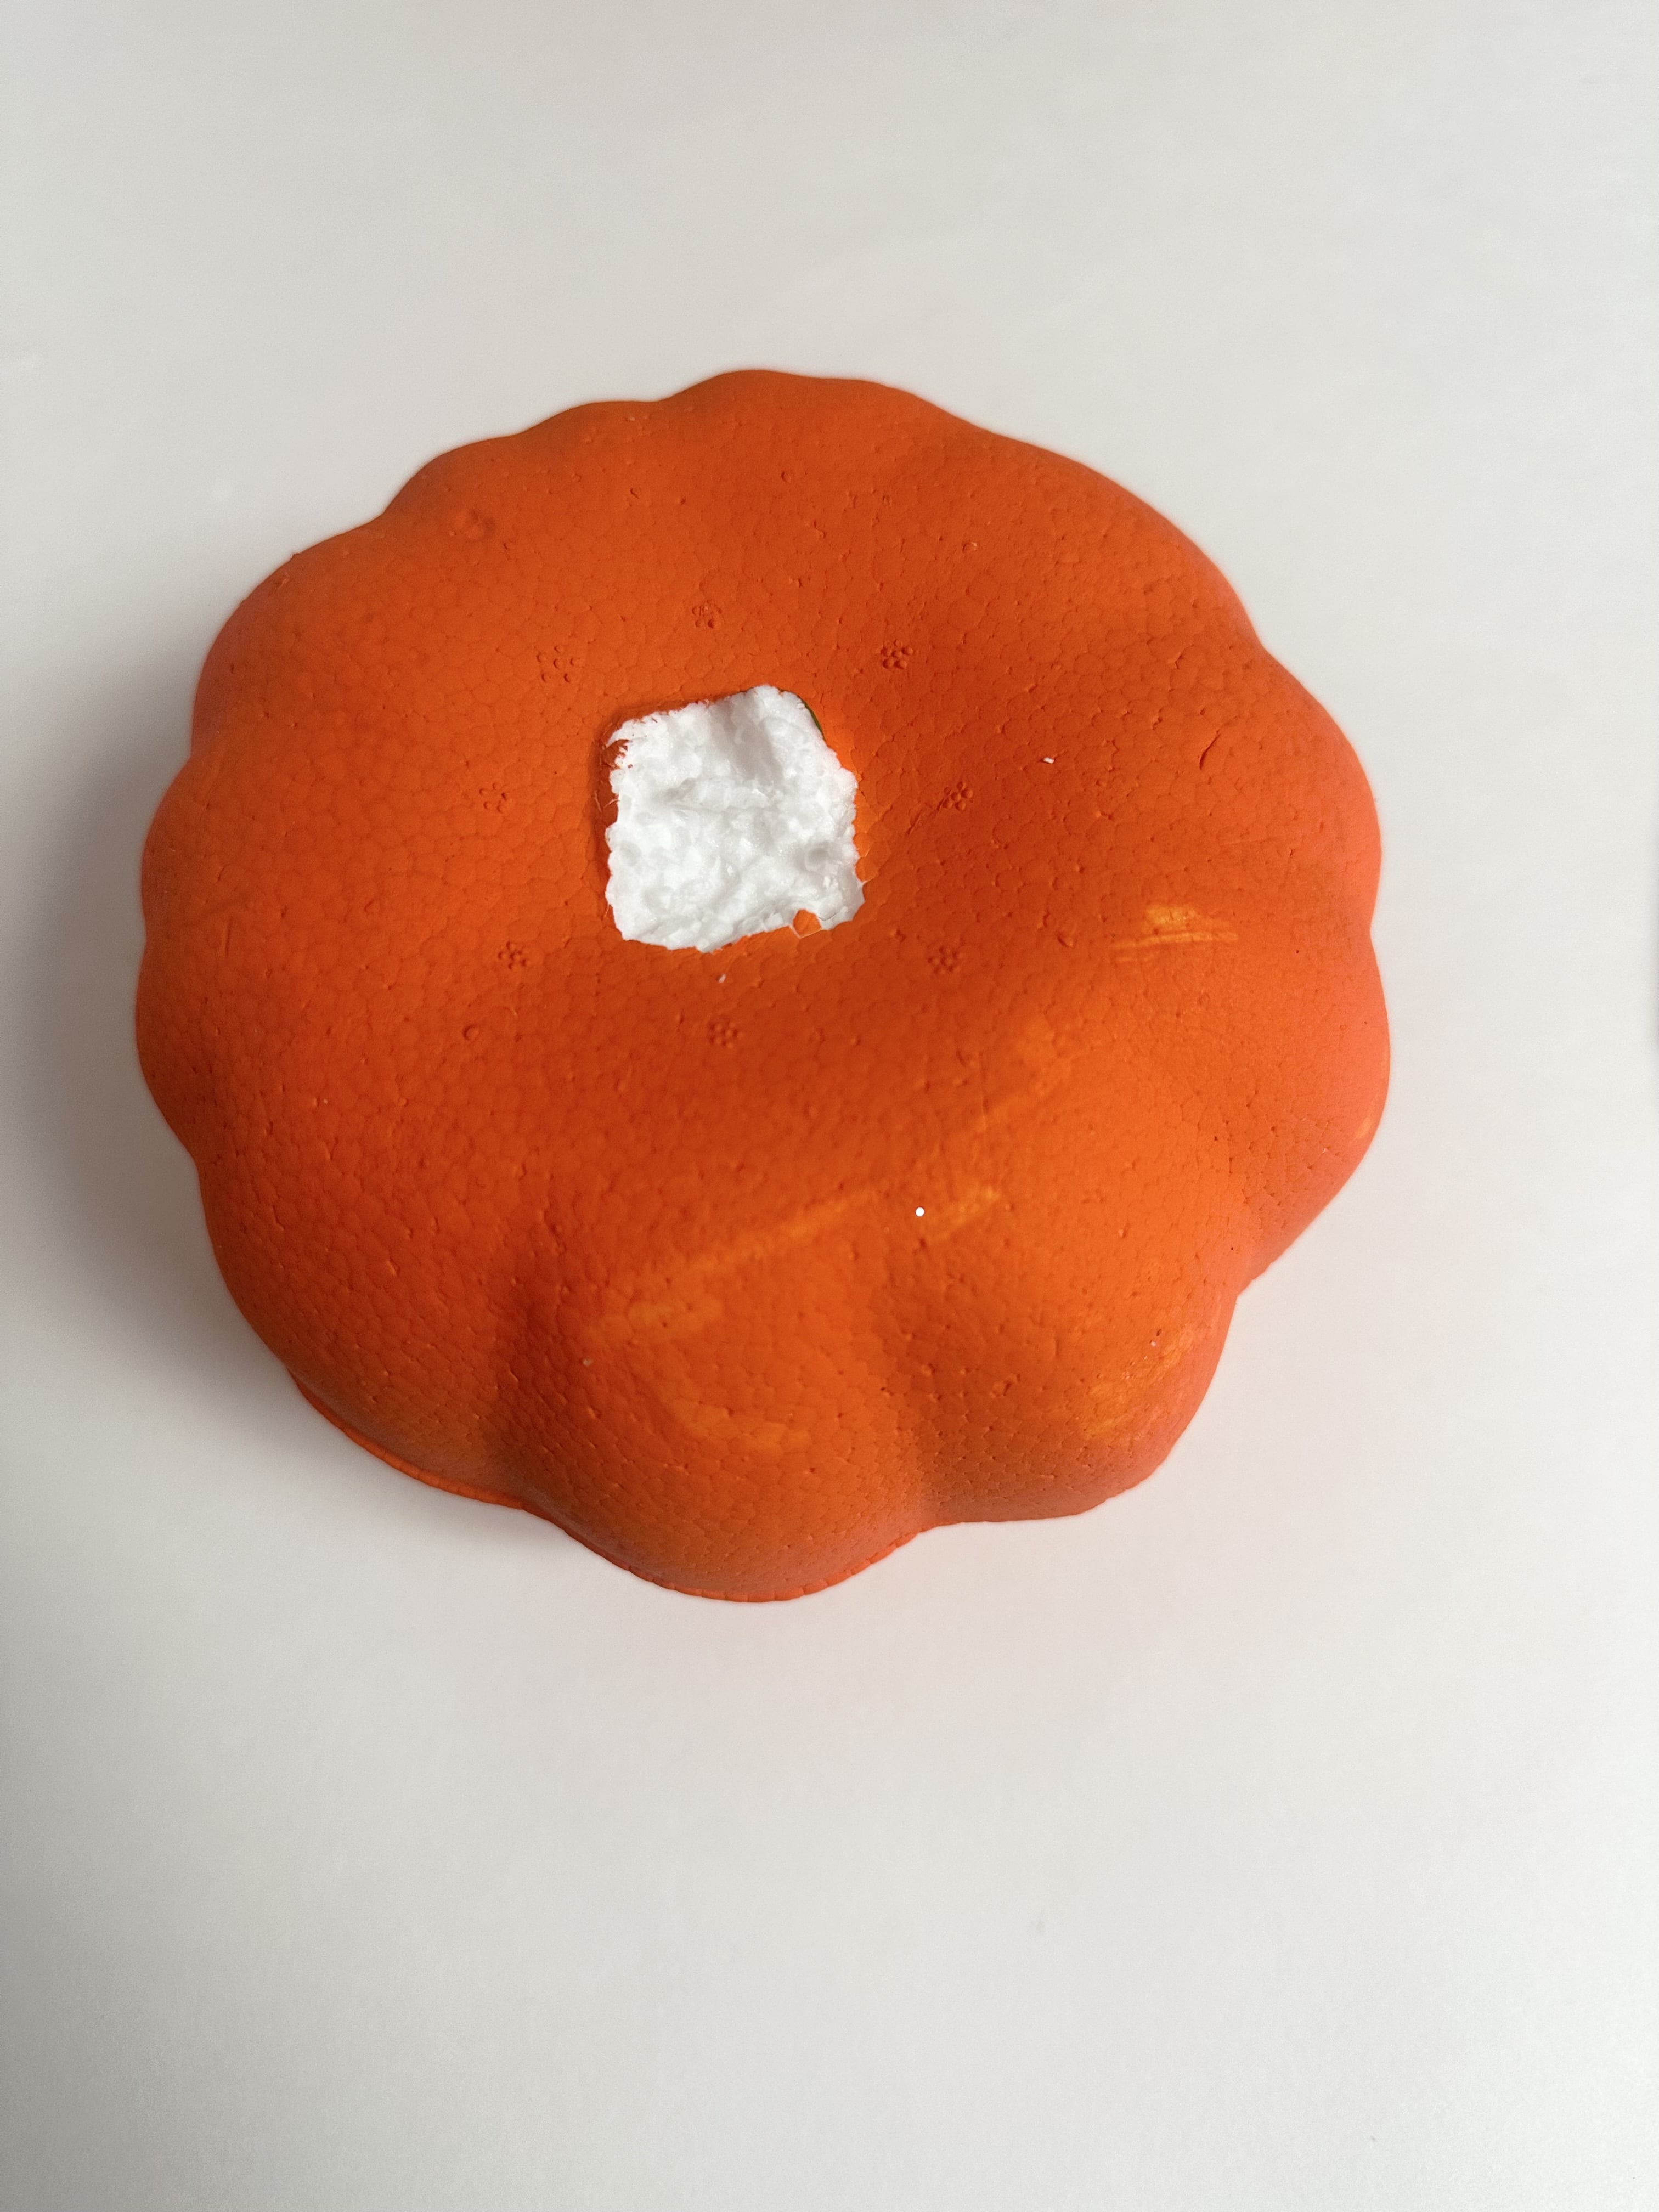
Start by removing the green stem from the foam pumpkin. Depending on your pumpkin, this might be a matter of just plucking it out. It’s possible you might have to dig a bit with scissors or a knife. If it has a stem you like and it still shows up after the yarn is on, go ahead and keep it.
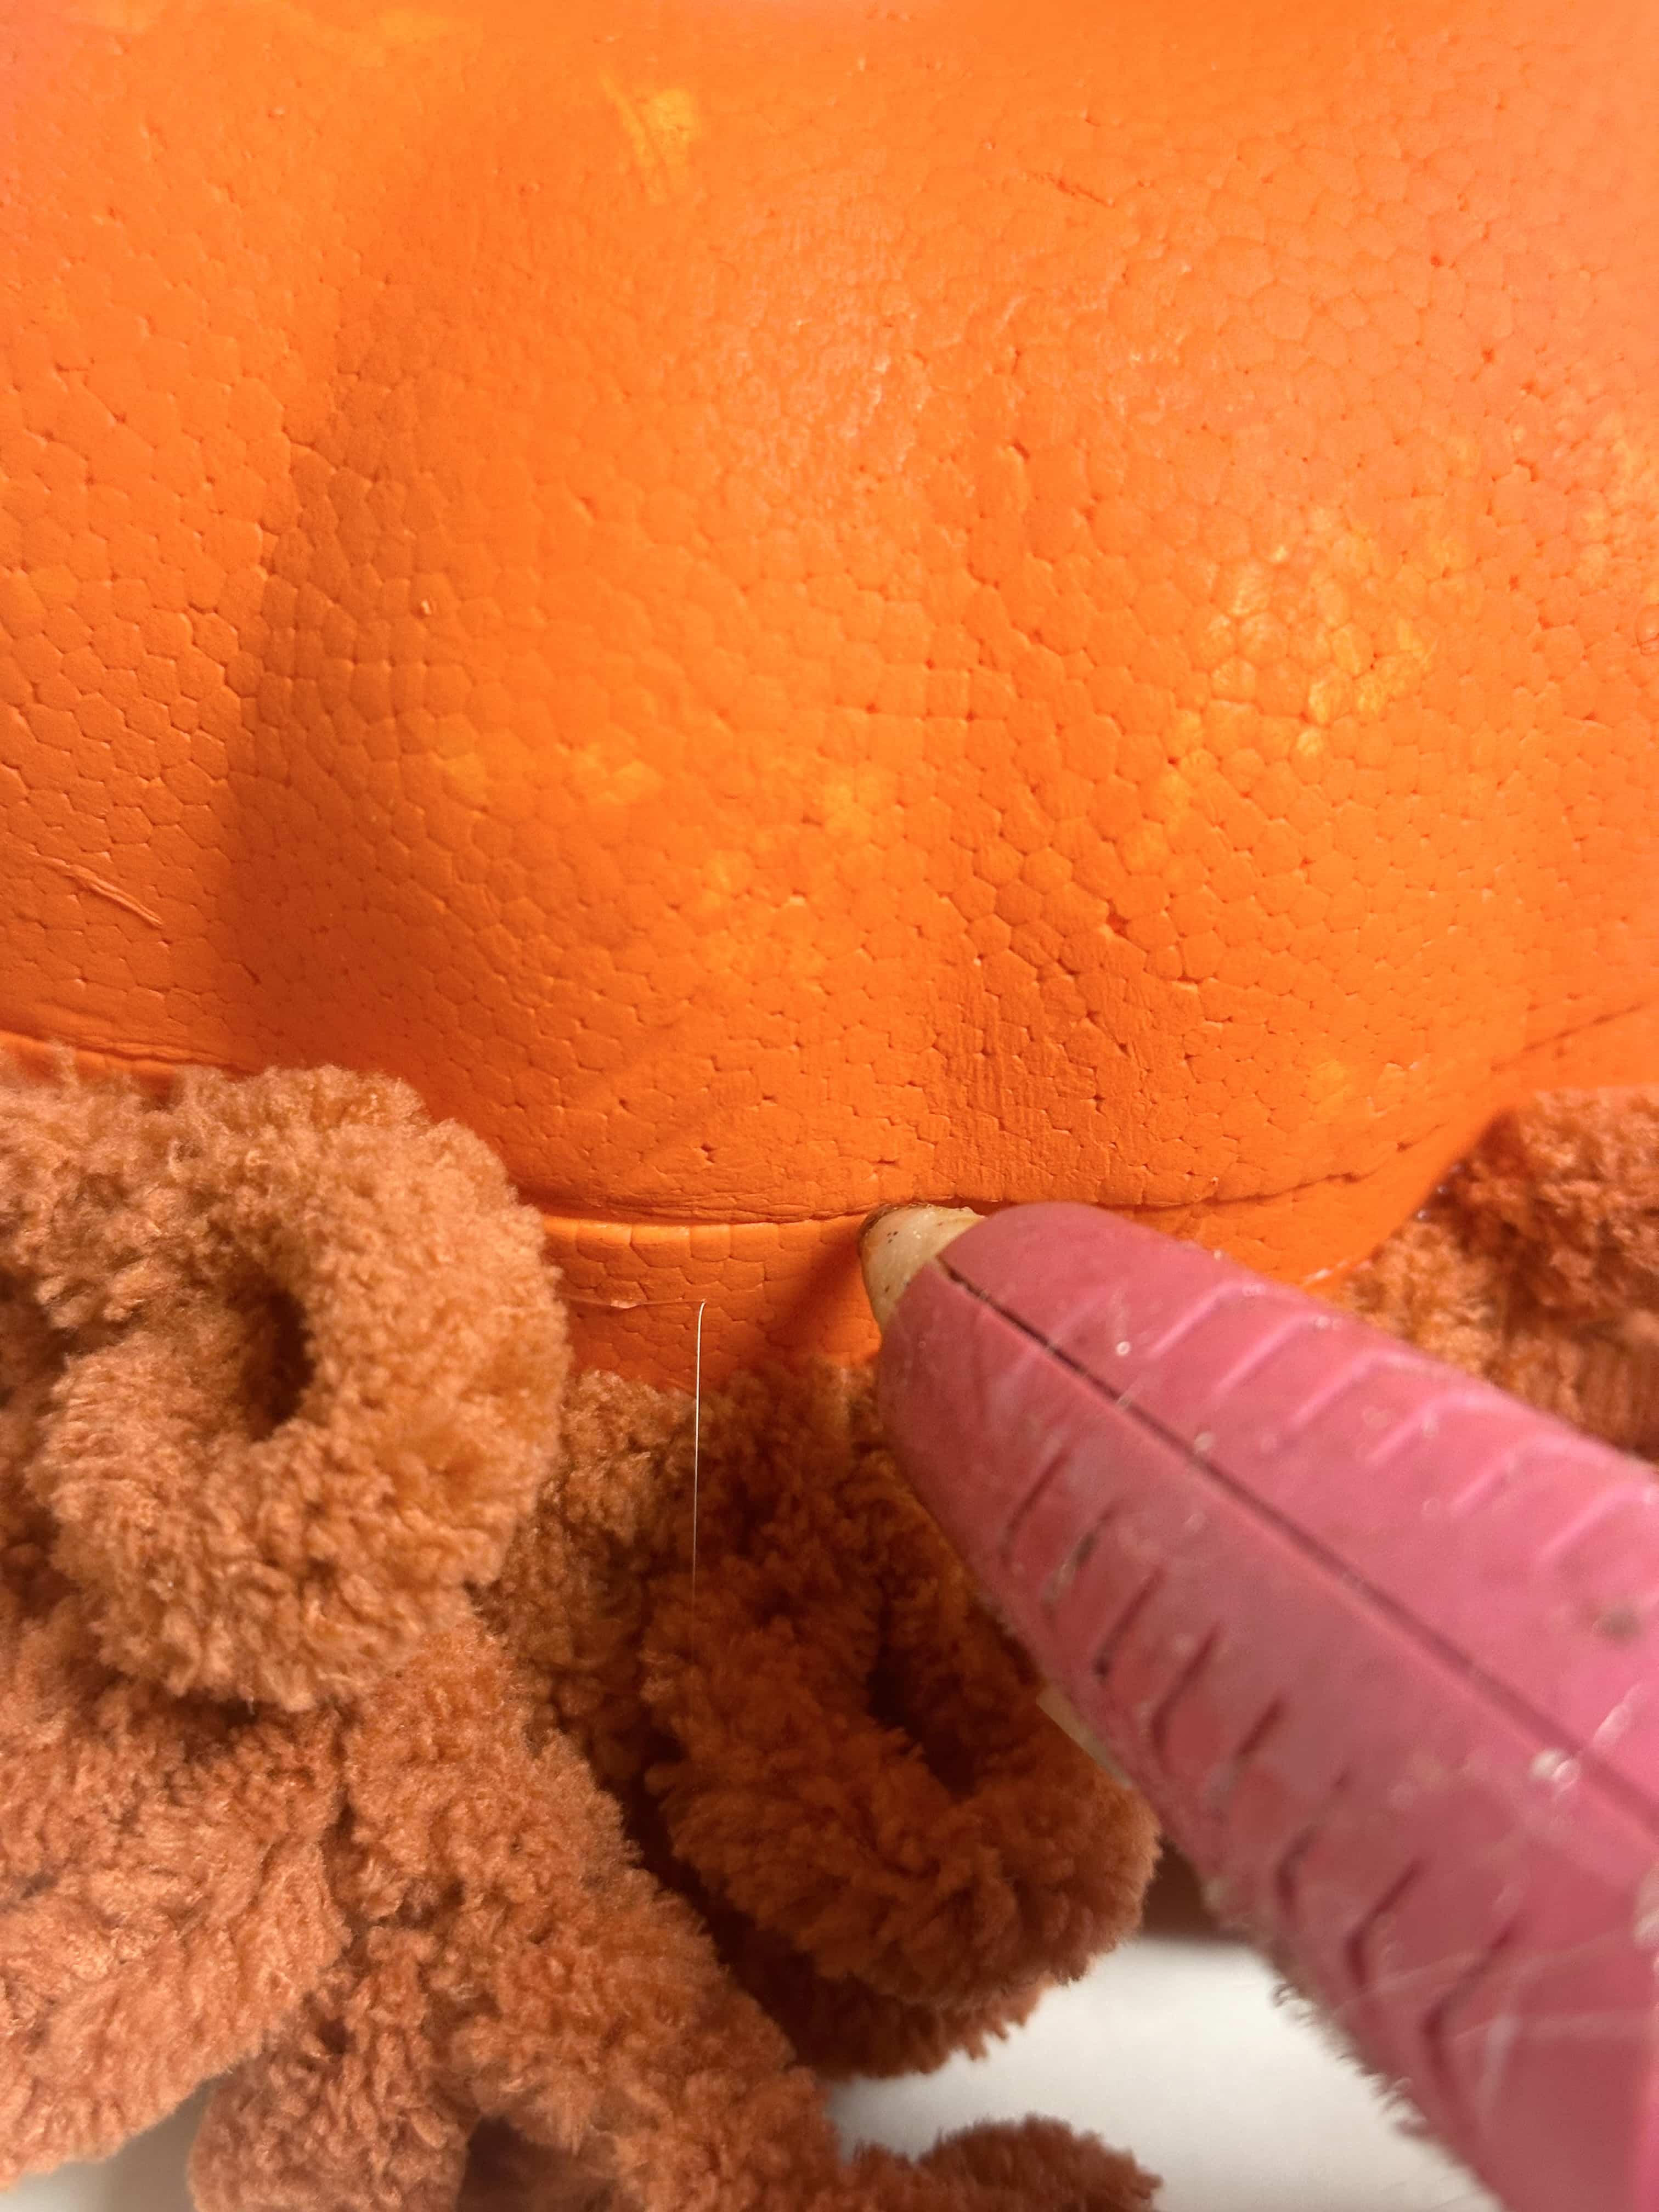
Add a thin line of hot glue to the bottom edge of the foam pumpkin.

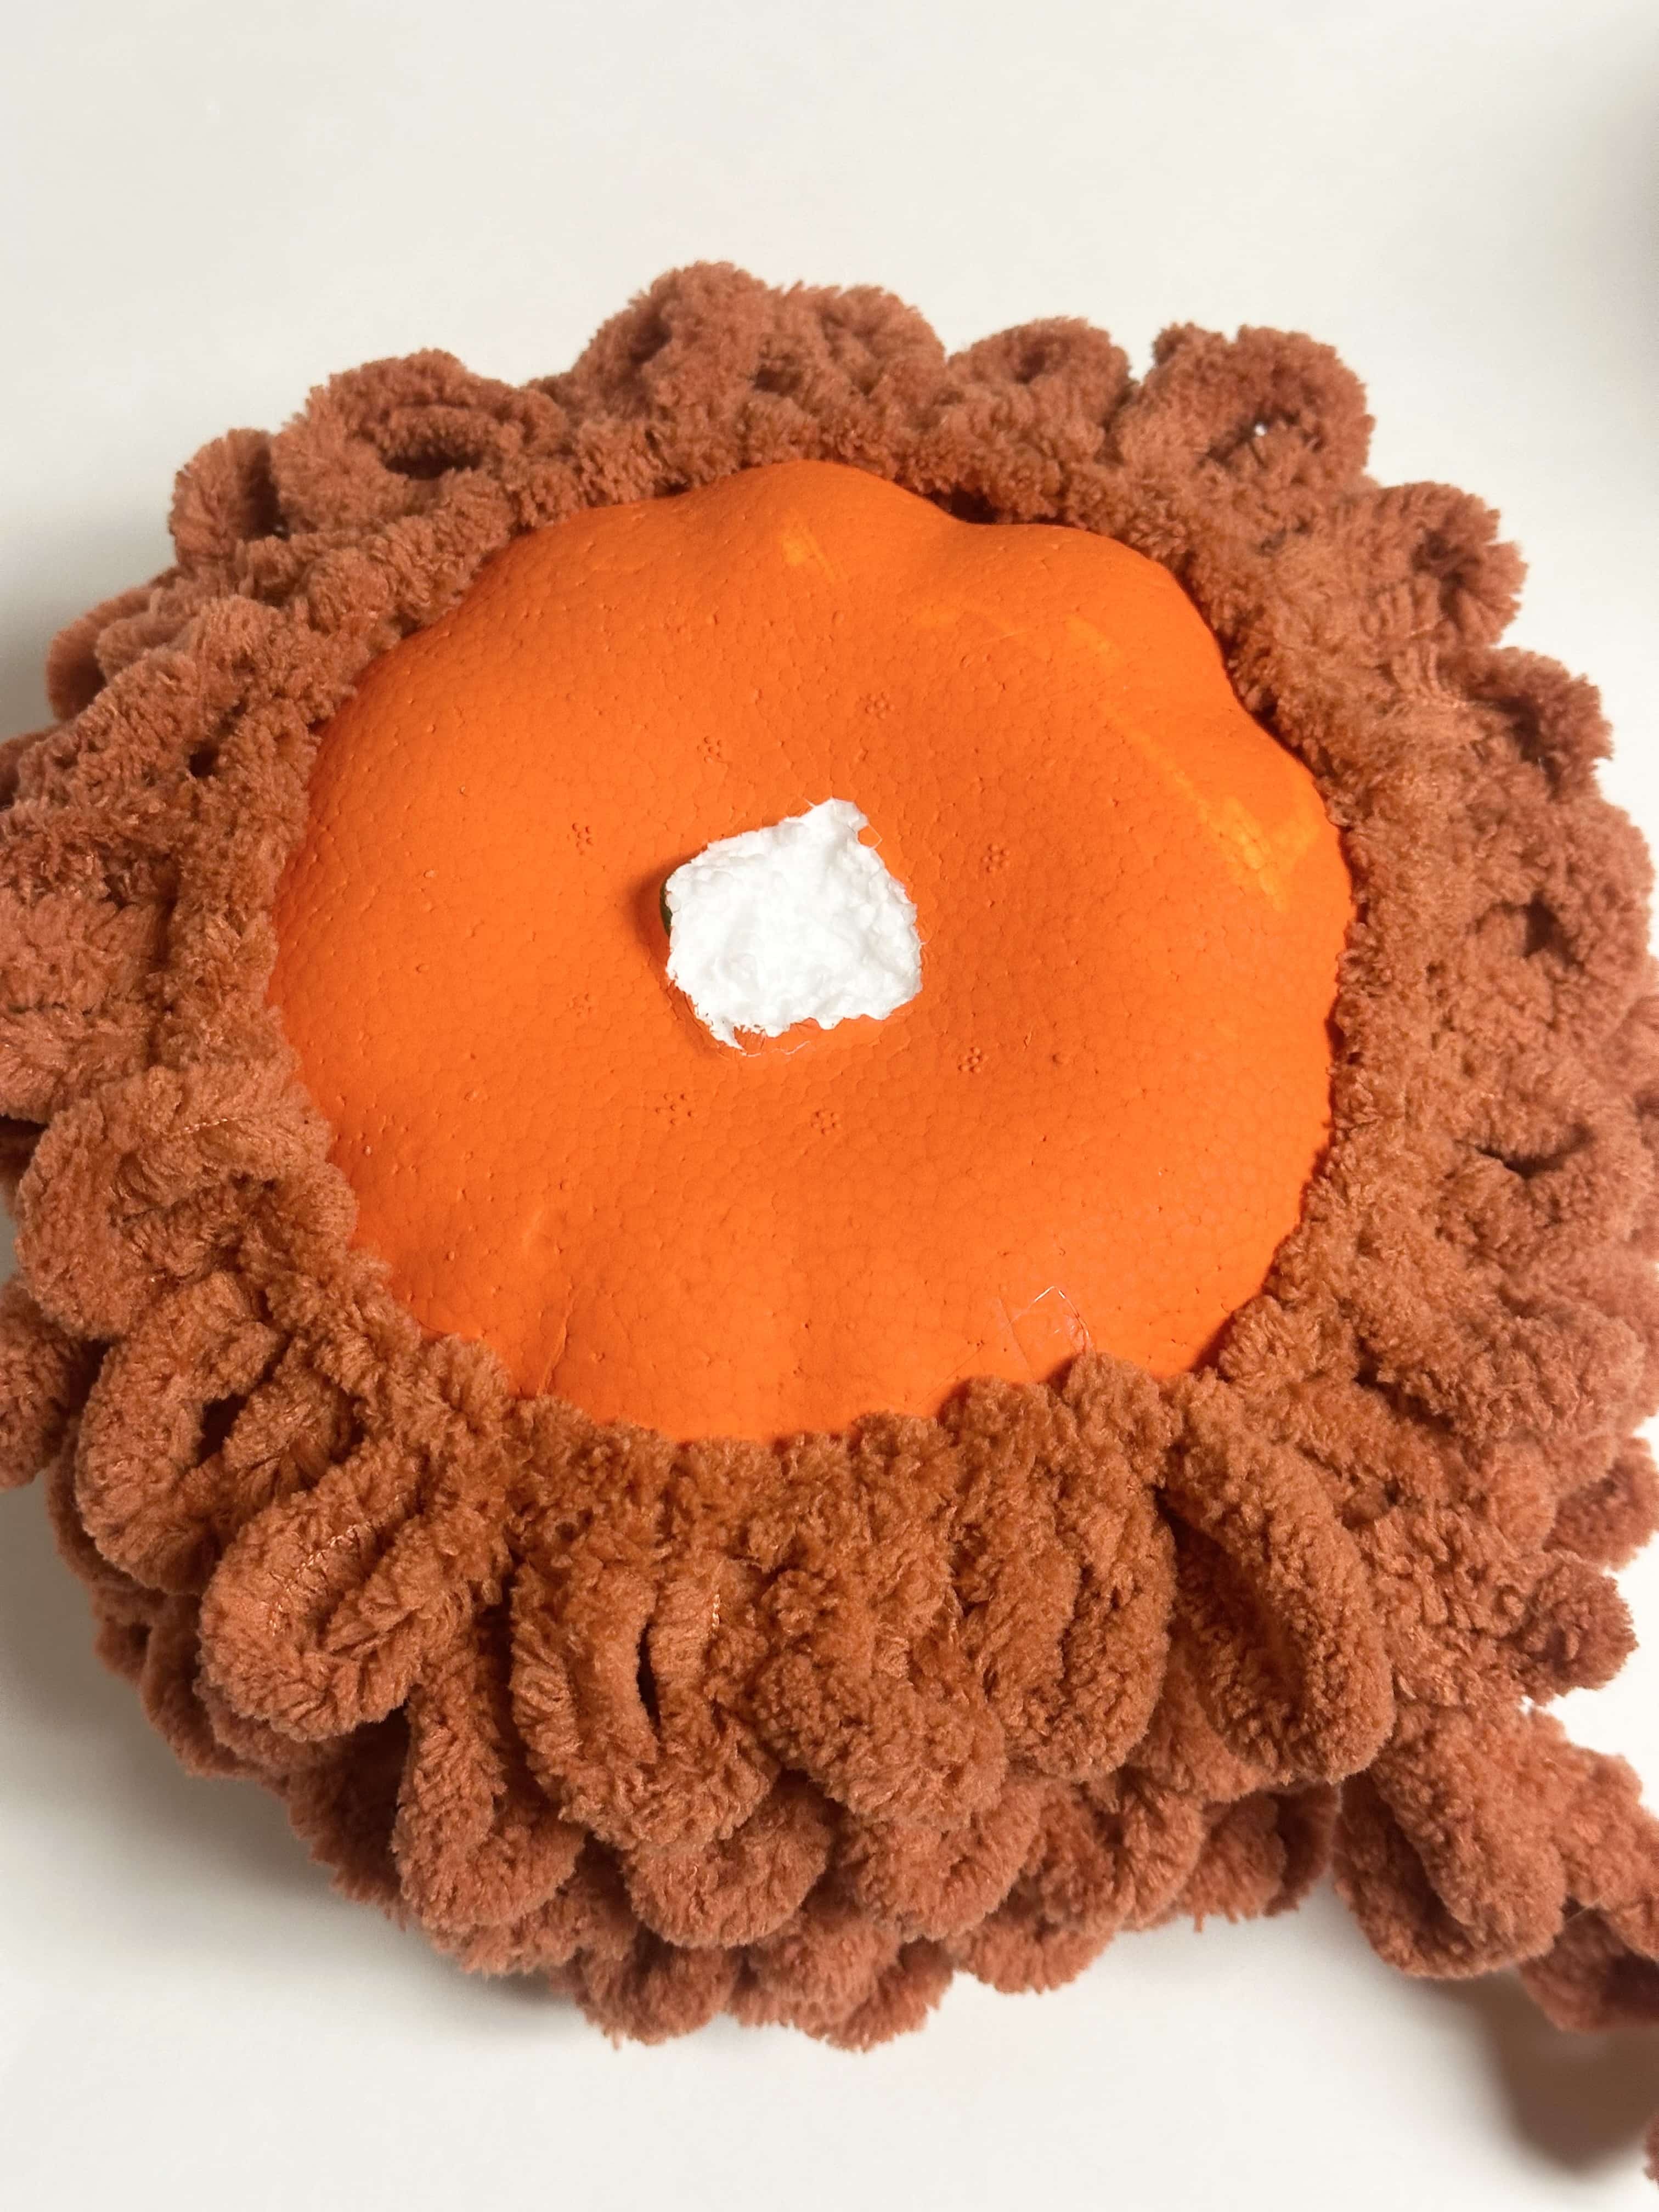
Press the yarn firmly onto the line of hot glue. Repeat this process around the entire pumpkin in sections. Don’t glue too far ahead–you don’t want it to dry before the yarn is attached. Trim the end of the yarn off using the scissors.

If you’re using a stick for the stem, you can easily punch the stem through the top of the pumpkin. To make it more secure, add some hot glue to the hole in the pumpkin and then add the stick.
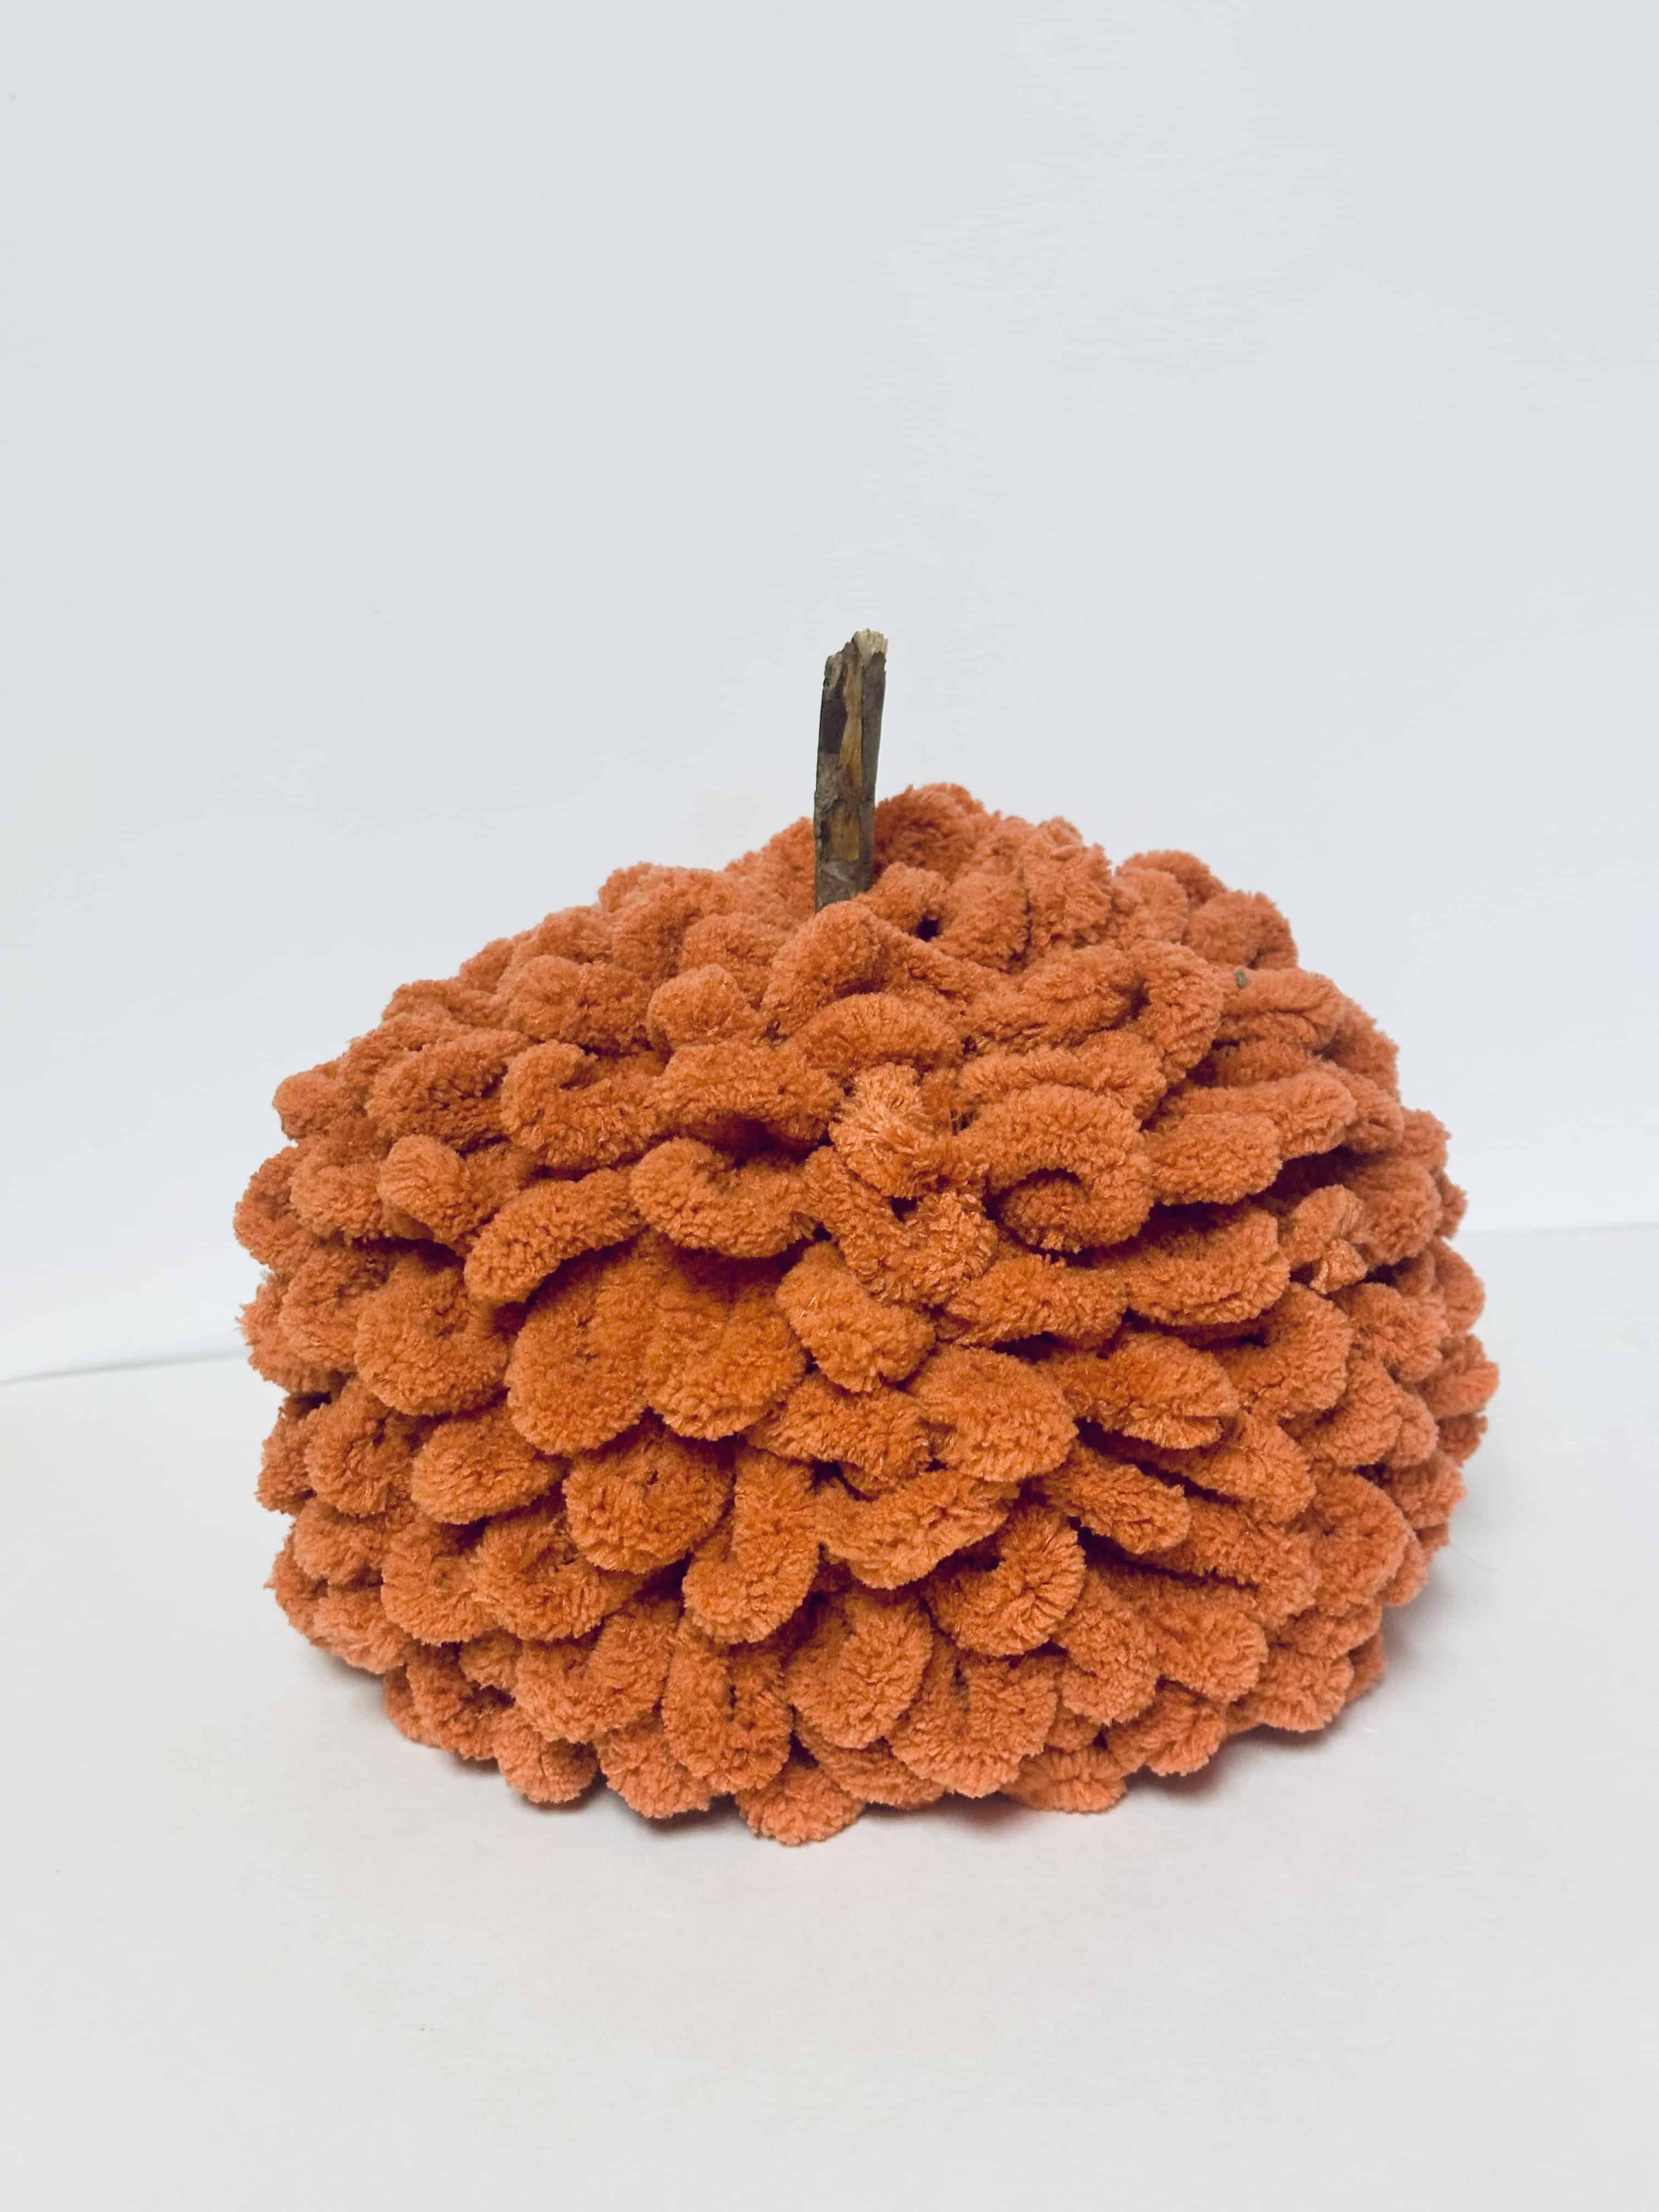
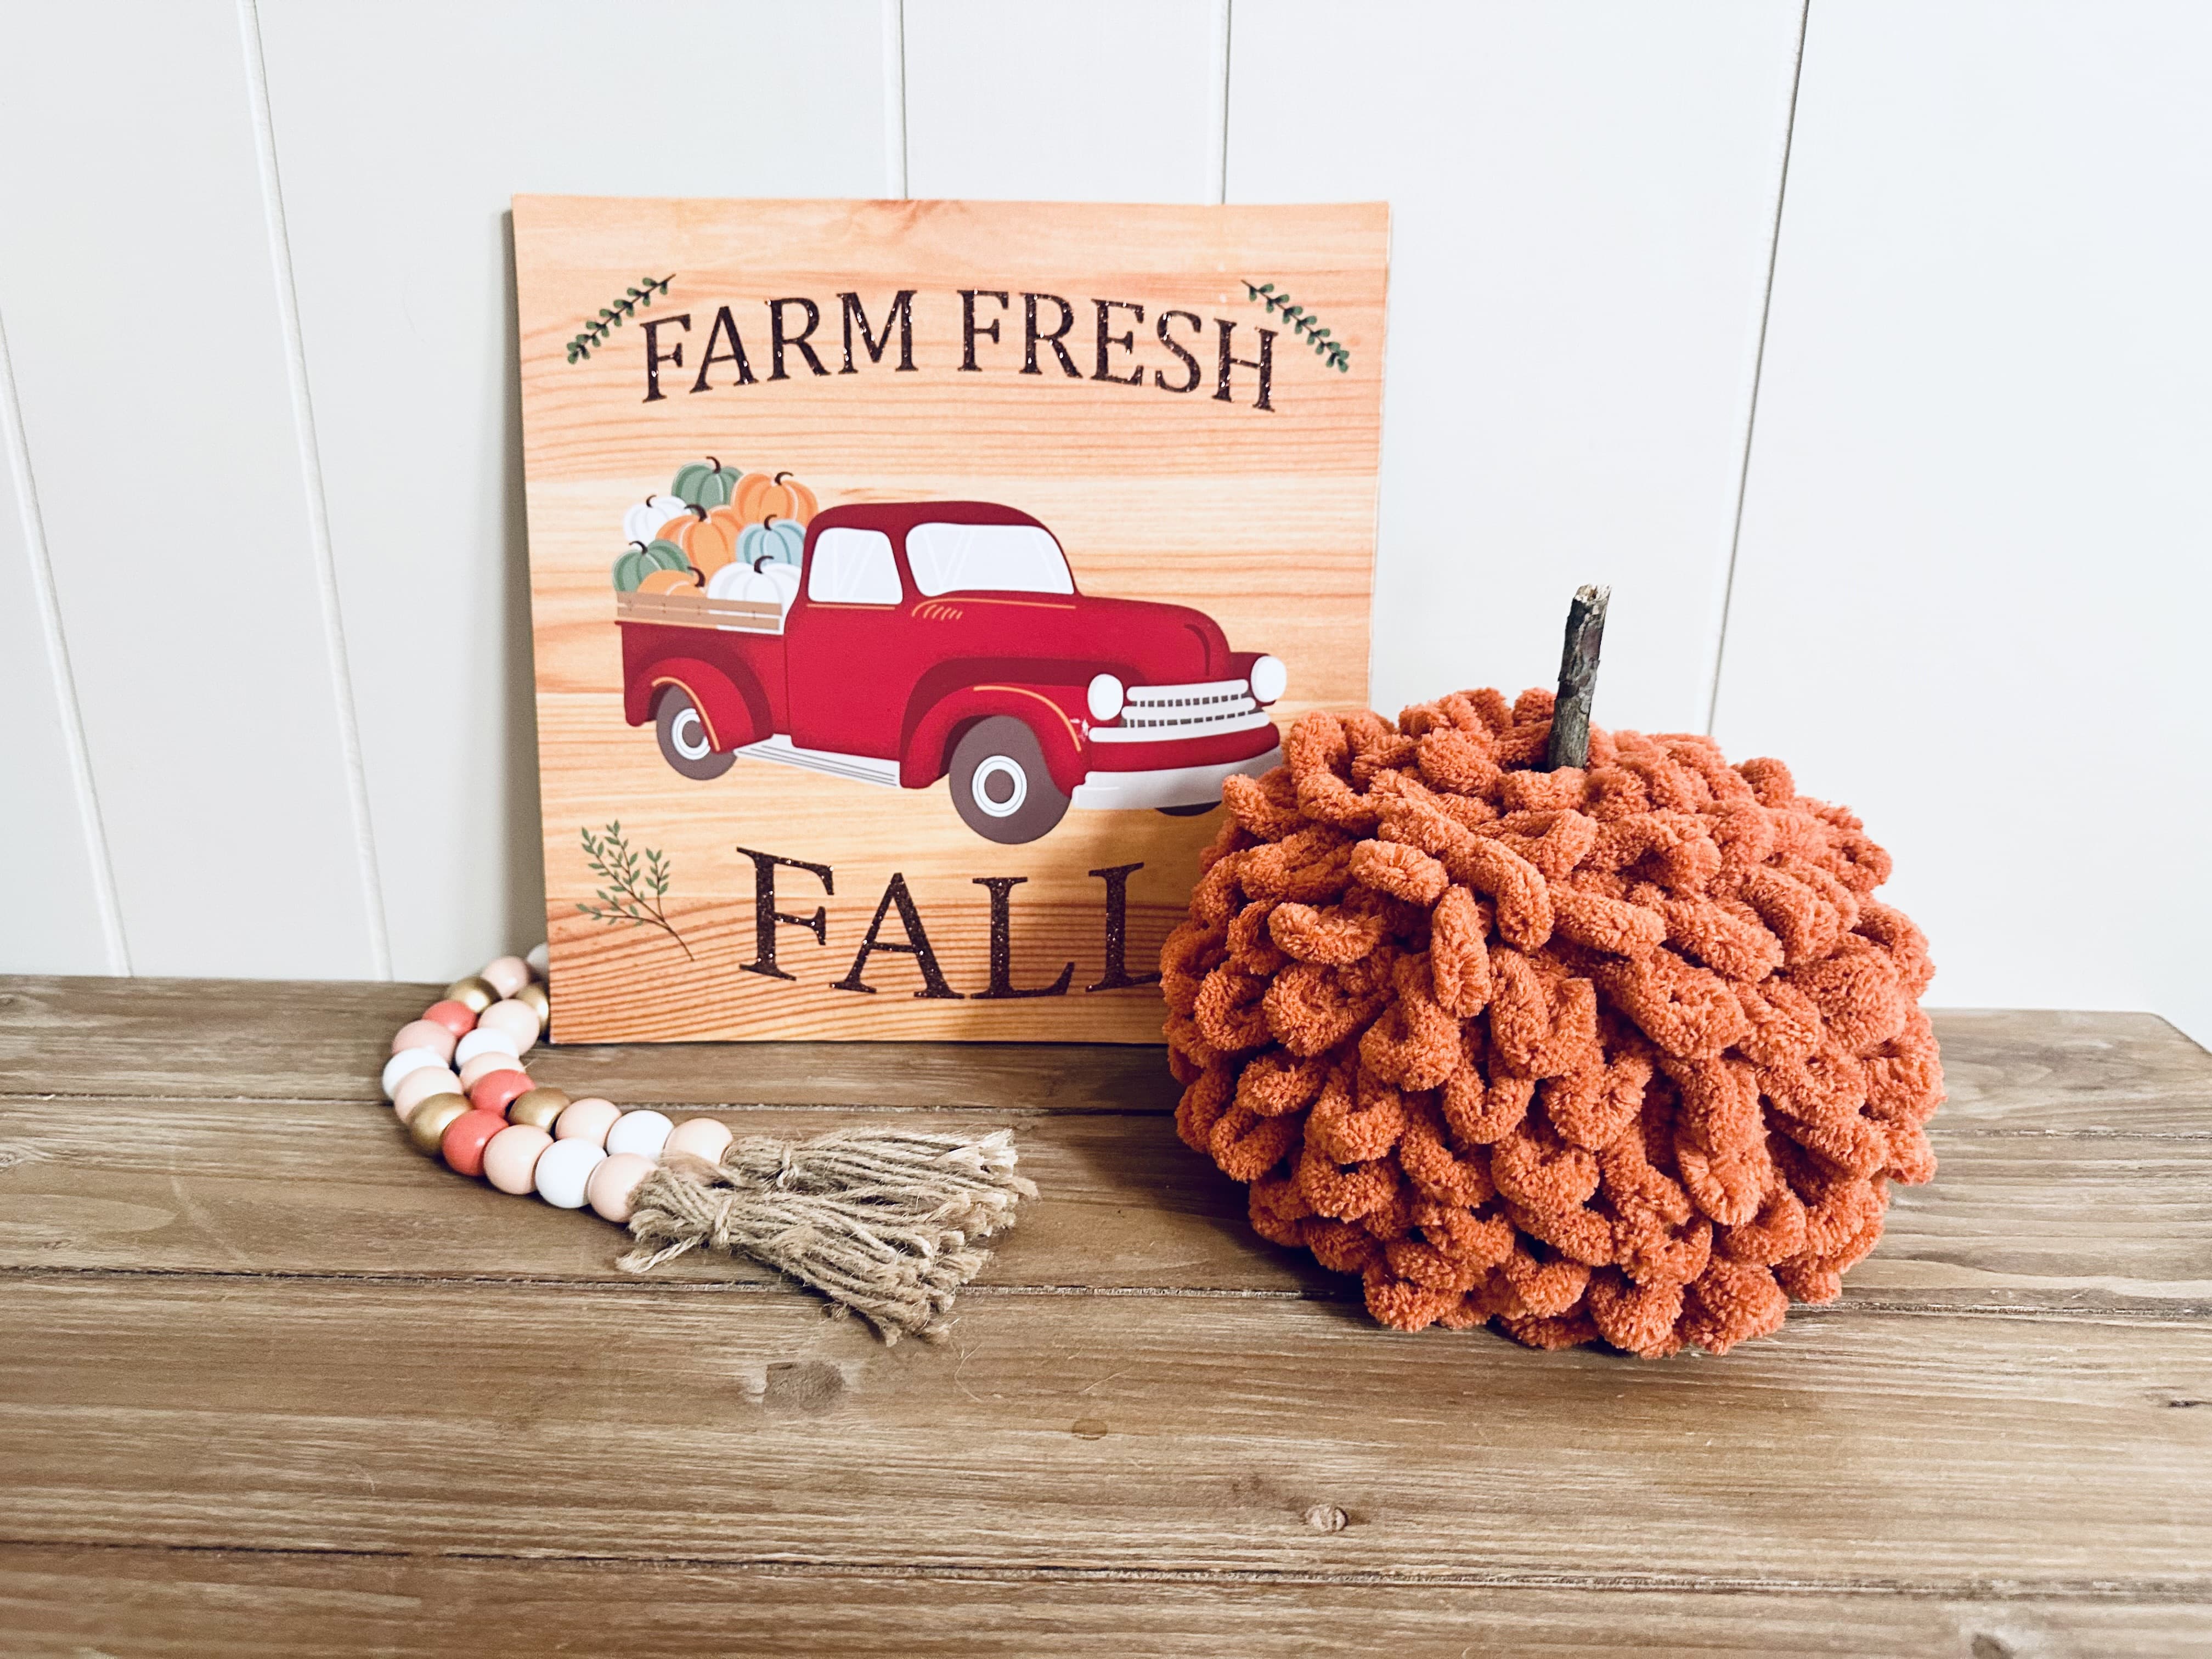
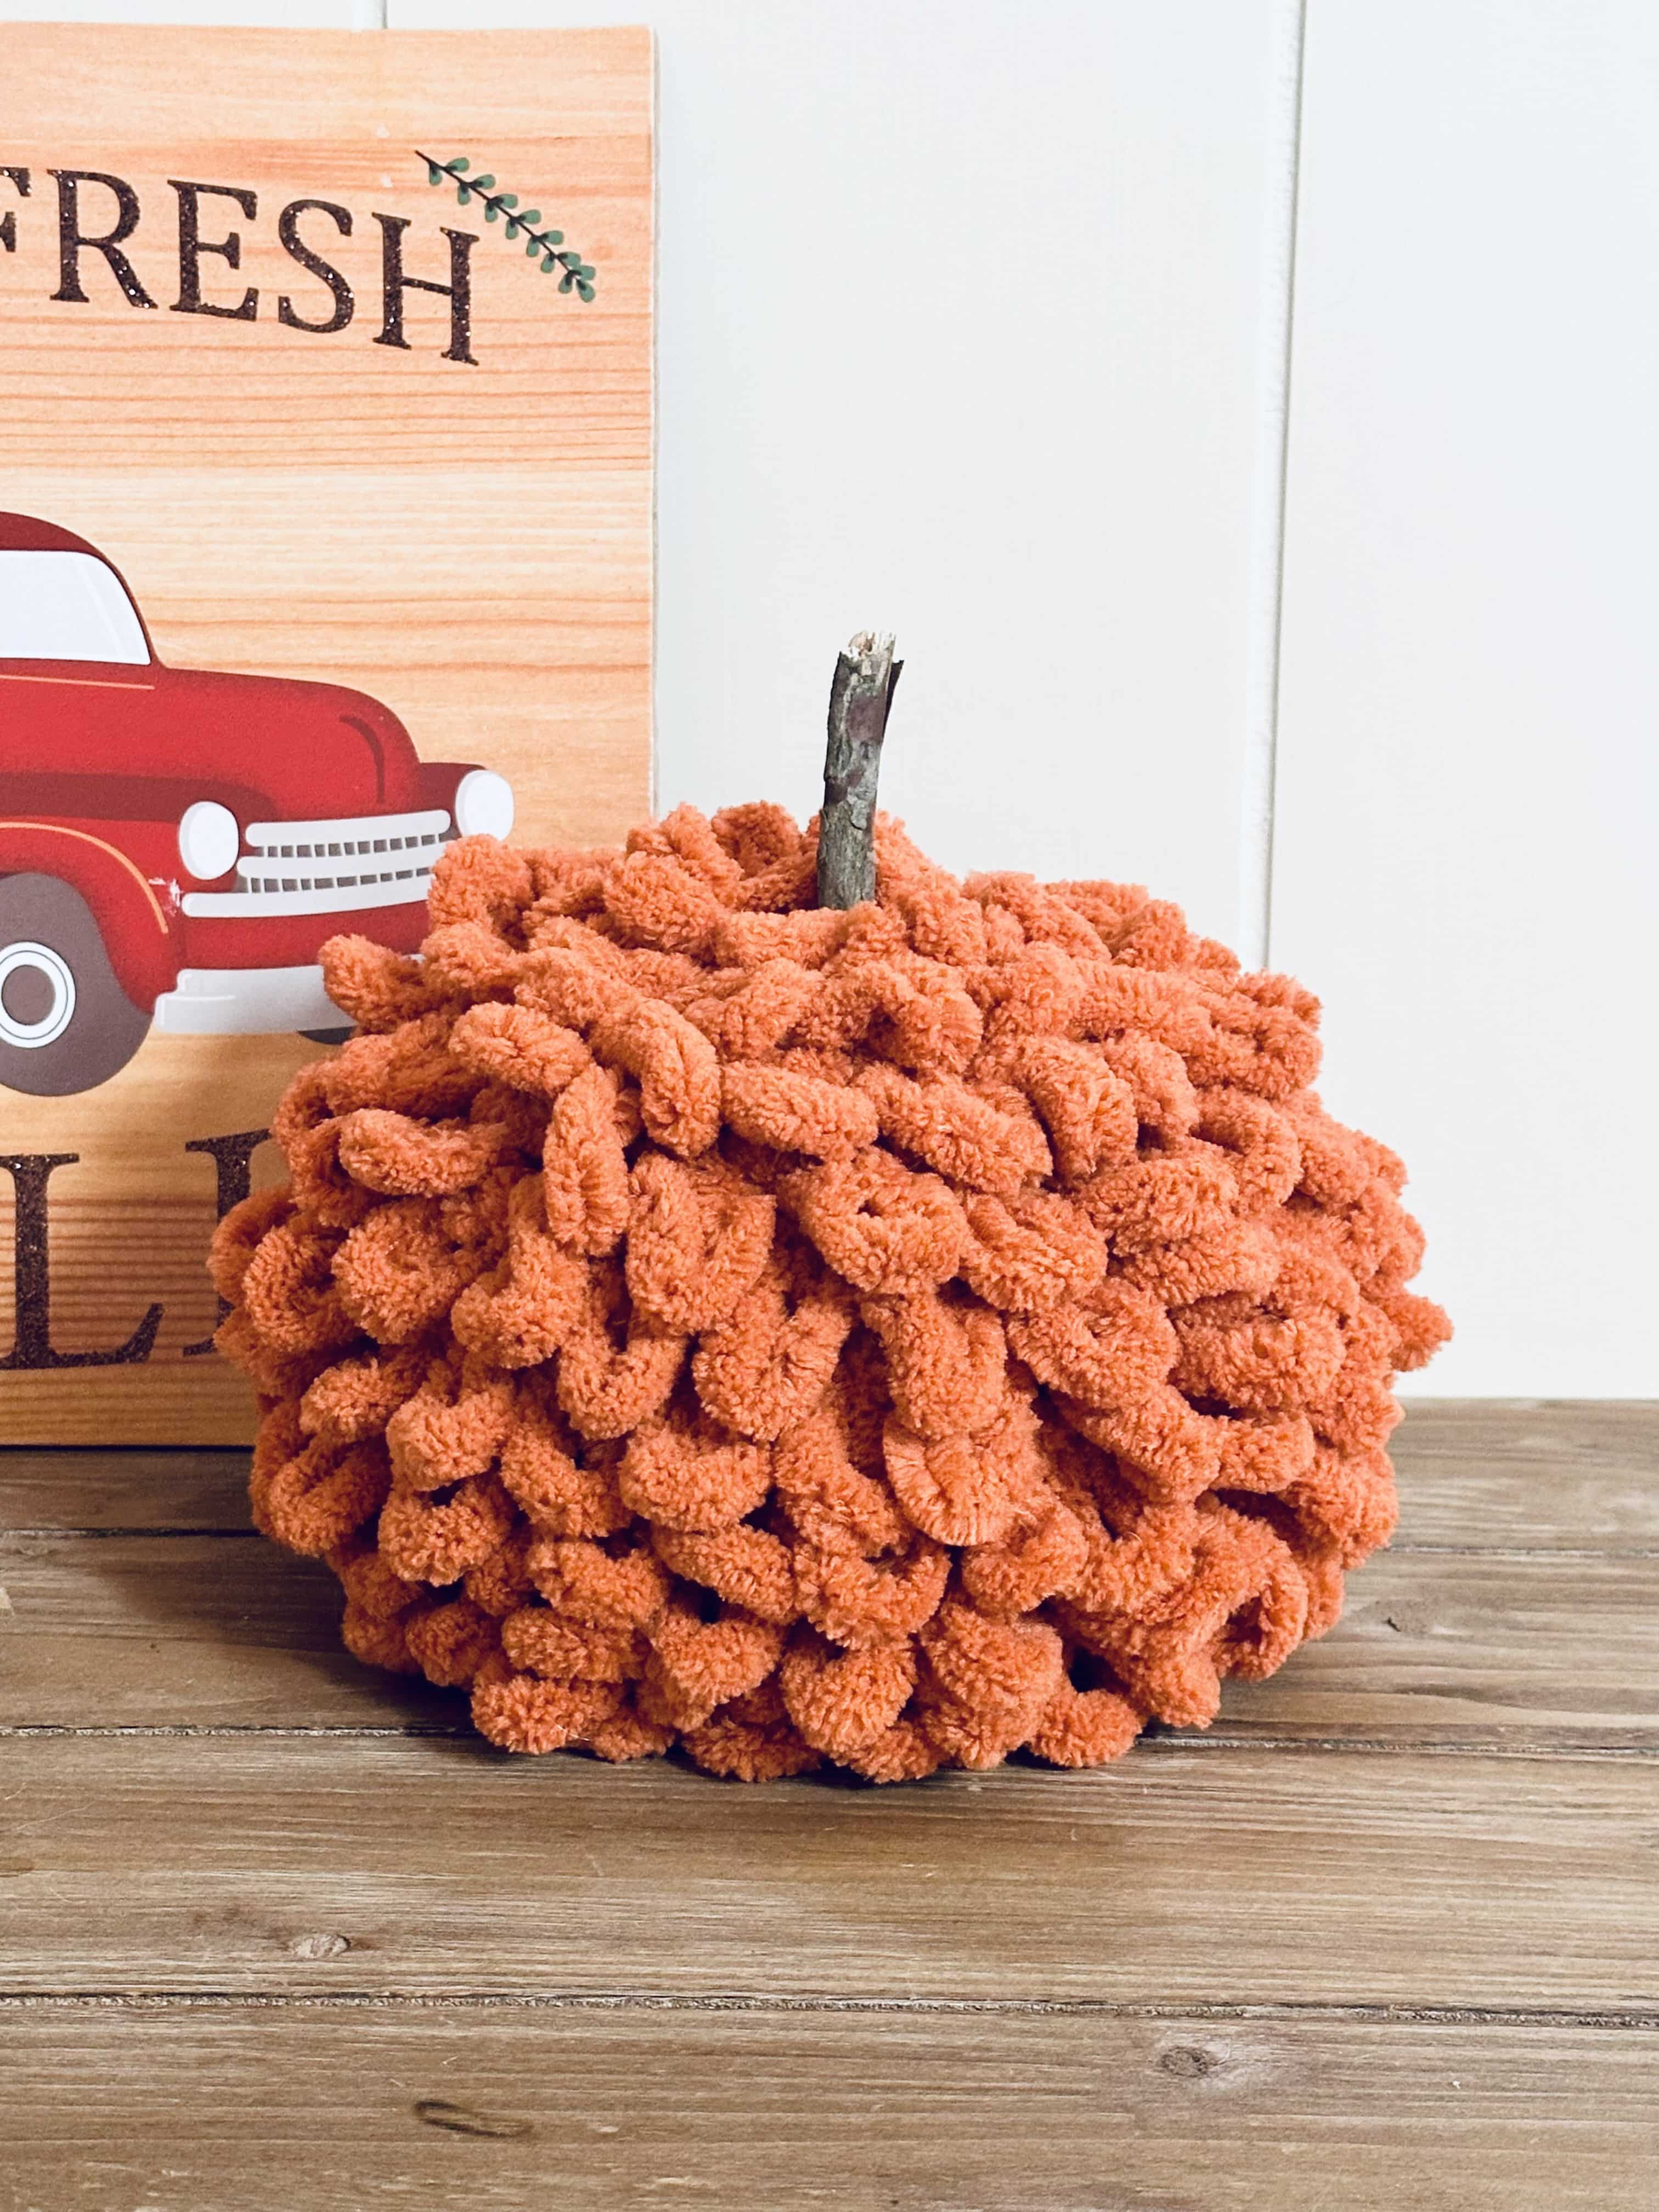
This easy loopy yarn pumpkin is such a cute addition to my fall decor (and will be staying out permanently with some other favorites!). It’s snuggly and fun and I love the texture the loopy yarn gives it. I can see more loopy yarn pumpkins in my future!