Trim the Tree Garland
The girls have a pink tree in their bedroom for the Christmas season. It’s honestly one of my favorite Christmas touches in our house. Sometimes it has some homemade ornaments on it. Sometimes it’s bare. This year, they wanted to make it a “real tree”, which to them meant adding a garland. When I asked them what kind of garland they wanted, I got pink, purple, free, and sparkly. I came up with this Trim the Tree Garland as something we could make together and incorporated everything they wanted.

I’ve joined in with a bunch of talented bloggers to help you Trim the Tree this holiday season!
Have you started decorating for the Holidays? Over 35 of your favorite bloggers have come together to share their fun and festive ideas. From Ornaments to Tree Skirts, you are sure to be inspired by all of these amazing homemade ideas to Trim the Tree!

4. Vintage Green Paper Ornament
9. Felt Christmas Tree

2. Yarn Joy Ornament
3. Embossed Wood Bird Ornament
4. Snow Man Wood Slice Ornament
9. Wooden Spool Christmas Tree

1. Gingerbread Cookie Ornament
8. How to Decorate your Tree like a Pro
9. Joy Ornament
1. Scented Gingerbread Ornament
5. Wood Slice Child Silhouette Ornament
6. Tips for Decorating the Christmas Tree
8. Gold Basket Weave Ornament
9. Rustic Christmas Tree Garland
10. Starfish Christmas Ornaments
For my Trim The Tree Garland, you will need:
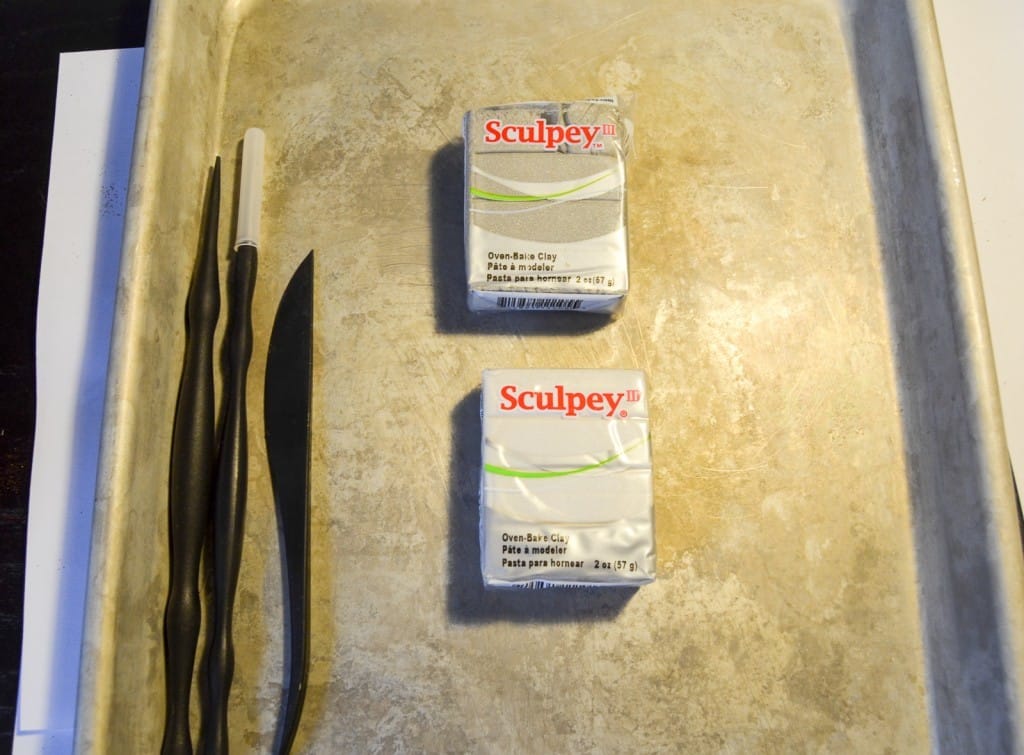
- polymer clay
- modeling tool set
- felt balls
- Mod Podge
- glitter
- brush
- baking tray
- oven
- needle
- bakers twine/embroidery thread
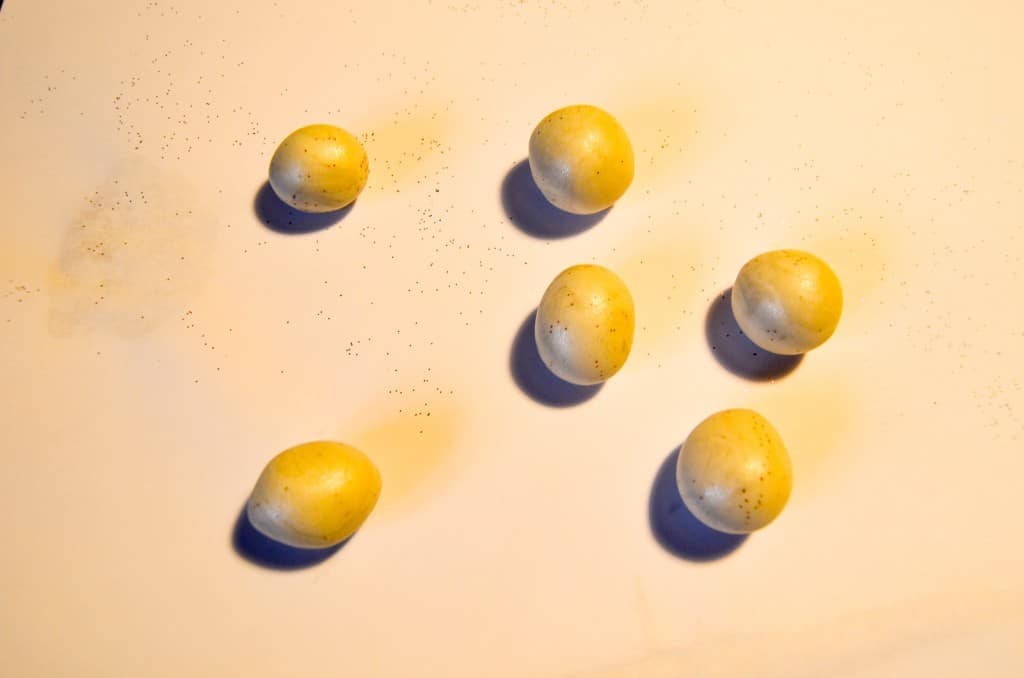
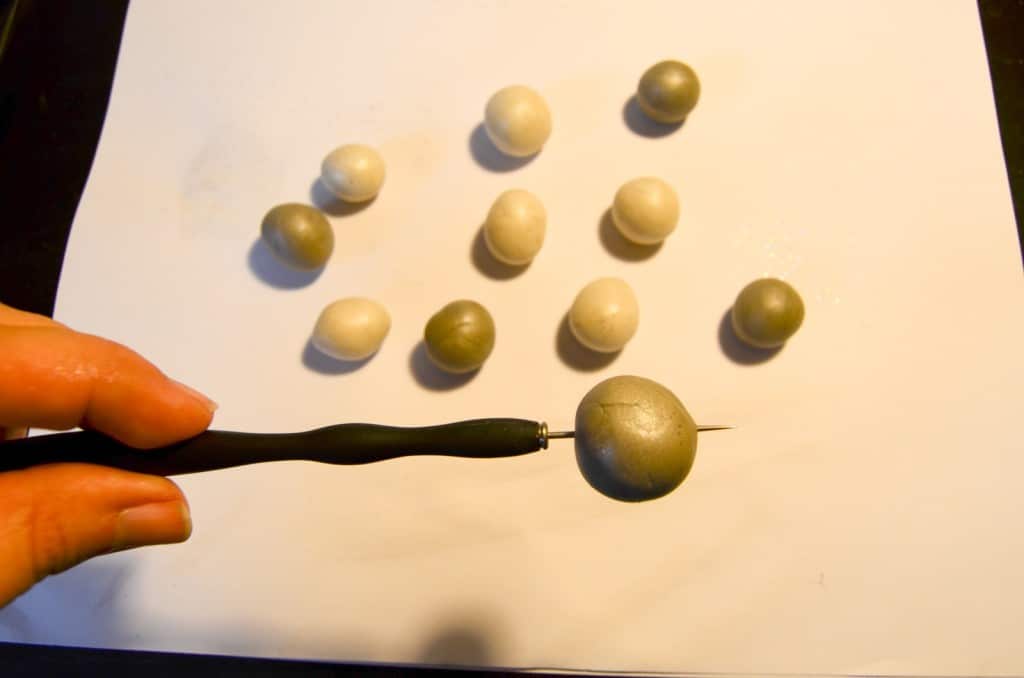
Break off pieces of the clay and roll them into balls between your hands. The girls had a great time with this part! (I am a hugely messy crafter, as you know, and had some leftover glitter on my work surface. Oops!)
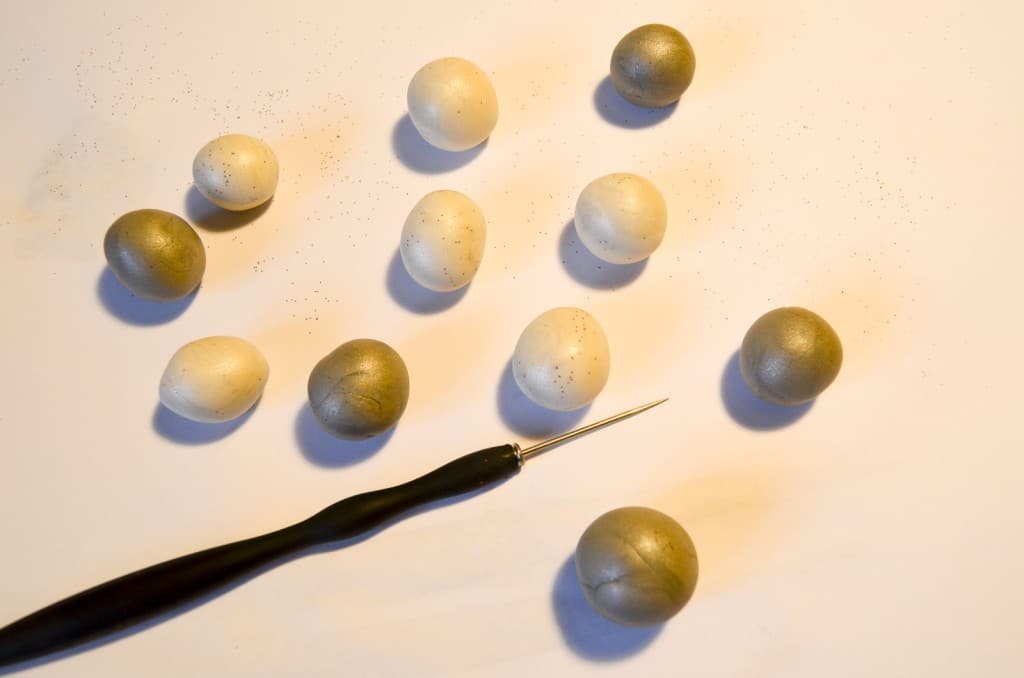
I used the needle tool to create holes in the beads. I put the needle through the clay and did a little circle with the tool. There may be a better way to do it, but this worked just fine for me.
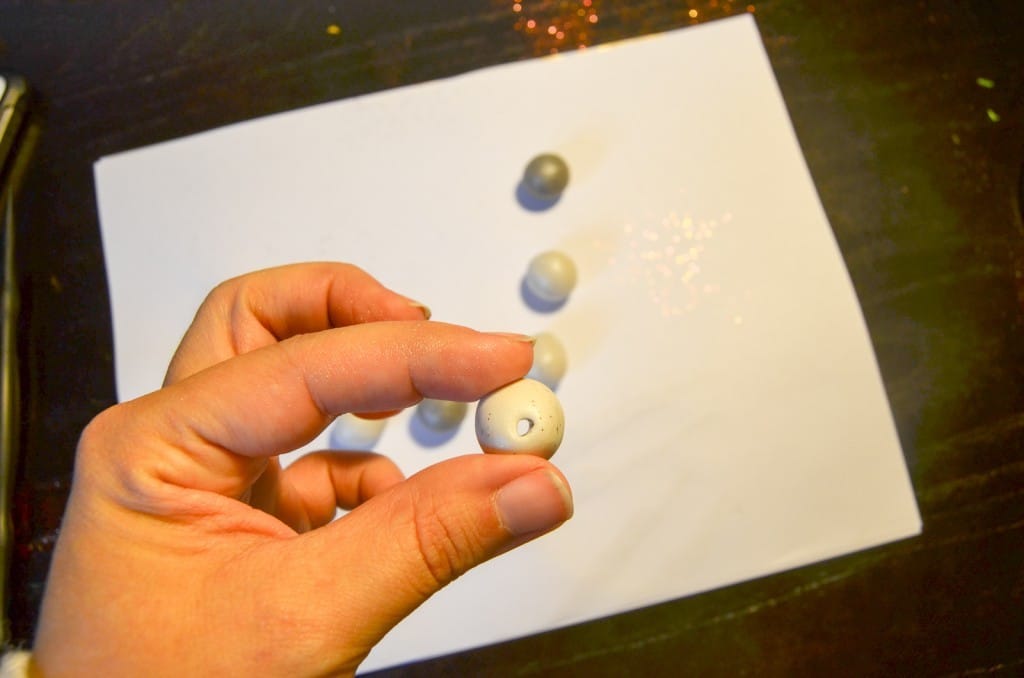
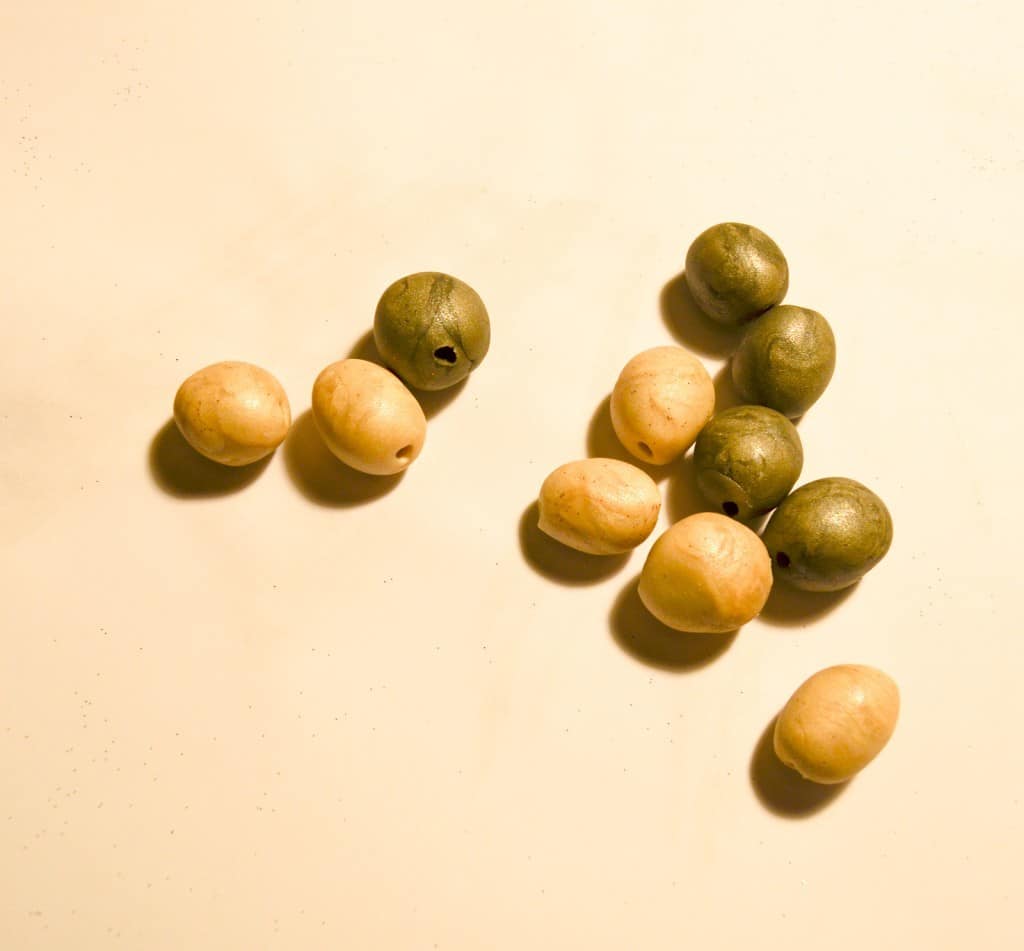
Place all of your beads on your baking tray. The instructions say to bake them on 275 degrees F for 15 minutes per 1/4 inch. I got sidetracked while these were in the oven (imagine that!), and they ended up being in there for around 45 minutes. They came out perfect.
Paint stripes of Mod Podge around each bead. Sprinkle the glitter on. Let it dry and put on a top coat.

When all of the clay beads are ready, get the felt balls out. Thread your needle with the baker’s twine or embroidery thread and alternate between the felt balls and the clay beads. Keep going until you’re finished.
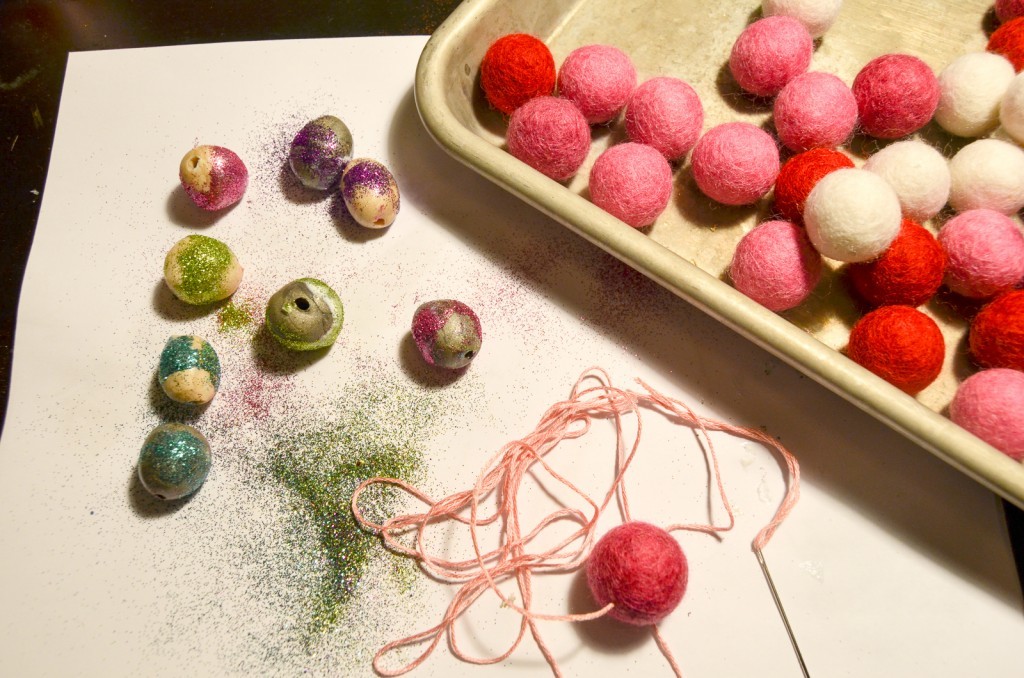
The garland is ready for hanging! What’s fun about this is that the beads can be moved around on the thread so that they can work with your tree however you need them to. It’s a lot of fun to see the pops of color from the felt balls and the sparkle from the glitter. The girls are thrilled with their garland and love that they had a hand in making it.

We made some coordinating ornaments, too.
Make sure you check out what everyone else made to Trim the Tree! Merry Christmas!!






This is so pretty! Love the colors you used 🙂
Erin recently posted…Decorating Your Mantel with Garland
Very Pretty! It’s been fun “hopping” with ya!
Mrs Major Hoff recently posted…Vintage style cream paper glittered ornaments – FREE Printables!