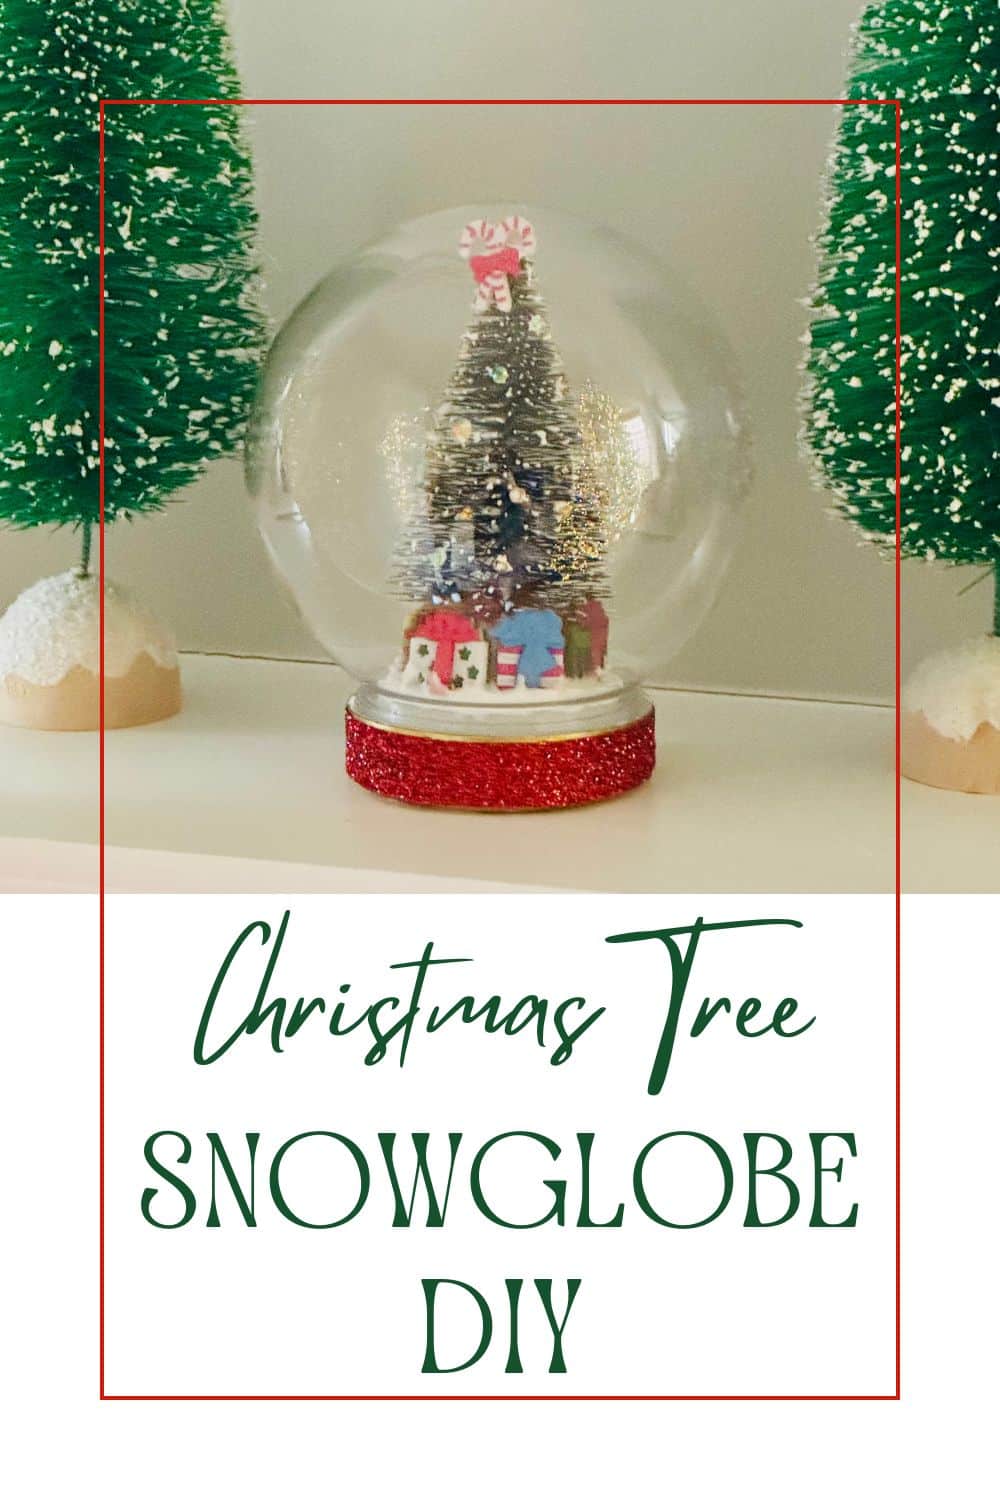
Christmas Tree Snowglobe DIY
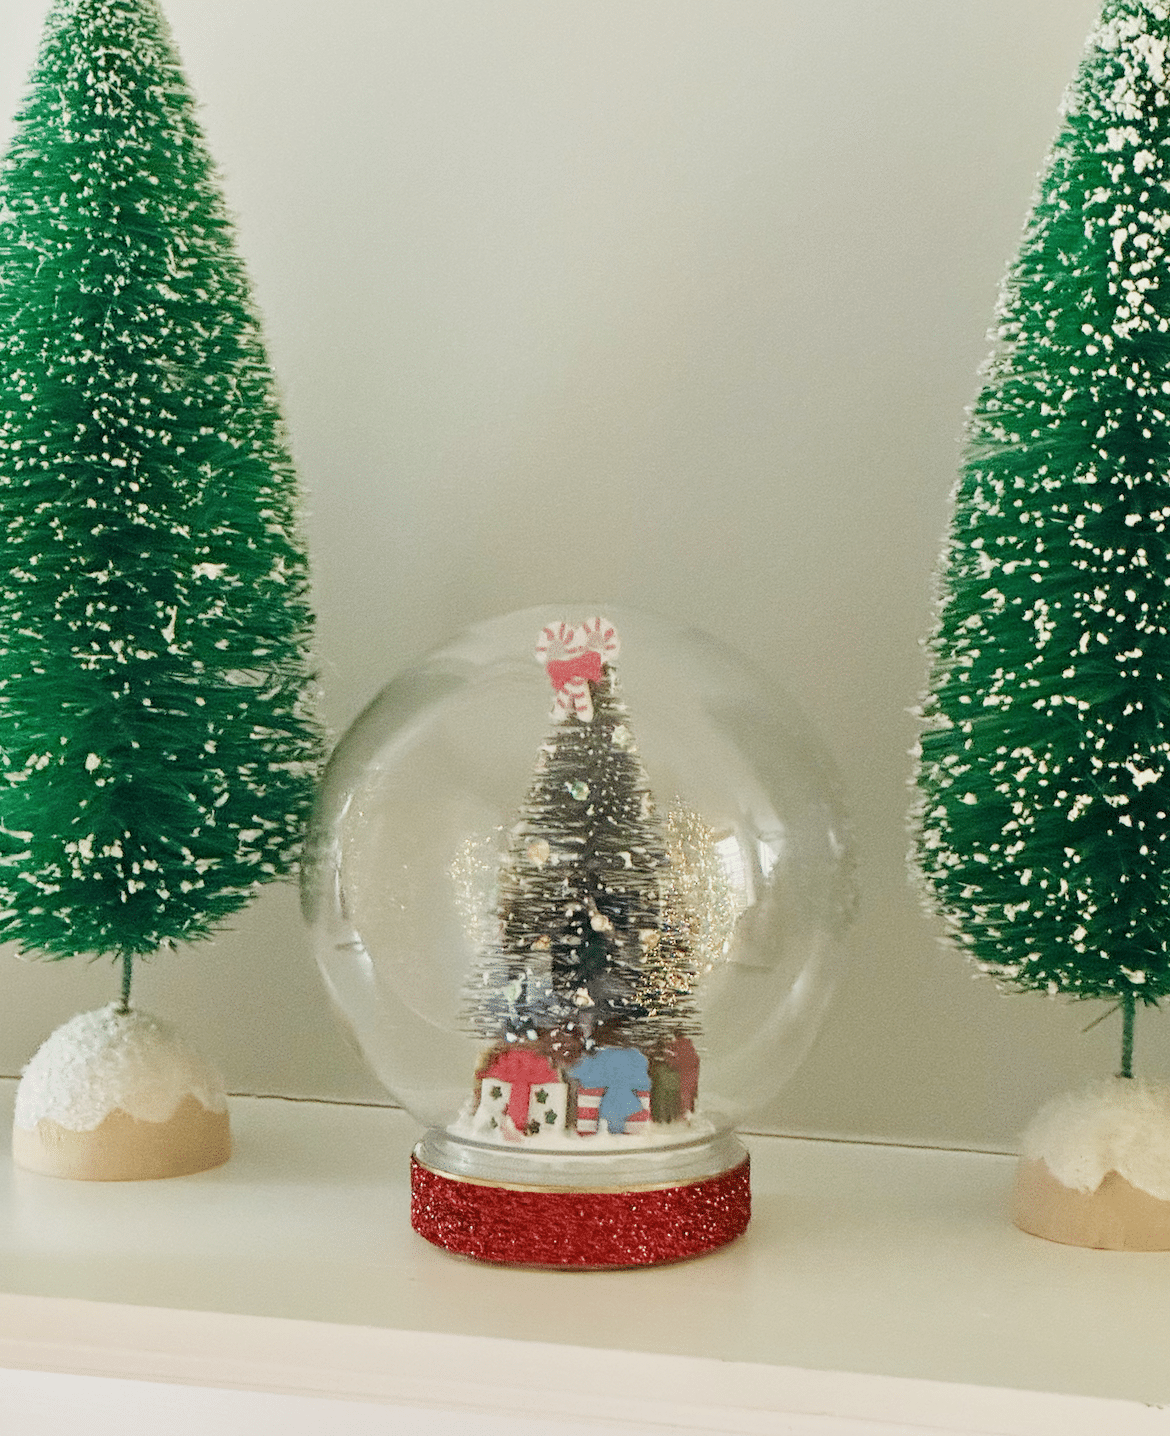
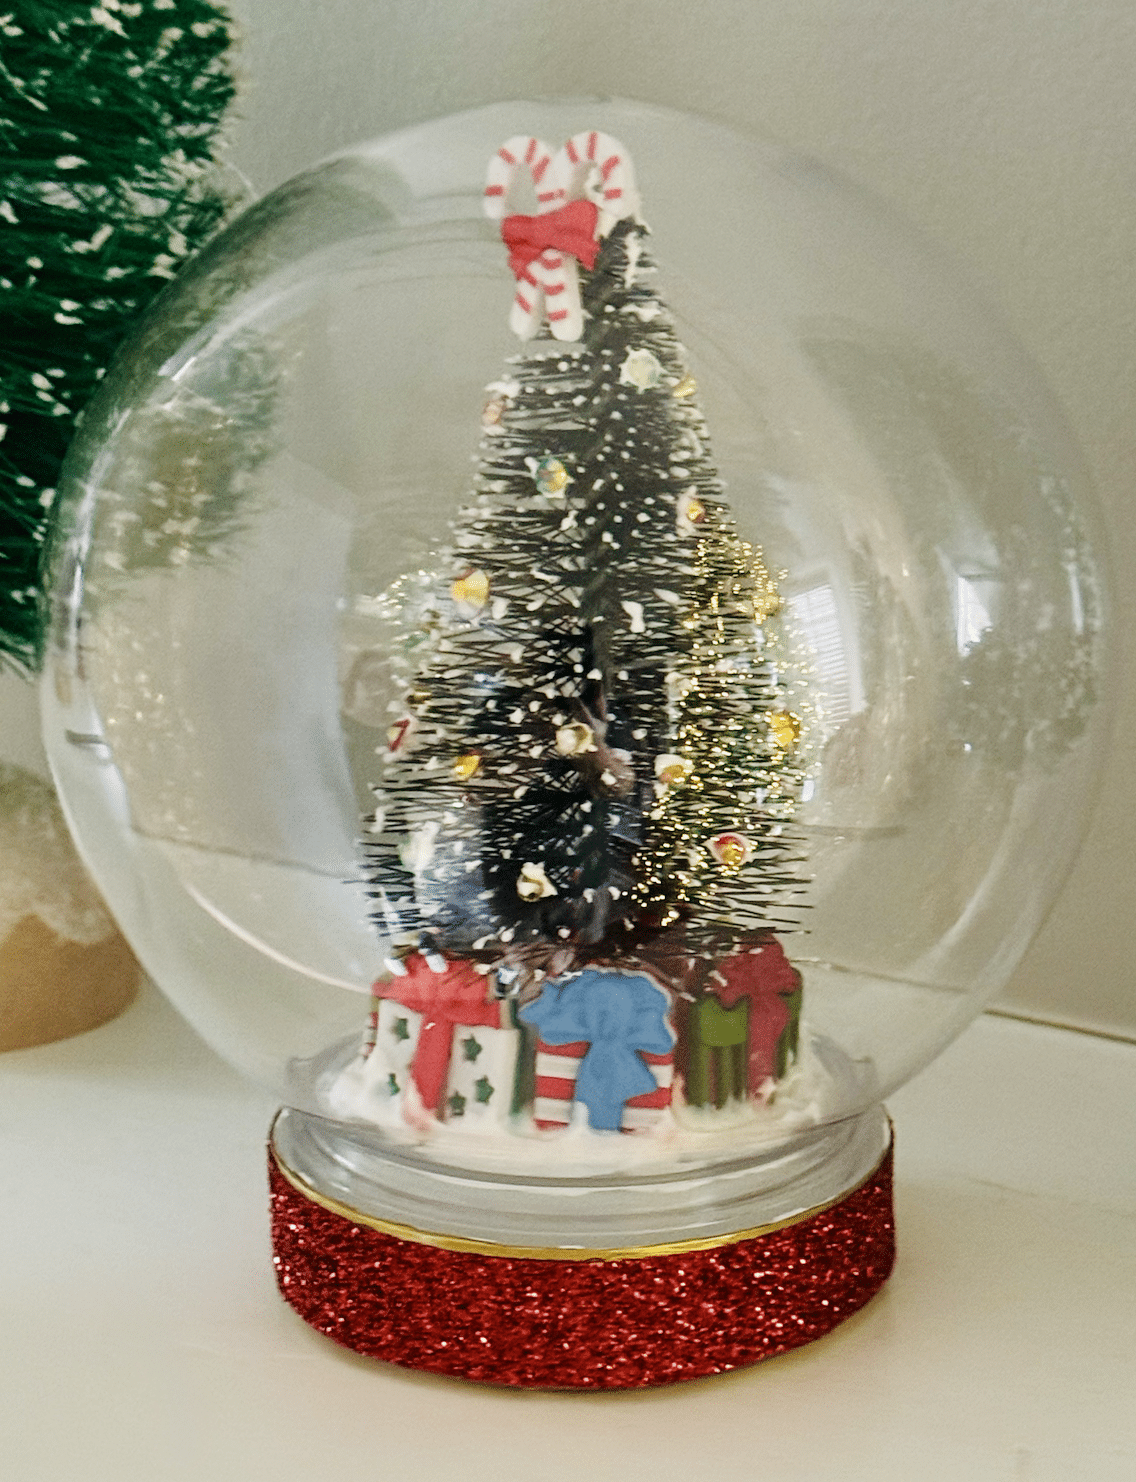
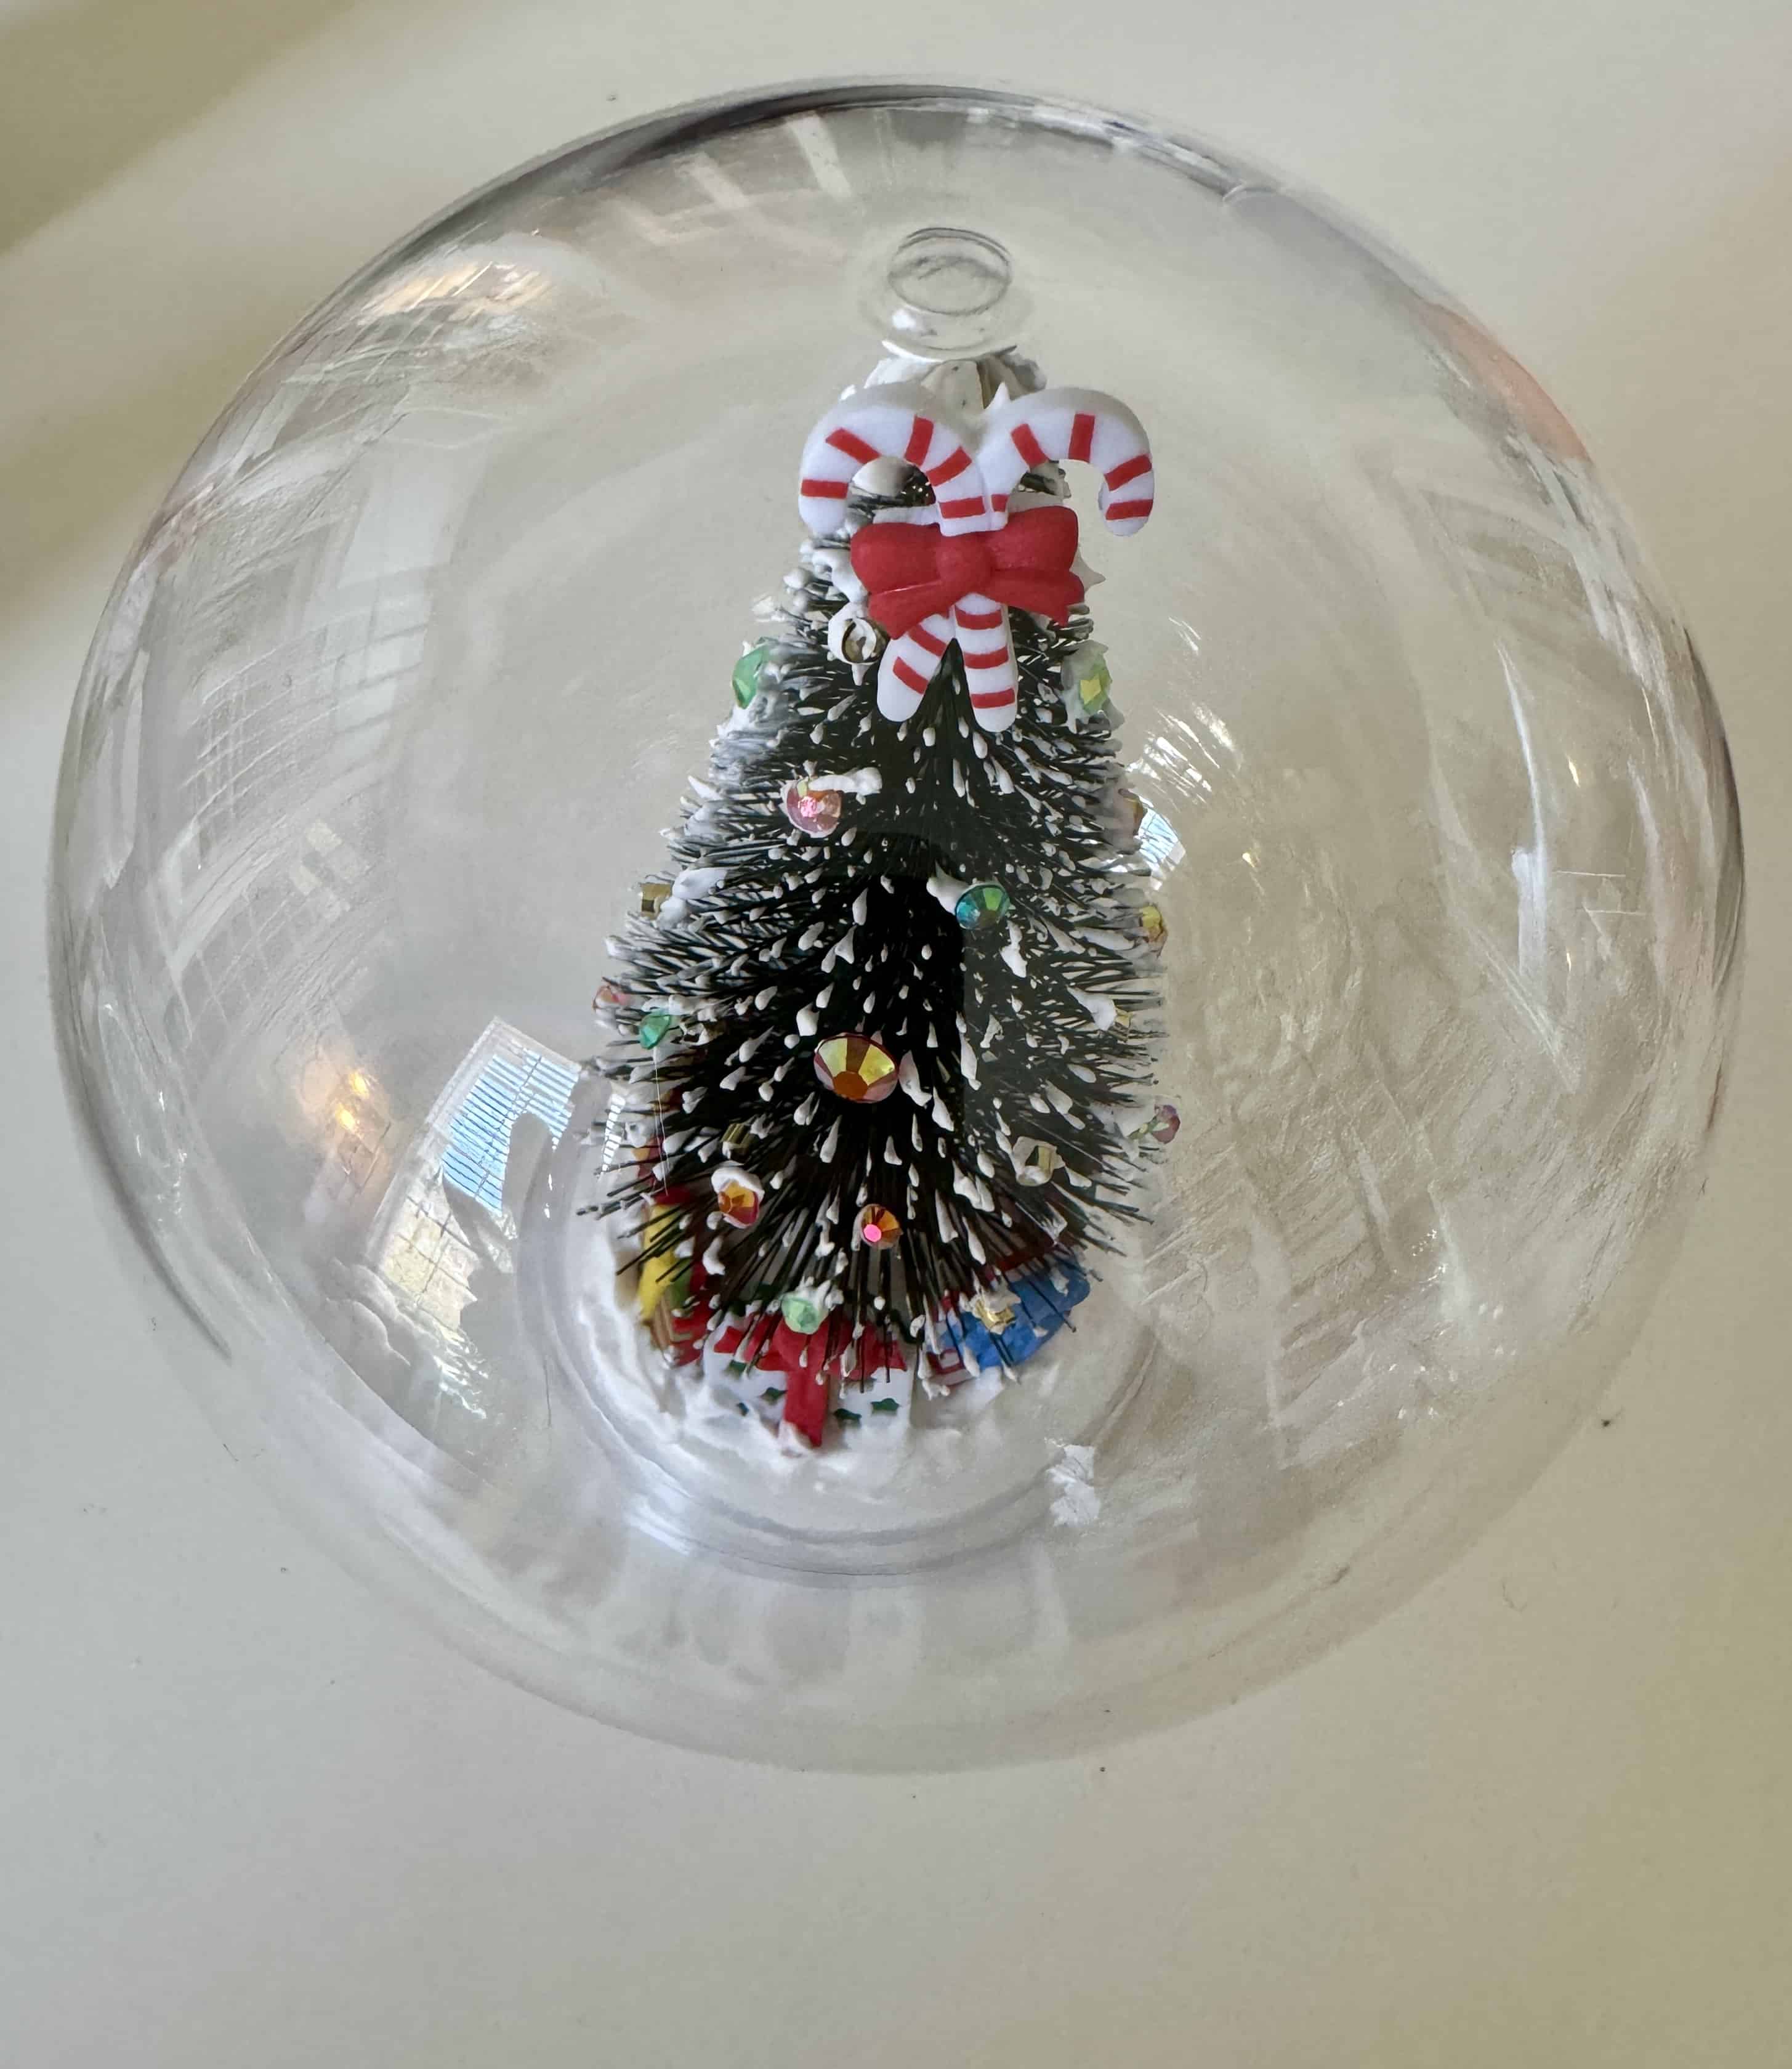
I love snowglobes but they don’t seem as popular as they used to be. Maybe I’m looking in the wrong places? I have a large collection of bottlebrush trees and have wanted to make some snowglobe scenes for ages now. When I saw these cute present buttons, I knew instantly that I was finally going to make my snowglobe. This Christmas tree snowglobe DIY is a fun little craft and while it’s a bit difficult to photograph, it is really cute in person!
This post contains affiliate links.
Supplies:
- snowglobe
- bottlebrush tree
- True Snow
- paint brush
- candy cane buttons
- Christmas color sequins
- presents buttons
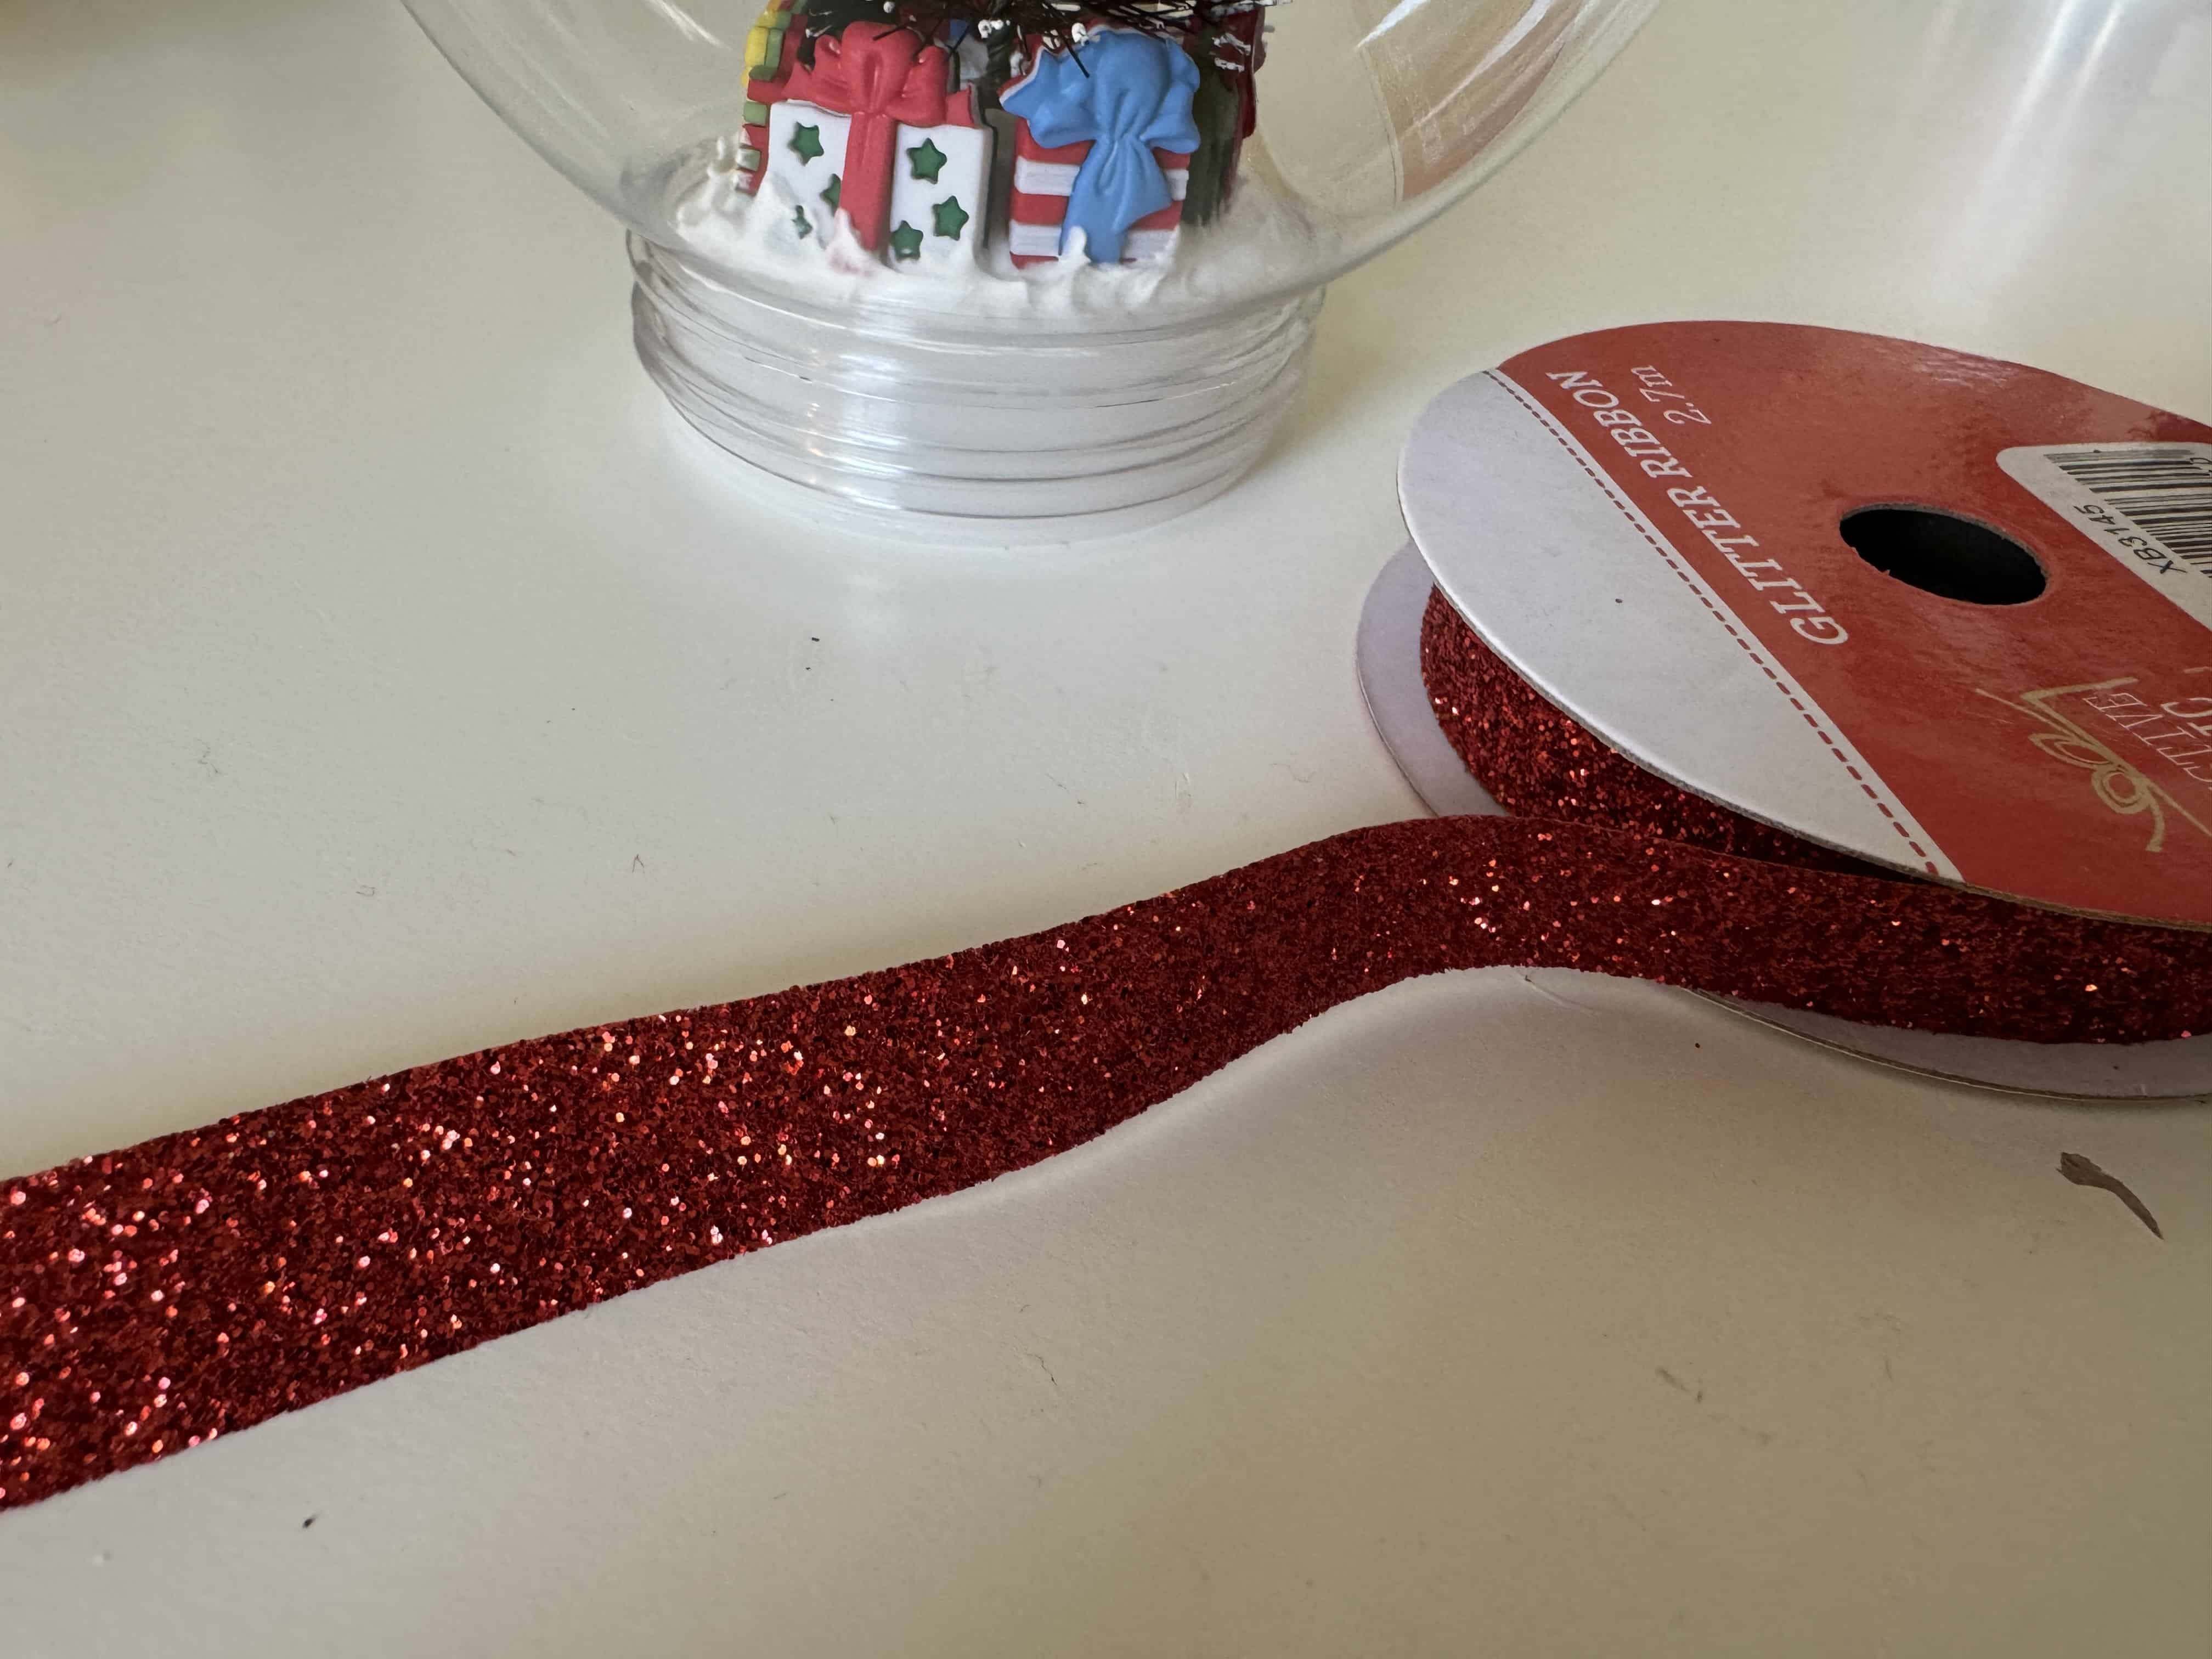
- piece of ribbon (I used a red sparkly trim I picked up from a craft store)
- glue/Mod Podge
- paint (optional in the color of your choice)
Note: Apologies for not having exact links to the buttons. My best suggestions are to check your local craft store or have a look around Amazon (if you don’t have suitable supplies in your stash). The original brand I worked with for this project decided they didn’t want to pay me, so I have removed their links.
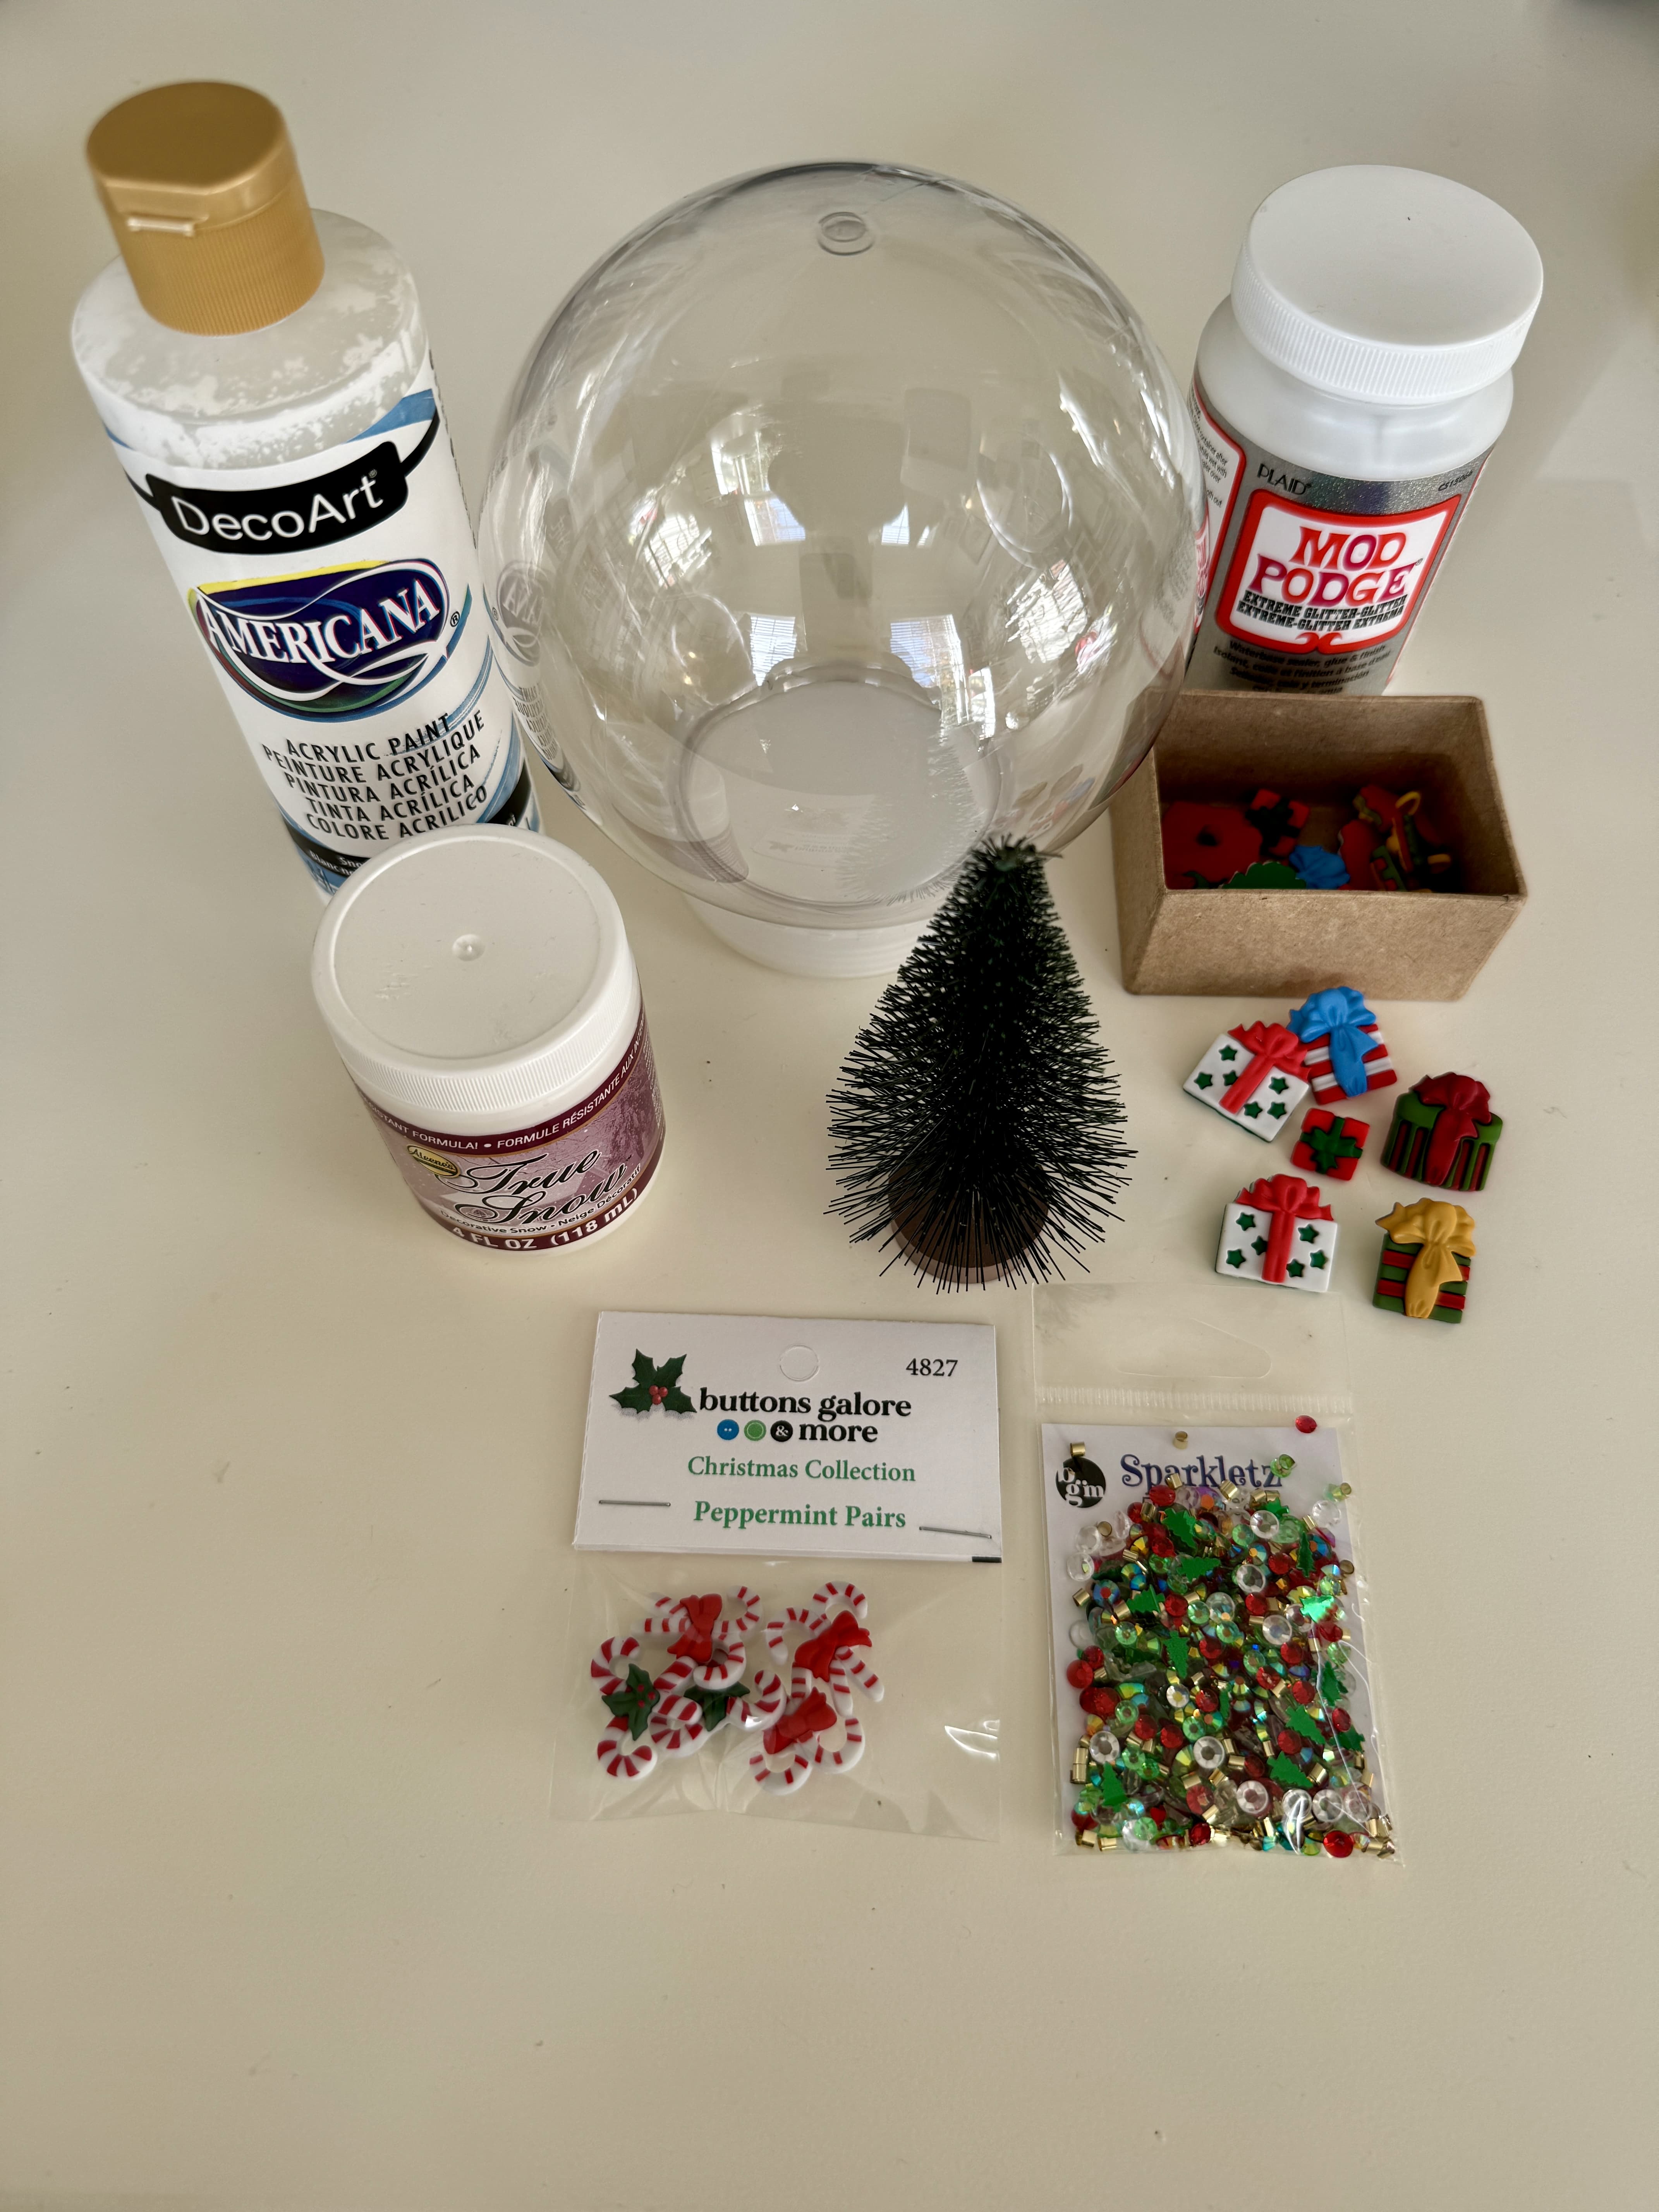
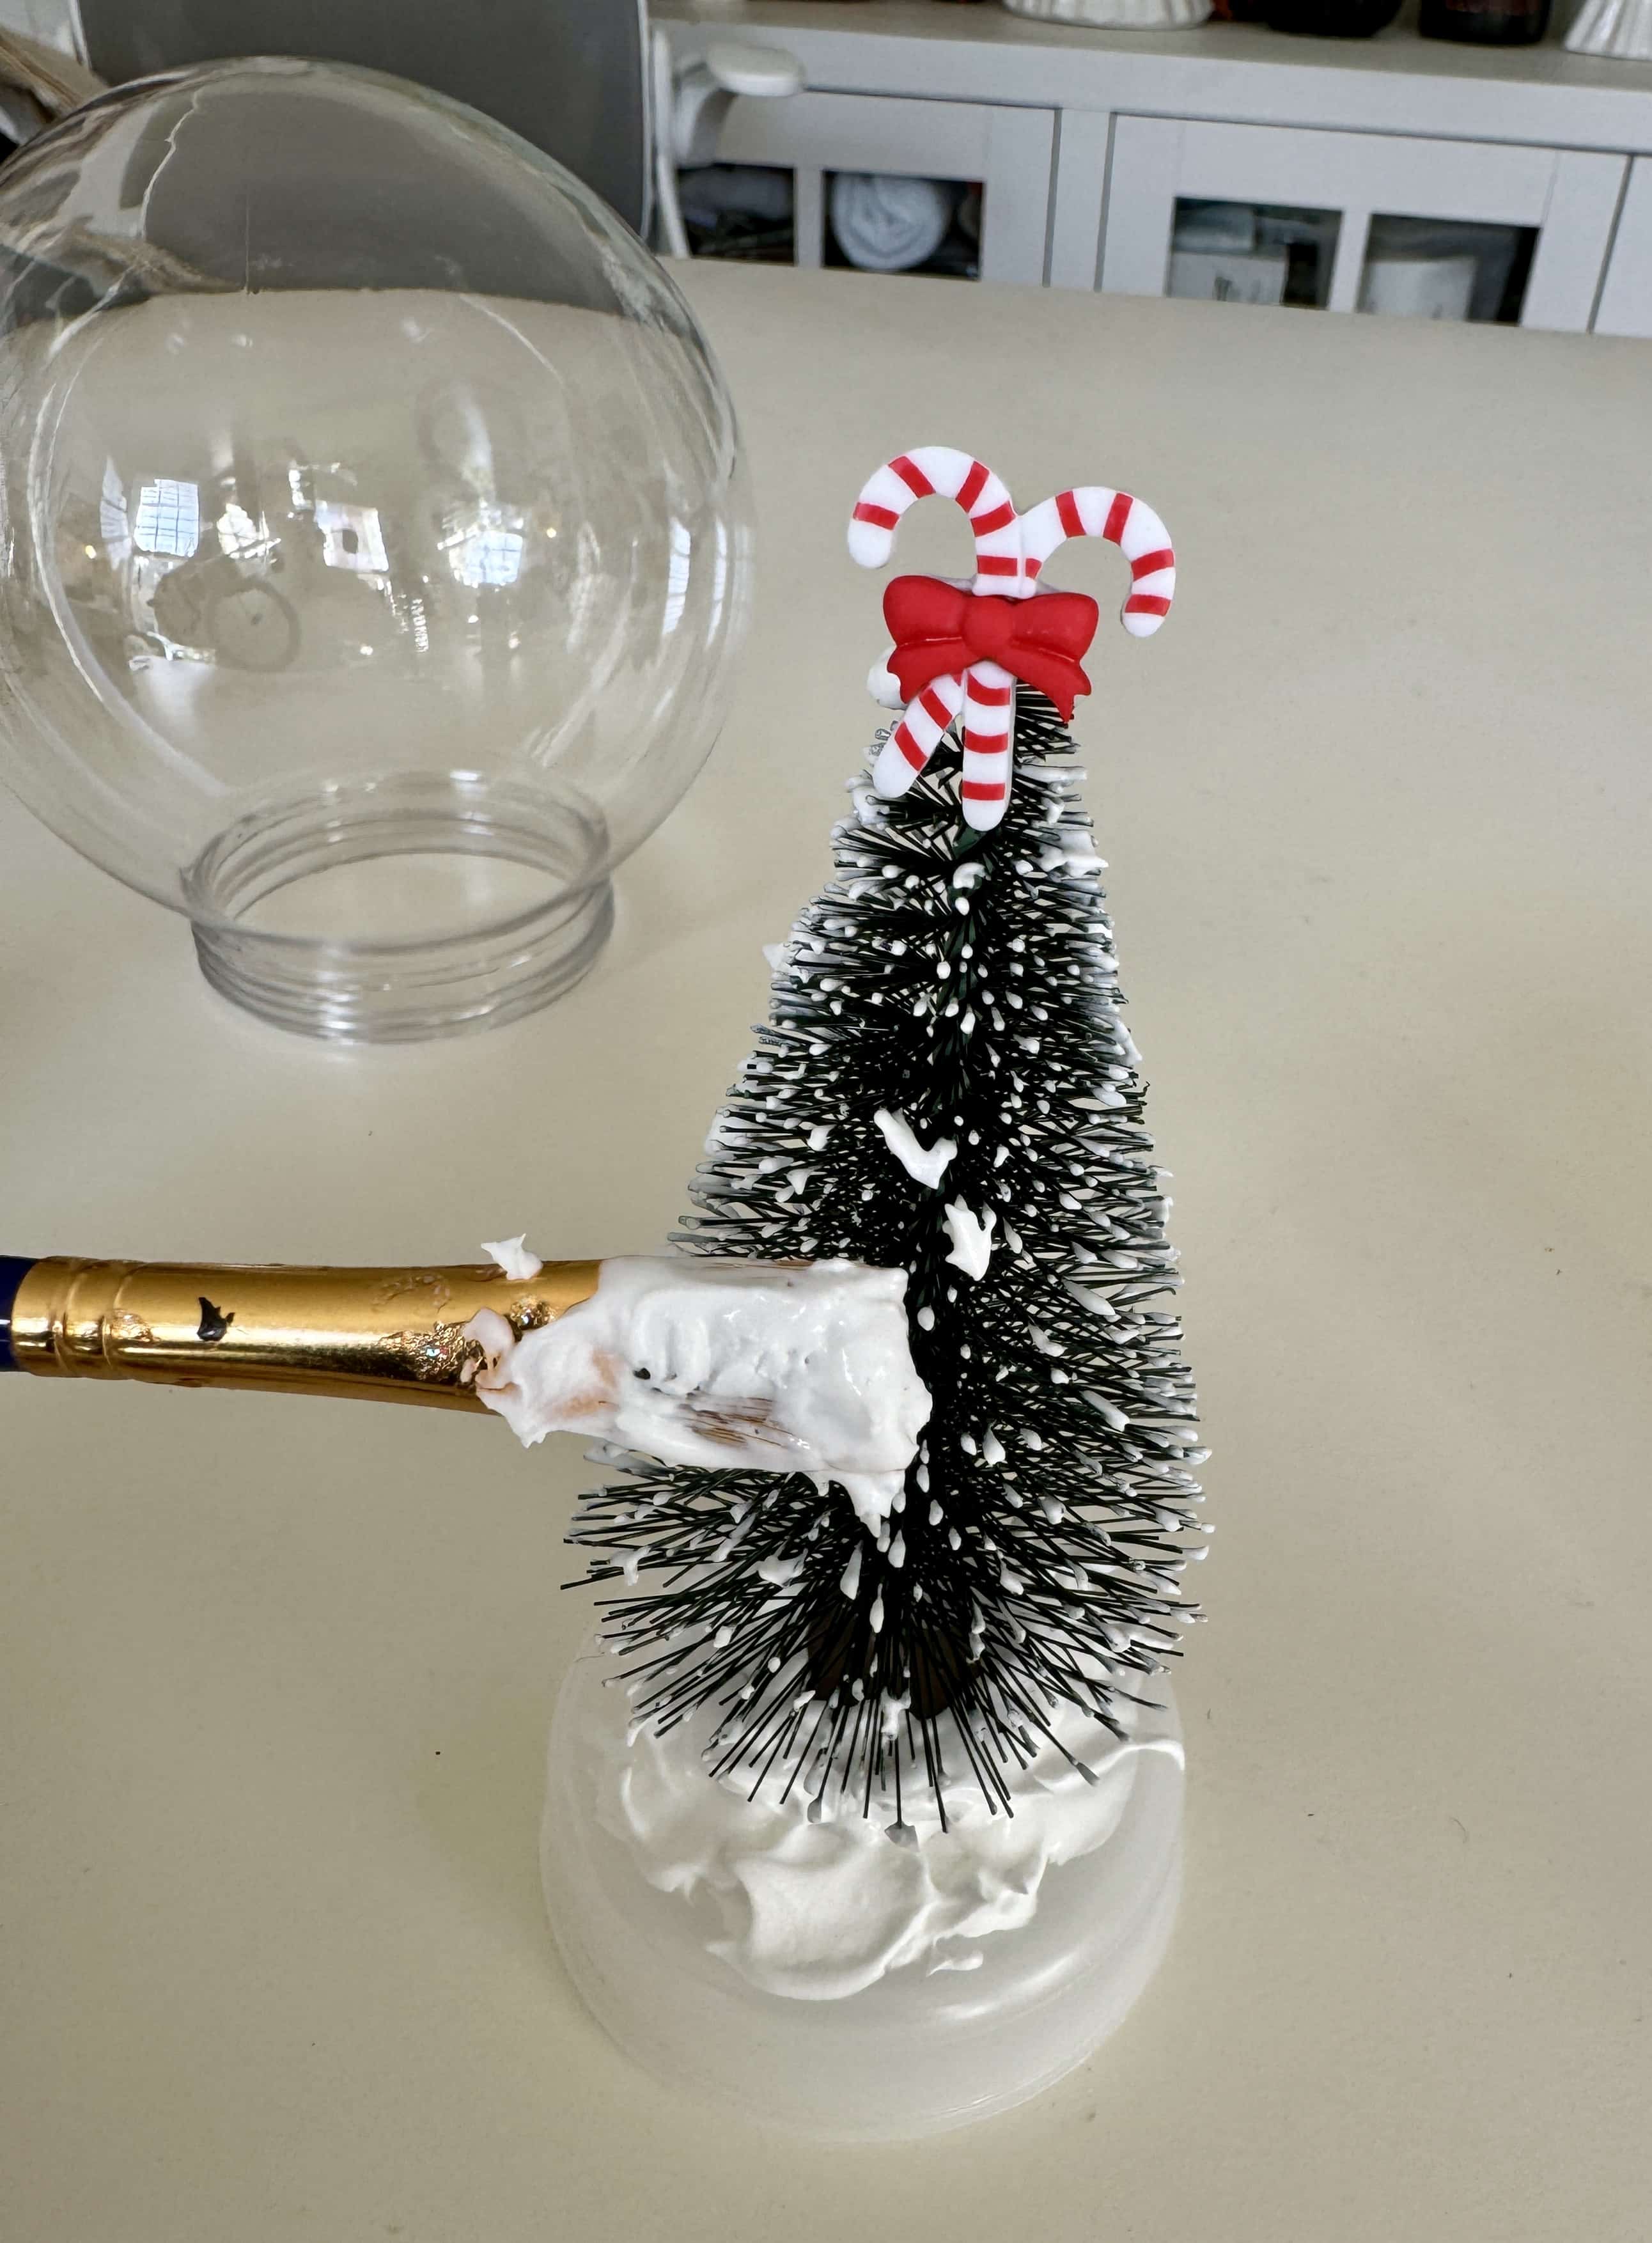
You’ll notice from the pictures that I glued the peppermint tree topper on first–I later had to move it because it was too tall to fit into the globe. I recommend placing the topper last.
Instructions:
Take the snow globe apart and pull out the inside piece where your tree will sit. Make sure it is facing the correct way to be put back together.
Glue the tree to the bottom of the snow globe. “Spackle” the tree with the True Snow (if you don’t have a tree that has fake snow already on it). I did this by scooping some snow onto my paint brush and “dabbing” it onto the tree using the side of the brush. Paint a mound of snow around the bottom. You want dimension to it–don’t make it smooth.
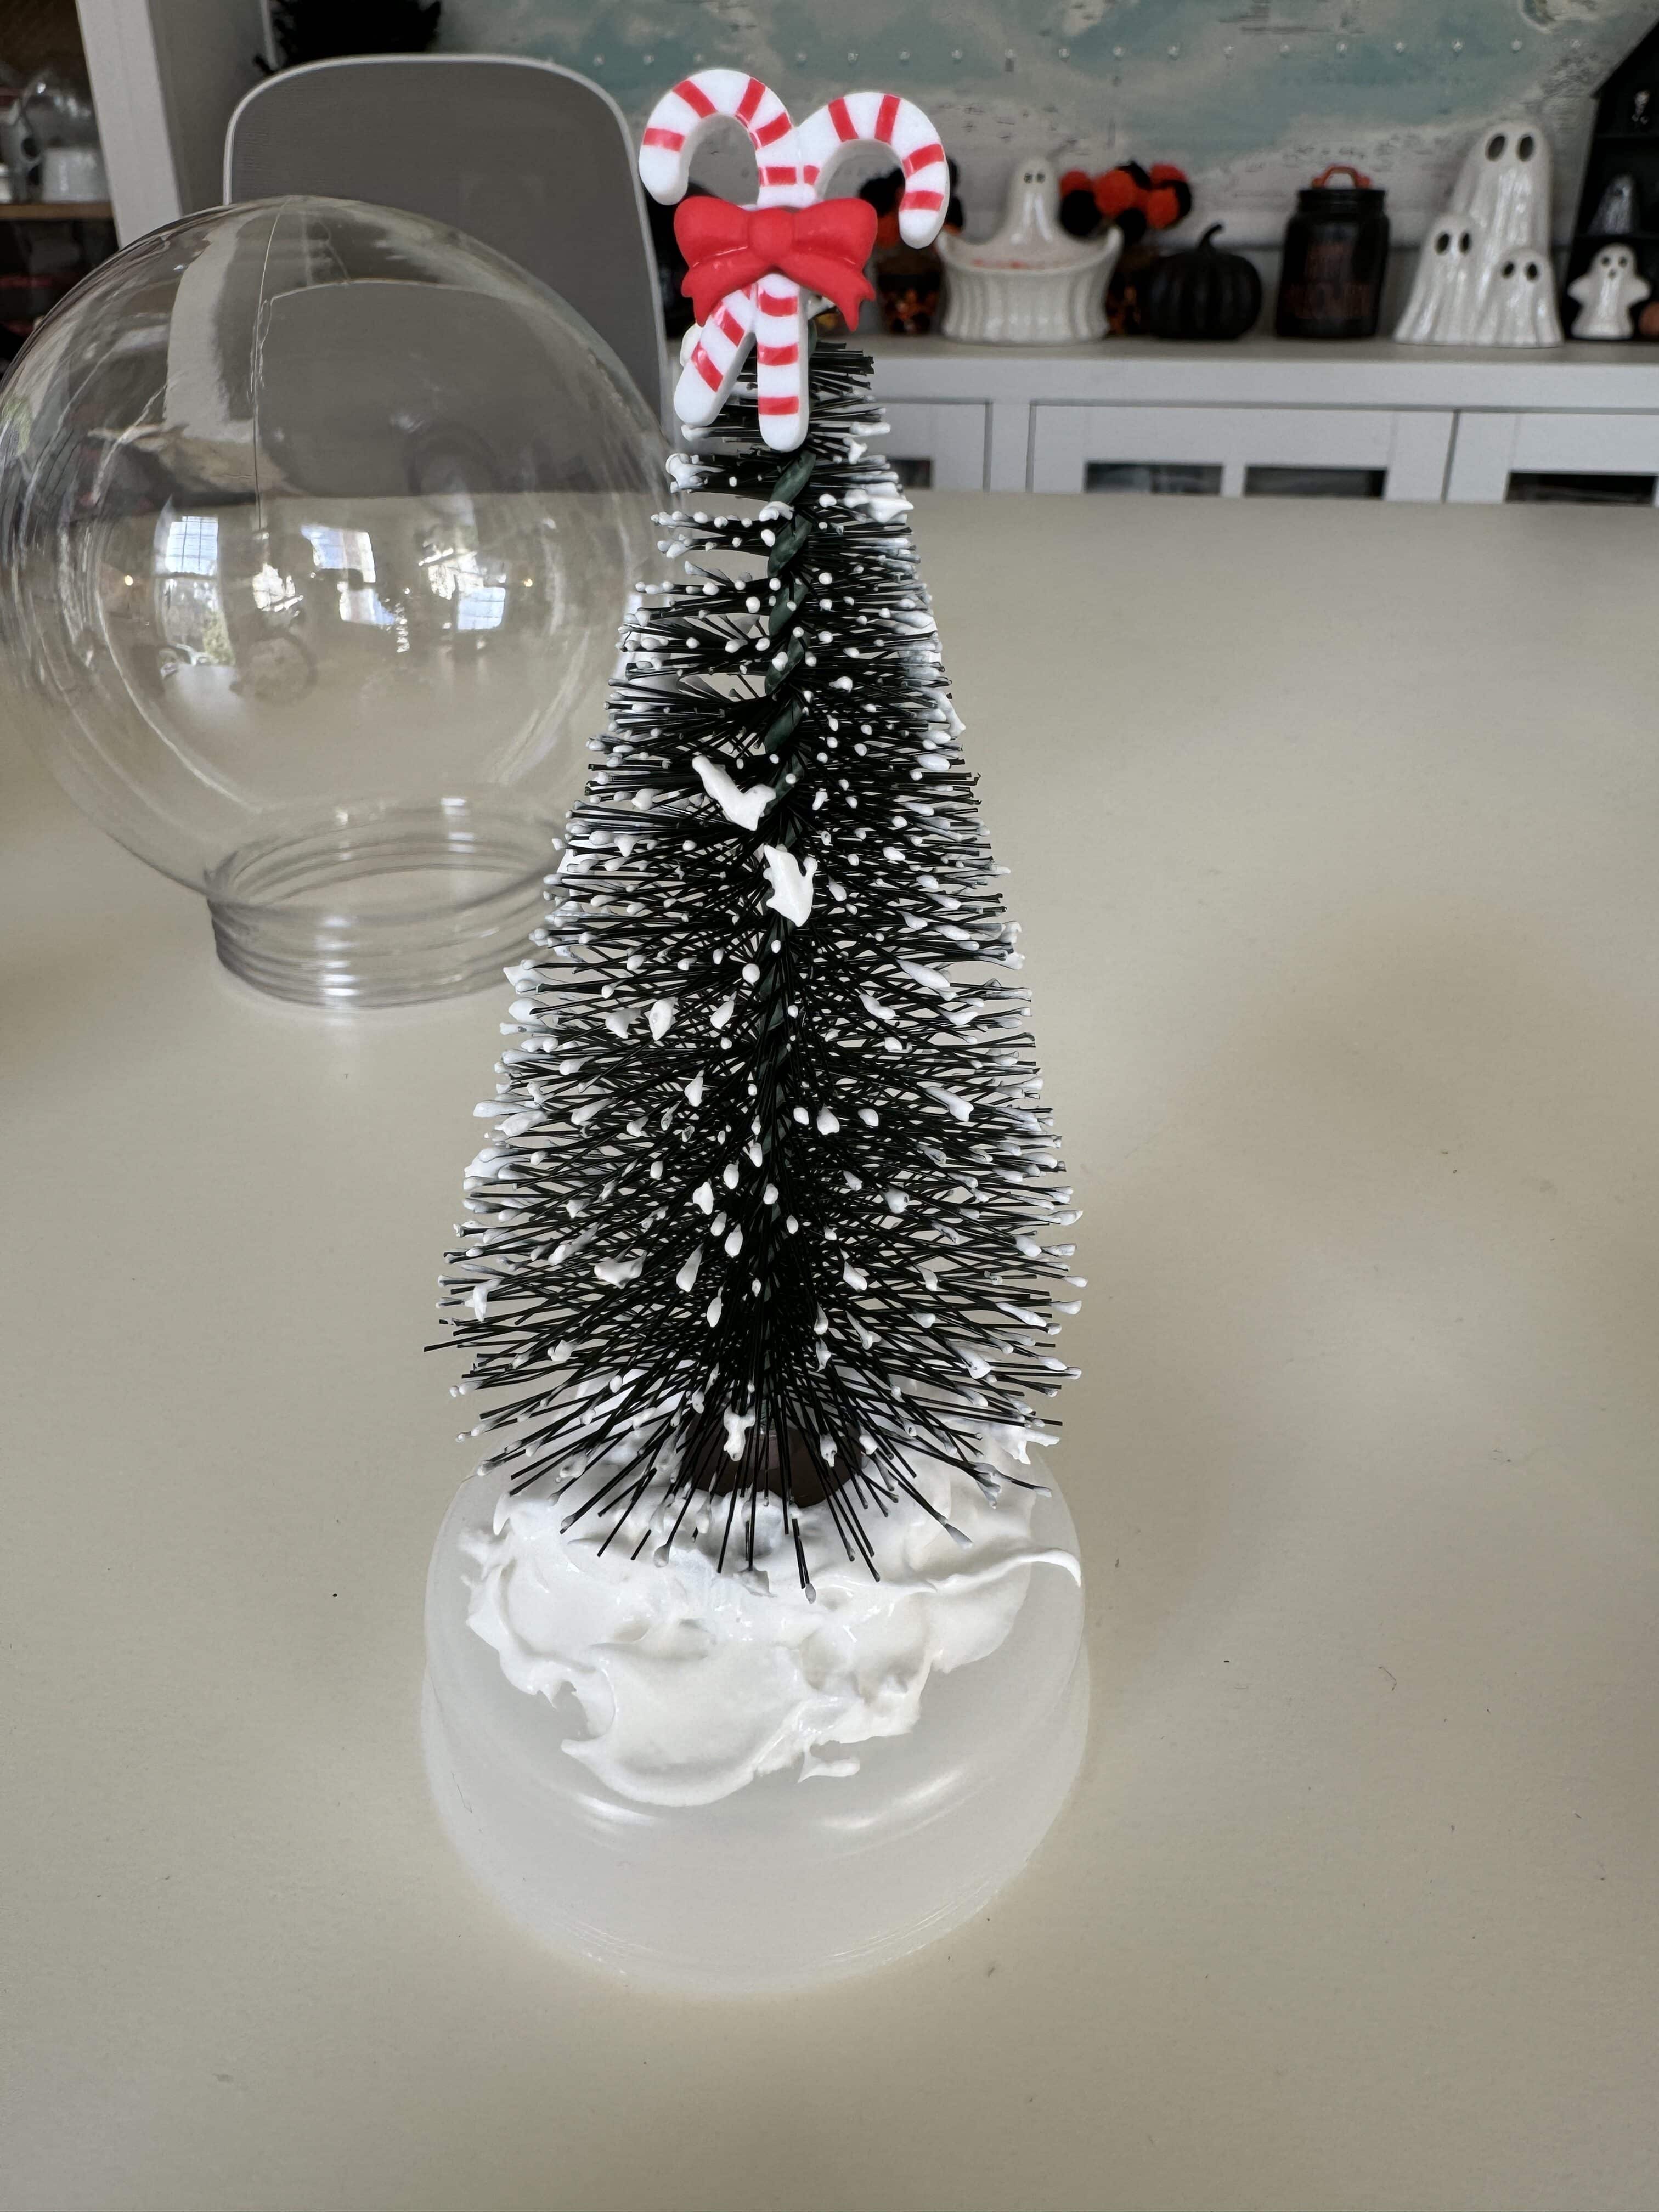
Place presents around the tree directly into the snow. It will secure them in place as the snow dries.
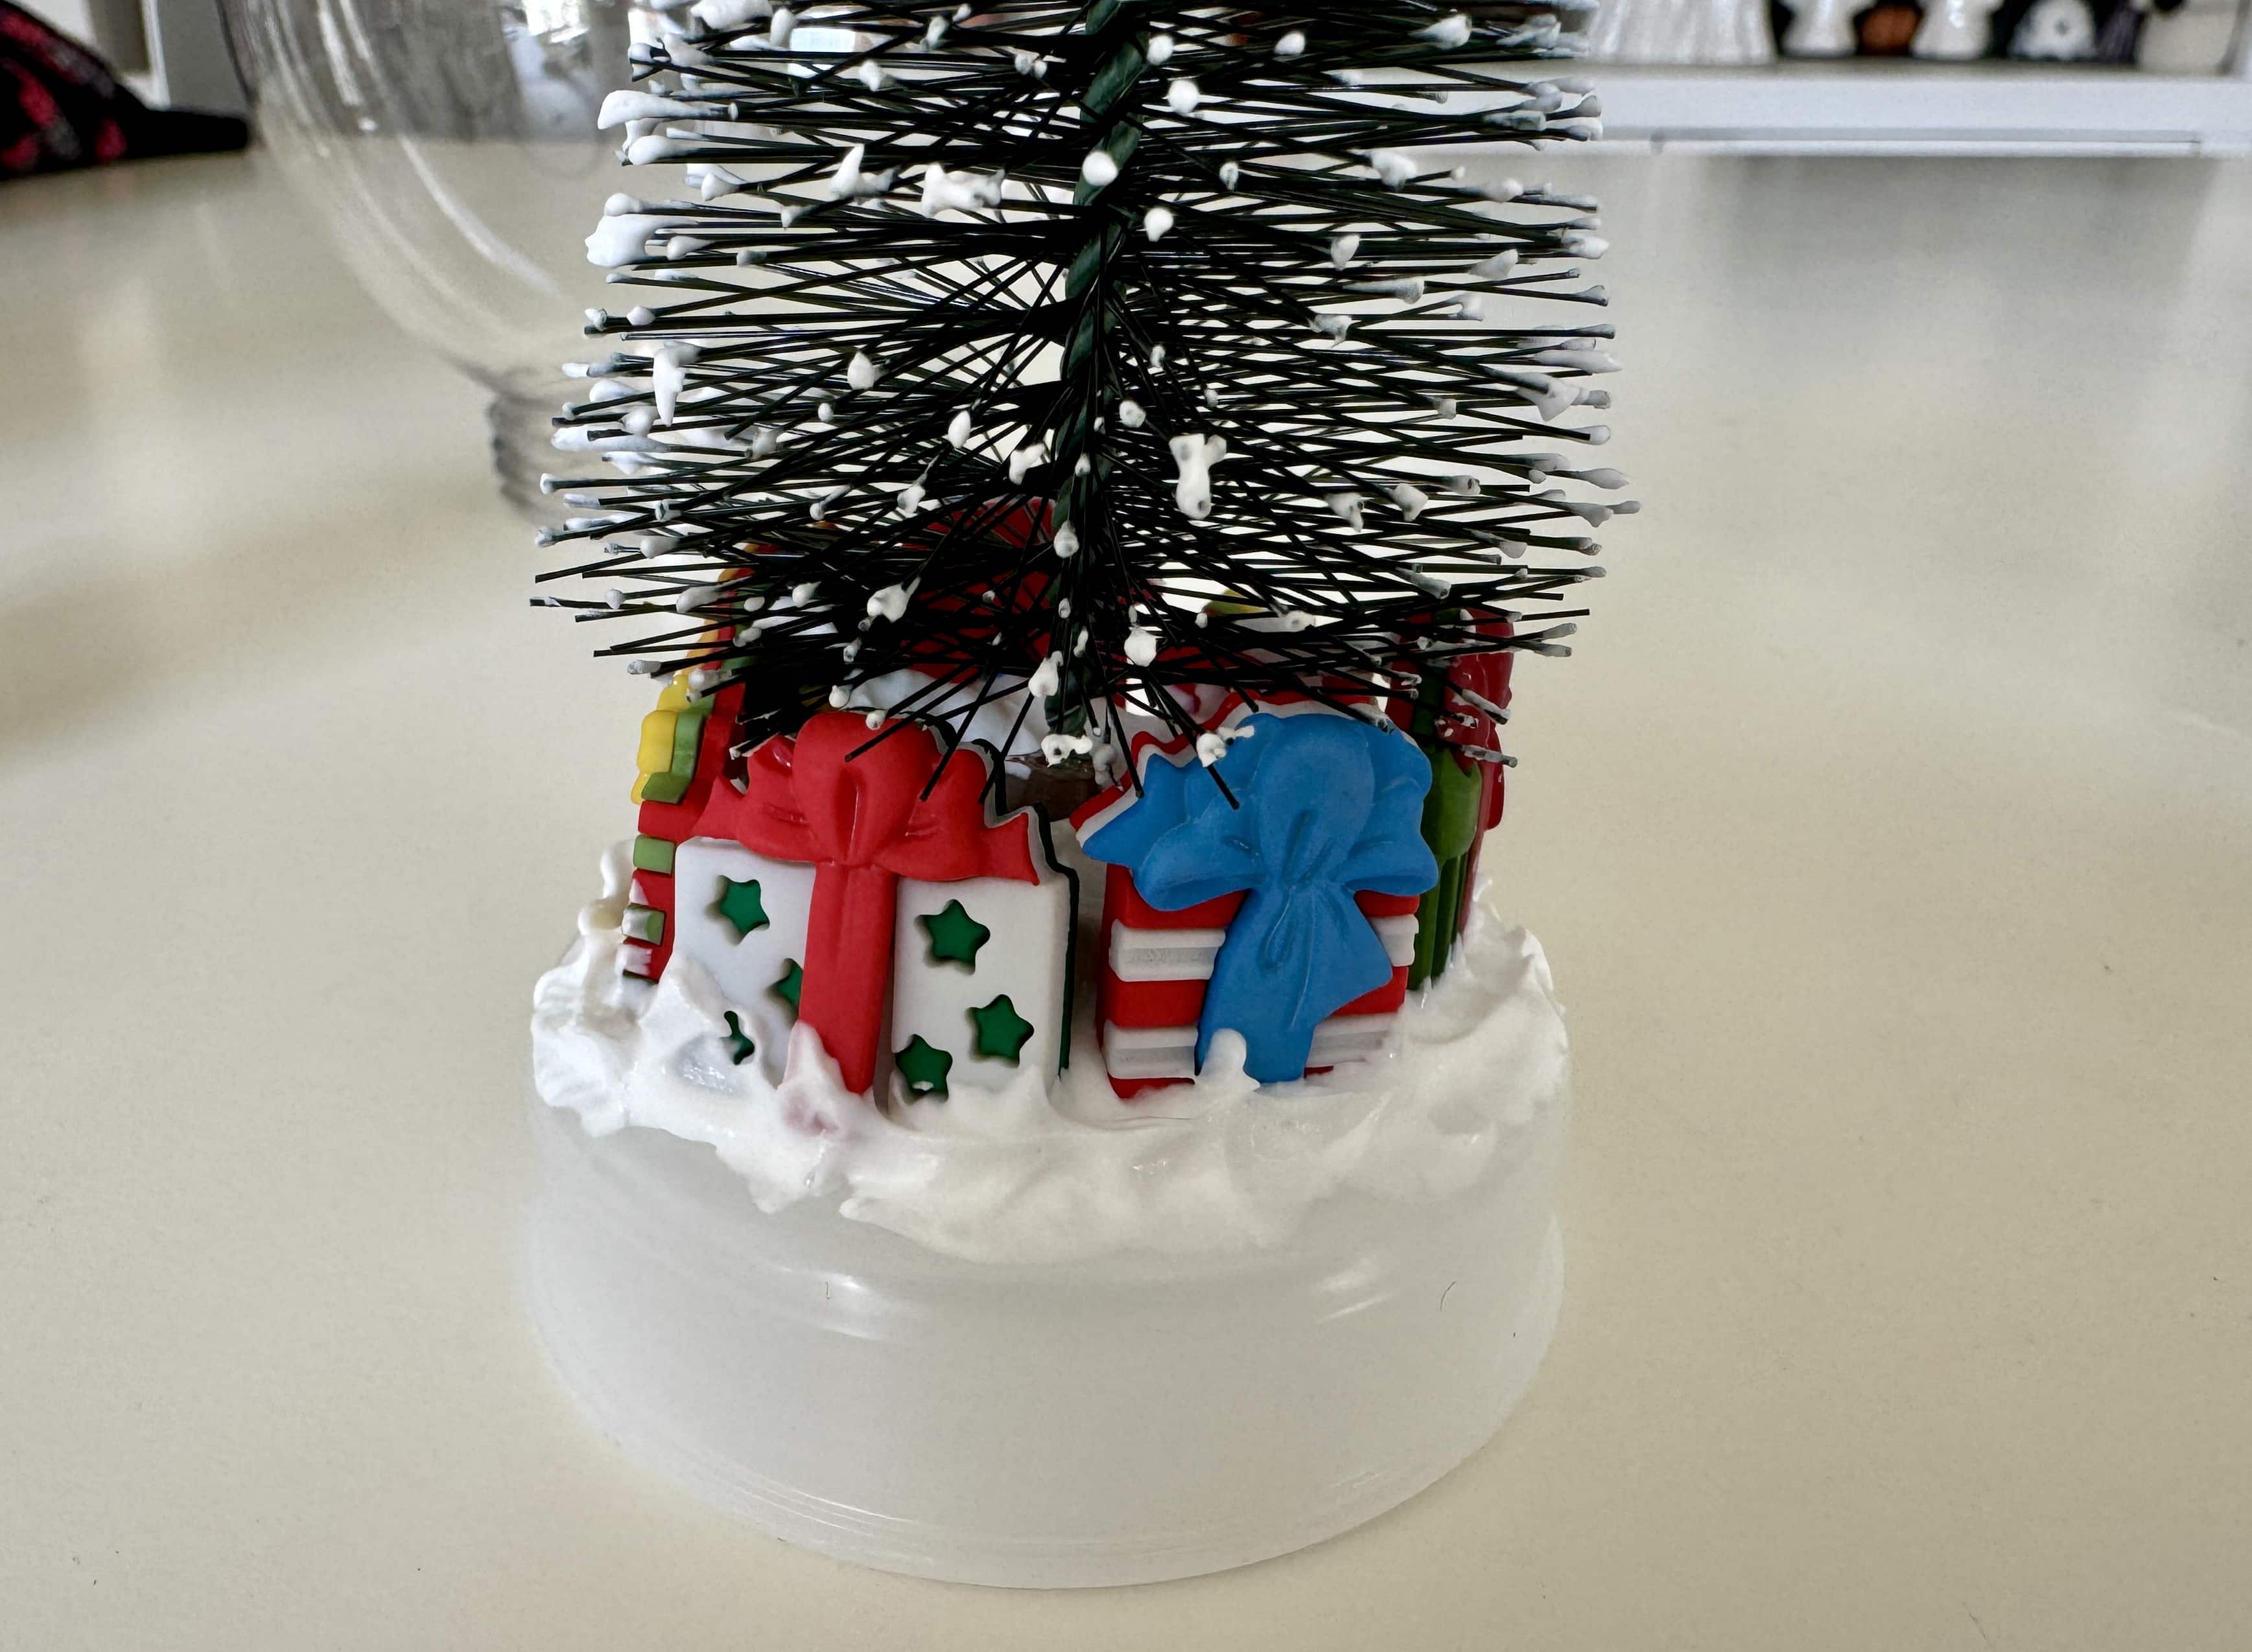
Place sequins on the tree, using the snow as glue. Again, it will dry and hold them in place. You may need to add a bit more snow as you go. These will be the “ornaments.”
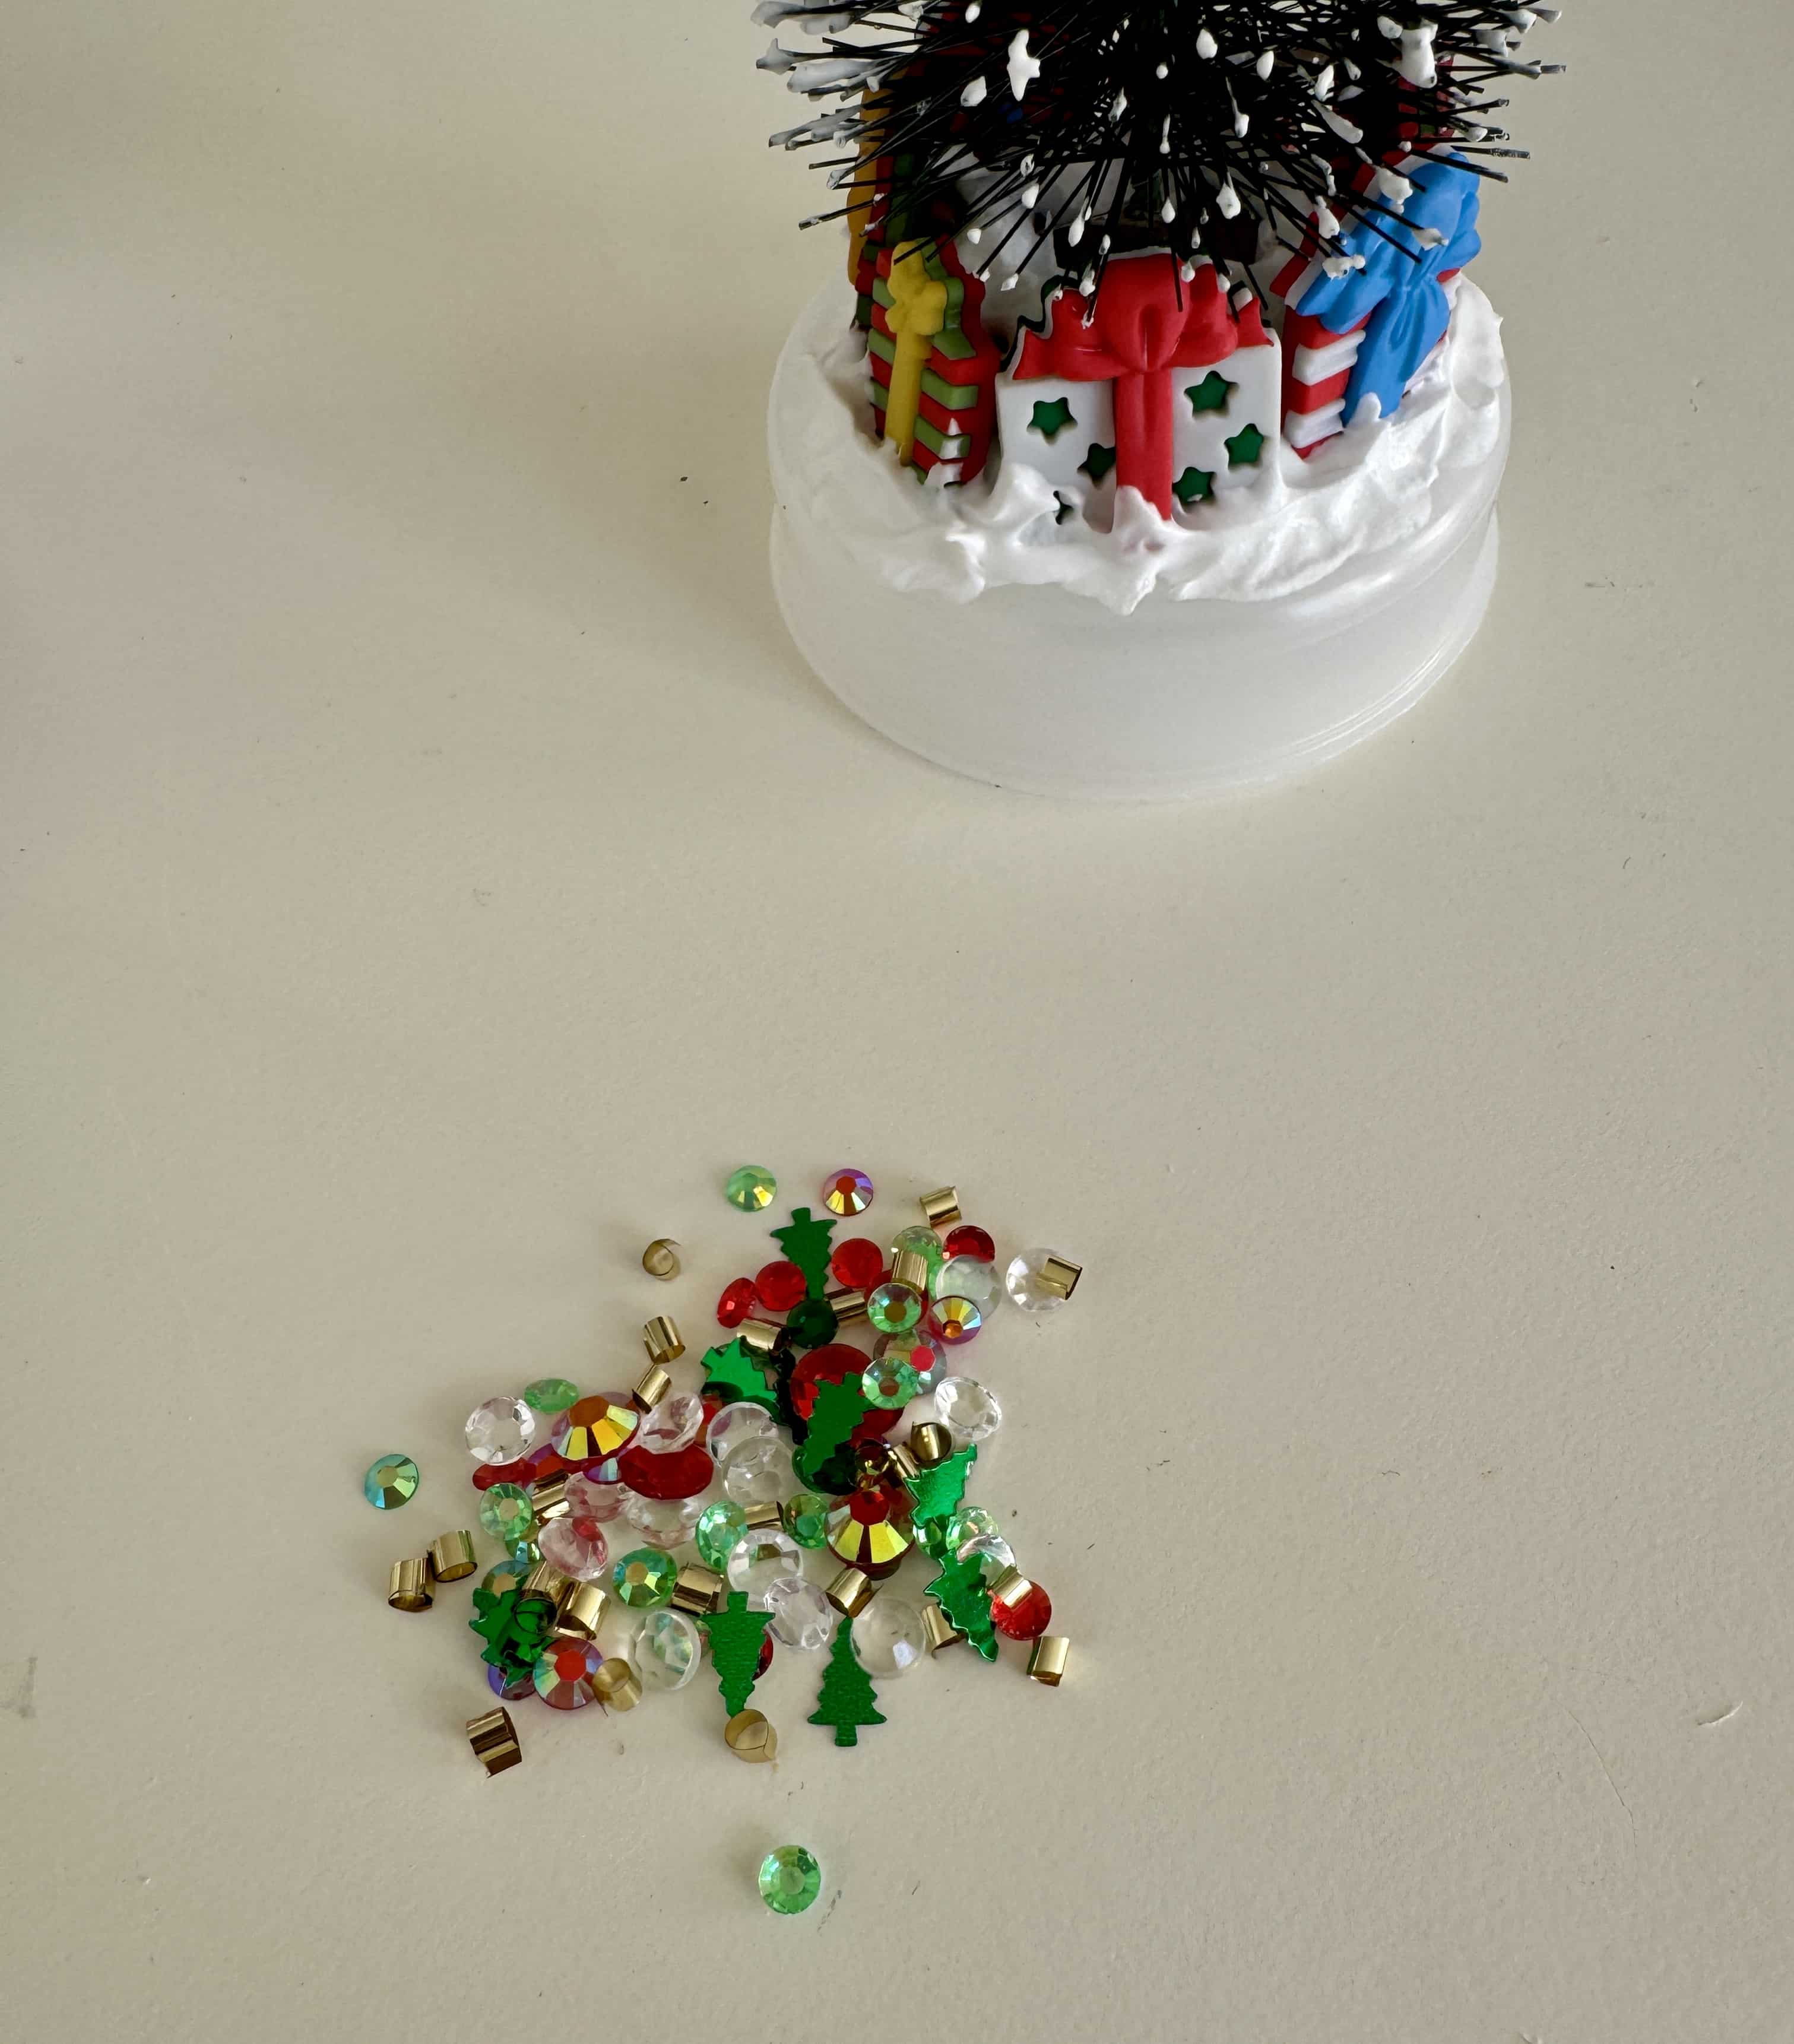
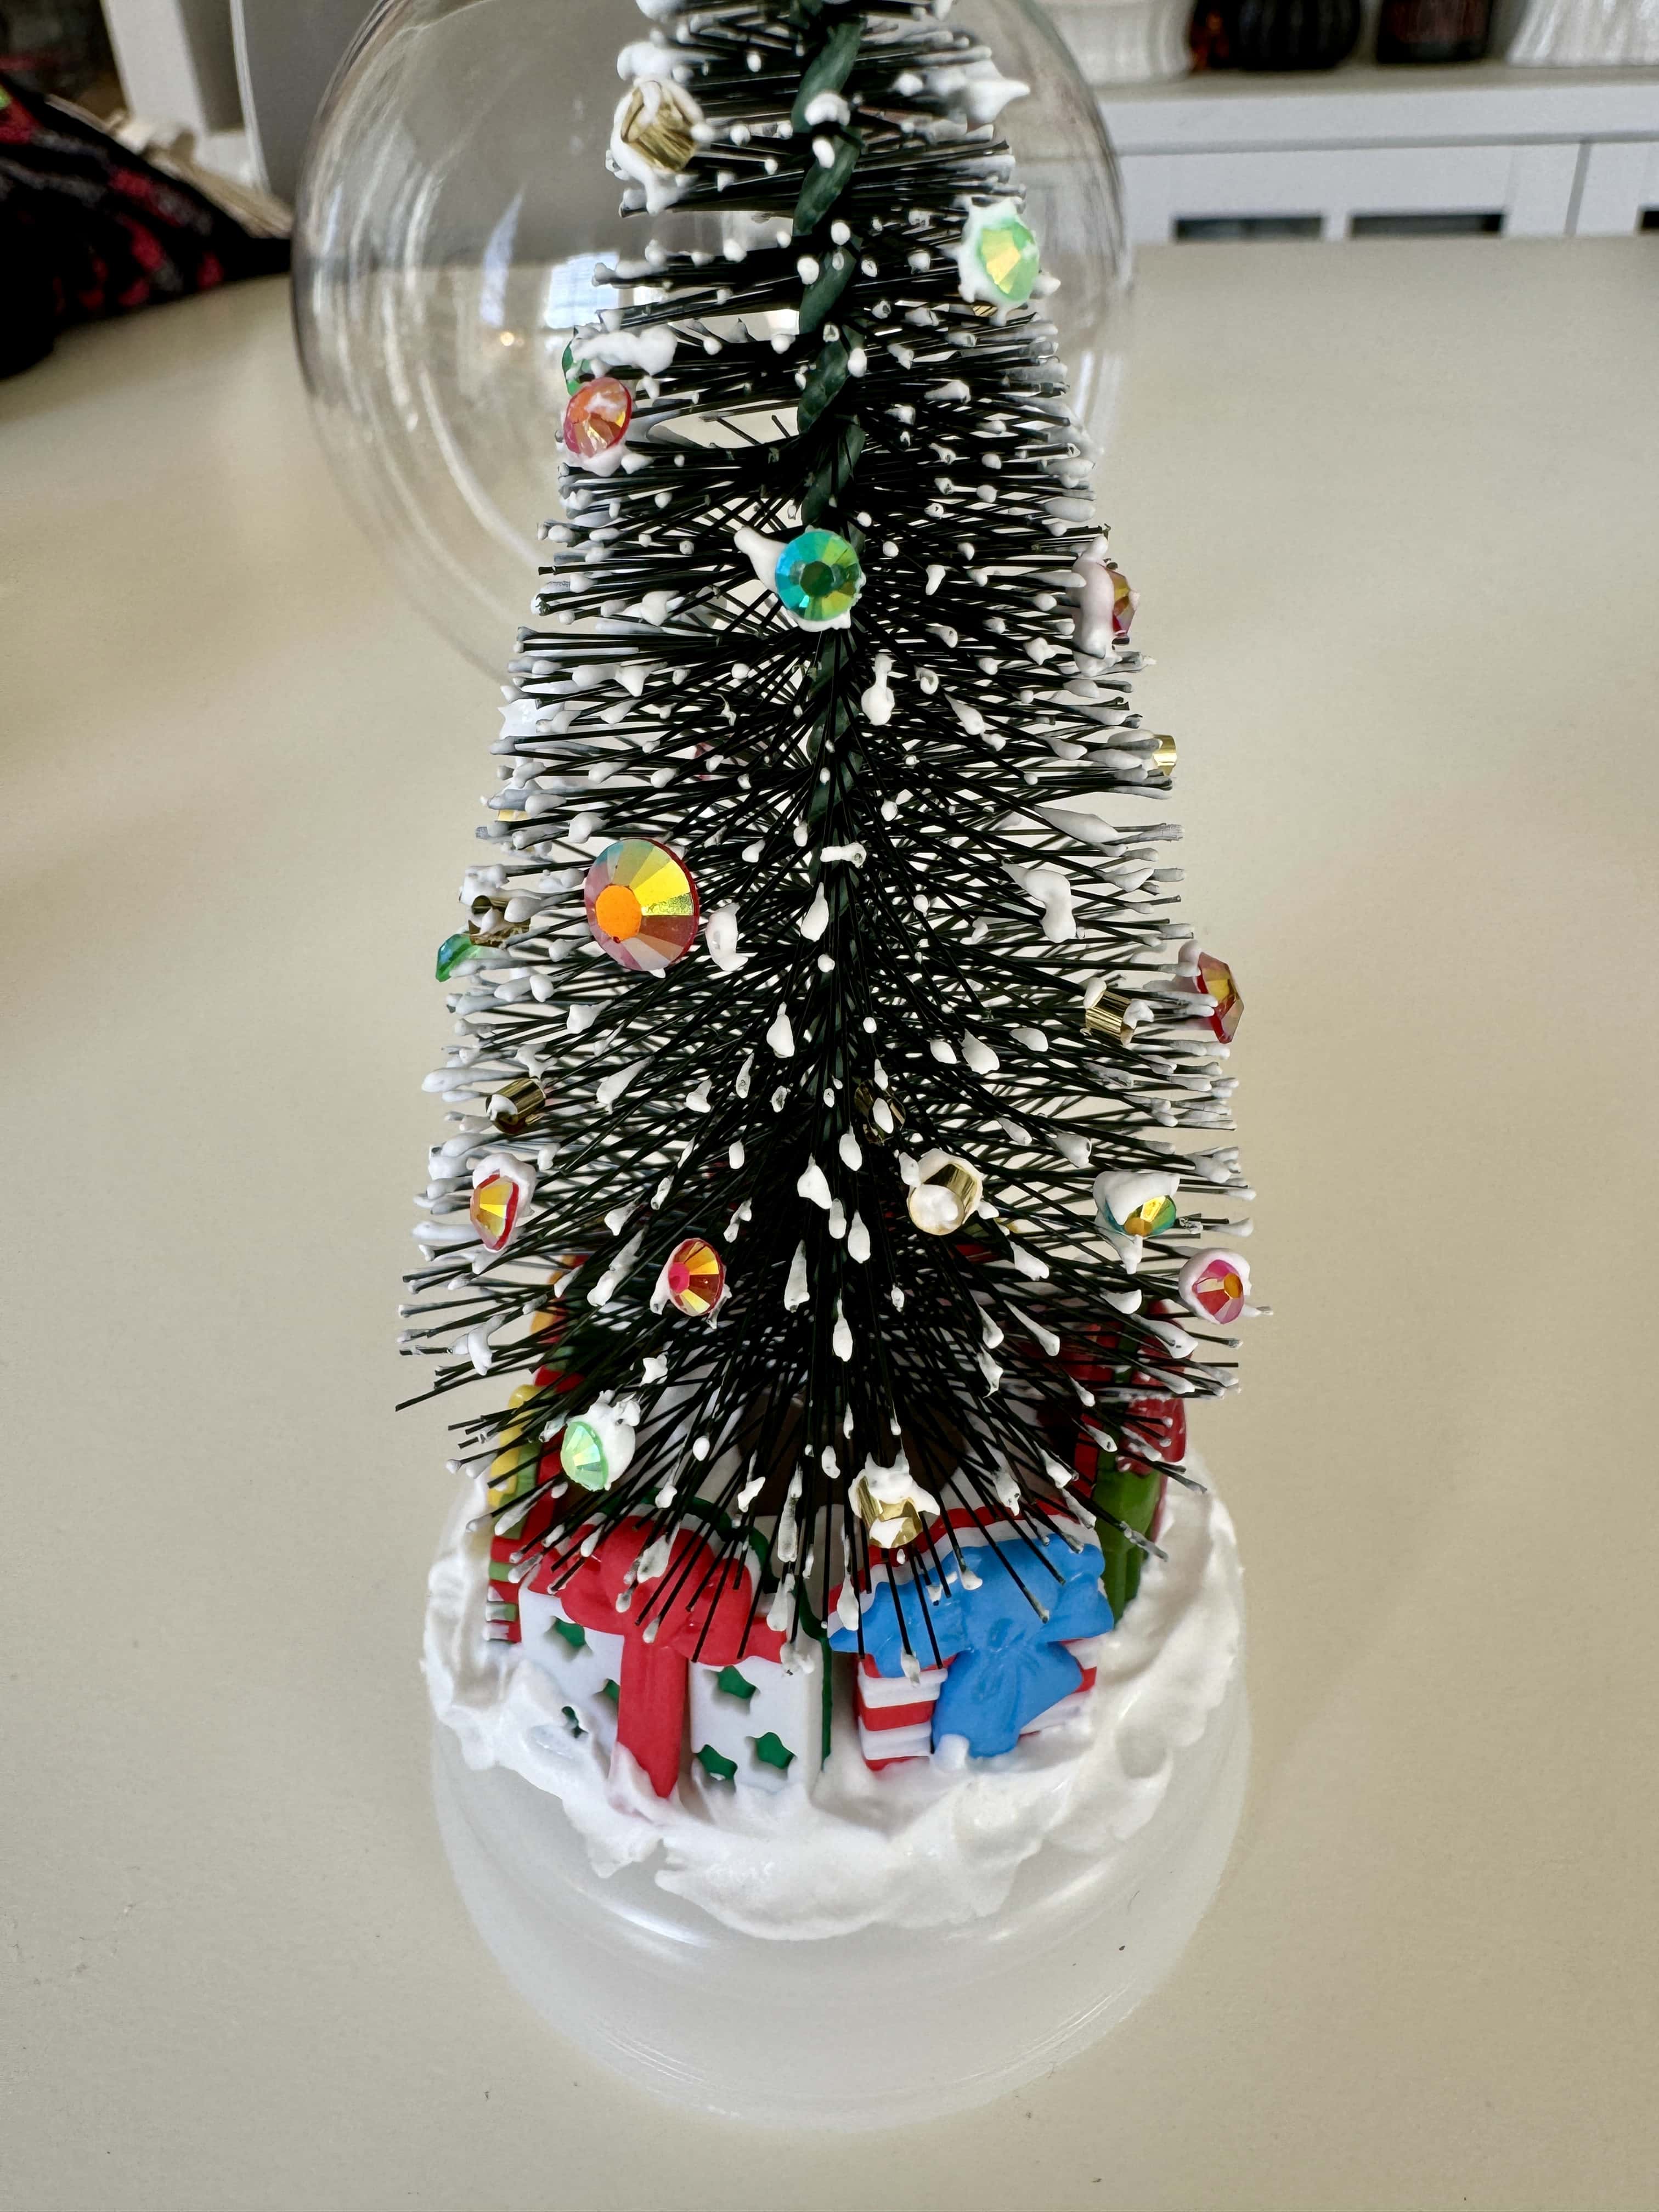
Using glue or snow, place the peppermint tree topper on the tree, making sure that it isn’t too high for the globe to fit. Let everything dry.
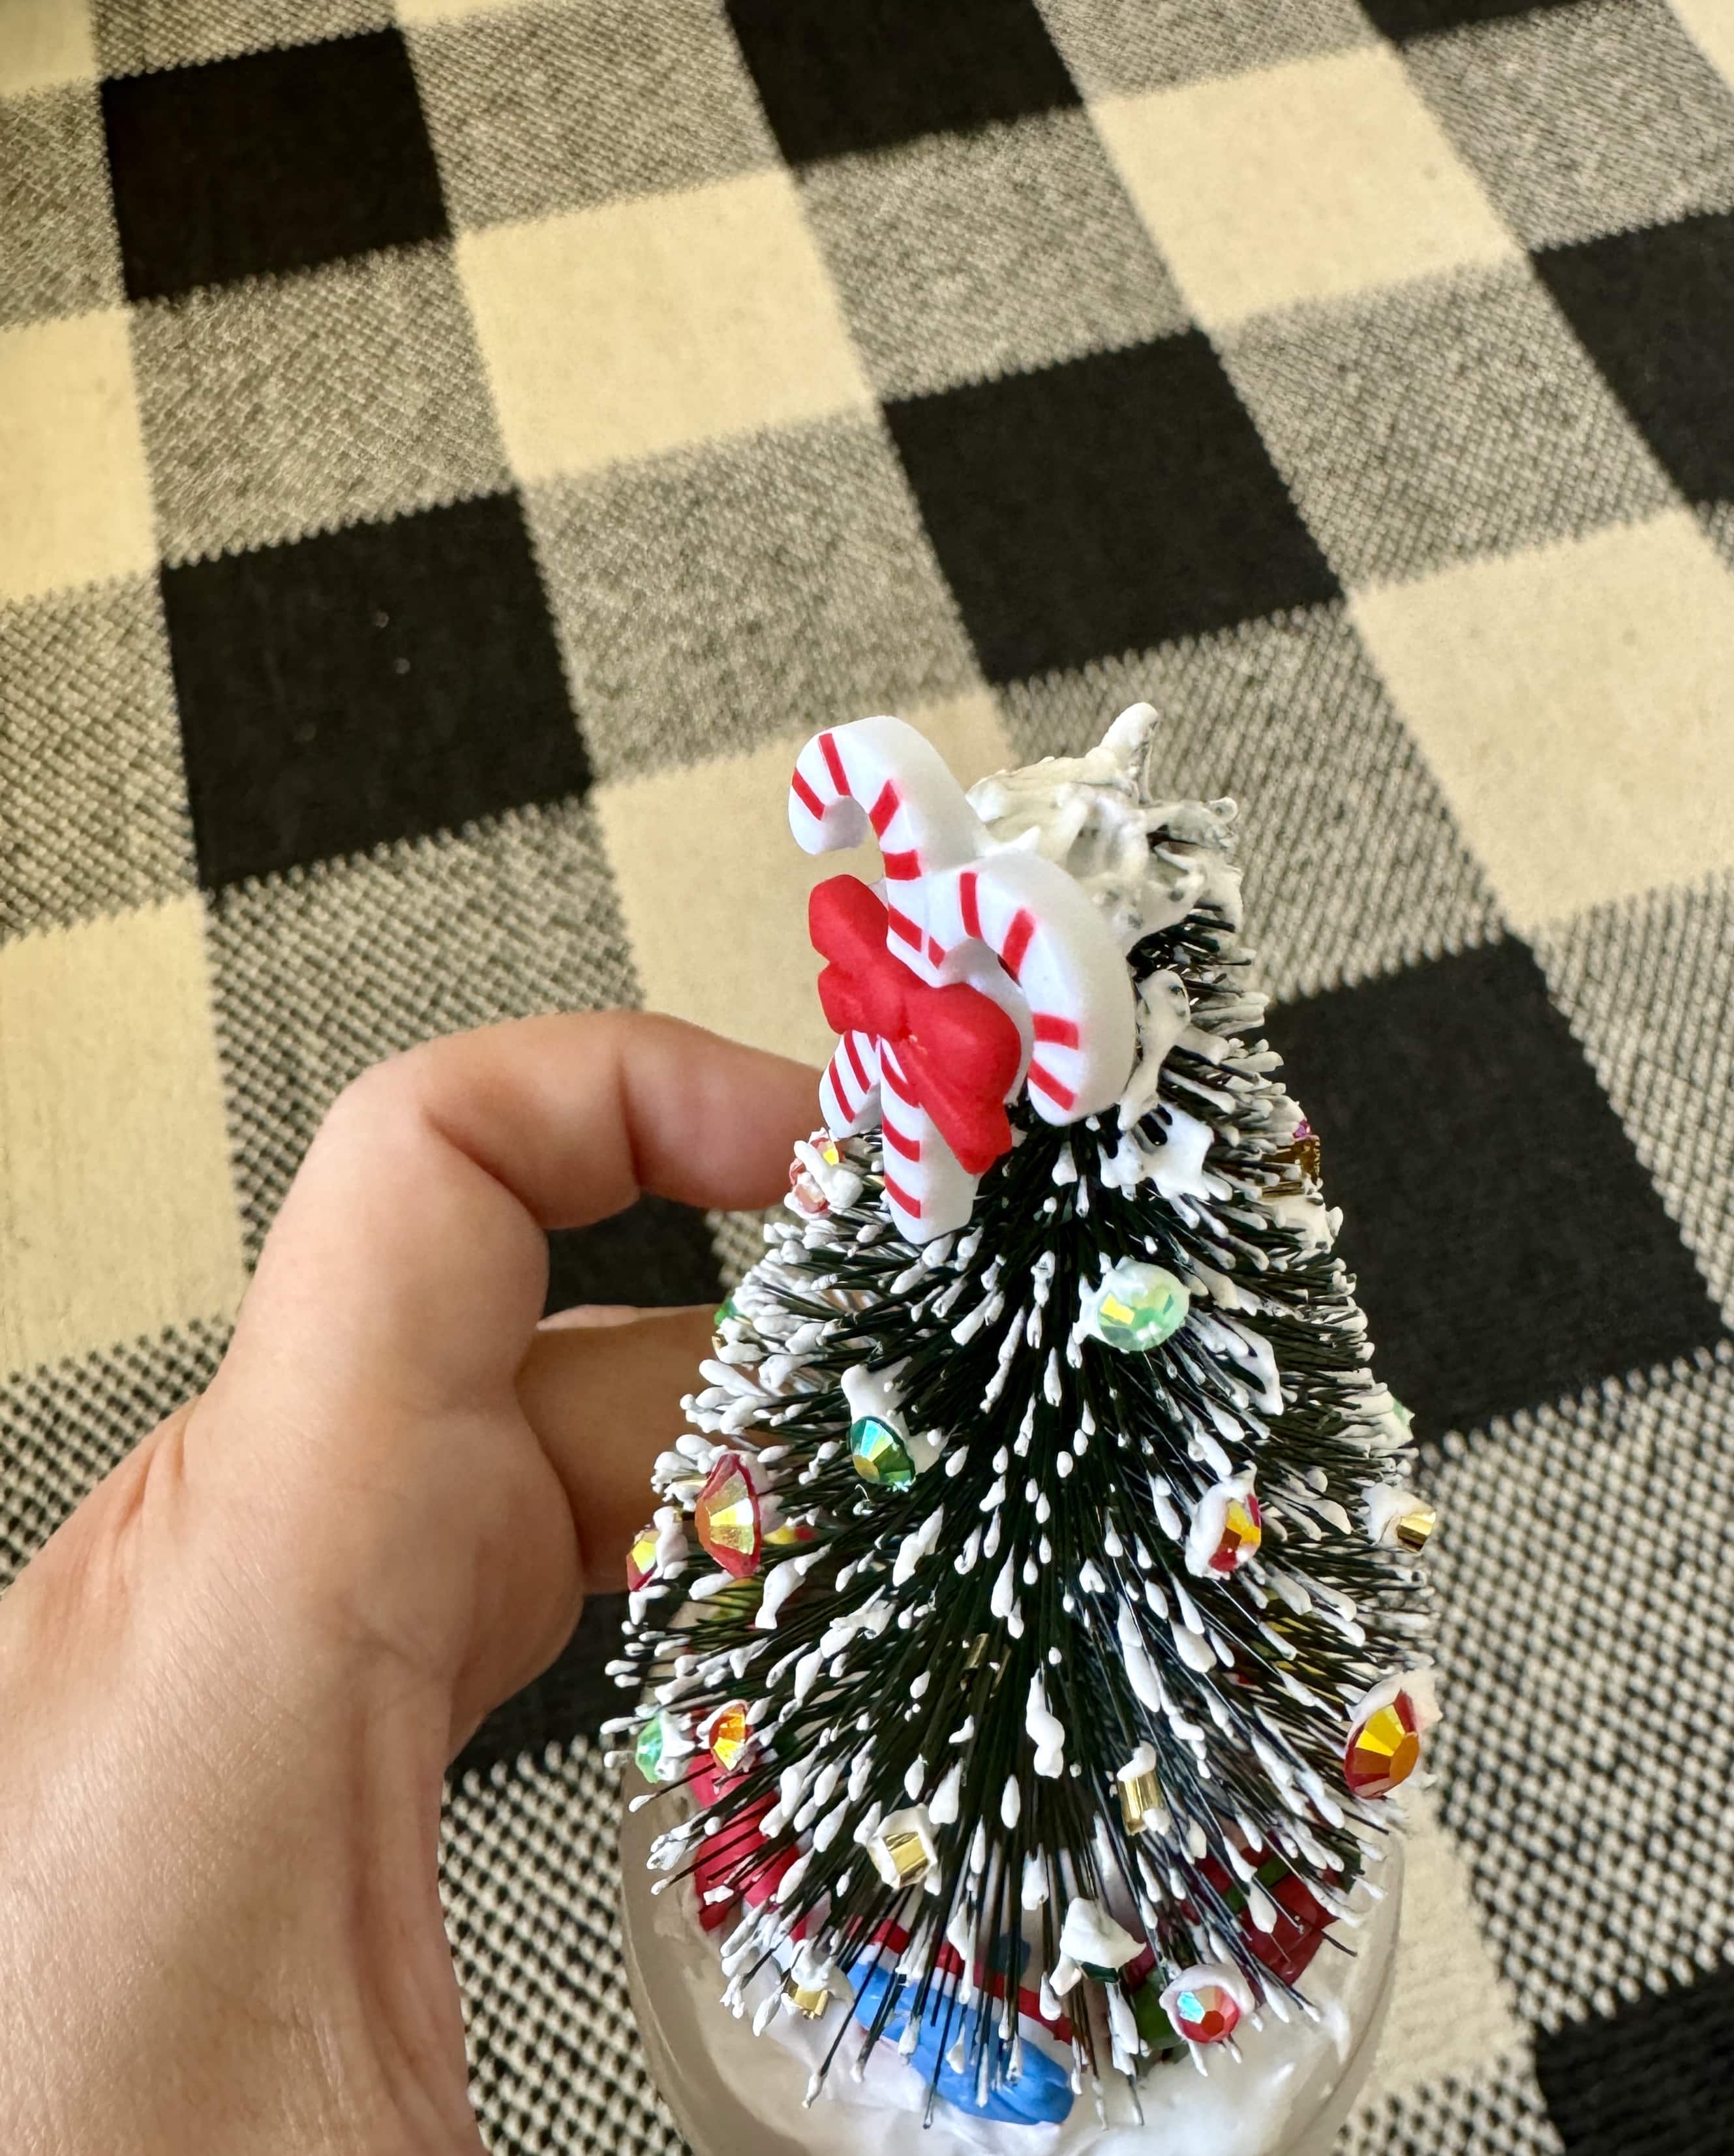
When the tree scene is dry, carefully place it in the globe, making sure the base is snug.
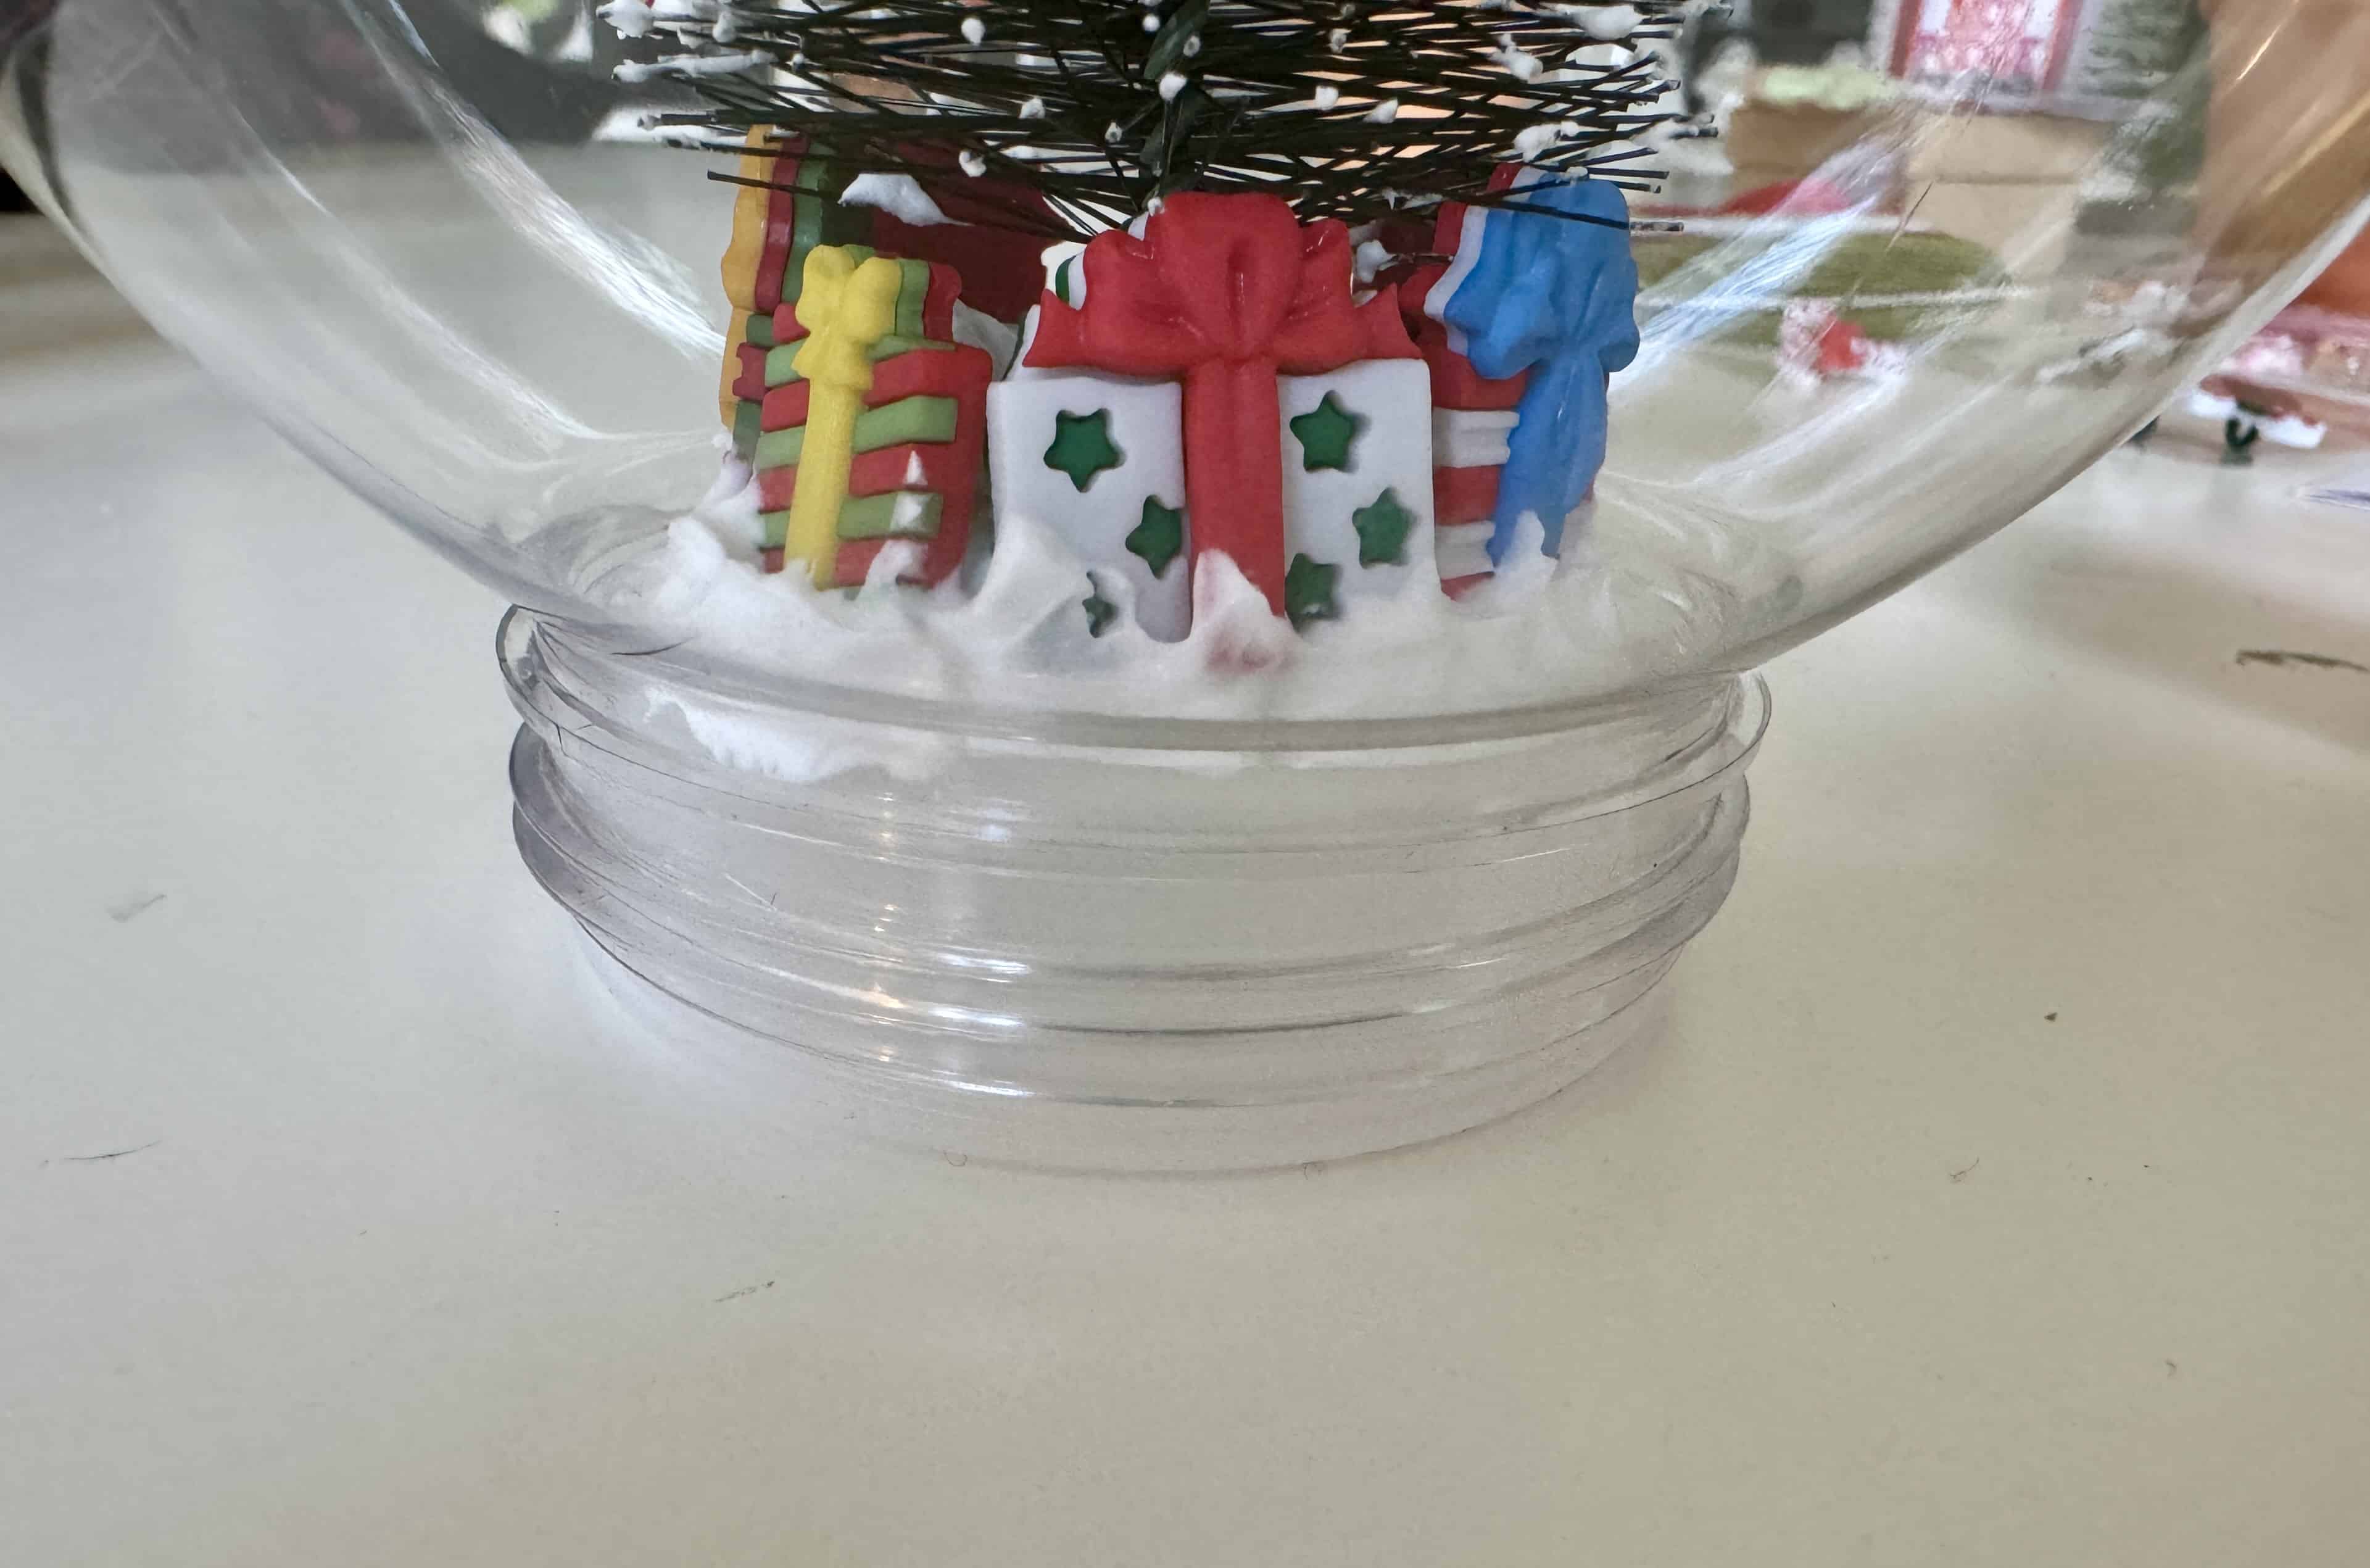
Screw on the lid. Using glue or Mod Podge, attach the ribbon around the lid. You can optionally paint the lid instead–I did, but then decided to use the ribbon. Let dry.
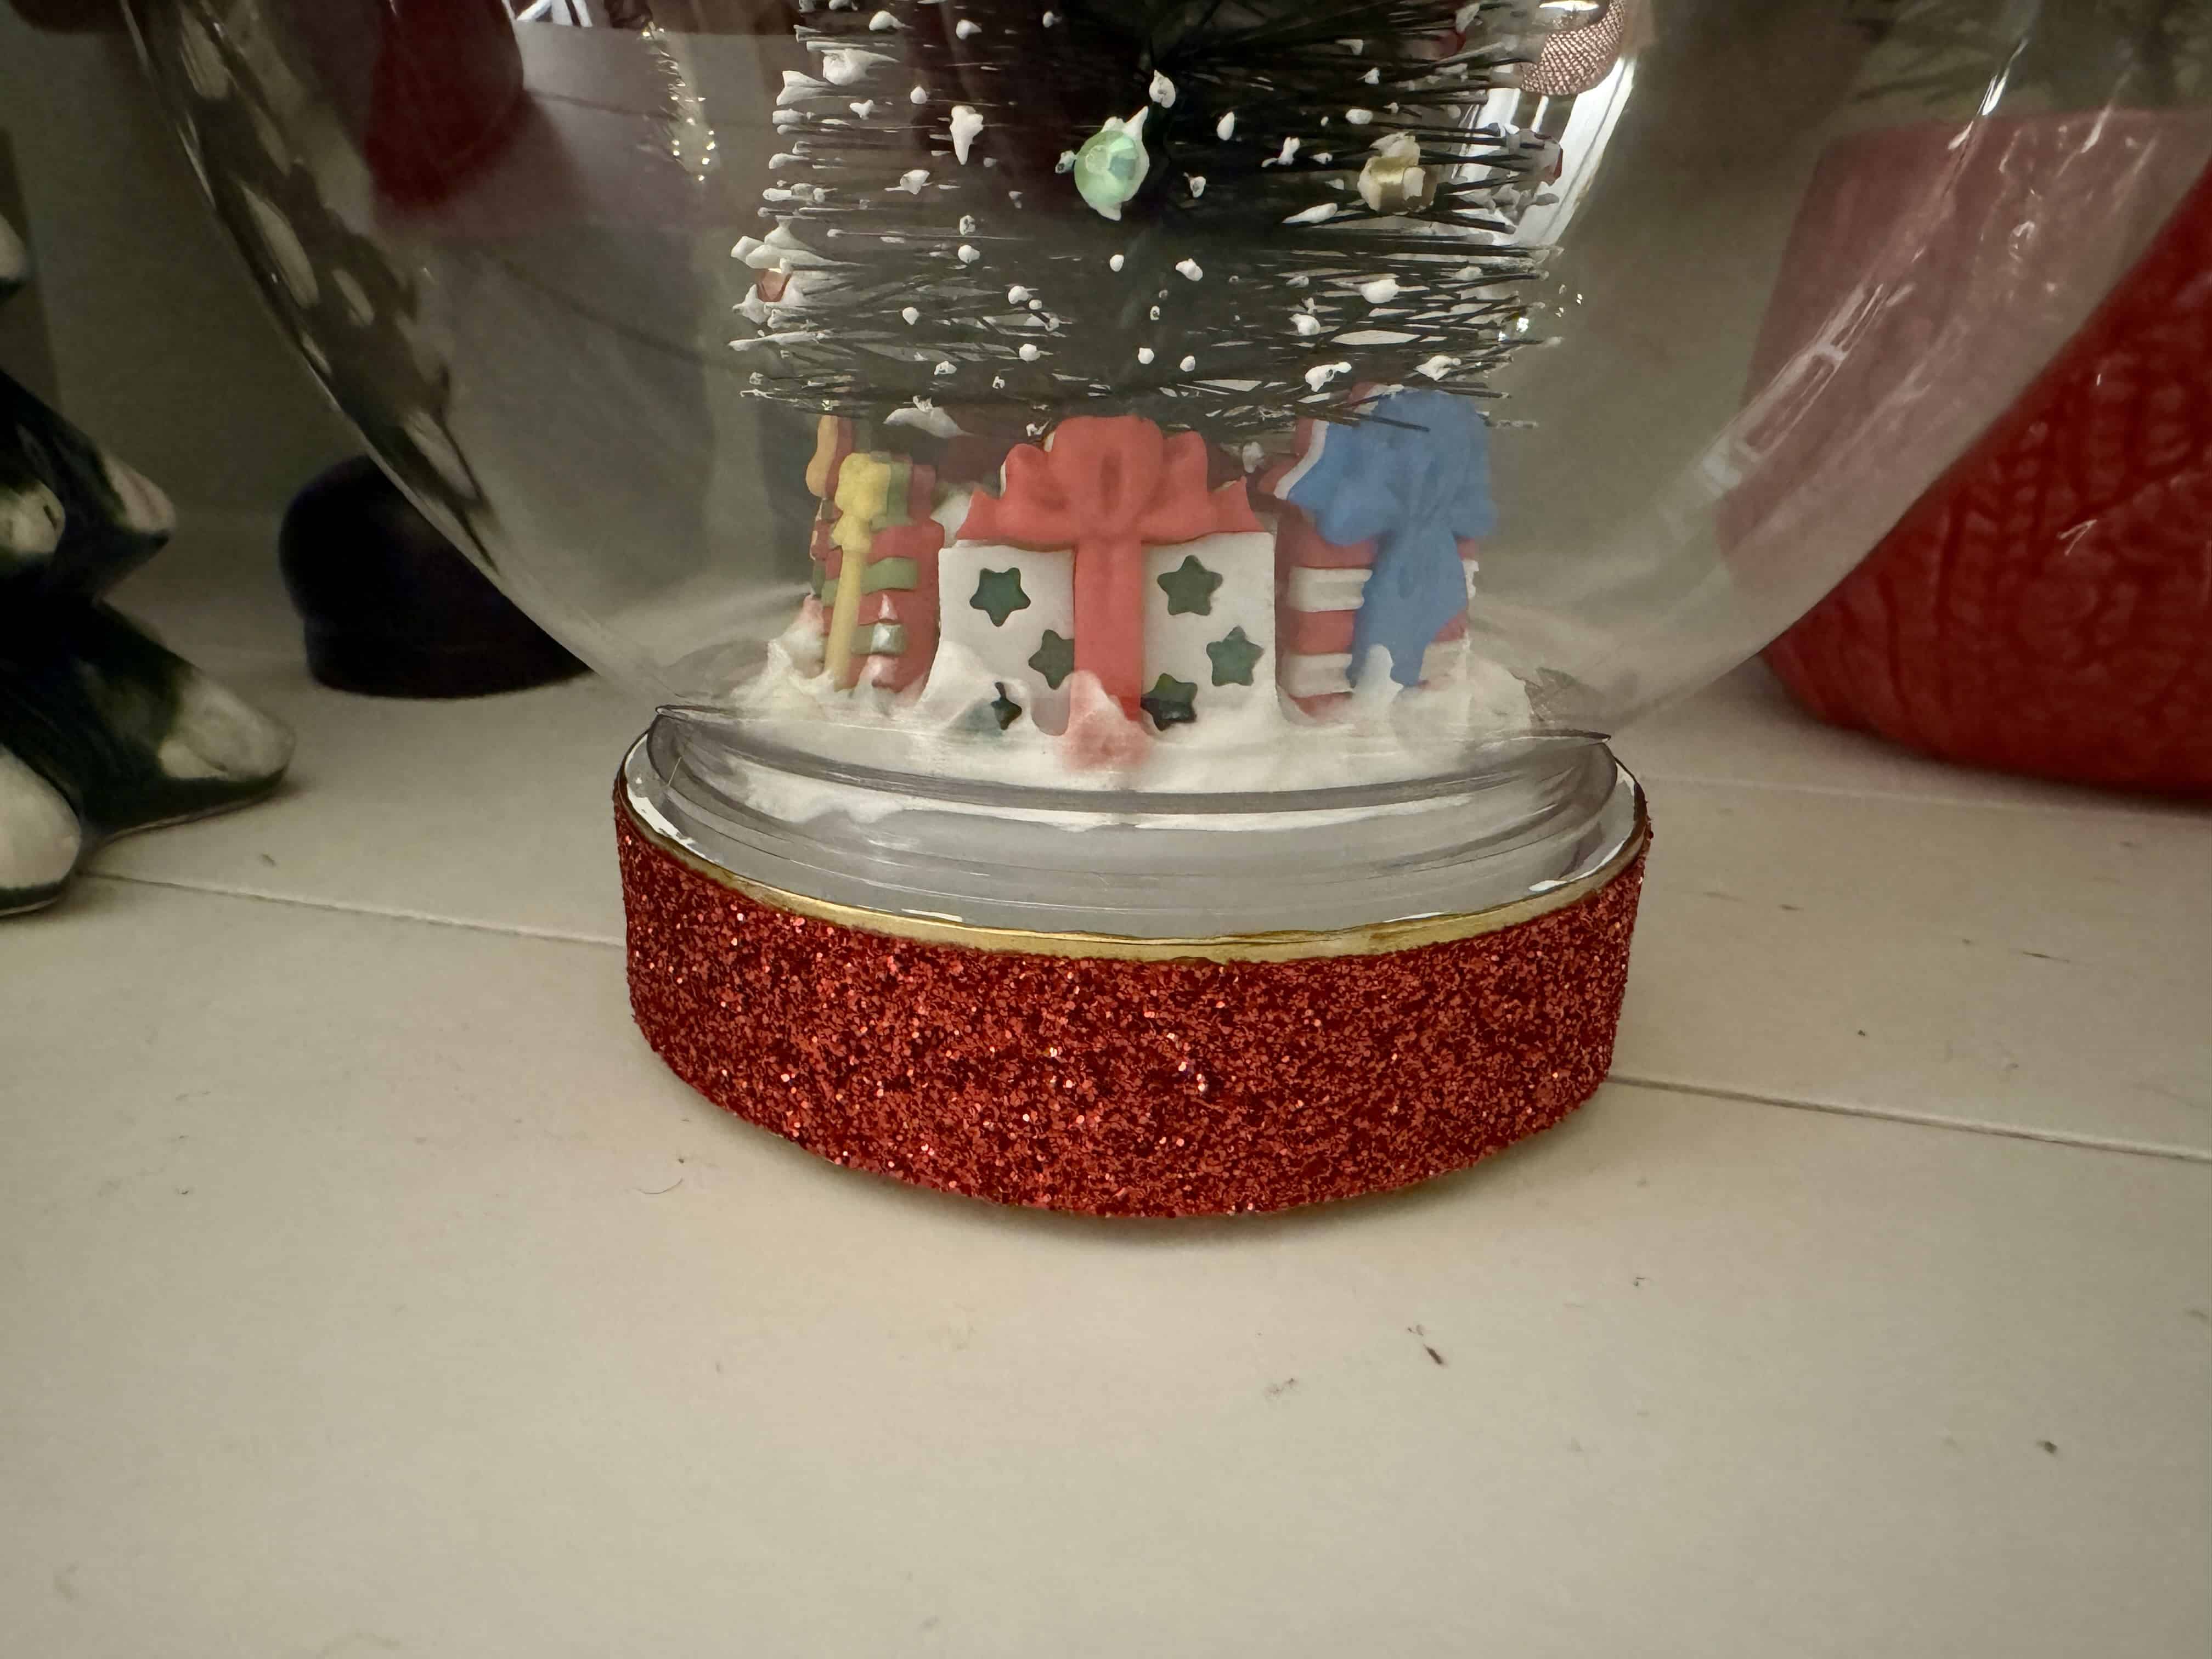
This fun Christmas tree snowglobe DIY is a fun little craft and would even be great for a kid activity. The presents buttons are perfect around the base and the sequins are the best ornaments.