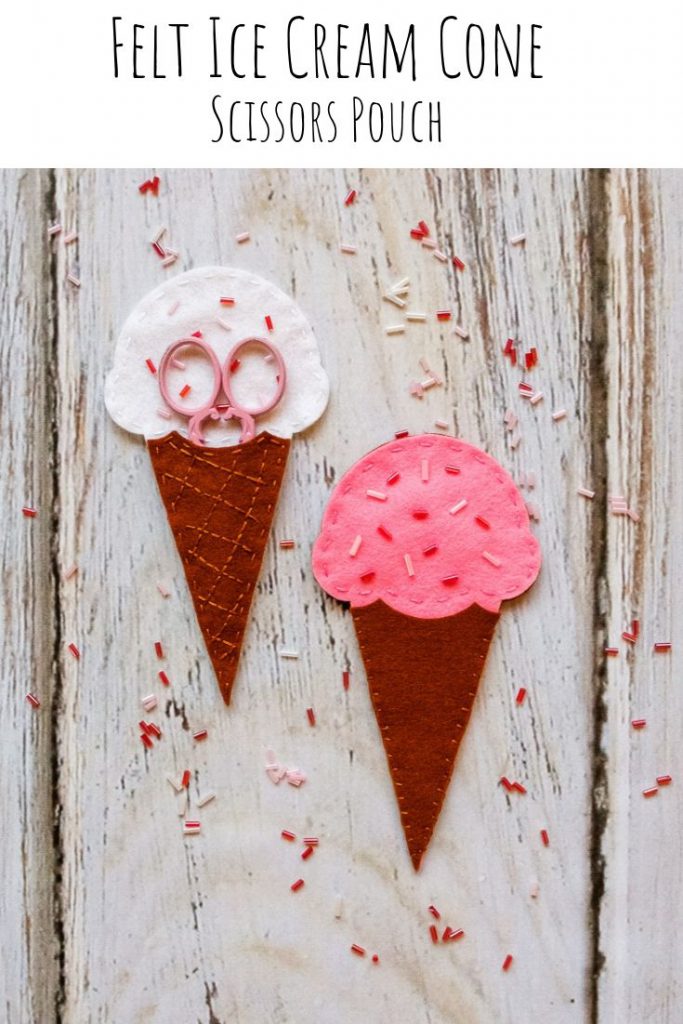
Felt Ice Cream Cone Scissors Pouch
I’ve never been much of an ice cream eater–until the awesomeness that is New Zealand ice cream became my norm and now I might have a problem. I used to be adamant that ice cream is only for summers, but it’s fully winter here and I had a bowl of cookies and cream last night (with chocolate sauce) (and a marshmallow). This fun Felt Ice Cream Cone Scissors Pouch is making me super happy right now with far fewer calories than my bowl last night.
This post contains affiliate links.
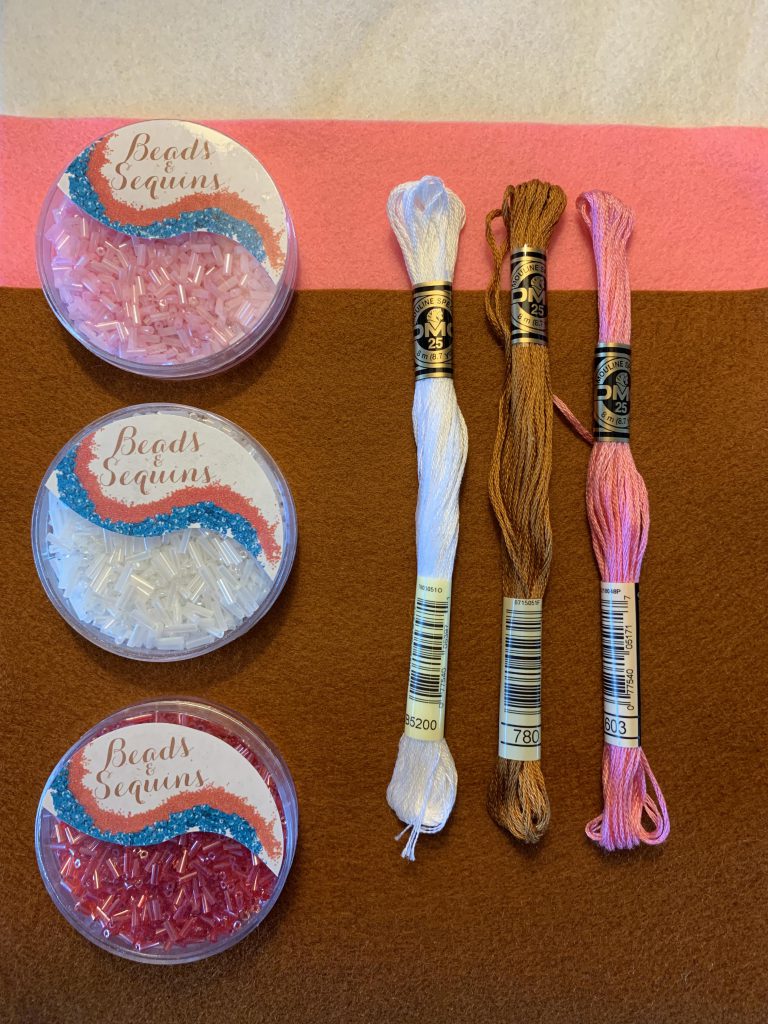
Supplies:
- felt (I used brown, white, and pink from Cloud Craft)
- Cricut Maker (I used my rotary blade)
- Ice Cream Cone SVG
- coordinating DMC thread
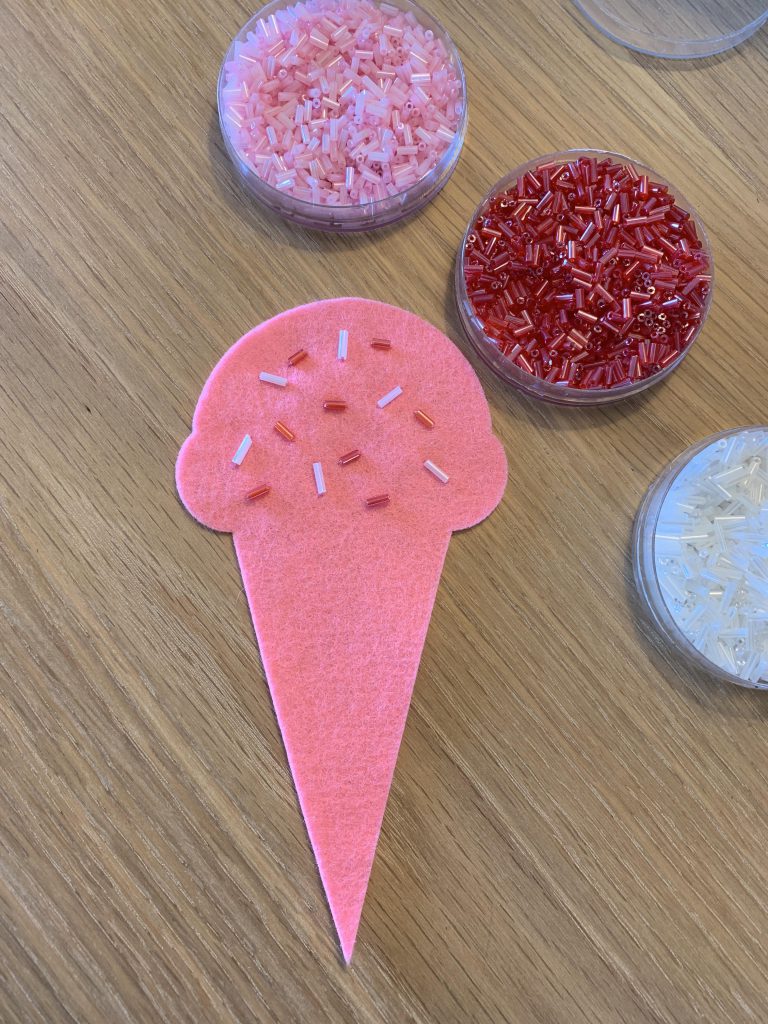
- beads in your chosen sprinkle colors
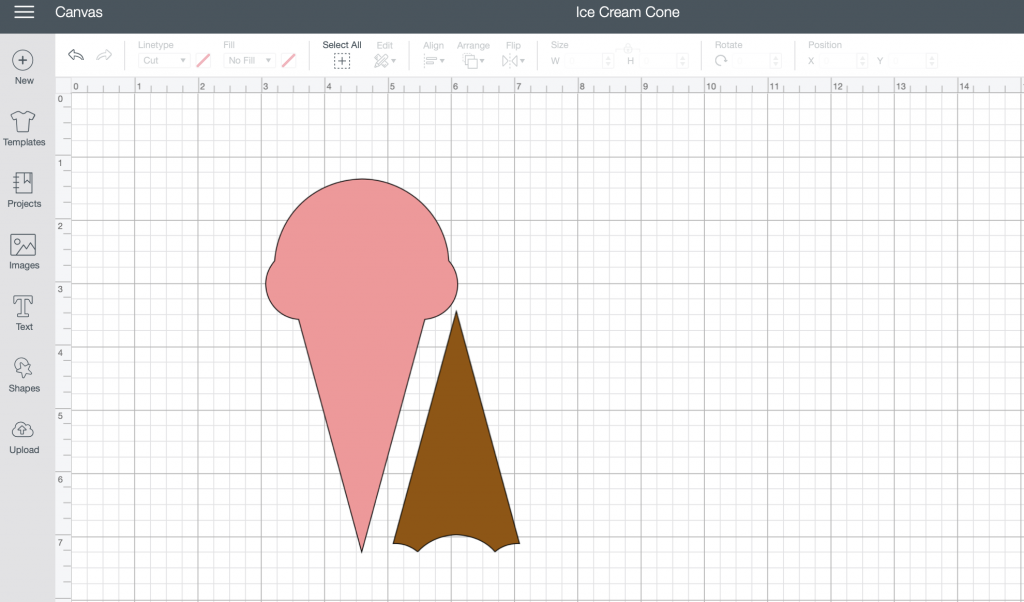
Click on the SVG link in the supplies list. This will open a new tab with the svg. Save the image to your computer and upload it to Design Space. Easy! Once the image is in Design Space, change the pieces to different colors so that they’re on different mats. If it’s sized strangely for any reason, fix the size to 6″ high.
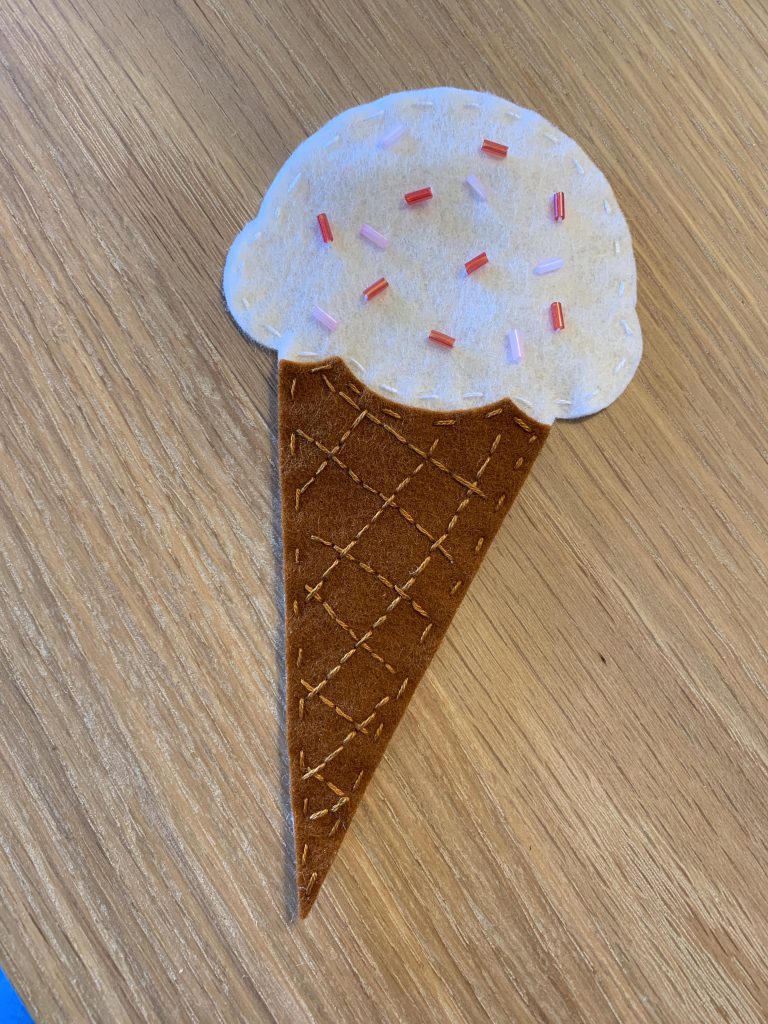
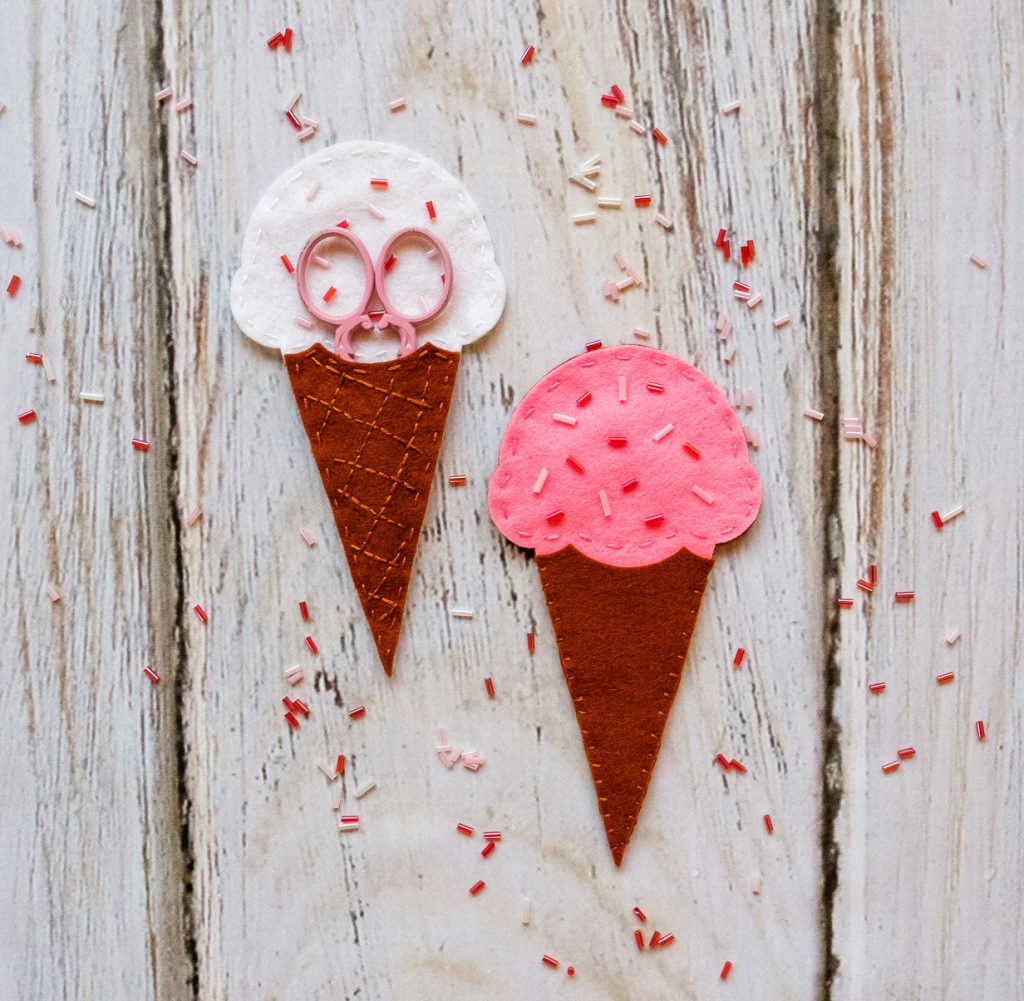
Cut out your pieces. I decided to go with vanilla and strawberry ice cream cones, but I think a mint chocolate chip would be fantastic!
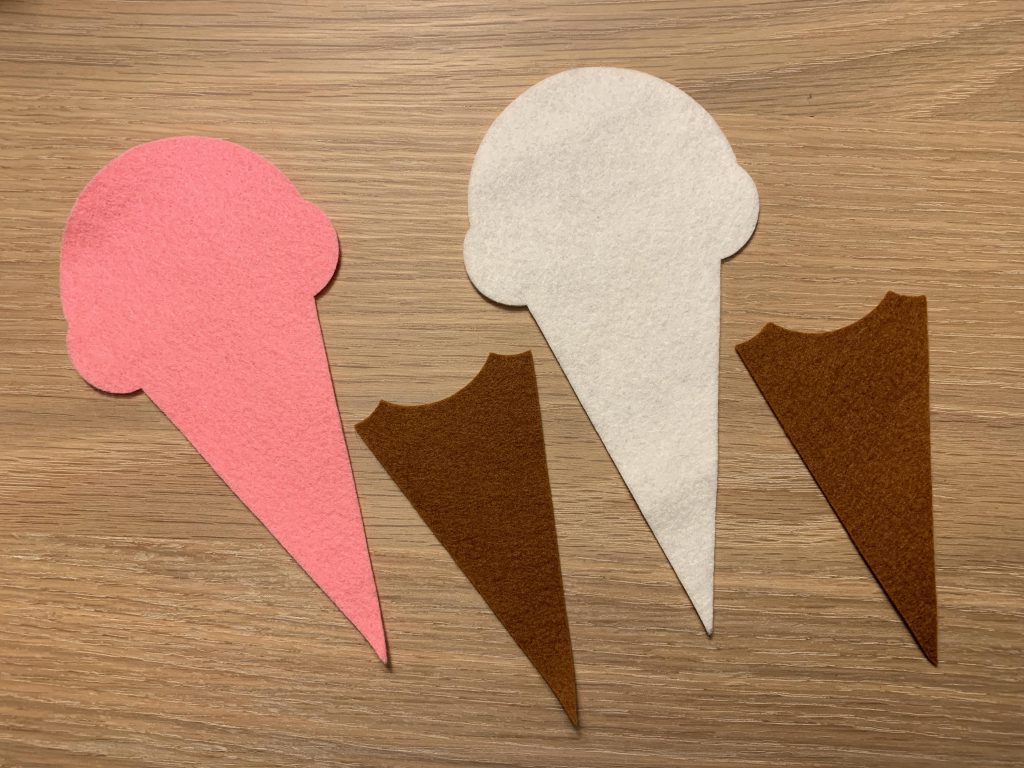
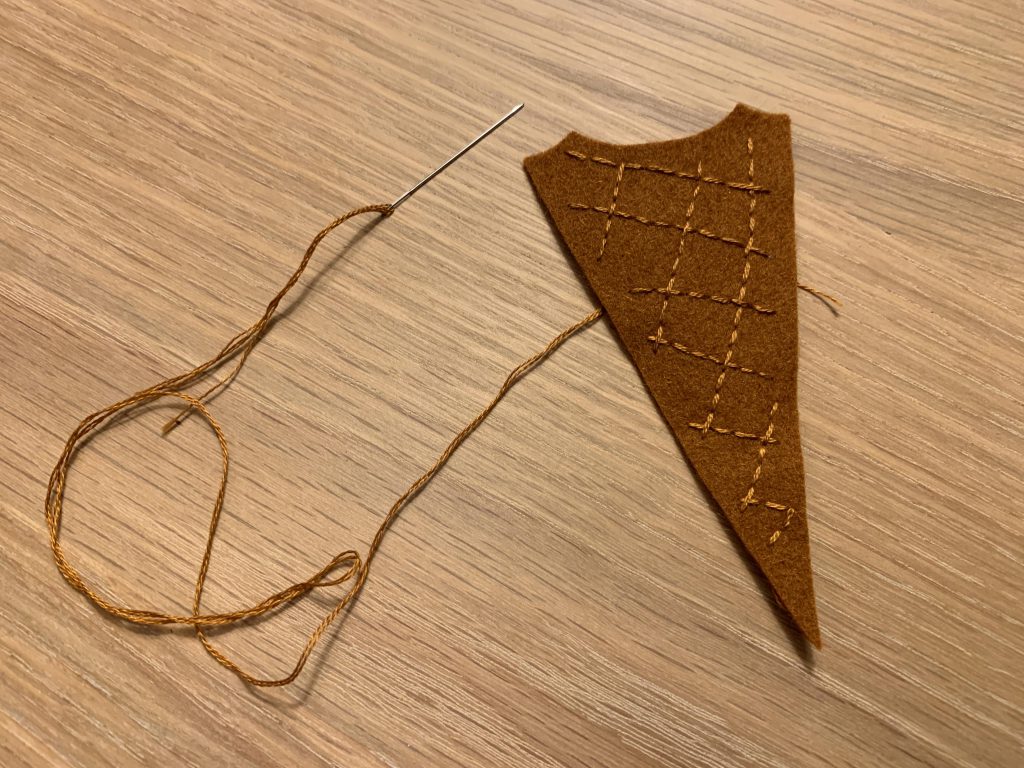
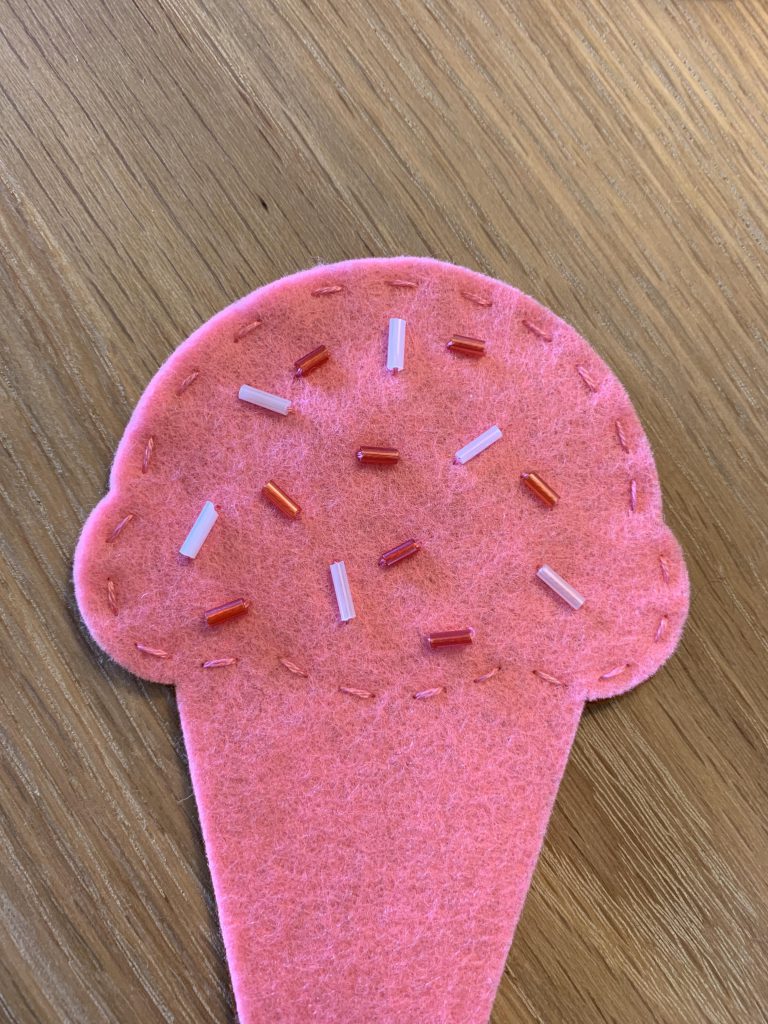
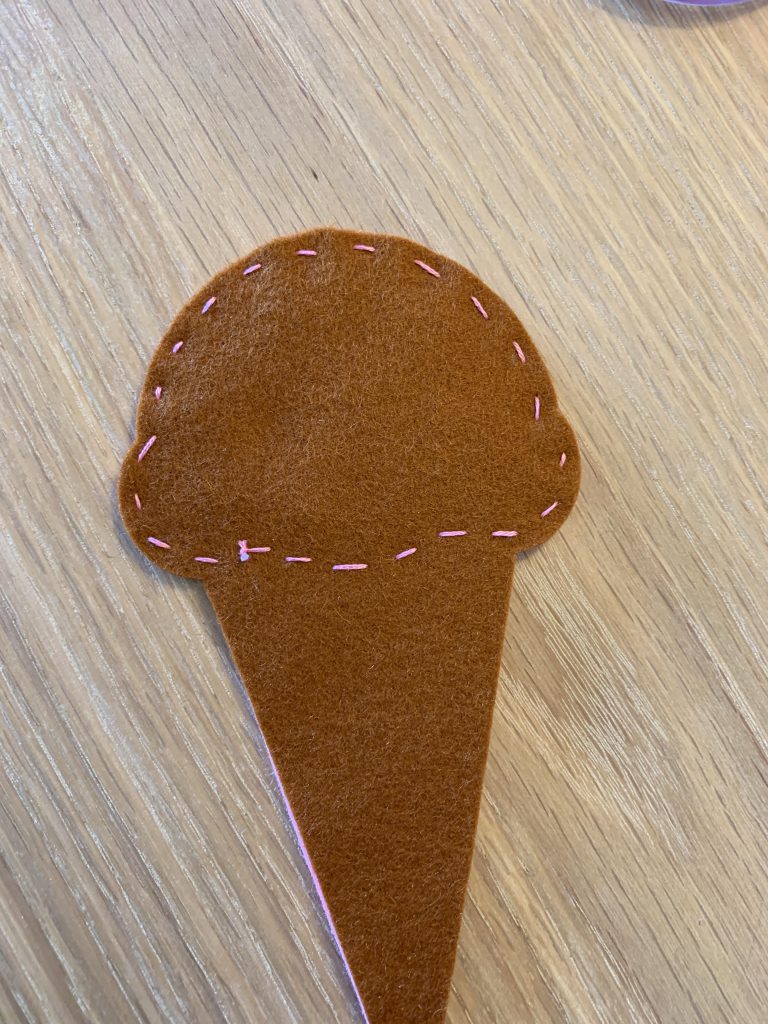
I’m going to show you how customizable these scissors holders are. If you want the waffle cone look, you can stitch some criss cross lines on the smaller cone piece. I completely free handed these, but if you want a more perfect line you can of course draw lines to follow.
Attach the sprinkles at the top and then stitch the outside of the pouch into place.
You can leave the Felt Ice Cream Cone Scissors Pouch as it is, or you can cut out a second big piece to stitch onto the back to both cover up the confetti stitches from the sprinkles and to add a bit more oomph. I cut out a second piece for the strawberry cone and chose to have it the same color as my cone. If you’re doing it this way, I’d recommend stitching the sprinkles on first. I stitched the back on from the top down, adding in the pouch at the appropriate point. Use the coordinating thread colors–the ice cream color for the top and the cone color for the bottom. For this one, I just stitched the pocket on with a simple blanket stitch.
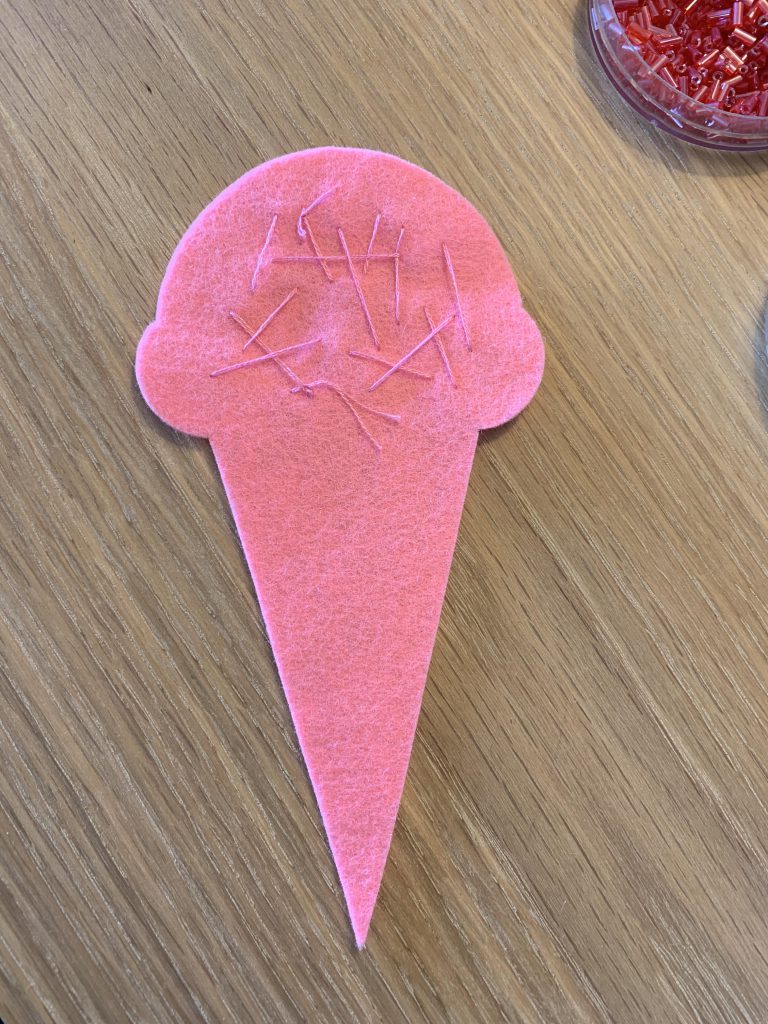
You’ll still see some stitching if you choose to use the back piece, but it will be a cleaner look than keeping the confetti.
I can totally see myself making a full line up of these. Just imagine all the flavor combinations!! And you definitely can’t go wrong with sprinkles!


One Comment