Felt Pinwheel Flowers
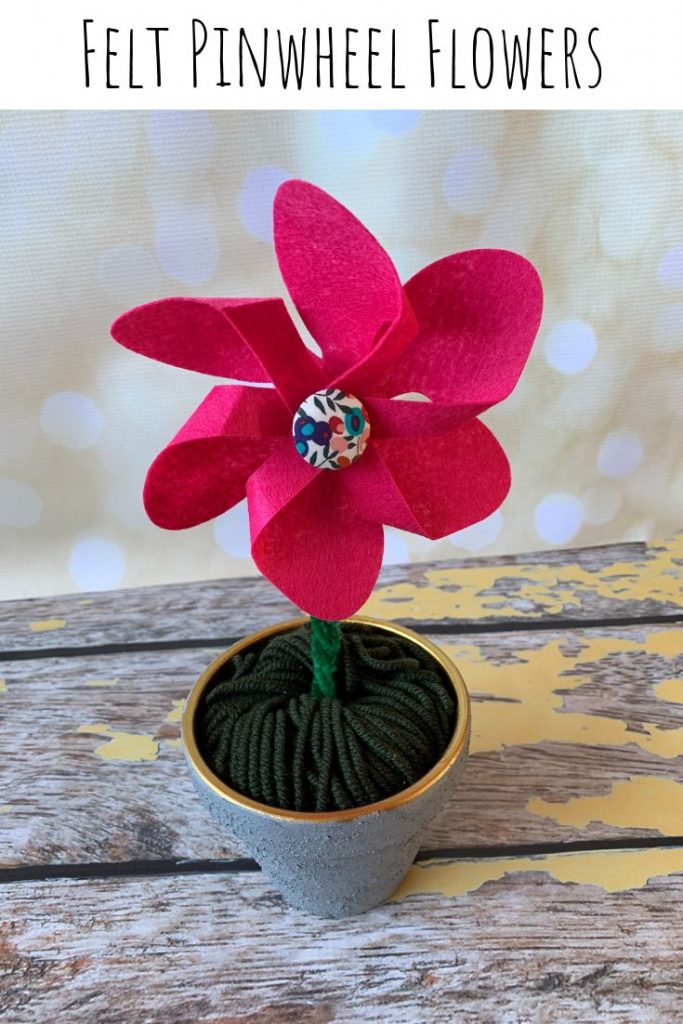
I haven’t gotten tired of making little projects for around the house yet. We’re still deep into the big projects that I don’t have a lot of control over, so it’s nice to be able to make something fairly quickly and see it brightening up a corner. These felt pinwheel flowers are super easy to make and can be whatever colour you want.
This post contains affiliate links.
Supplies:
- Cricut Maker
- pink felt
- fabric covered buttons
- green pipecleaners
- pink embroidery floss
- Felt Pinwheel Flower design
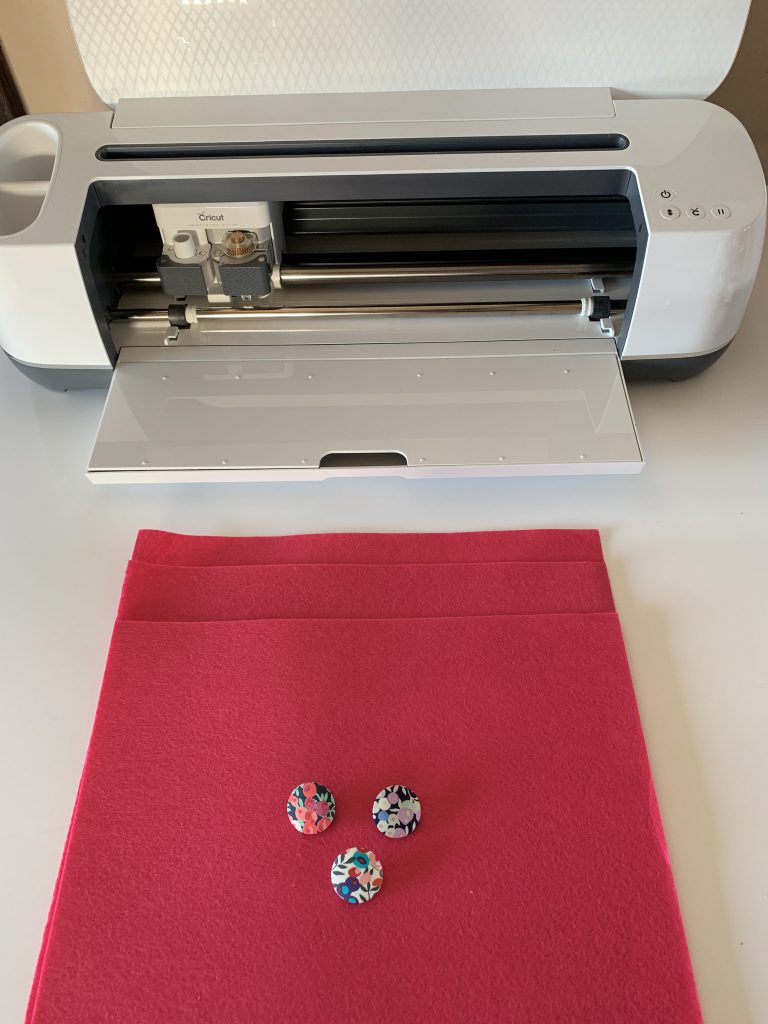
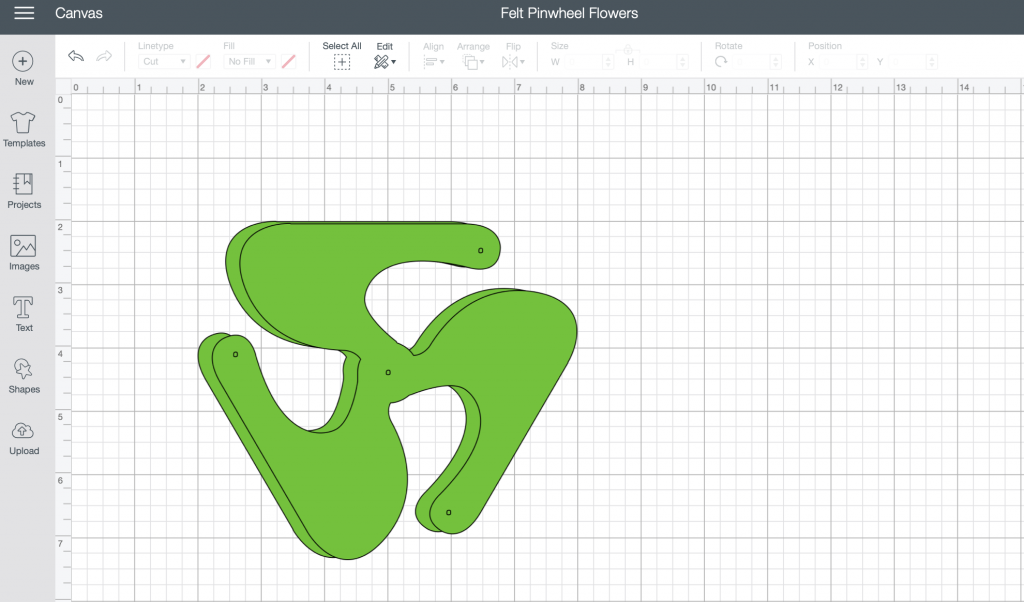
Cut out the pinwheel pieces. Each pinwheel requires two pieces and I adjusted the size to 6″ wide. I used the rotary blade and pink mat.
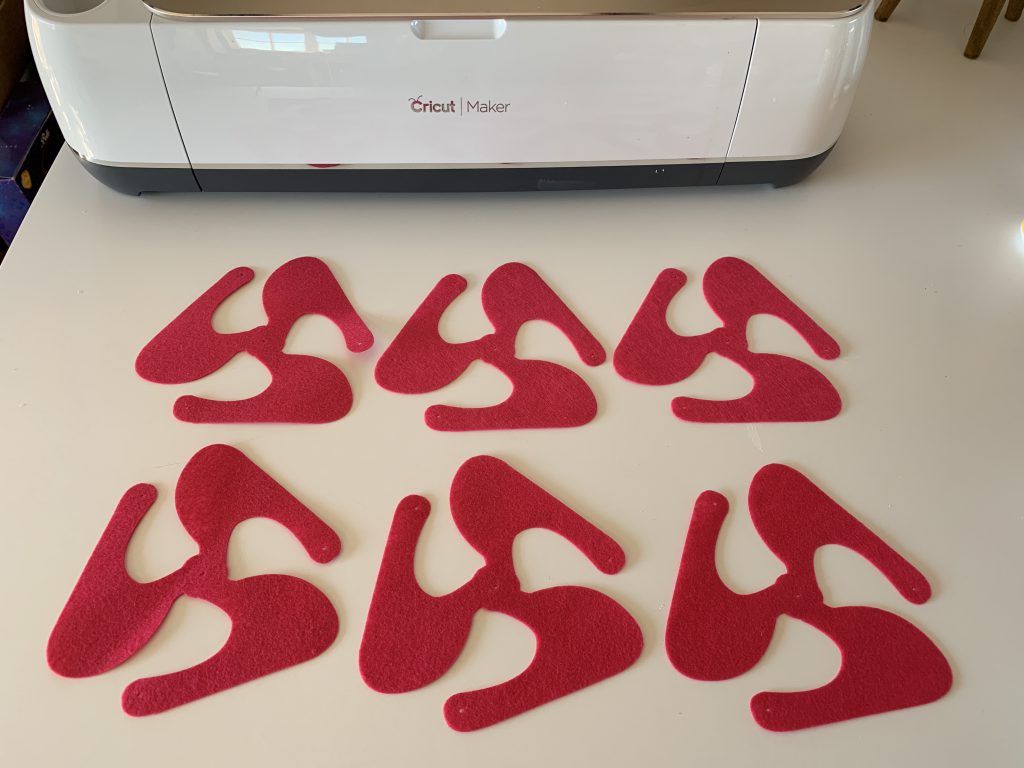
Place the pinwheel pieces on top each other so that the arms are basically covering the empty spaces.
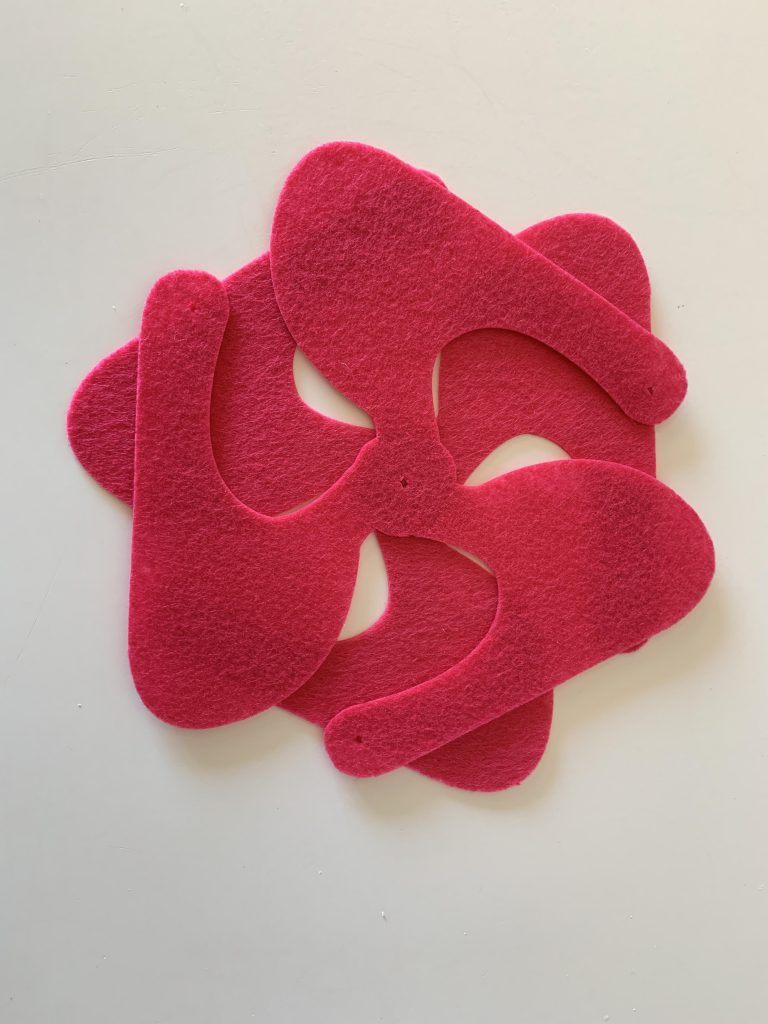
Twist each arm of the pinwheel to the center. It’s easy to align with the holes.
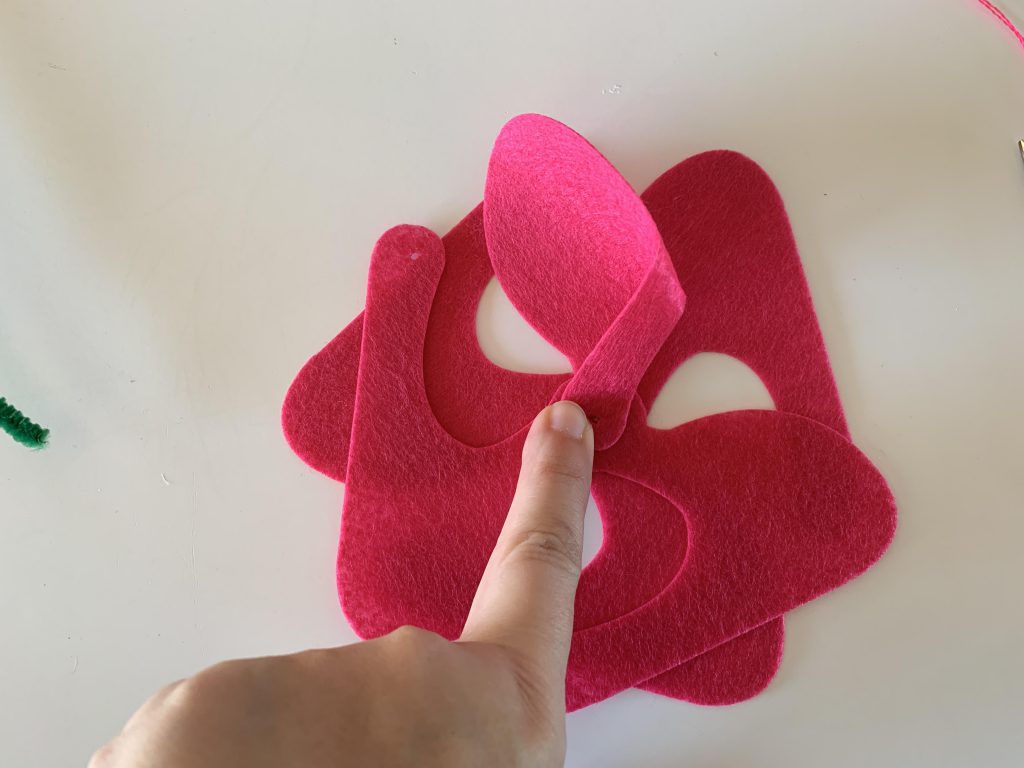
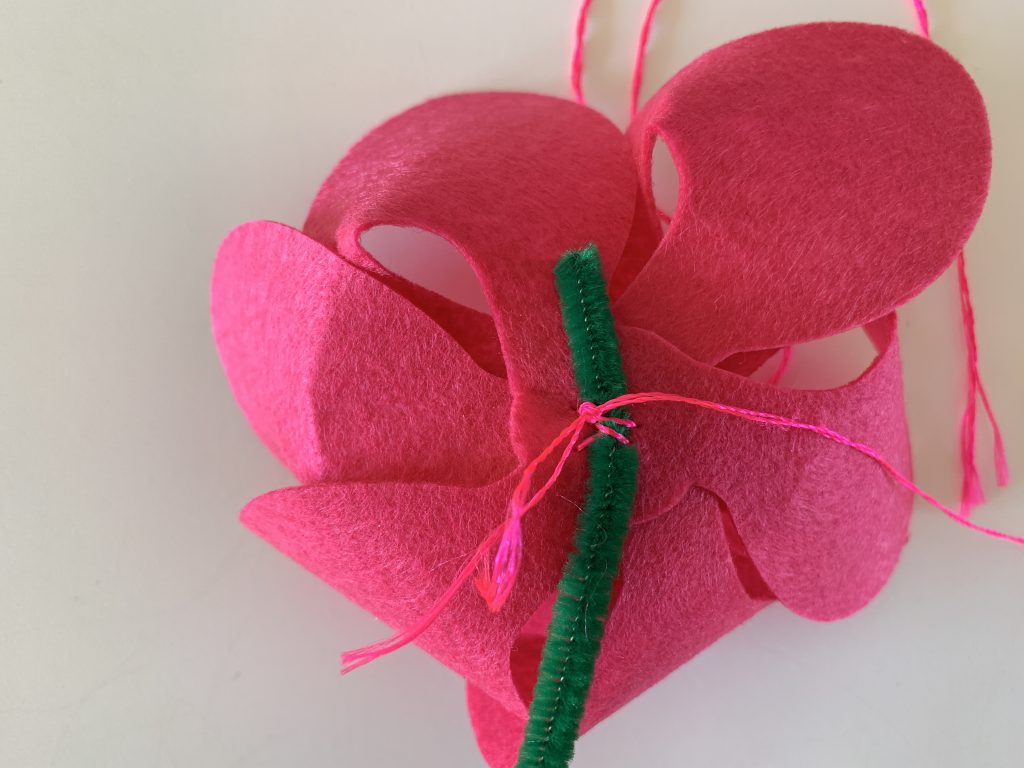
Stitch the center together, pulling in the pipecleaner at the back and the button at the front. Make sure all the pieces are tight and then tie off the thread, snipping the ends.
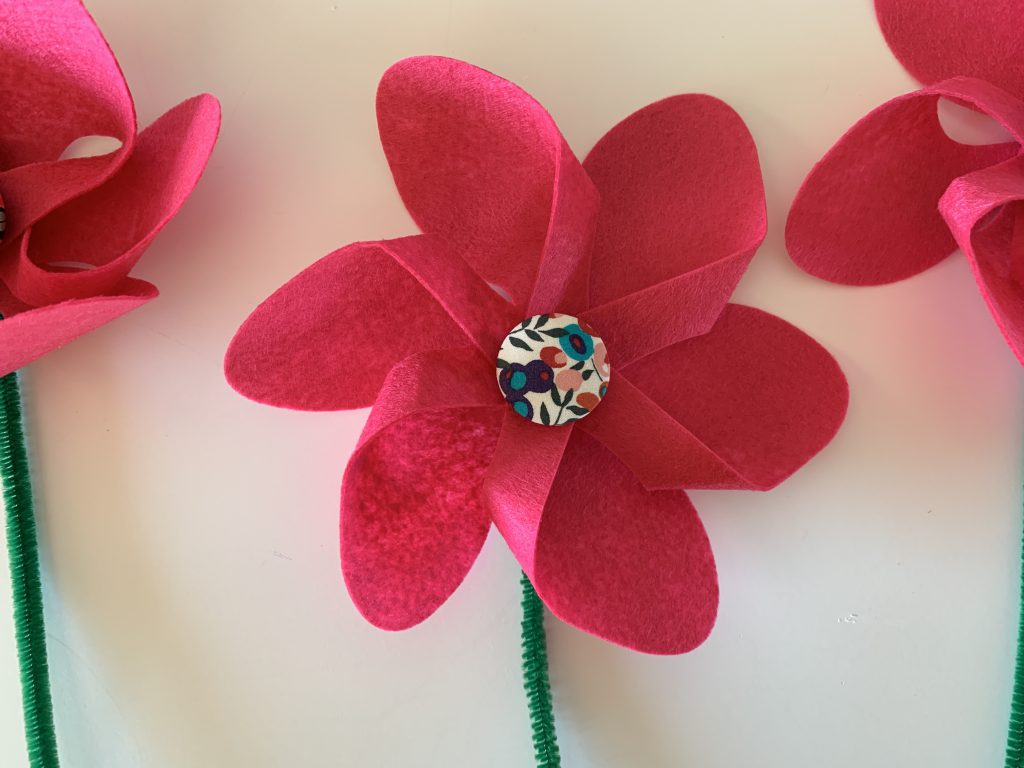
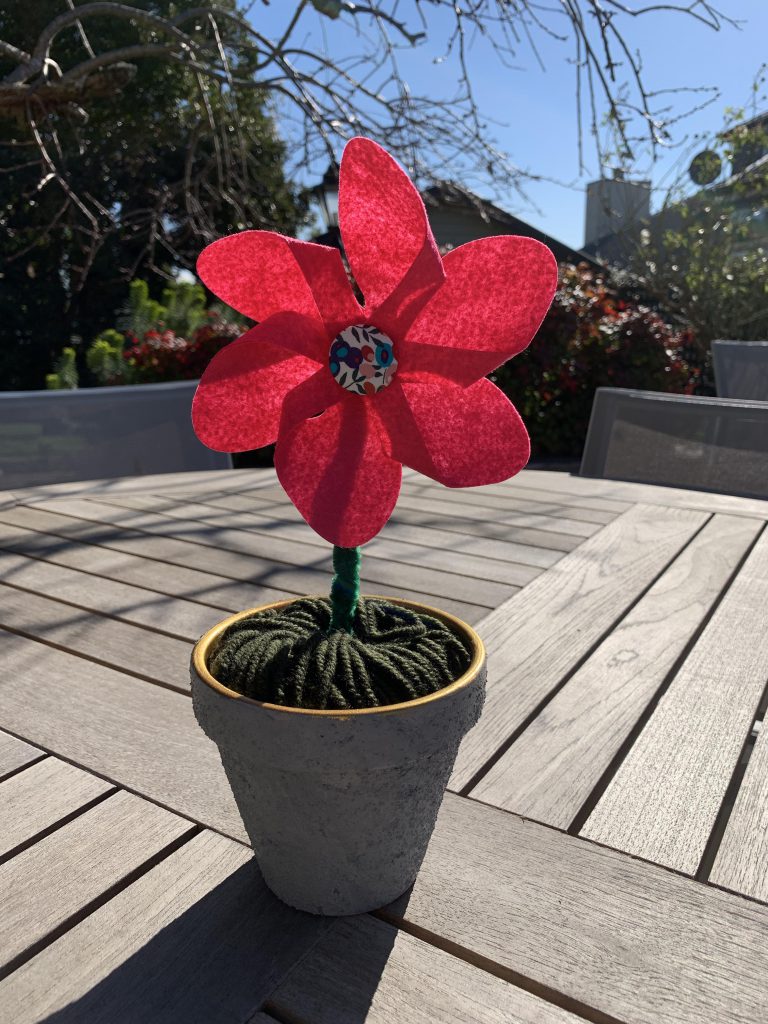
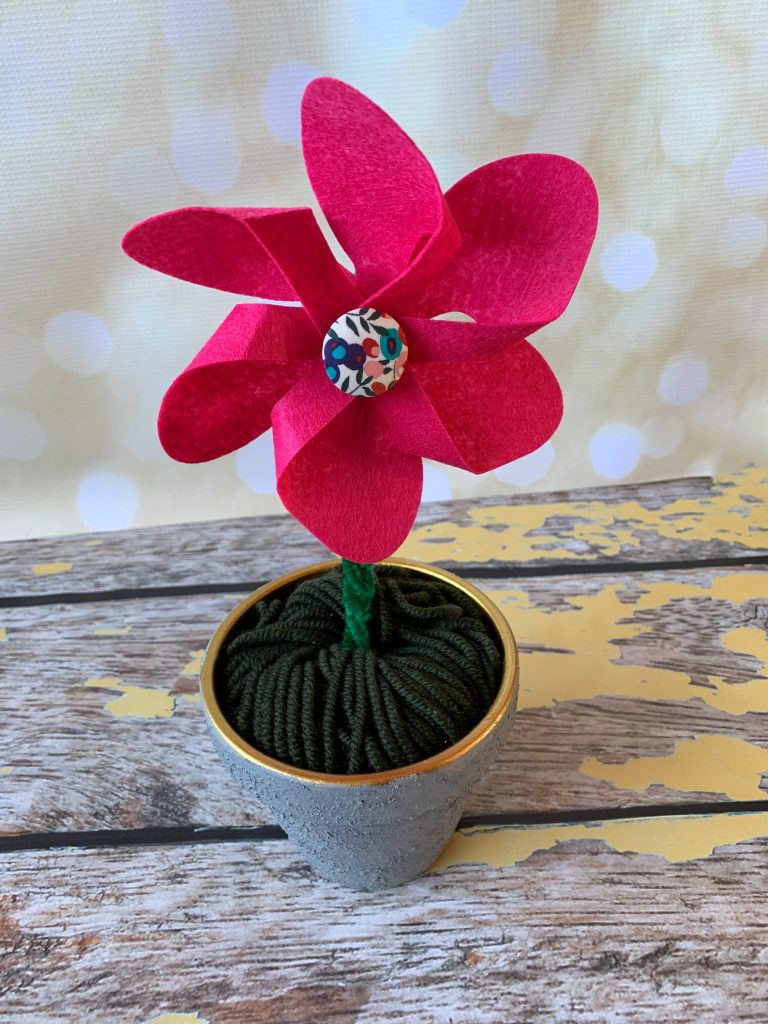
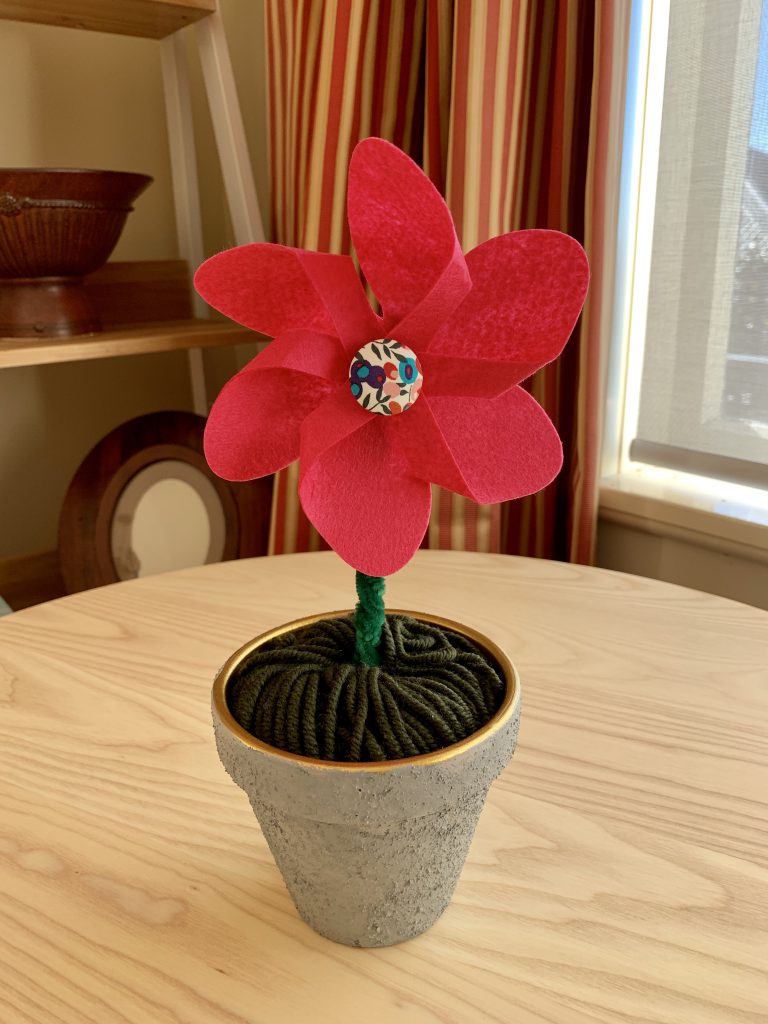
If your Felt Pinwheel Flower needs to be sturdier, twist more pipecleaners together. I put mine into a faux concrete and gold painted pot to live. They’d be great as centerpieces or as an arrangement in a bigger pot. Whatever you decide, they’re a bright and cheery craft that doesn’t take much time at all.




I love how you used a little skein of yarn in the pot too! Thanks for joining the Summer of Flowers event!