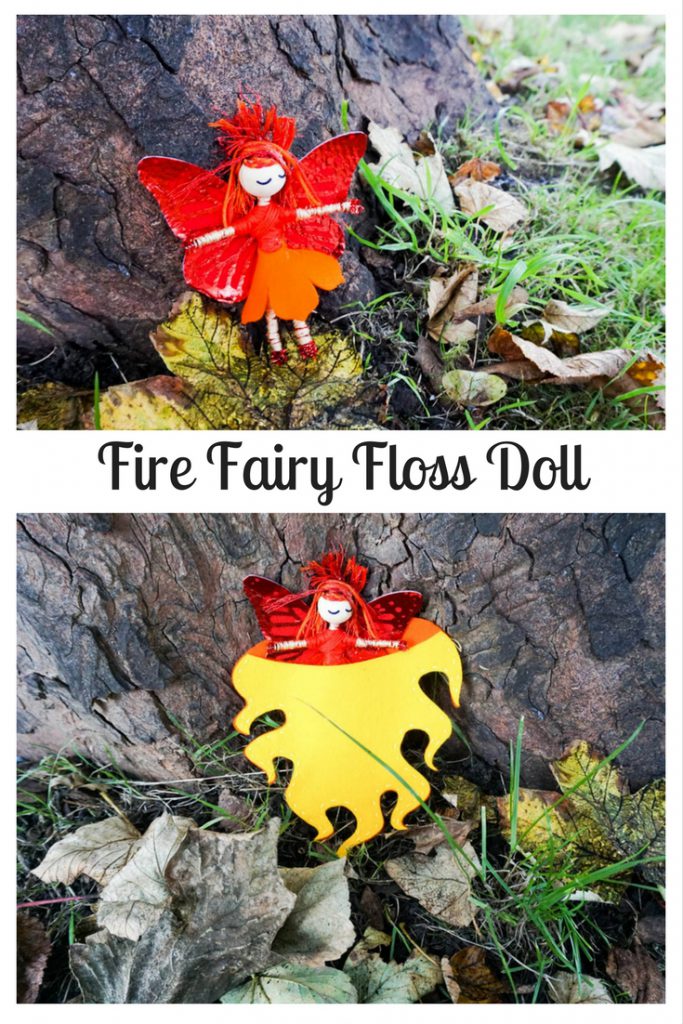
Fire Fairy Floss Doll
I am still so absolutely thrilled with my experience over the summer with Cricut when the new Cricut Maker was announced. I’ve had my Maker for a couple of weeks now and I really don’t think I’m going to stop gushing over how well it cuts felt. I’ve joined in with other Cricut bloggers to share the 50 free projects that come with the Maker, including this super sweet Fire Fairy Floss Doll.
This post contains sponsored content.
The instructions for each Make It Now project include a supply list that is broken down into materials to be cut and everything else. For this particular project, I didn’t have the exact supply for a couple of instances, so I’m listing the supplies I actually used. Supplies:
- Fire Fairy Floss Doll instructions
- Cricut Maker
- navy vinyl (the Make It Now supplies call for midnight)
- red foil iron on (the Make It Now supplies call for red glitter iron on)
- red, orange and yellow felt
- round wooden bead
- pipe cleaner
- embroidery floss in flesh tone, red, glitter red, orange, and yellow
- glue
- embroidery needle

The instructions for the doll are easy to follow and walk you through all the steps. I suggest reading them through once or twice before starting. Creating the body is the first step. 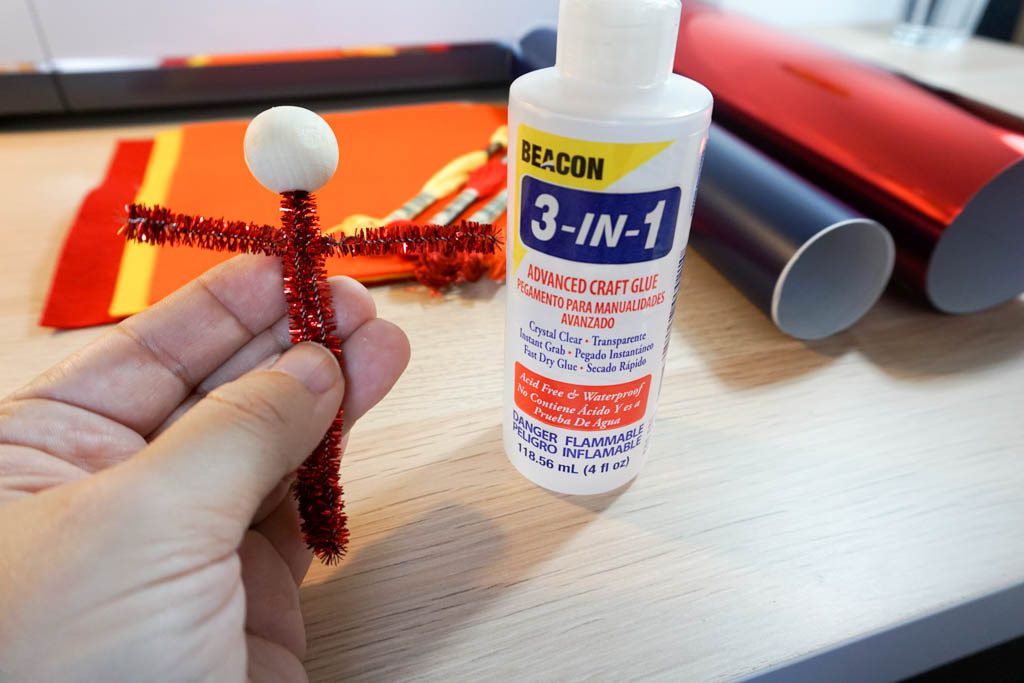
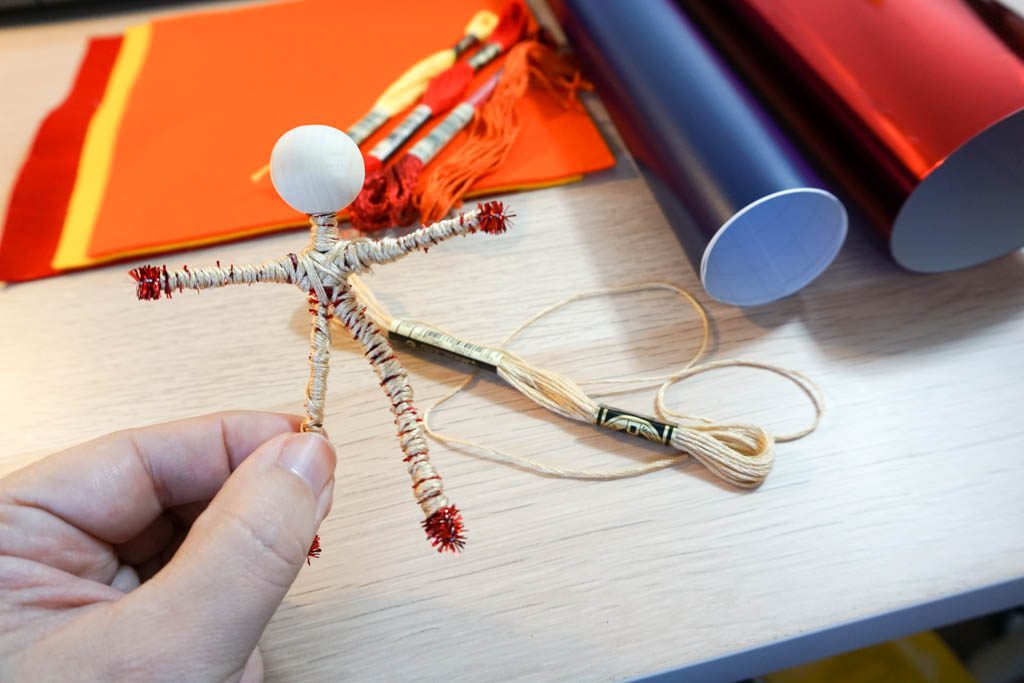
You guys know how much I love wrapping thread and yarn around things! The next bit is wrapping your chosen skin tone of thread around the body.
 Next, we’re starting on her clothes.
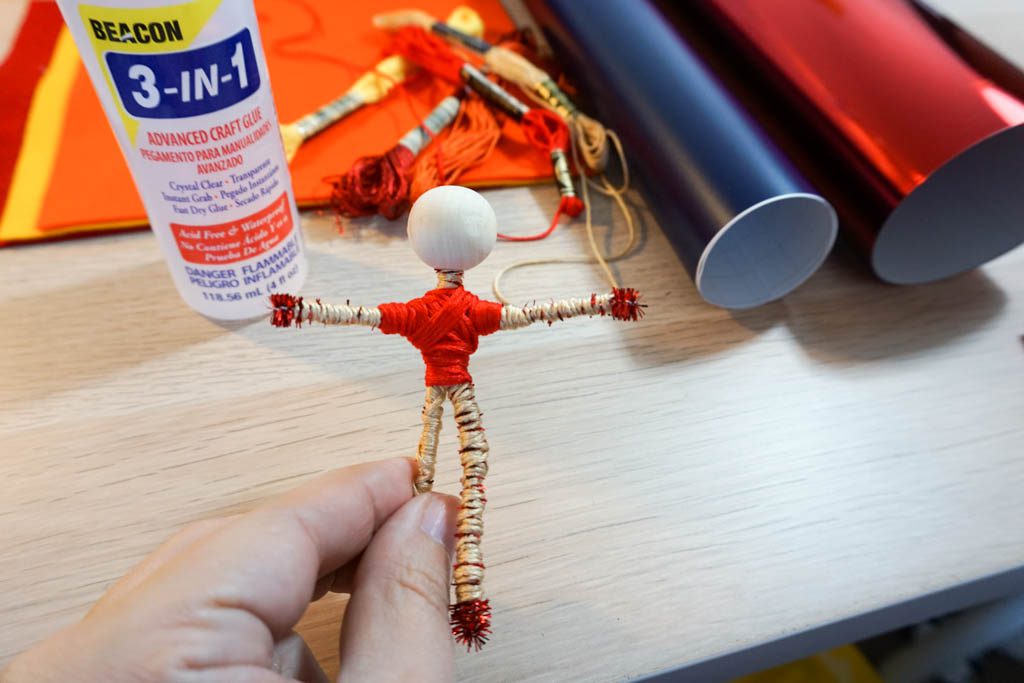 With the basic doll ready, it’s time to cut! The really awesome thing about the Make It Now projects is that you hit that green “Make It” button at the bottom right of the instructions and all of the cuts and mats are loaded up for you. I kept a second tab of the instructions up so that I could refer back and forth to make sure I was putting the right supply on each mat. You will need to make sure you adjust the material and blade for any changes between cuts. For the Fire Fairy Floss Doll, the eyes were the first cut.
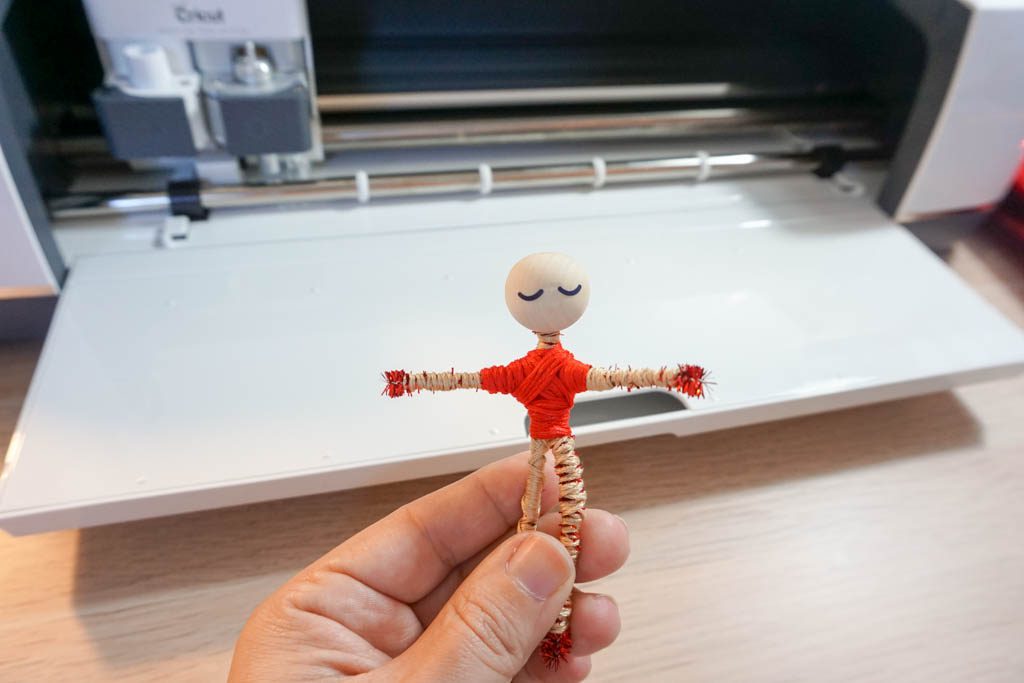 The flame bed, wings, and skirt are cut out of felt. The detail on the wings is cut with the iron on of your choice.
 ![]() Glue the skirt onto the doll. Iron on (or better yet, use your Easy Press!!) the foil/glitter iron on. Glue the wings onto the doll.
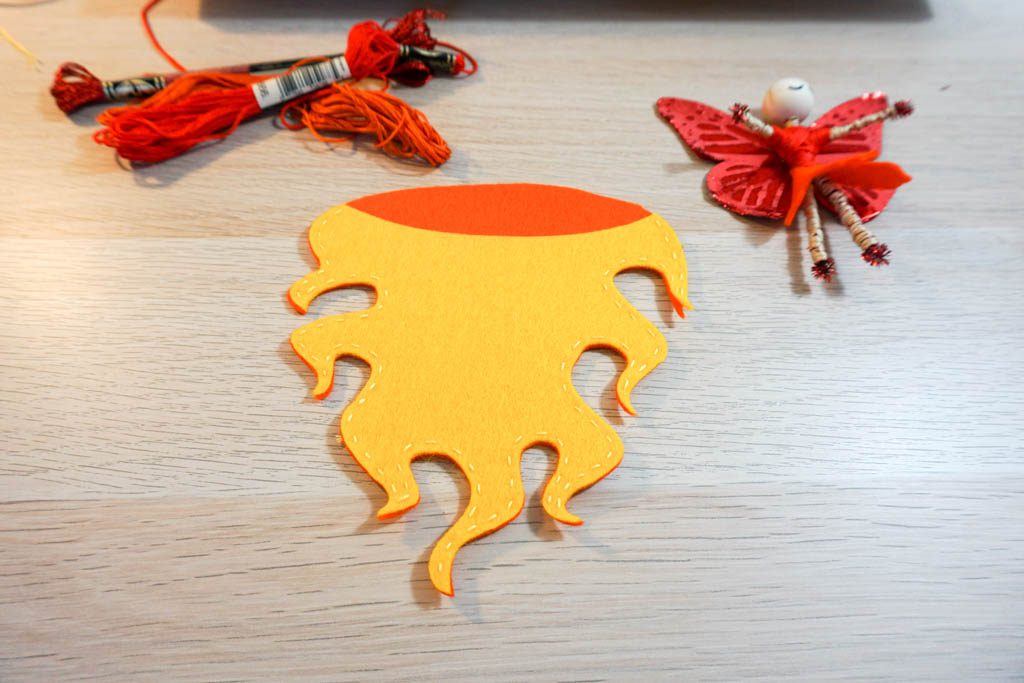
Glue the skirt onto the doll. Iron on (or better yet, use your Easy Press!!) the foil/glitter iron on. Glue the wings onto the doll.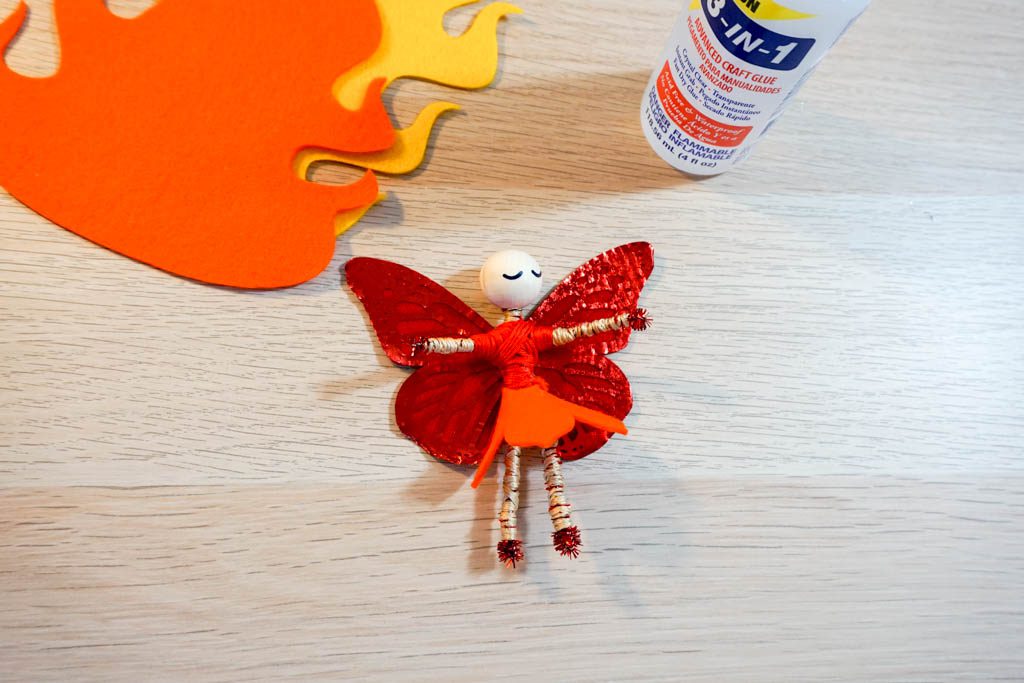 Stitch the flame bed together.
 Have fun with the hair! Attach various lengths of red, red glitter, and orange embroidery floss to her head. She’s a flame, so it should be a bit crazy!
 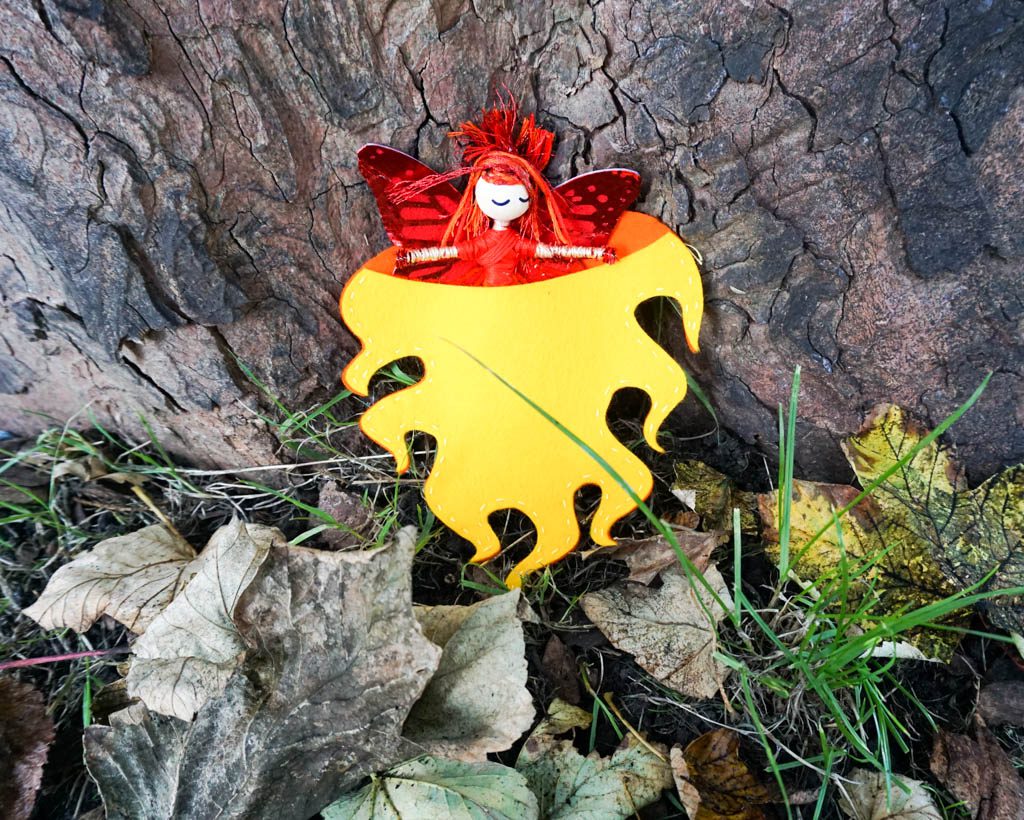 I had a lot of fun making the Fire Fairy Floss Doll. The steps were so clearly laid out and I was able to make easy substitutions for supplies as needed. I have the feeling that I’m going be making many more of these for my girls!
 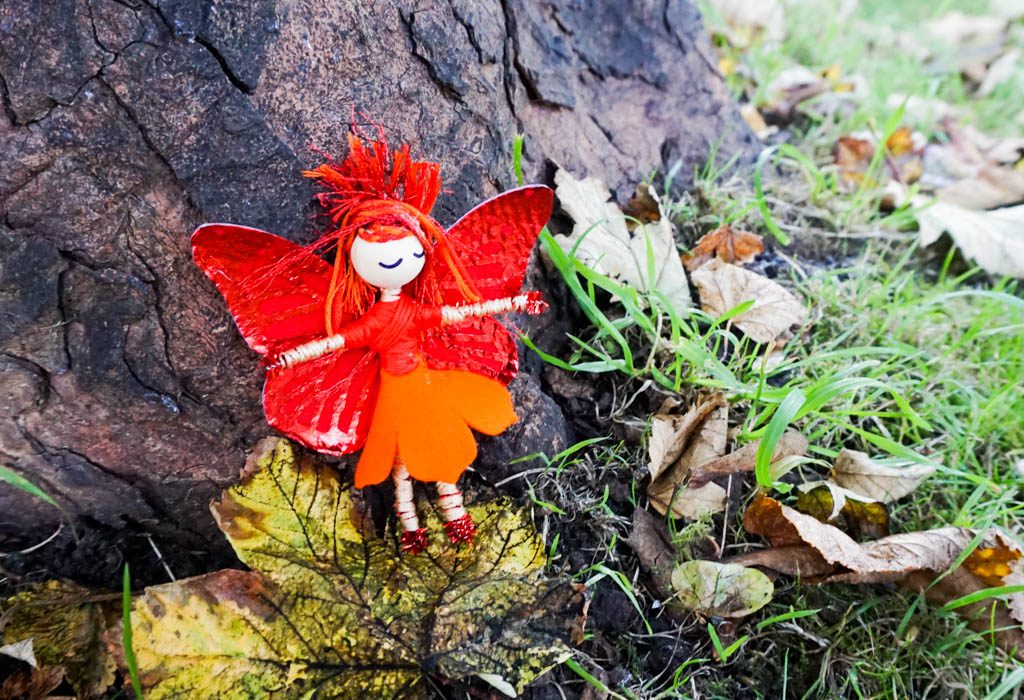 Want to check out the other 49 FREE projects included with your Cricut Maker?! Click the pictures below to see how some of my blog buddies created these projects with their Maker! [inlinkz_linkup id=739058 mode=1] Want to make these projects but don’t have a Maker yet? Enter through the widget below to not only win the new Cricut Maker but also the HSN bundle being released tonight at midnight! a Rafflecopter giveaway Giveaway open to residents in the US and Canada ages 18 years and older. Giveaway runs from 10/2/17-10/9/17 and winner will be notified by email no later than 10/10/17. Winner will have 48 hours to respond or a new winner will be chosen.


This would be a perfect fairy party favor!
I love this sweet fairy doll!
Laura / Pet Scribbles recently posted…How to Stamp Charming Halloween Treat Bags!
The floss fairy turned out so cute!!