Burlap and Felt Coasters
It’s a funny thing that I pretty much ignored burlap as a craft supply until the Cricut Maker made it so easy to work with. It’s honestly still not my favourite, but I’m getting more comfortable with it and it’s something I no longer mind being “forced” to use. I didn’t even groan when I saw that this month’s Craft Lightning prompt was burlap–I’m really happy with how my Burlap and Felt Coasters turned out.
This post contains affiliate links.
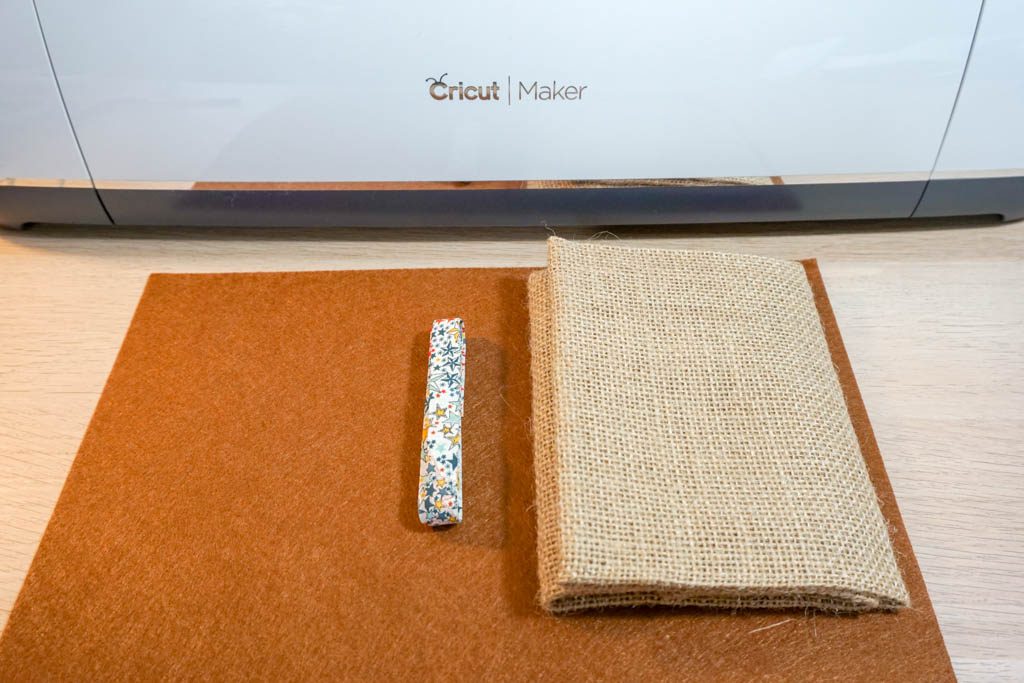
Supplies:
- Cricut Maker
- felt
- burlap
- bias trim (I got mine from Bluebell Hill Crafts)
- sewing machine
- Burlap and Felt Coasters design
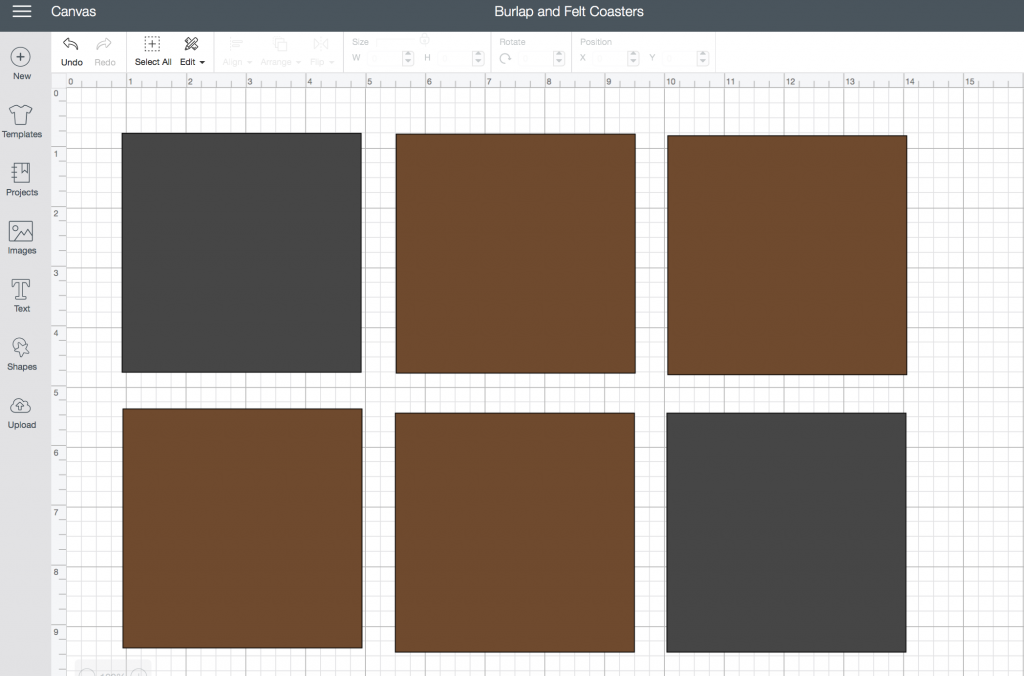
Cut out four squares of burlap and four of felt (you can obviously do this by hand if you don’t have a Maker!). I used the rotary blade for both. You can obviously make colour choices based on what works for you!
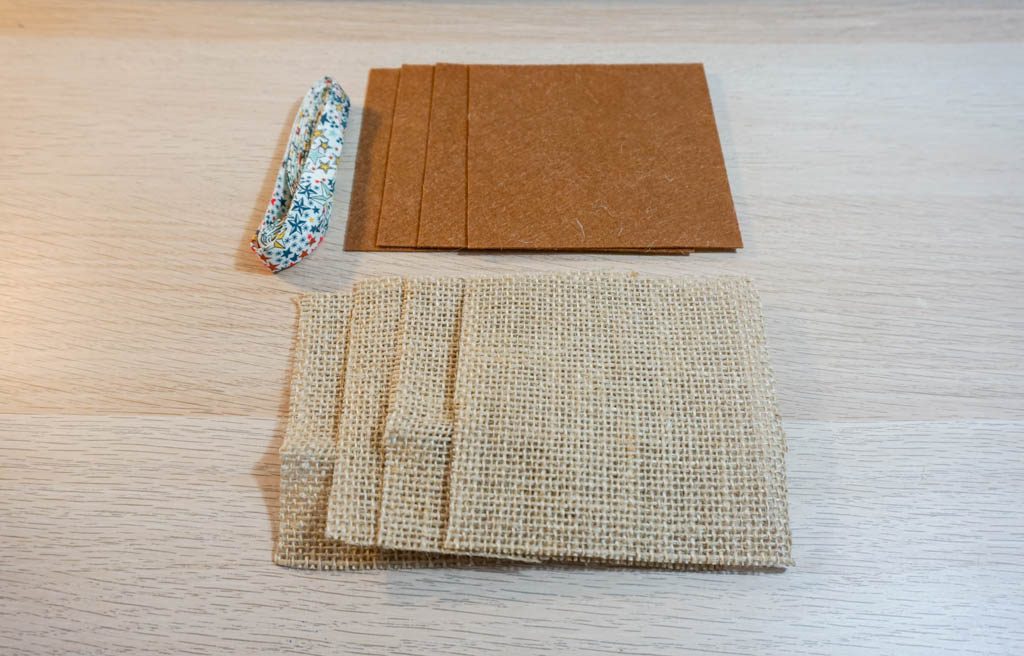
Put a piece of burlap on top of a piece of felt. Tuck the bias binding around the side and sew a quick line. If you don’t sew, you can use glue, but it will take a bit longer due to the drying time.
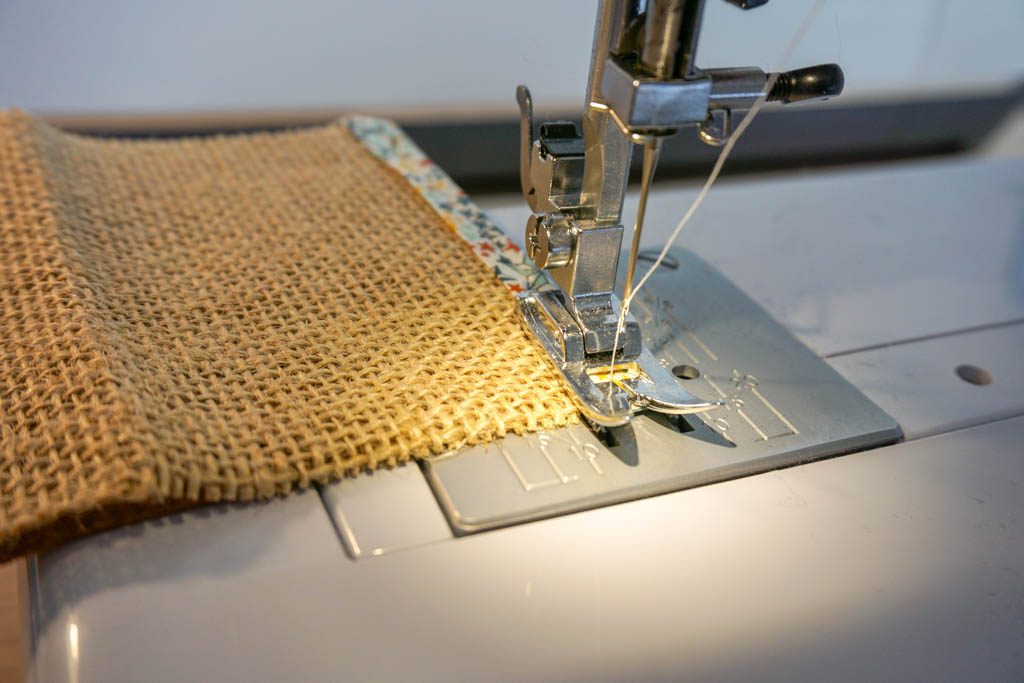
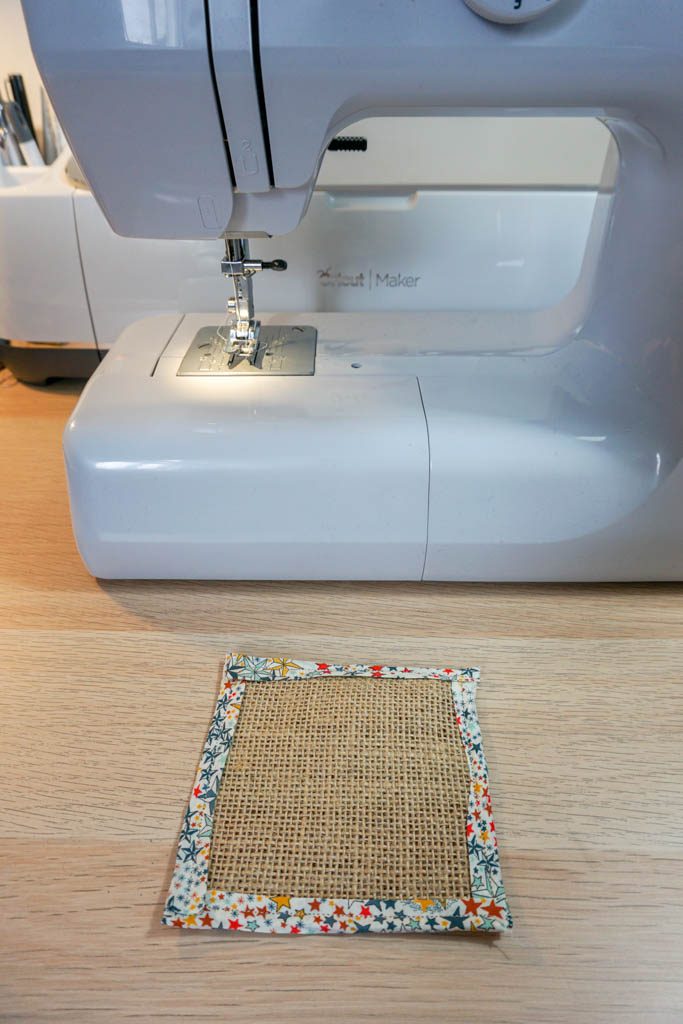
Super easy, right?! I’m really tickled with how easy these Burlap and Felt Coasters were to make and that I was able to make a burlap craft that I’m happy with.
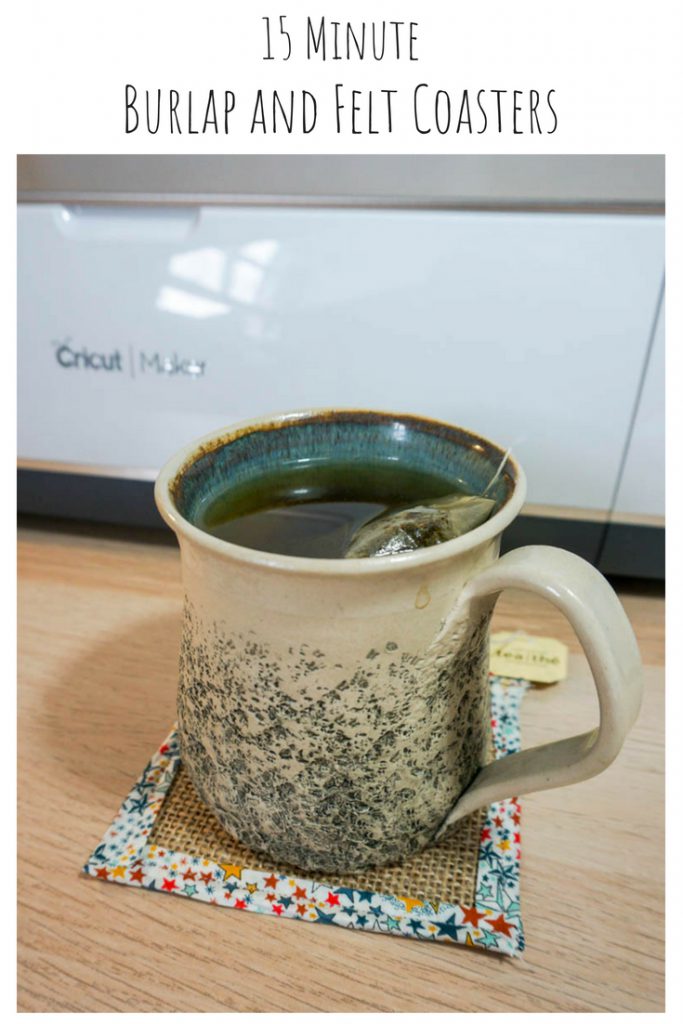
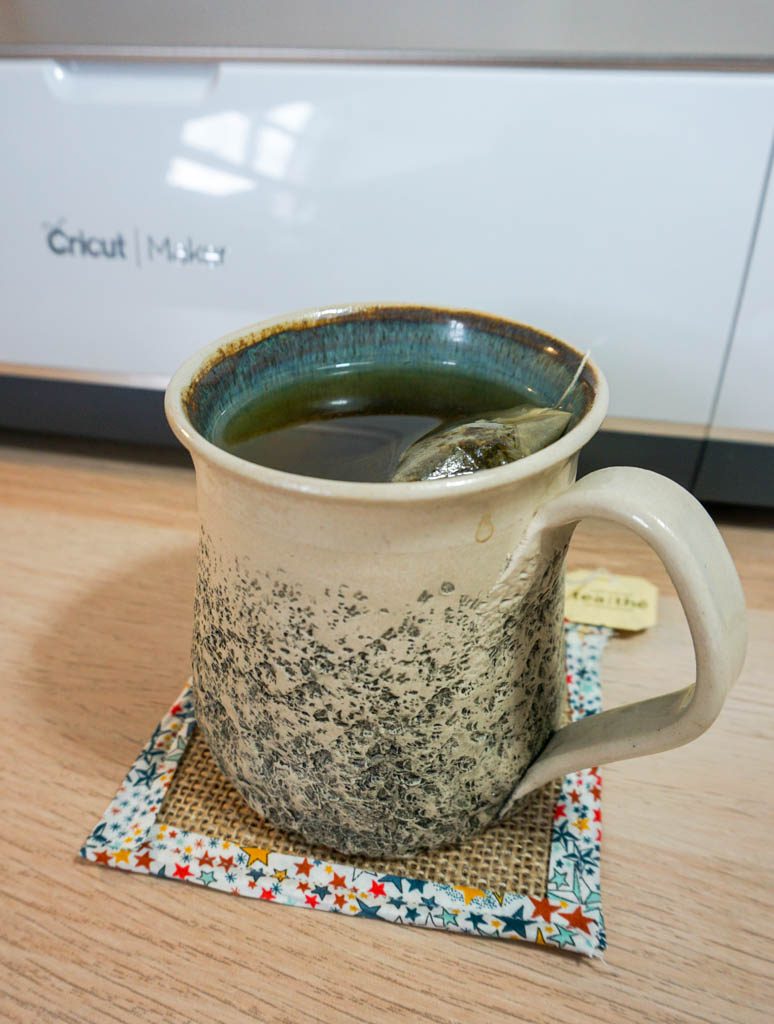
My afternoon cup of tea is happy, too!
Such a great idea! Thanks for joining!