Easy Fall Felt Hoop Art
I’m pretty sure that I’ve mentioned that I love fall just a few hundred times. I recently wrote a guest post for Shannah At Just Us Four and shared my Easy Fall Felt Hoop Art. I had so much fun with it that I decided to share it here as well!
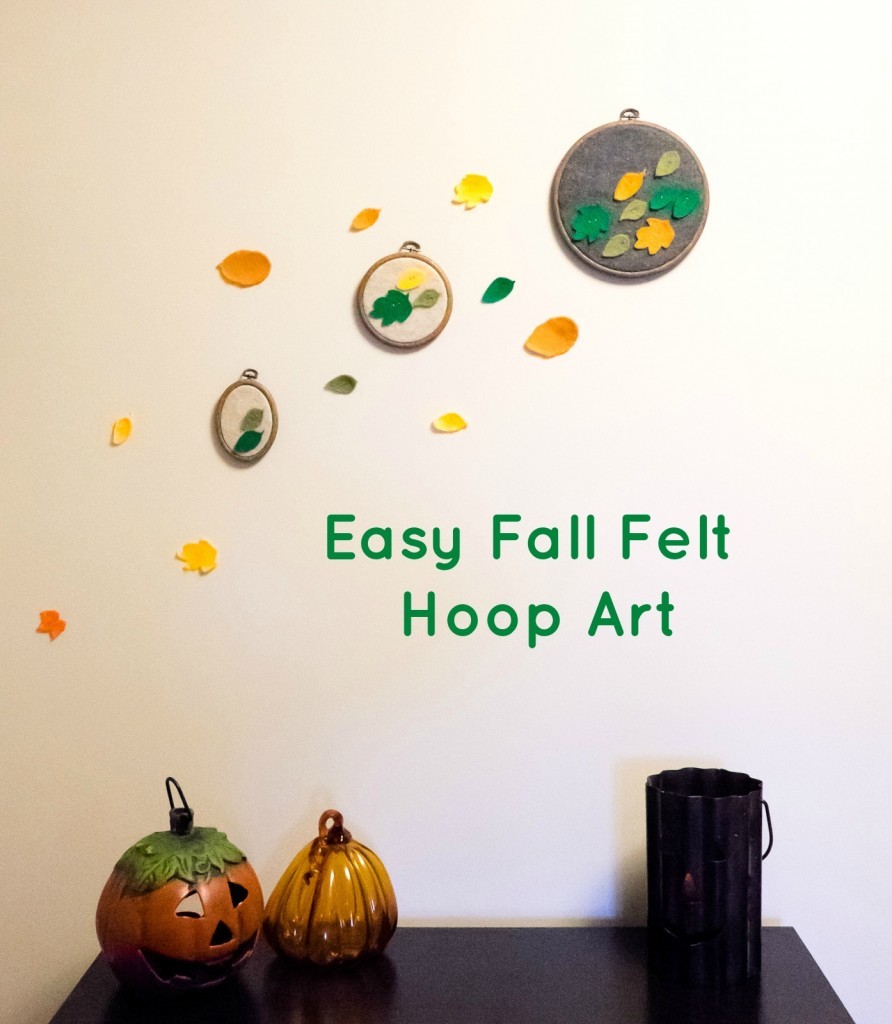
If I could live in a world where it’s fall year round, I would. I love seeing the leaves start to change colors and there’s nothing better than that fall wind with them swirling around and that crackly sound that dried leaves make. I tried to create hoop art to reflect that.
For this craft, you’ll need:
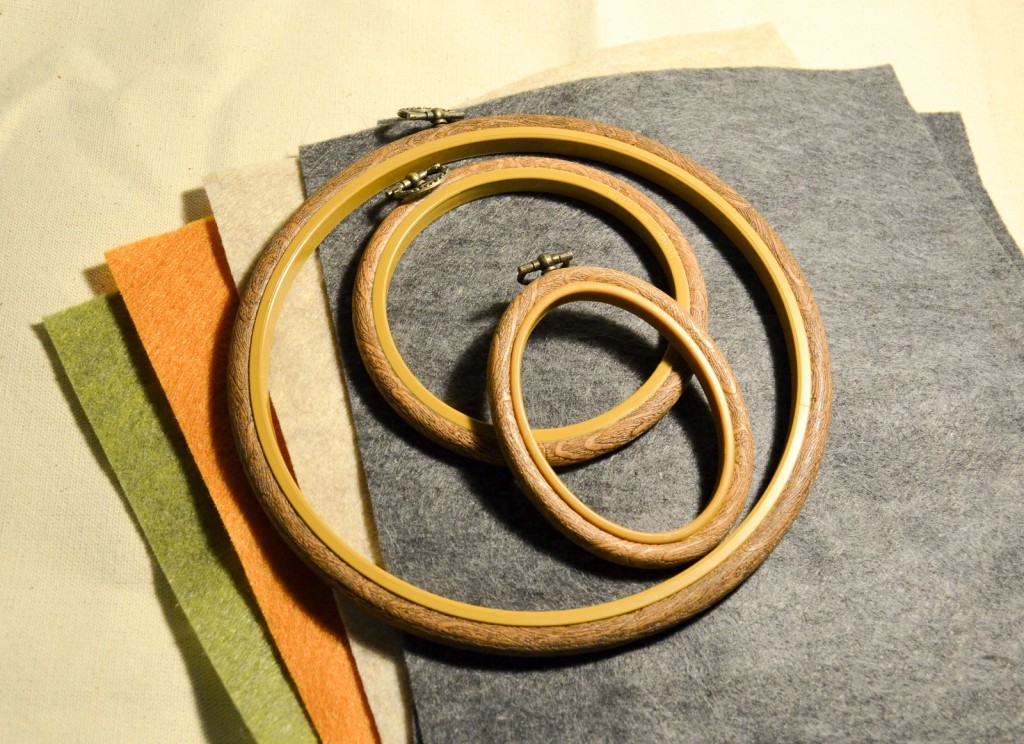
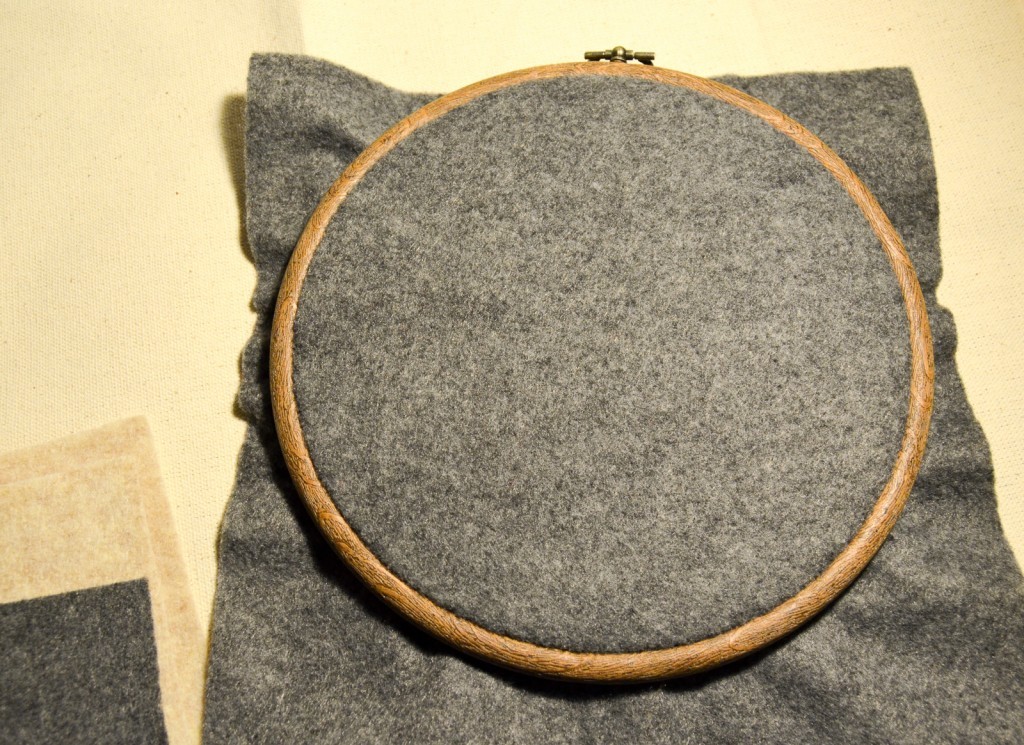
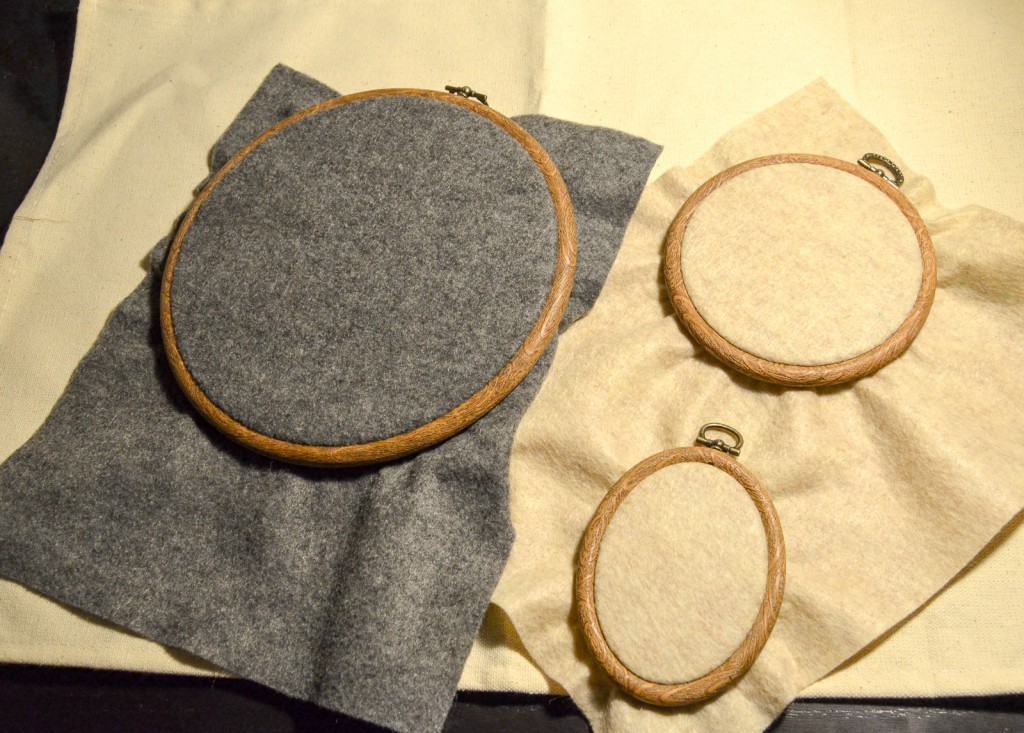
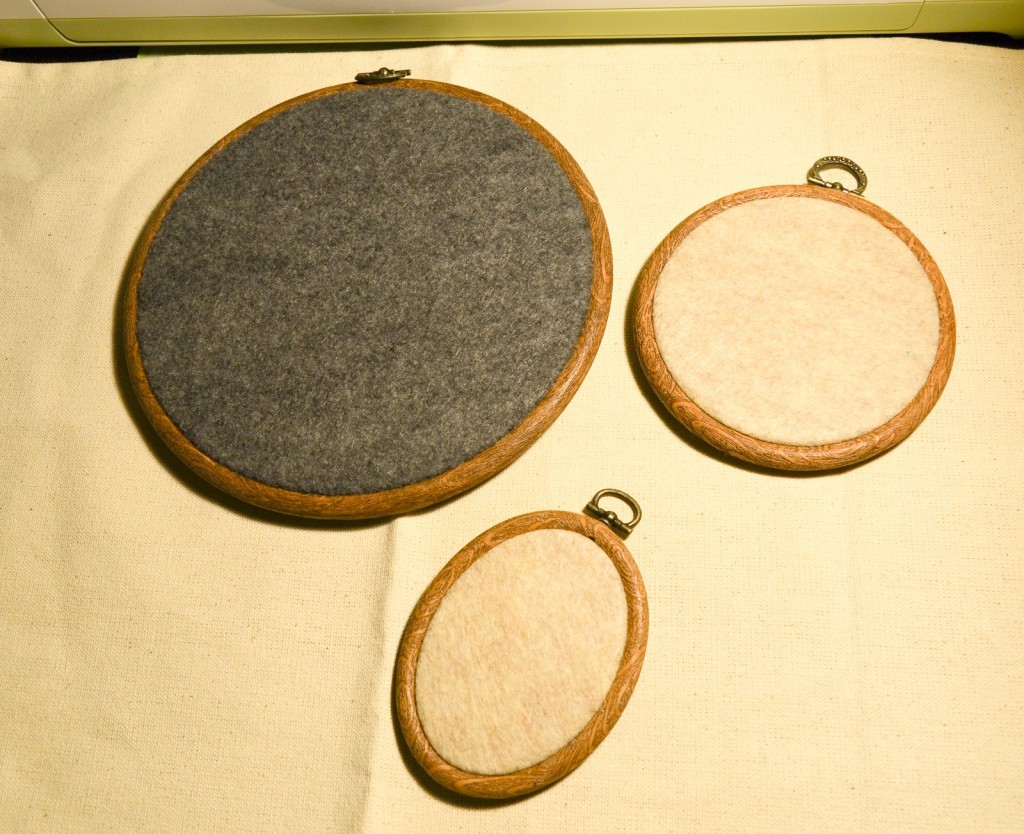
Start by putting your base colors of felt in the hoops. Trim the excess felt.
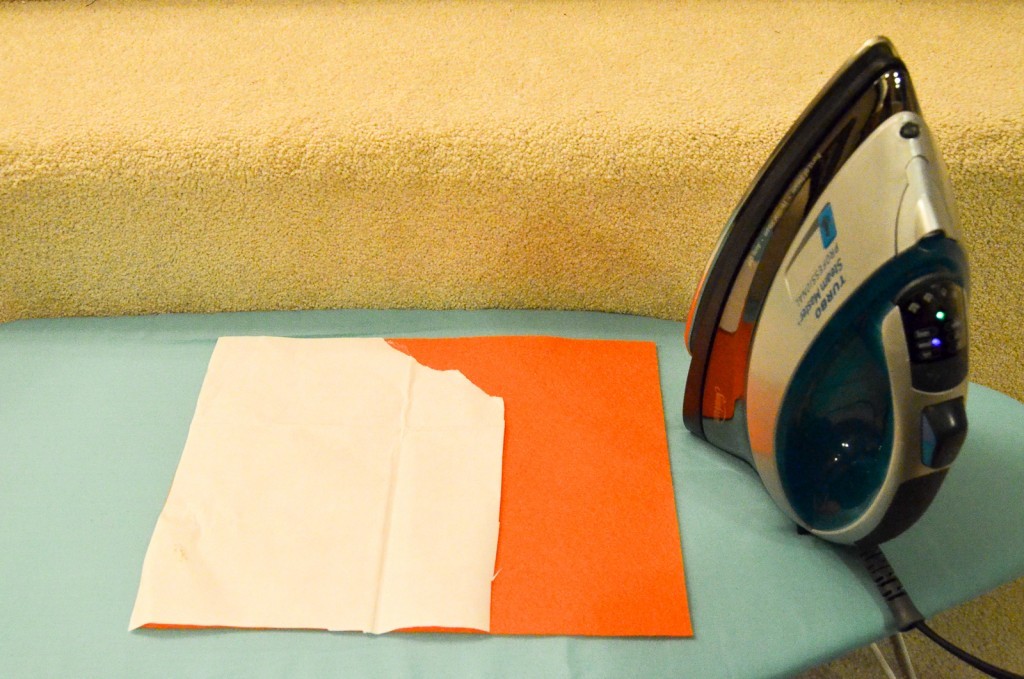
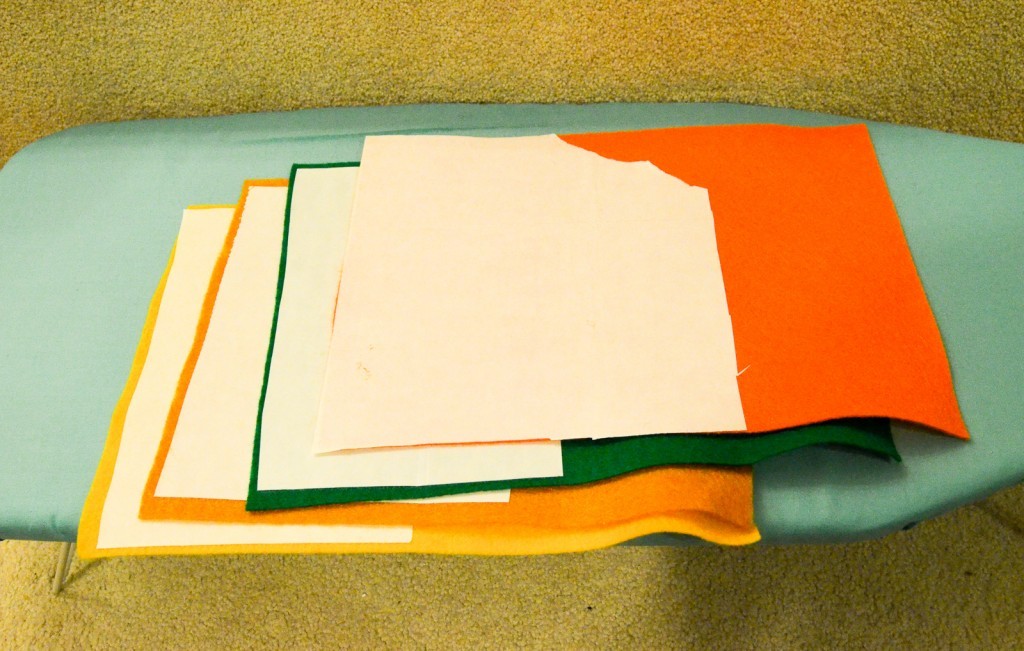
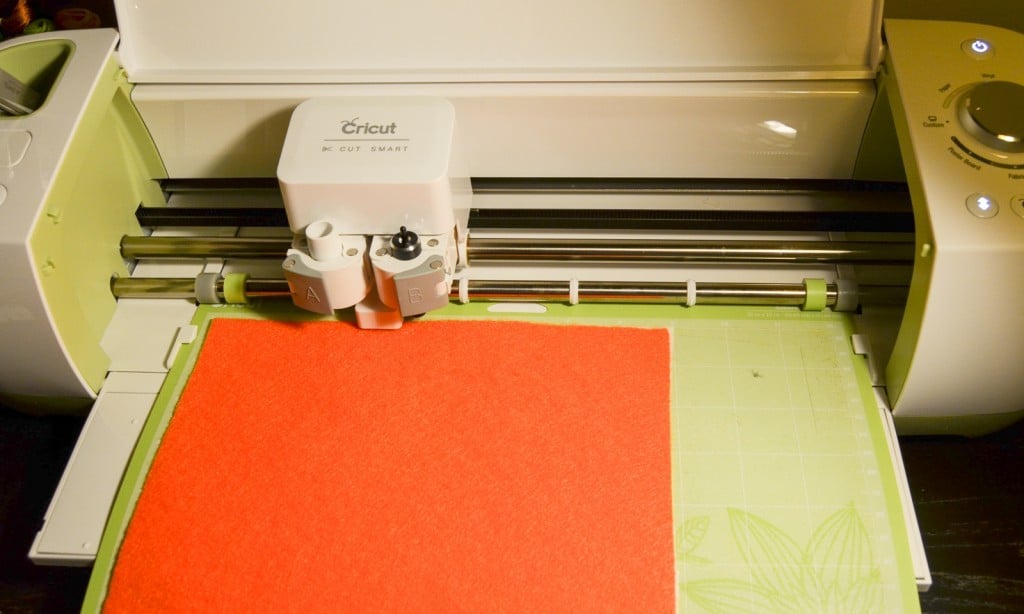
I used my Cricut Explore to cut out my leaves. I ironed on interfacing to the felt, loaded it into the Cricut, and cut out all the leaves I wanted using templates from Cricut’s Design Space.
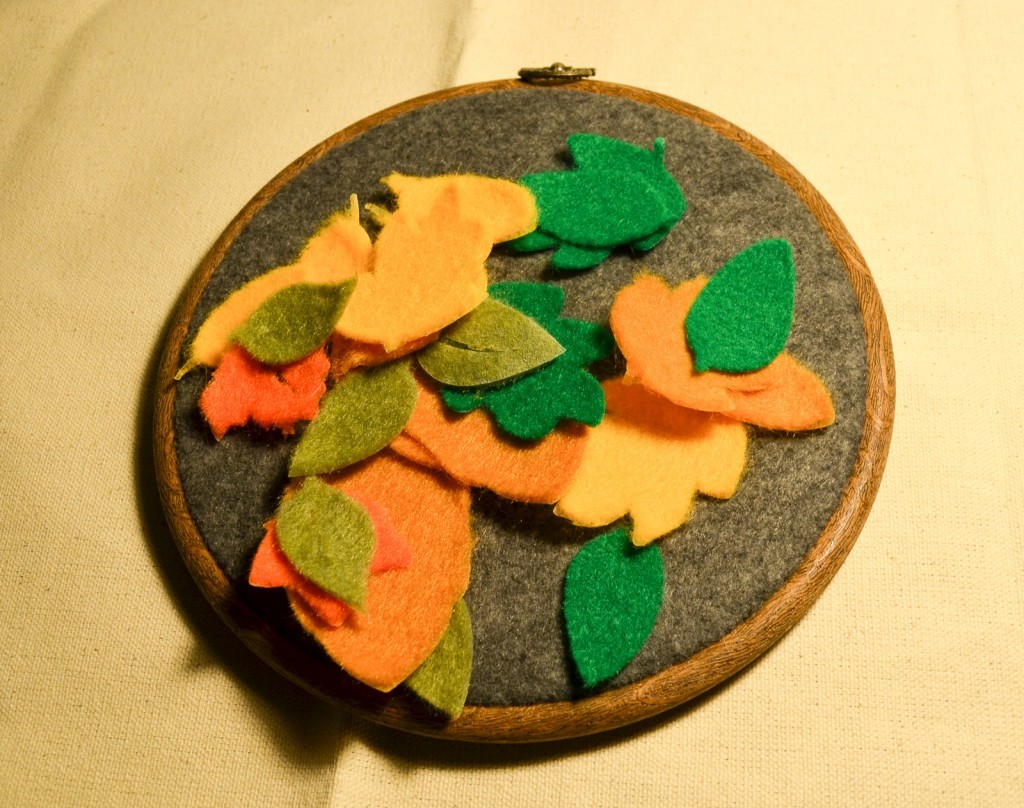
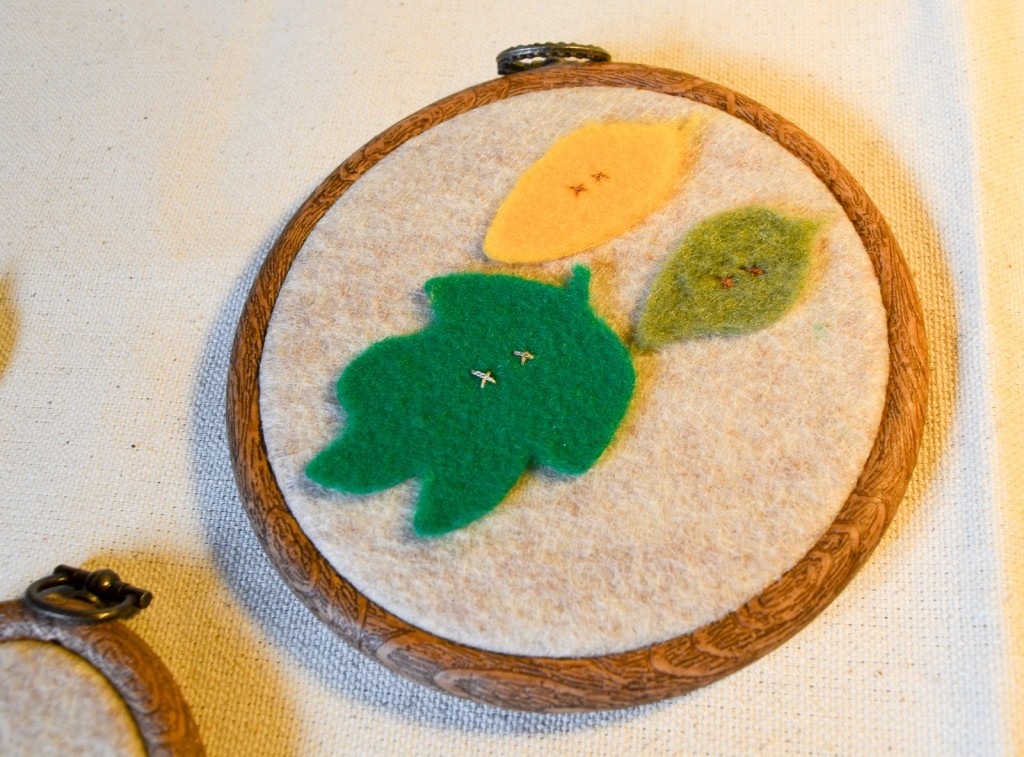
When you have as many leaves as you want, start arranging them on your hoops. I imagined a breeze coming from one direction and swooping them across. Once they’re placed where you want, stitch each leaf onto the hoop. I used two cross stitch stitches on each leaf.
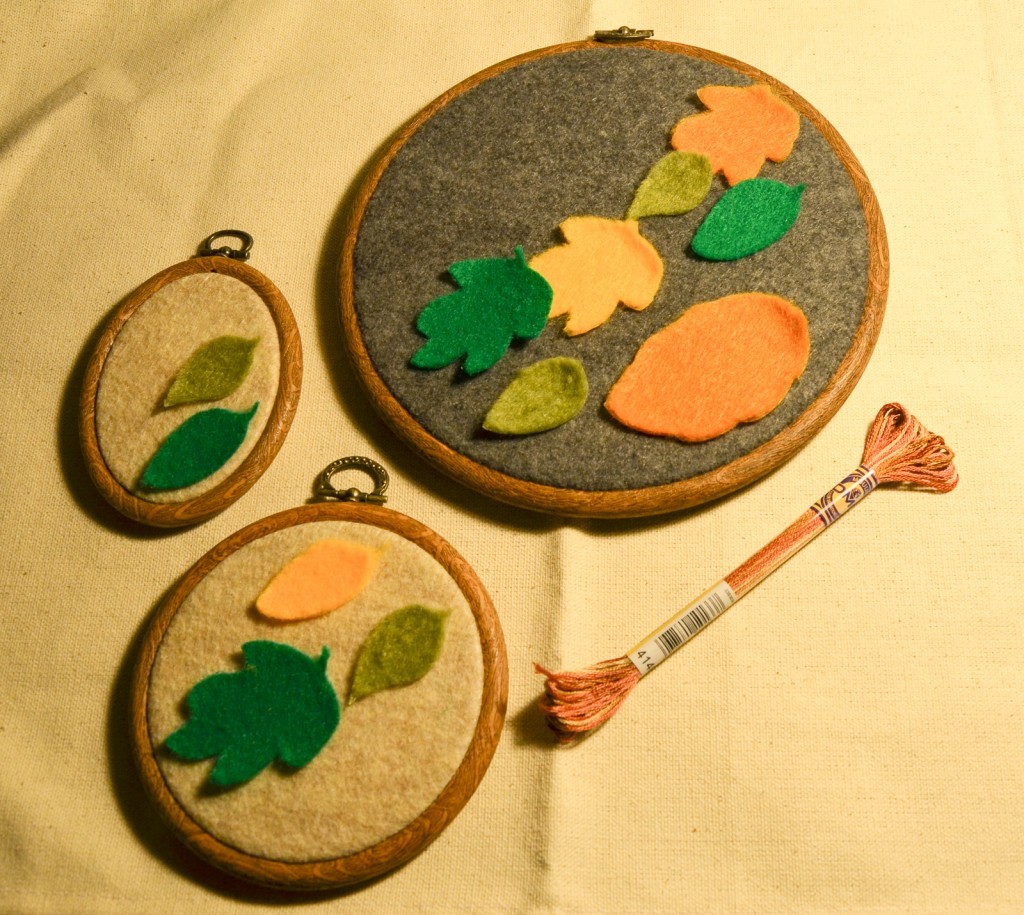
You’re ready to hang your hoops! We have a corner that never got decorated properly, so we use it for seasonal decorations. I had some extra leaves and let the girls stick them on the wall with some painter’s tape (kids and stickers, right?!).
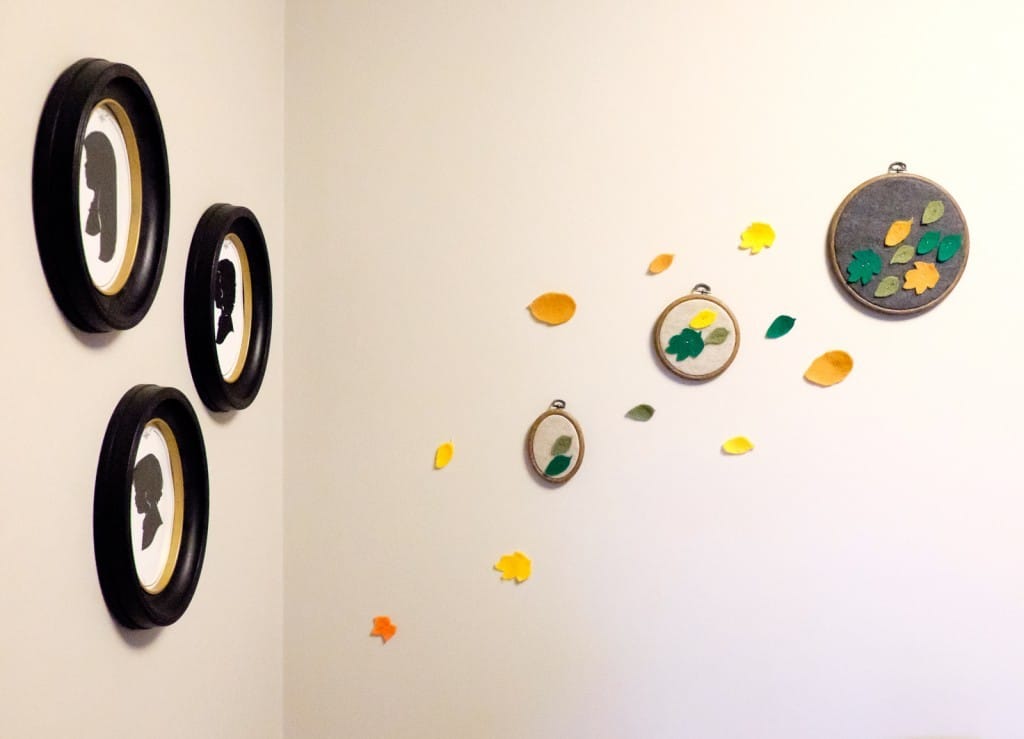
Quick and easy, just how I like it!
**This post contains affiliate links. I receive a small commission if you purchase through them.**
