Embroidered Glasses Case
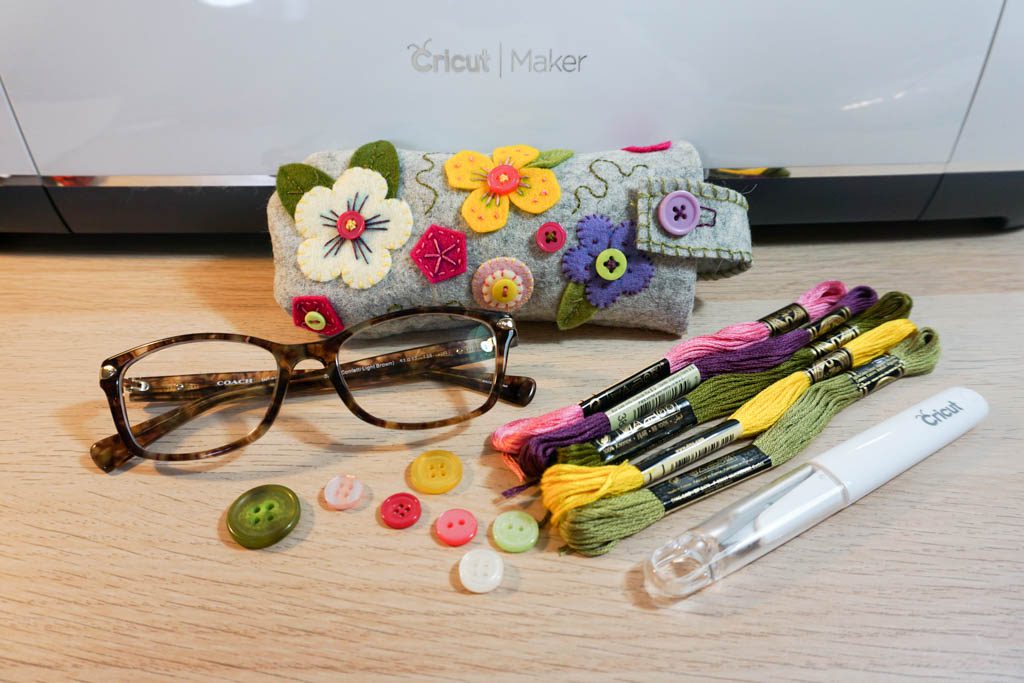
I have been pretty vocal about how much I love watching the Cricut Maker cut felt. Felt and embroidery are two of my favorite things and I am just over the moon at Cricut slotting itself so easily into my dreams. I made the Embroidered Glasses Case from Design Space recently and it was a great way to test out how well the Maker could cut different sizes and shapes of felt. I’m thrilled to be joining in with other Cricut bloggers to share the 50 free projects that come with the Cricut Maker to show you just what kind of amazingness the Cricut Maker can produce.
This post contains sponsored content.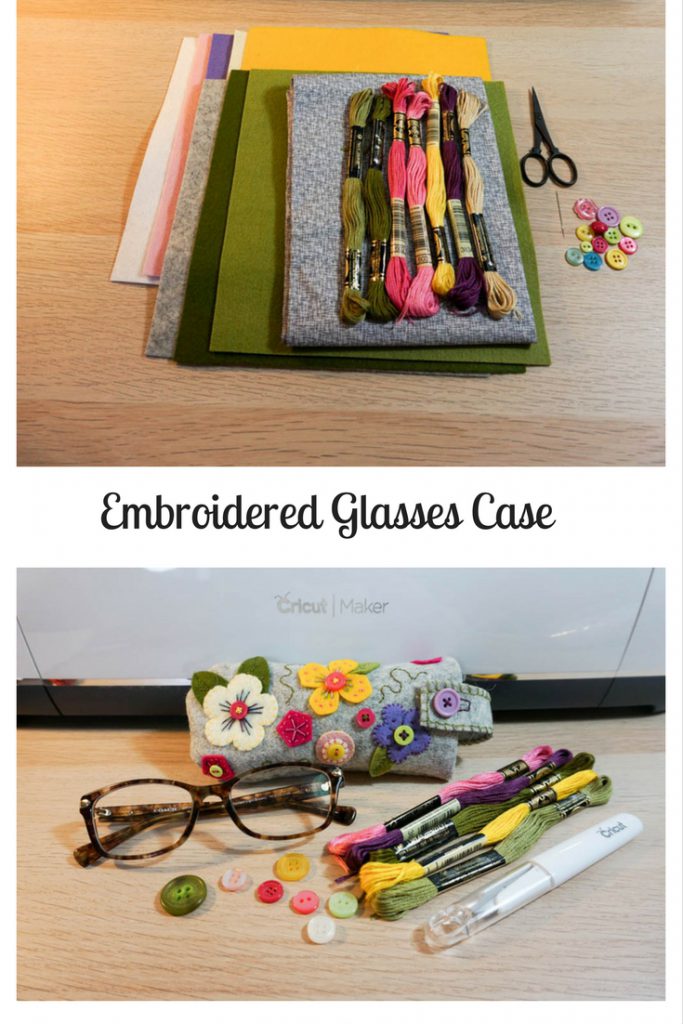
- Embroidered Glasses Case instructions
- Cricut Maker
- washable fabric pen
- assorted felt (I used felt from Cloud Craft)
- assorted embroidery floss
- lining fabric (I used gray mini hashtag)
- assorted buttons
- scissors
- embroidery needle
- sewing machine (I don’t currently have one so hand stitched everything, but I highly recommend using one for the seams if at all possible!)
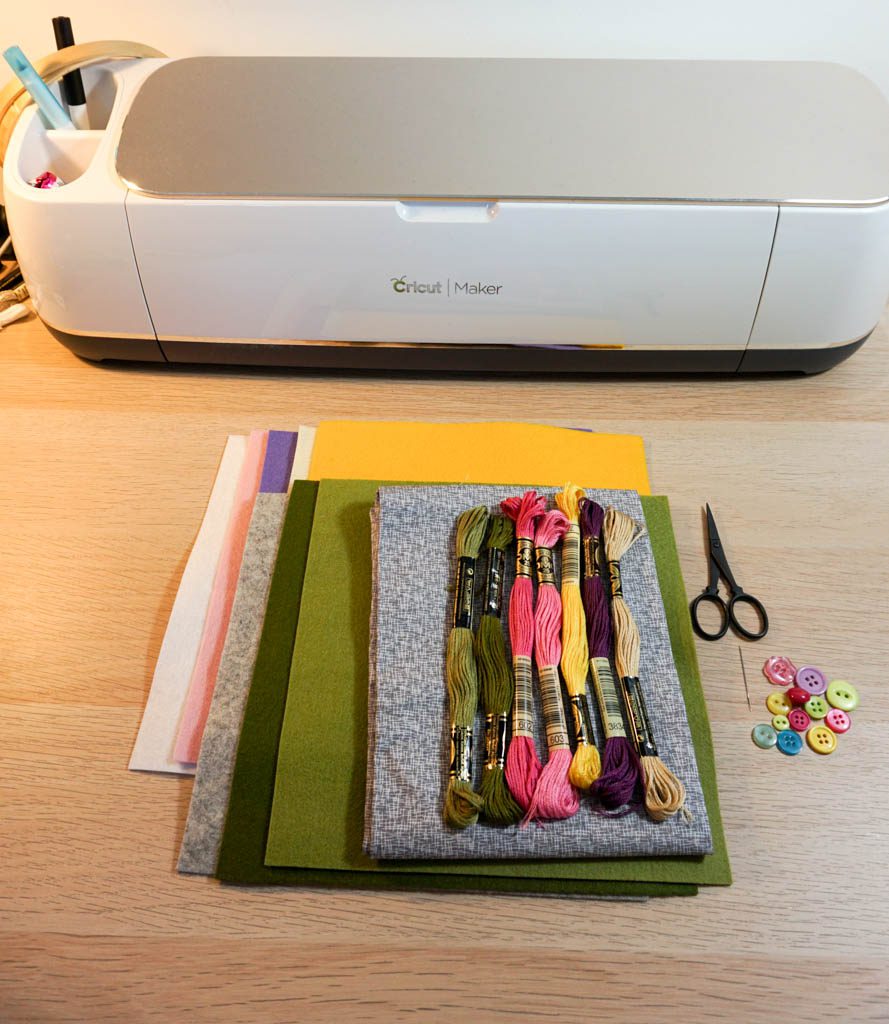 After reading through the instructions a couple of times to make sure I had the gist of what was going on, I hit the green “Make It” button at the bottom right of the instructions and watched the Maker do its job. I recommend having a second tab up with the instructions so that you can make sure you’re matching up supplies and mats. I tried keep my colors similar to those in the instructions, but this is the perfect project for any scraps you have.
 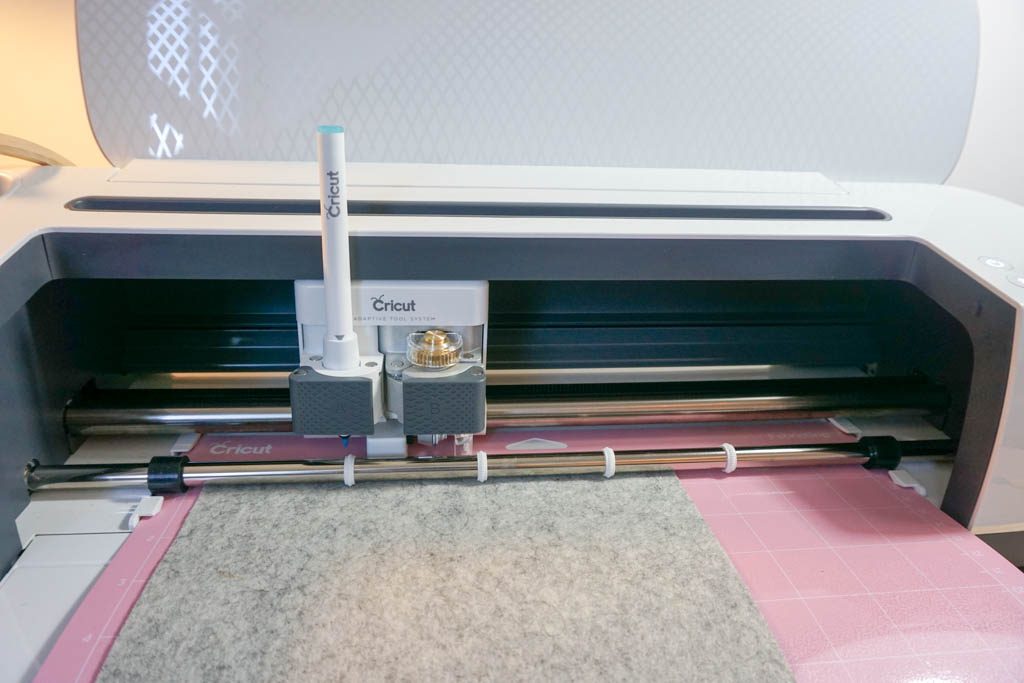 When everything has been cut out, it’s time to start stitching!
 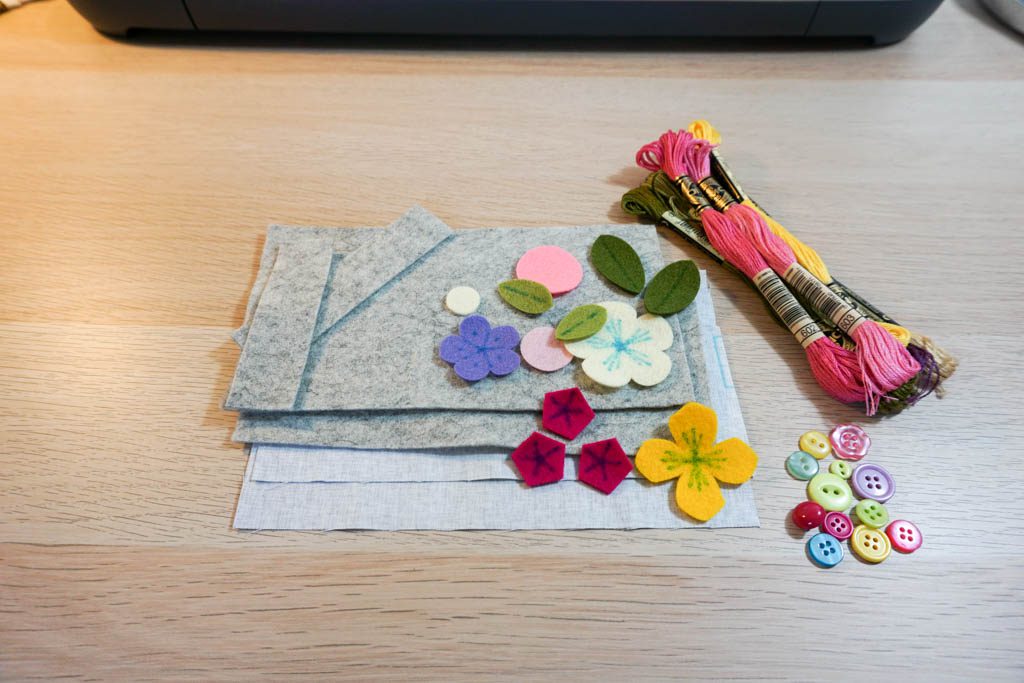 I started by playing around with flower and button placement. There’s no exact way to lay out the front other than needing the button for the tab.
 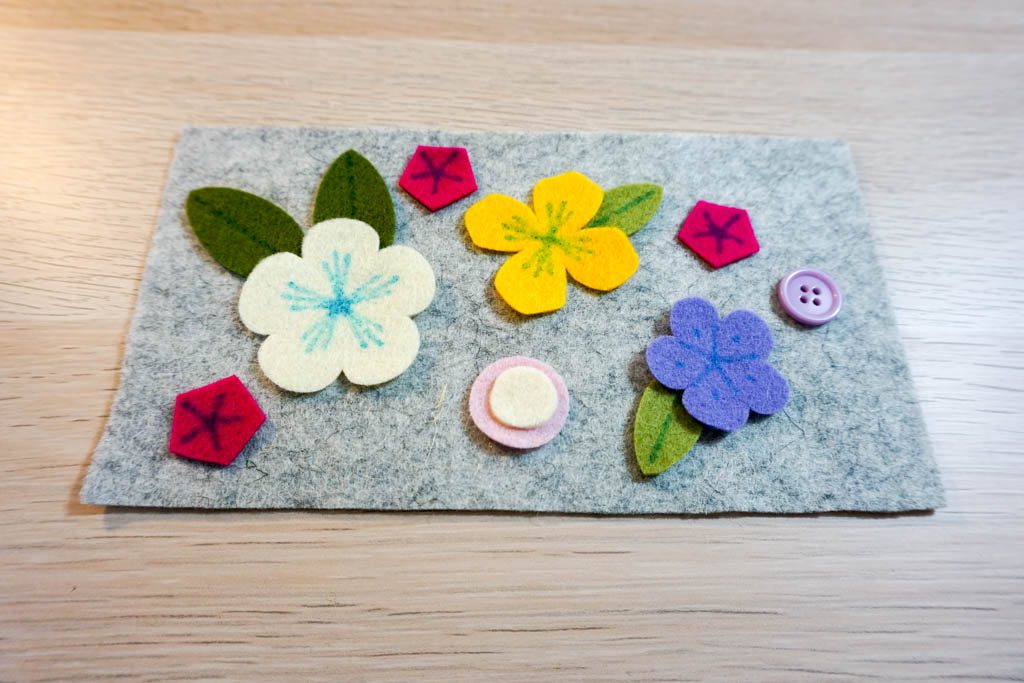 This project is great for practicing embroidery stitches. The fabric pen gives you the basic places to stitch, but it’s up to you how you want to do it.
 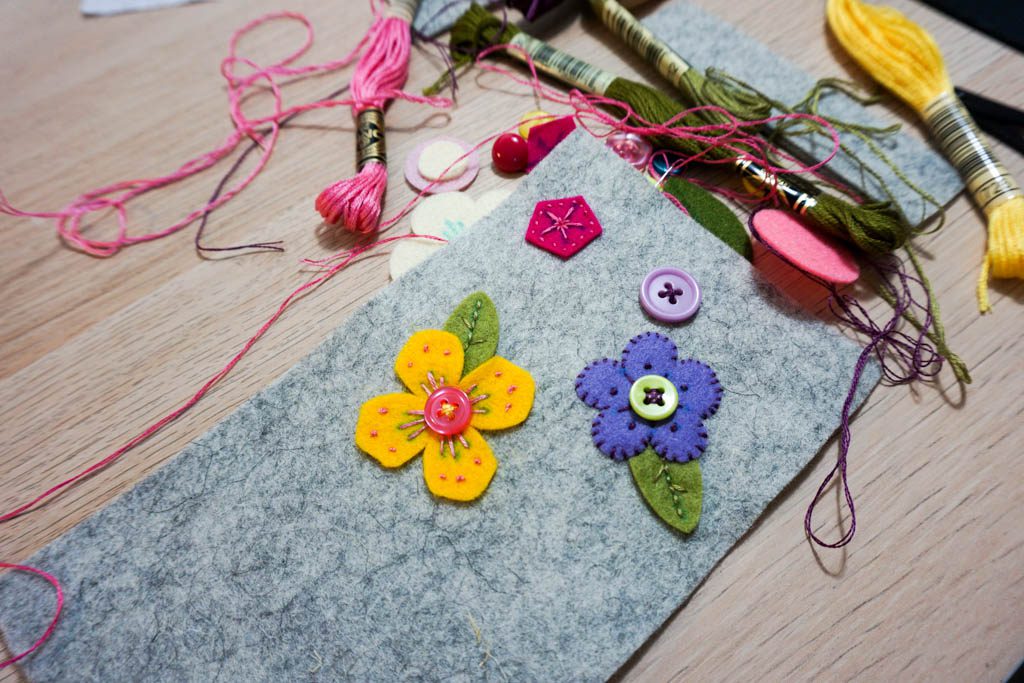 When the front is all stitched up to your liking, sew the pouches together. It’s a bit tricky, but the instructions walk you through it and have helpful pictures on the side. This is the part that I recommend having a sewing machine for, like the instructions say.
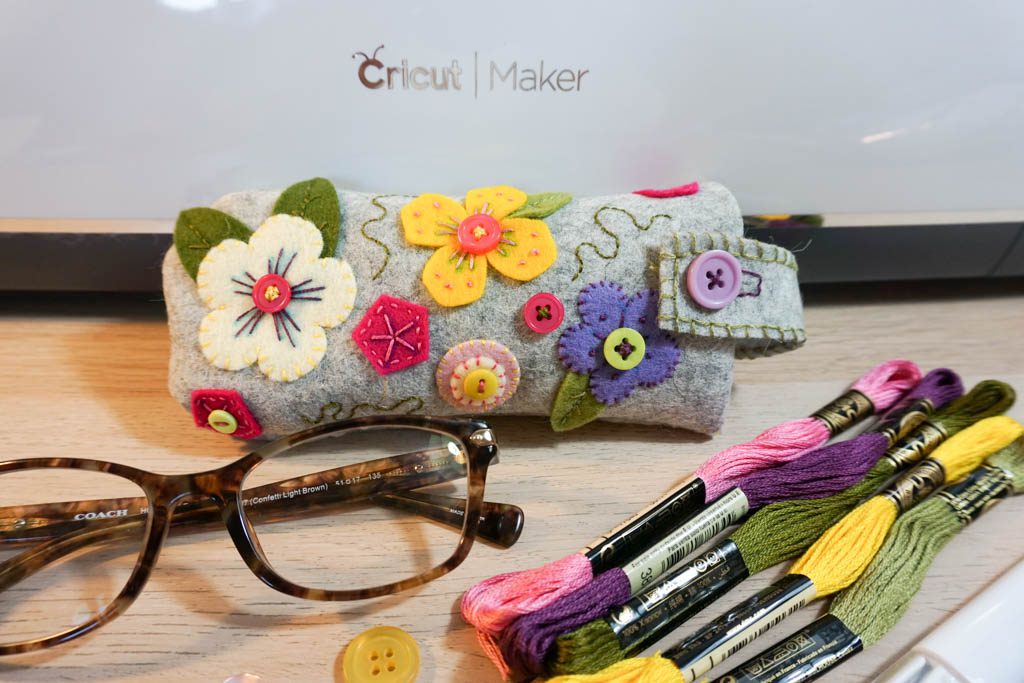
 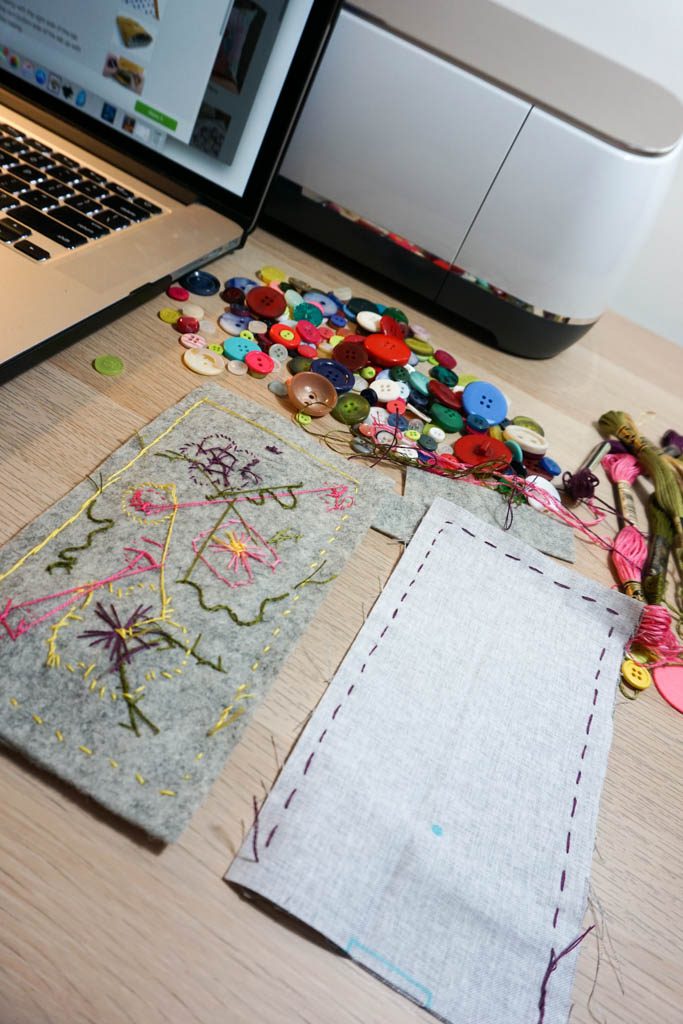 I will admit that I wasn’t quite sure how everything was going to come together, but suddenly it did. I am super tickled with how the Embroidered Glasses Case came out. My only wish is that I had the cleaner lines a sewing machine would have helped with–or that I had realized exactly what kind of hand stitching I needed, but I will be more than happy to keep practicing with this project. I think it would make a great gift, don’t you?!
 Want to check out the other 49 FREE projects included with your Cricut Maker?! Click the pictures below to see how some of my blog buddies created these projects with their Maker! [inlinkz_linkup id=739058 mode=1] Want to make these projects but don’t have a Maker yet? Enter through the widget below to not only win the new Cricut Maker but also the HSN bundle being released tonight at midnight! a Rafflecopter giveaway Giveaway open to residents in the US and Canada ages 18 years and older. Giveaway runs from 10/2/17-10/9/17 and winner will be notified by email no later than 10/10/17. Winner will have 48 hours to respond or a new winner will be chosen.





This turned out so cute!
What a cute project! I love that you didn’t use a sewing machine – I’m a sewing newbie and you made this project look much more achievable for me!
This glasses case turned out so great!!