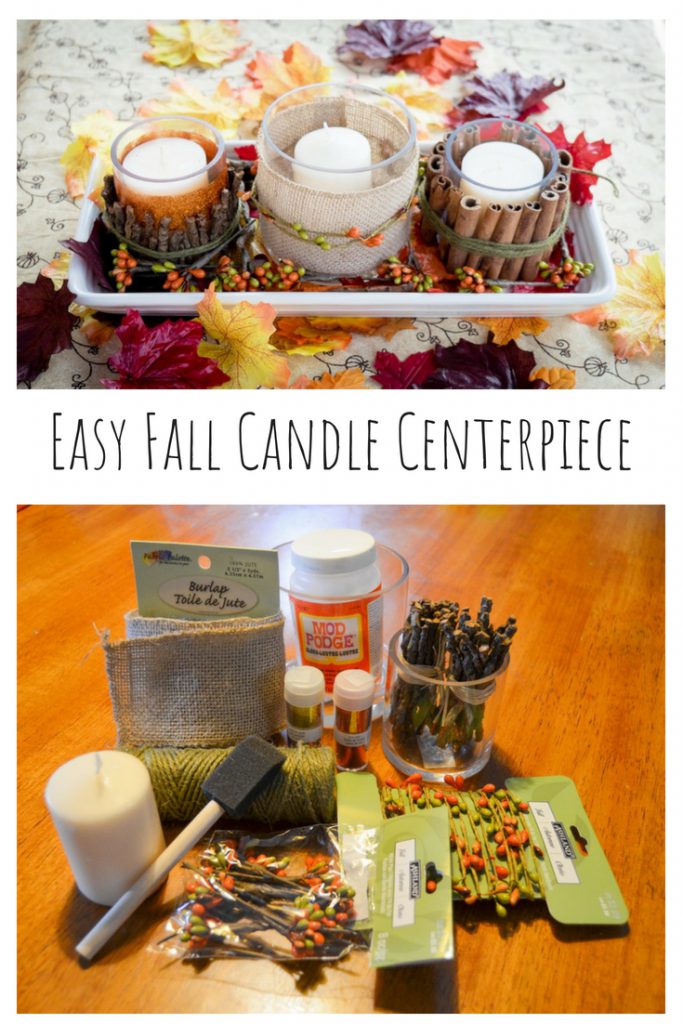
I could live in a world where it’s fall all year round. I start a countdown from the moment I need to put my fall decorations away and fight with putting them back out earlier and earlier each year. Fall is my favorite. This easy fall candle centerpiece is a fun way to do fall crafting at the first possible moment. Gather some fall craft supplies and use crafting techniques that you probably didn’t realize you knew!
**This post contains affiliate links.**
I’m using three basic techniques that you can use to mix and match to create candles to suit your style.
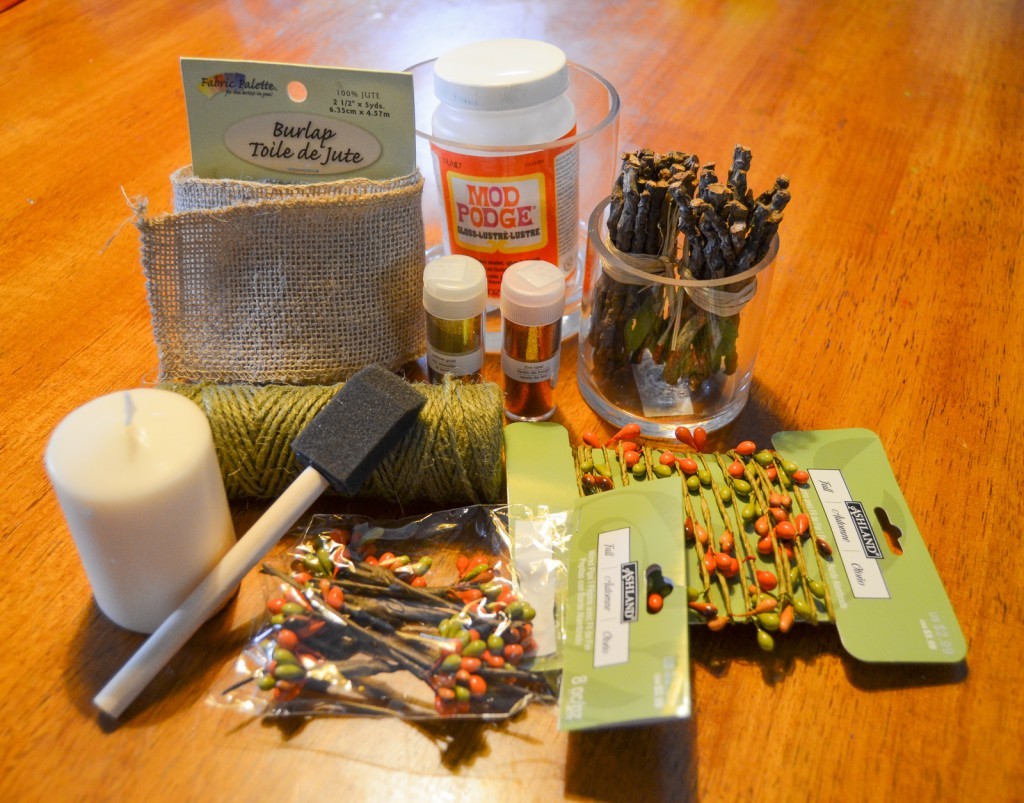
Supplies:
glass candle holders (you can use mason jars or anything that works for your style)
(Please note that I’m listing what *I* used. Most of these elements can be replaced. It’s fun to just grab what strikes you and these techniques will work with almost anything. A quick wander through JoAnn’s or Michaels will give you all sorts of ideas and supplies.)
Instructions:
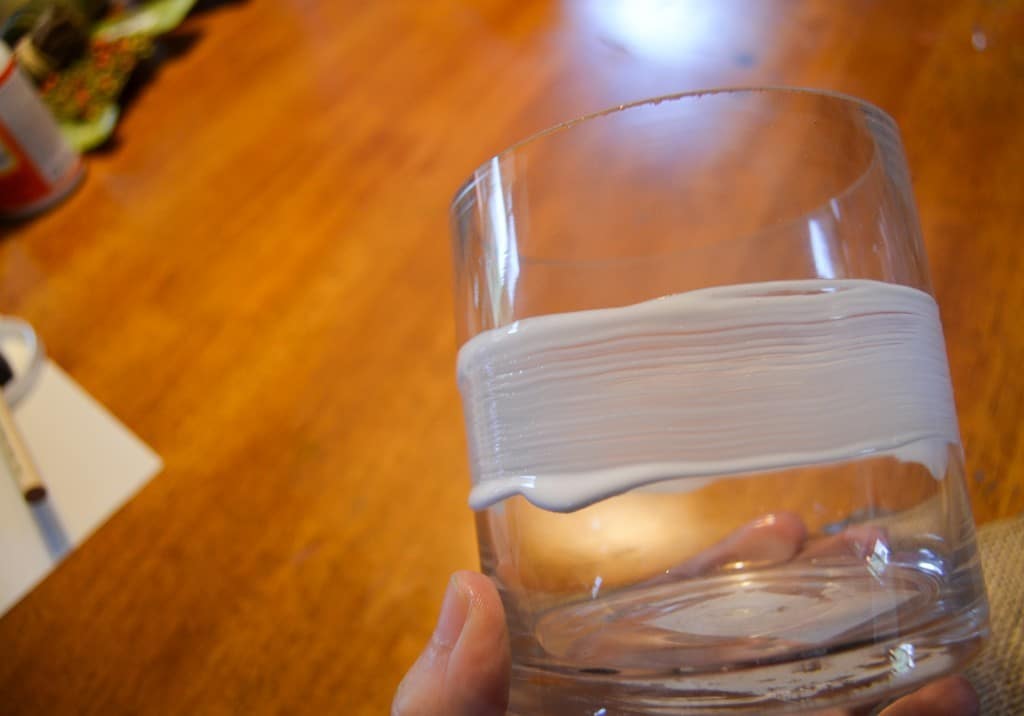
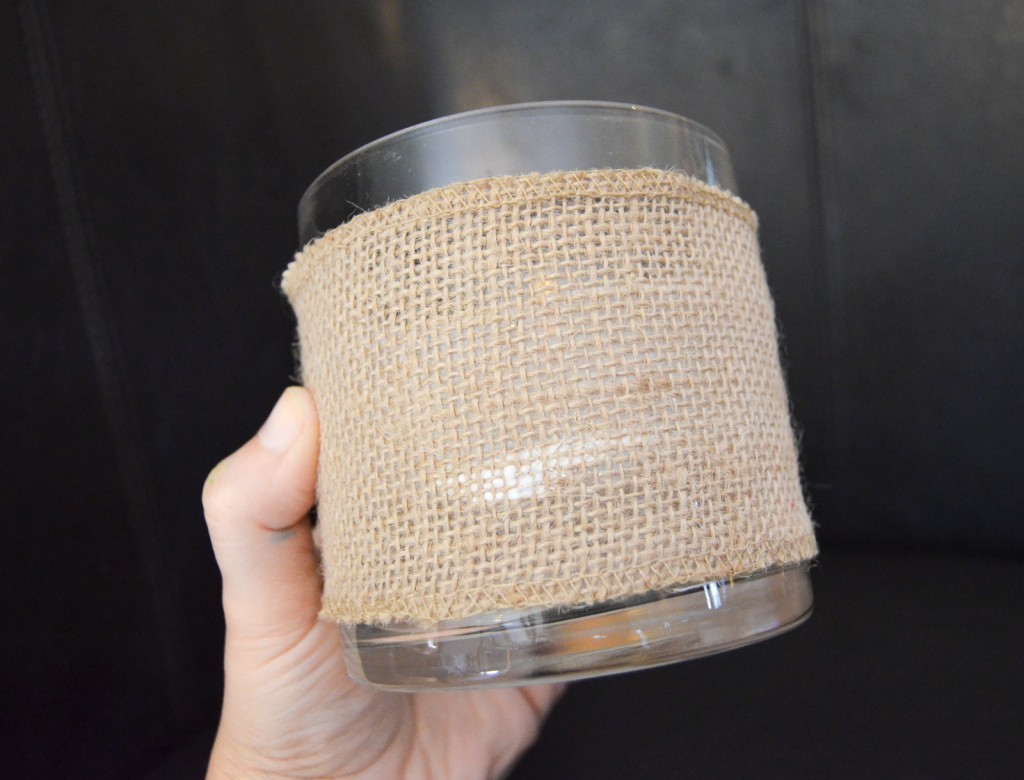
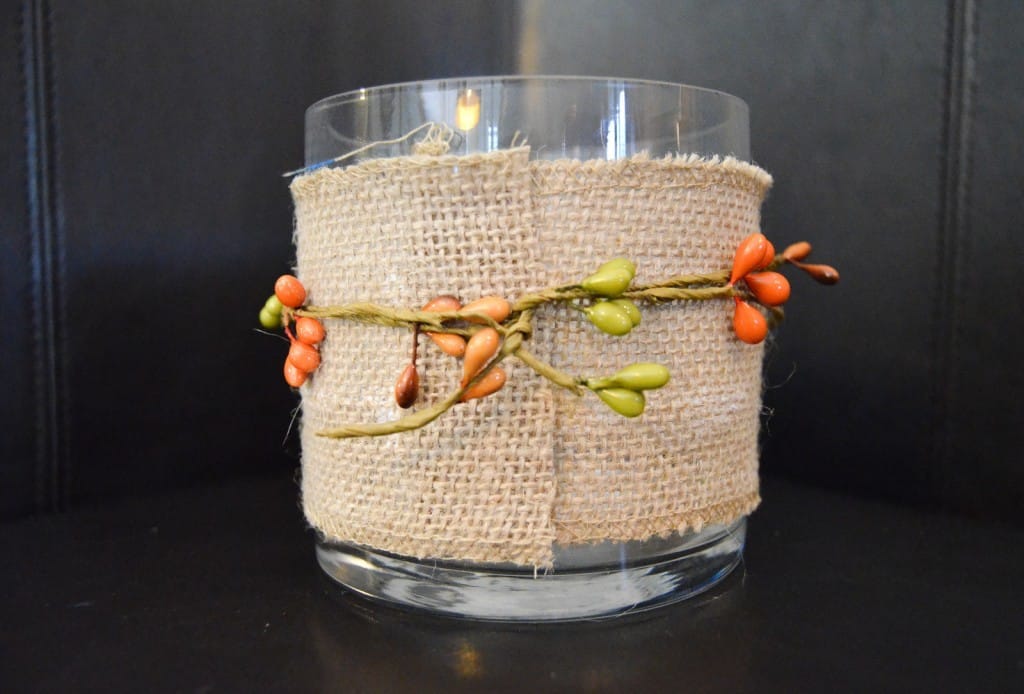
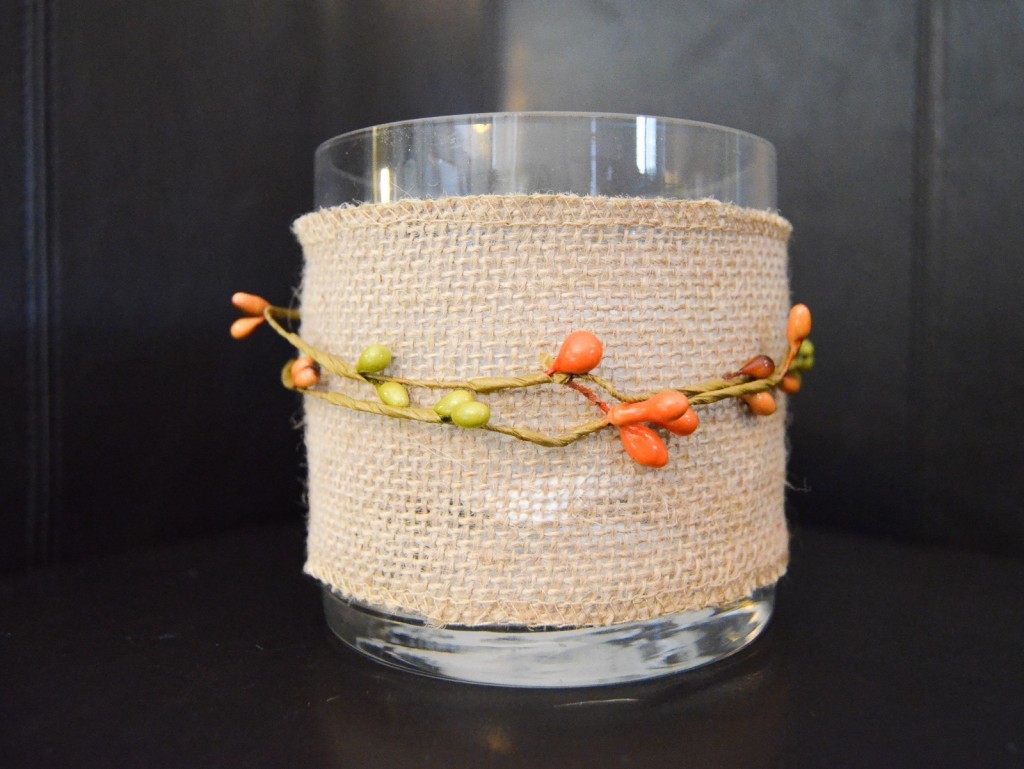
For your first candle jar, paint a stripe of Mod Podge around the center.
Cut a piece of the burlap to fit around the glass.
Tie a piece of the twine/ribbon/wire of your choice around the center.
Let it dry and Boom!, you’re finished with your first candle! How easy was that?!
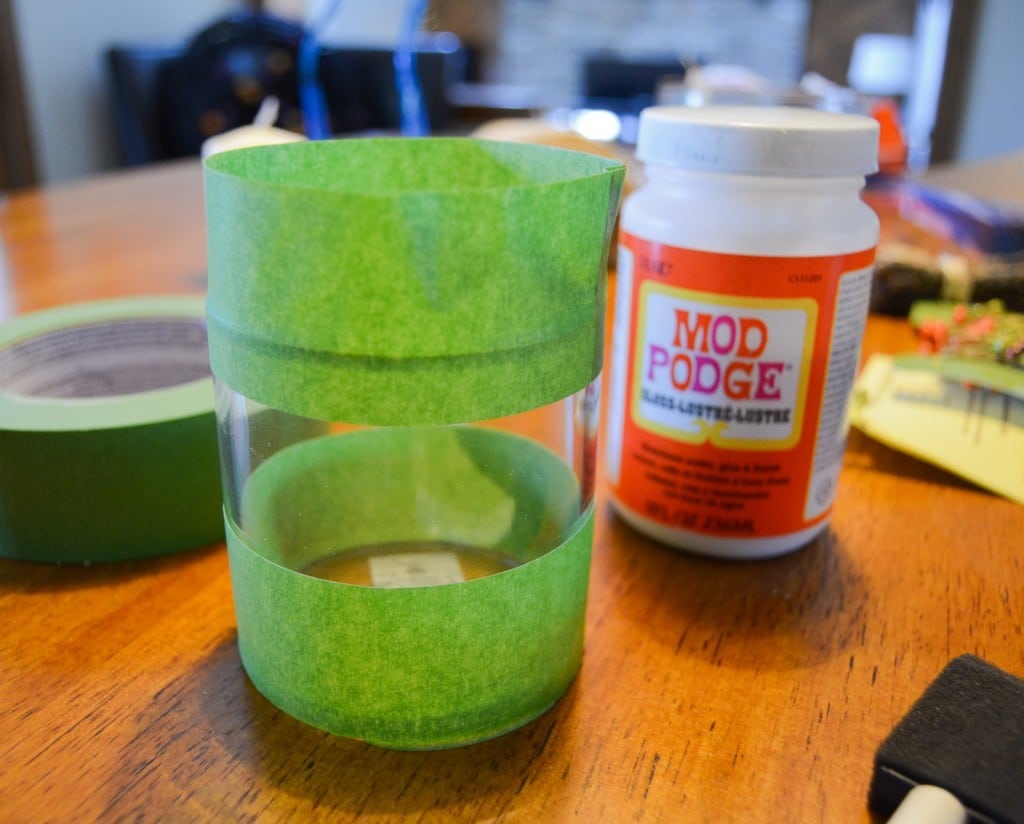
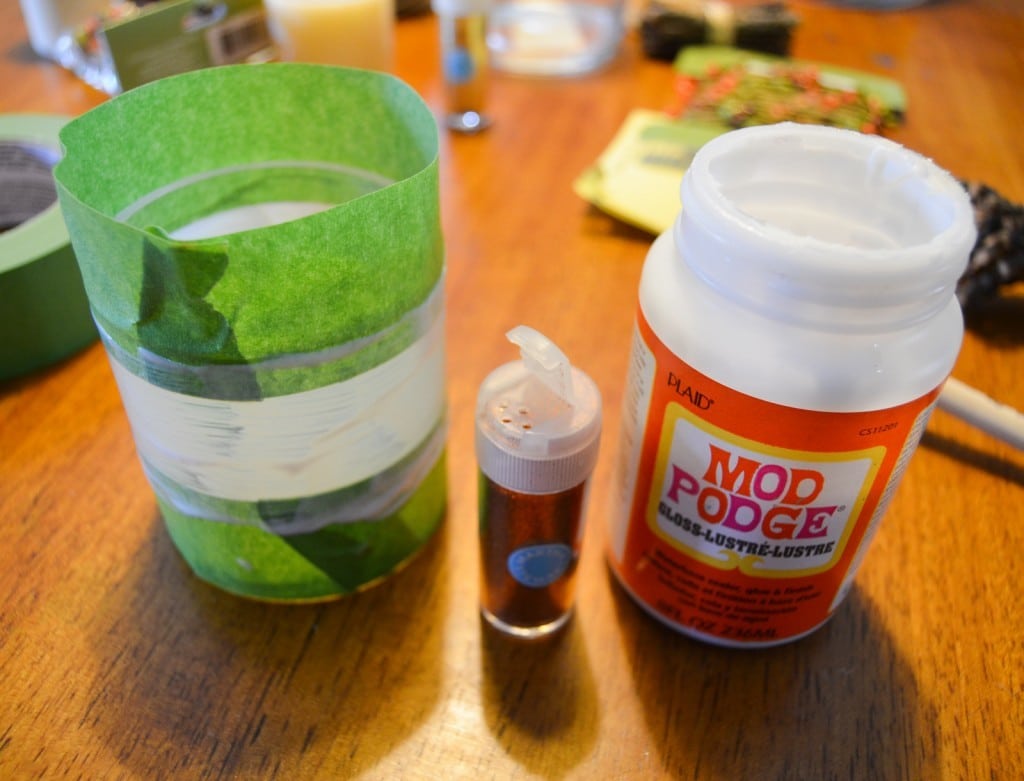
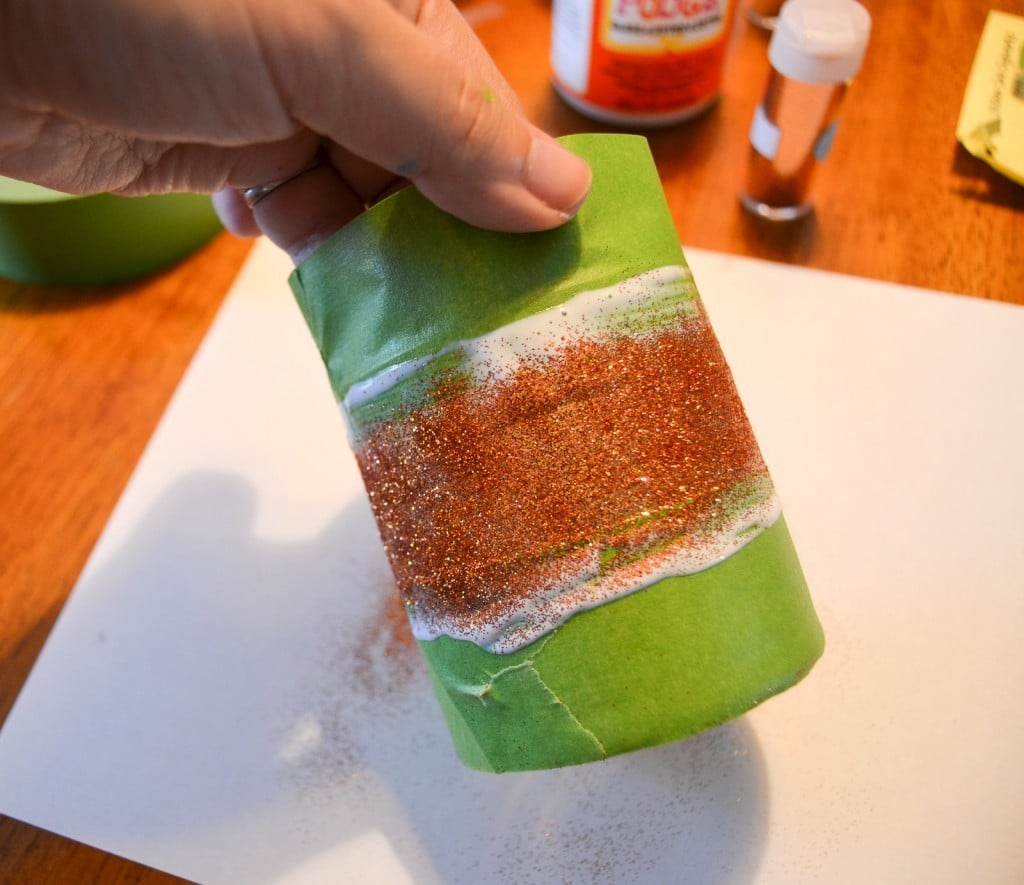
For your next candle, tape off the parts you *don’t* want covered in glitter with the frog tape.
Paint Mod Podge onto the open space. Paint from side to side, not up and down. You don’t want any glue getting underneath the tape so that the line is as smooth as possible. Learn from my mistakes, my friends.
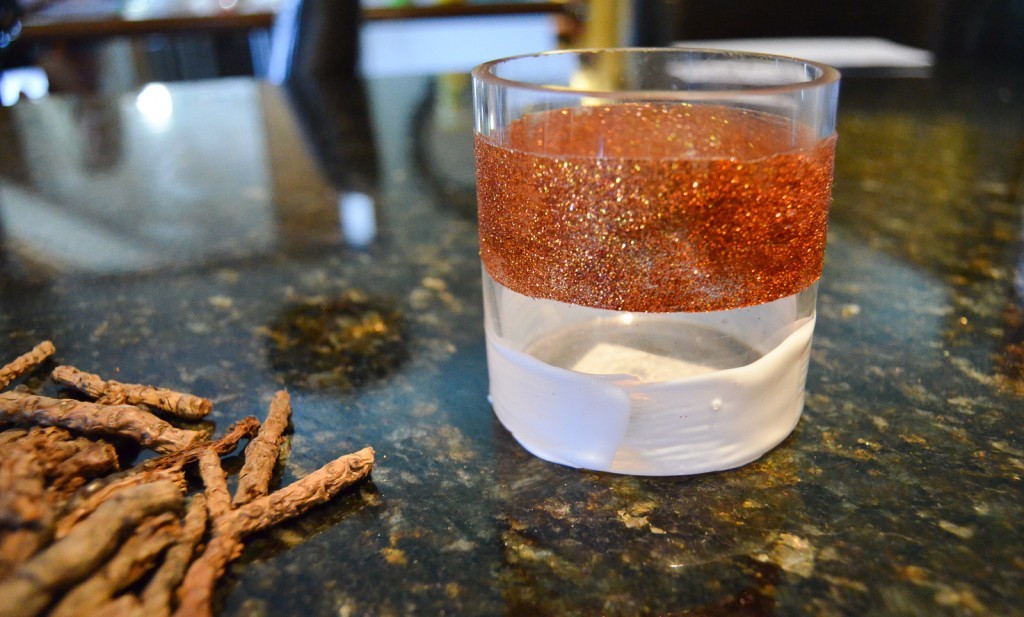
Take your glitter choice and shake it over the glass. I did this over a piece of paper so that it was not only less messy, but so that I could reuse the loose glitter.
Wait for this to dry completely. You need to put a top coat of Mod Podge on and it won’t be smooth unless the first coat is dry. I was too impatient and had to do some touch ups. If you wait properly, the glitter coverage will be much smoother and even. While the top coat is still wet, carefully peel off the frog tape and wait for the top coat to dry. Once it’s dry, get out your twigs and twine.
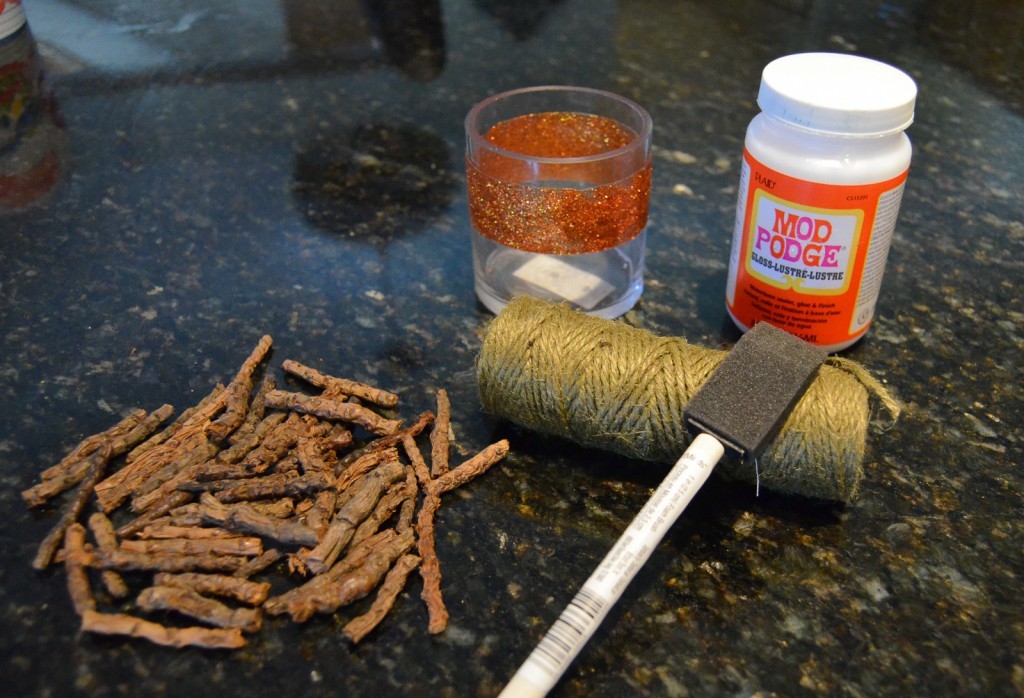
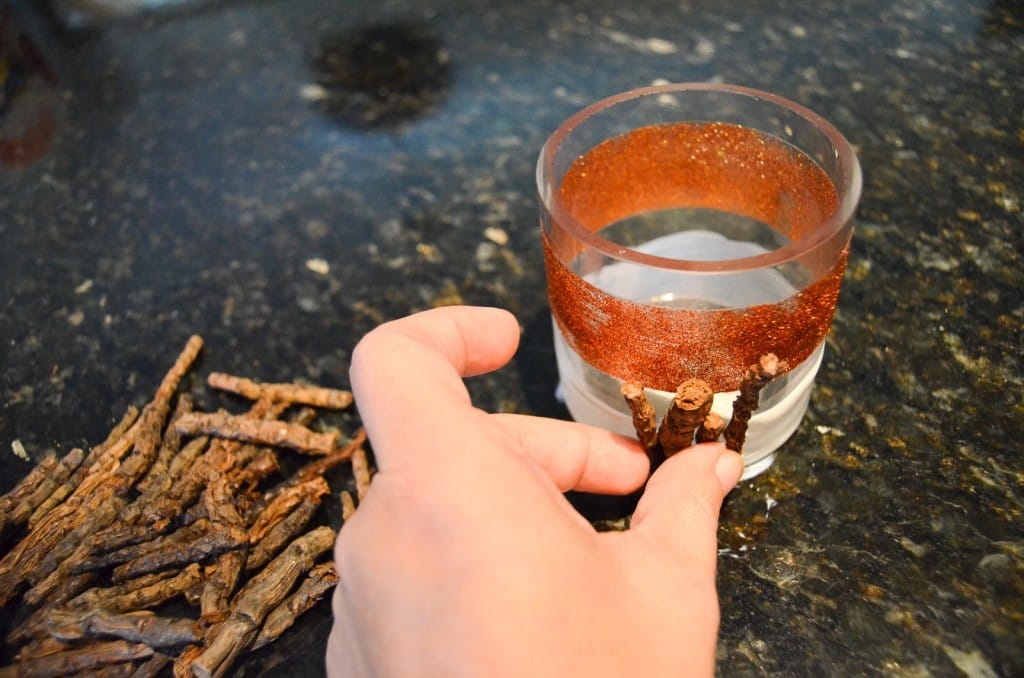
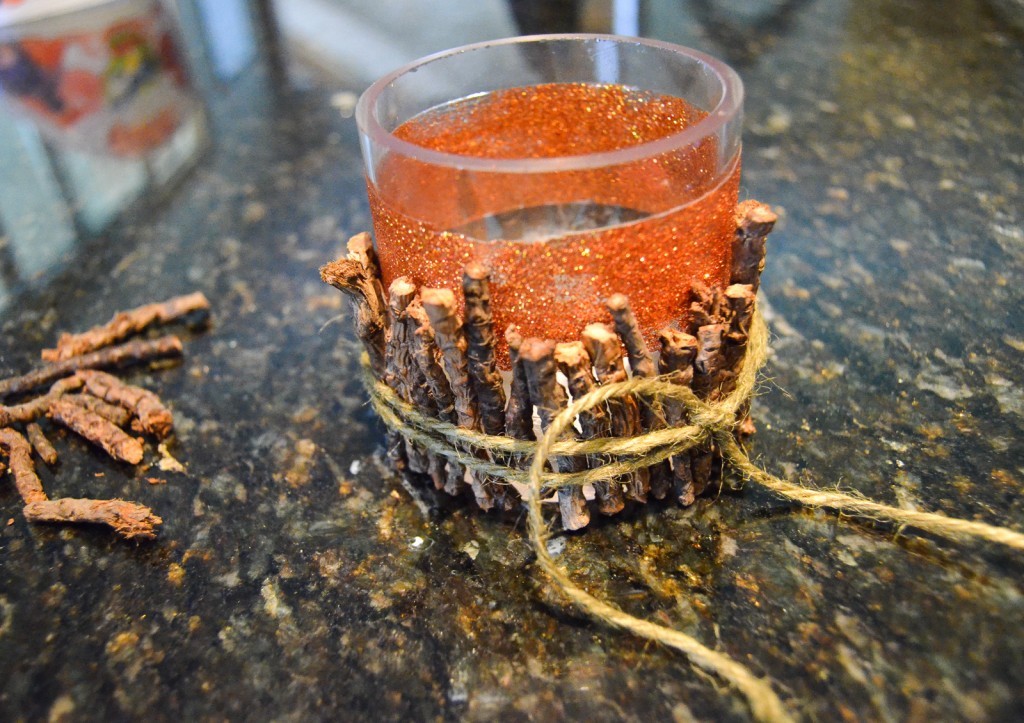
Paint a stripe of Mod Podge around the bottom.
Start standing the twigs up around the bottom.
Work your way around the glass with the twigs. Take a piece of twine and wrap it around the twigs. This will stabilize the twigs until the glue is dry.
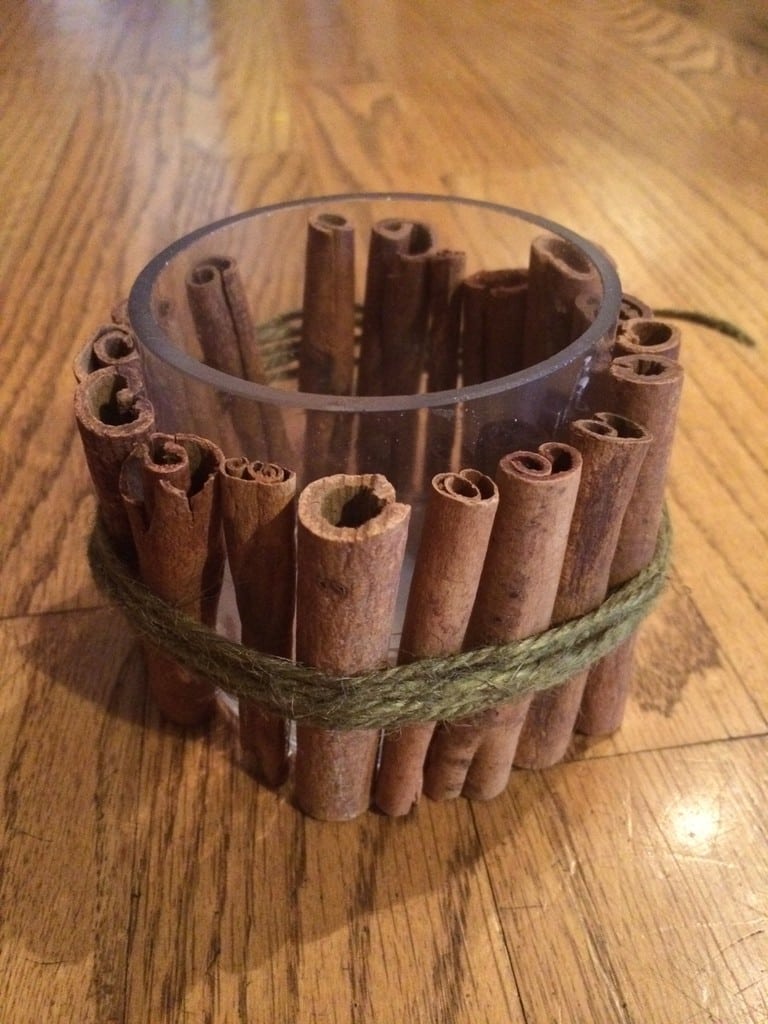
I used the same technique to create a third candle holder using the cinnamon sticks. I LOVE the smell of cinnamon!
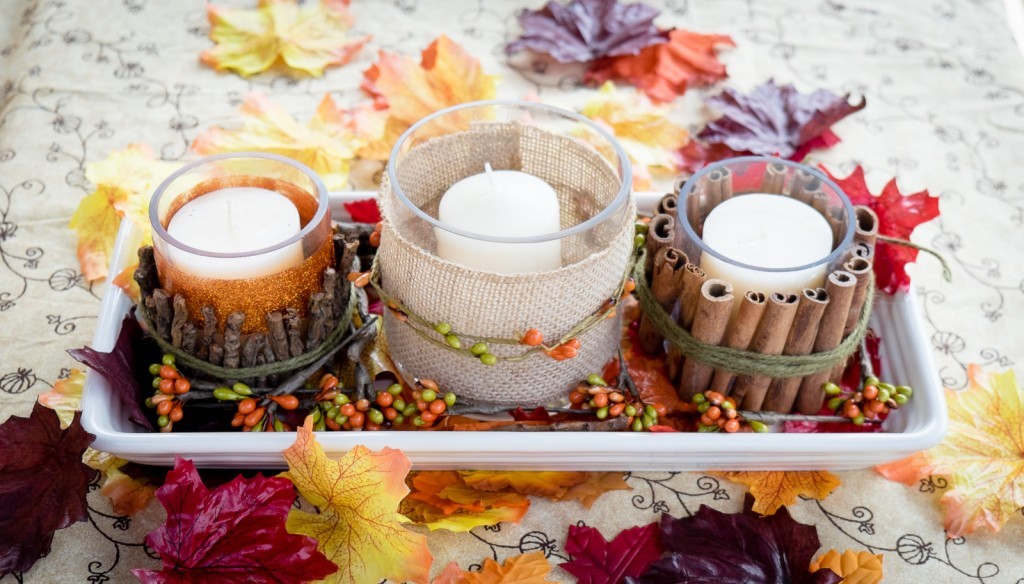
Once I was finished with my candles, I grabbed a small serving dish to put them in. I used some bits of fall odds and ends to help finish the look.
I love how this Easy Fall Candle Centerpiece turned out and I love that the techniques can be combined to make different looks. Now if only I could figure out how to make it fall all the time!
This website uses cookies to improve your experience. We'll assume you're ok with this, but you can opt-out if you wish.AcceptRejectRead More
Privacy & Cookies Policy
Privacy Overview
This website uses cookies to improve your experience while you navigate through the website. Out of these, the cookies that are categorized as necessary are stored on your browser as they are essential for the working of basic functionalities of the website. We also use third-party cookies that help us analyze and understand how you use this website. These cookies will be stored in your browser only with your consent. You also have the option to opt-out of these cookies. But opting out of some of these cookies may affect your browsing experience.
Necessary cookies are absolutely essential for the website to function properly. This category only includes cookies that ensures basic functionalities and security features of the website. These cookies do not store any personal information.
Any cookies that may not be particularly necessary for the website to function and is used specifically to collect user personal data via analytics, ads, other embedded contents are termed as non-necessary cookies. It is mandatory to procure user consent prior to running these cookies on your website.


Beautiful centerpiece!! Thanks for the tutorial!!