Easy Woven Yarn Wreath
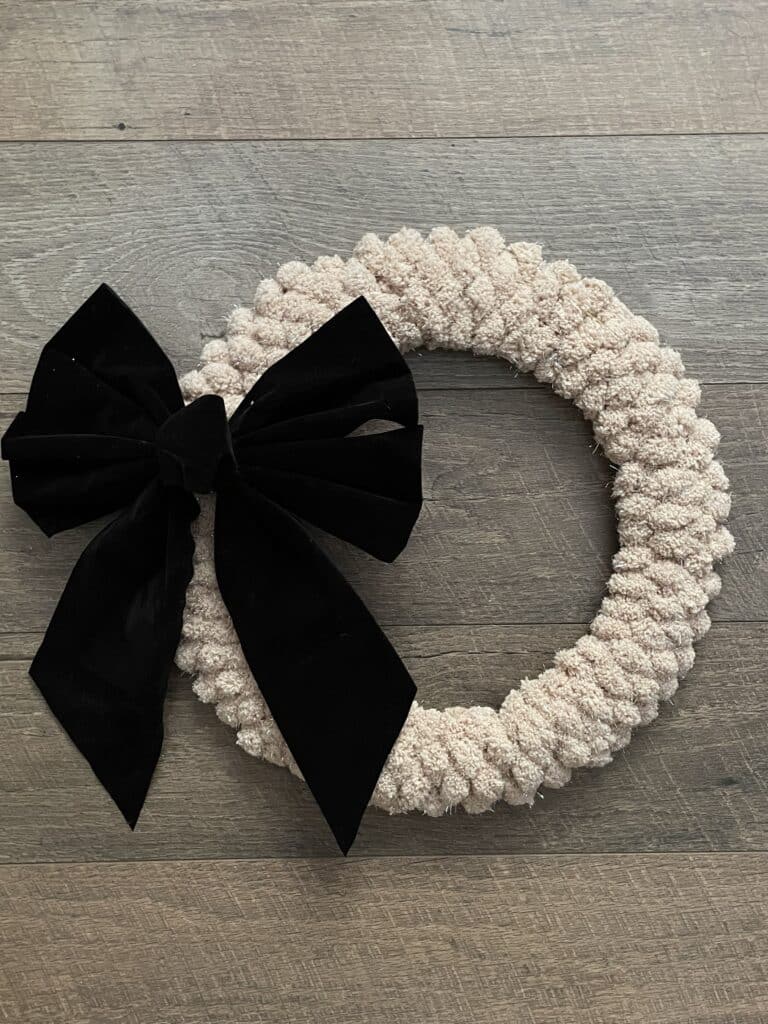
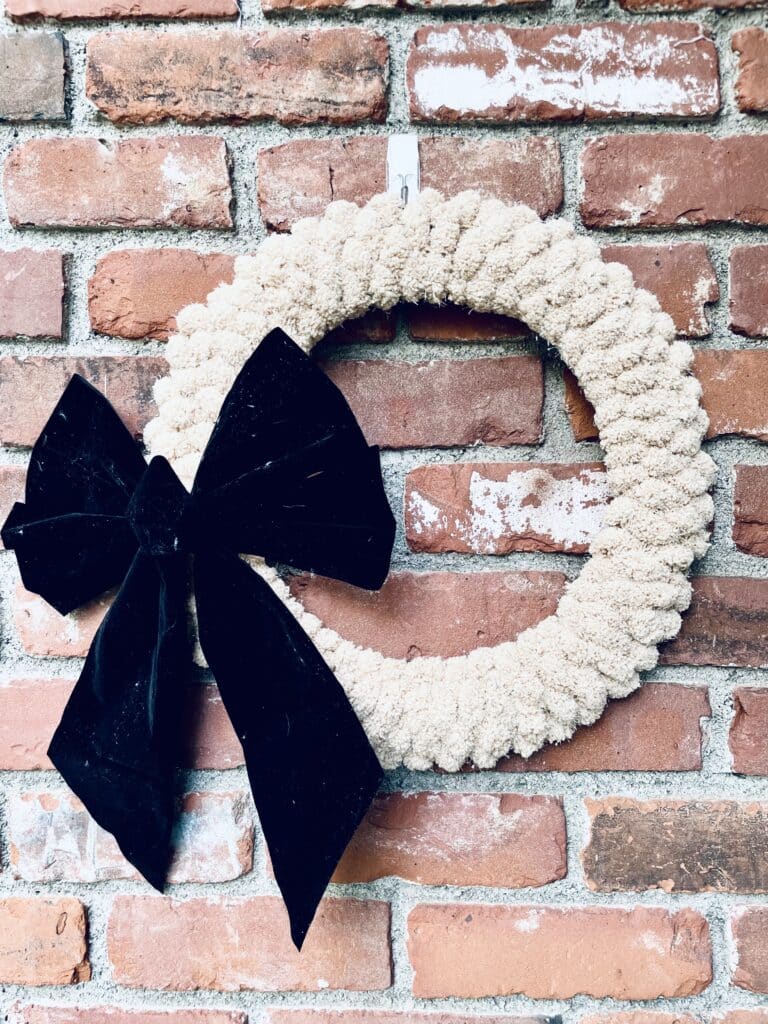
Easy is the name of the game with this wreath. Choose a bulky yarn and coordinating pre-made bow and you’re good to go! It doesn’t take a lot of effort to get a classy and expensive looking wreath–there are so many options for customizing this one. Make this easy woven yarn wreath today!
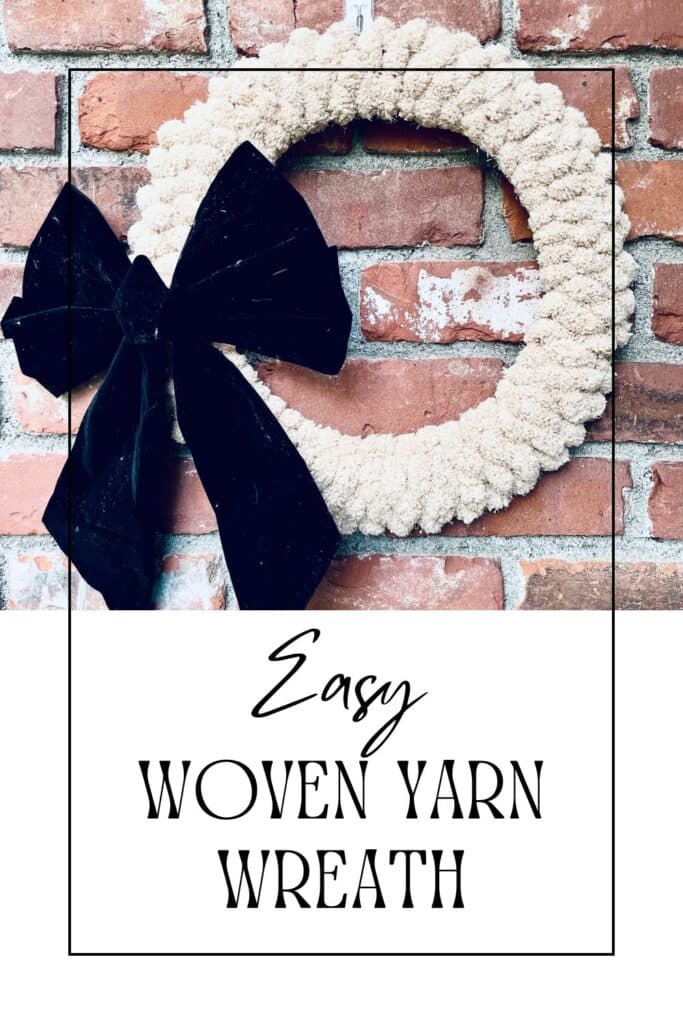
Supplies:
- 18 inch wire wreath form
- bulky yarn (I used a sparkle chenille yarn)
- scissors
- premade bow (mine is a “velvet” black holiday bow–it’s pretty but collects all the fluff and dust)
Directions:
To start off the wreath, tie the yarn into a knot around the outermost ring.
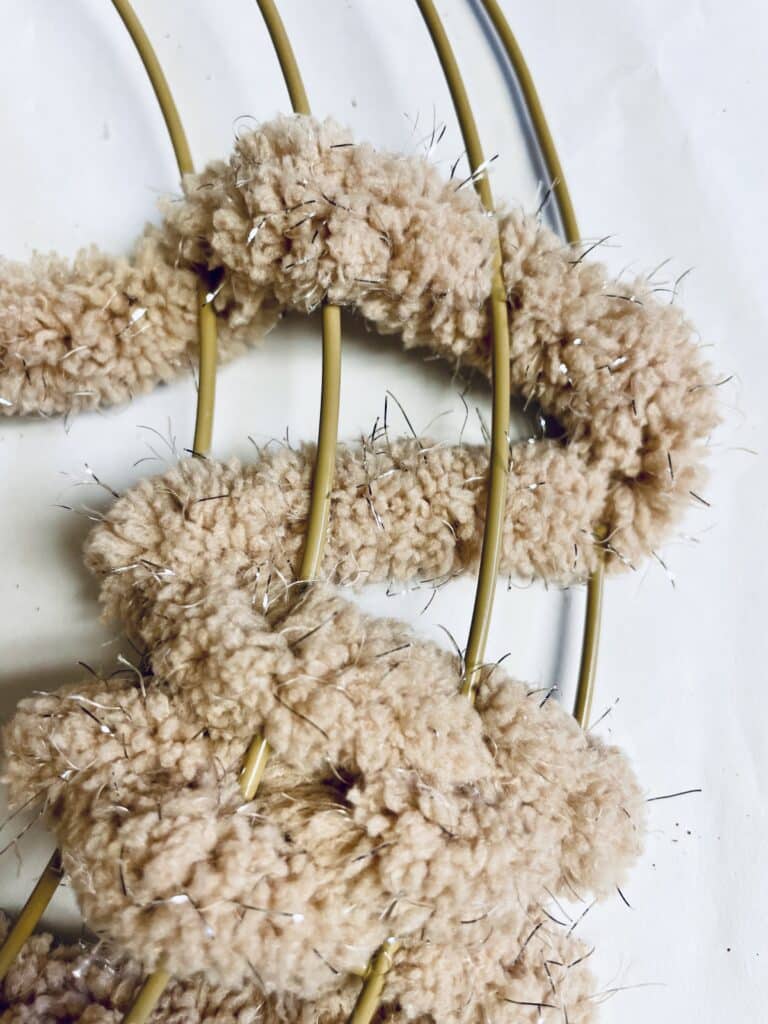
Cut the yarn into large sections as weaving the yarn ball in between the wire sections would be difficult. Weave the yarn under the first, over the second and under the third wire. Repeat this the entire way around the wreath form. As I got near the end of each yarn section, I tied it off and then started with the next piece. Squish the “rows” together as you go so that you get a tightly woven look. I have it loose in this picture so you can see the weaving process.
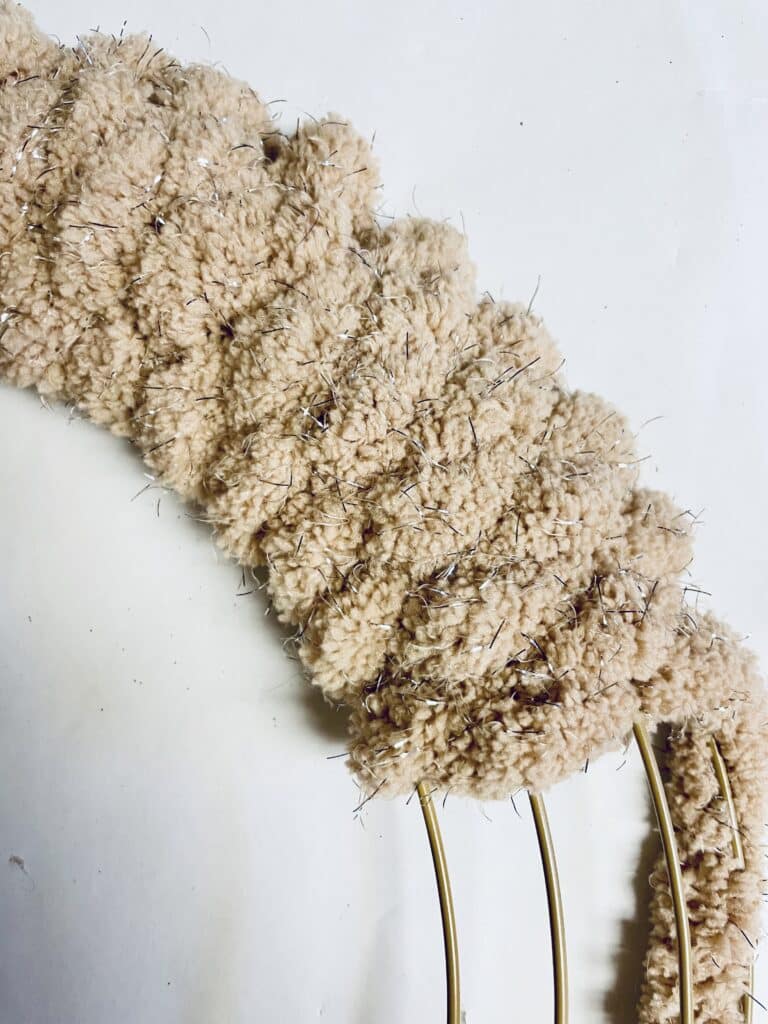
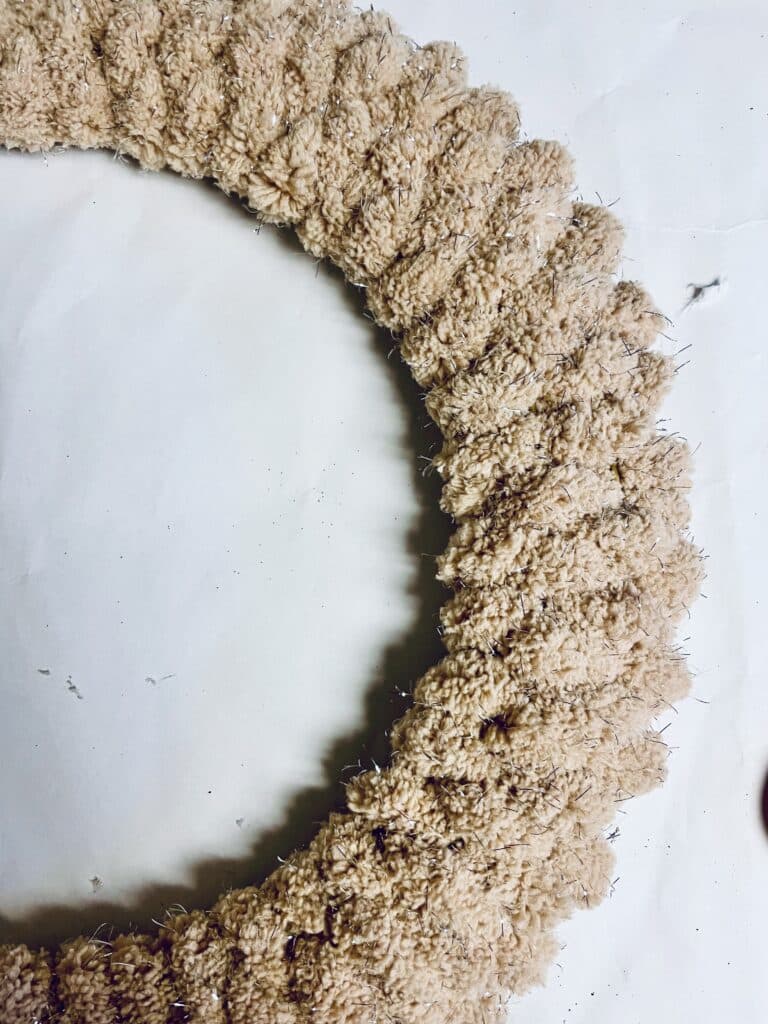
Once the entire wreath is complete, attach the bow using the twist tie on the back of it.
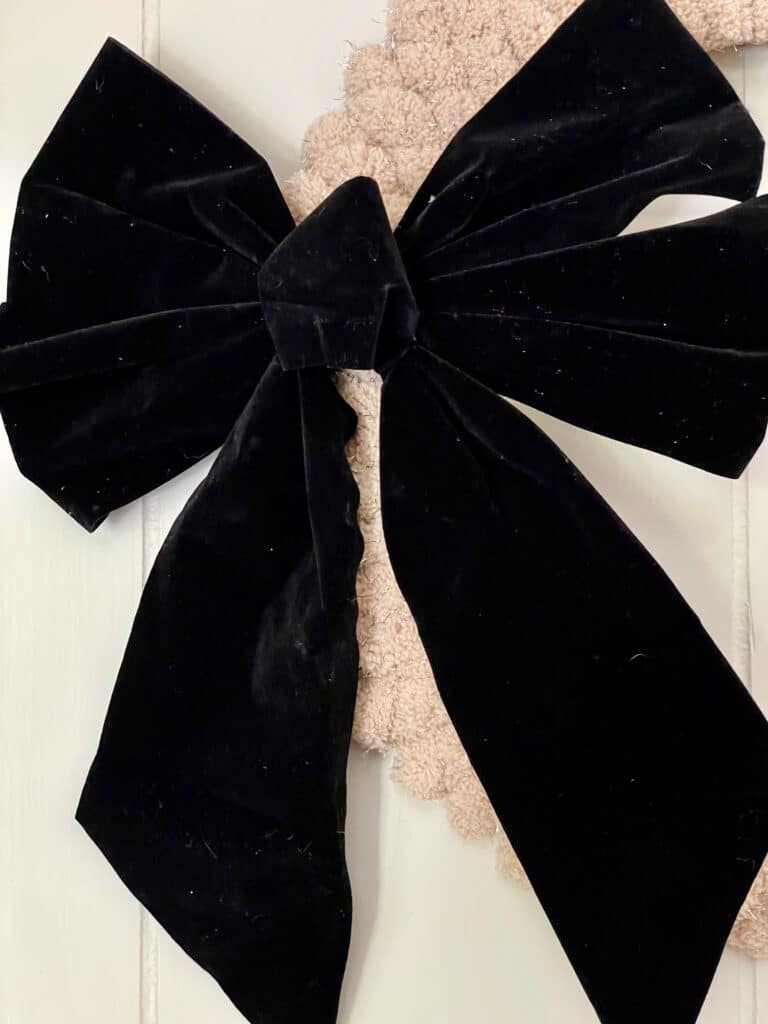
This classy easy woven yarn wreath is a quick and inexpensive project. Change up the colors for any holiday or season–the possibilities are endless! Once you’ve mastered the weave, you’ll be going back to this style again and again. A bulky yarn makes this wreath work up quickly and I personally love the look, but there’s no reason you can’t use a smaller yarn–it will just take a bit longer. This is also a fairly lightweight wreath (if you make it like I did), so it can be hung almost anywhere. As with most yarn wreaths, it shouldn’t be exposed to the elements.
