Ghostbusters Proton Pack DIY
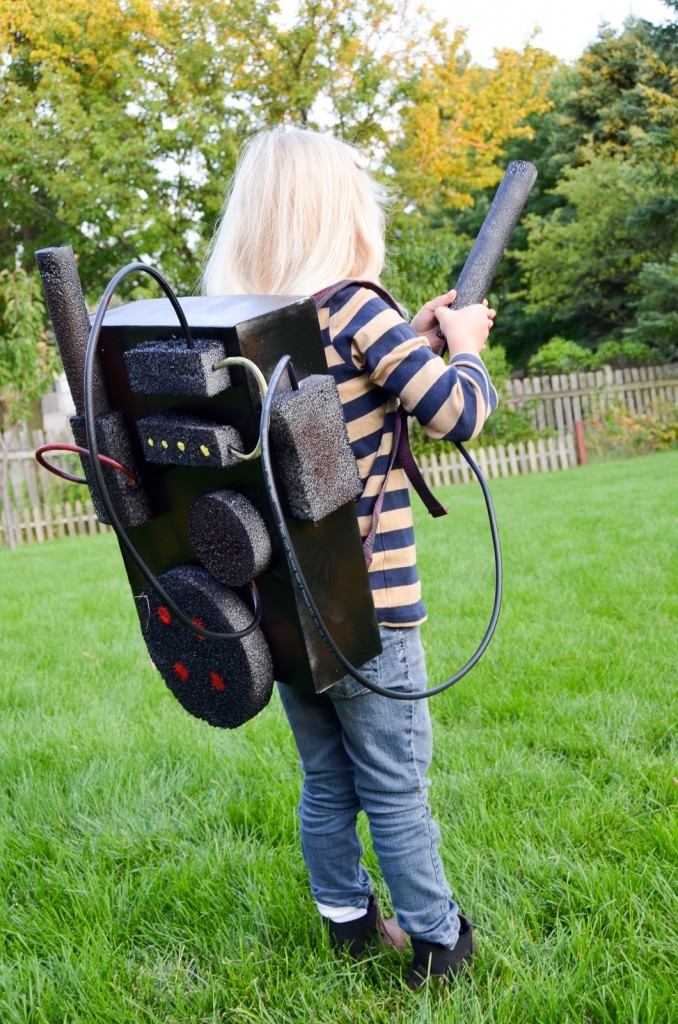
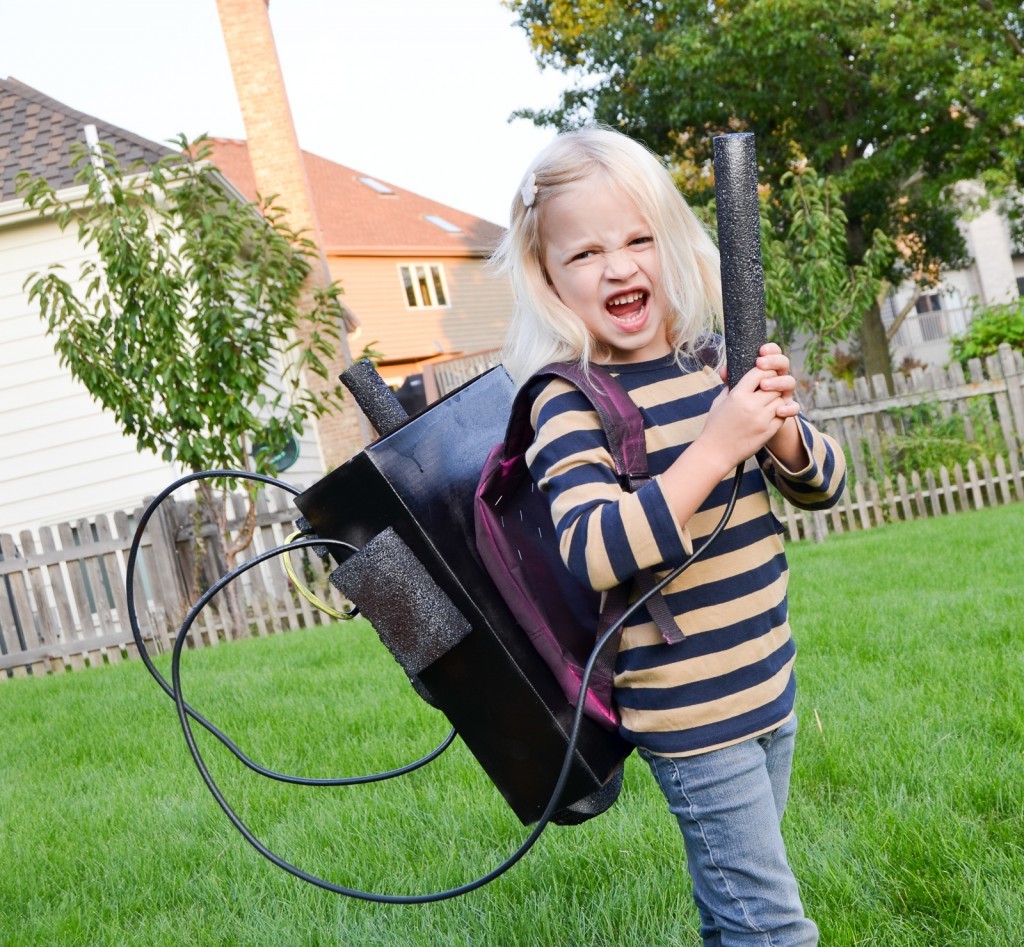
The girls have a long list of costumes they want to wear, from princesses and zombies and everything in between. We simply don’t have enough Halloweens to get through them all! Thankfully, we have Halloween parties at school and in the neighborhood to attend, so it gives them a chance to get through some of their list. This year, one of the many ideas was to go as The Ghostbusters. No Ghostbuster is complete without their proton pack and I was able to make this fun Ghostbusters Proton Pack DIY out of materials I found around the house. Who ya gonna call?!
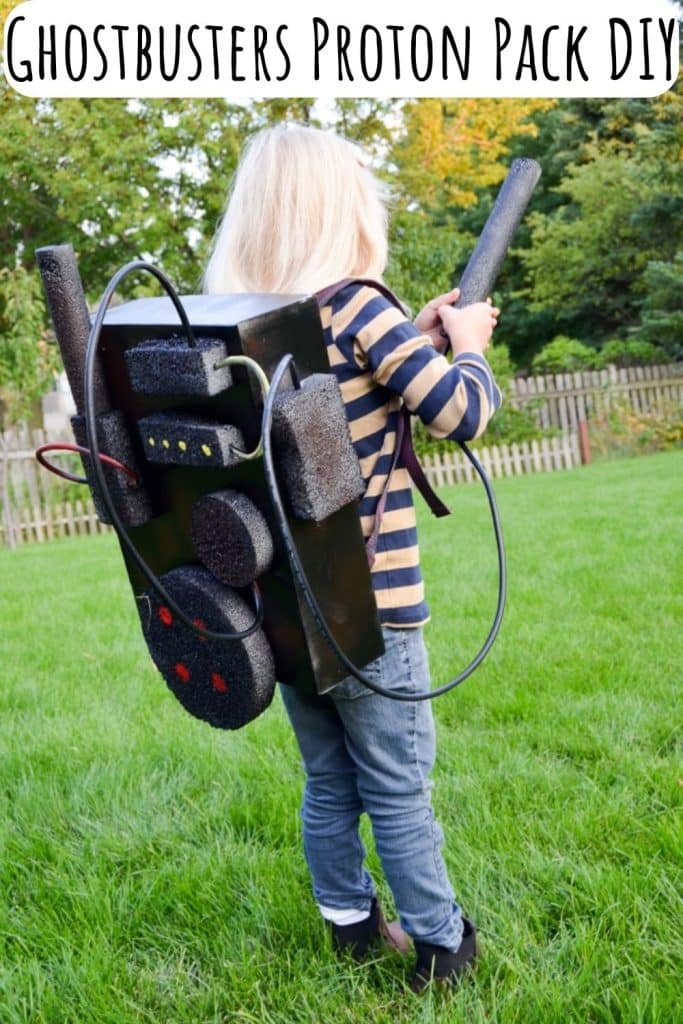
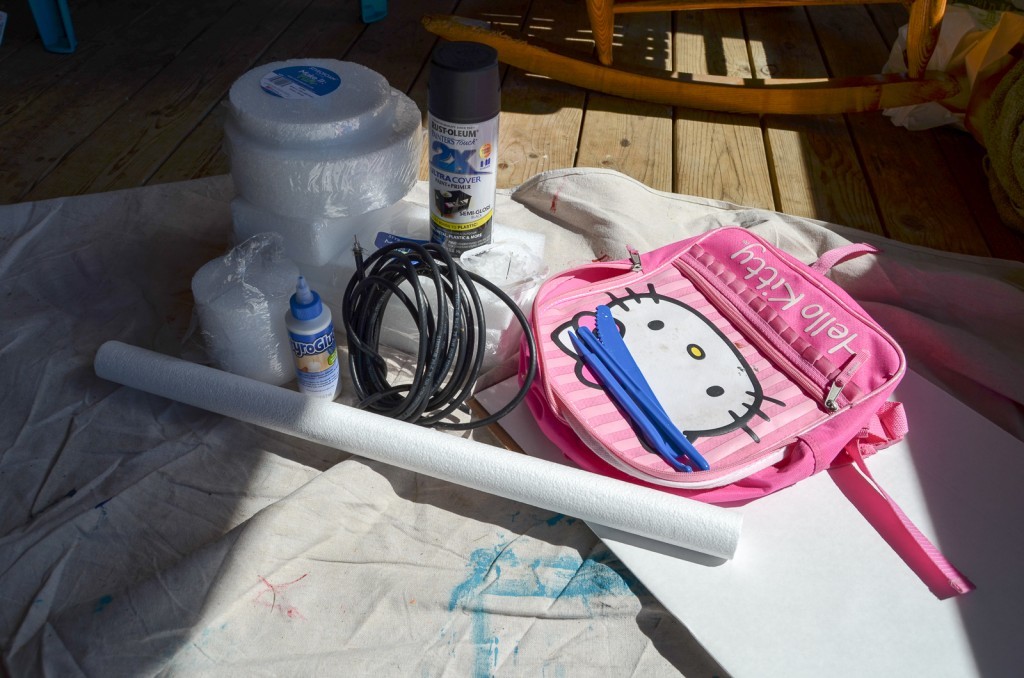
When I started thinking about the proton pack, I wanted to make sure that it was lightweight and easy. I found a box, a stash of foam, and some scrap cable, and was good to go.
I used:
- 11×15 box
- assorted foam pieces
- black and brown spray paint
- foam glue
- red and yellow craft paint
- scrap cable
- old backpack
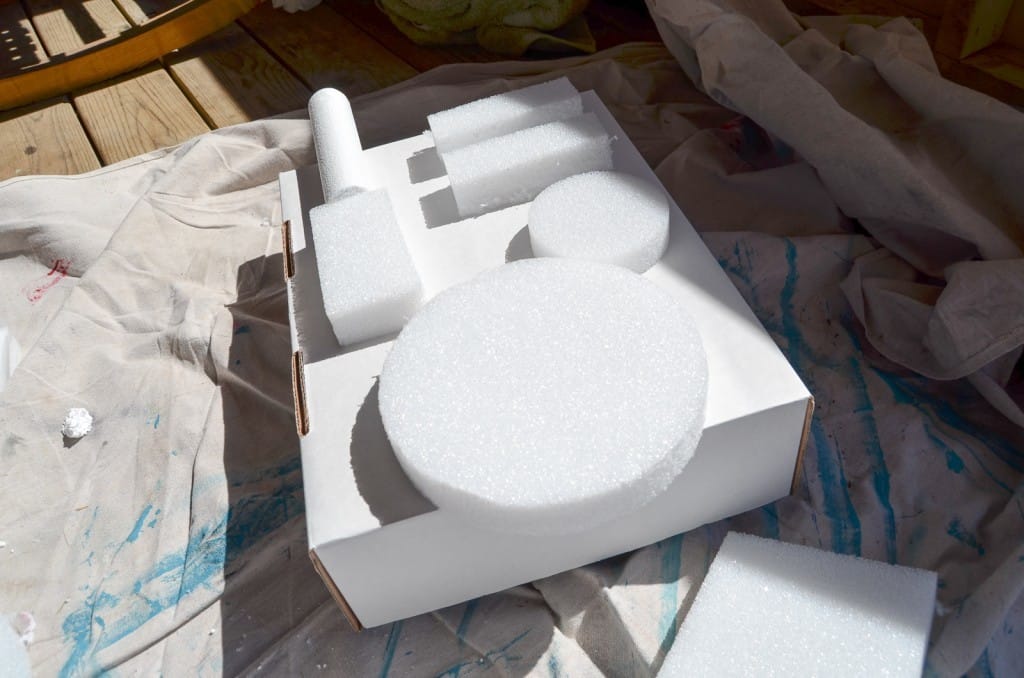
I started by putting the box together. After that, I cut out and placed foam pieces where I wanted them. I knew that this wasn’t going to be exact, but I wanted to hit the major points of the proton pack. Once the foam pieces were where I wanted them, I glued them to the box.
Once the pieces were glued down, I spray painted everything black.
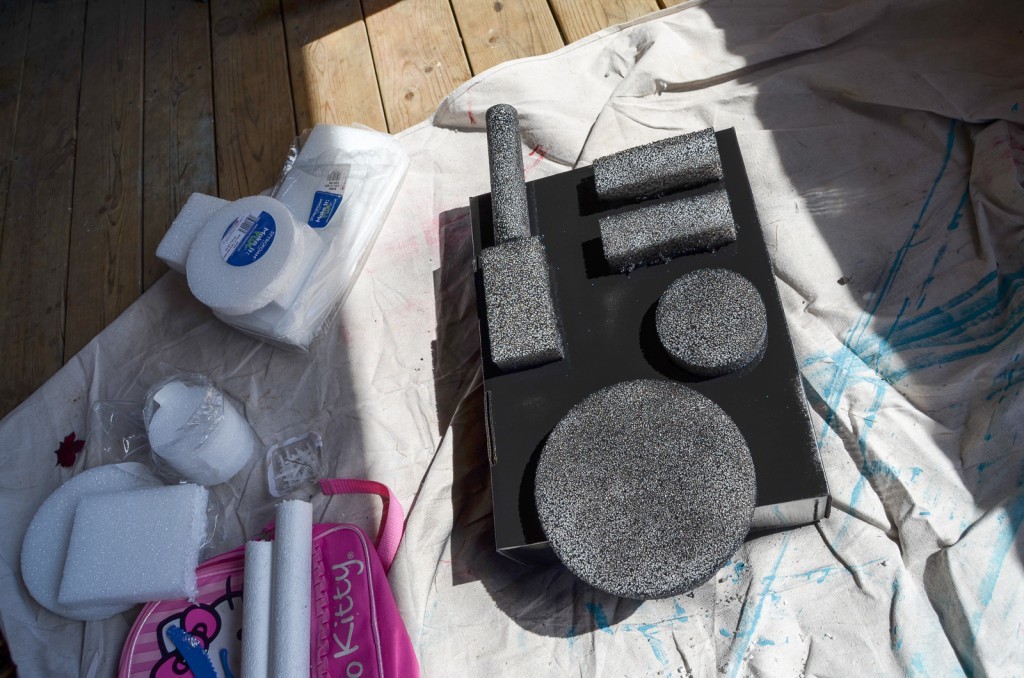
While the black was drying, I cut some of the cable into different lengths.
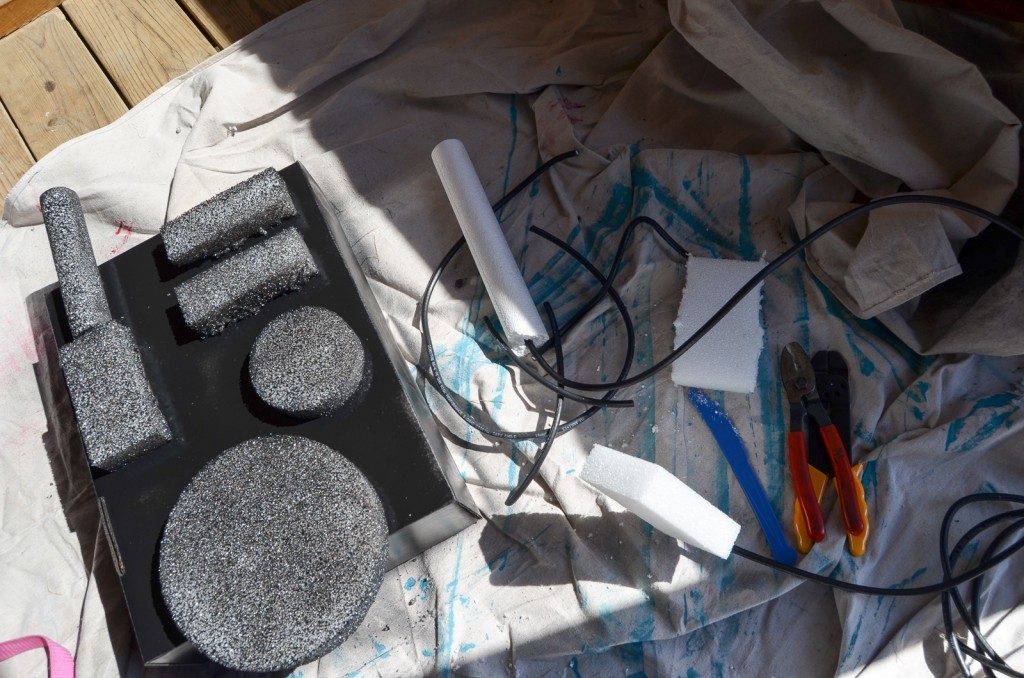
I started connecting some of the cables to the foam pieces by simply pushing the ends in.
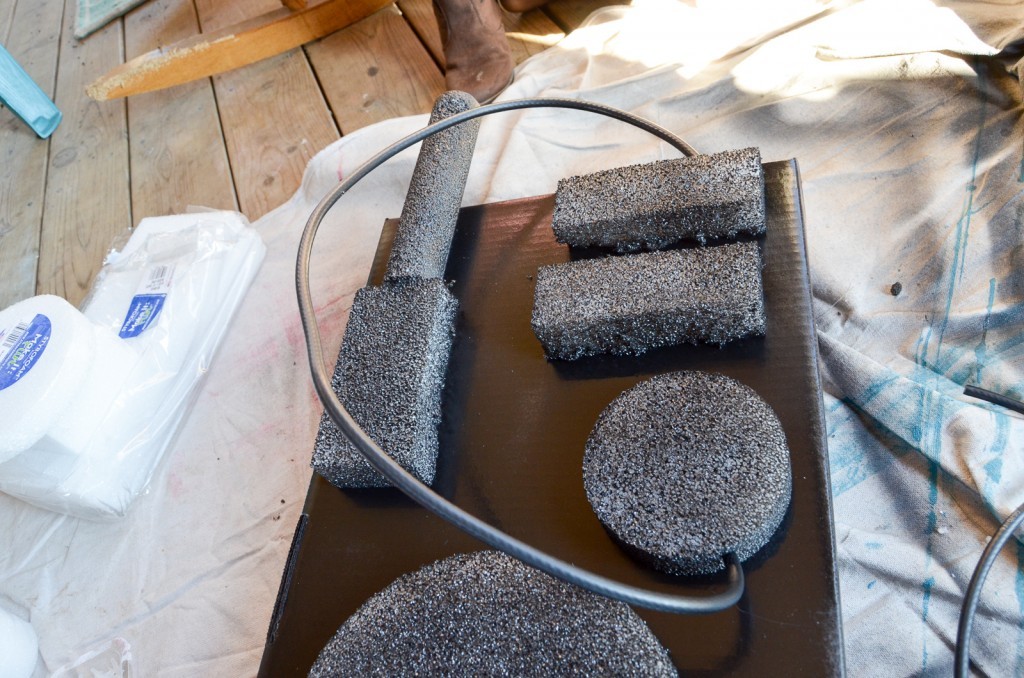
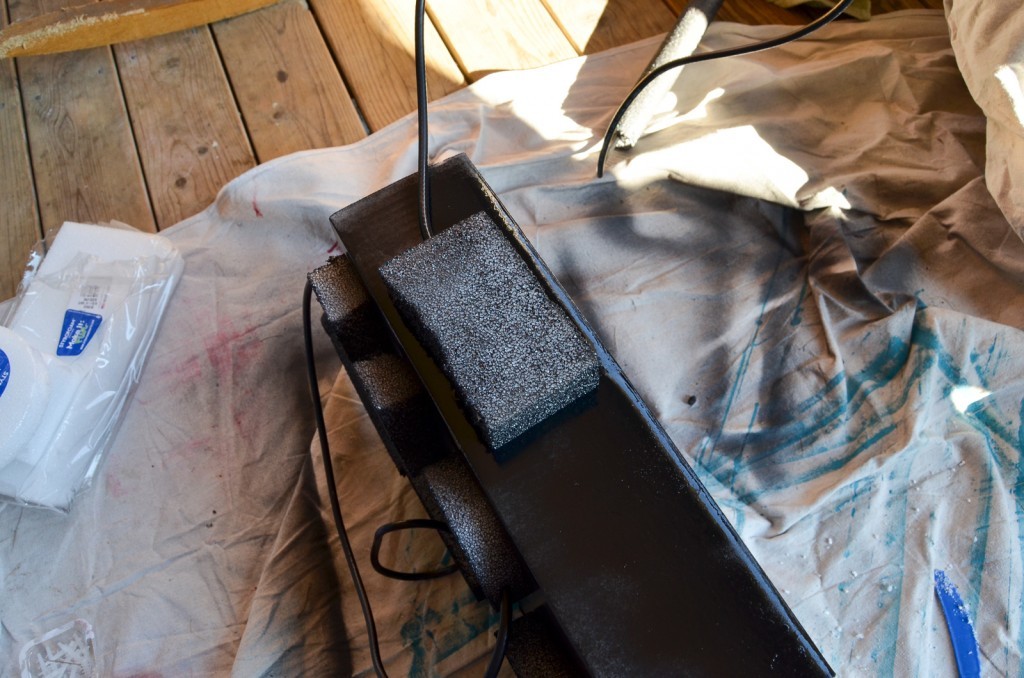
Flipping the box onto its side, I glued on another foam piece, that would become the base for the handheld portion of the proton pack.
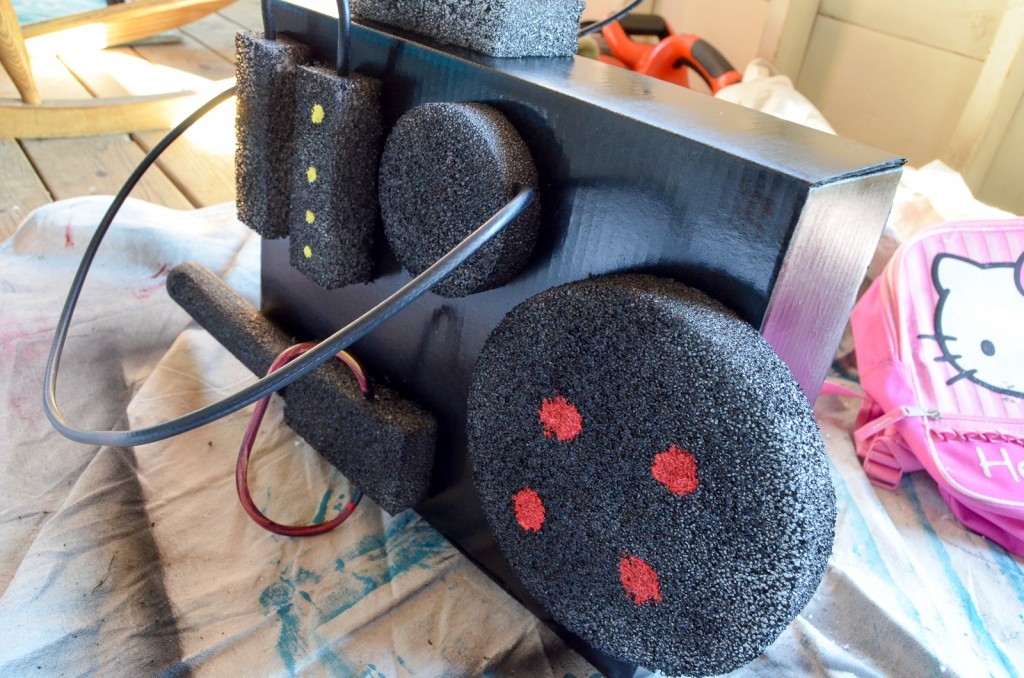
Using the craft paint, I started painting simple dots and circles to represent the lights. I also painted some of the cables. I used the brown spray paint in spots.
The last step was to make sure someone could actually wear this! I took an old backpack that was hidden in the basement and cut off the back section and spray painted it with a mixture of black and brown.
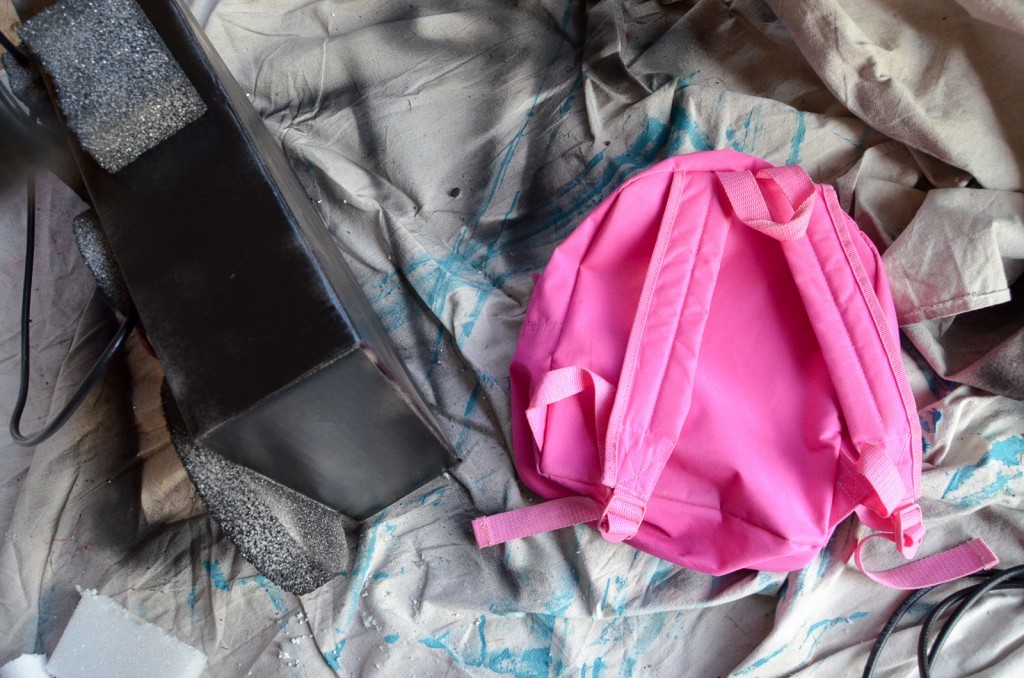
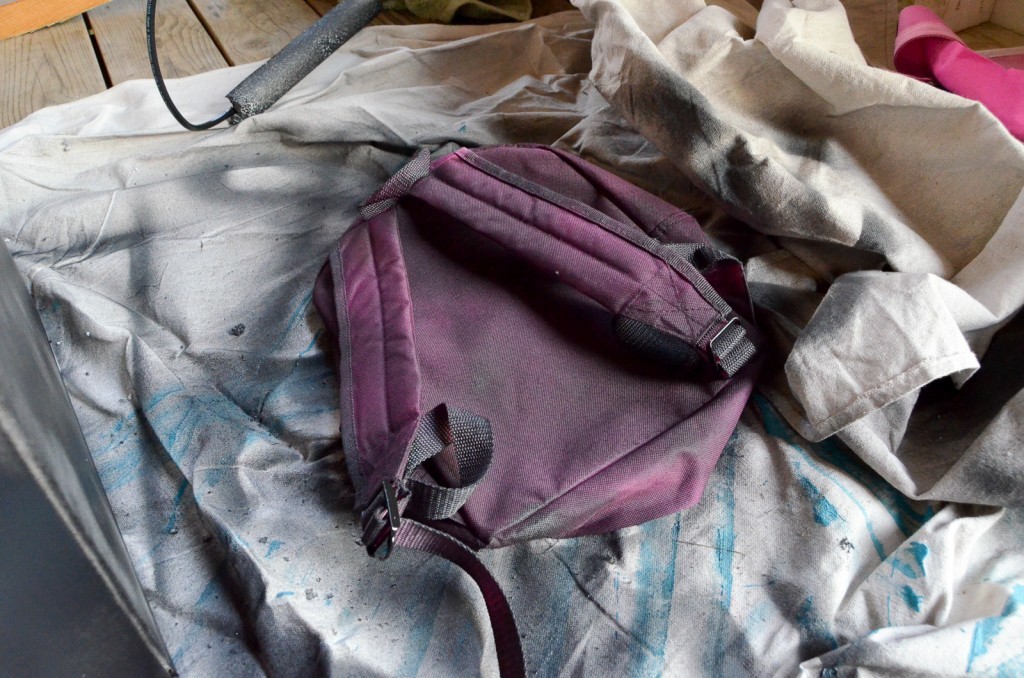
I used the easiest way I could think of and stapled the backpack back to the box. The box and styrofoam were light enough that it wasn’t an issue, but if you use heavier supplies you’ll need a sturdier connection.
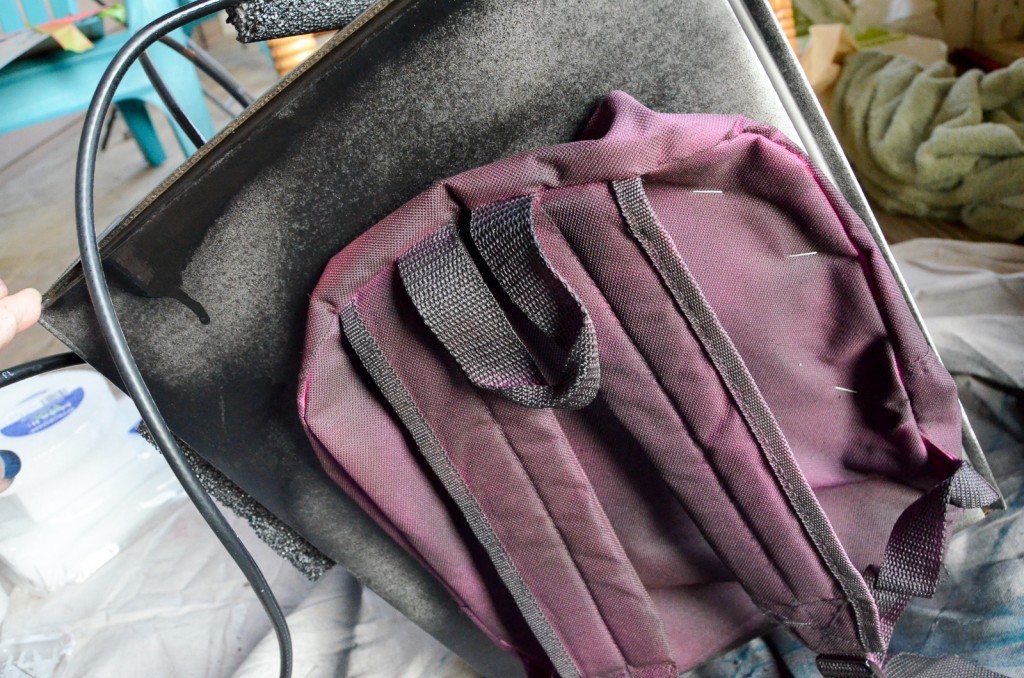
Once everything was dry, it was time to try it out!
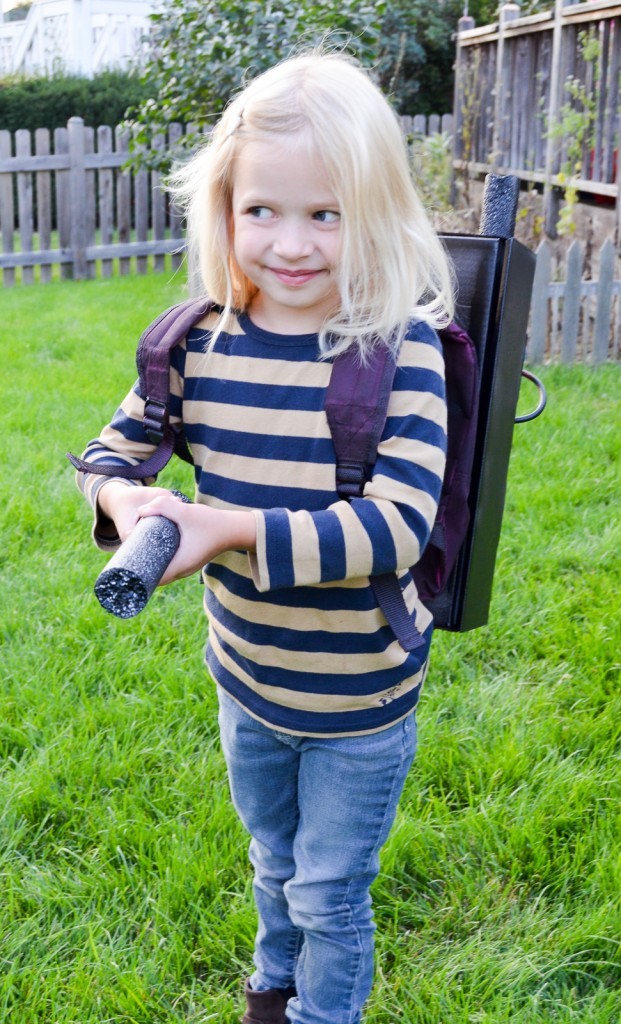
I don’t know about you, but I feel so much better knowing I have my own Ghostbuster to protect us from all the ghosts and ghoulies! This proton pack DIY was a lot of fun to make and used supplies I already had around the house, so didn’t cost much at all. Even if you do need to supplement what you have, it still costs far less than “official” proton packs and is much lighter to carry–the last thing you want when trick or treating is to feel weighed down from your costume instead of candy!




I ‘ve been making costumes lately this is a great round up ideas. I found your post over on SITS. I just finished an Evil Queen Costume and I’m making a Little House on the Prairie Costume. There are so many adorable ideas!
Theresa @DearCreatives recently posted…Inspiration Spotlight Party #Linkup 113 Crafts DIY Decor Recipes
Congratulations on being featured at Inspire Me Mondays!
Kori recently posted…Montessori for Everyone (Giveaway too!)
How cute!!! I bet your daughter can hardly wait for Halloween!!
Thanks for sharing your creativity with us at Project Inspire{d}!
Diane | An Extraordinary Day recently posted…The Desires of Your Heart :: Joy Day!
Love this amazing Ghostbusters Proton Pack DIY, thanks for sharing this one.
This Ghostbusters Proton Pack DIY craft seems truly unique, can’t wait to try this craft. My kids gonna love this one.