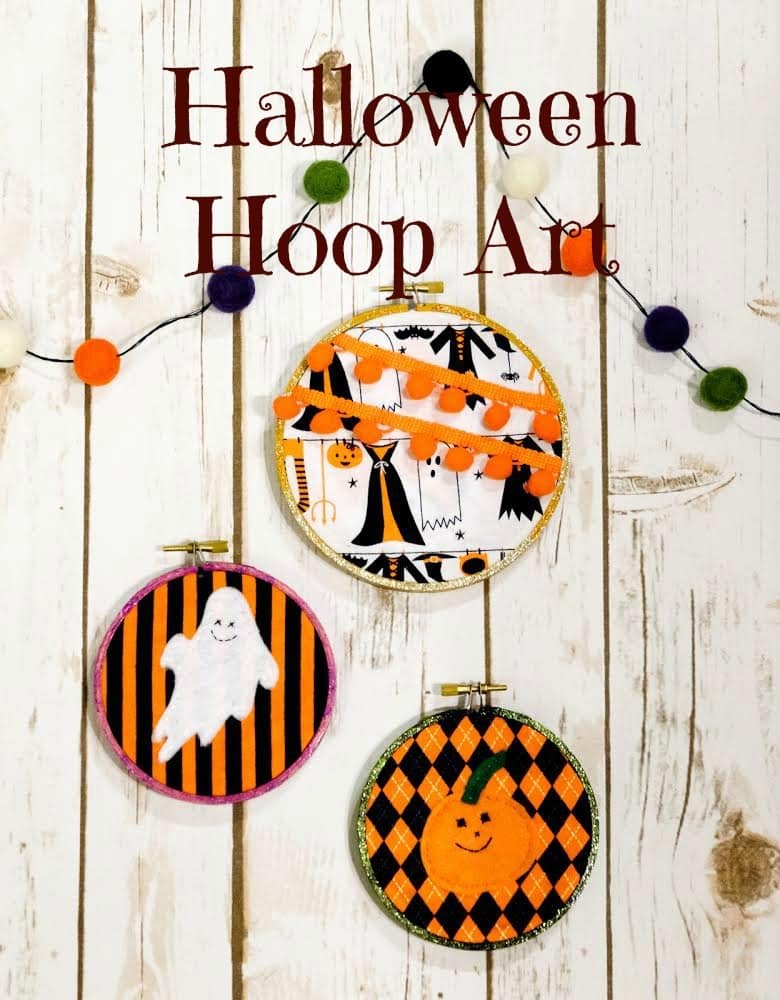
Halloween Hoop Art
If you’re looking for a last-minute decoration or gift for Halloween, I’ve got the perfect thing for you! My Halloween Hoop Art is fairly easy and totally customizable. I made these particular hoops as part of my gift for the Kawaii Halloween Swap (along with this Felt Ghost Key Fob), and I thought they were fun enough to share with you.
You will need:
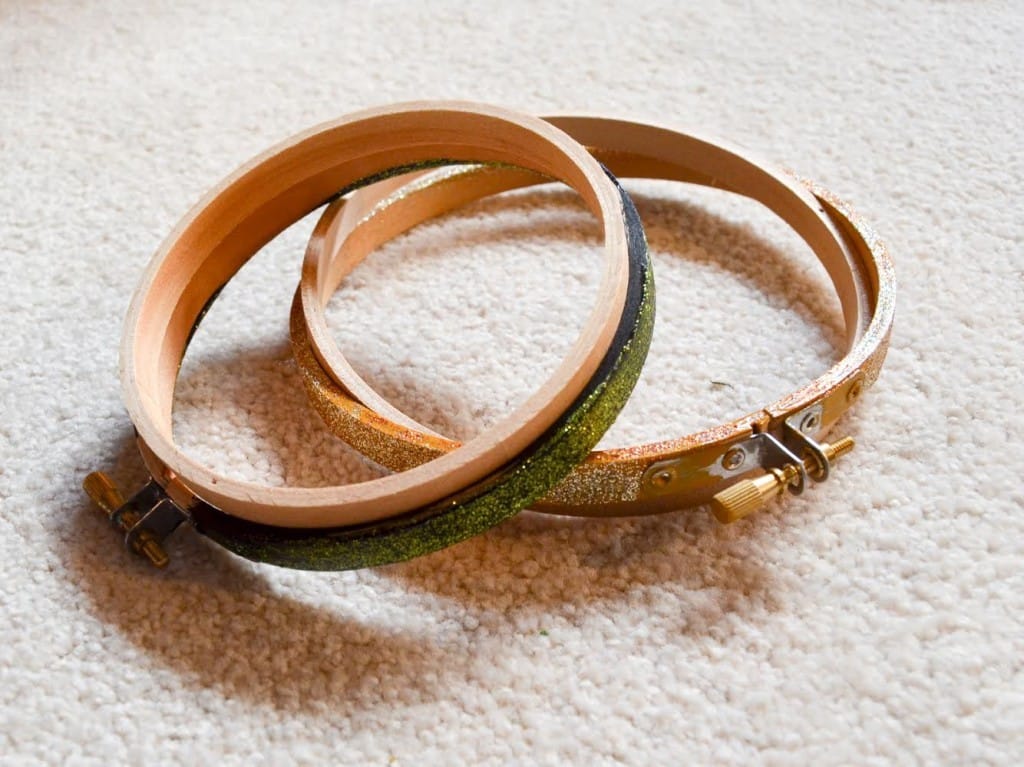
- glitter hoops
- three small pieces of Halloween fabric
- white felt
- orange felt
- green felt
- waste canvas
- Mod Podge
- orange pom pom ribbon
- black embroidery thread
- orange embroidery thread
- white embroidery thread
- green embroidery thread
- scissors
- needle
**Note** I’ve listed what I used–these are obviously customizable for your Halloween style!
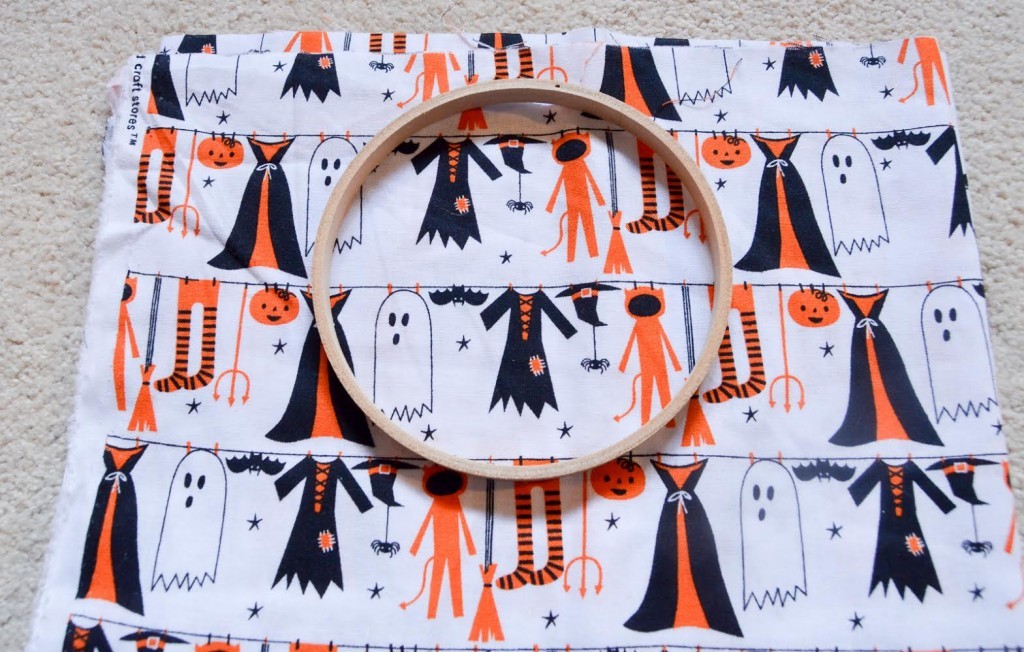
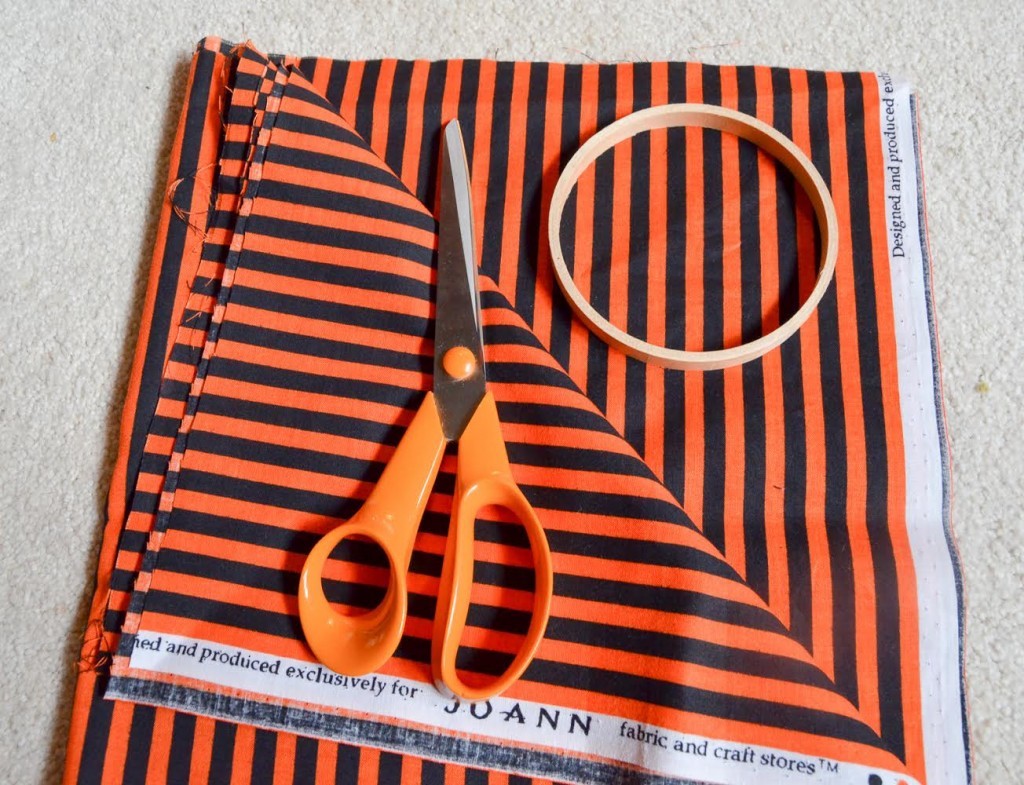
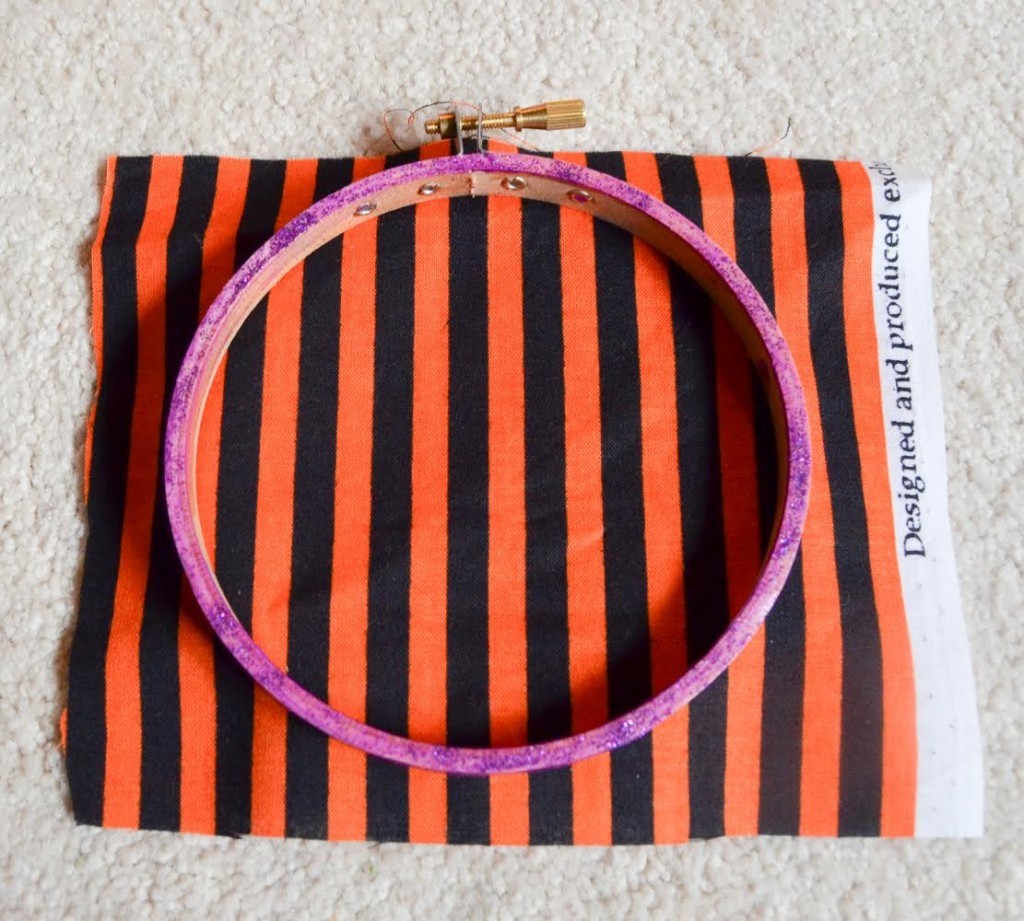
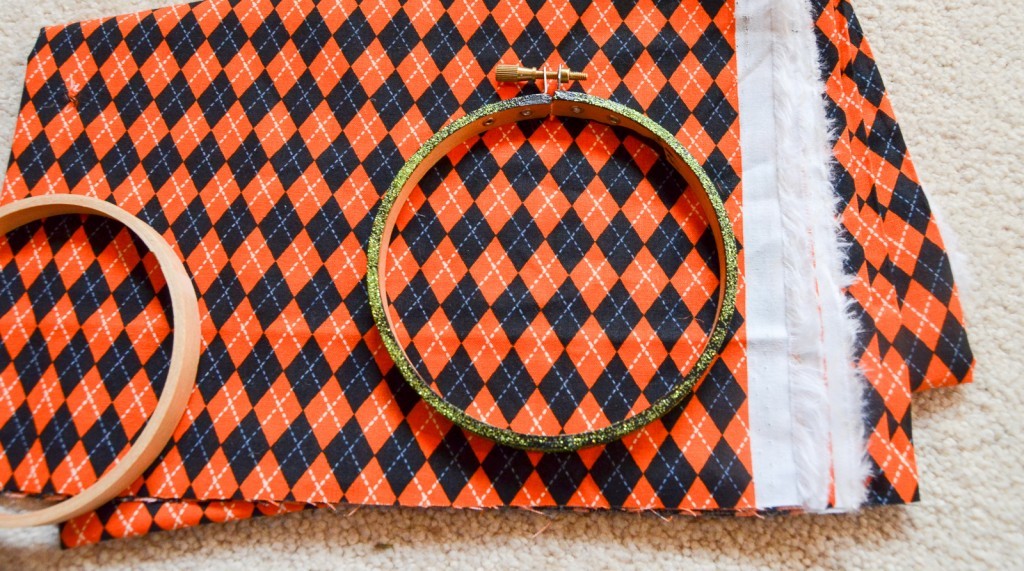
For your first hoop, cut a square of fabric slightly bigger than your inside hoop. Just put your hoop on the fabric to size it.
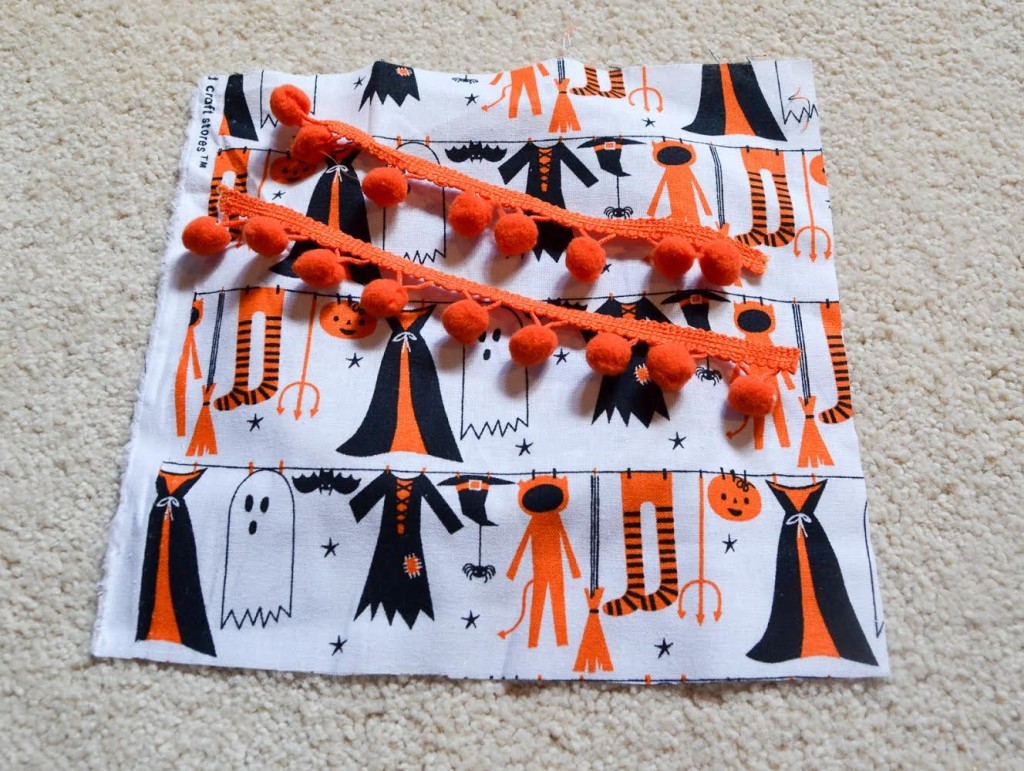
When your fabric is cut, place it on top of the inside hoop. Cut two pieces of the pom pom ribbon and place them where you want.
Attach the outside hoop and tighten.
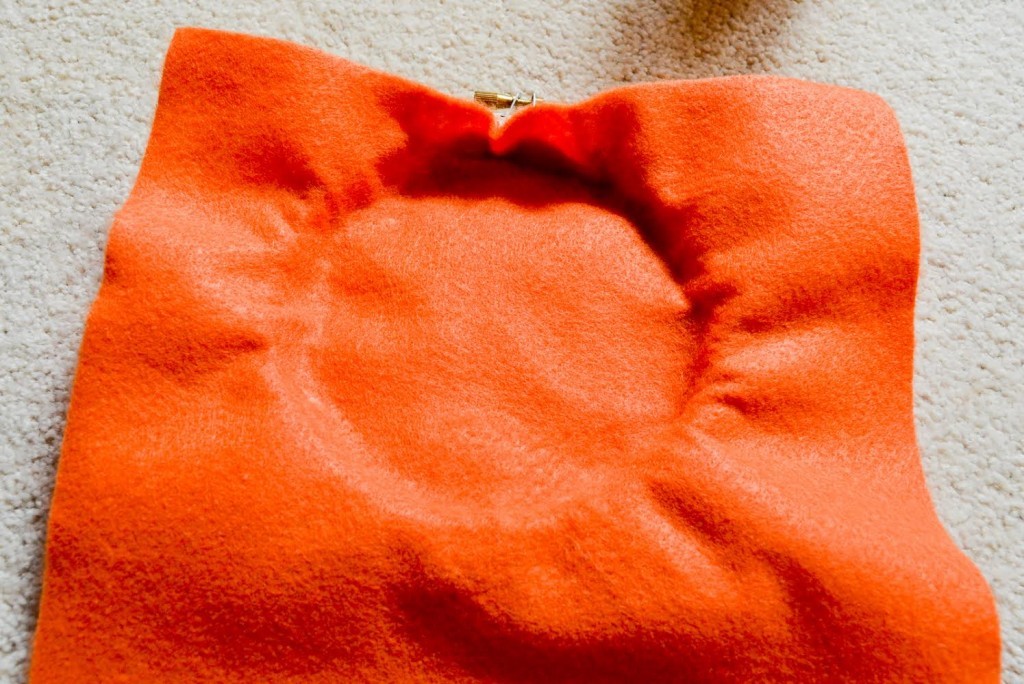
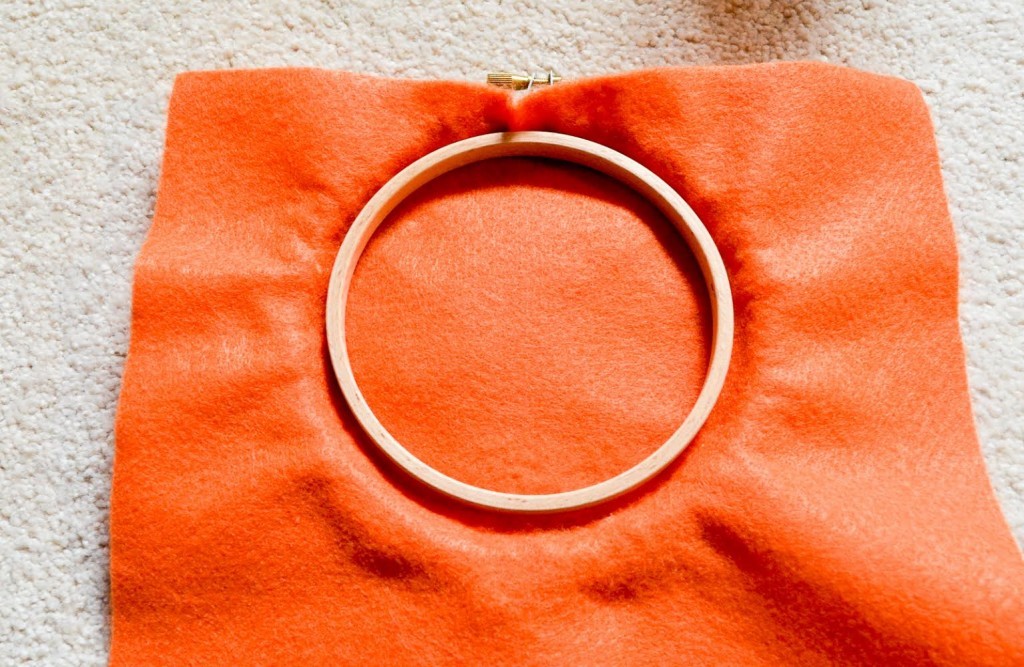
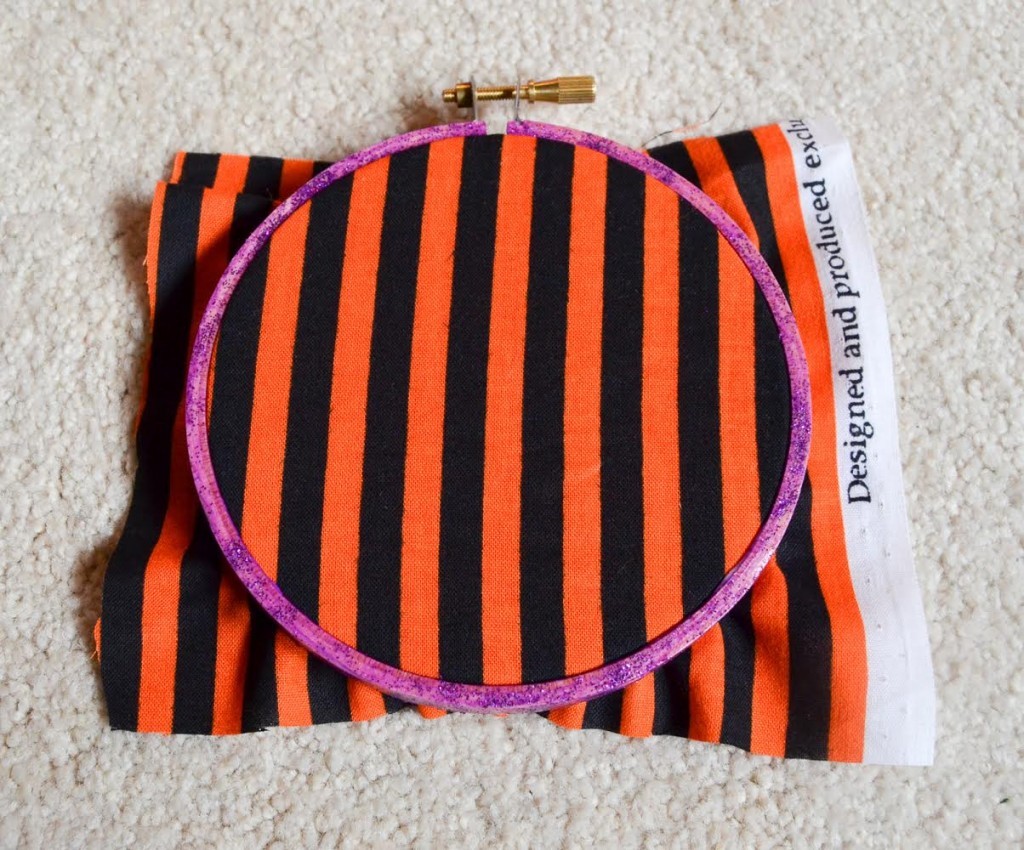
 Now, I know that everyone has different techniques to finish the back of hoops. For these, I tucked in the excess fabric and used Mod Podge around the outside.
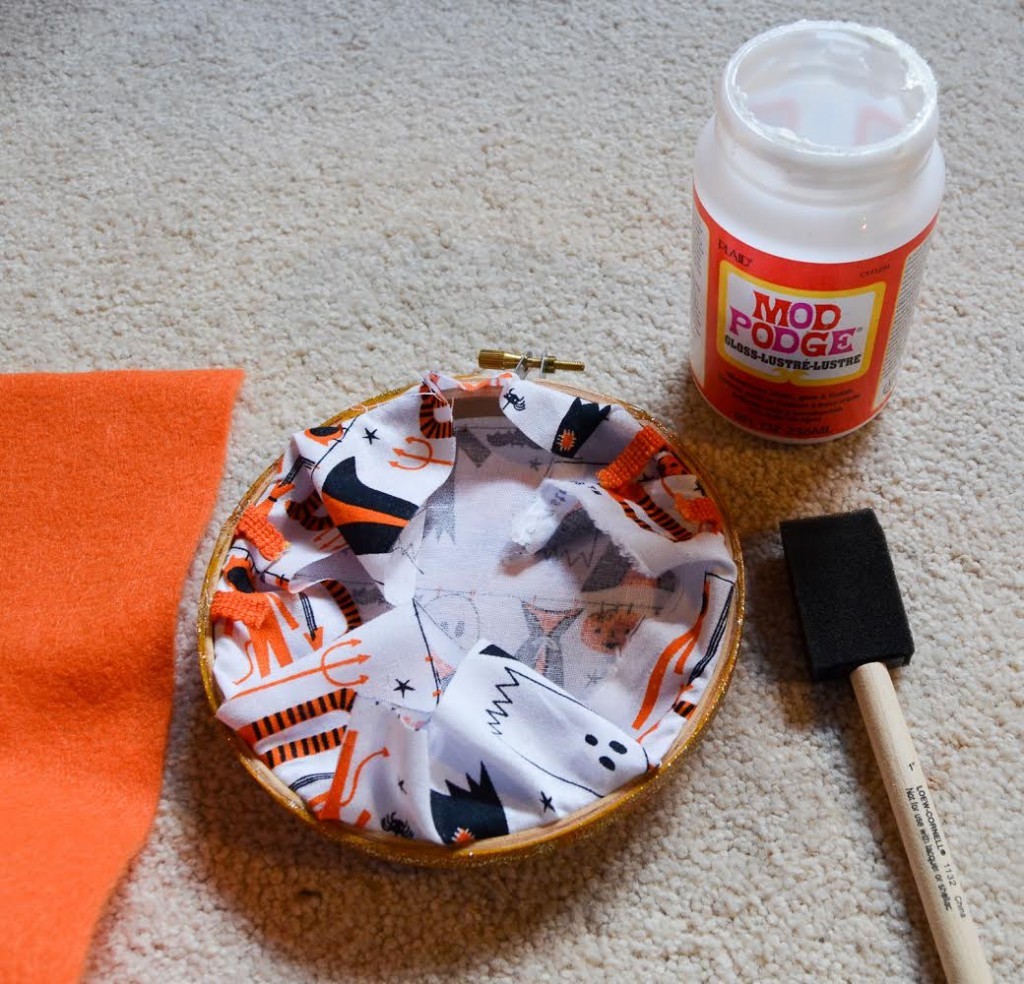
 I then pressed a piece of felt inside and placed another interior hoop of the same size to hold it down while it dried. Once it was dry, I removed the hoop and trimmed the felt. There are certainly more polished ways of doing backing. I’ve been experimenting and thought I’d share this version.
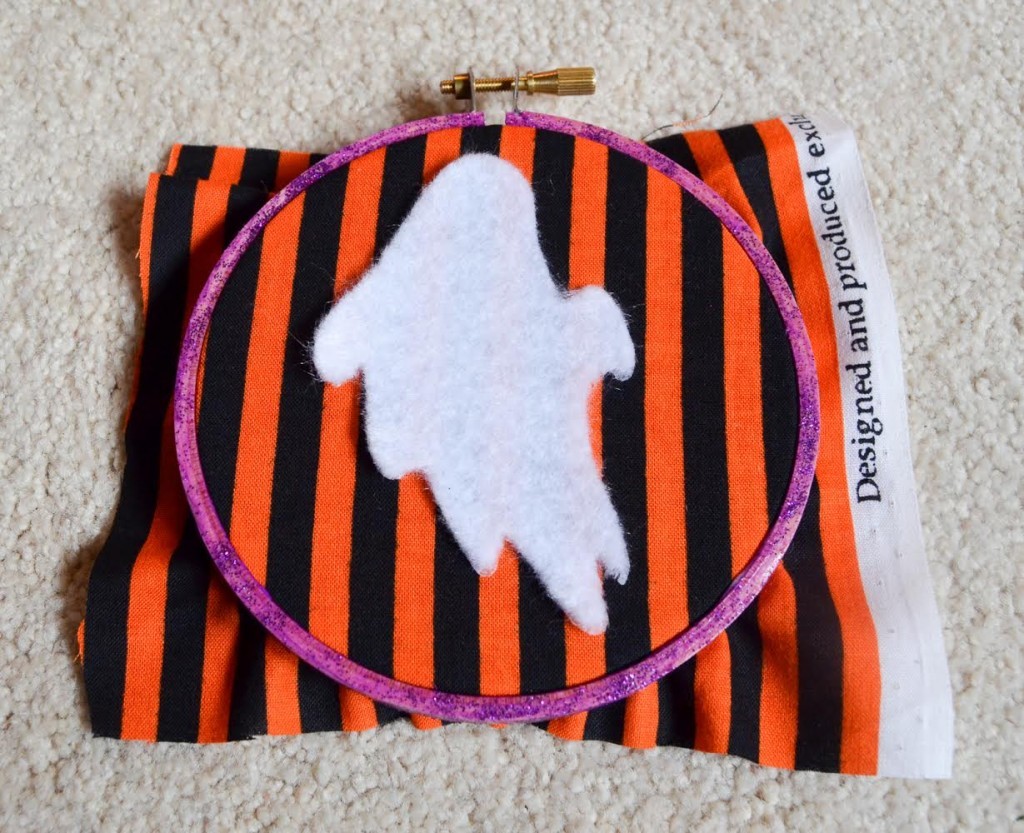
 For the second hoop, size your next piece of fabric and attach your hoops in the same way you did the first.
 Next, place a ghost shape on your fabric. You might recognize the ghost from my Ghost Headband.
 Stitch around the outside of the ghost using your white thread. I added cross stitch eyes and a smile using the black thread.
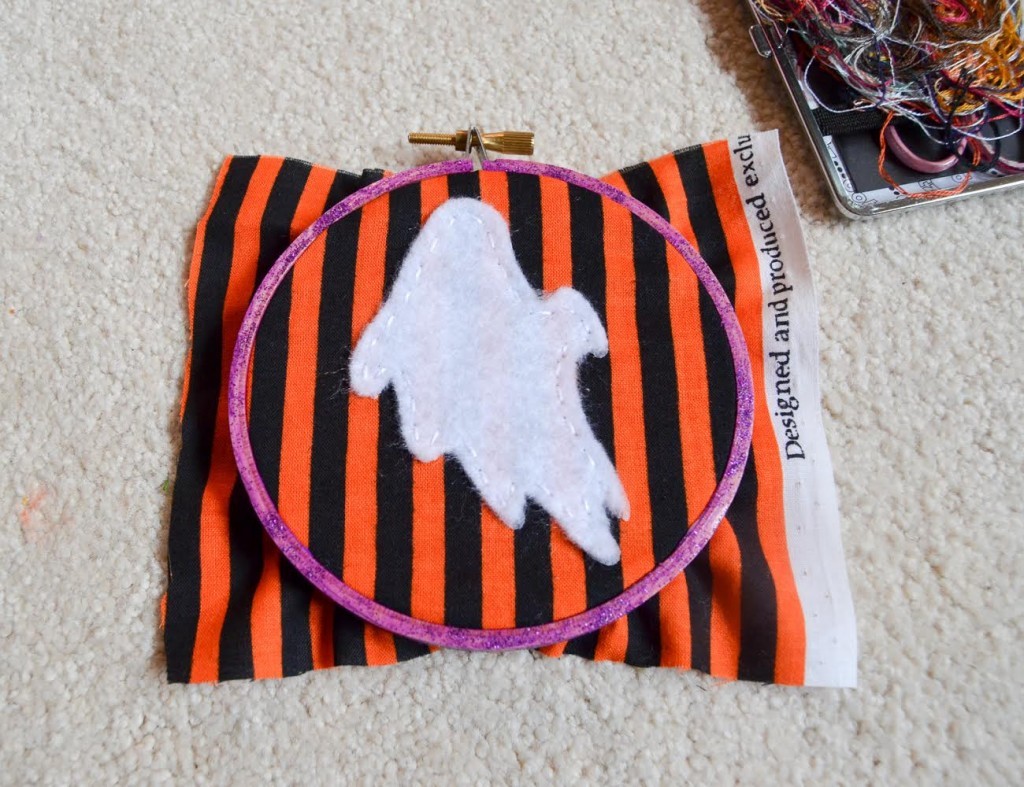 I finished the back in the same way as the first.
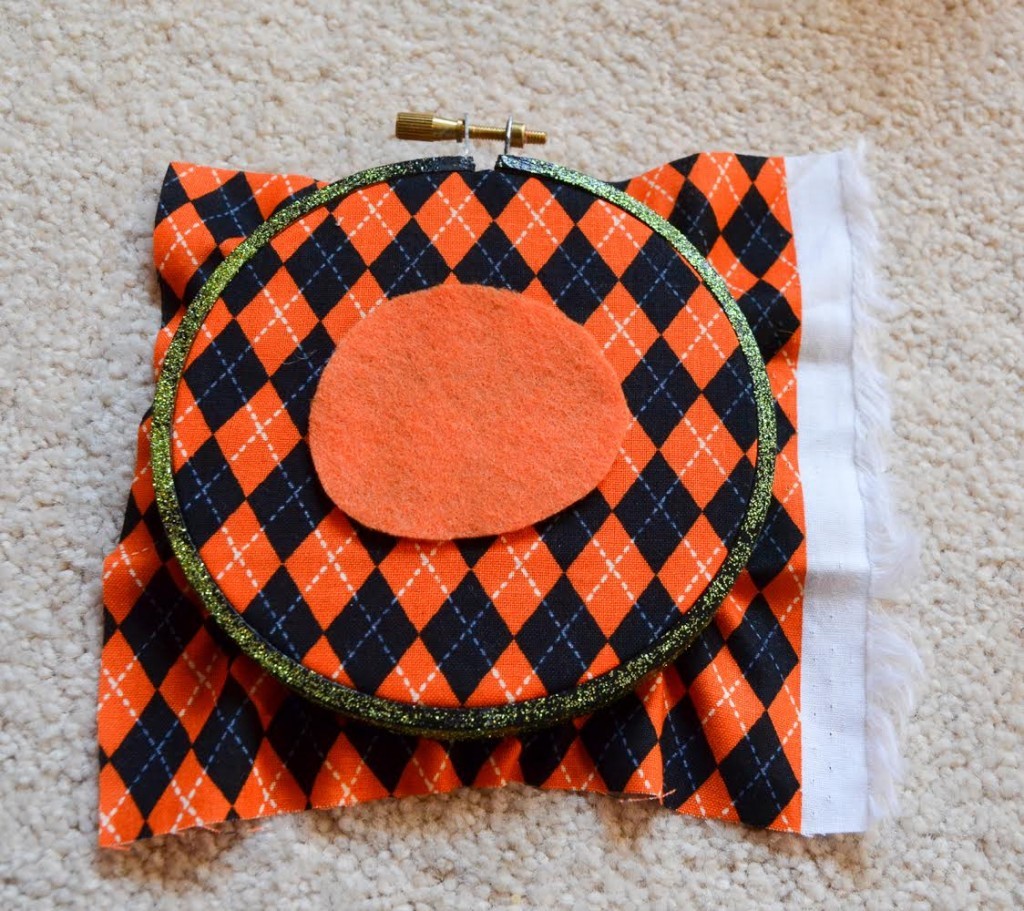
My final hoop is the most labor intensive (but still not too difficult!). Size, place, and attach your third piece of fabric in the same way as the other hoops.
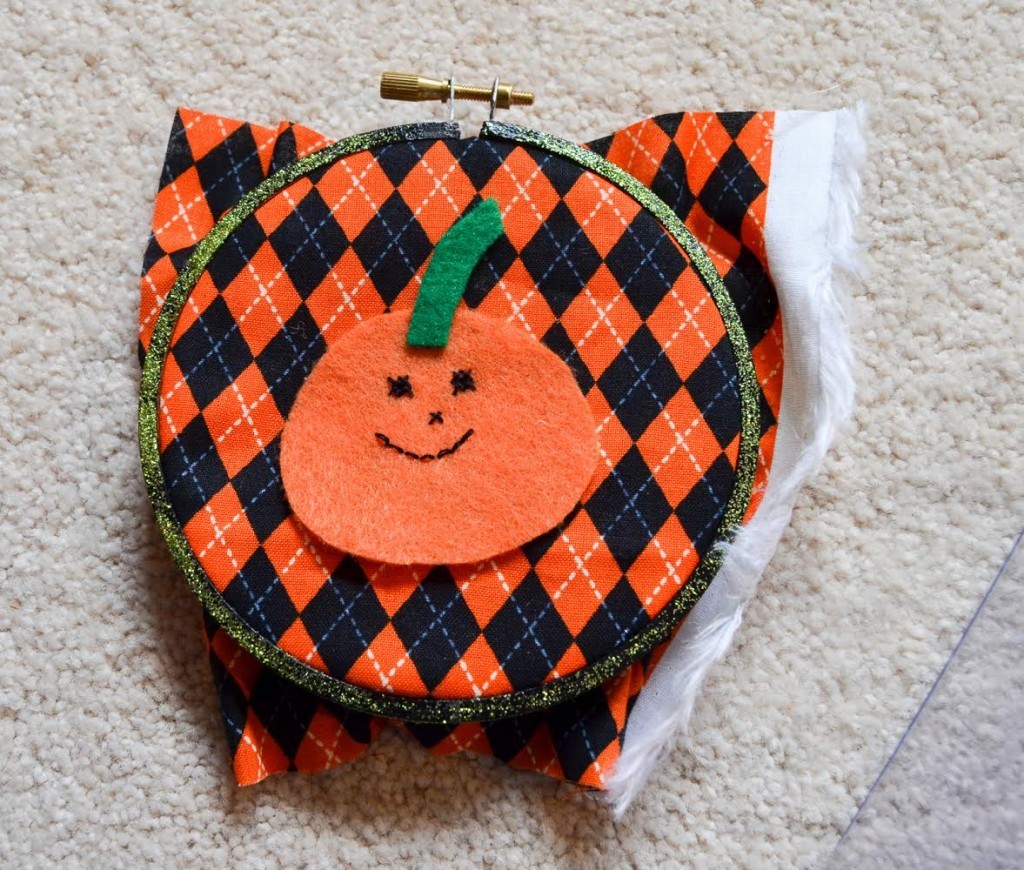
 Cut a pumpkin shape out of the orange felt and place it on your hoop.
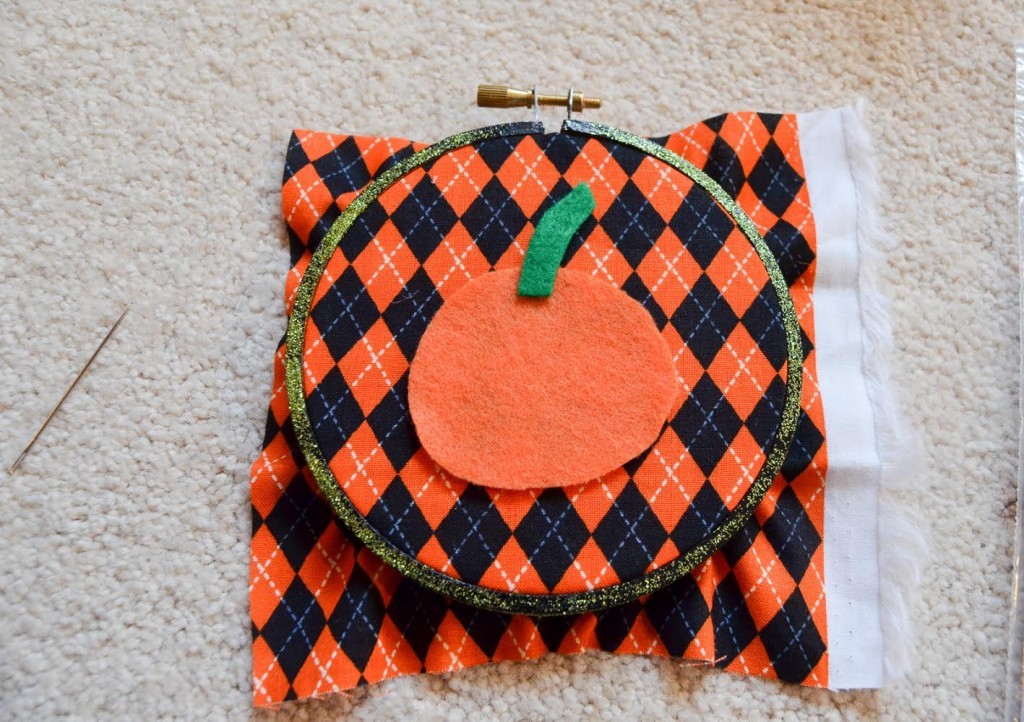
 Cut a small stalk out of the green felt and place it on the pumpkin.
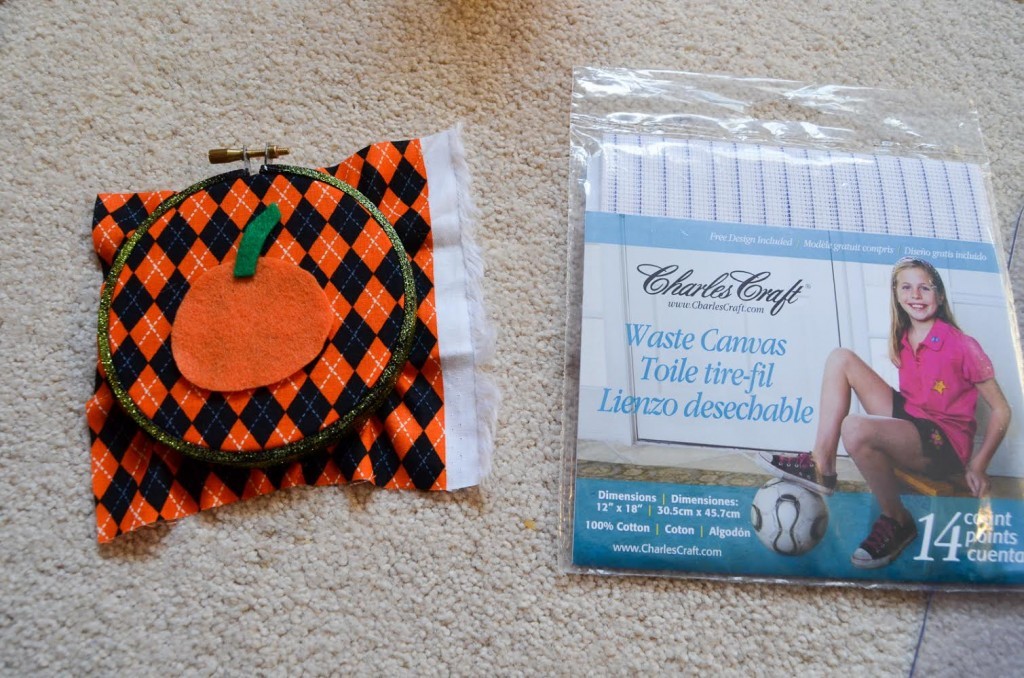
 I wanted to make the eyes on the pumpkin neater, so decided to use waste canvas. Cut out a small piece and place it over your pumpkin.
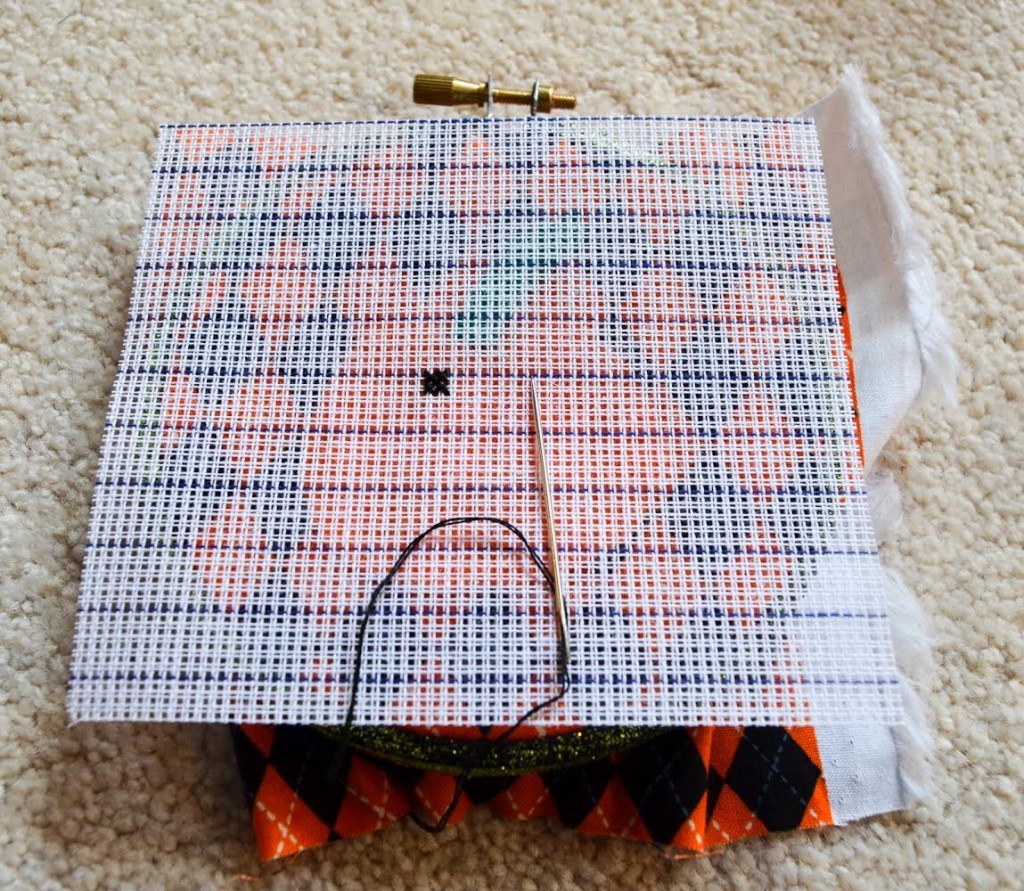 This will allow you to stitch evenly. I used four cross stitch stitches for each eye, one for the nose, and straight stitches for the mouth. Once you are finished stitching, pull the threads on the waste canvas to remove it.
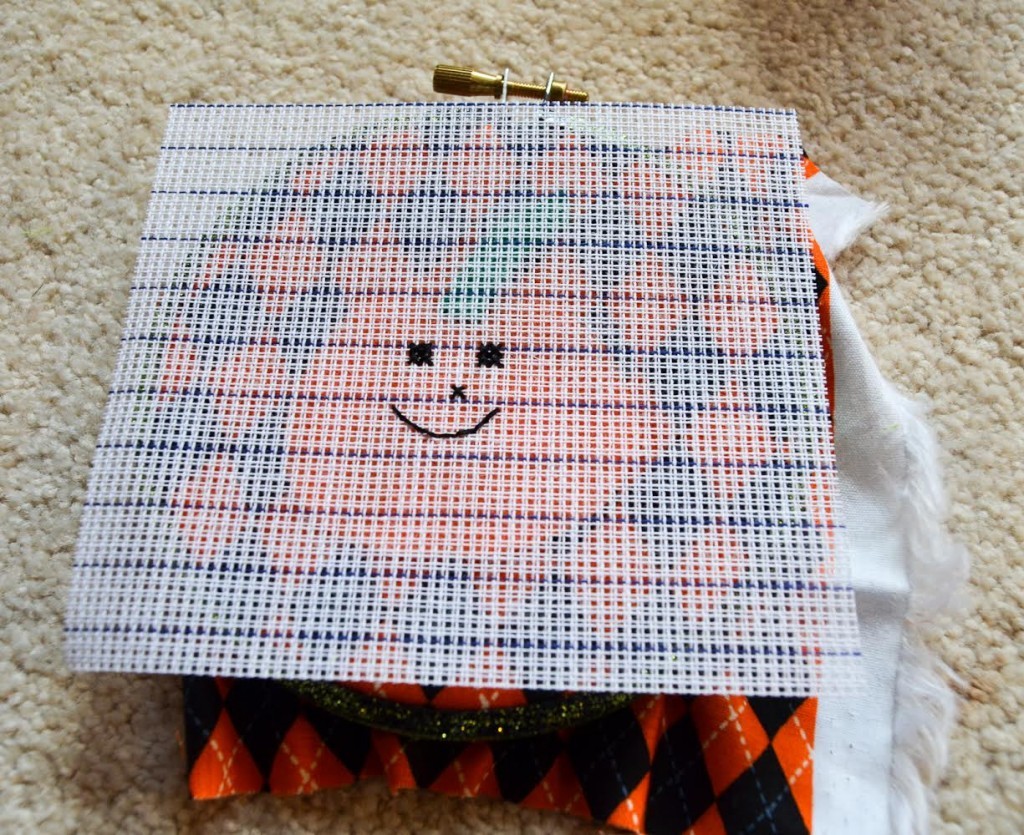
 Next, stitch around the pumpkin using the orange thread. Stitch the stem in green.
 Finish the back in the same way as the others.
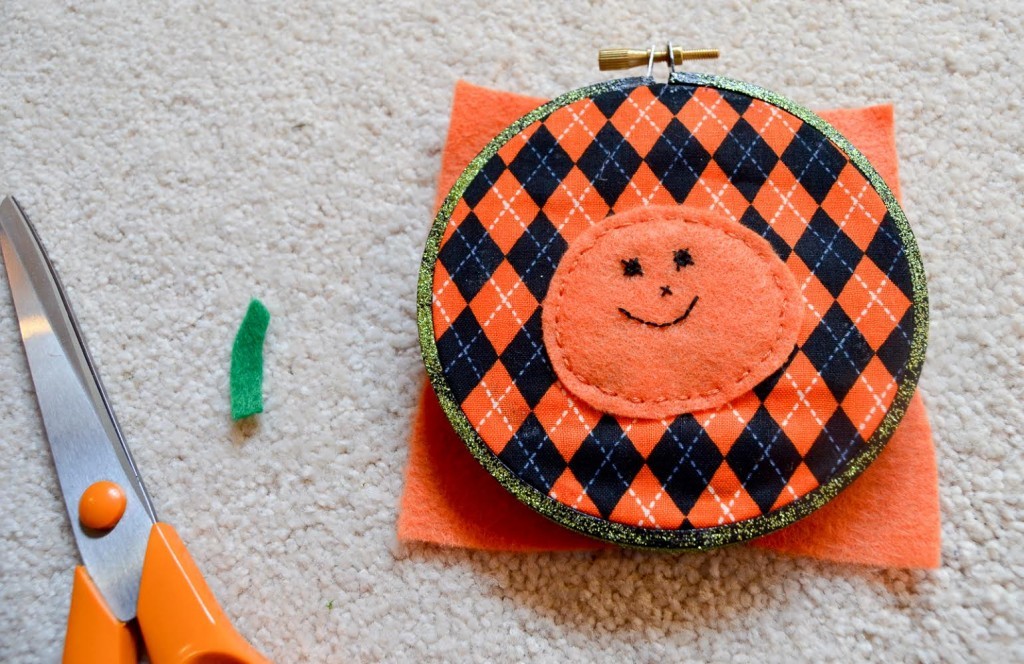
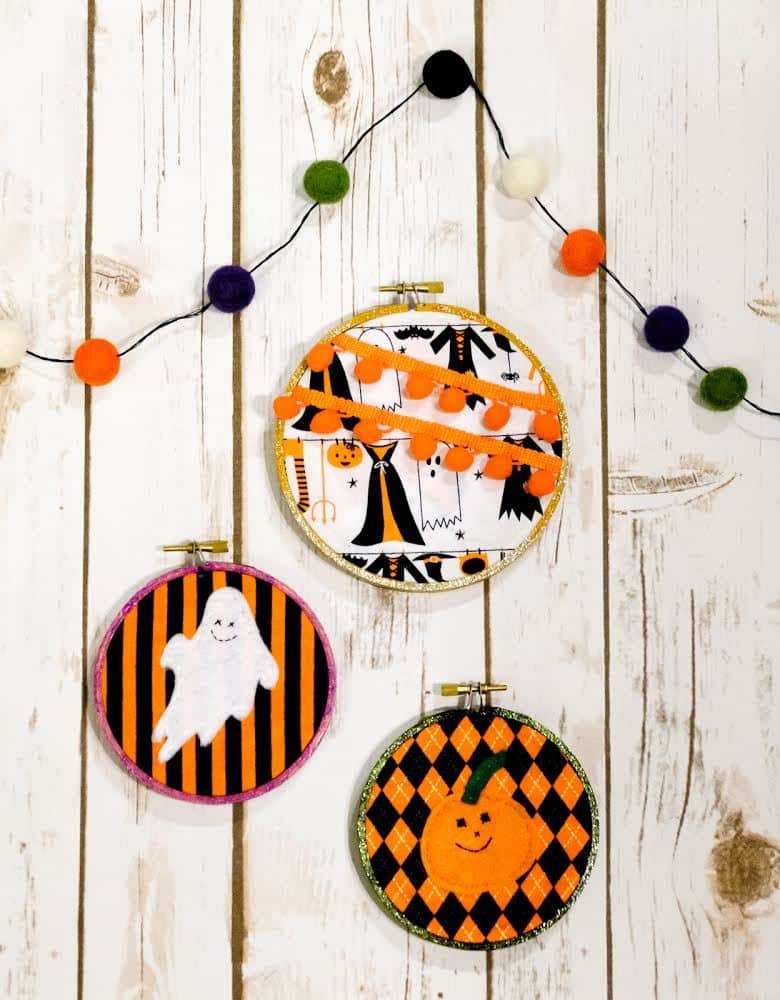
Your Halloween Hoop Art Trio is finished! It’s such happy hoop art and the perfect last minute addition to your Halloween decorations or as a gift!


Those are soooo adorable! Love it!
Sarah Halstead recently posted…Dream Create Inspire Party Week #1