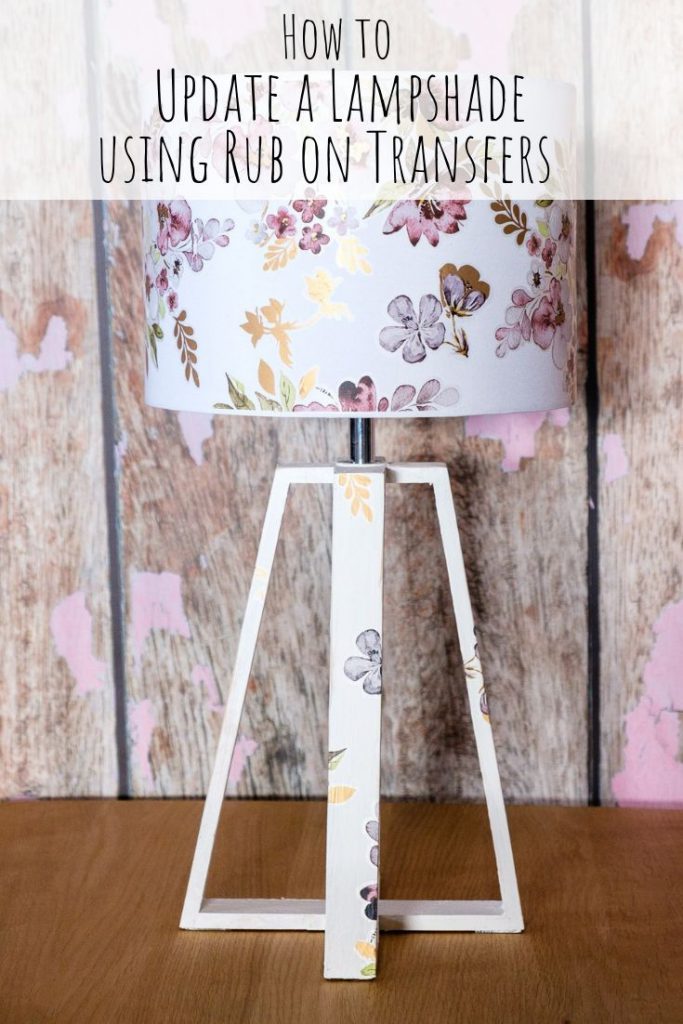
We are slowly but surely putting our stamp on our new home. We have a lot of big projects on our list but I’m finding great joy in the smaller ones. One big problem we currently have is that there simply isn’t enough light in the house. It’s winter, so it’s dark already and there aren’t many light fixtures in the house right now. I bought a couple of cheap lamps from Kmart just to help out with the lighting situation, but I barely took them out of the box before I knew that there was no way I wasn’t going to update them in some way. Using rub on transfers was a fun and easy lampshade update and barely took any time at all.
This post contains affiliate links.
Supplies:
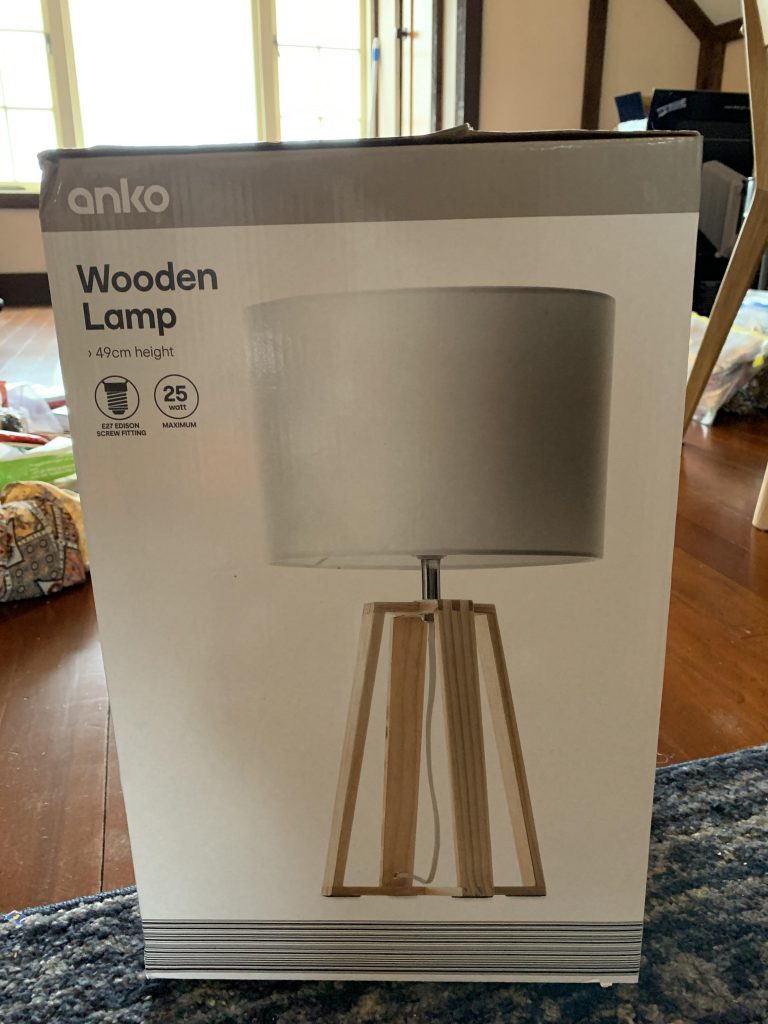
a basic lampshade (my lamp and shade came from Kmart)
white paint (obviously optional–I painted the lamp base)
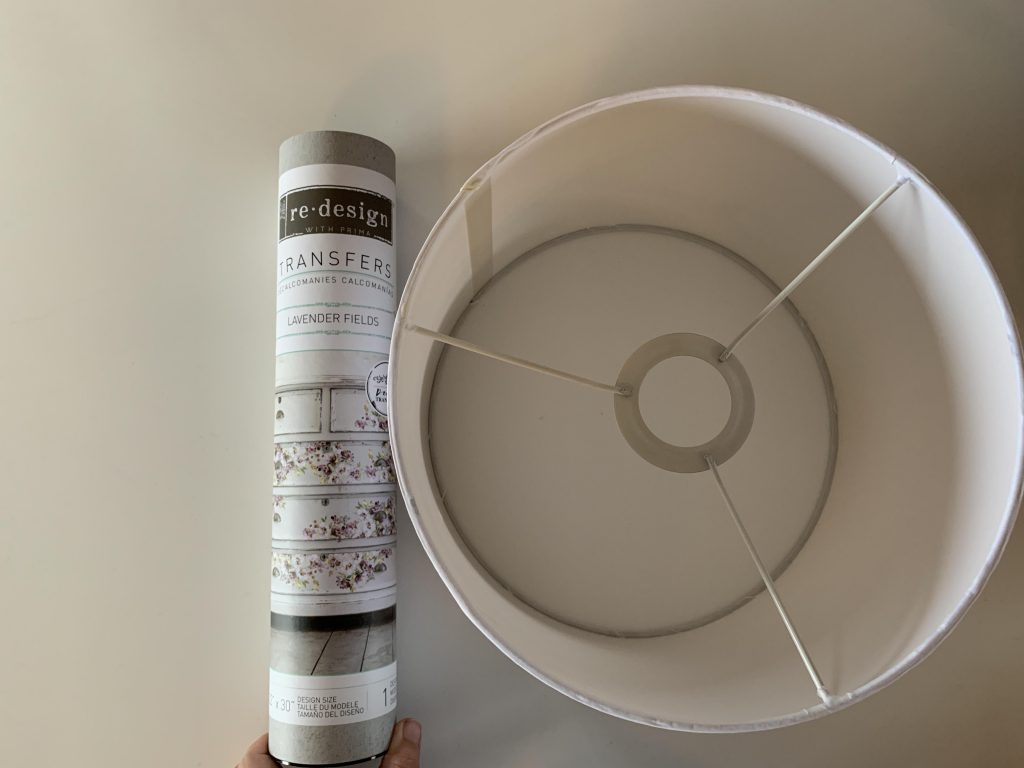
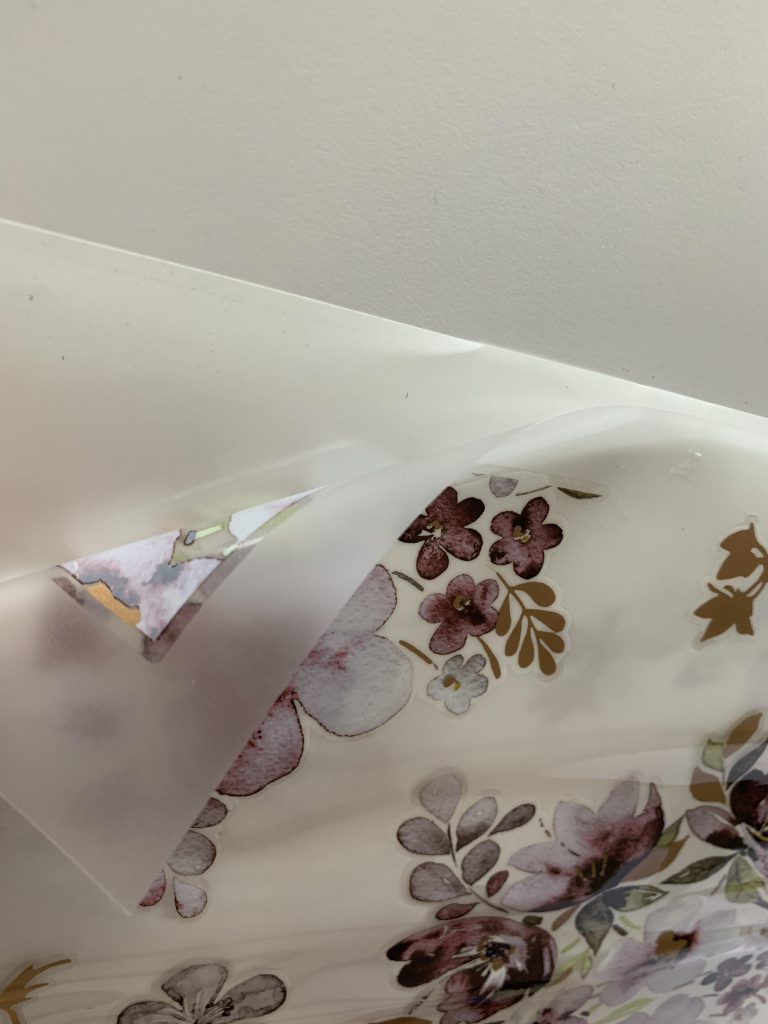
When you open the tube of transfers, you’ll find three sheets composed of the transfer on a film and a paper back. There will also be a stick to use to rub the transfer onto the surface.
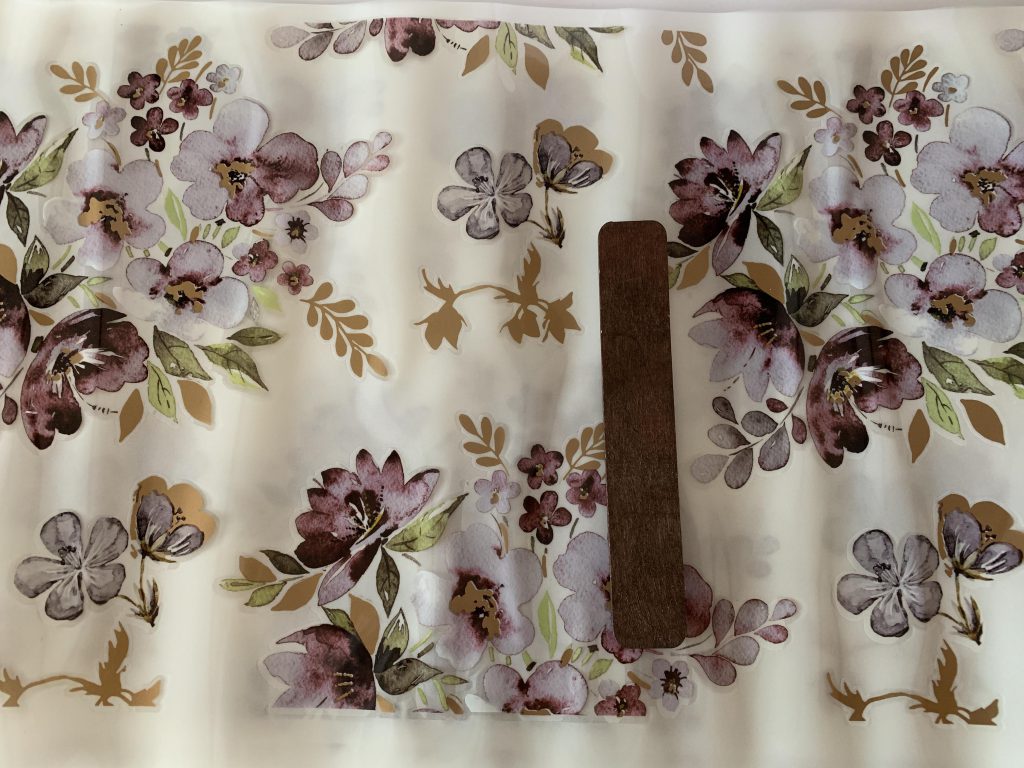
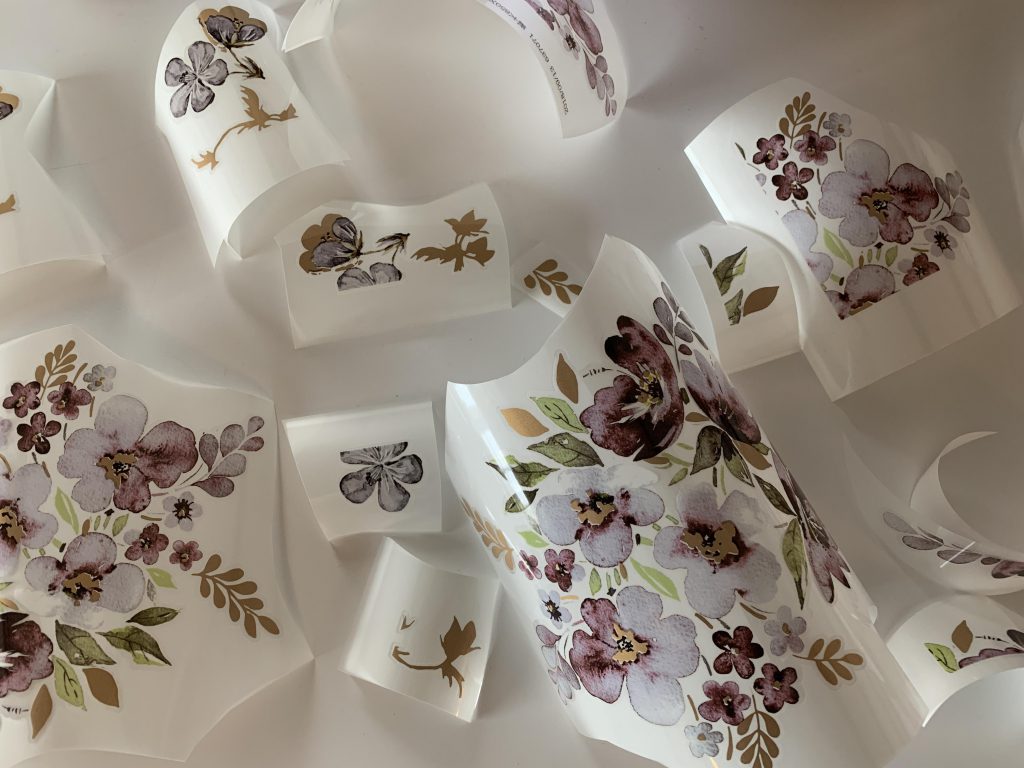
Cut out the different shapes. Make sure to keep the transfer film and paper backing together so that the transfer doesn’t get messed up.
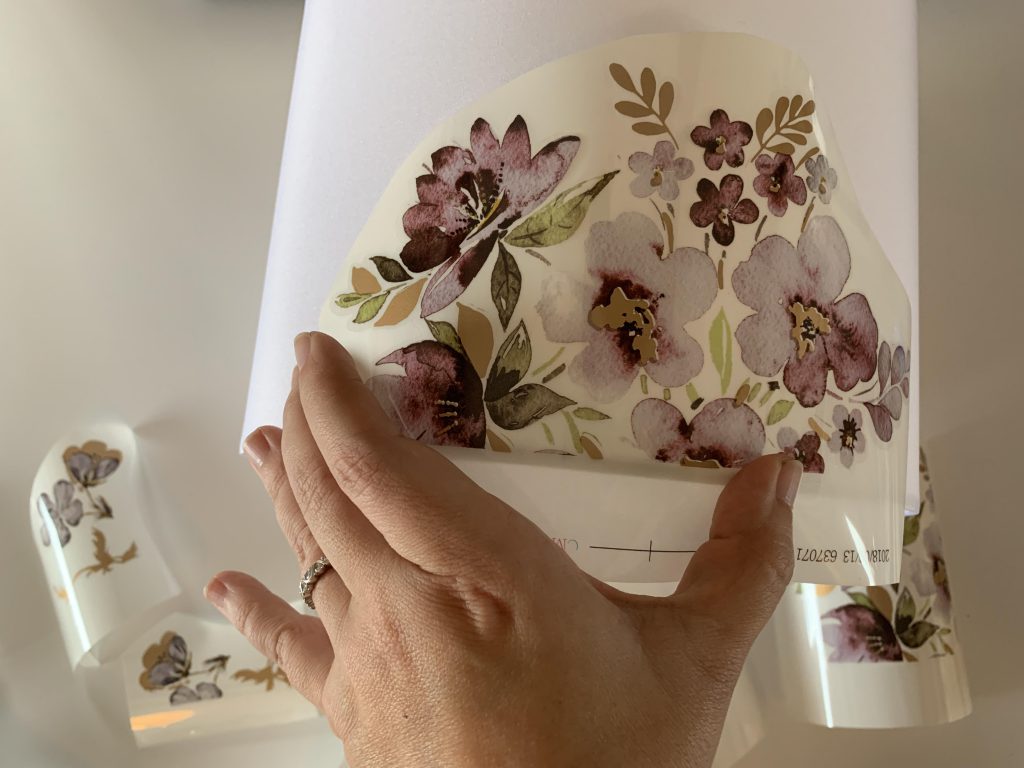
Play around with where you want the transfers to go. When you’ve decided on placement, remove the paper backing.
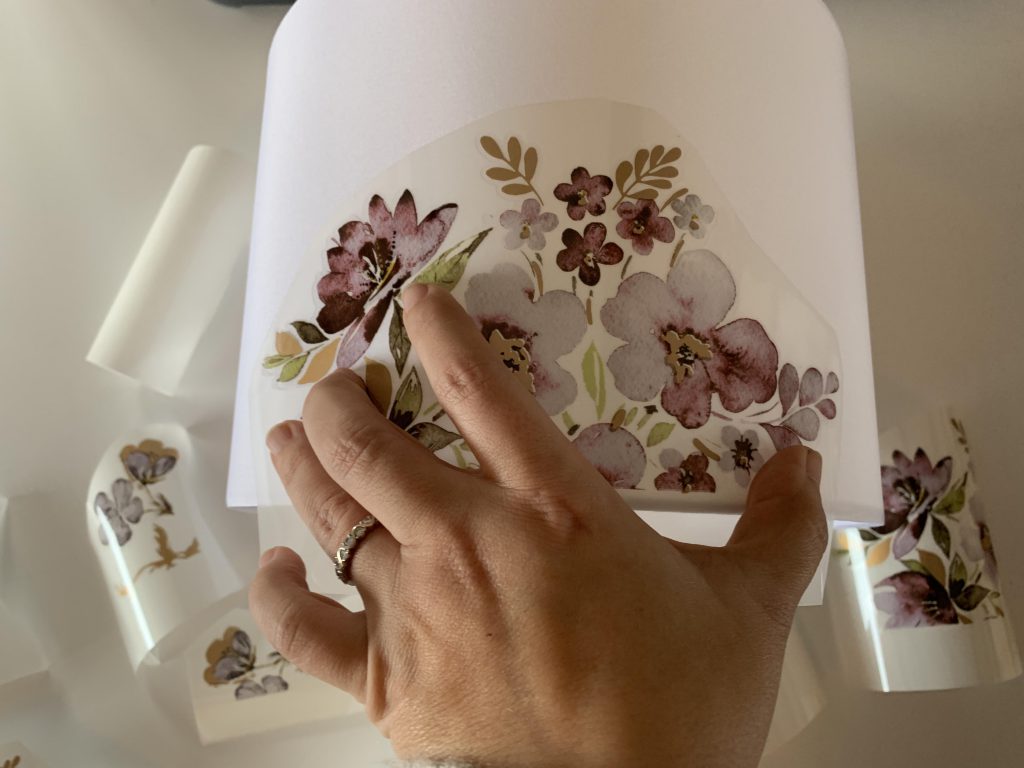
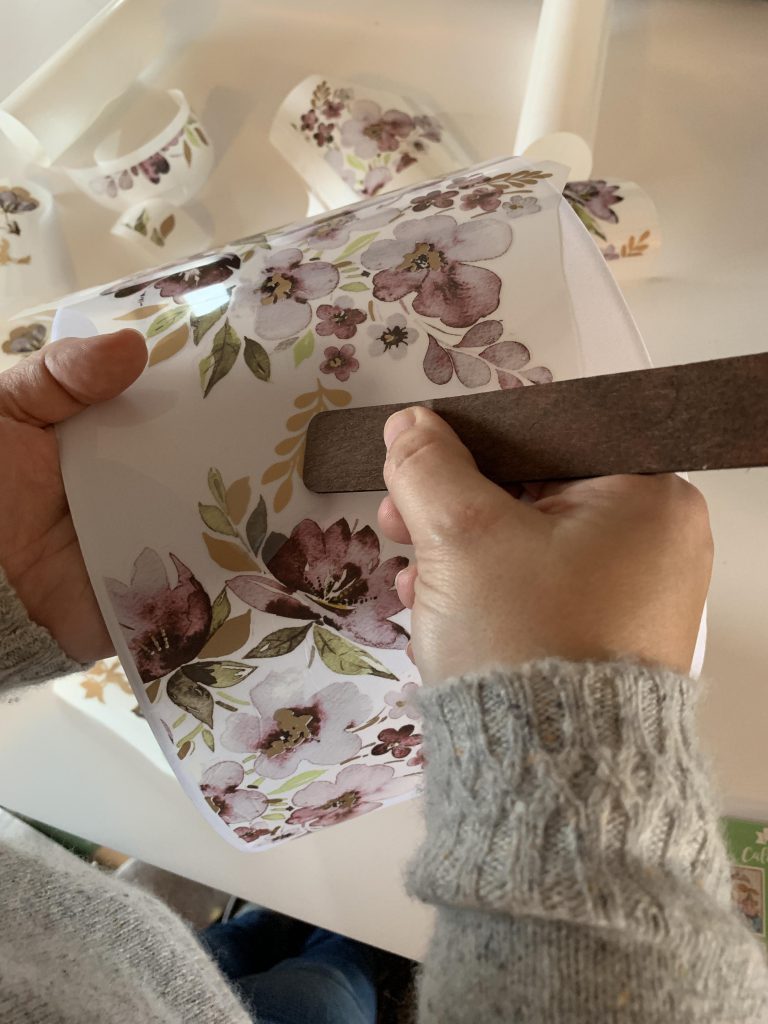
It’s a little bit finicky to get the transfer to adhere to the lampshade because it’s not a hard surface. Place one hand under where you are using the rubbing stick to make the surface as firm as possible. Do a small section at a time, moving your hand accordingly. You need to use a decent bit of pressure when rubbing, so it’s important to have your hand at the back so that you don’t push through the shade.
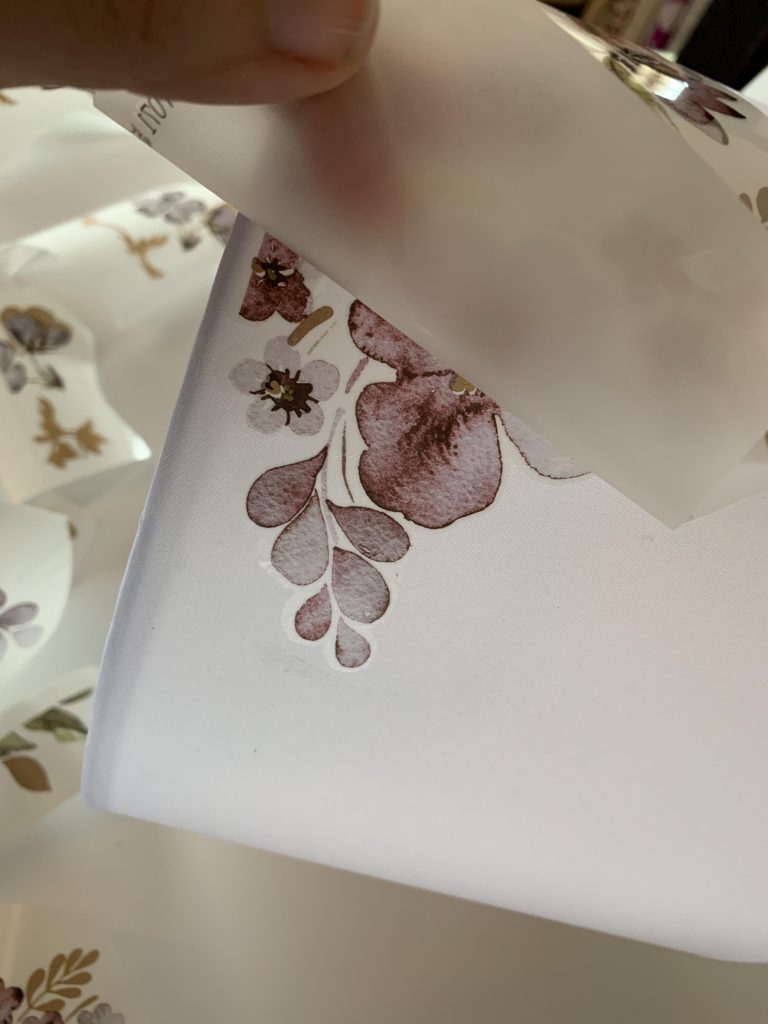
Carefully peel the film away once you’ve rubbed over the image. Pull it away slowly so that you can go back and rub the transfer more if you need to.
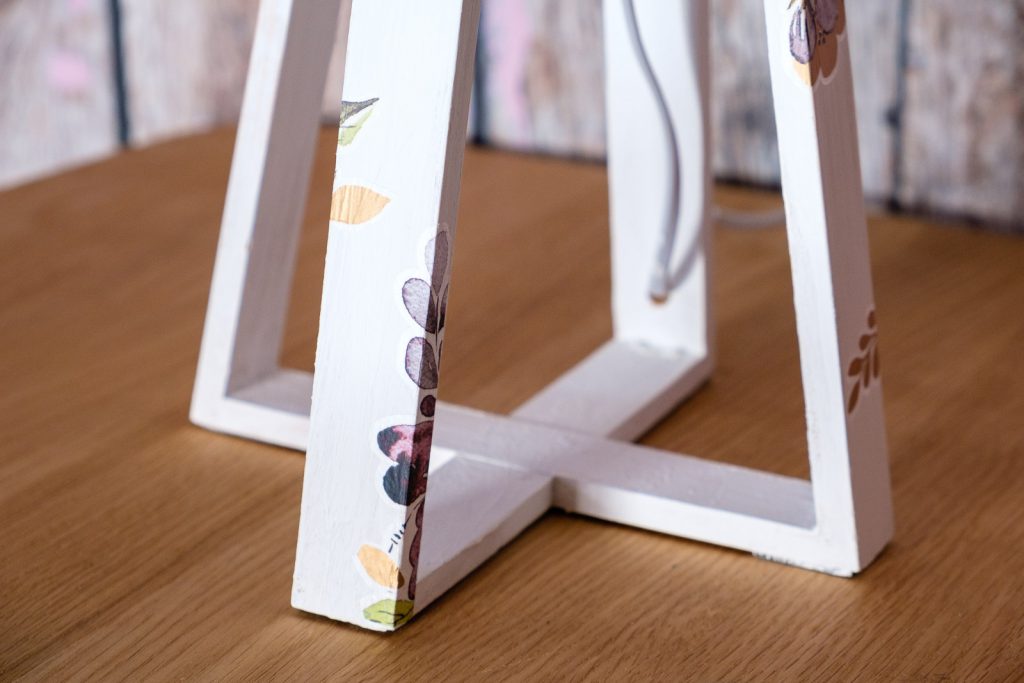
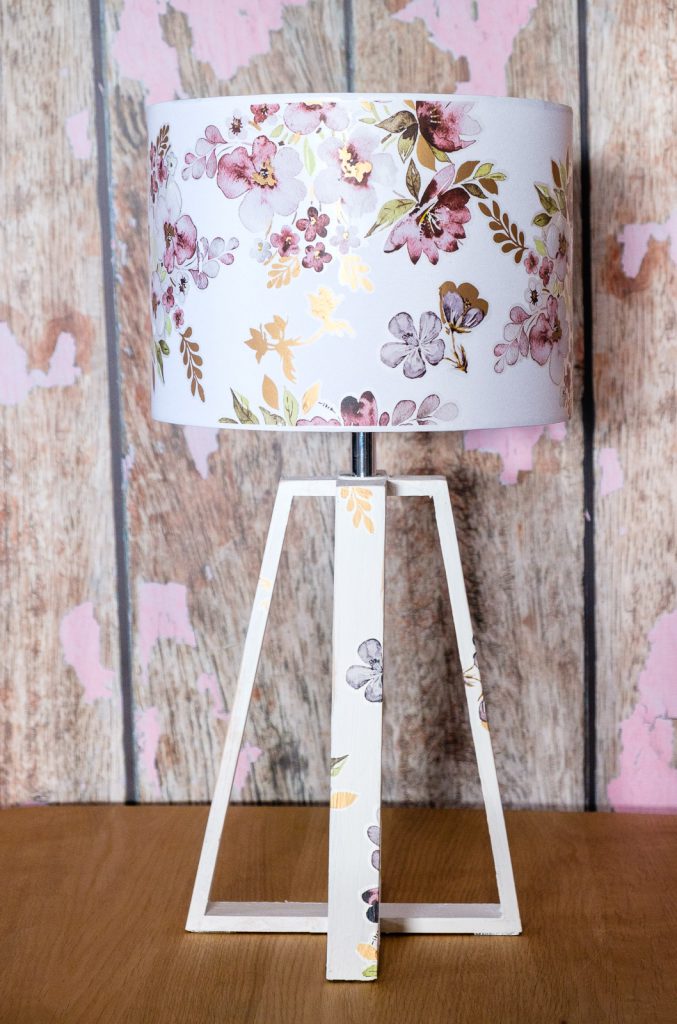
I painted the base of the lamp white and attached more of the rub on transfers. It’s an easy way to decorate a lamp base.
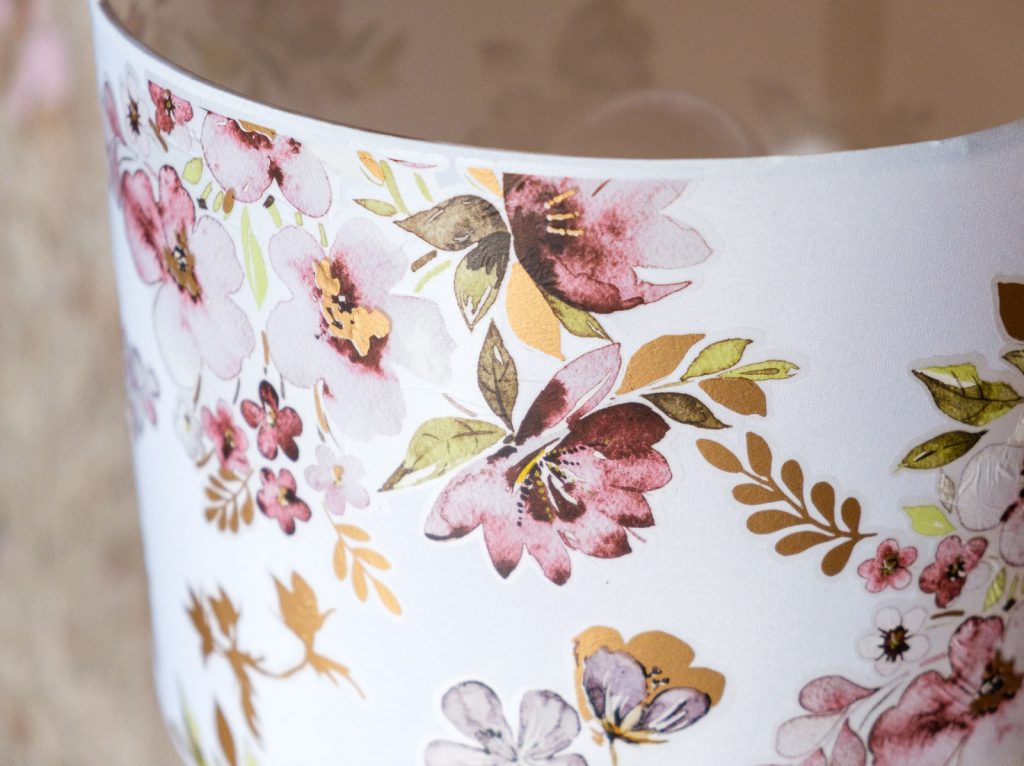
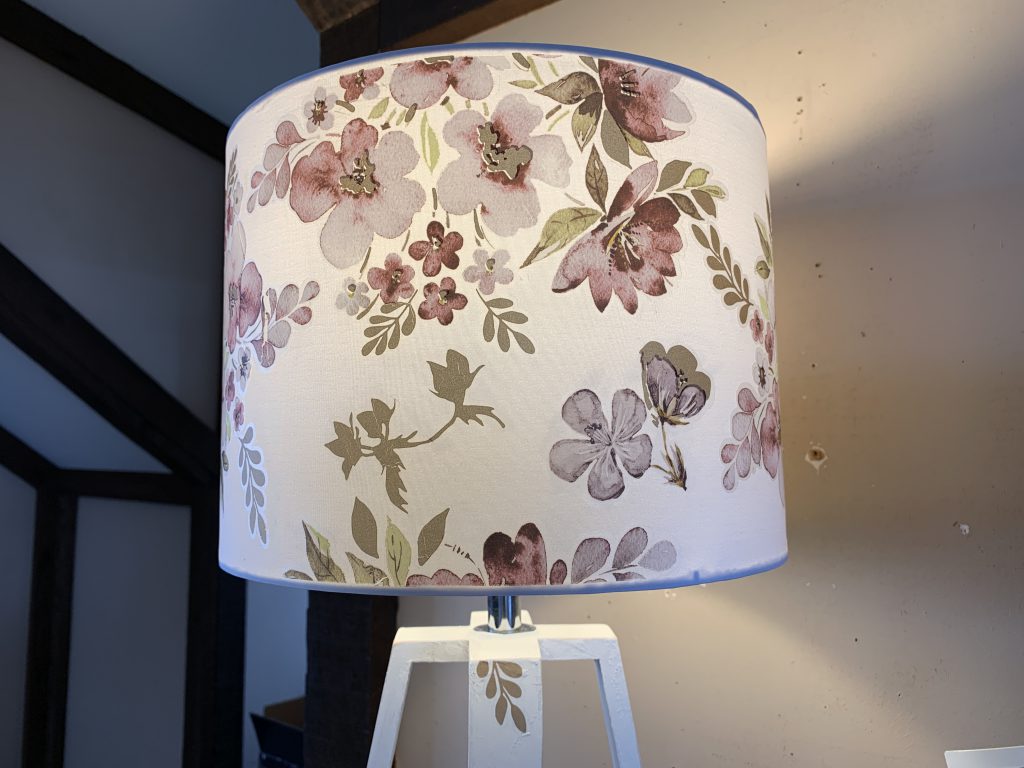
This DIY lampshade makeover is so easy and is such a pretty updated look. When the lamp is turned on it’s easy to think that it’s a floral fabric lamp.
Now that I know just how easy it is to update a lampshade using rub on transfers, I’m tempted to buy all the shades and all the transfers. My new lamp is so pretty sitting on my desk. It’s the little touches like this that go a long way to making us feel like this house is really our home.
Hi! My assumption is that other transfers will work on a lamp shade, too. Maybe try a super small test patch to double check, but as long as the shade is fairly firm, I think it should work!
This website uses cookies to improve your experience. We'll assume you're ok with this, but you can opt-out if you wish.AcceptRejectRead More
Privacy & Cookies Policy
Privacy Overview
This website uses cookies to improve your experience while you navigate through the website. Out of these, the cookies that are categorized as necessary are stored on your browser as they are essential for the working of basic functionalities of the website. We also use third-party cookies that help us analyze and understand how you use this website. These cookies will be stored in your browser only with your consent. You also have the option to opt-out of these cookies. But opting out of some of these cookies may affect your browsing experience.
Necessary cookies are absolutely essential for the website to function properly. This category only includes cookies that ensures basic functionalities and security features of the website. These cookies do not store any personal information.
Any cookies that may not be particularly necessary for the website to function and is used specifically to collect user personal data via analytics, ads, other embedded contents are termed as non-necessary cookies. It is mandatory to procure user consent prior to running these cookies on your website.


I want to redo my lamp shade. Can you use any kind of transfer on the lamp shade? I’m on a budget
Hi! My assumption is that other transfers will work on a lamp shade, too. Maybe try a super small test patch to double check, but as long as the shade is fairly firm, I think it should work!