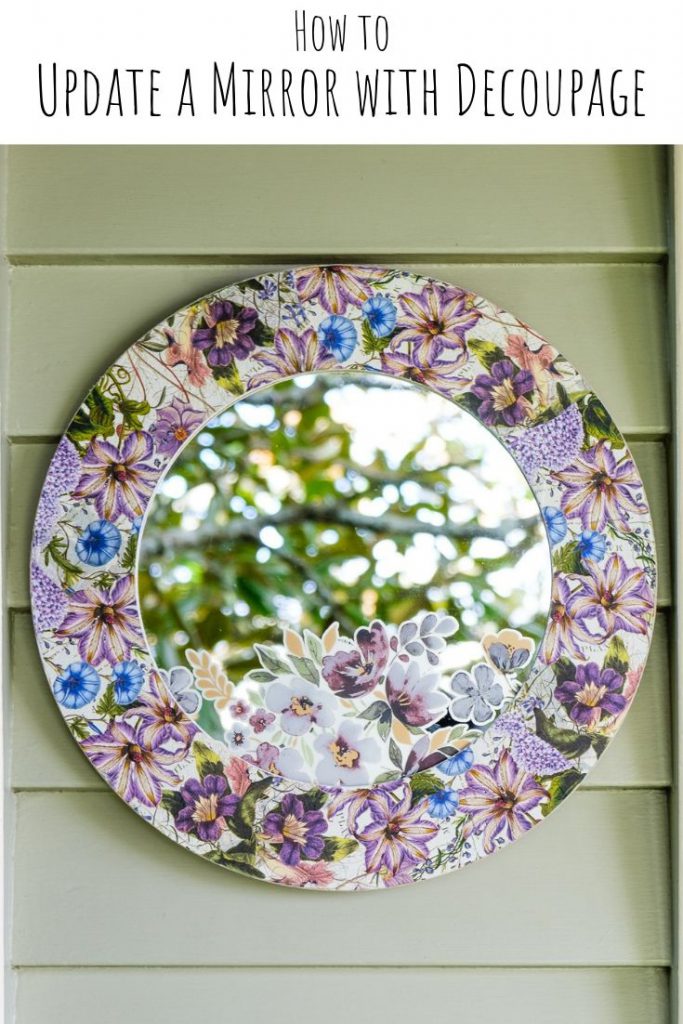
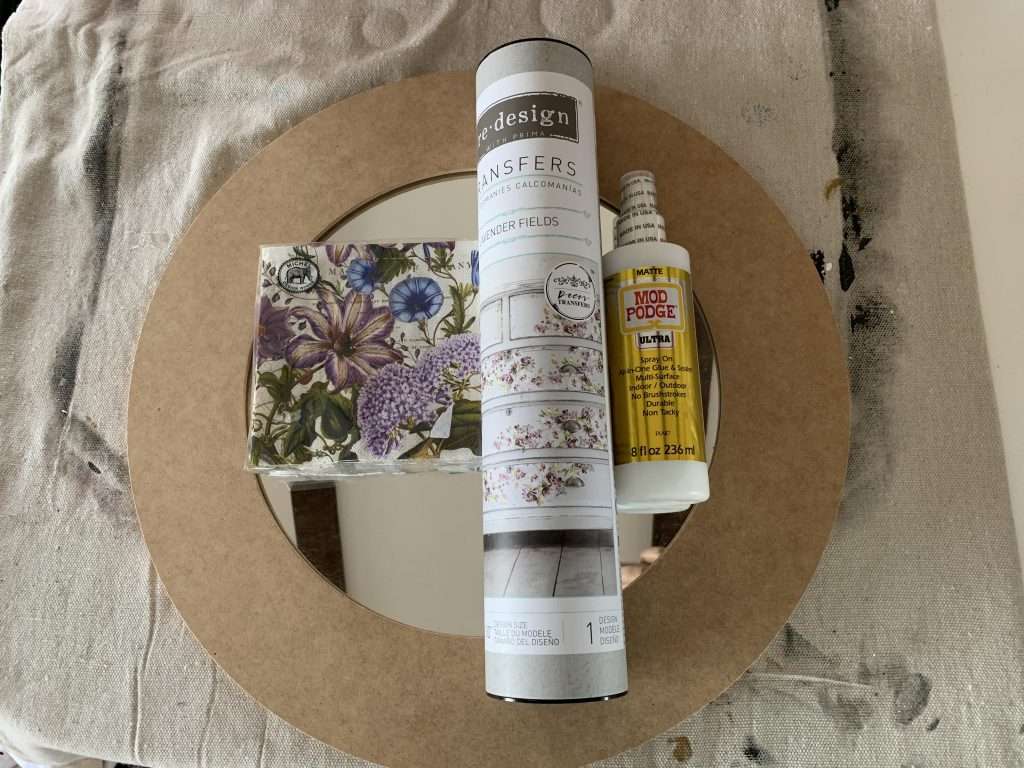
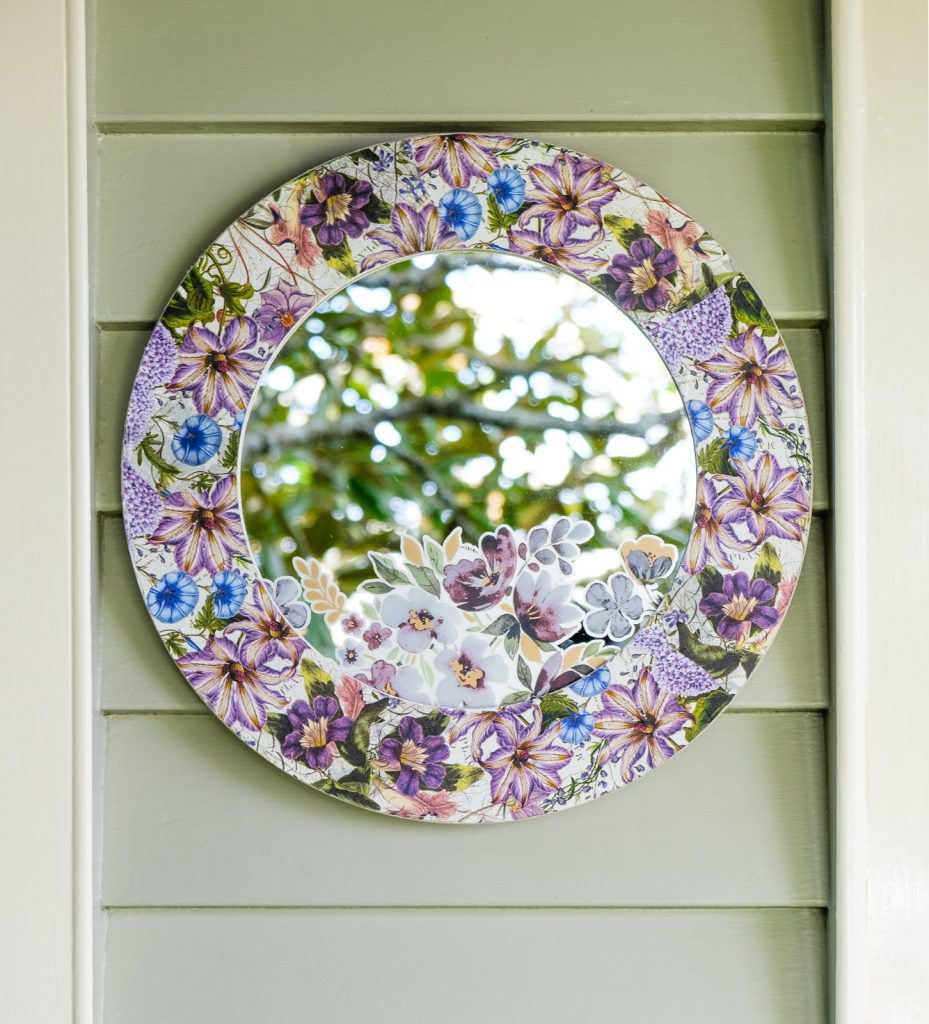
I’ve probably only mentioned how much I’m enjoying puttering around the house with small projects a few hundred times now. I love creating my happy corners and seeing how spaces are coming together. I’m getting used to the different craft supplies that are available to me here, too. There’s a large wood blank section at our local craft store and I picked up a mirror that was on sale without knowing exactly what I was going to do with it. When Alice needed a little something extra for her room, I found the right colours already in my stash so that I could update the mirror with decoupage.
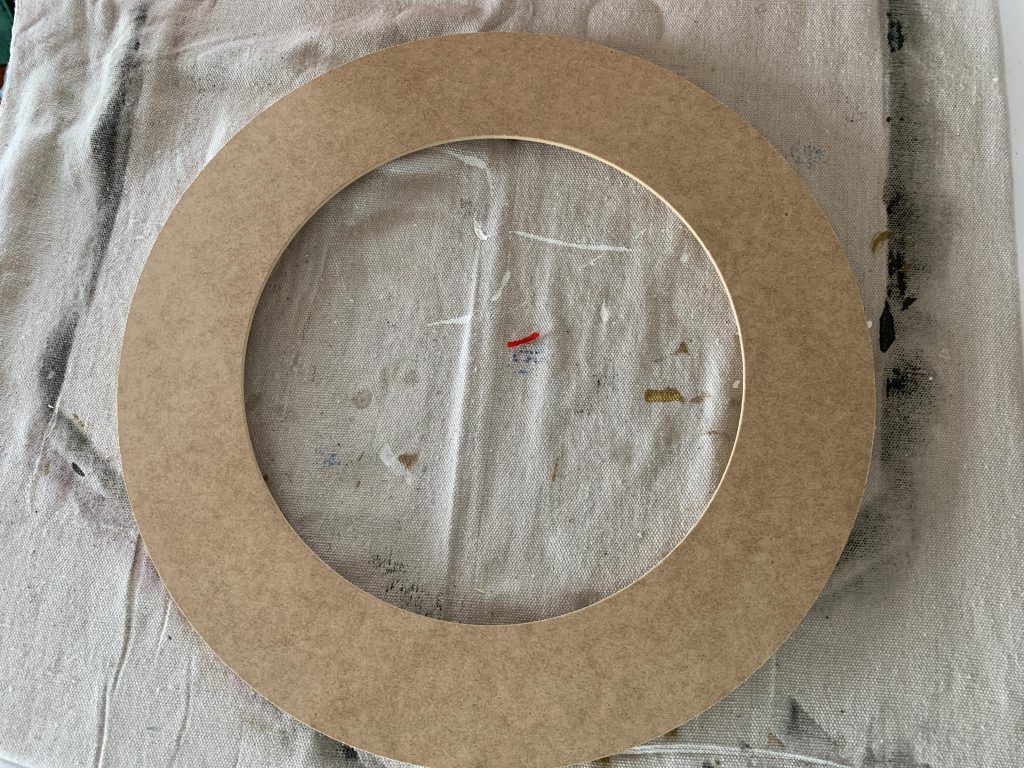
Remove the mirror from the frame. Make sure the frame is clean.
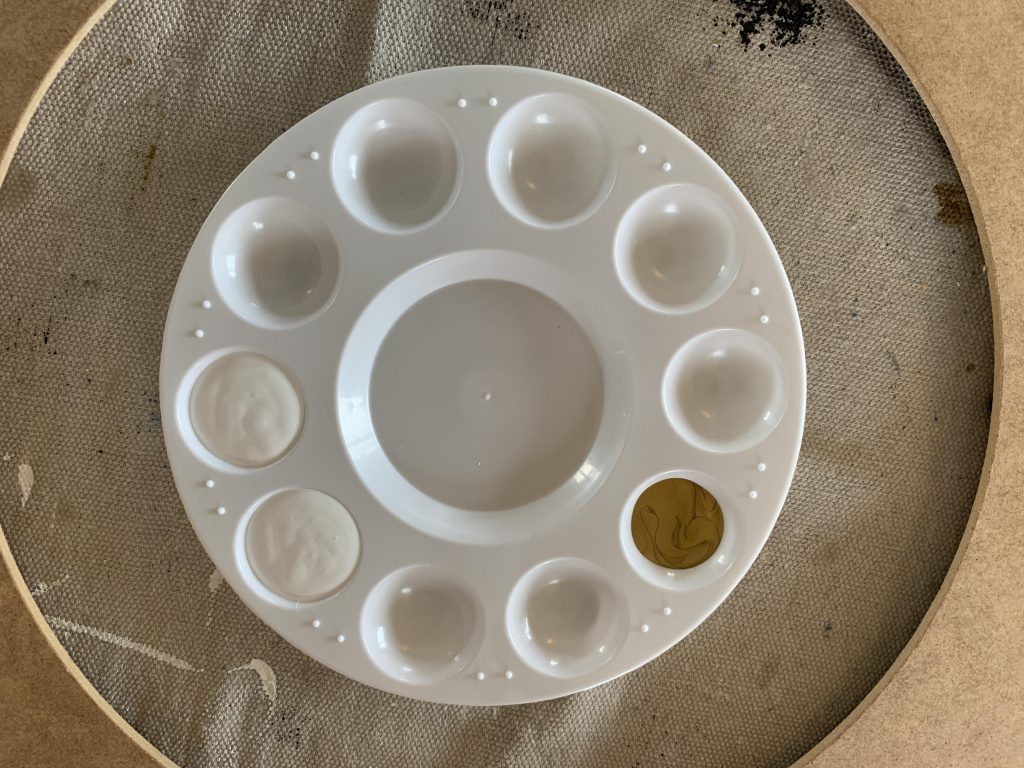
I painted the front and inside edge of the frame white and the outside edge gold. I always love that hint of gold in any project!
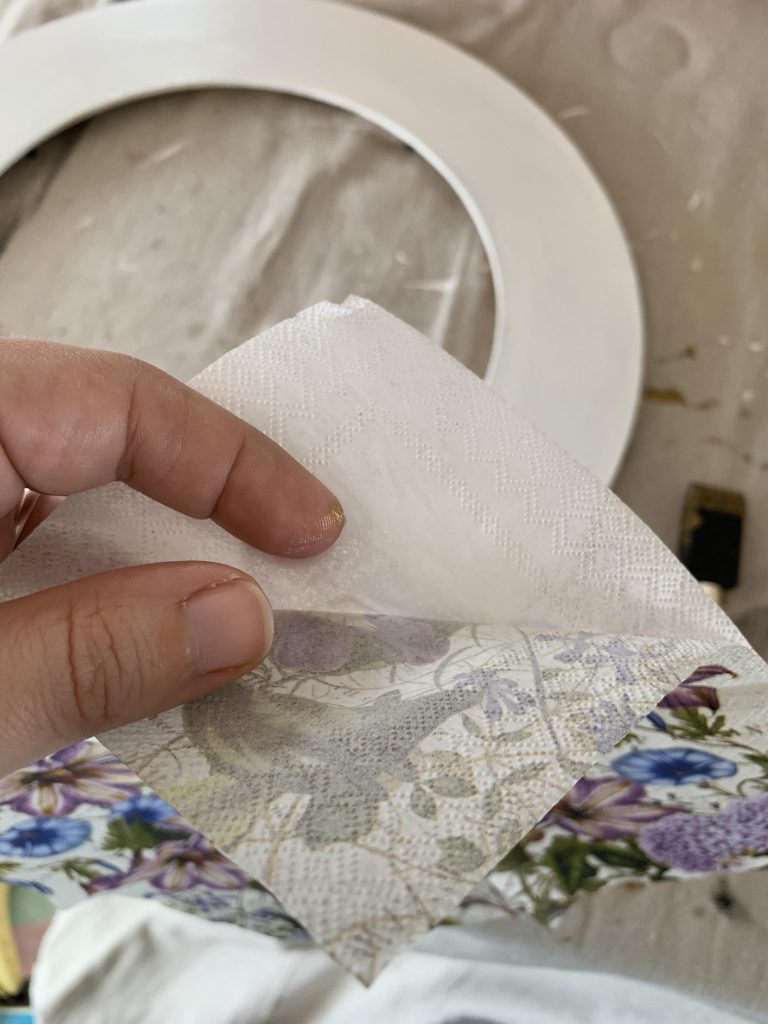
Most napkins are more than one layer–pull the napkins apart. You’re only going to be using the layer with the actual print on it.
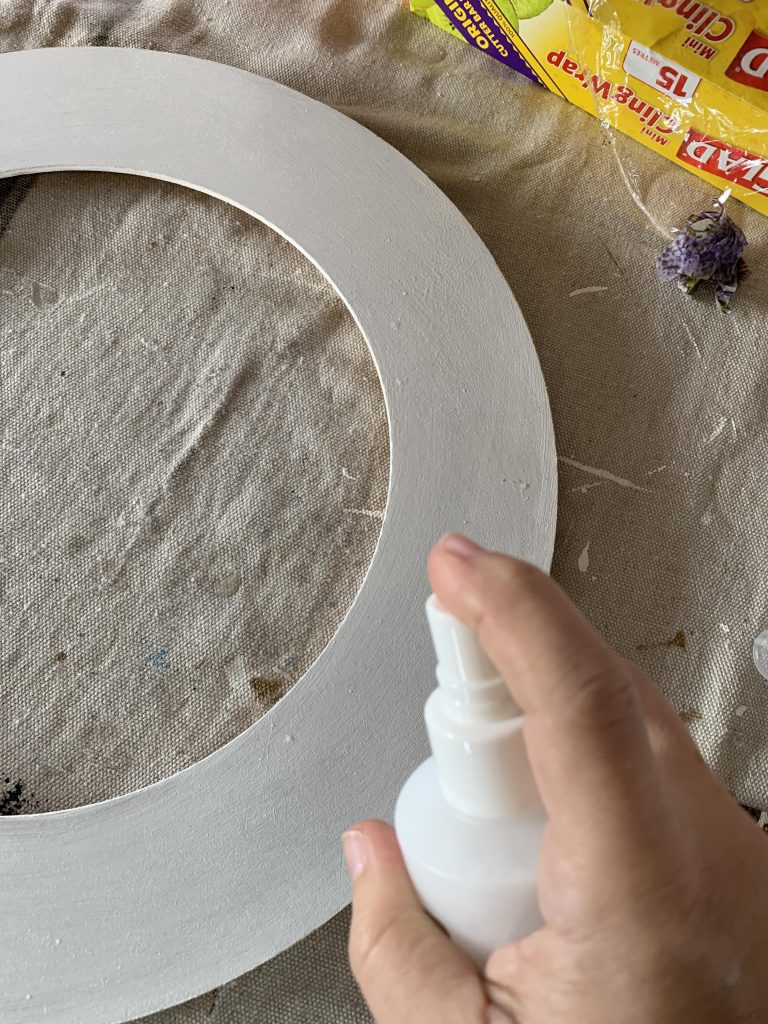
Spray some of the Mod Podge Ultra onto the frame.
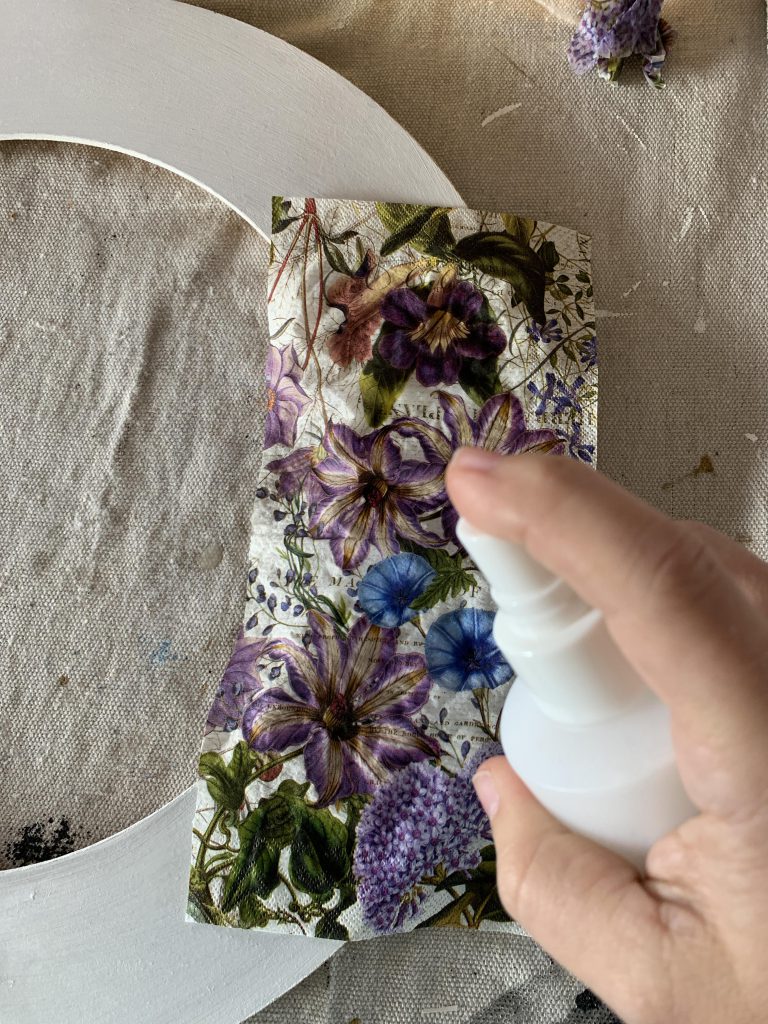
Place the first bit of napkin onto the frame and spray some more Mod Podge Ultra on top.
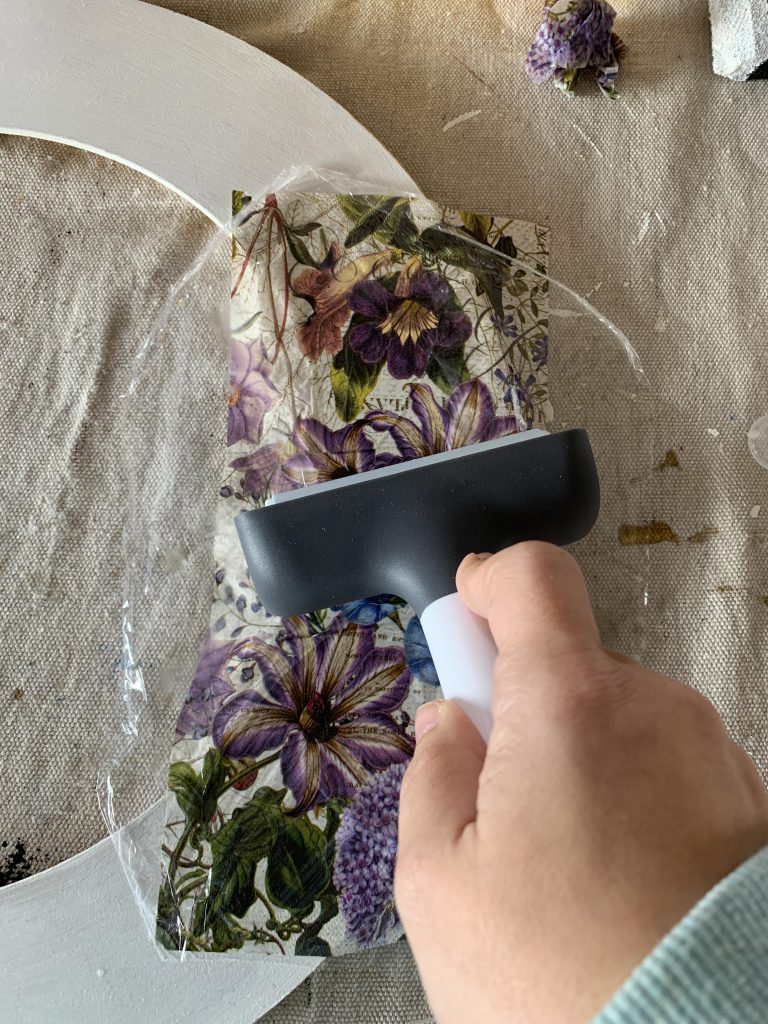
My favourite tip on how to decoupage a flat surface is to place some cling film on top while it’s still wet and use a brayer to completely flatten and smooth it out. It’s super easy and makes the finish so much better. Use this method around the entire mirror.
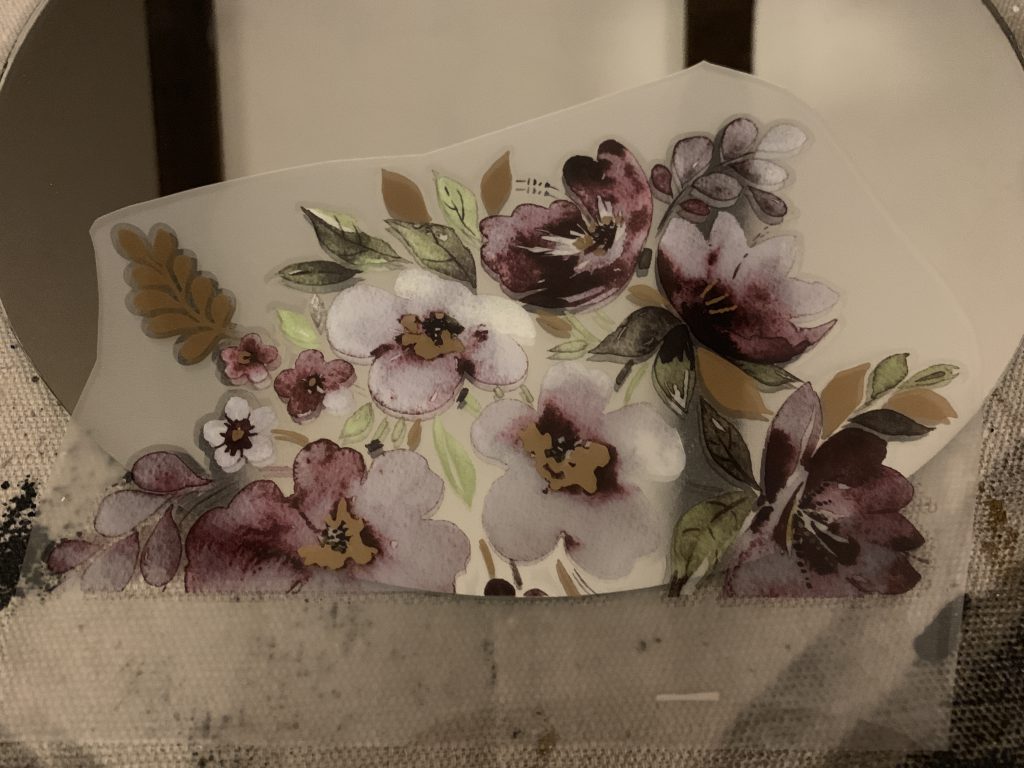
While the frame was drying, I applied the rub on transfer to the lower part of the mirror. I used the same transfer for my lampshade project. This was a bit easier because the mirror is a hard surface. Just a bit of rubbing with a stir stick (you can use anything hard and firm–even a credit card) and the transfer was in place.
Once the frame was completely dry, I sanded down the edges and put the mirror back in. This mirror is intended to be more decorative than useful–I wanted colour and to catch light. You can totally skip the rub on transfers if you’re wanting the full mirror space. Either way, it’s so easy to update a mirror with decoupage and it’s such a fun addition to any wall space.
This website uses cookies to improve your experience. We'll assume you're ok with this, but you can opt-out if you wish.AcceptRejectRead More
Privacy & Cookies Policy
Privacy Overview
This website uses cookies to improve your experience while you navigate through the website. Out of these, the cookies that are categorized as necessary are stored on your browser as they are essential for the working of basic functionalities of the website. We also use third-party cookies that help us analyze and understand how you use this website. These cookies will be stored in your browser only with your consent. You also have the option to opt-out of these cookies. But opting out of some of these cookies may affect your browsing experience.
Necessary cookies are absolutely essential for the website to function properly. This category only includes cookies that ensures basic functionalities and security features of the website. These cookies do not store any personal information.
Any cookies that may not be particularly necessary for the website to function and is used specifically to collect user personal data via analytics, ads, other embedded contents are termed as non-necessary cookies. It is mandatory to procure user consent prior to running these cookies on your website.