Light-Up Halloween Artwork
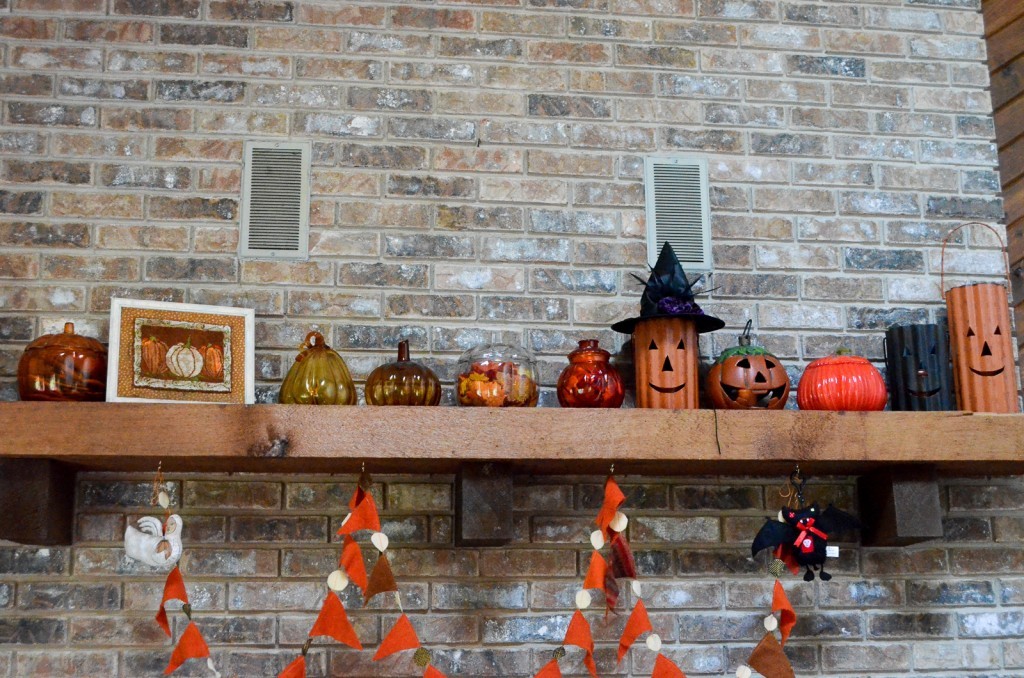
There is nothing I love more than decorating for a holiday, and Halloween is at the top of the list. This is our second Halloween in this house and I’m still feeling my way around how to decorate it. We have a giant mantel that is just screaming for awesome decor. I started pulling out my fall and Halloween decorations, but it was still missing something.
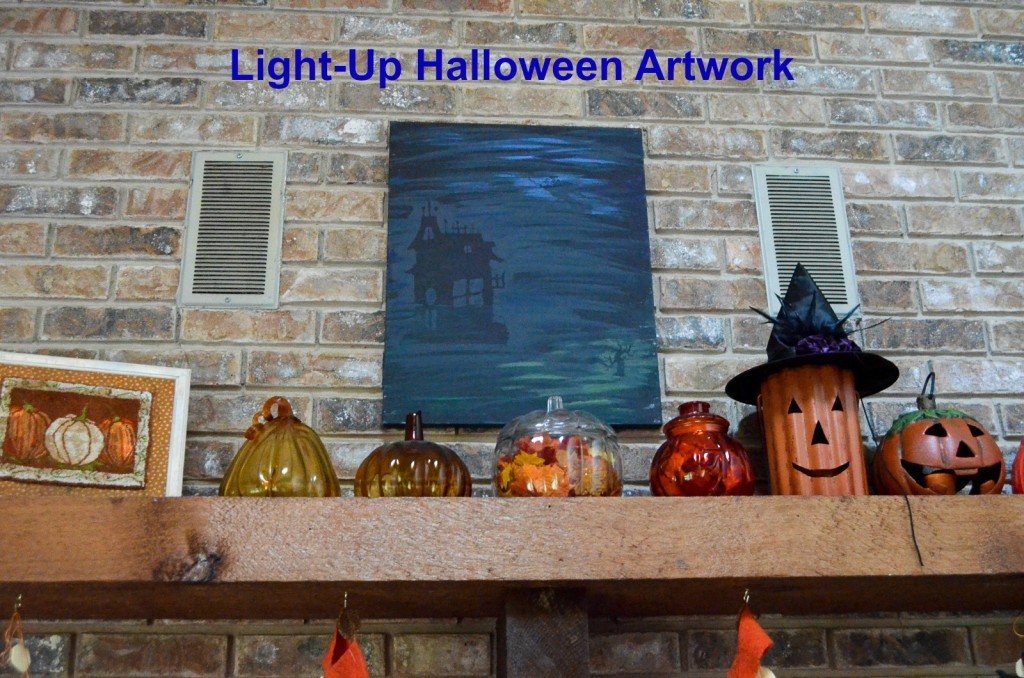
As much as I love my pumpkins, there was a giant space calling for something more.
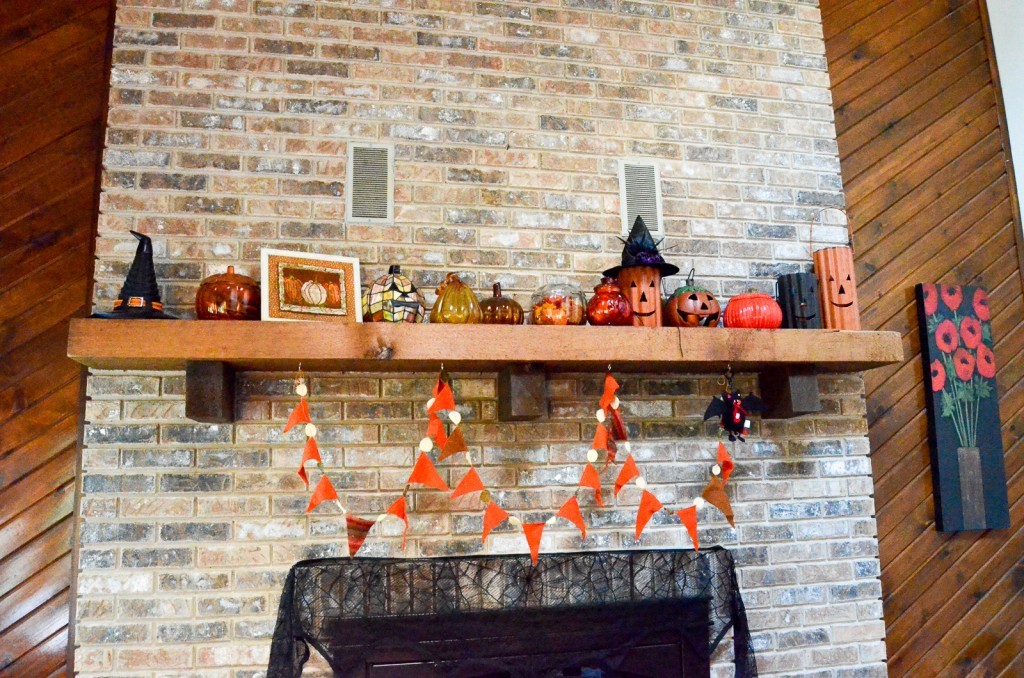
There is a nail in the bricks from the previous owners, so I decided some Halloween artwork was called for. I love any excuse to paint, and this was an easy one! I grabbed a canvas and my Americana paints and got to it.
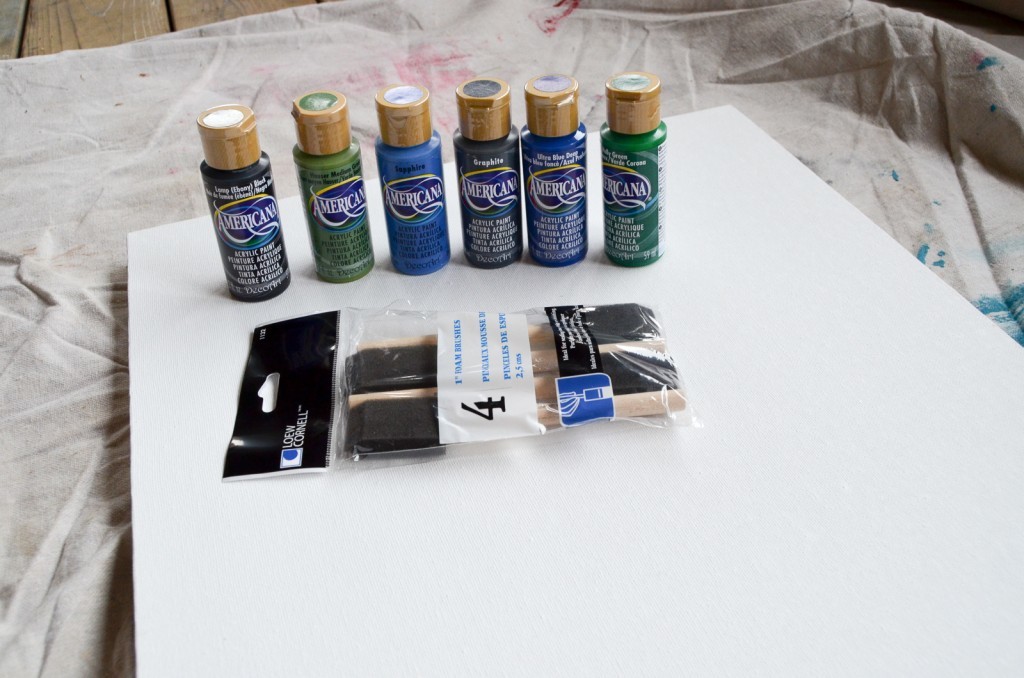
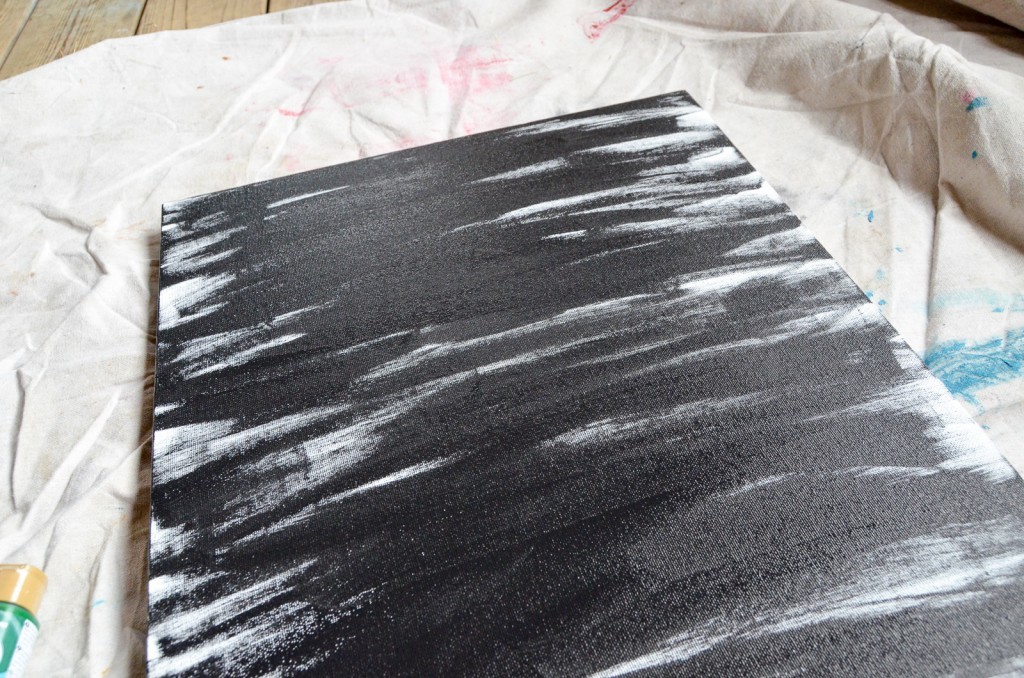
I like foam brushes for this kind of project. There isn’t any kind of precision required and it makes blending easy. I started by brushing on some black as the base. It doesn’t need to be perfect, but I suggest brushing from side to side.
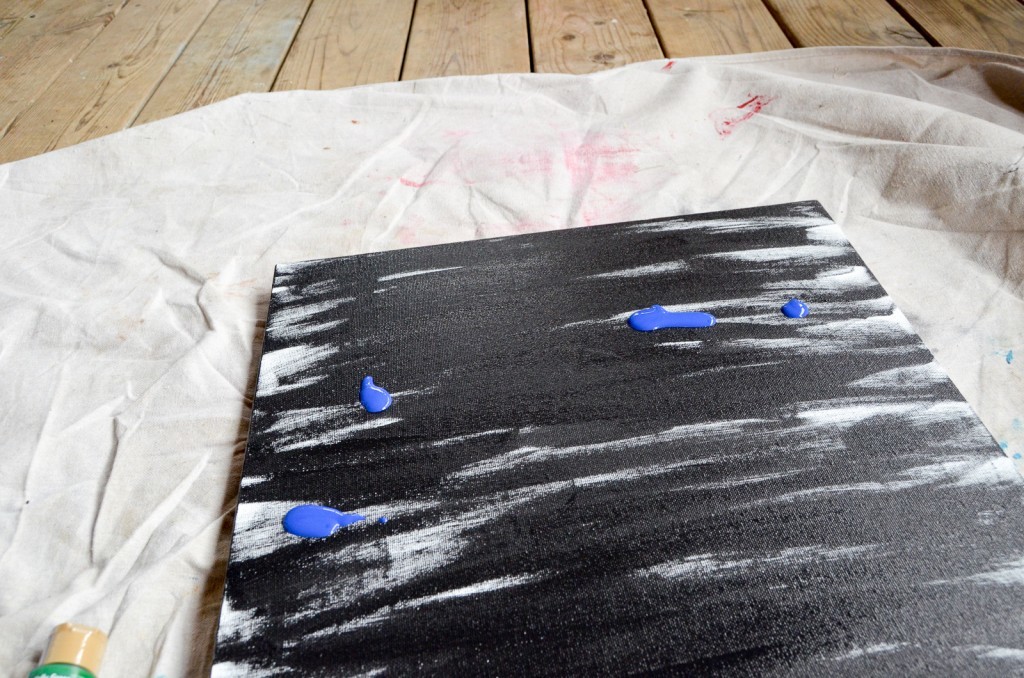
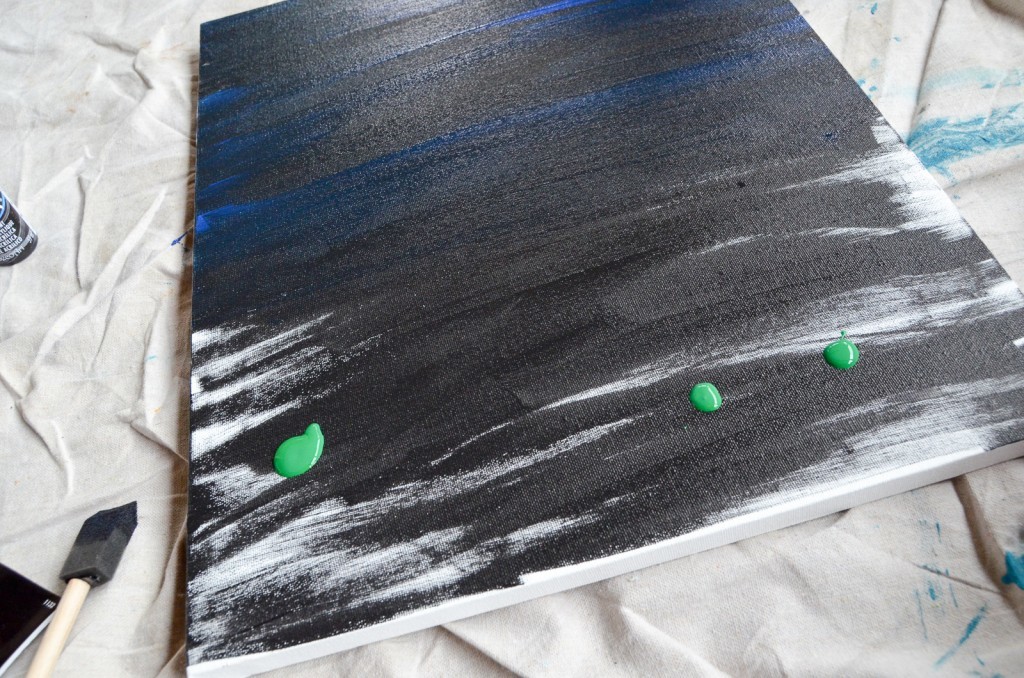
I followed it up with a blue on the top and green on the bottom. I used the same brush and made sure to fill in the white spaces. Make sure you paint the sides, as well.
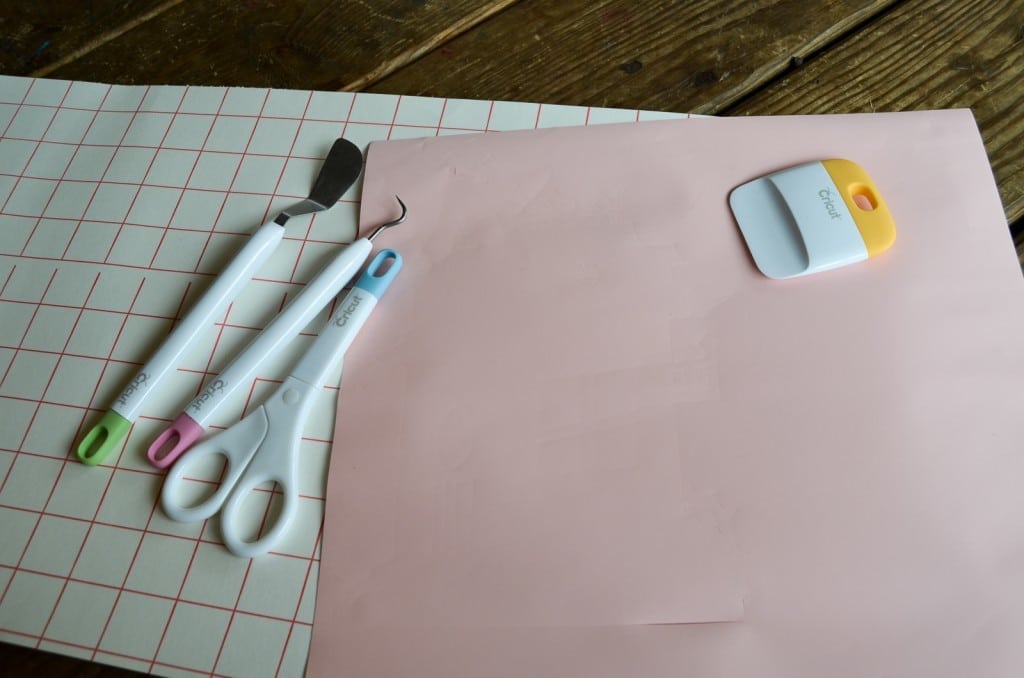
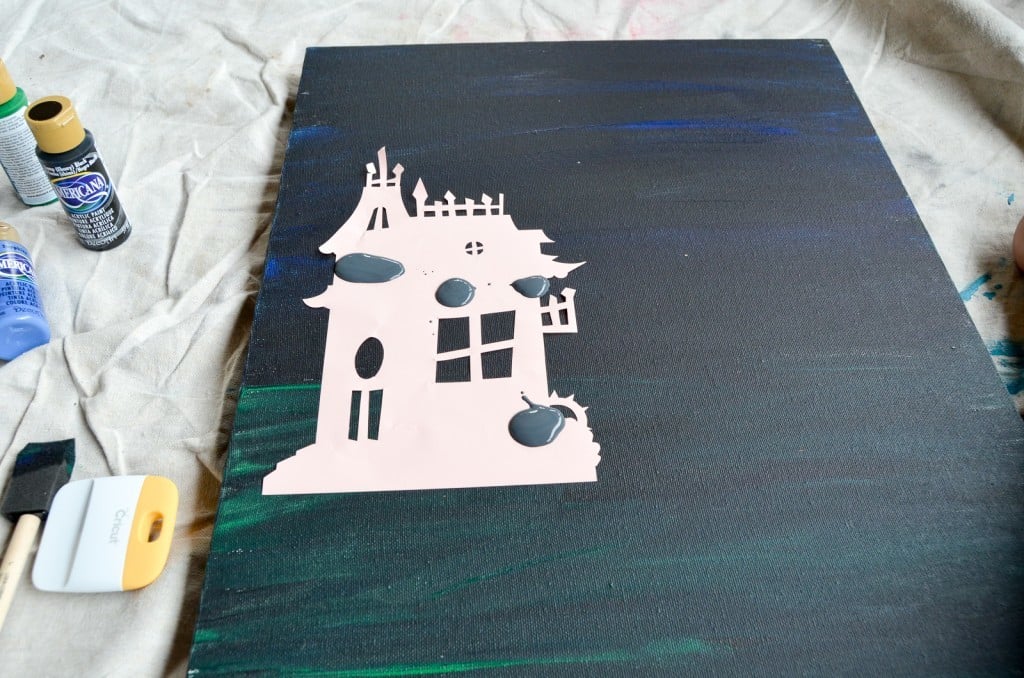
Next, I cut out some spooky shapes on my Cricut Explore. I used some scrap vinyl. It doesn’t matter what color you use because it won’t be a permanent part of this painting. I chose a haunted house, flying witch, and a spooky tree. You can use as many shapes as you want. Now, before you yell at me, you can do this without a Cricut. Any spooky shapes will work. You can cut out shapes from anything, like a coloring book or a printable online. I liked using vinyl because it stuck to the canvas, but if you use paper or anything else, just make sure it doesn’t move around while you paint.
Once the shapes were cut out, I put them on the canvas (once it was dry!). I used different colors to paint over the shapes, making sure all the edges were covered, while blending it in with the rest of the canvas.
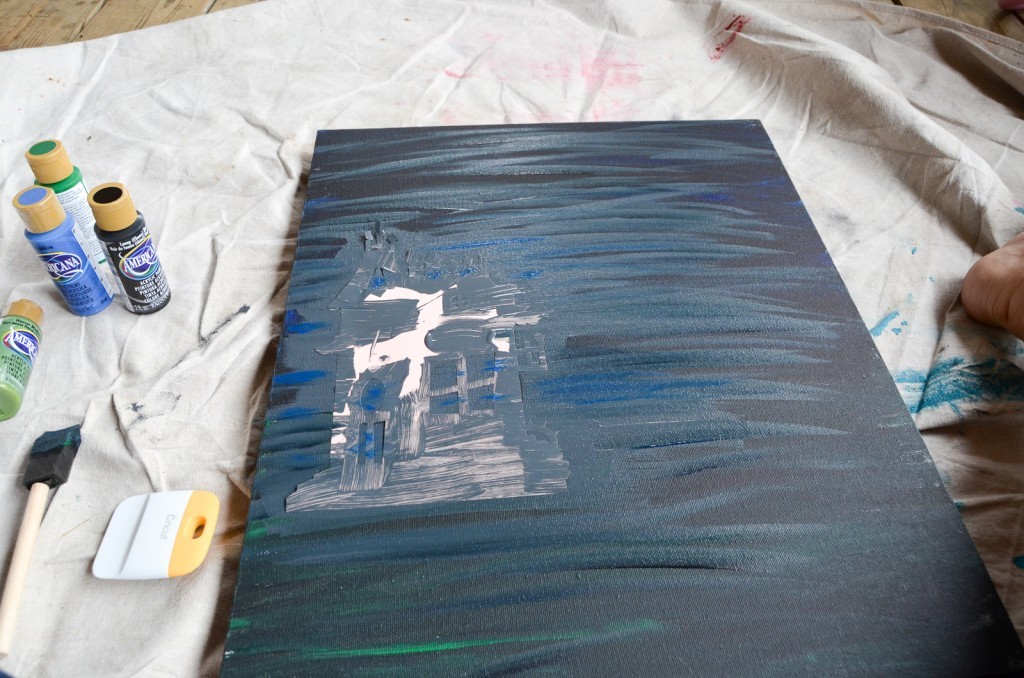
I carefully removed the vinyl.
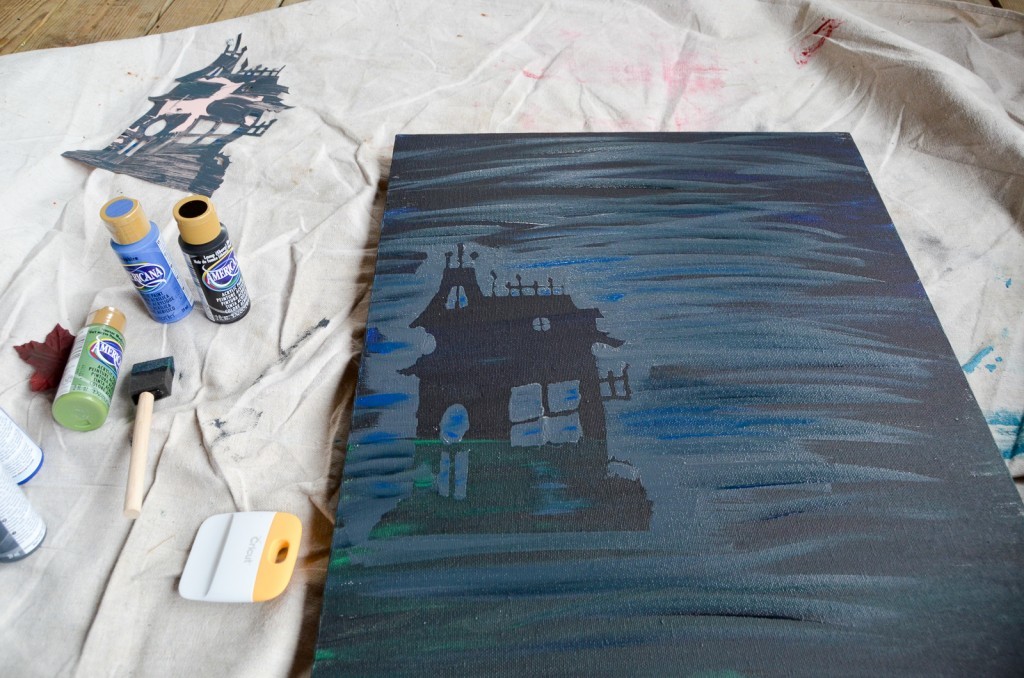
You can see that the paint isn’t perfect. I went back in and fixed some of the lines with the original black. I was too impatient and didn’t wait for the first coat to dry, which was a big mistake.
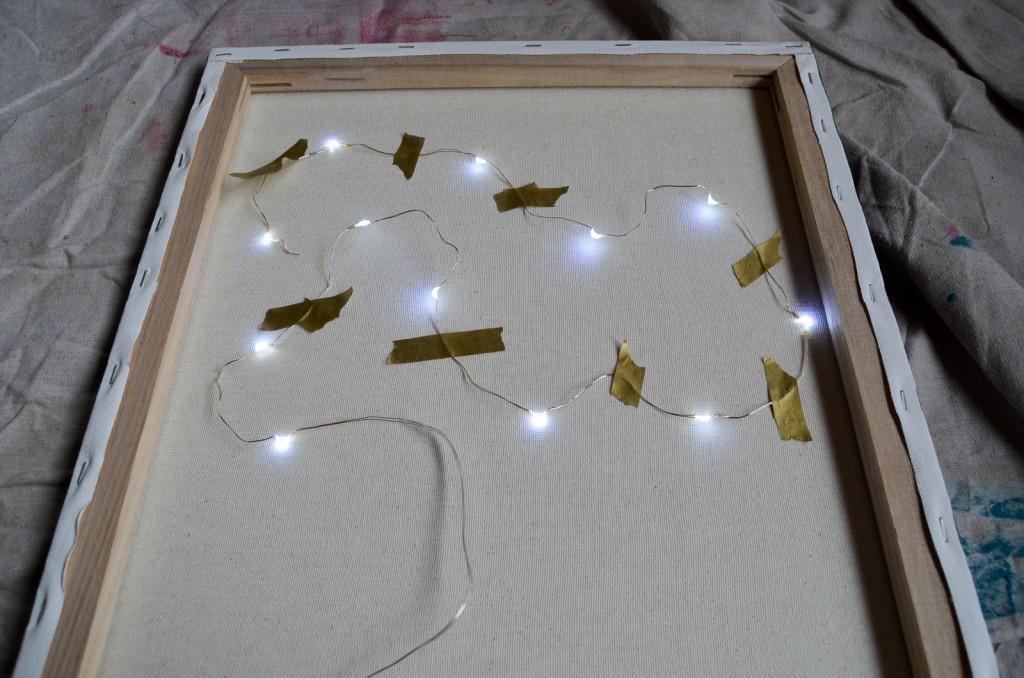
The final step is my favorite. Grab a strand of battery operated LED lights. I say battery operated because of the mess of needing to use an extension cord for something hanging on a wall. LEDs are necessary because they won’t burn hot against the canvas.

Affix the lights to the canvas.
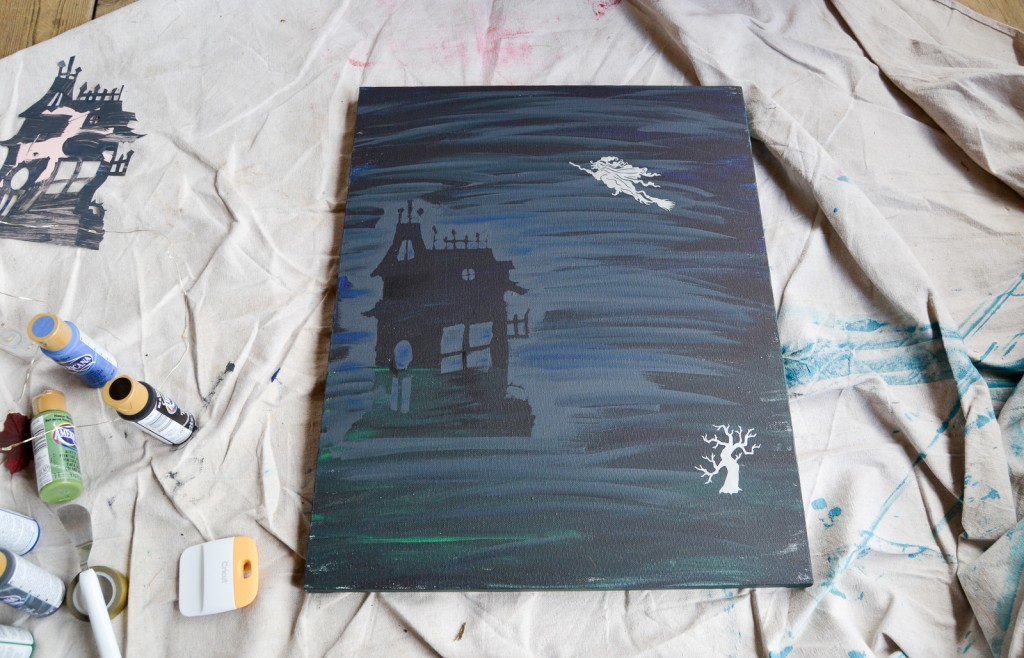
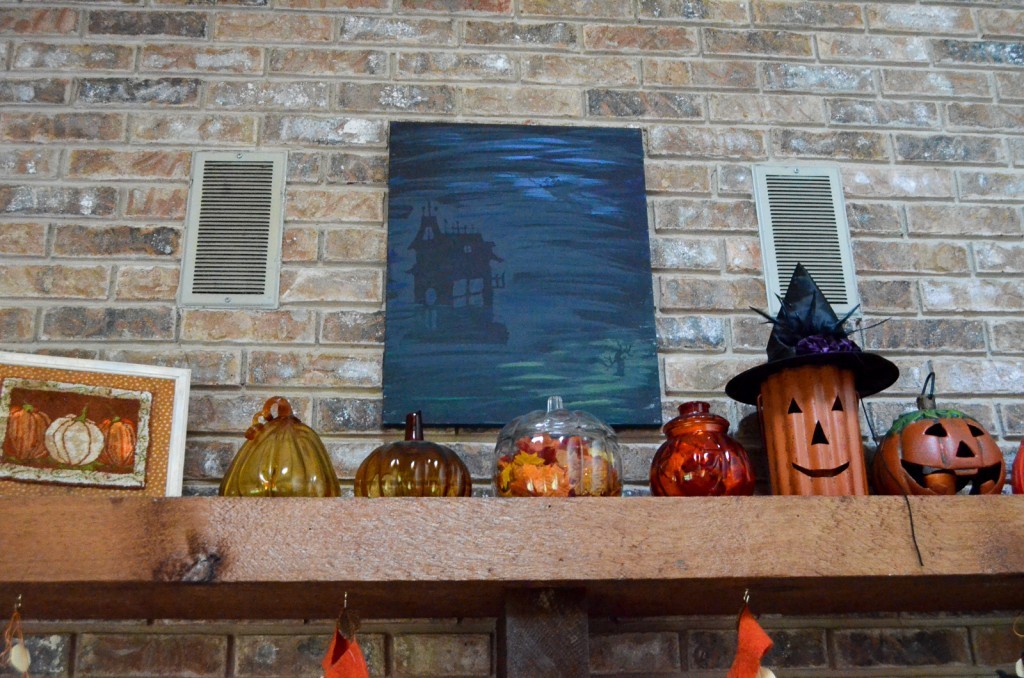
The artwork is fun on its own…
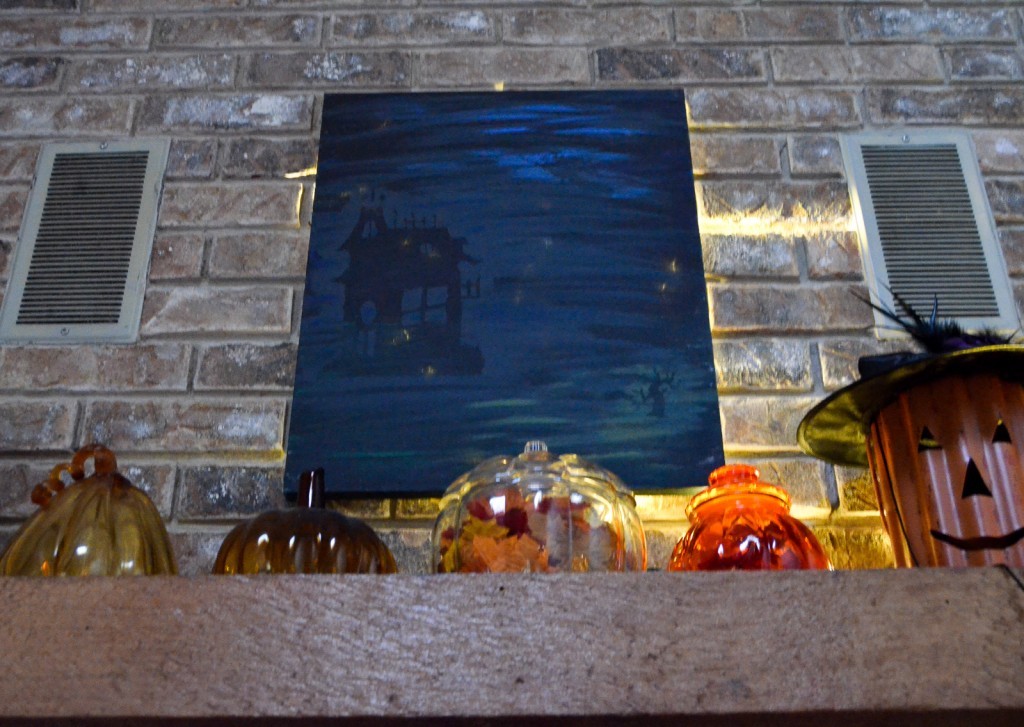
 …but I love seeing those lights twinkle through! These pictures don’t do it justice, but it’s a lot of fun. And because the painting is hanging on bricks, we got spikes of light coming out the sides.
Happy Halloween!!


Love the idea!
Did u try covering up the back of the painting with a thick paper to keep the light from coming out the back onto the brick wall?
Asmara
I didn’t, only because I kinda like the light escaping. That’s a great idea, though! Thanks!
How FUN! I love what you did with the Cricut shapes — SO clever.
Cori recently posted…15 Fall Picks from World Market for our New Home
what a fun idea! Looks great on your mantel!
laura londergan recently posted…HOME|MADE :: Tween Bedroom Wall Decor
I totally love this idea! I have a few blank canvases that are just screaming to be turned into Hallowen decor like this!
Heidi @ Happiness is Homemade recently posted…Healthy Lunch Options with Hillshire Farm Naturals
How clever! I love the idea of lighting it up. Canvases are so fun to go crazy on with paint!
Jillene@inkhappi recently posted…N Fonts … 30 of my top picks!
I just love this!
Tracey @Let’s Go Junking recently posted…Who Doesn’t Love a Front Porch?
Very neat! I’m so not an artist, but you make me feel like I could do this! Thanks!
Mrs Major Hoff (sara) recently posted…How to make Custom Boutique Style Aprons with Iron On Glitter Vinyl