Snowflake Coasters
This post contains sponsored content and affiliate links.
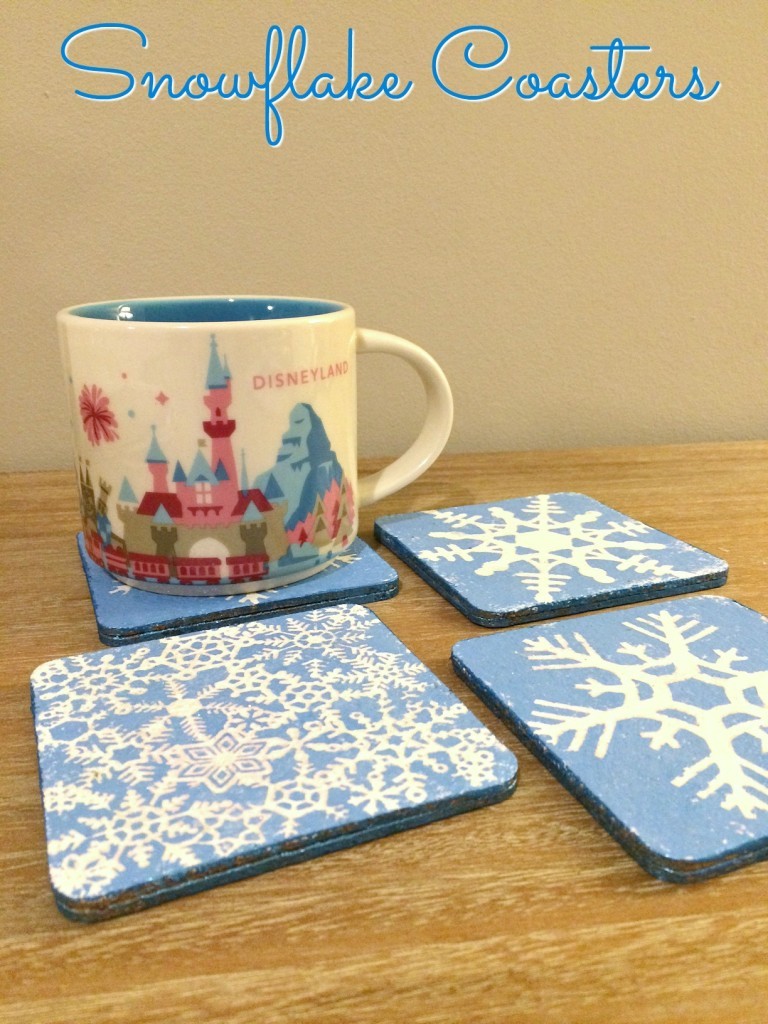
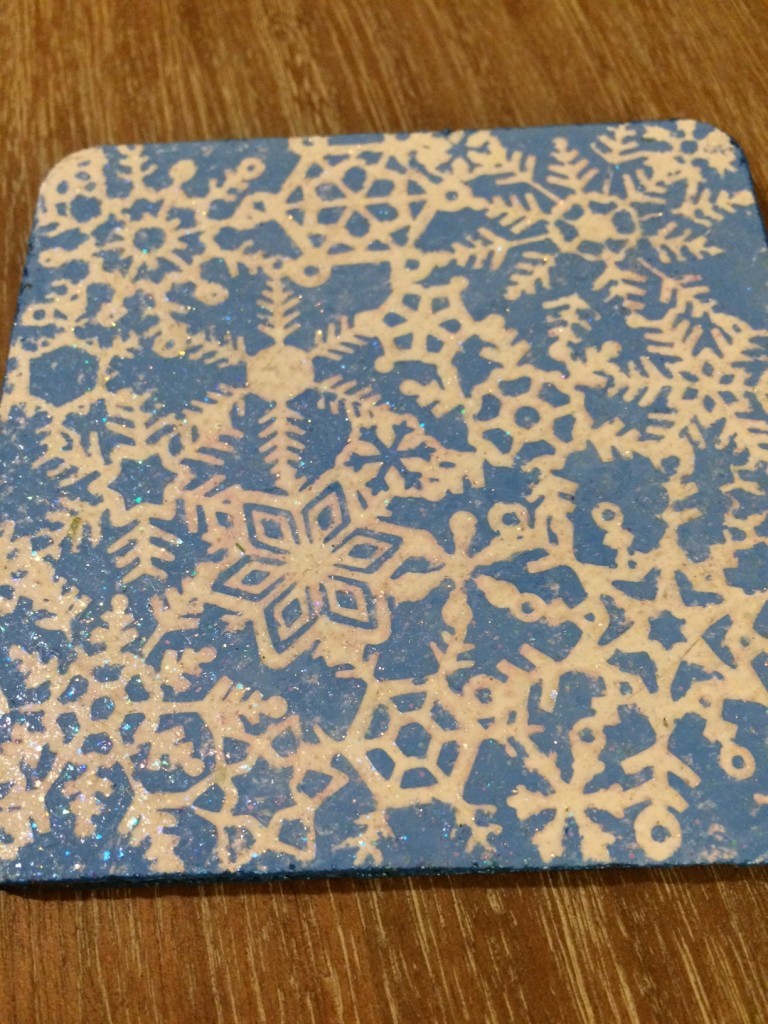
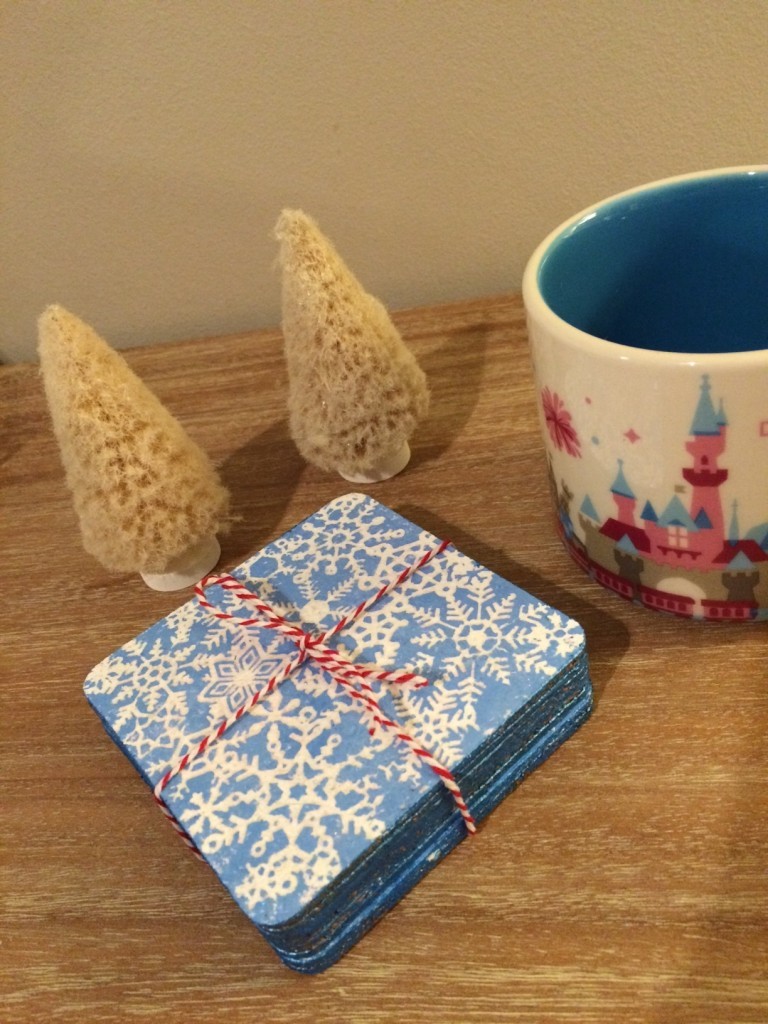
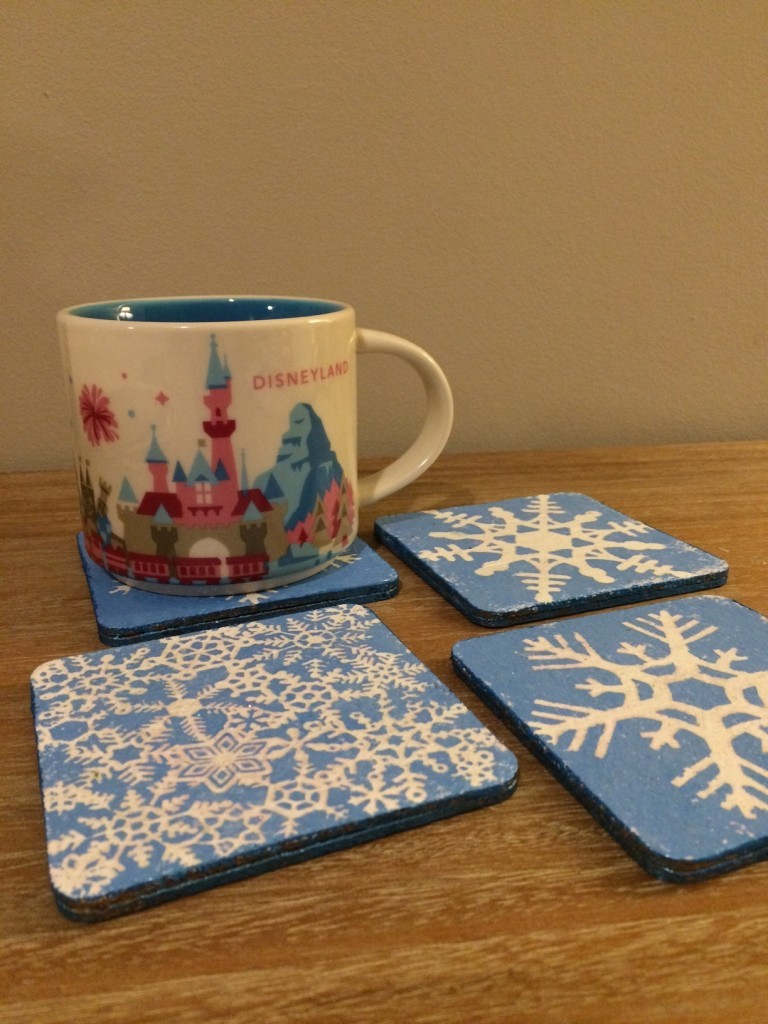
I’m so excited to be participating in a Secret Santa Gift Exchange put together by Cricut. A group of us were all given another blogger to create for and we had to use our Cricut Explore to make a gift. I really enjoyed snooping around Michelle of 4 Men 1 Lady‘s blog and I hope she enjoys these Snowflake Coasters that I created for her!
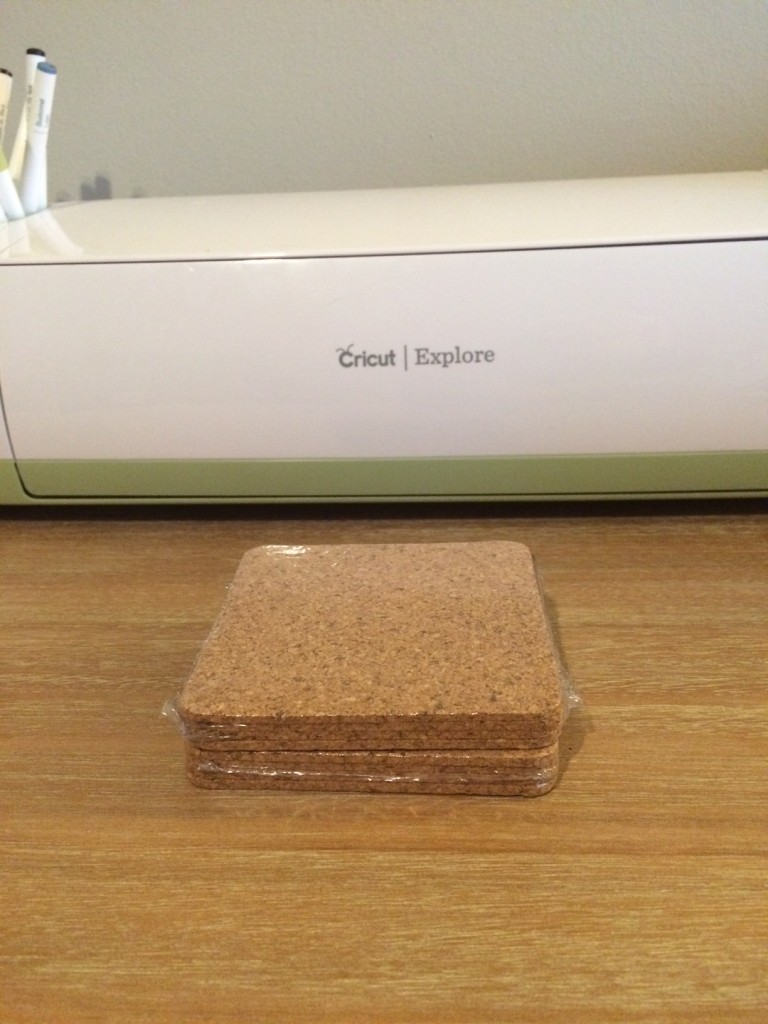
You will need:
- cork coasters
- Cricut Explore
- vinyl
- two colors paint
- glitter decoupage
- Metallic Lustre
- brushes
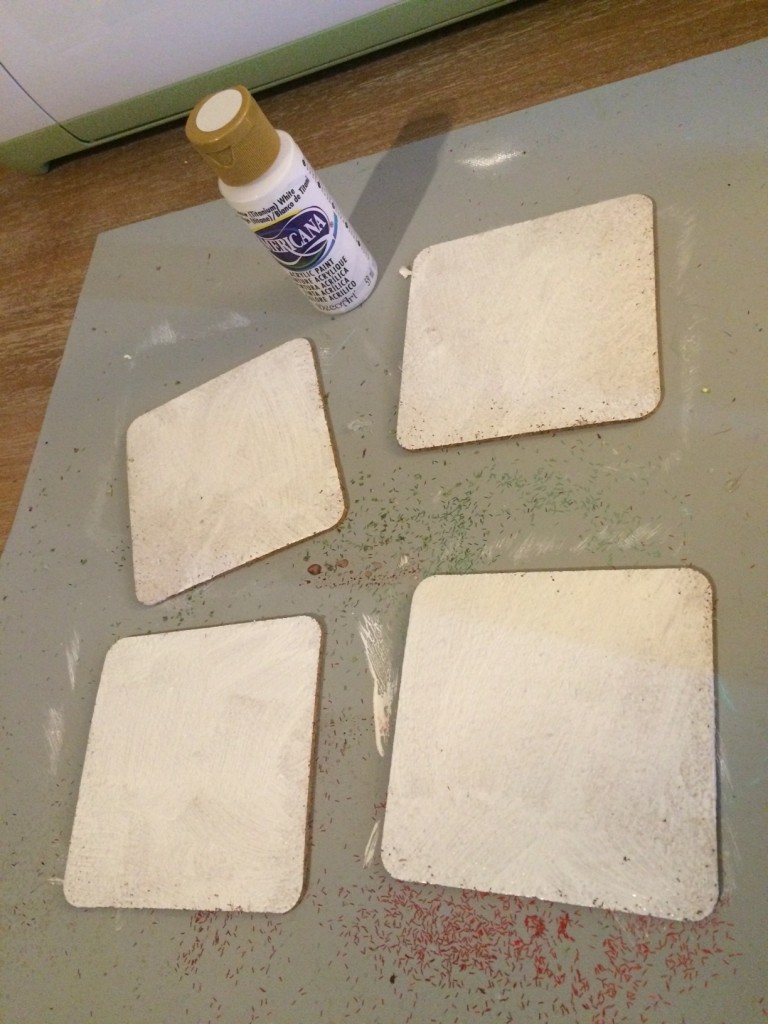
Paint the coasters the base color. I chose white.
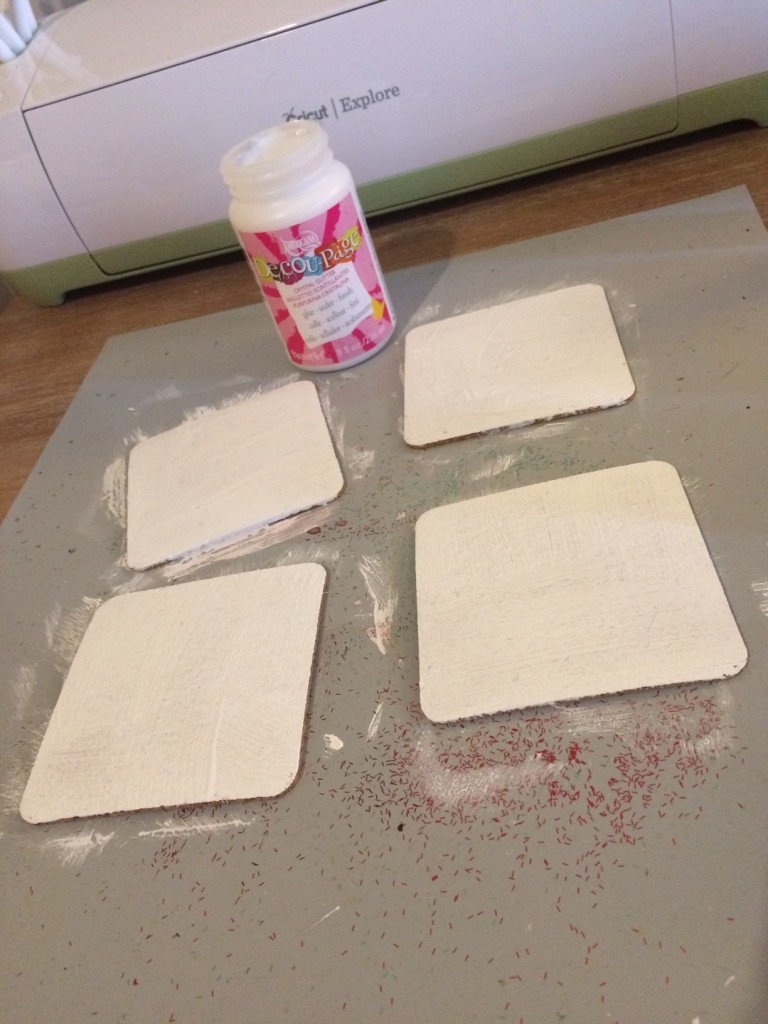
When the paint is dry, brush on a coat of glitter decoupage.
Choose your snowflakes in Design Space. I went with Snowflake Pattern Overlay #M47422, Snowflake #M46DF0, and Snowflake #M3C041.
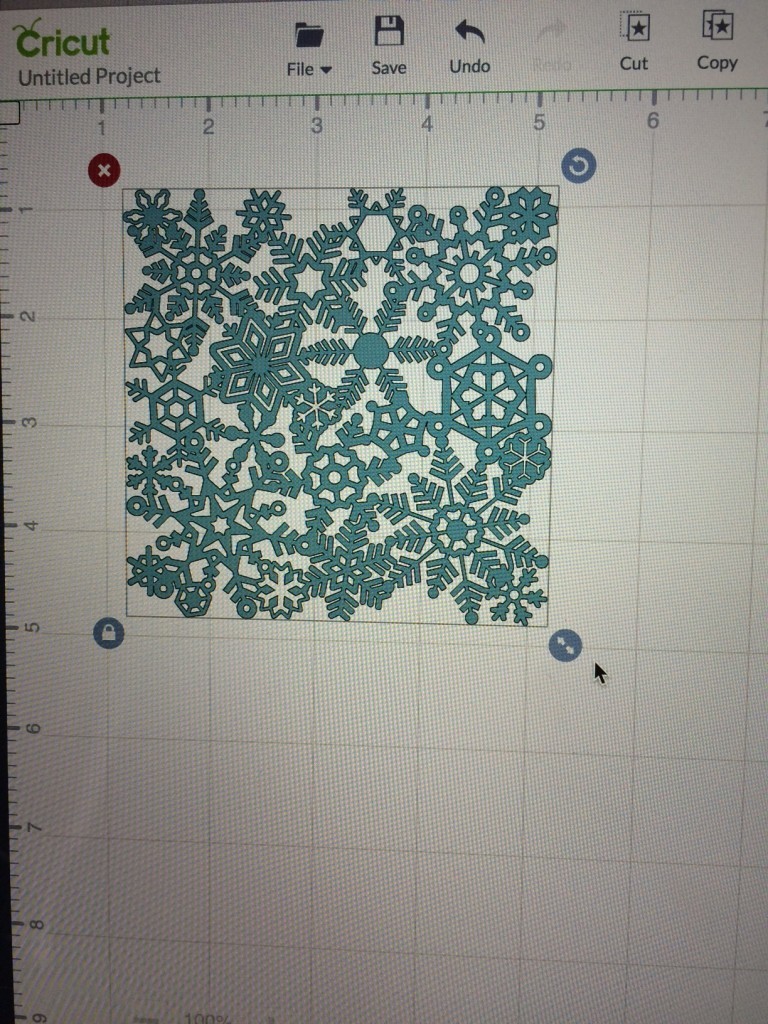
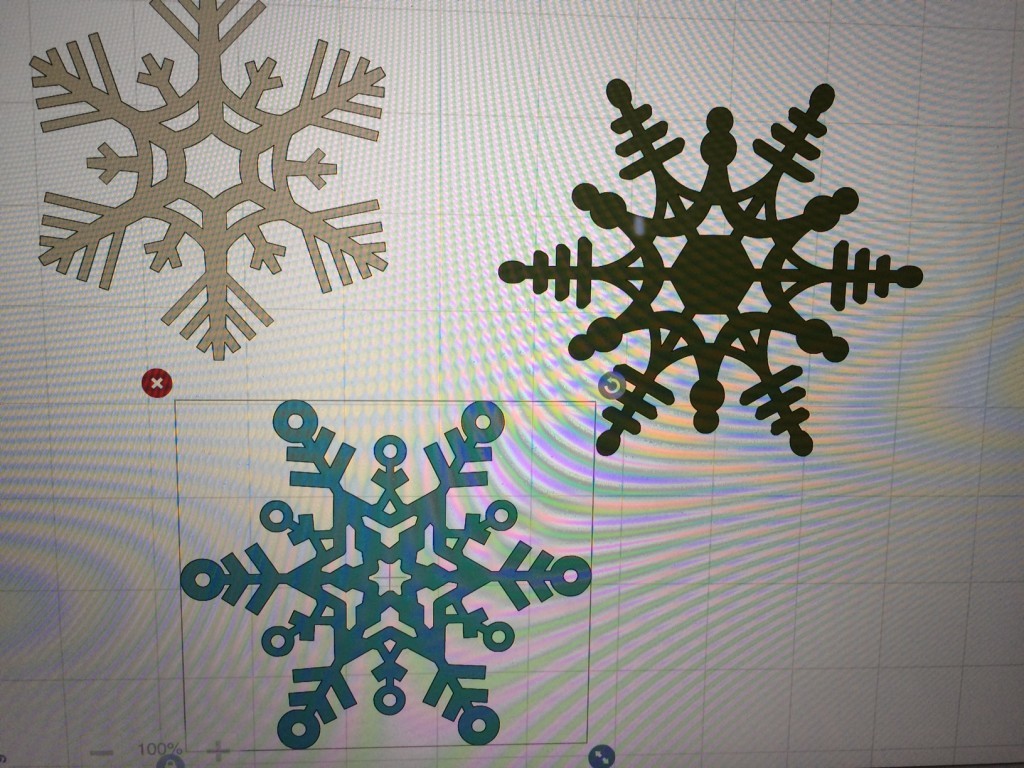
I synced them so that they were all cut at the same time.
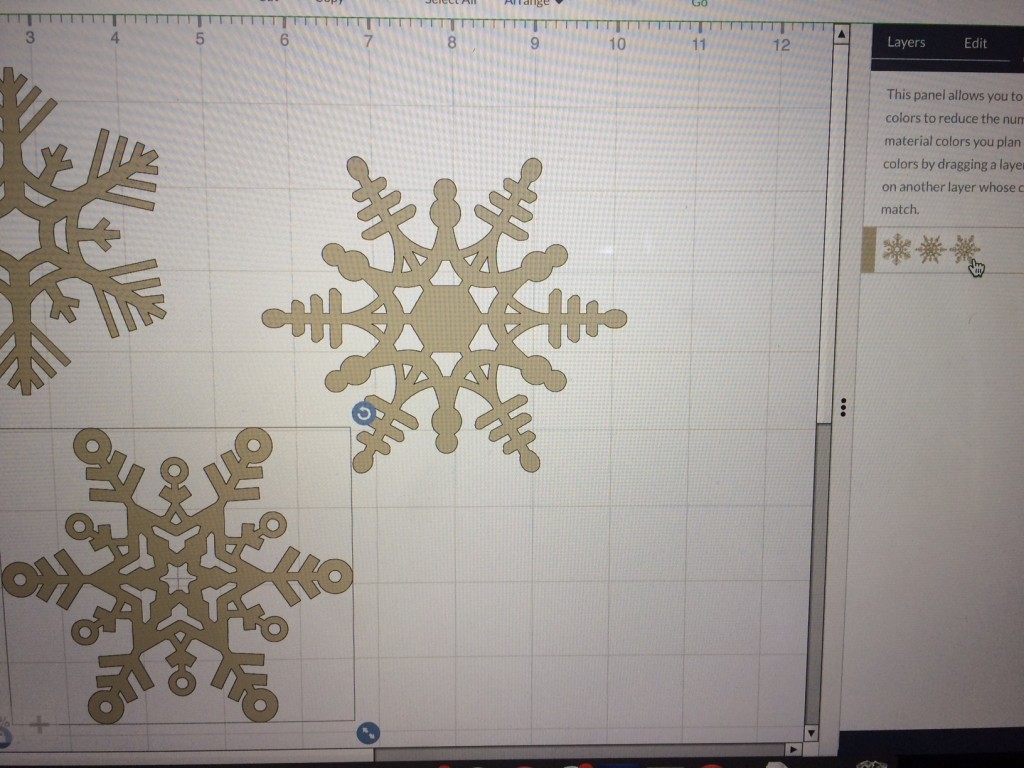
Once they were cut, it was time for weeding. This one took me a while, but it was well worth it.
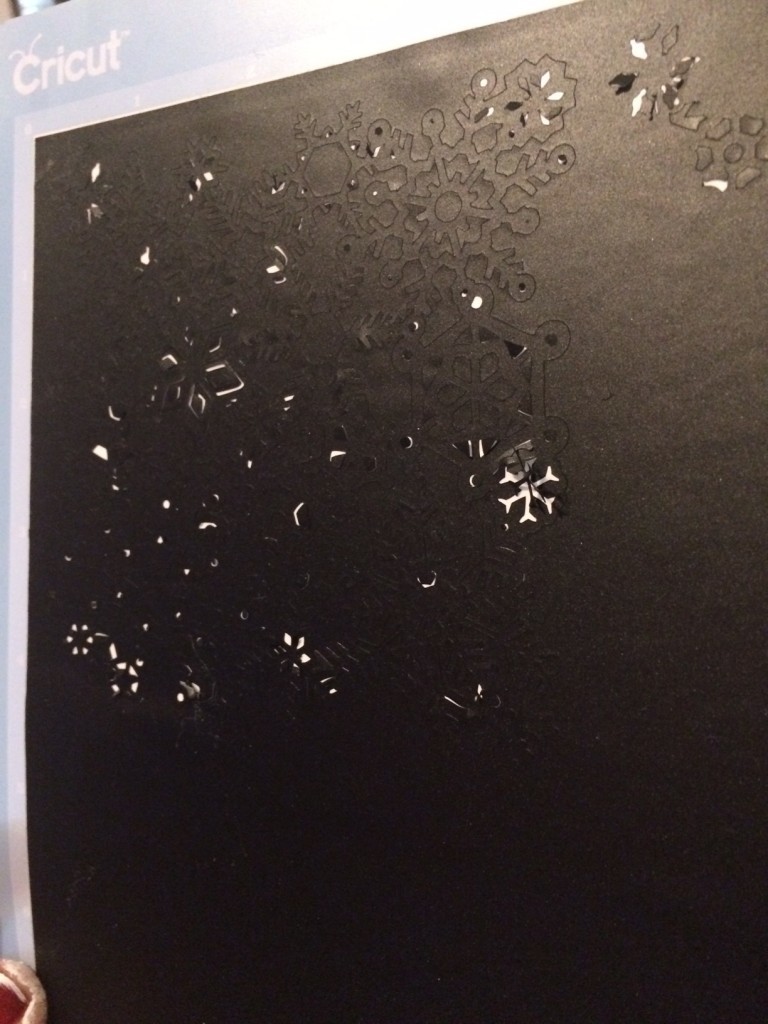
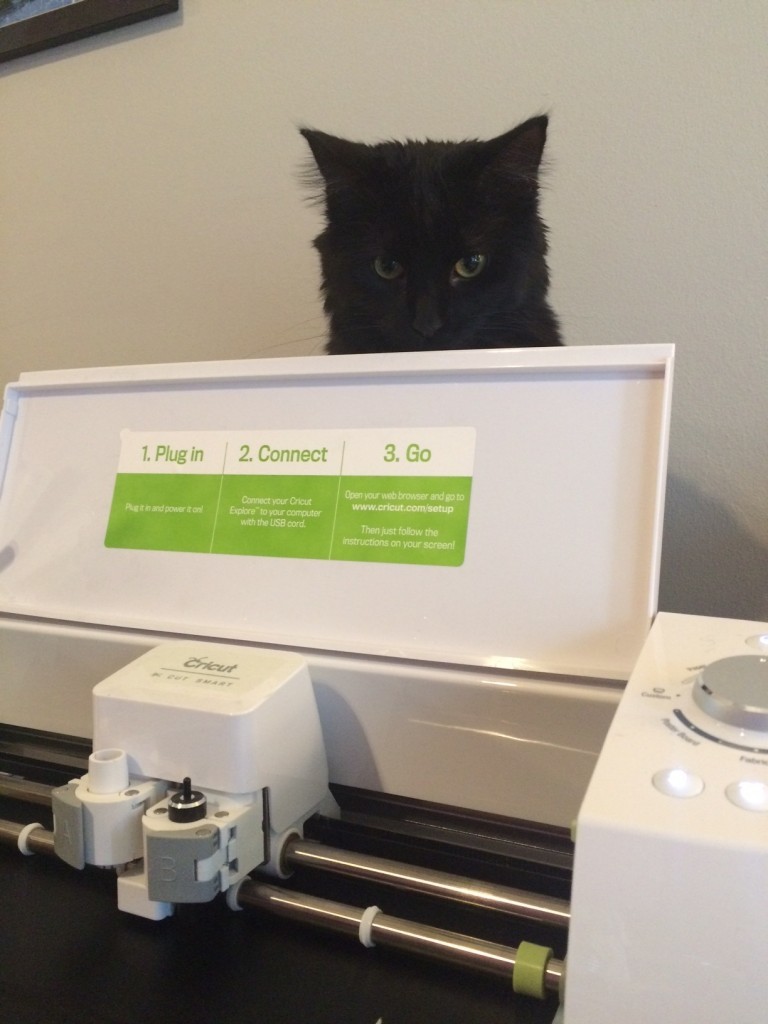
Dinah enjoys overseeing everything.
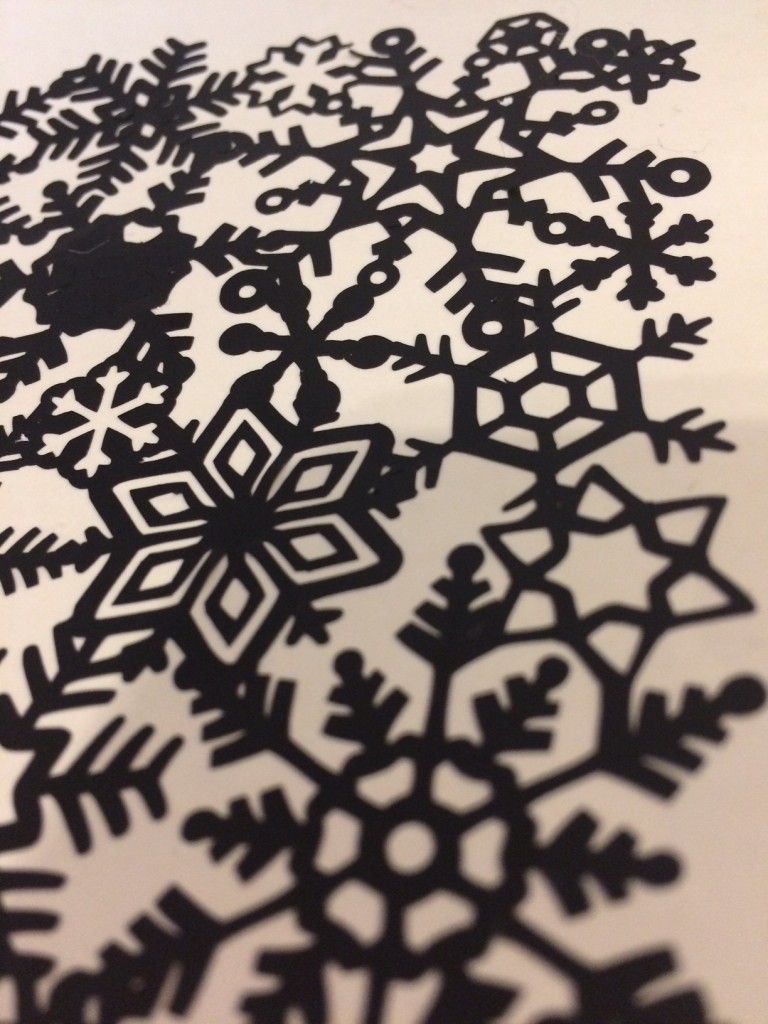
Once the snowflakes are weeded, place them on the coasters.
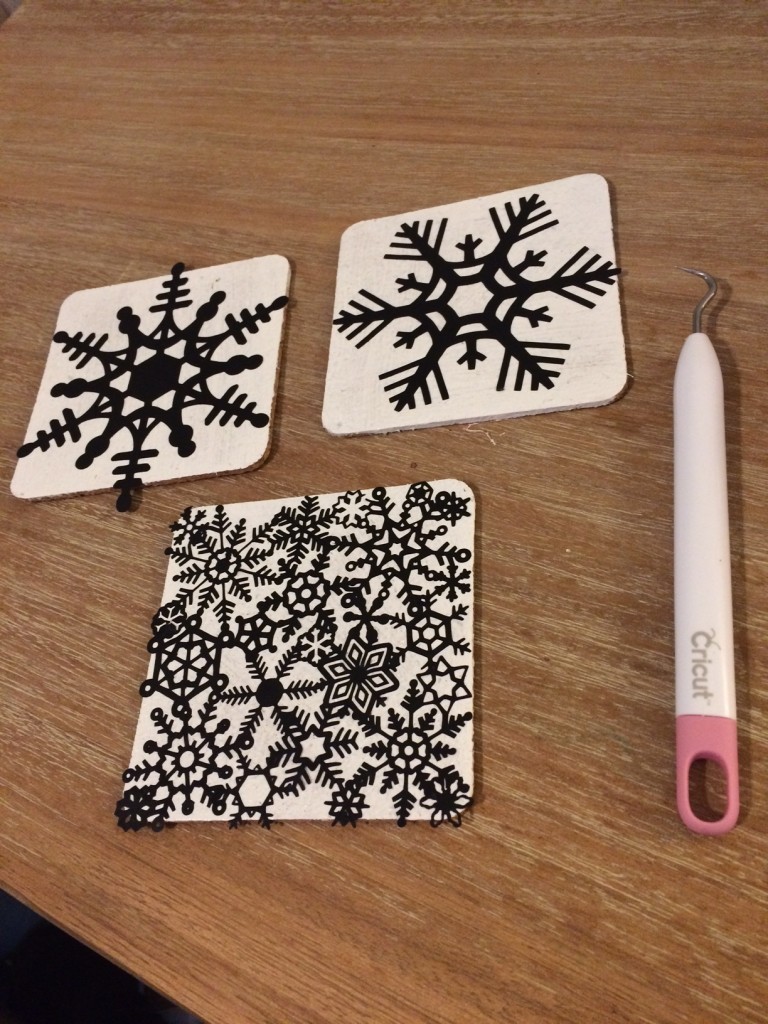
Carefully dab paint onto the coaster. I used an almost dry brush and quick dabs. Because the cork is porous it wasn’t perfect, but I like the look. I started with a light pink paint, but switched to a blue because there wasn’t enough contrast for my liking with the pink.
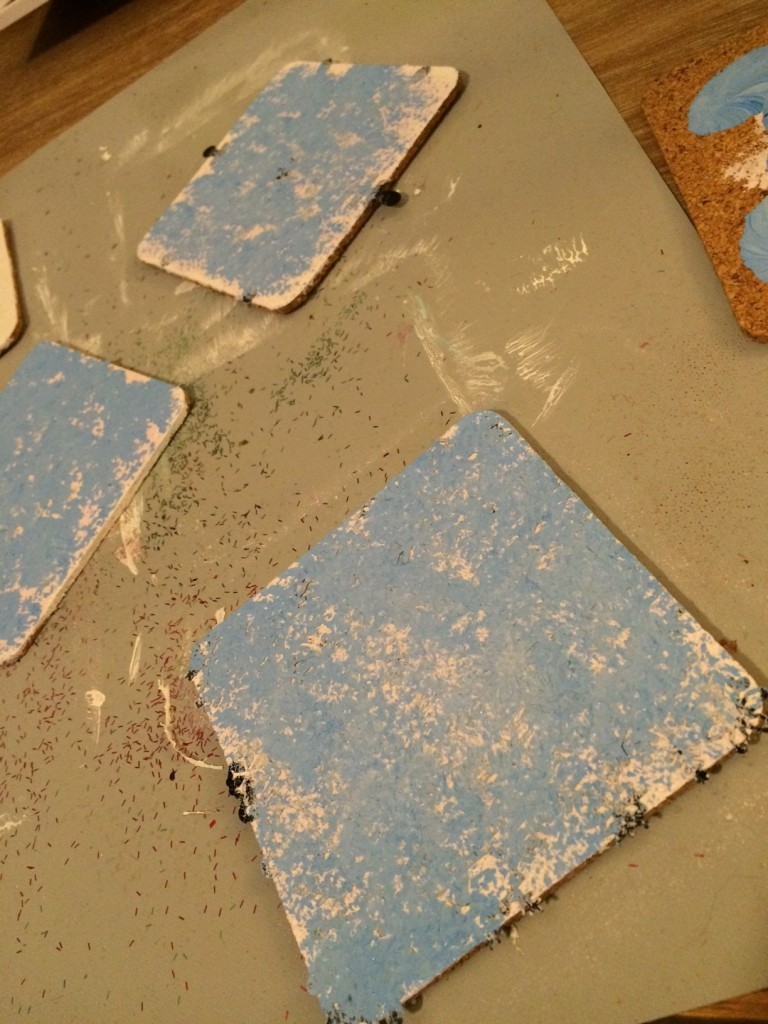
When the paint is dry, peel off the stencil.
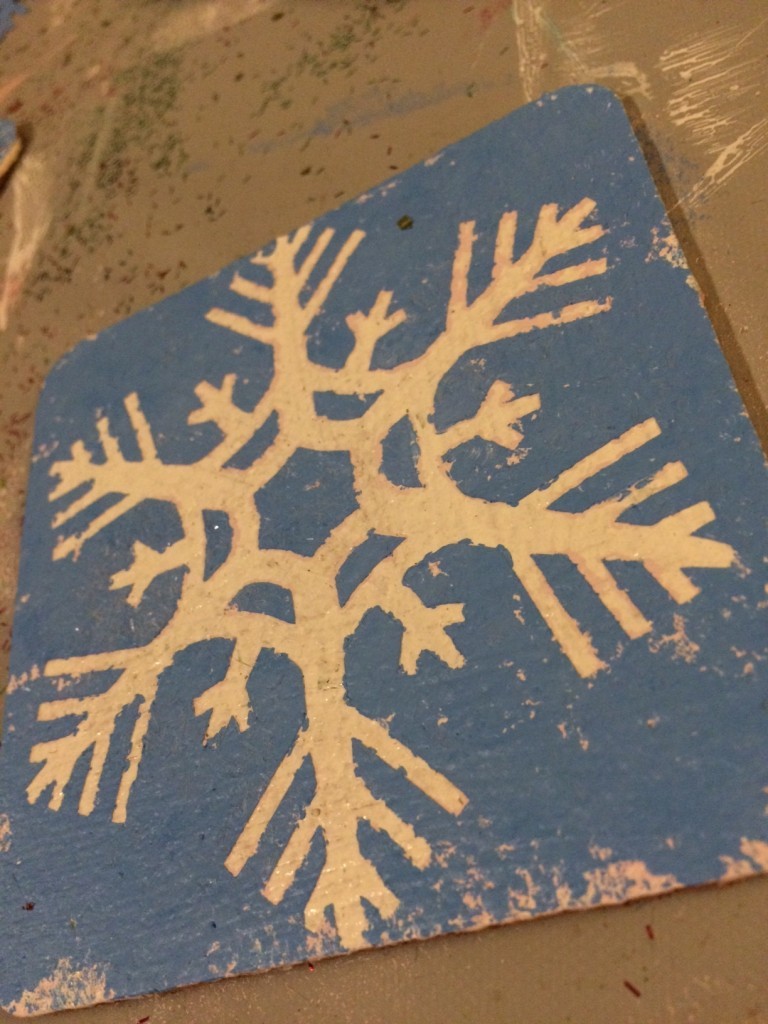
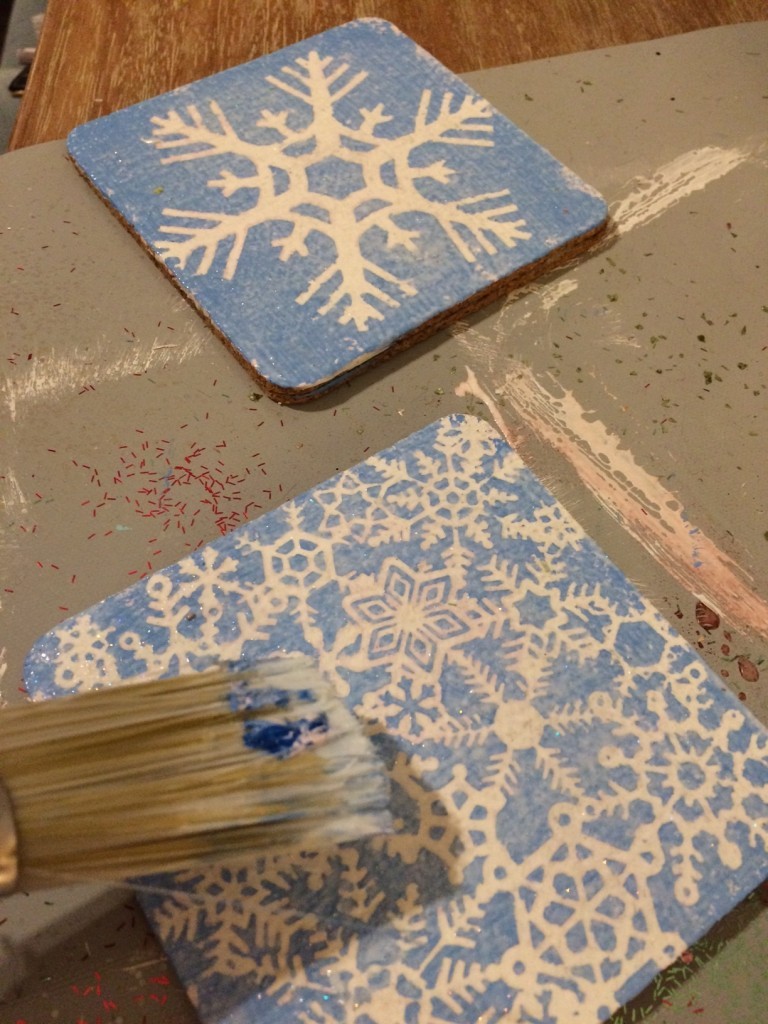
Brush on a top coat of the glitter decoupage. I also glued a second piece of cork to the bottom of the coaster to make it sturdier.
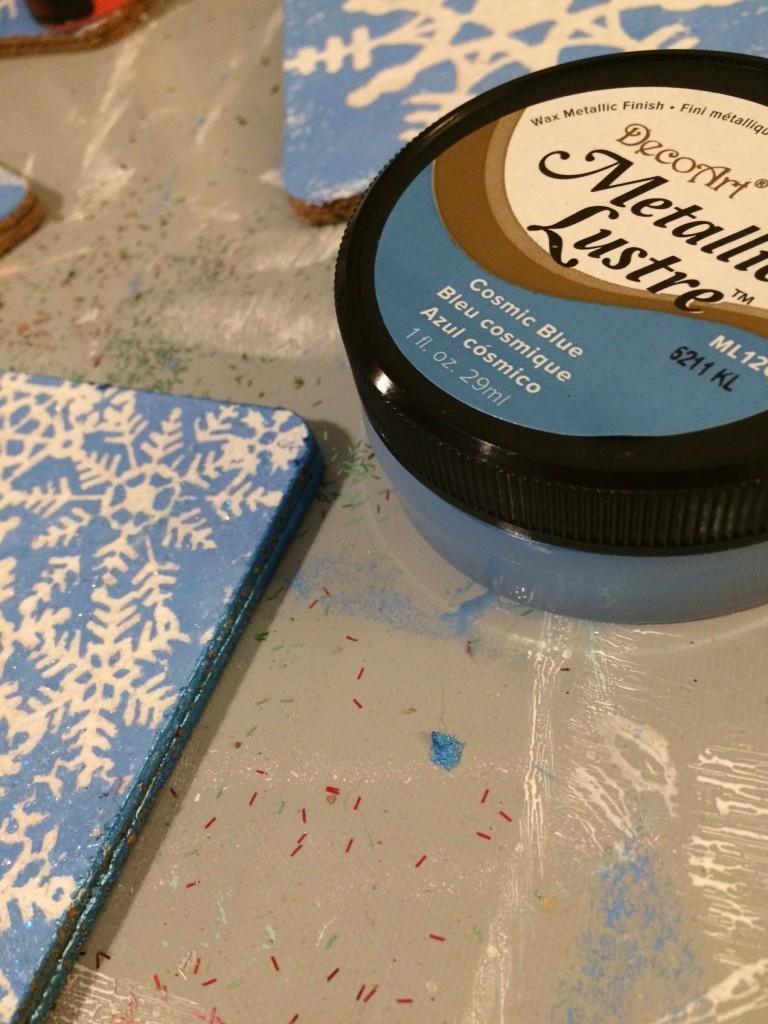
When everything was dry, I used my finger to paint some Metallic Lustre around the edges.
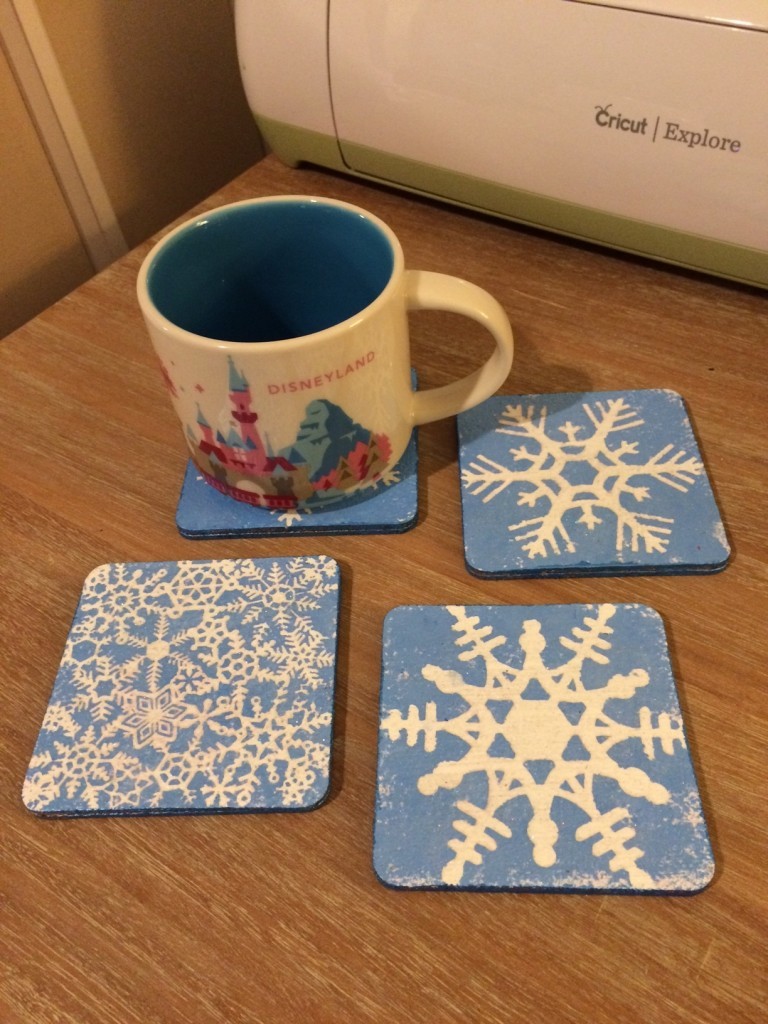
I love how my Snowflake Coasters turned out and I think they’ll be a great gift. I hope you like them, Michelle! I was tempted to keep them for myself! A big thanks to Cricut for sponsoring a great gift exchange!
Really cute idea! I may have to steal it.
These are darling and I love your helper! I’m surprised he isn’t glitterized! 🙂 Thanks for bringing this by to our Throwback Thursday Link Party – I’ll be pinning this to our board, too, and Happy New Year!