Starry Starry Night Painted Galaxy Banner
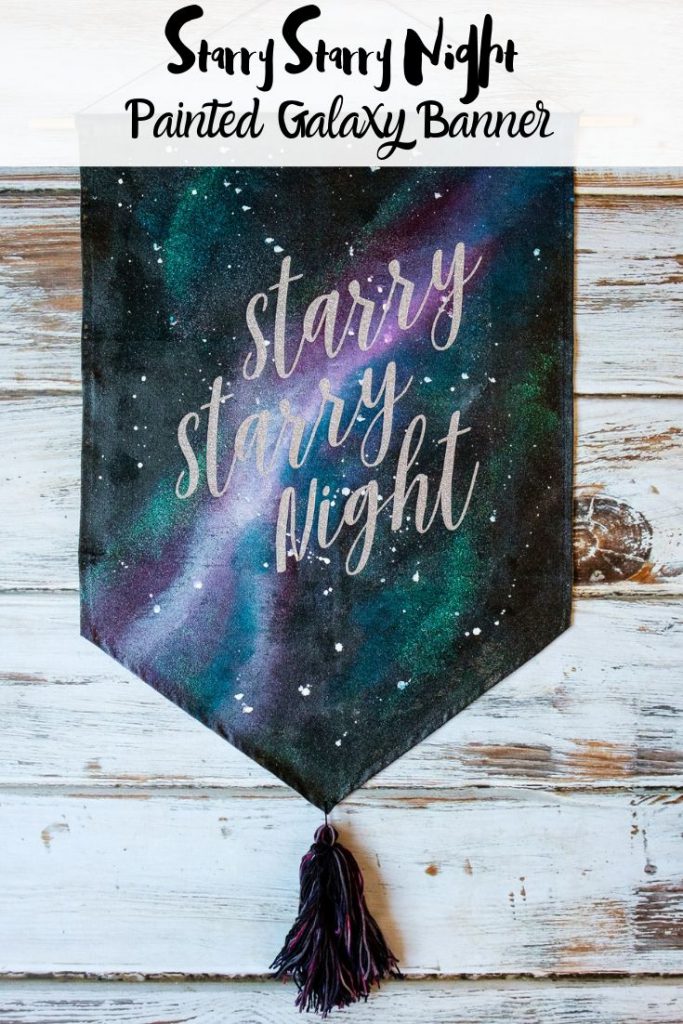
It took us a long time to find the right house for us mostly because we wouldn’t budge on the number of bedrooms. It was important to us that the girls each have their own room, which meant a five bedroom house. Those are rare in New Zealand as it is and because we were fixed on a small area, it was even more difficult. I still can’t get over that we found our house! We’re letting the girls design their rooms themselves (within reason!) and Pippi is going full outer space with hers (she’s totally my daughter!). She already has galaxy bedding, a moon lamp, and rocket ships, but she needed galaxy decor for her walls. I like any excuse to play around and made this Starry Starry Night Painted Galaxy Banner for her.
This post contains affiliate links.
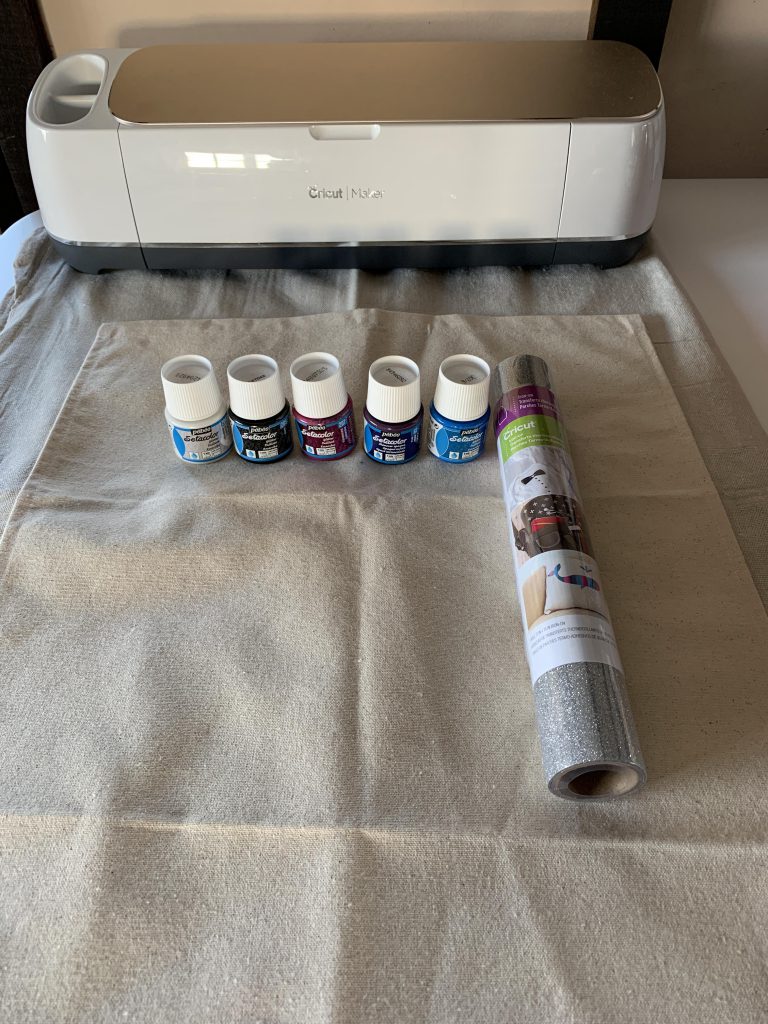
Supplies:
- Cricut Maker
- silver glitter iron on
- canvas banner
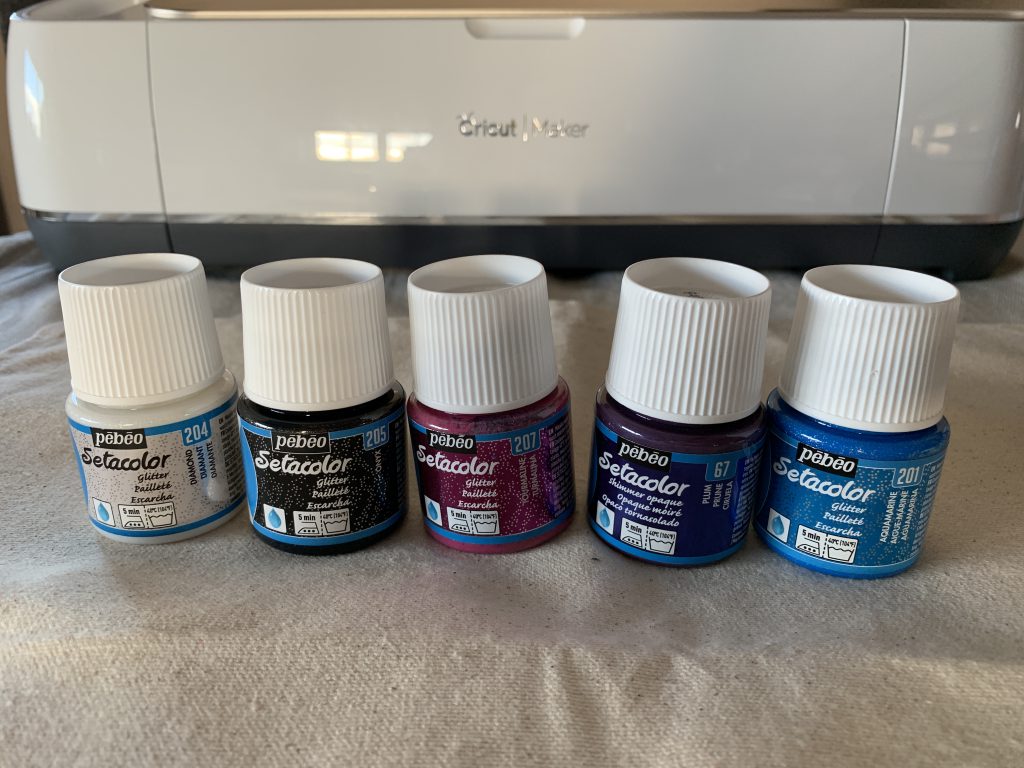
- Pebeo Setacolor in 10 (White), 67 (Plum ), 201 (Glitter Aquamarine), 204 (Glitter Diamond), 205 (Glitter Onyx), 207 (Glitter Tourmaline) or similar fabric paint
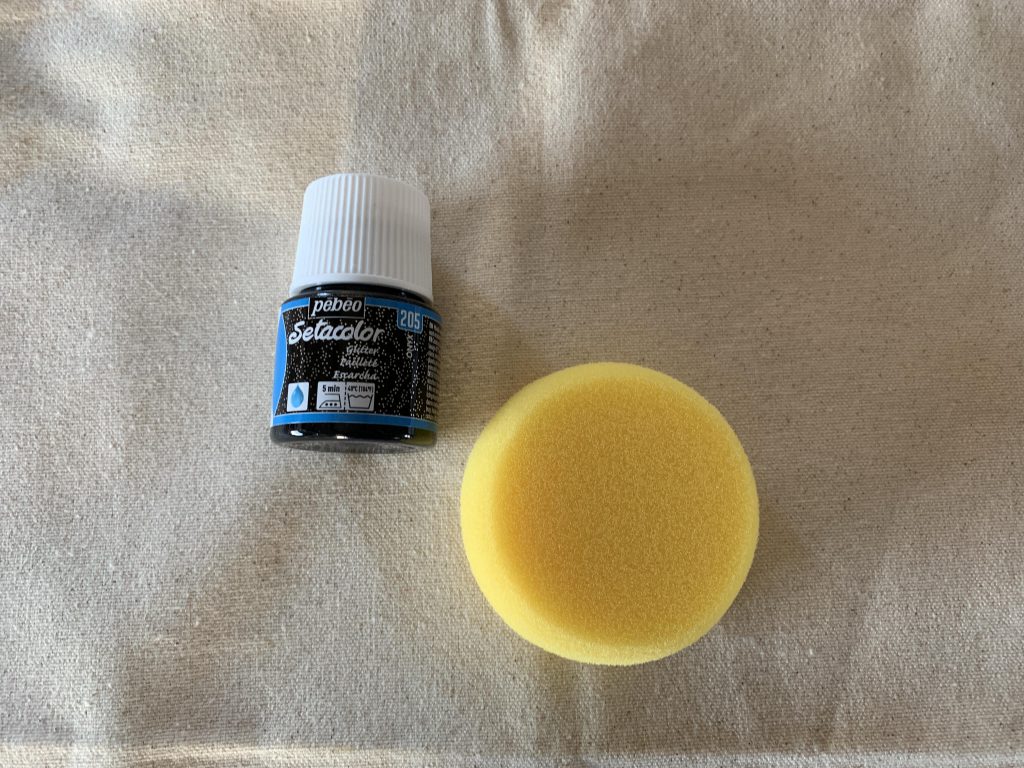
- sponge
- Starry Starry Night SVG
- yarn (optional–for tassel)
Instructions:
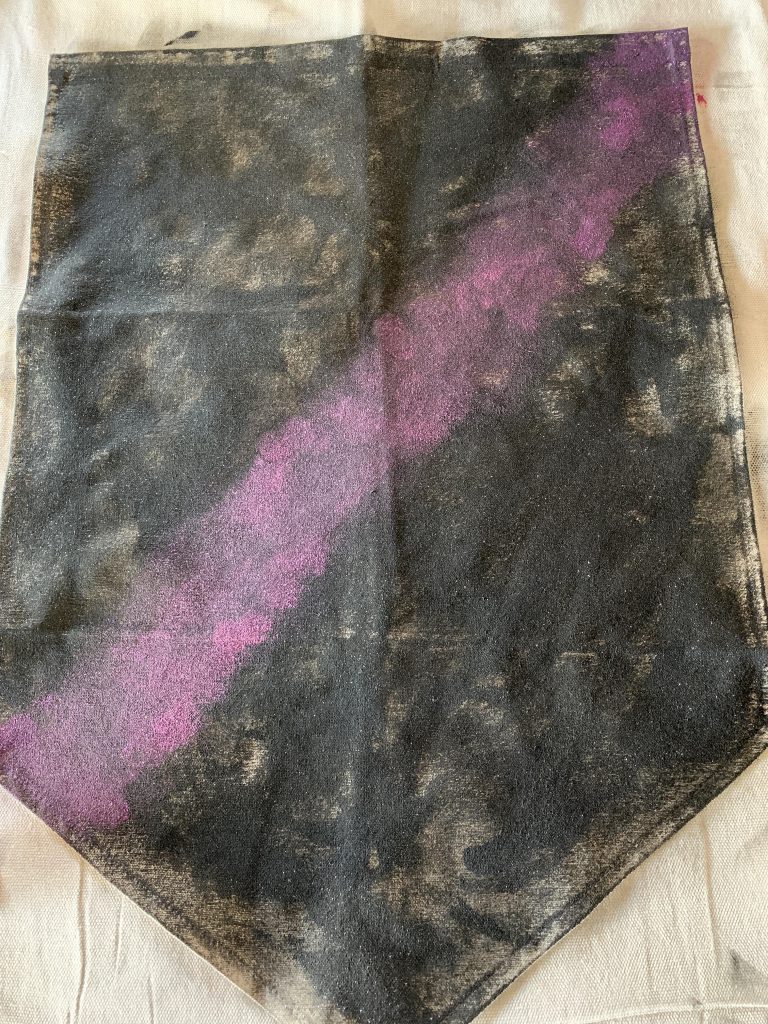
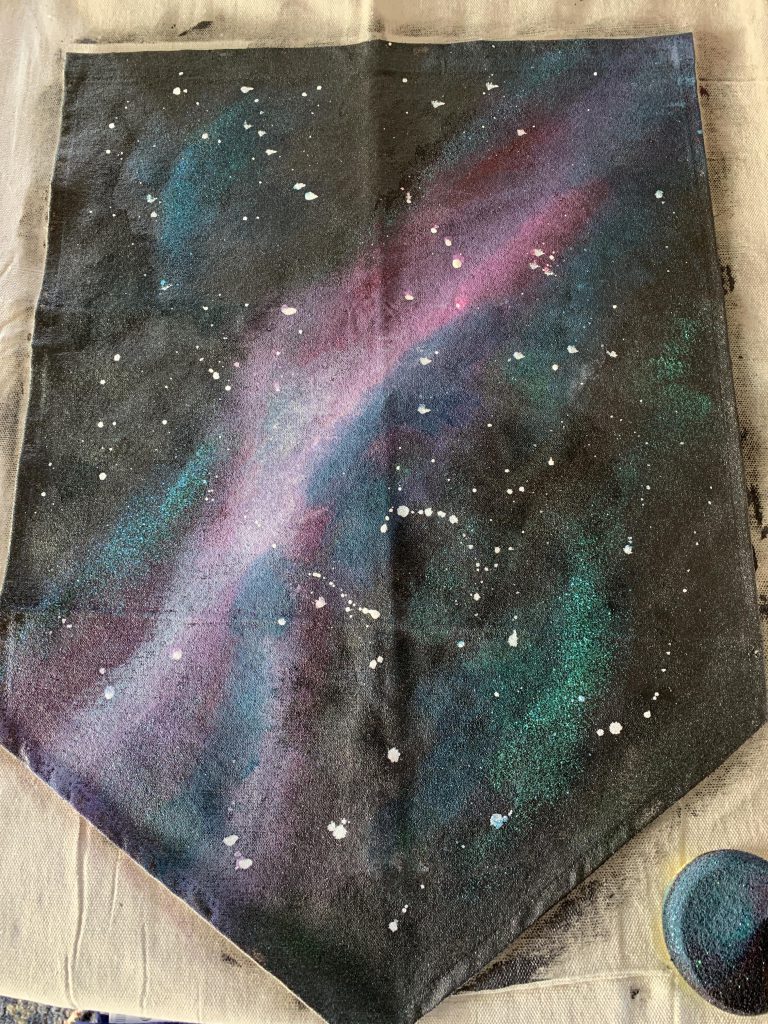
Start with the black. Pour some paint onto your sponge and start dabbing the canvas. You want good coverage but it doesn’t need to be perfect–this project is all about layering and any gaps in coverage will eventually be filled.
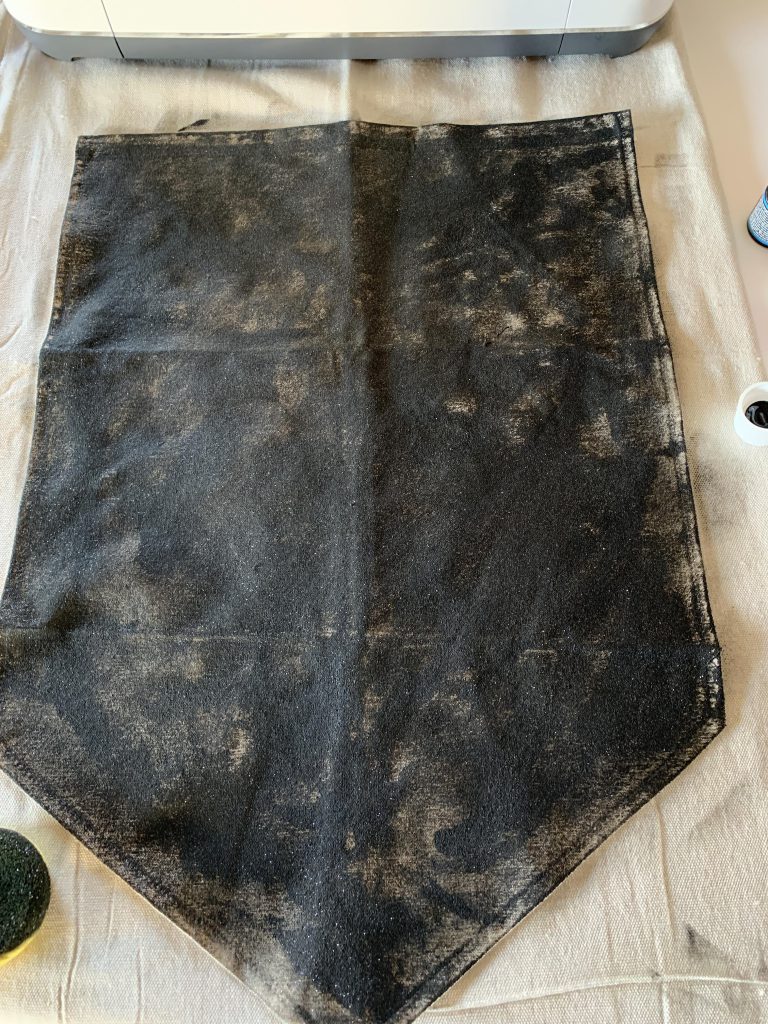
Pull the pink diagonally across the banner using the same sponge.
Dab in some of the blue.
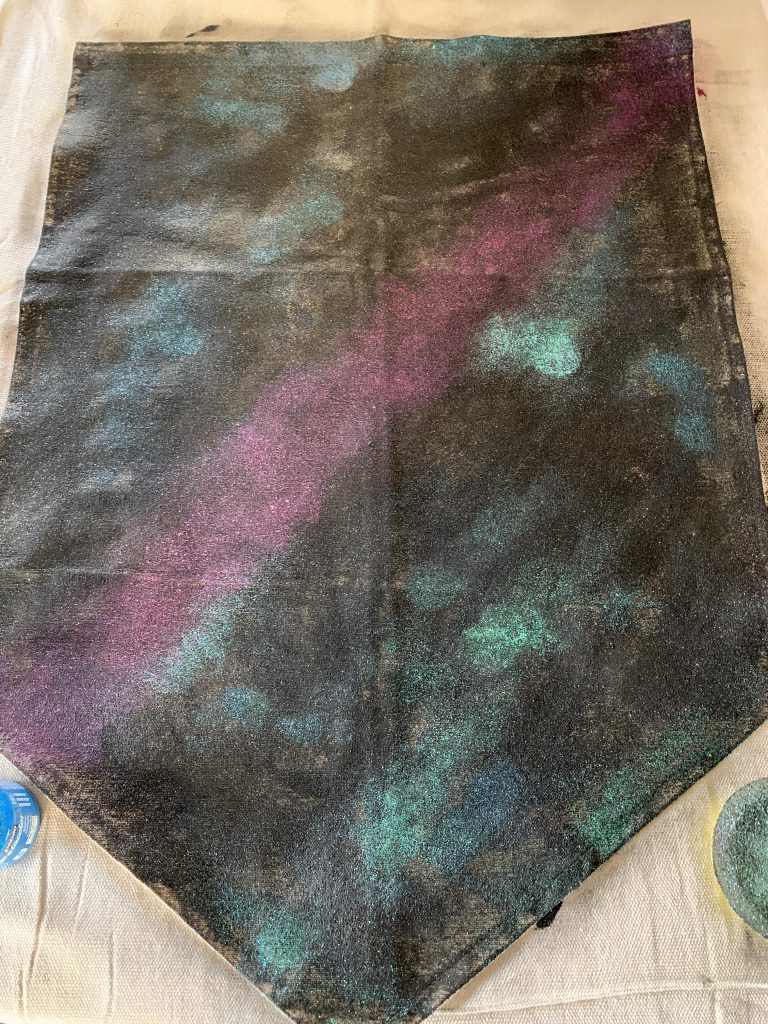
I used the same sponge for every last bit of the banner. It helps to blend the edges without much effort.
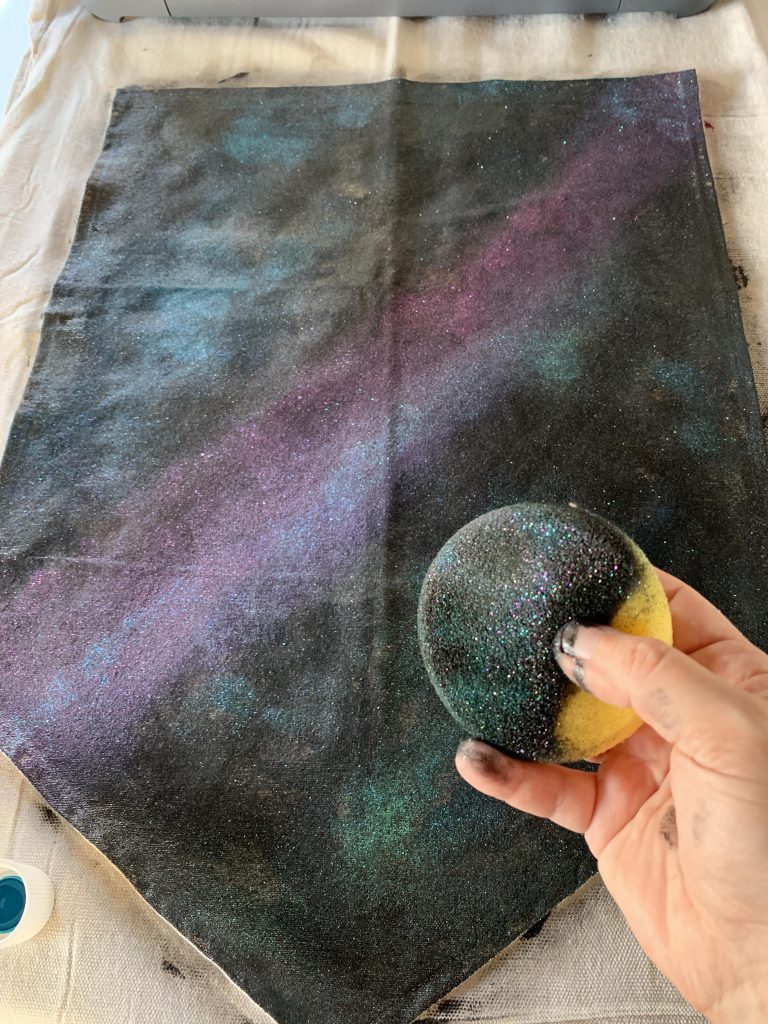
Keep layering. I went over areas with all the colors until I was happy with my galaxy. You don’t want any defined edges anywhere and you want to make sure you have those color pops. Don’t be afraid to add in white!
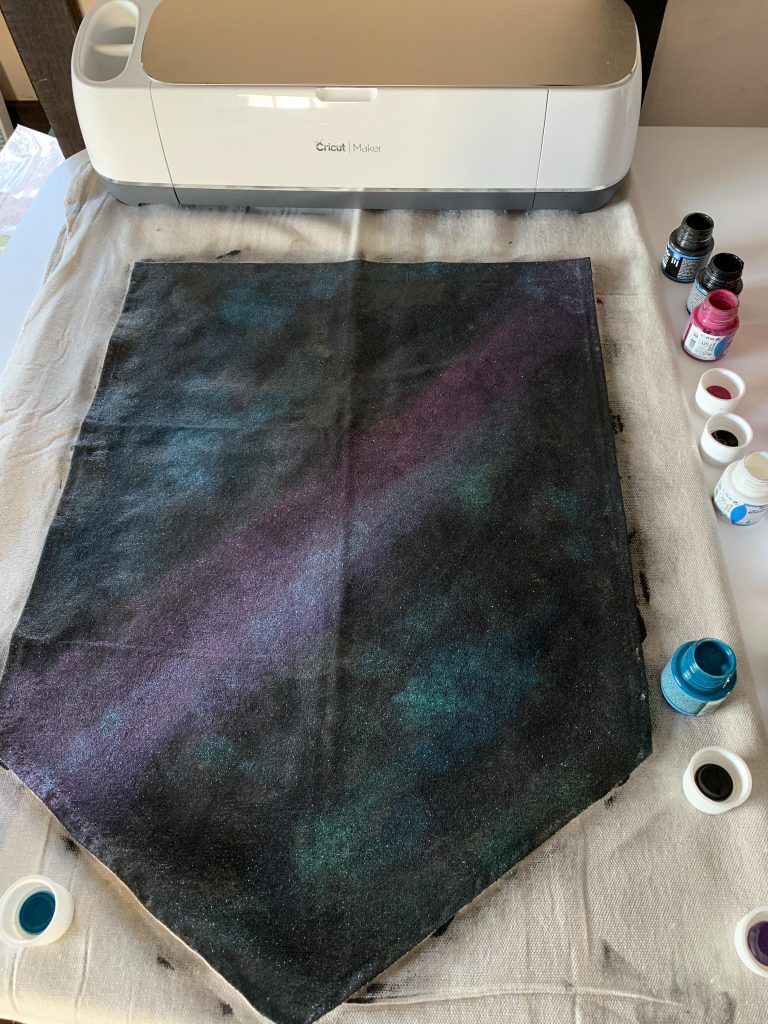
When you’re happy with the base of your galaxy, splash on some pure white. I took the corner of a paint brush and simply flicked paint onto the banner.
While your banner is drying, upload the Starry Starry Night SVG into Design Space. Download it from the supplies list. This will open a new tab in your browser. “Save as” to your computer and simply upload it to Design Space. I adjusted the size to 11.5 x 12 to fit my banner. If you’re using a smaller banner, adjust the size accordingly.
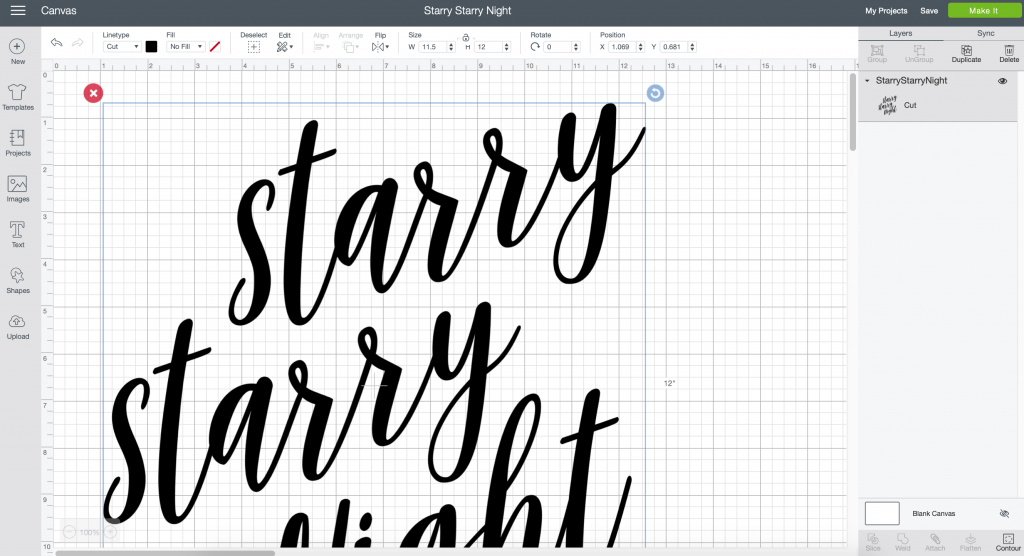
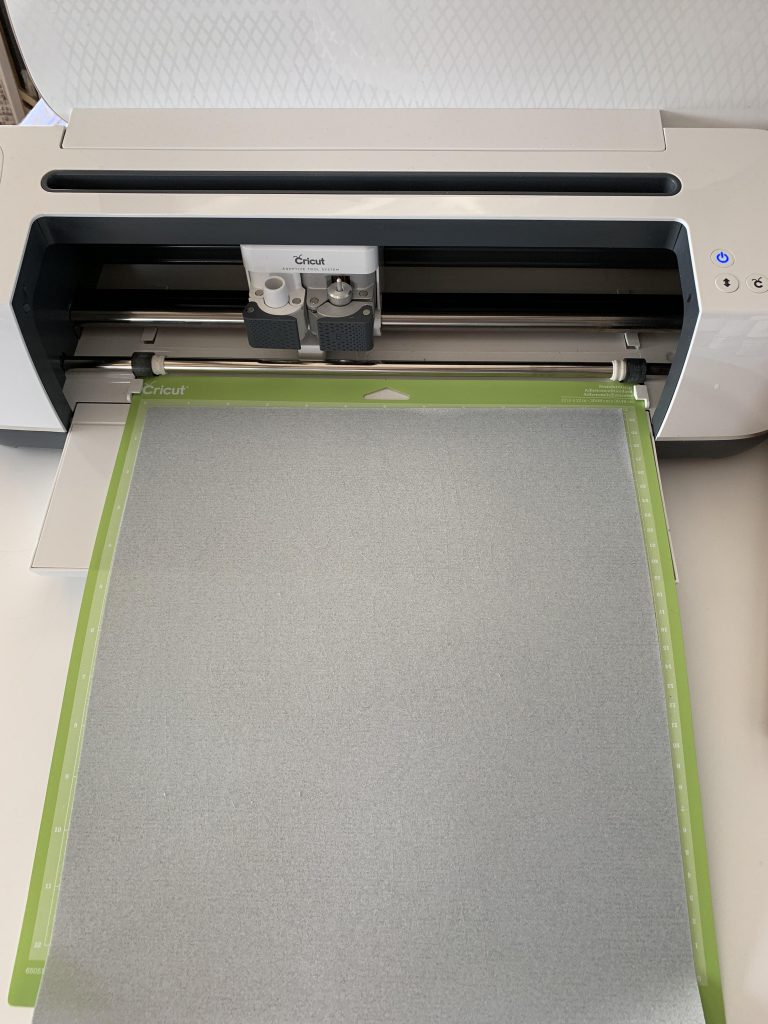
***Don’t forget to mirror image your iron on!!*** This is a big cut so if you forget to mirror image, you’re wasting almost an entire sheet of vinyl.
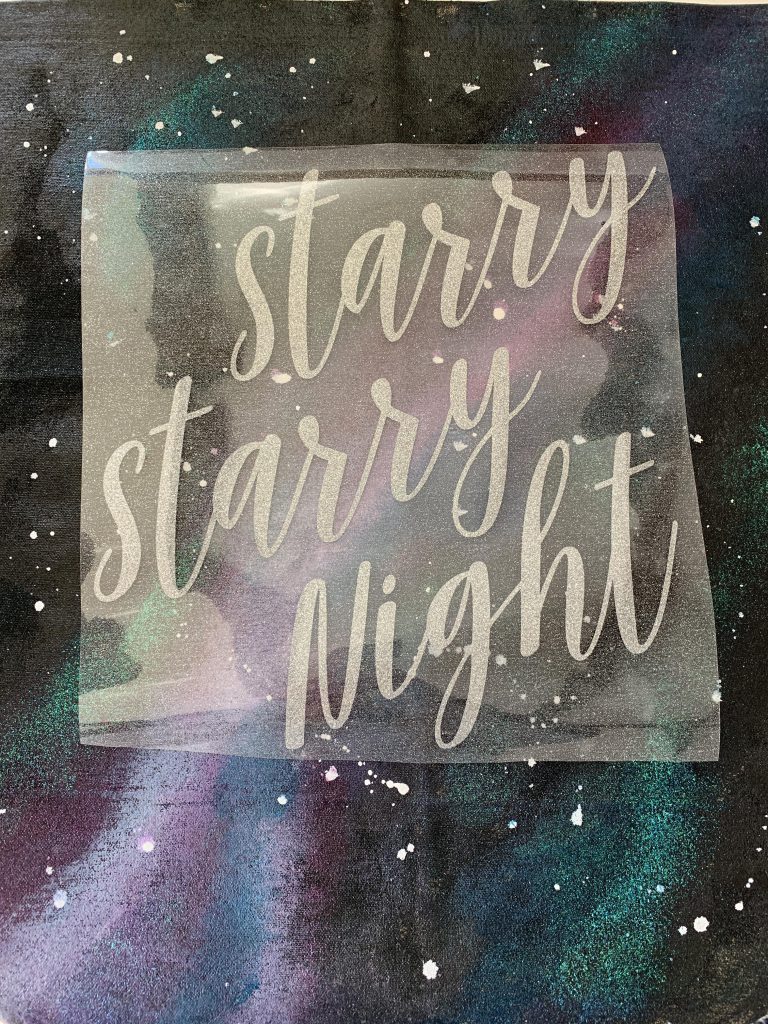
Once the banner is completely dry (and I mean *completely*), position the graphic and iron it on.
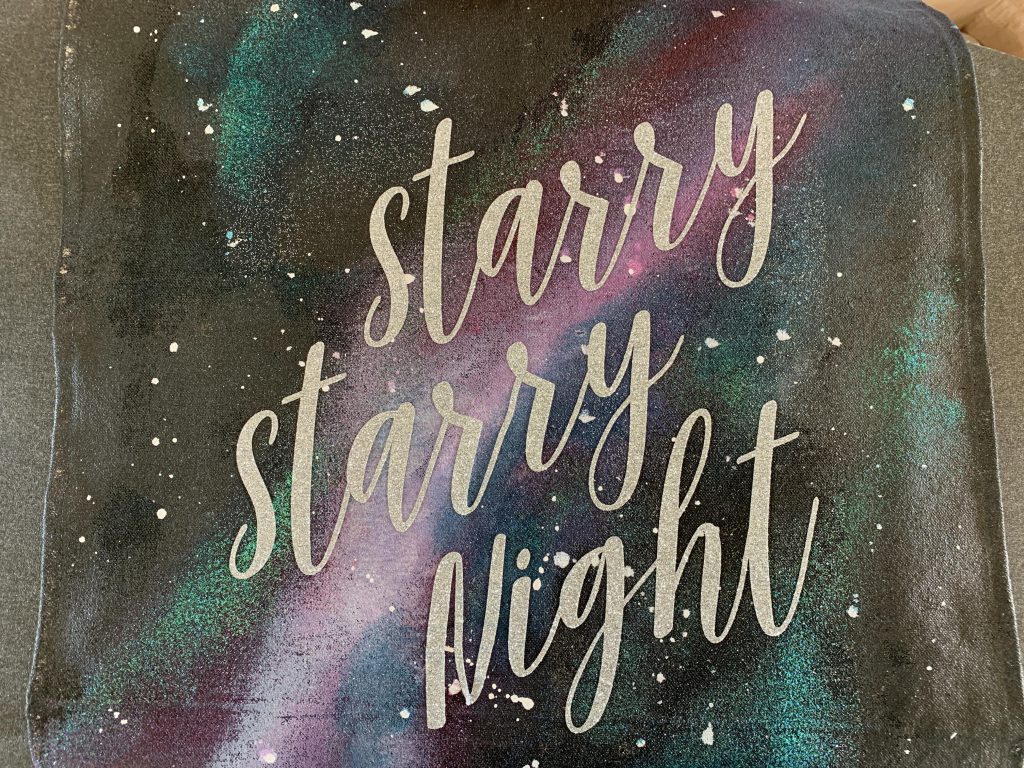
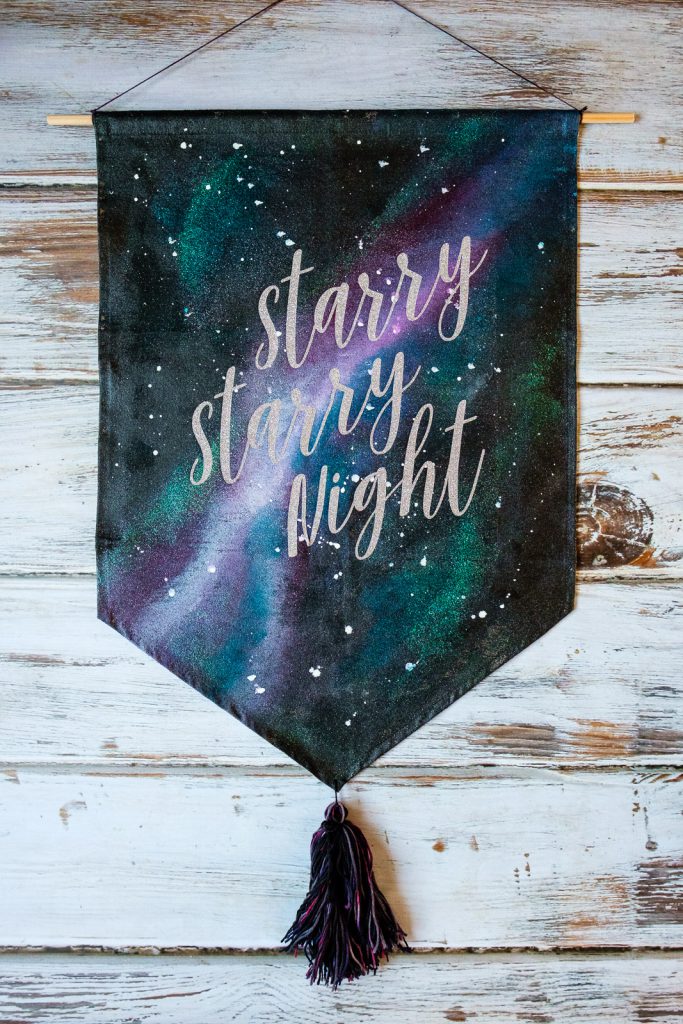
If you choose to hang a tassel from the point of the banner, this jumbo yarn tassel tutorial will help you out. I used some Doctor Who themed yarn that I picked up in Asheville a few years ago! Poke a hole through the tip of the banner with a needle and just tie the tassel through. I am thrilled with how my Starry Starry Night Painted Galaxy Banner turned out. It’s glittery and fun and perfect for Pippi’s outer space themed room!
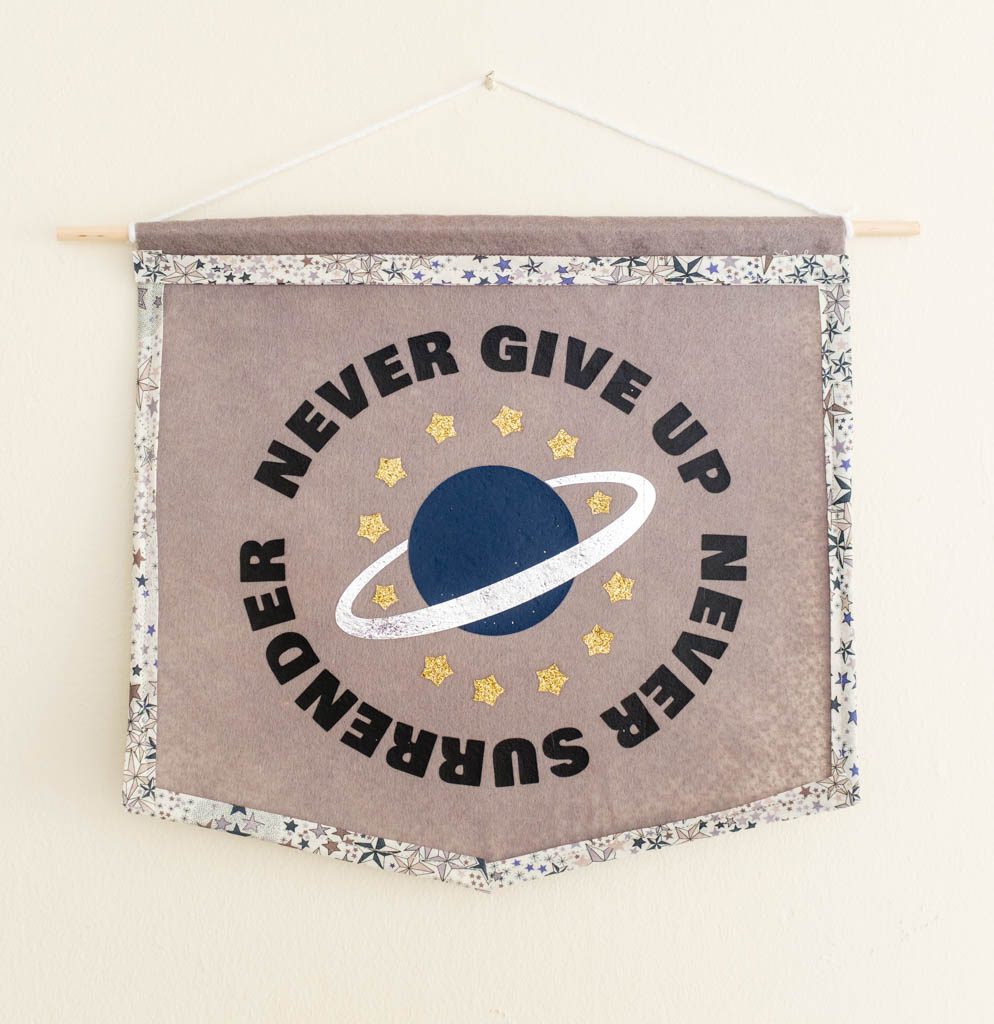
Want more galaxy banner fun? How about this one inspired by Galaxy Quest!
