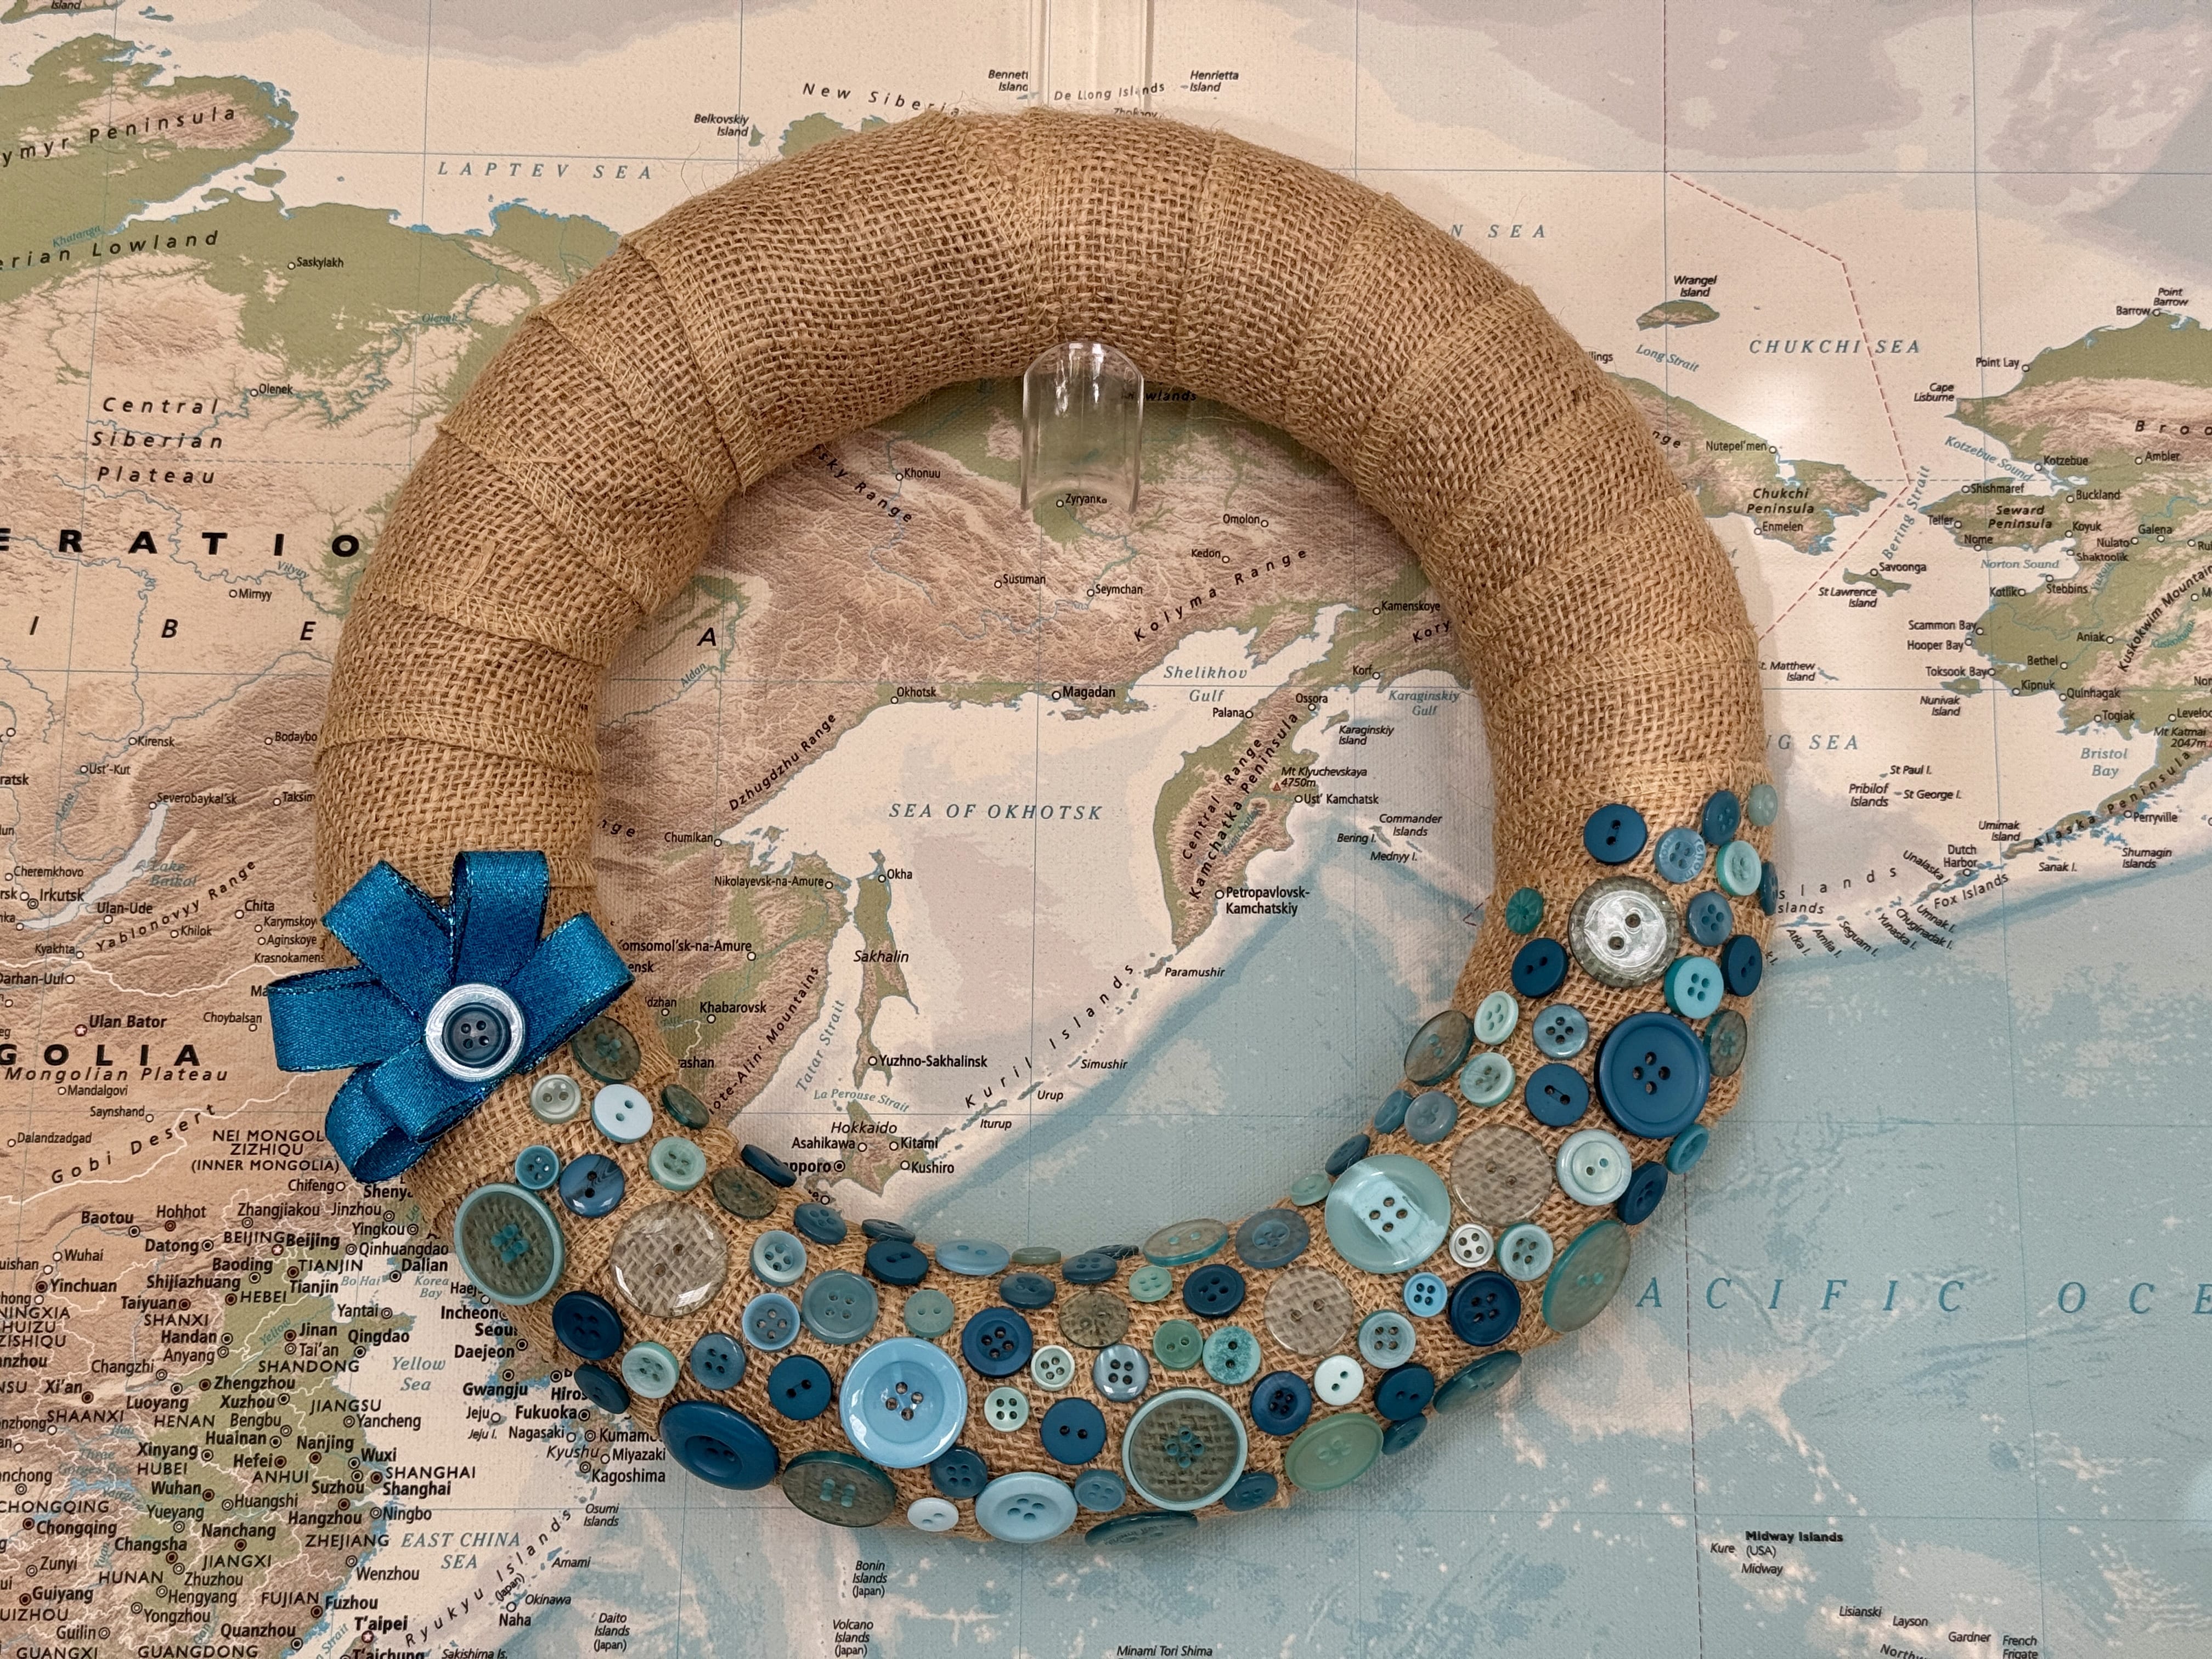
Burlap and Buttons Wreath
I think summer is my weakest crafting season–I just don’t seem to have many ideas. I don’t really know why. Sometimes something super easy is the way to go–this burlap and buttons wreath doesn’t require much thought and can be made in any color scheme you choose. Dig through your stash for buttons and ribbons and see what you can come up with!
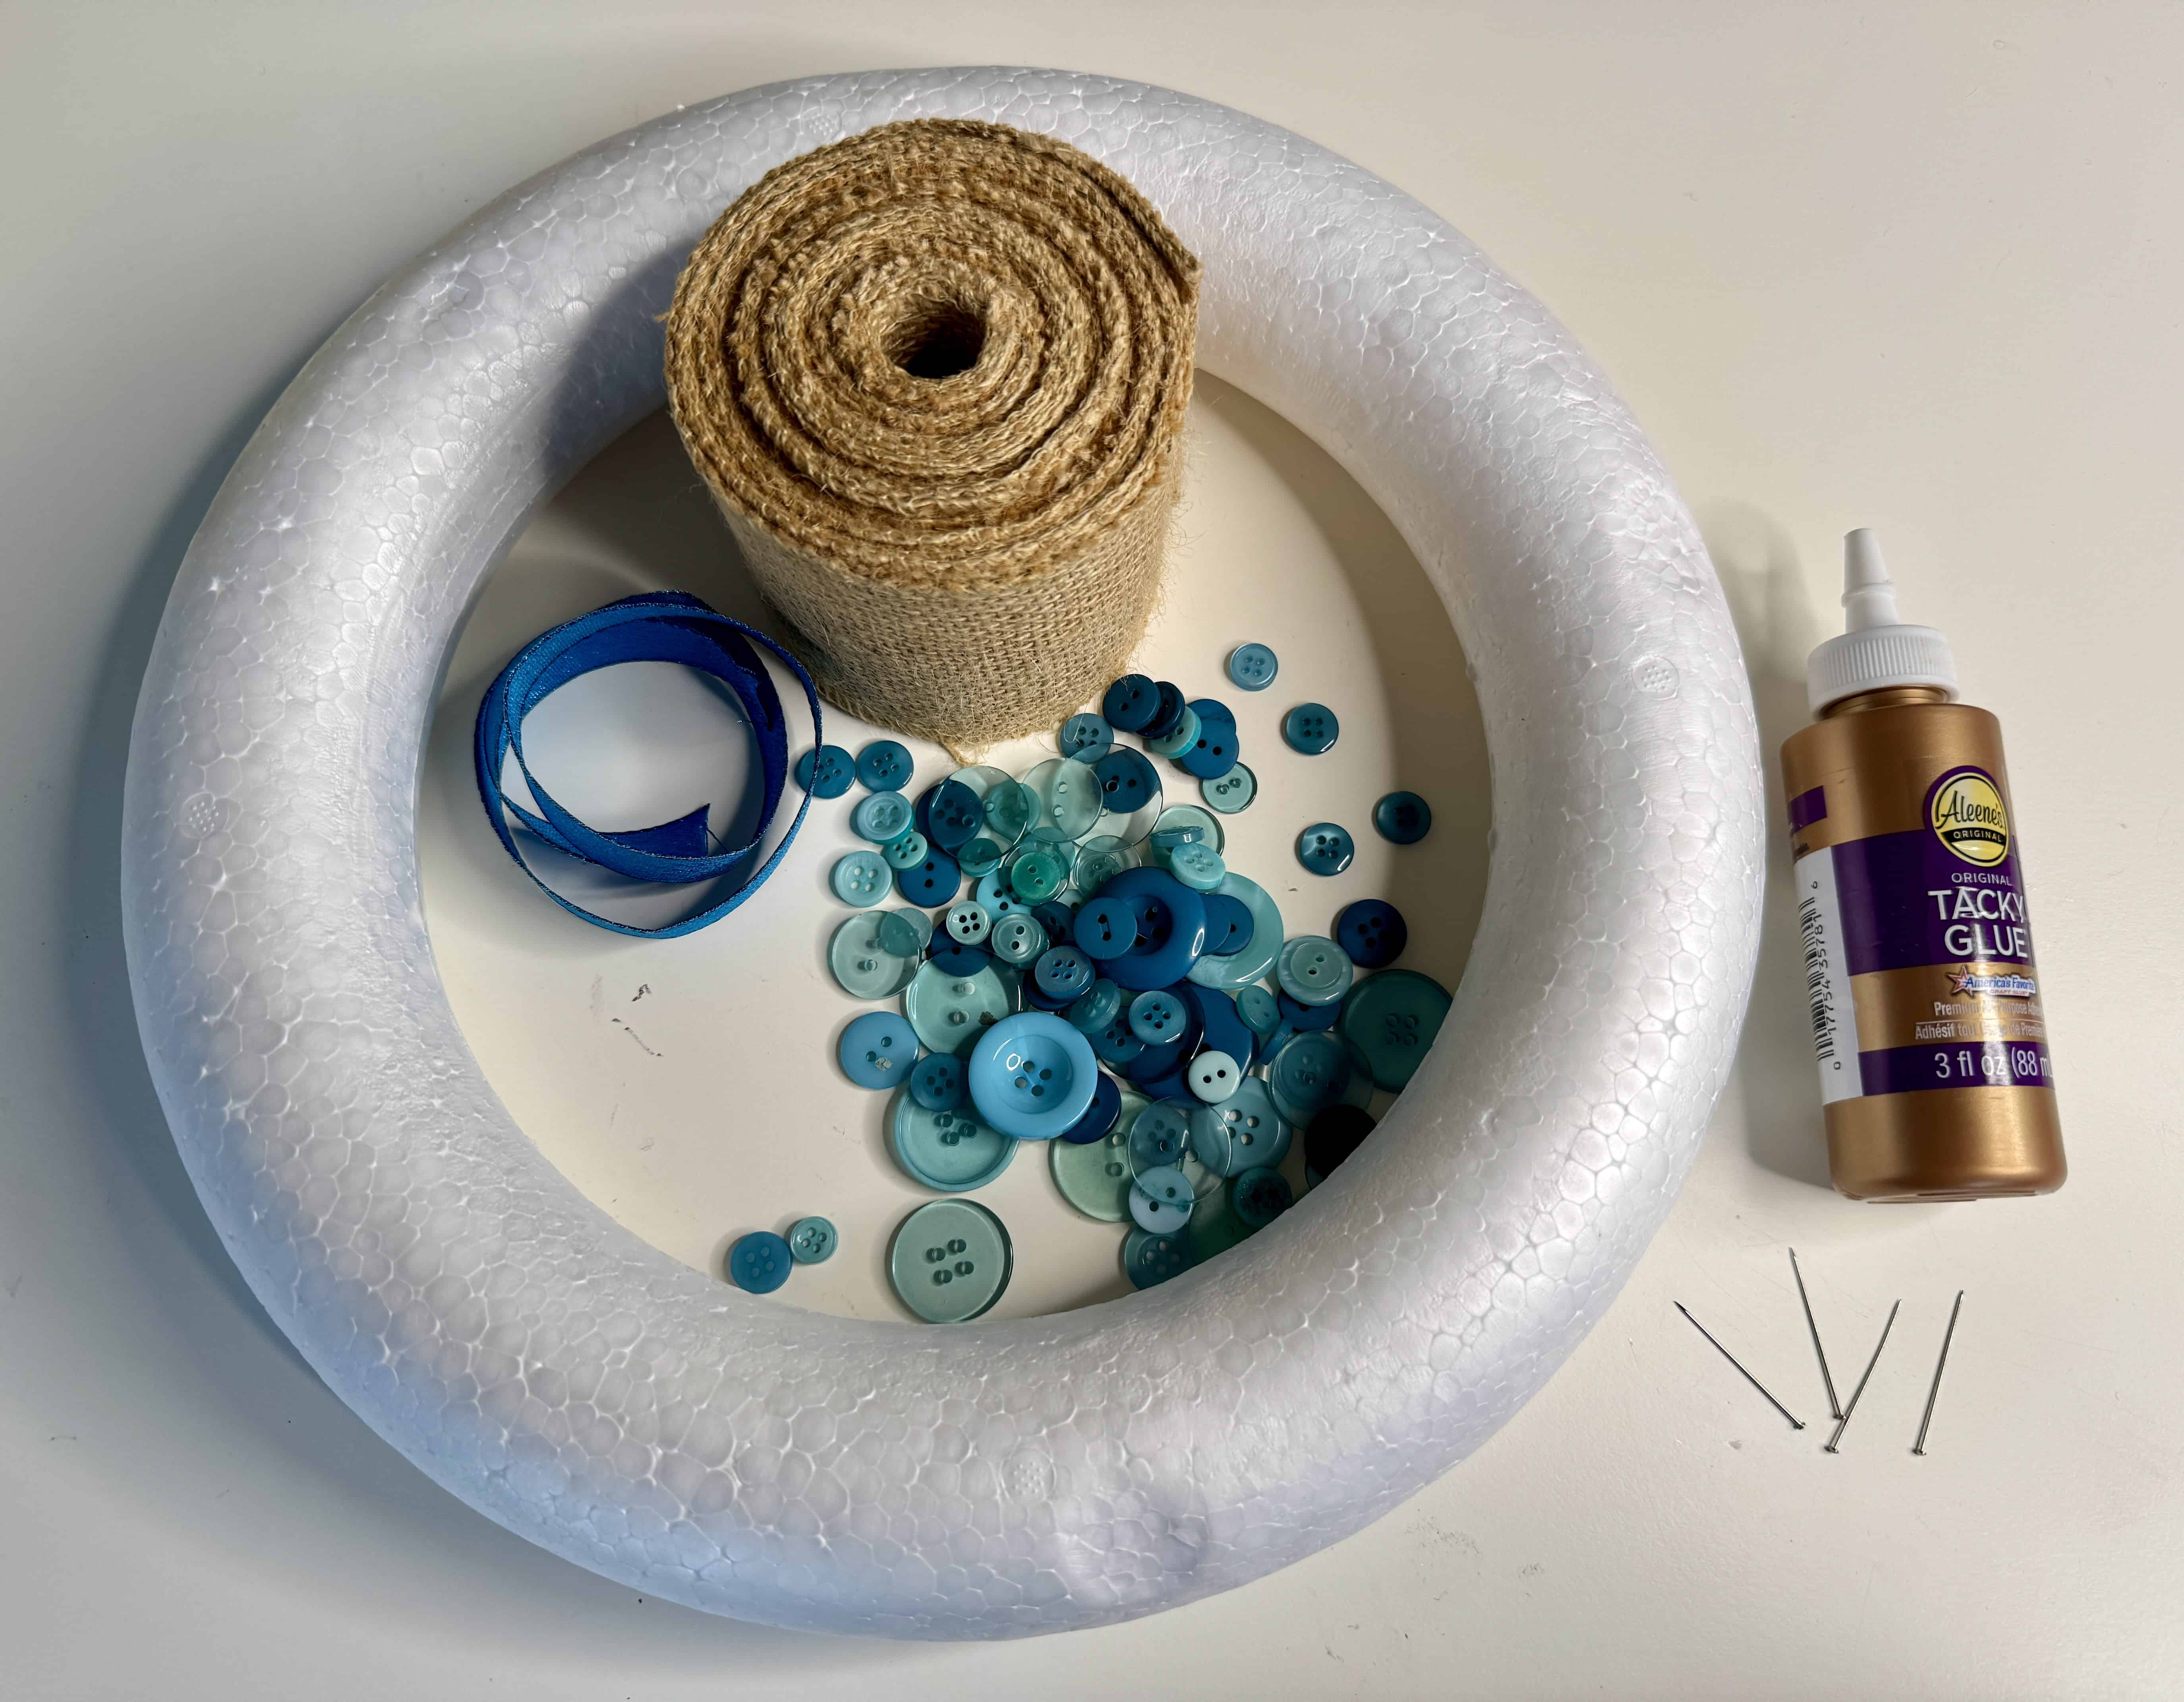
Supplies:
- burlap ribbon (I used a 3″ wide ribbon–I’d recommend a smaller width. Mine was unwieldy and I didn’t like how it wrapped. Just make sure it doesn’t have wires.)
- 12″ styrofoam wreath form
- buttons and ribbon from your stash (or have a hunt online or at your favorite shop if you’re lucky enough to have one nearby!)
- straight pins
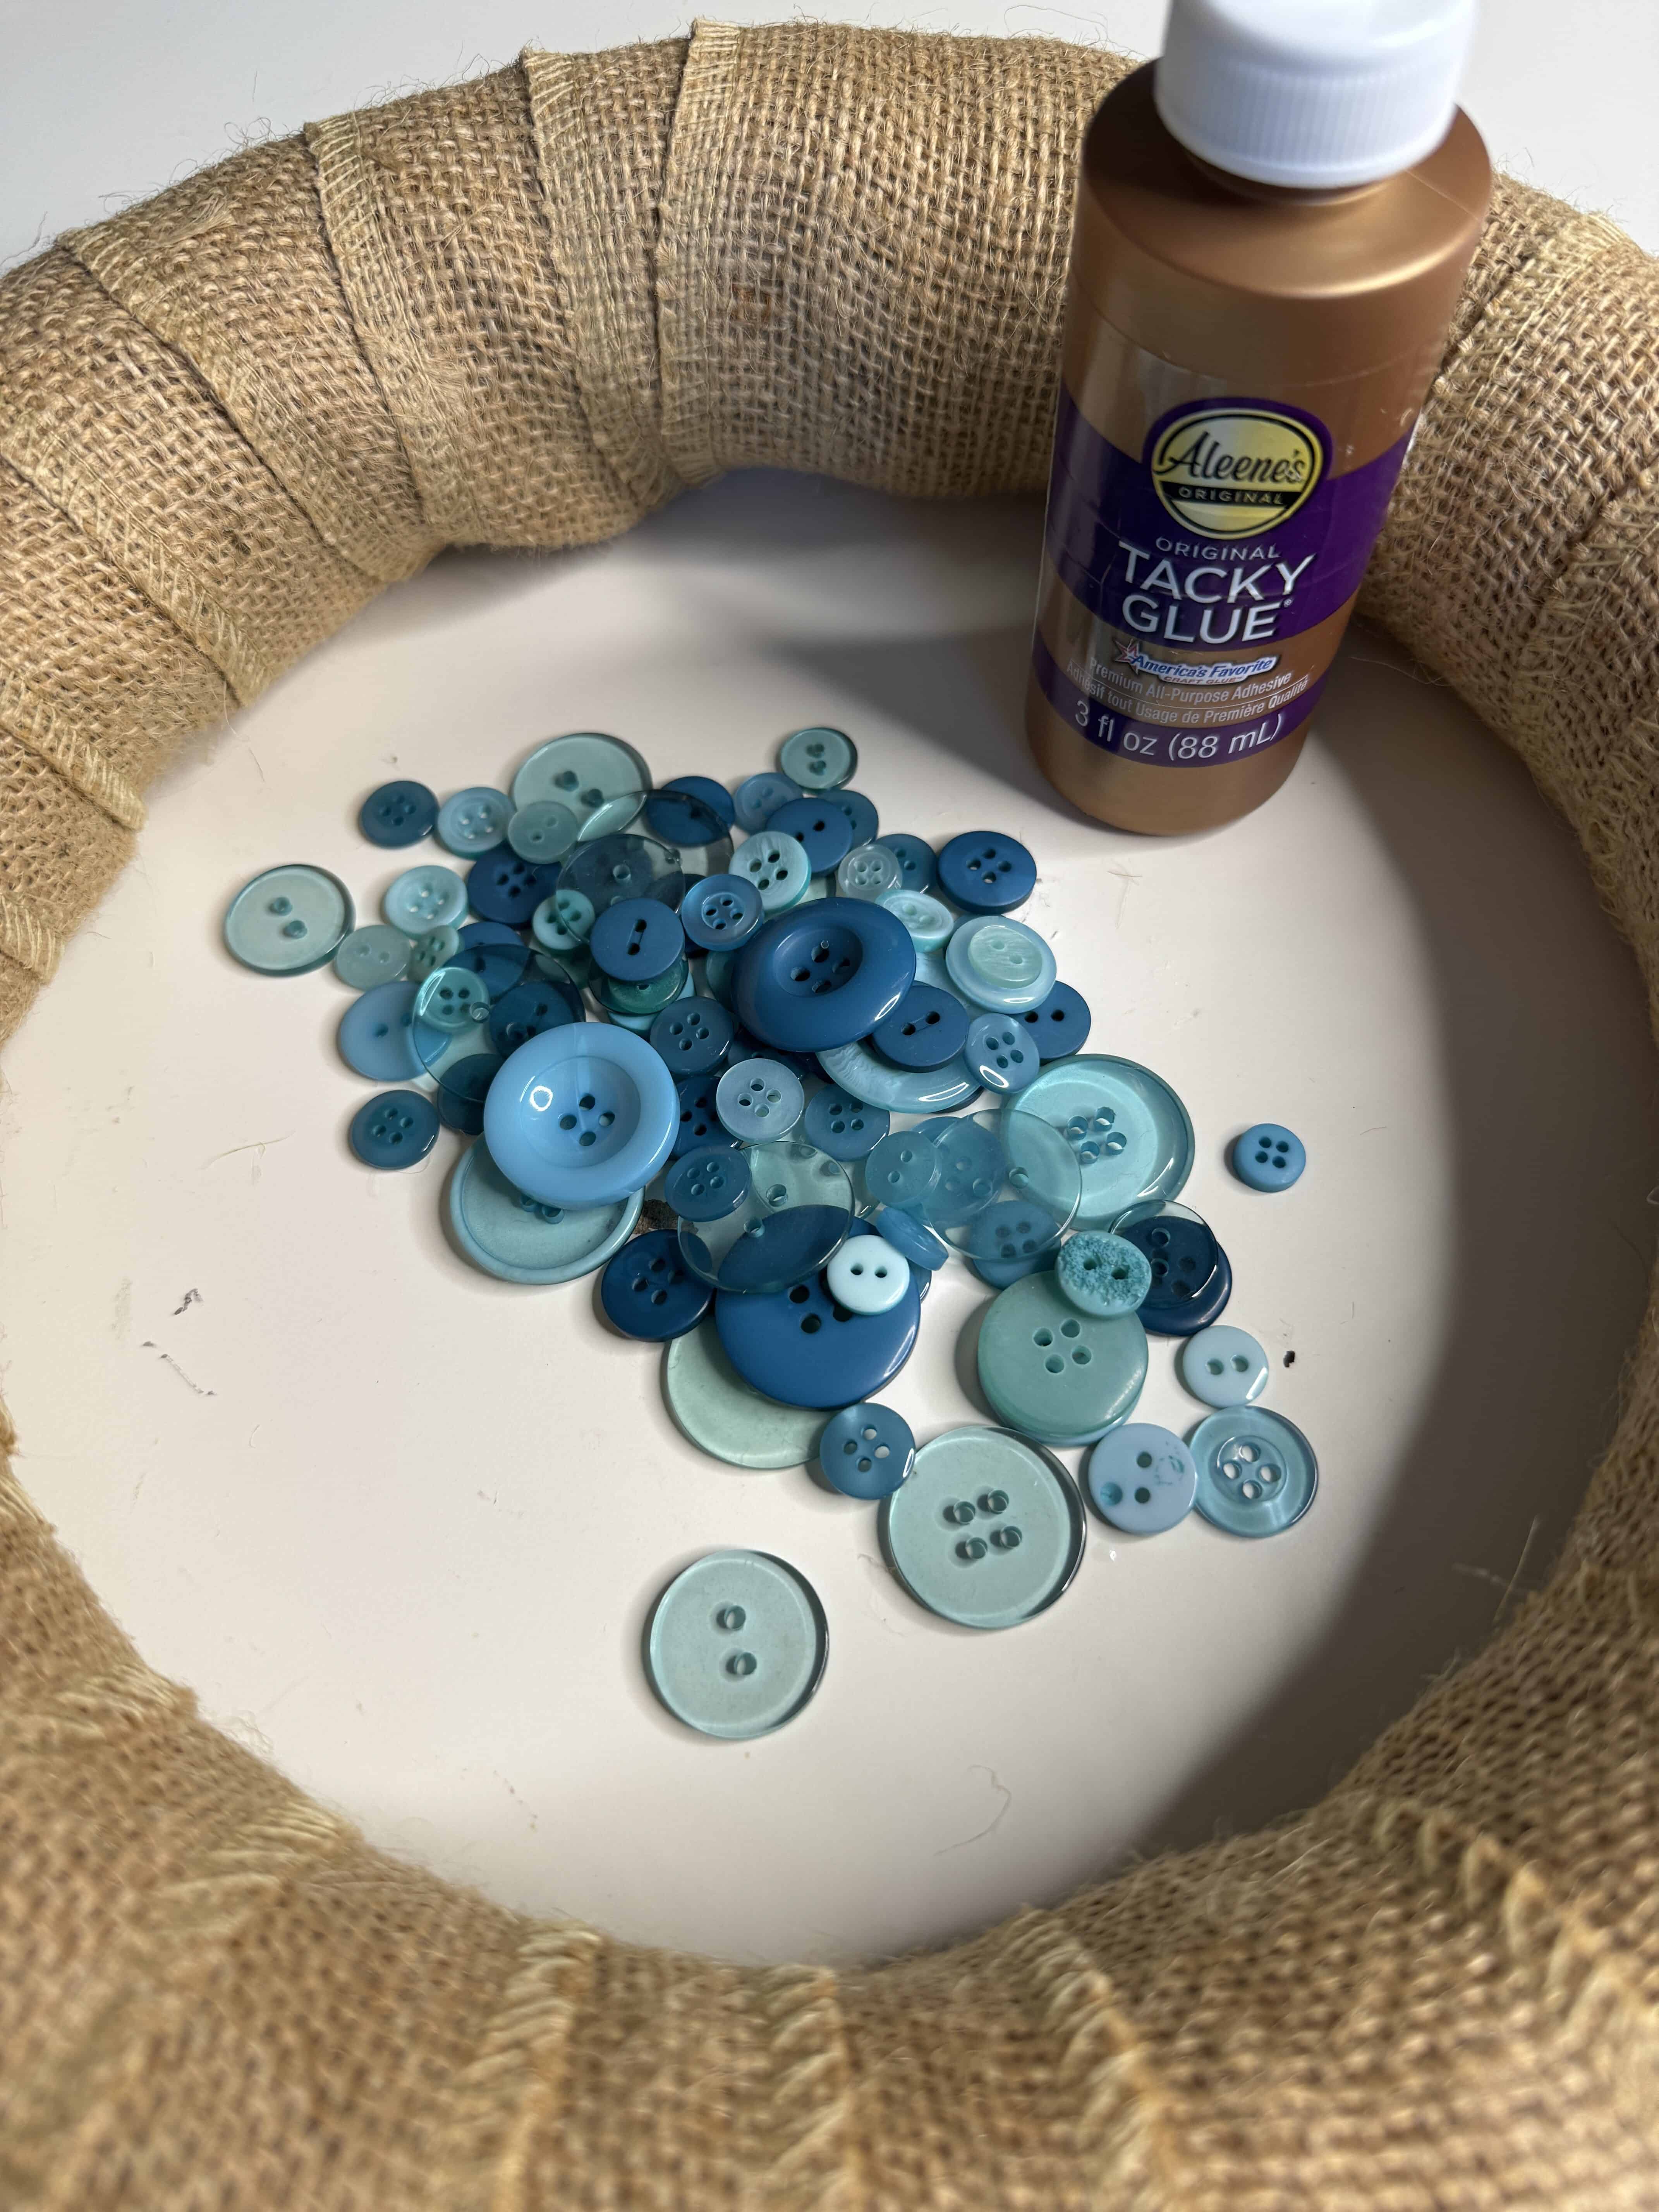
- Aleene’s Tacky Glue
- scissors
Directions:
Attach the end of the burlap ribbon to the wreath form using straight pins.
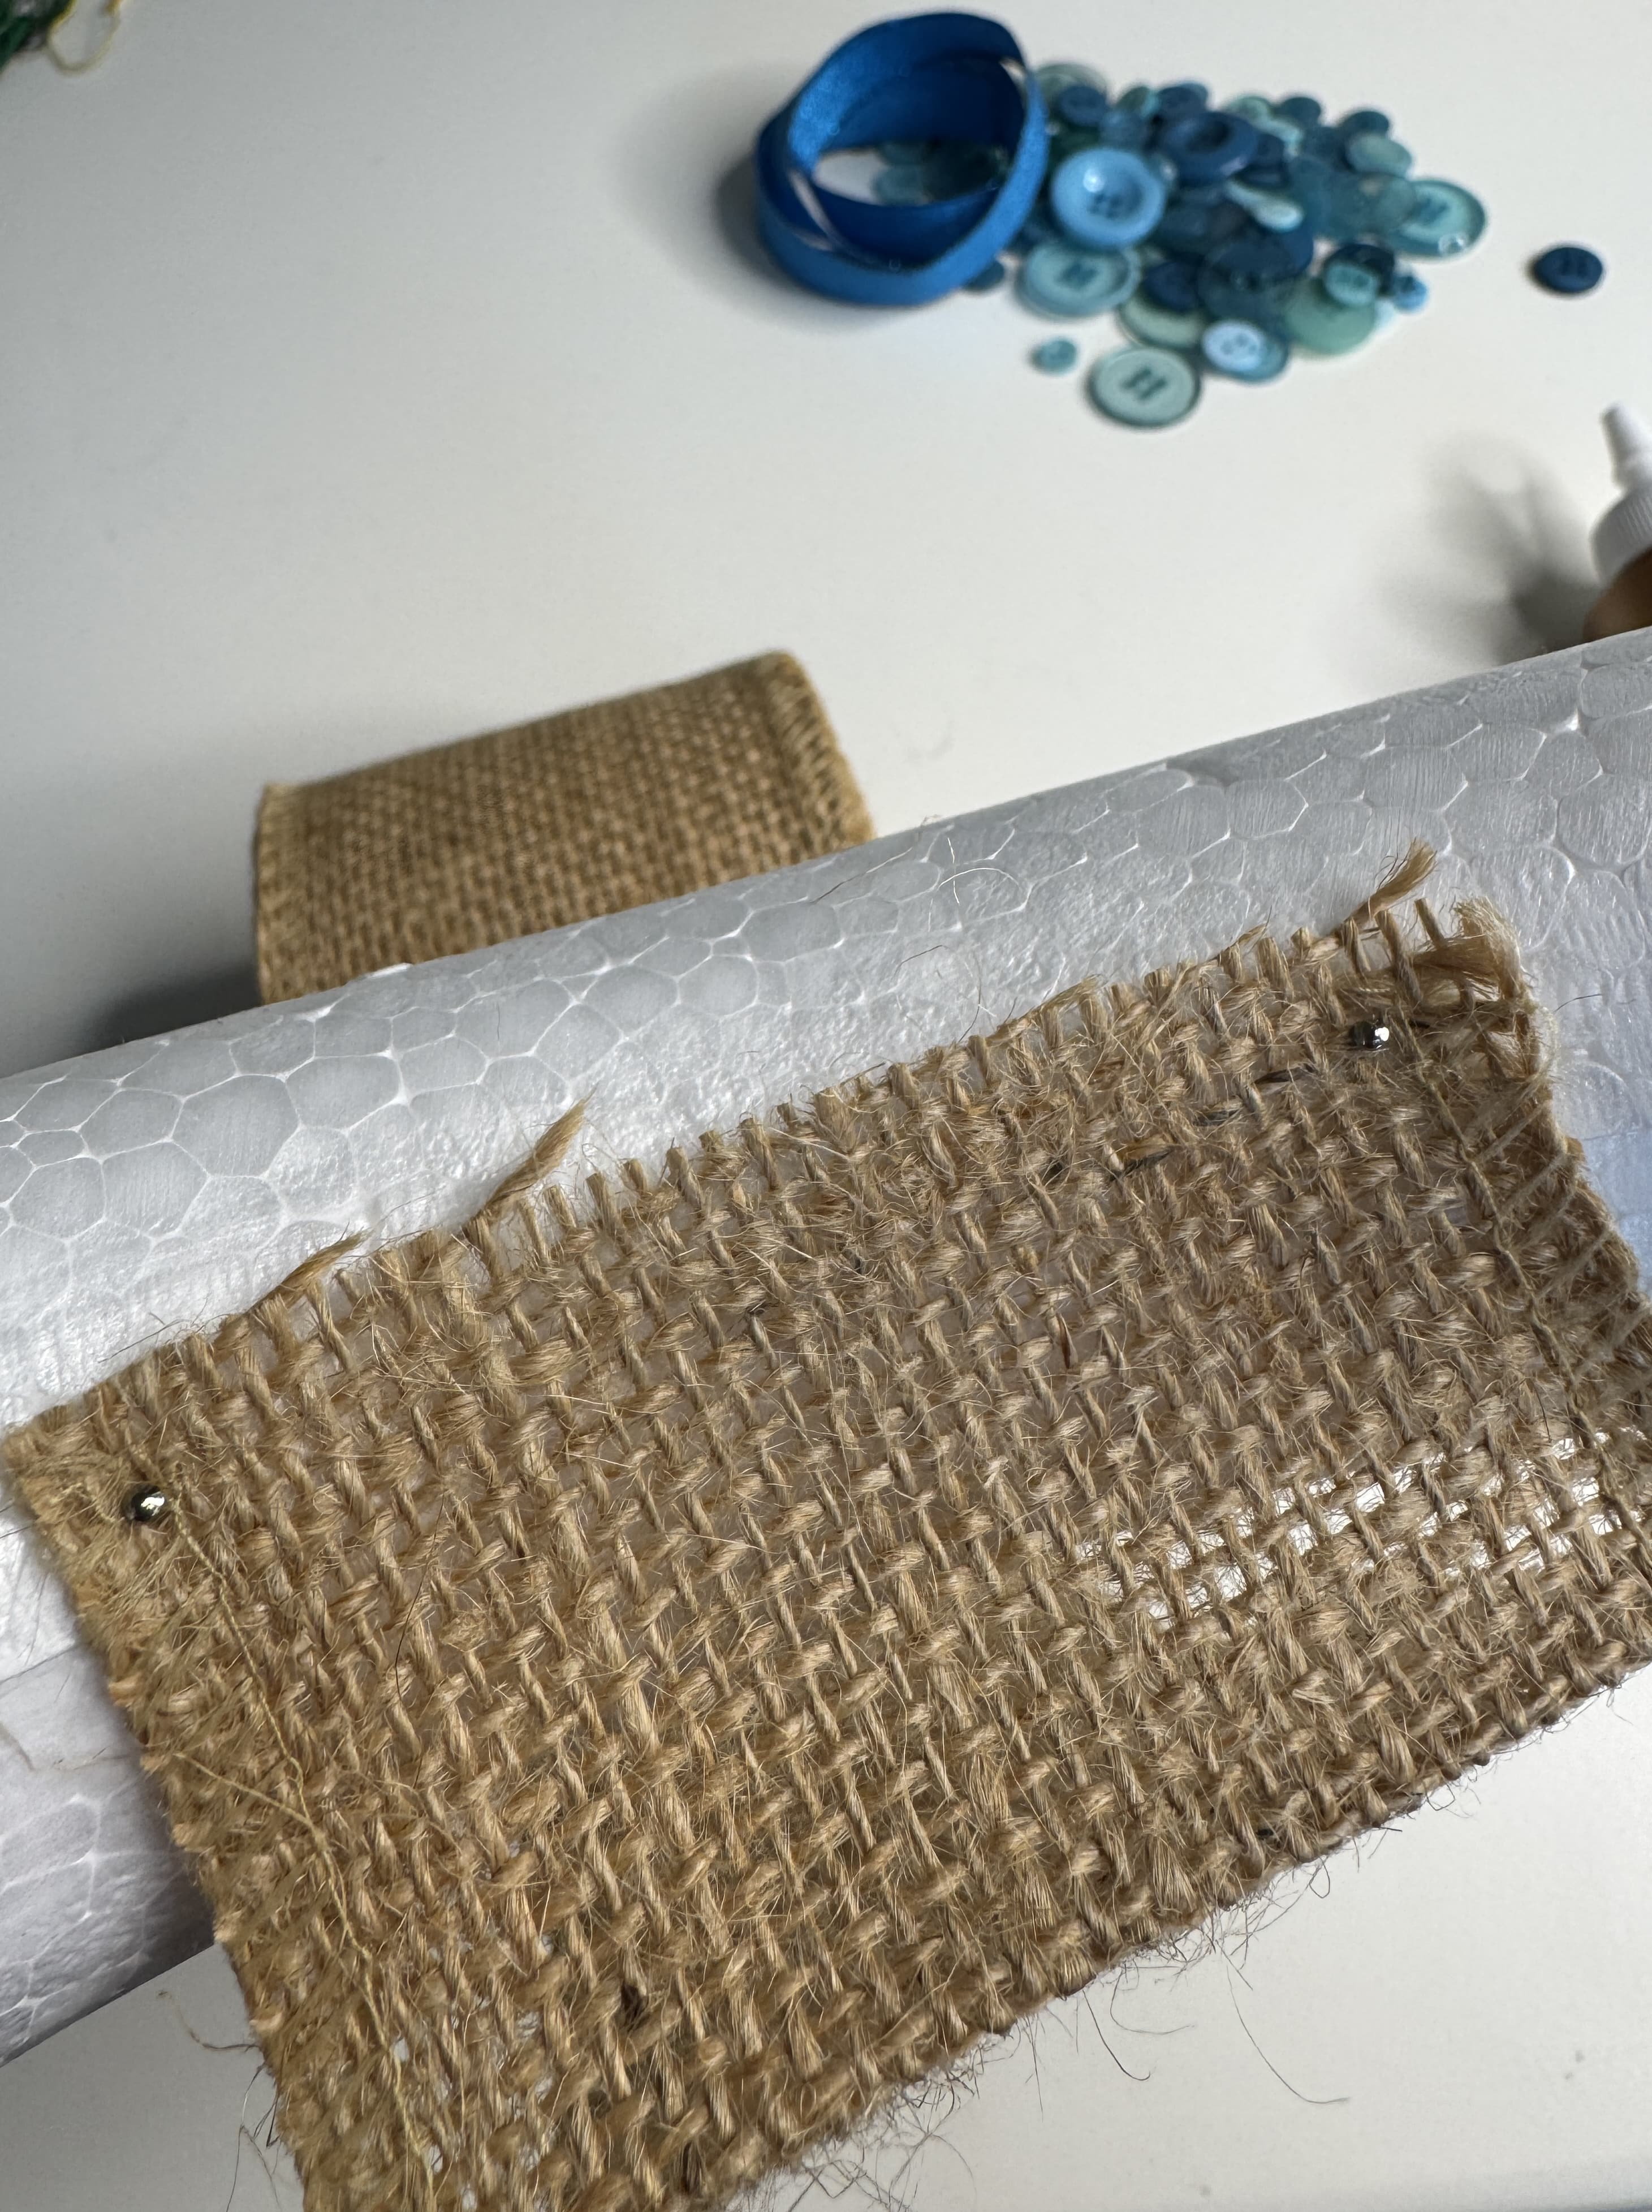
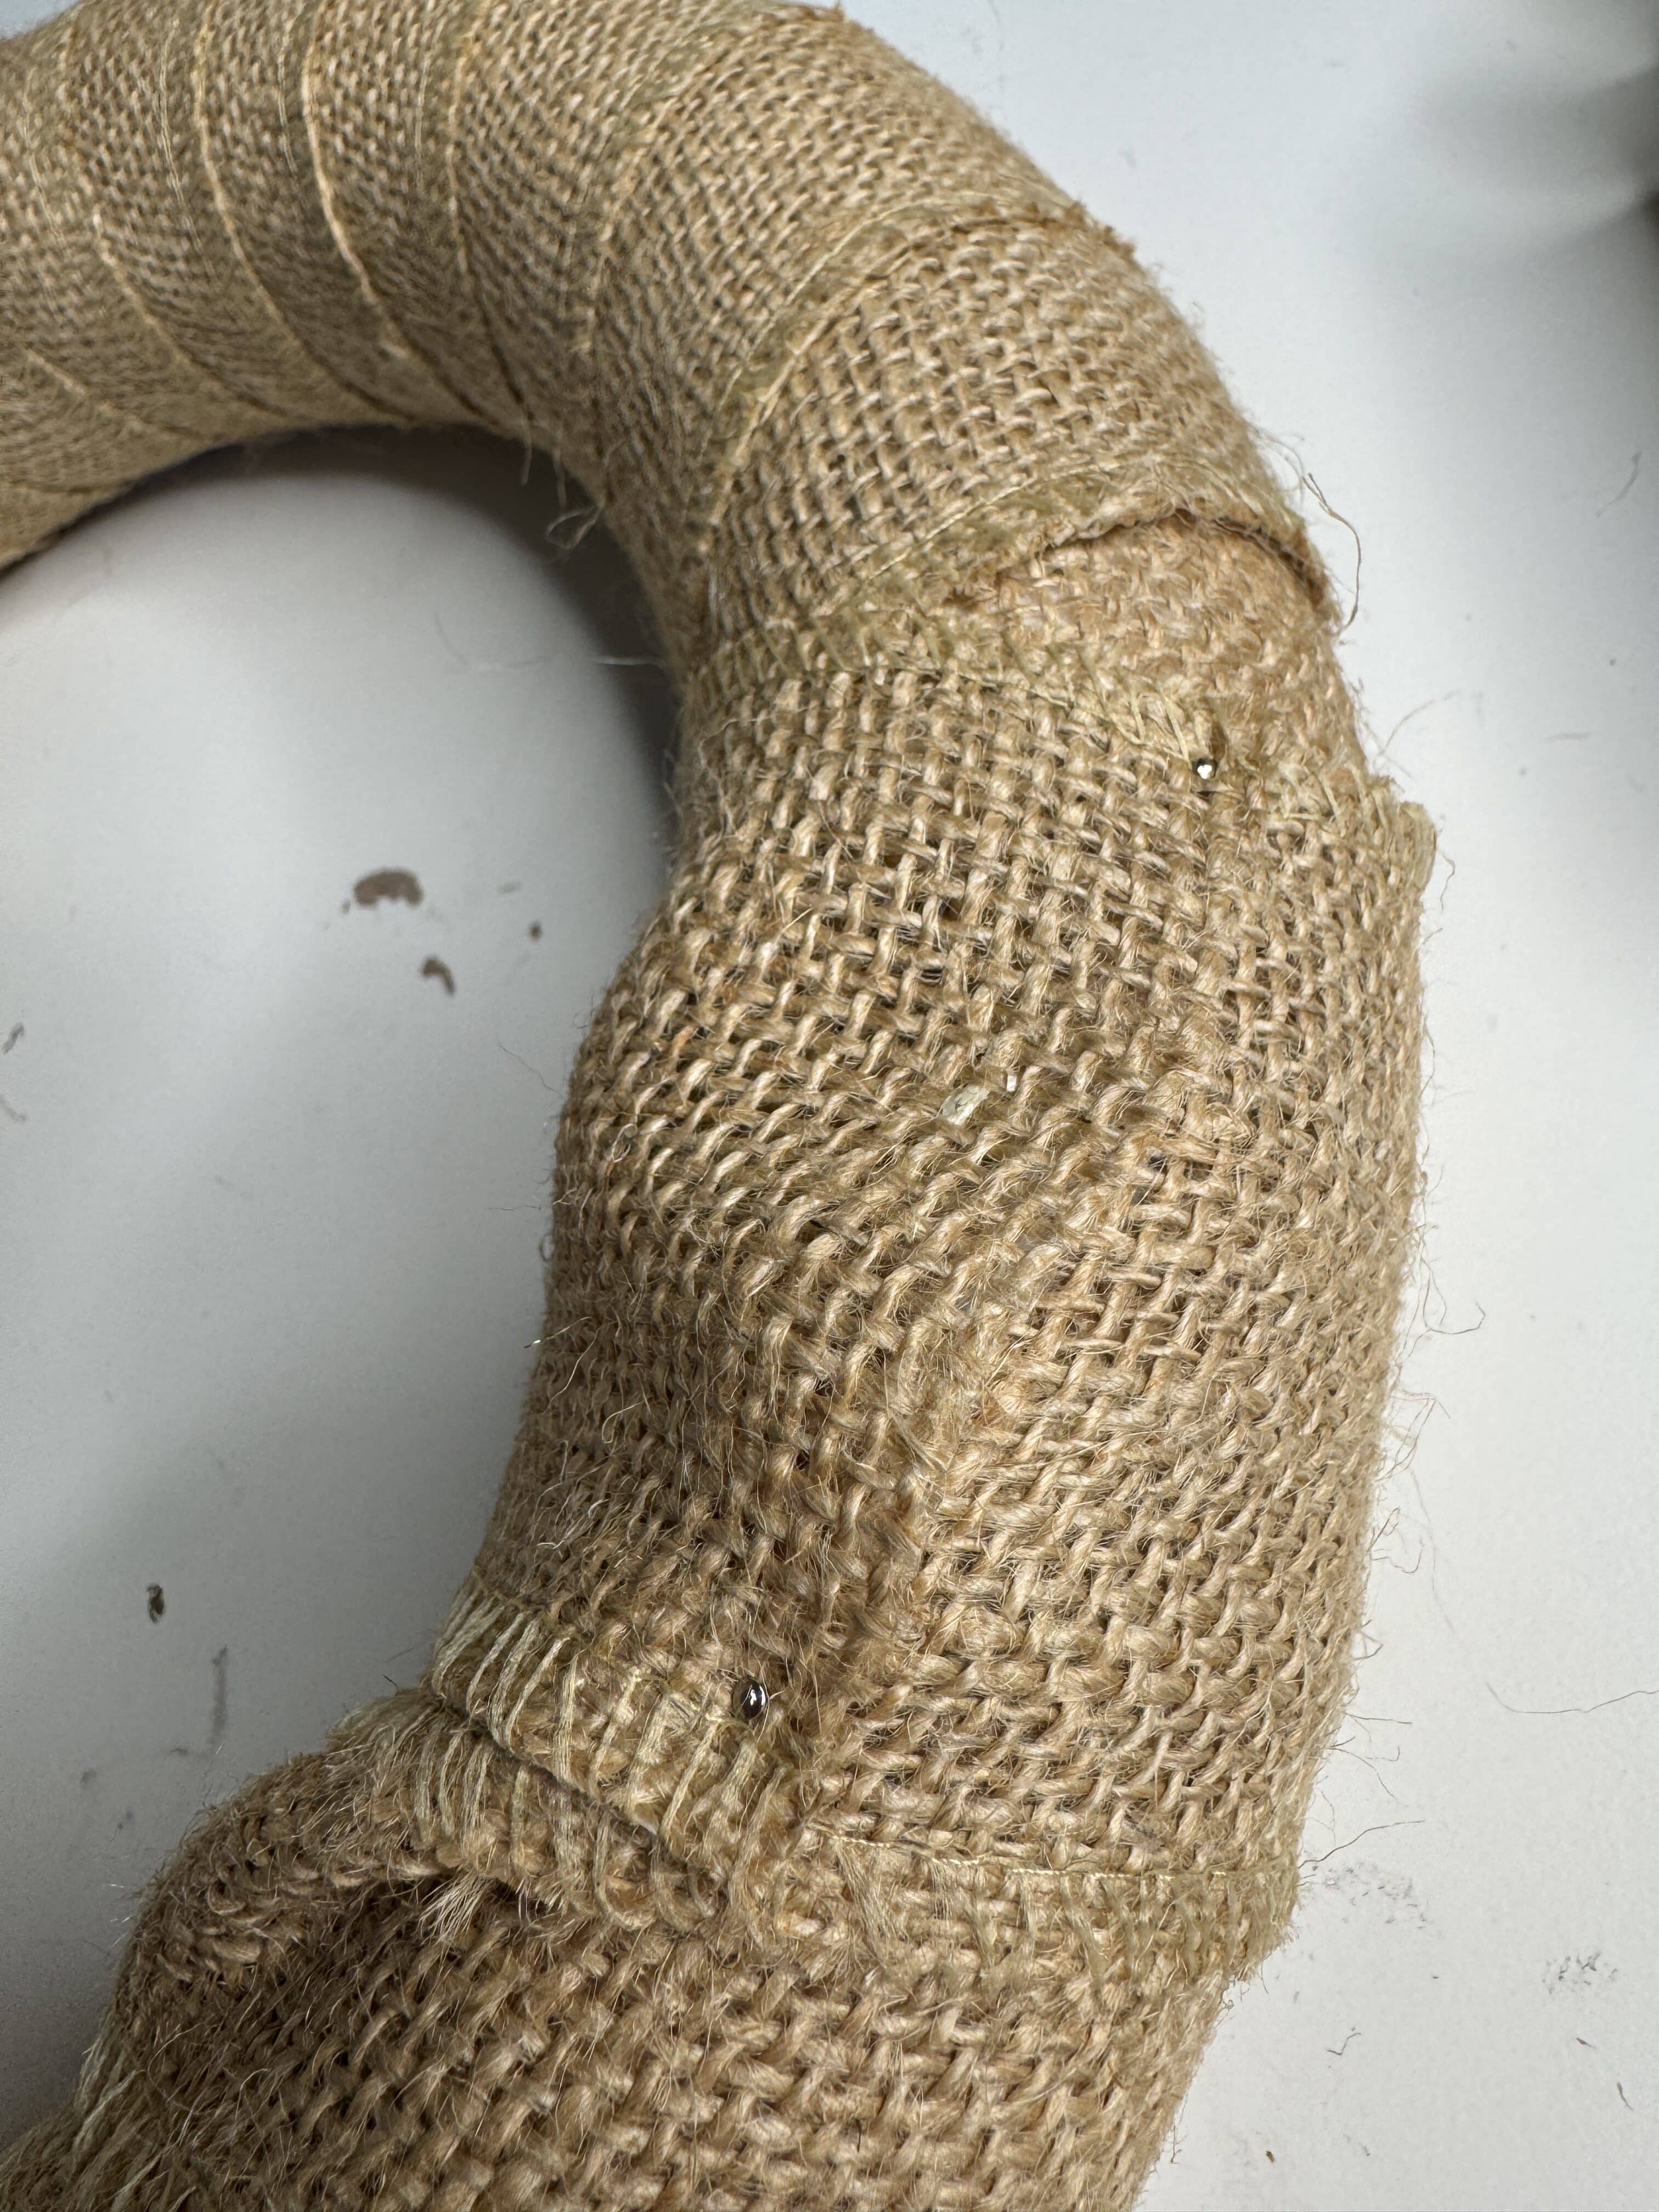
Wrap the ribbon around the wreath until it is completely covered. Cut off any excess ribbon. Use more straight pins to secure the end.
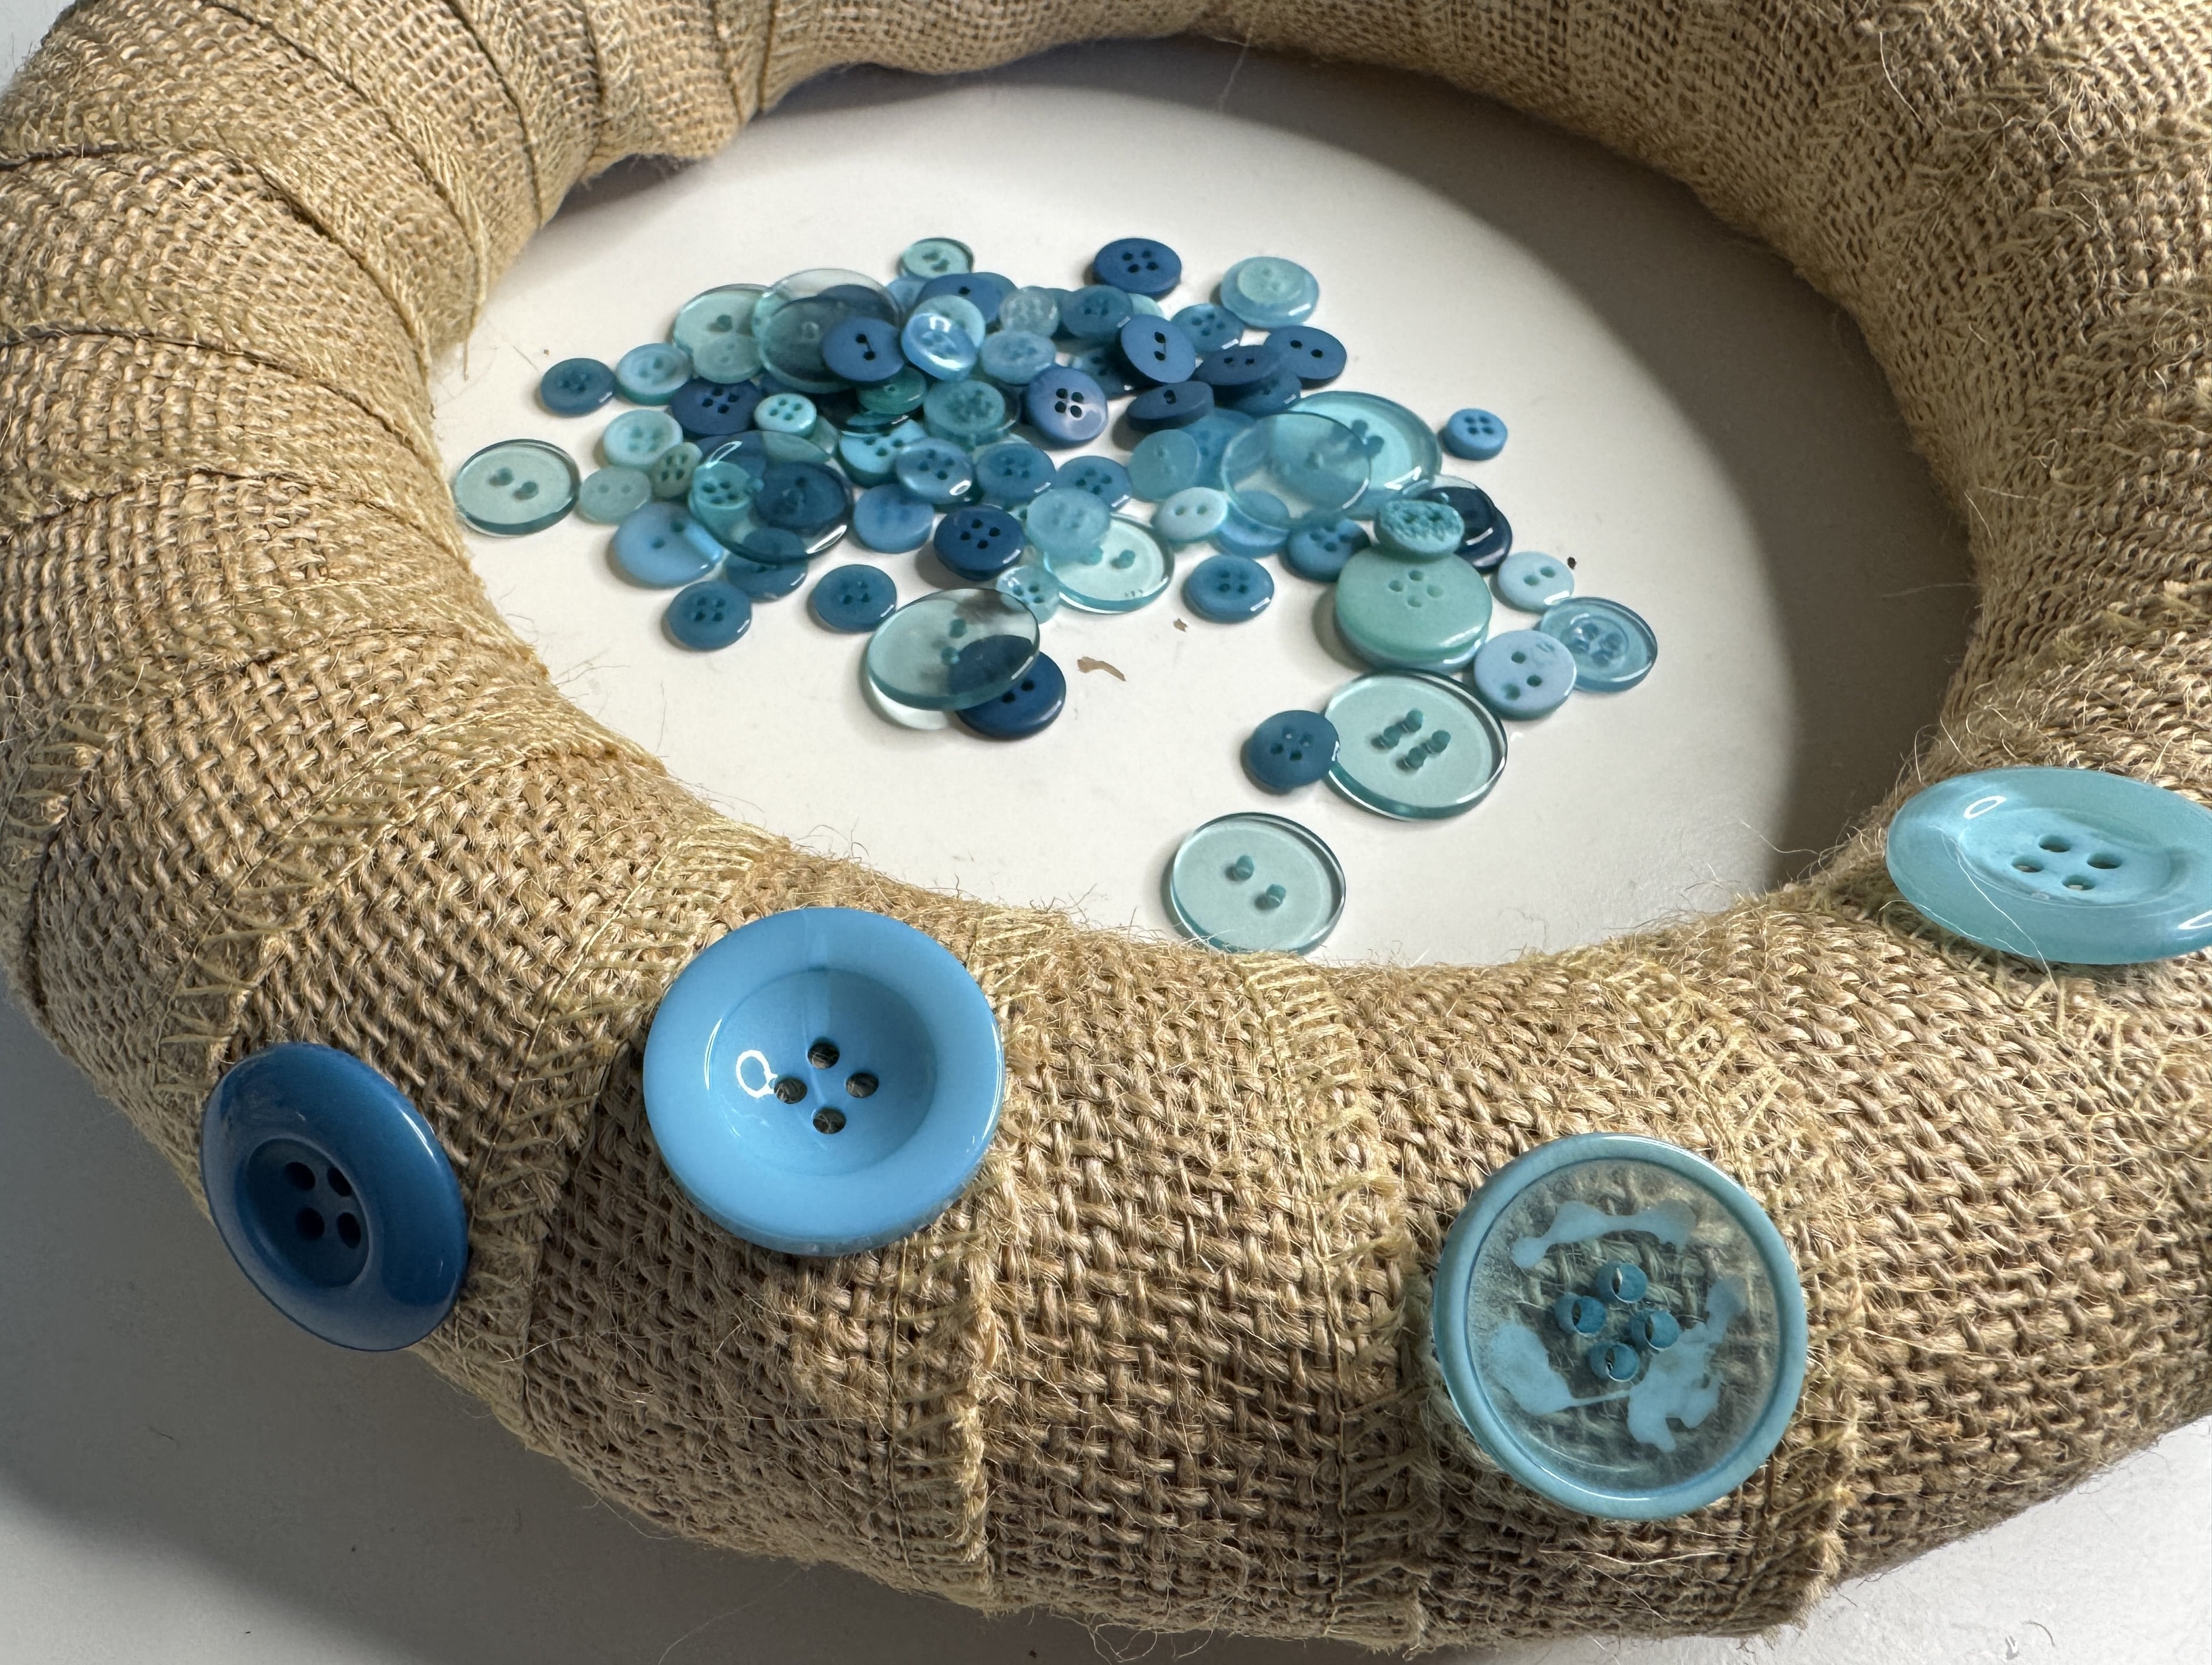
Glue the buttons onto the wreath. This glue will dry clear, so don’t worry if you can initially see the glue through the clear buttons. I kept my buttons clustered along the bottom of the wreath, but it would be cute to scatter them all over, as well.
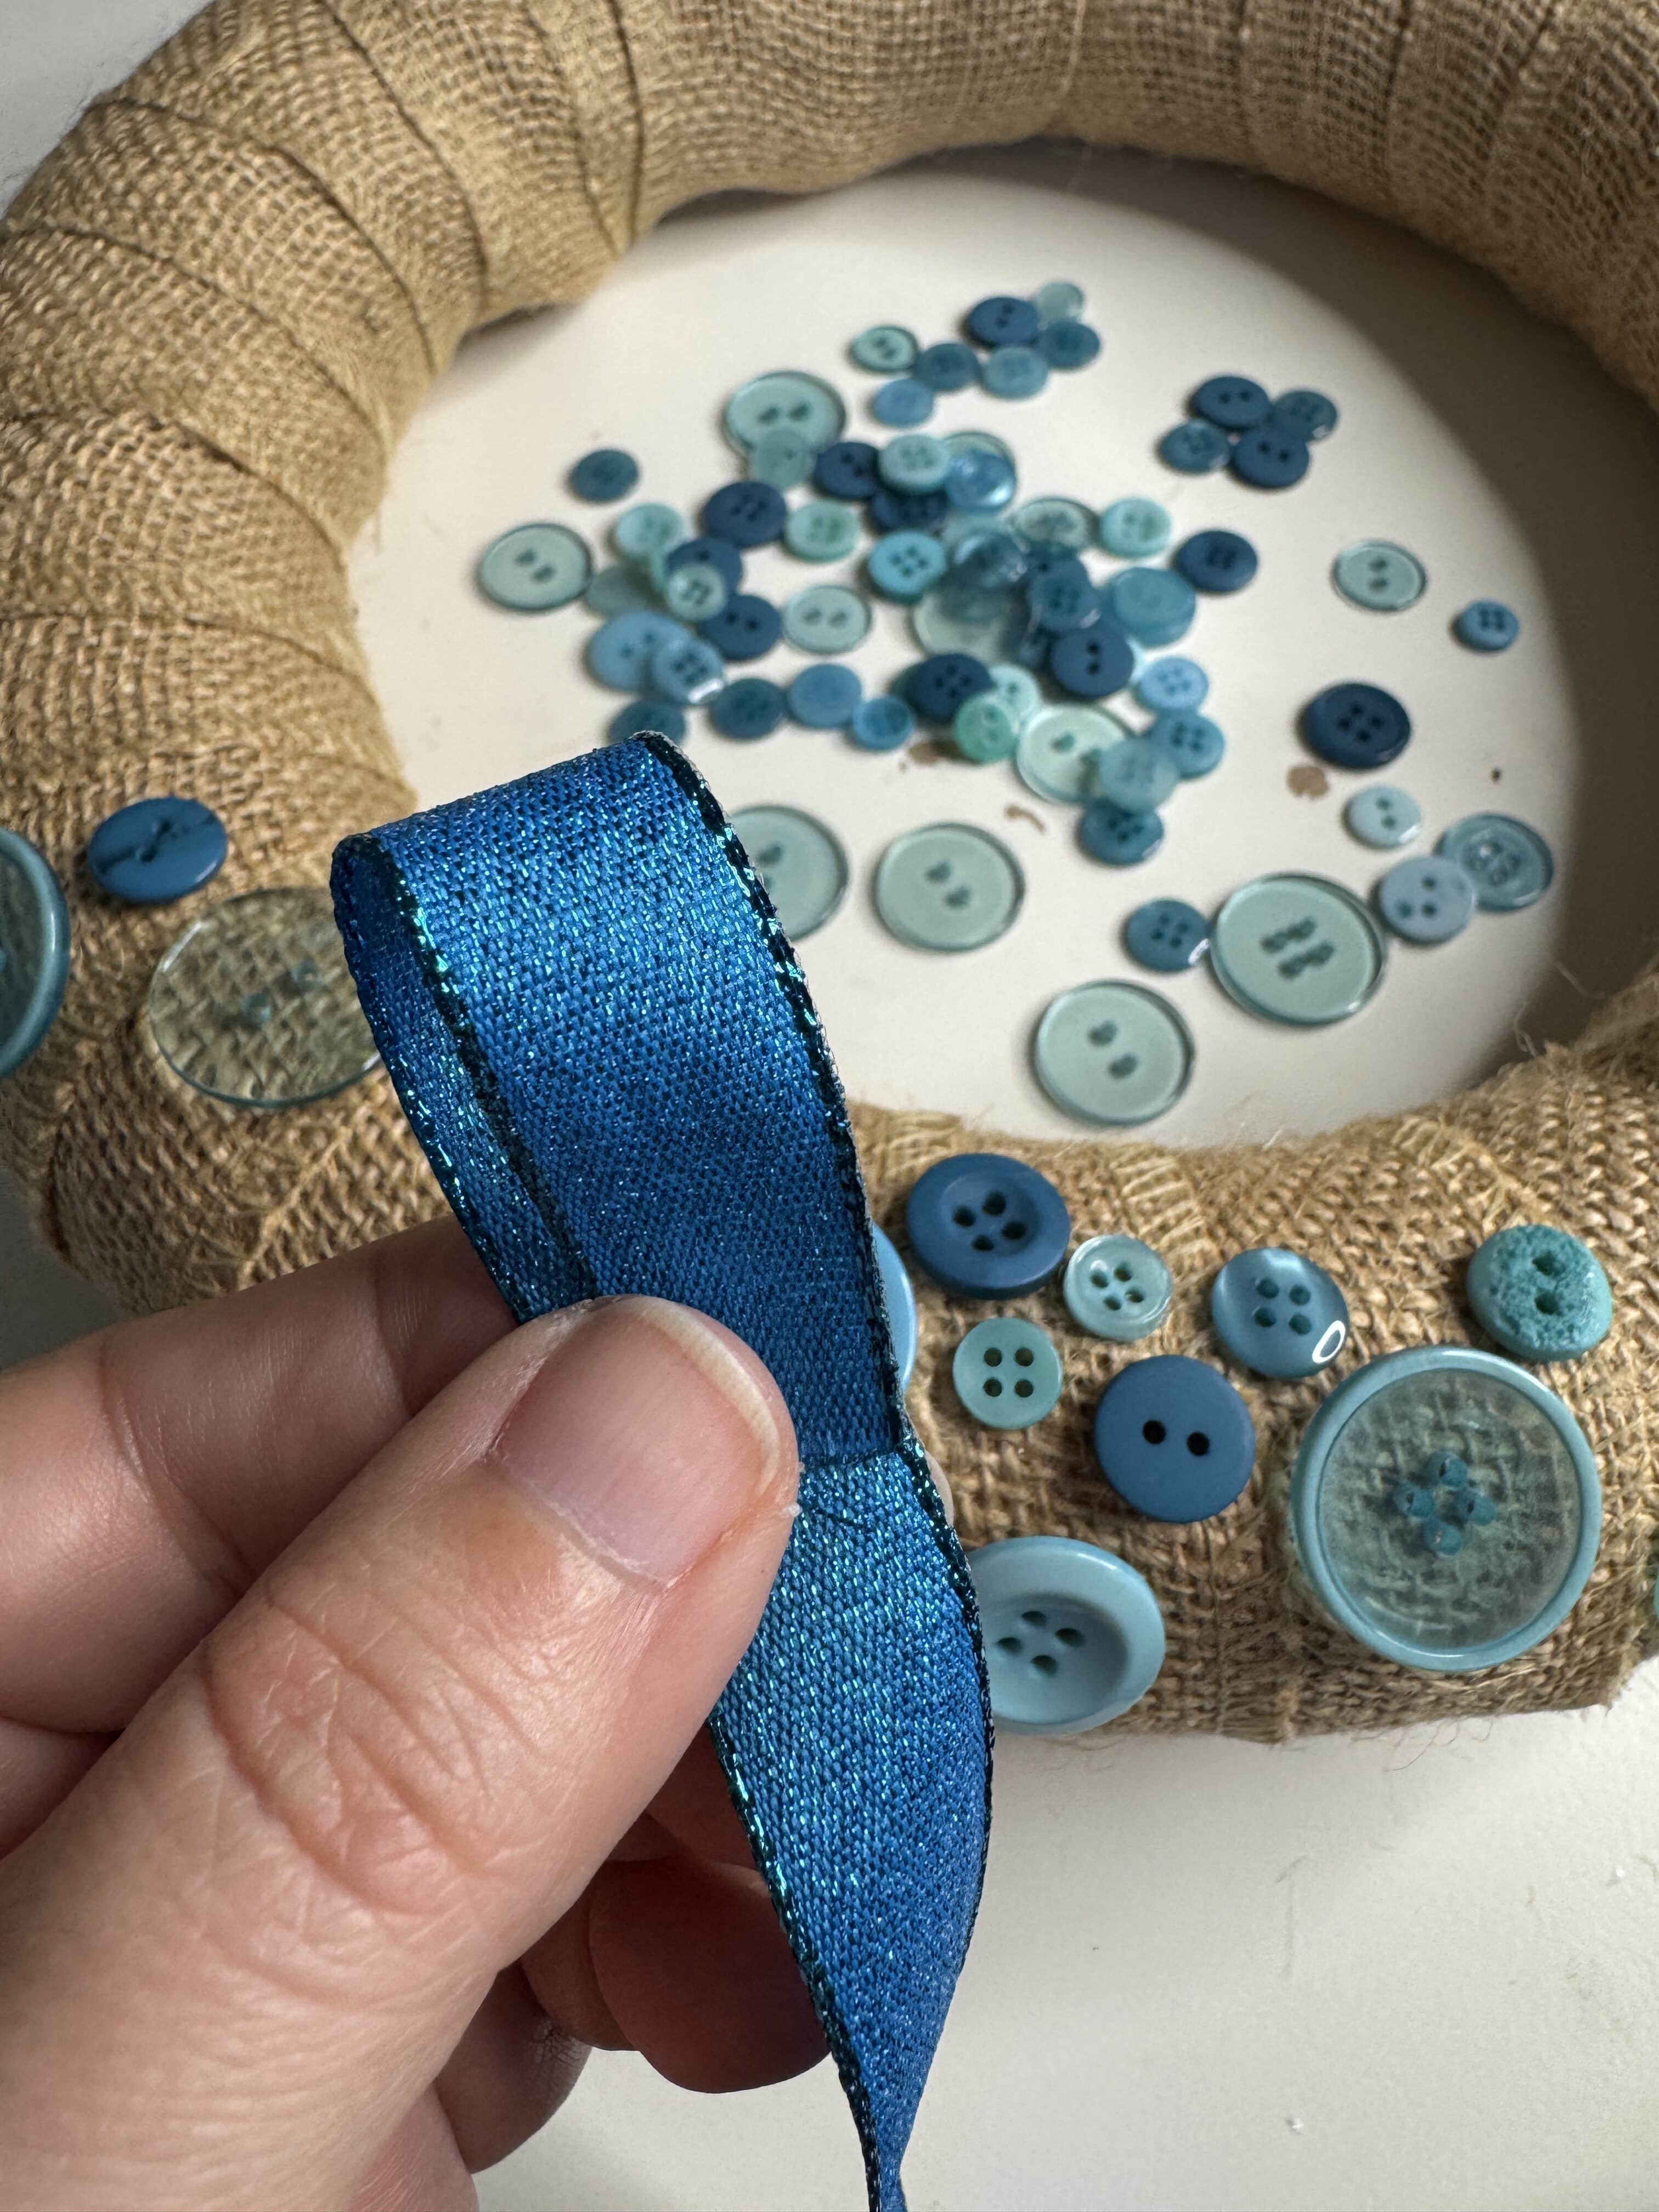
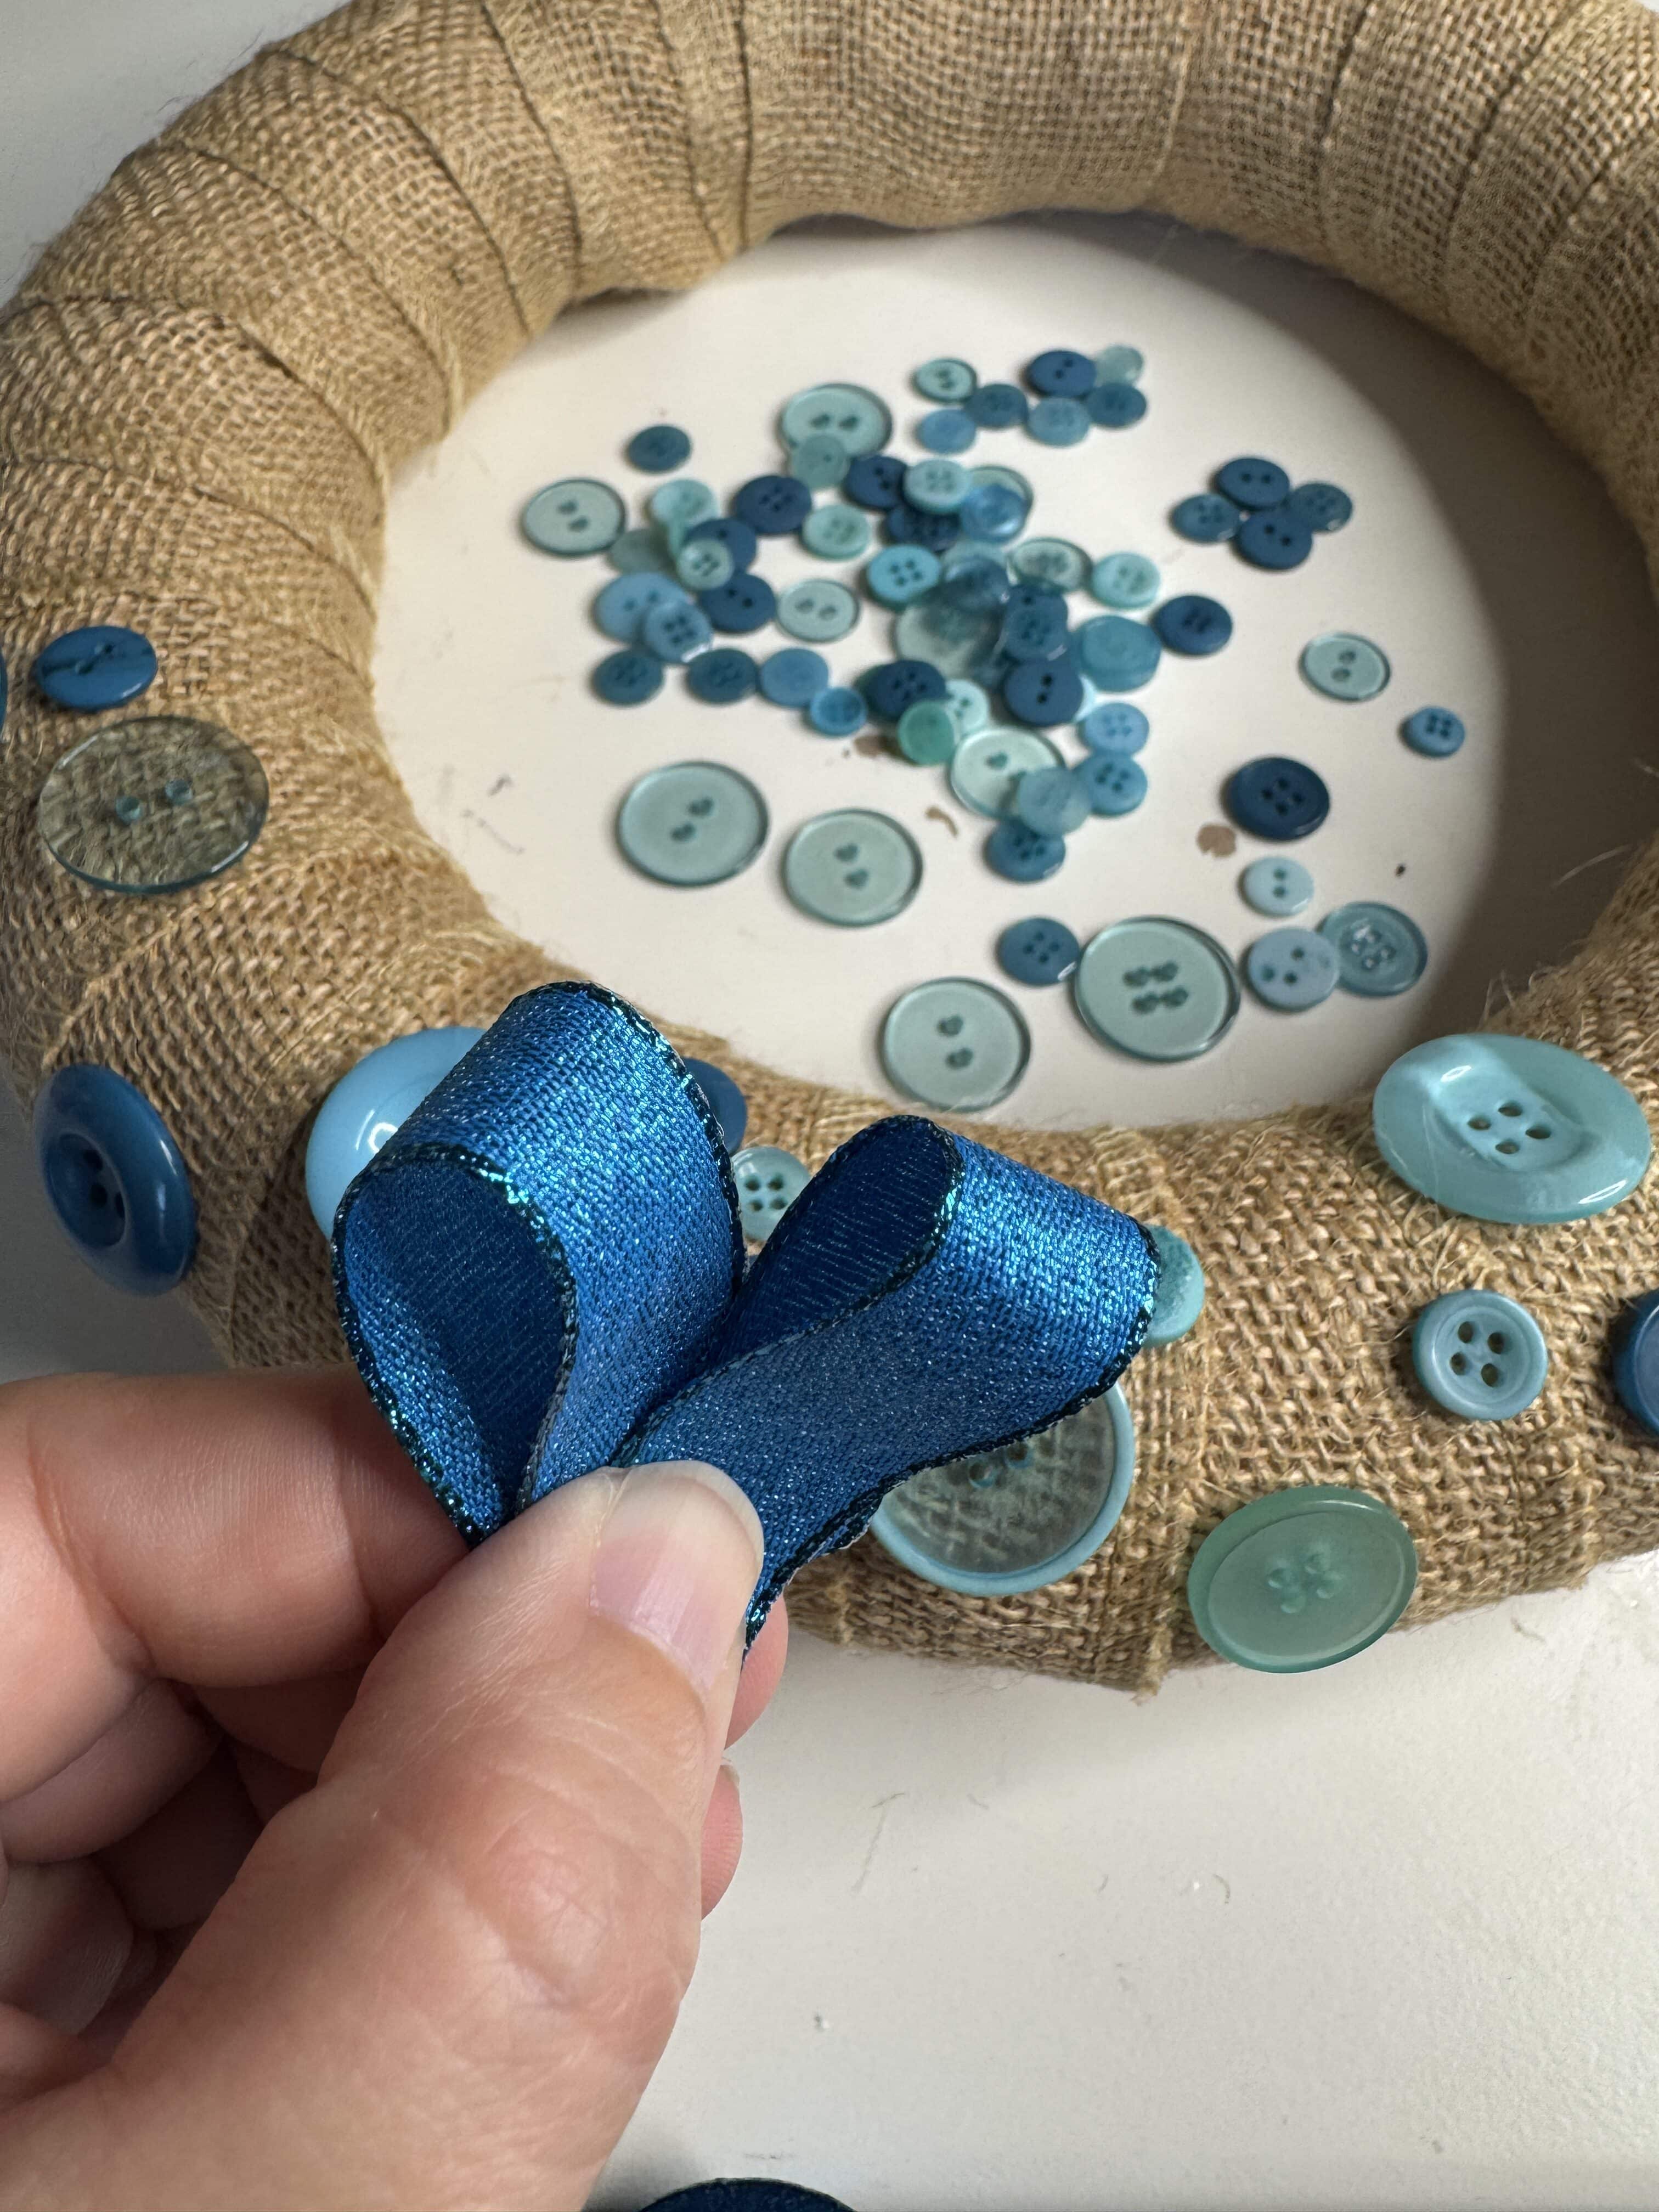
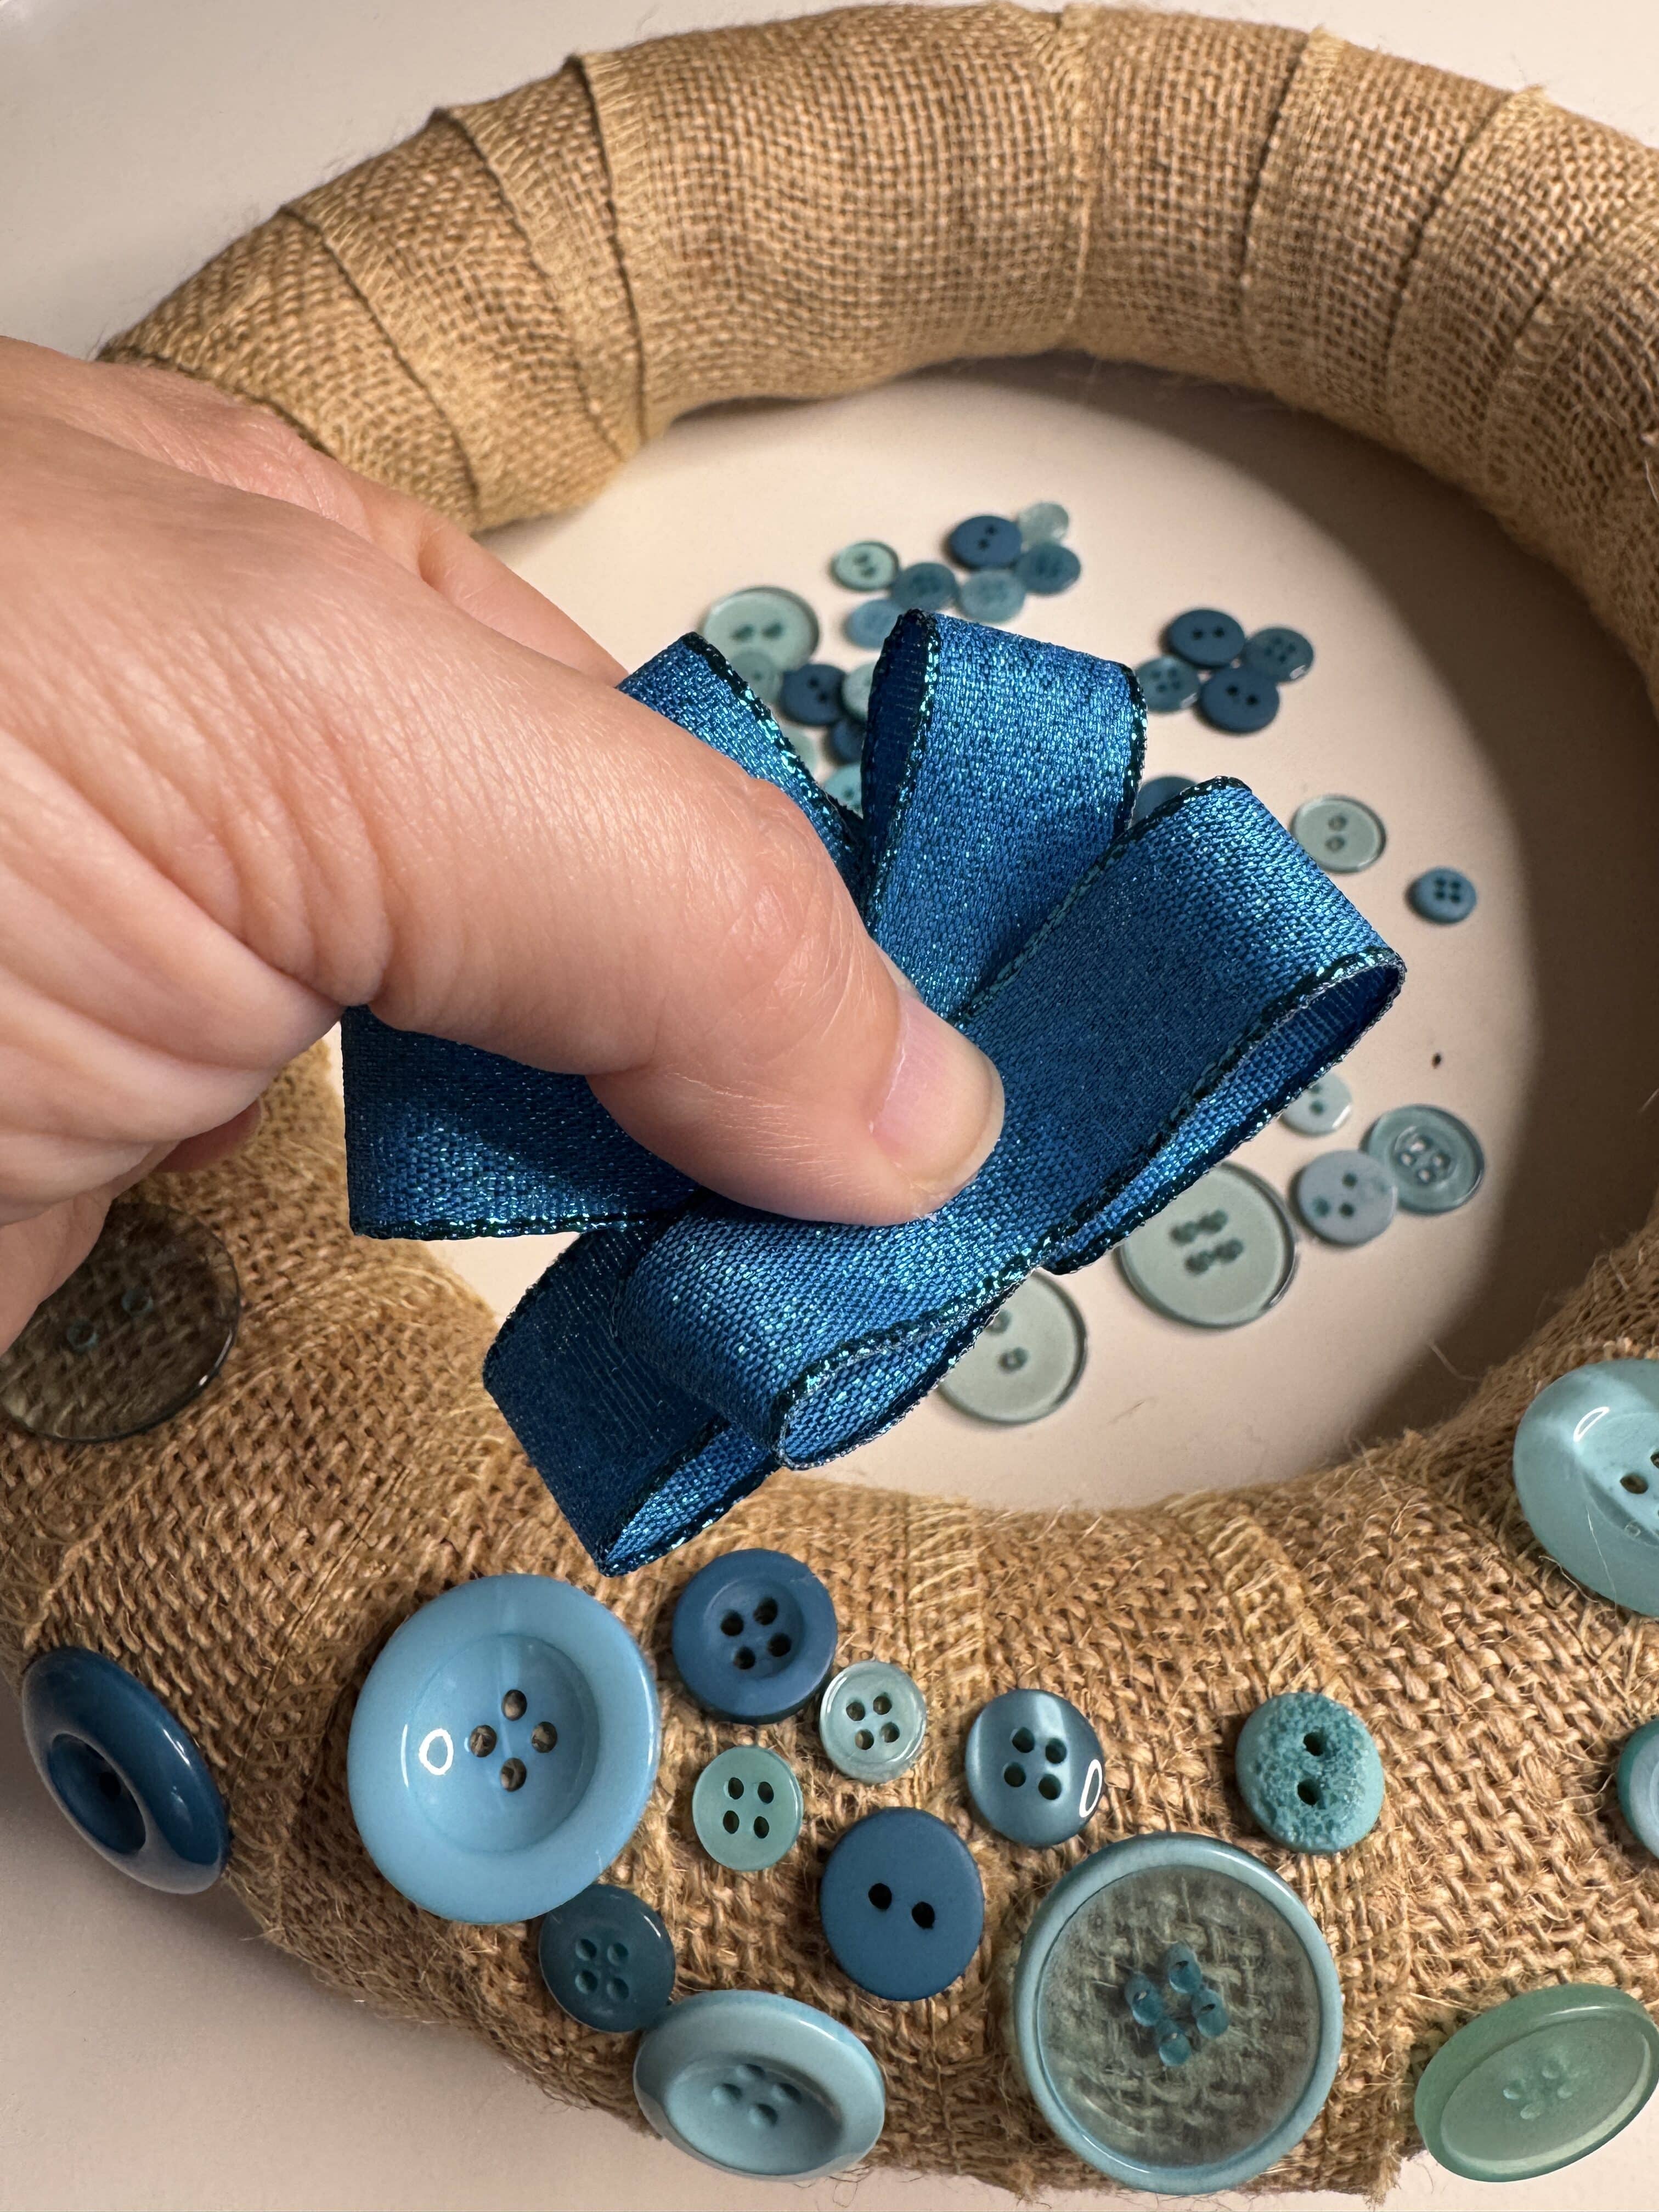
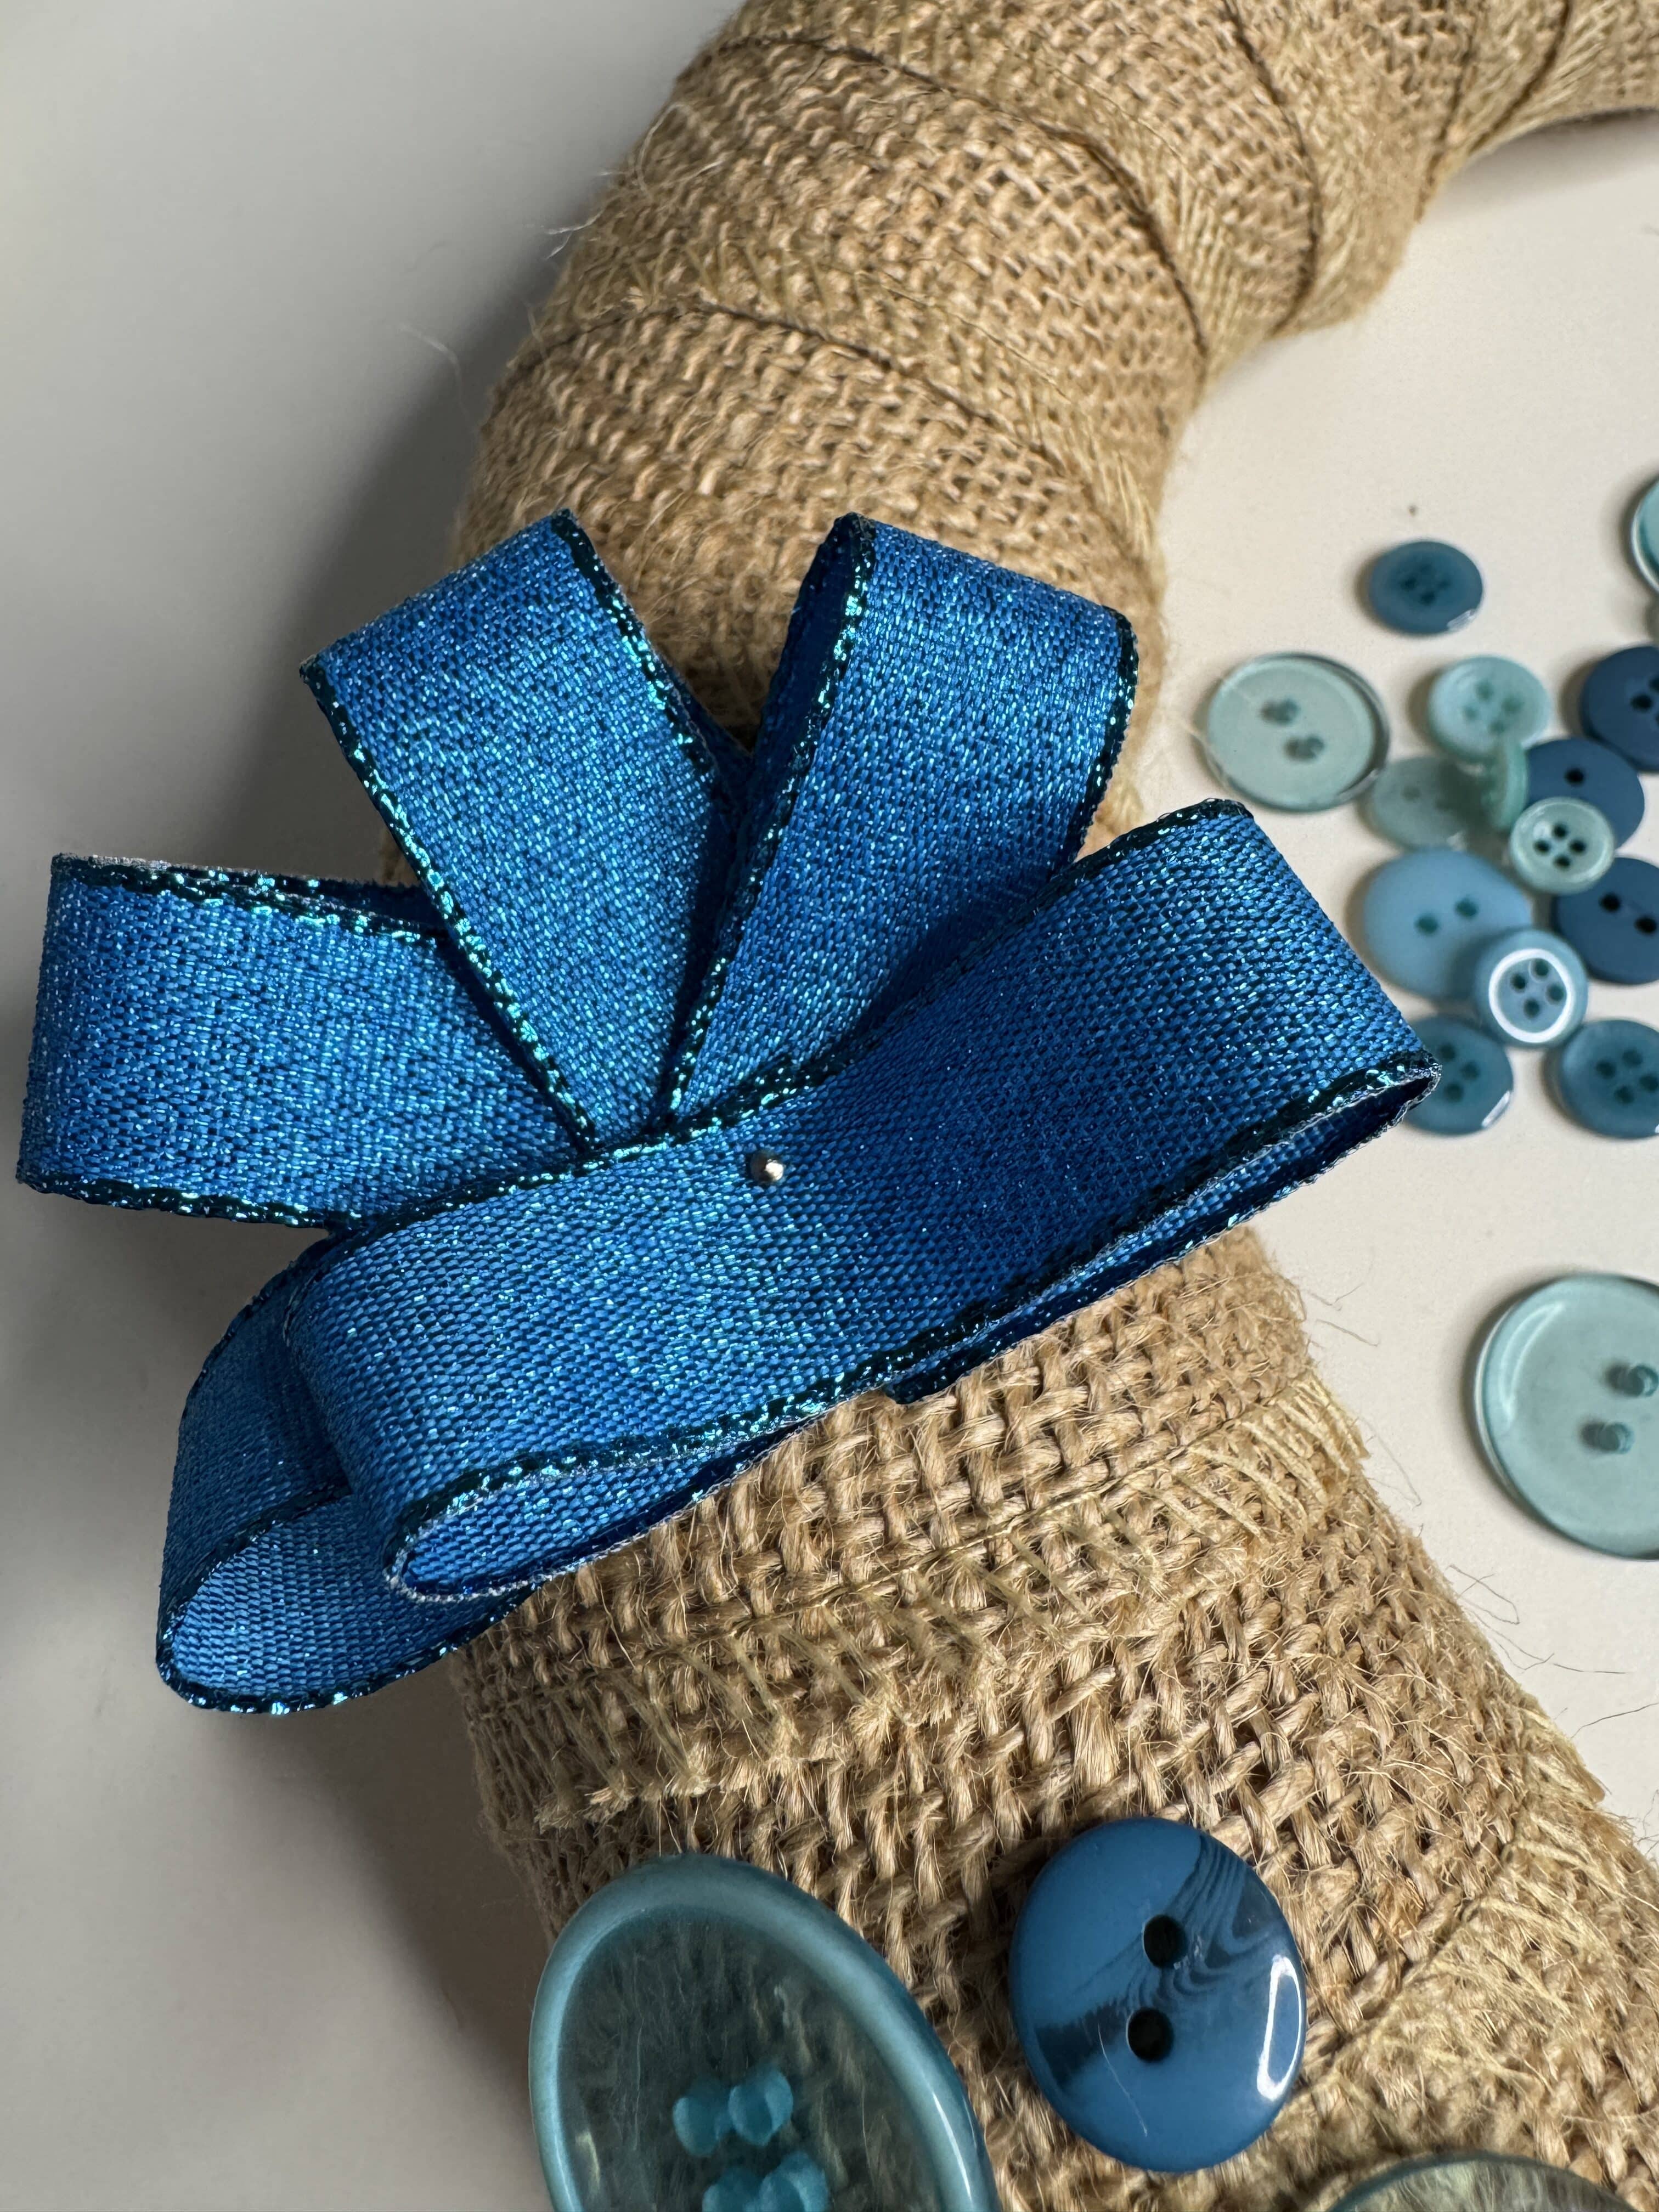
To make the ribbon flower, fold loops over onto a center point until you have the shape you want. Attach it to the wreath with a straight pin and then glue buttons in the center.
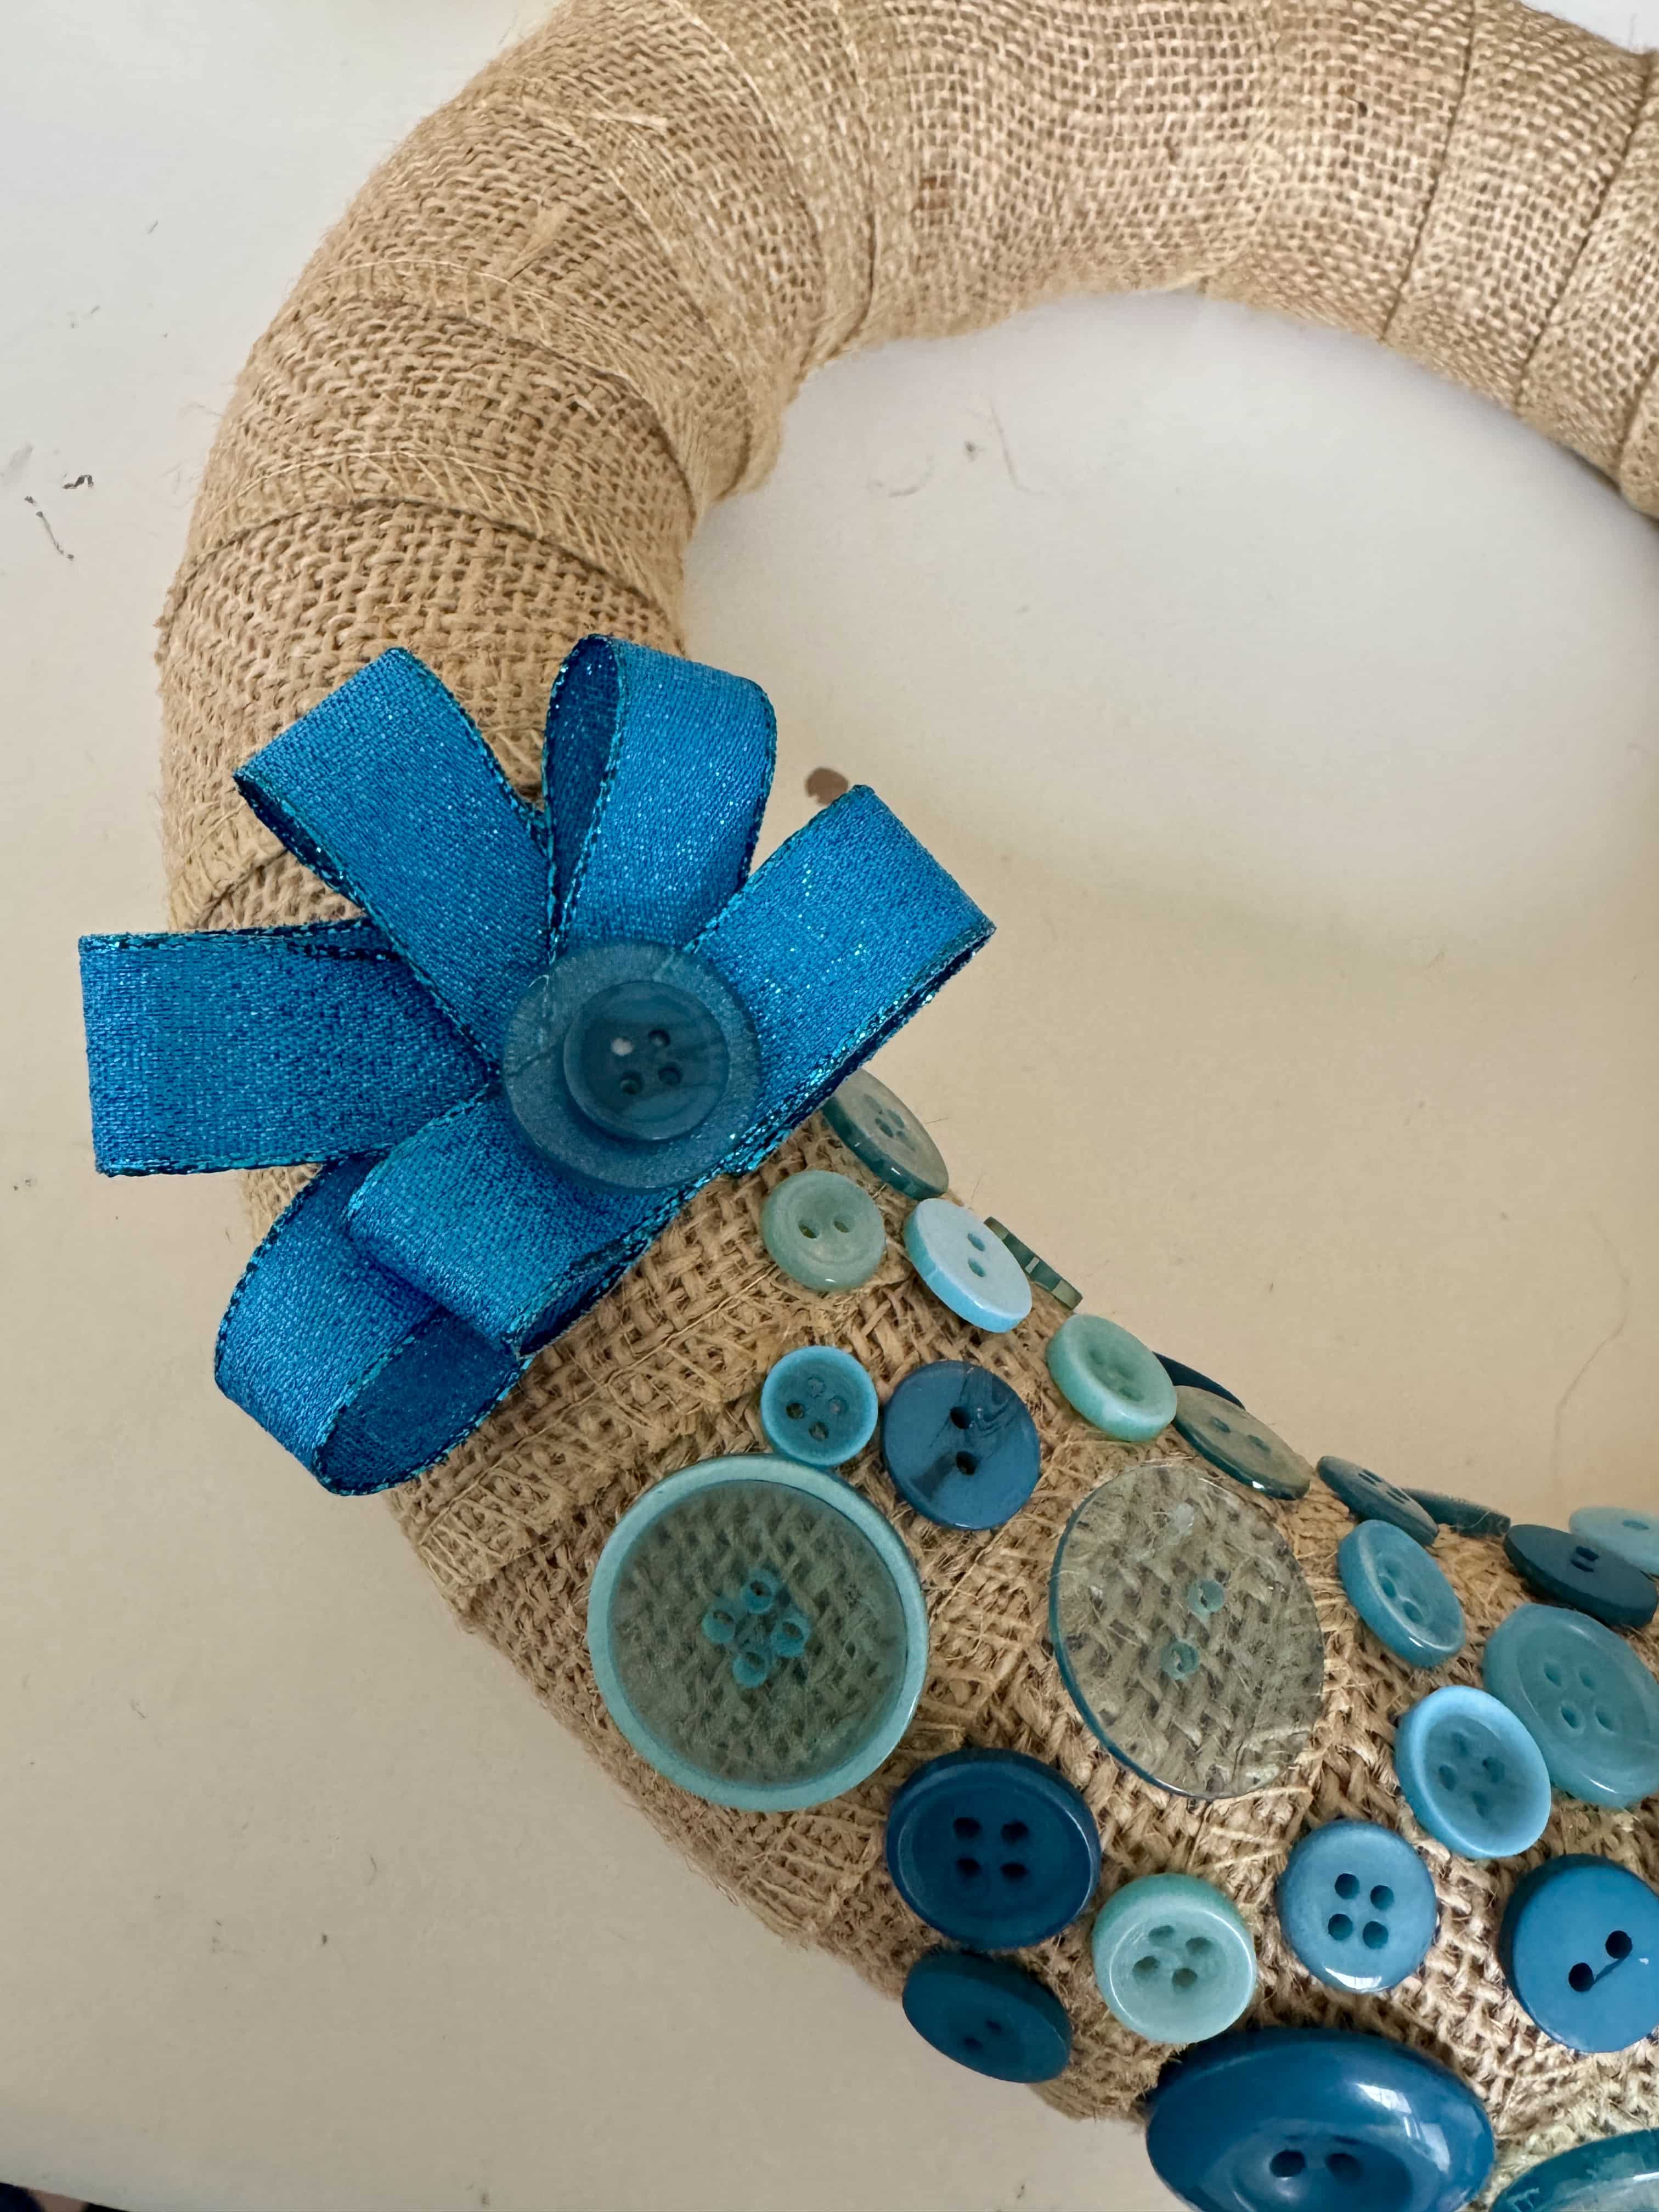
An alternative for the ribbon would be to tie it at the top and use it as a loop hanger.
Once the glue is dry, hang up your burlap and buttons wreath and enjoy!
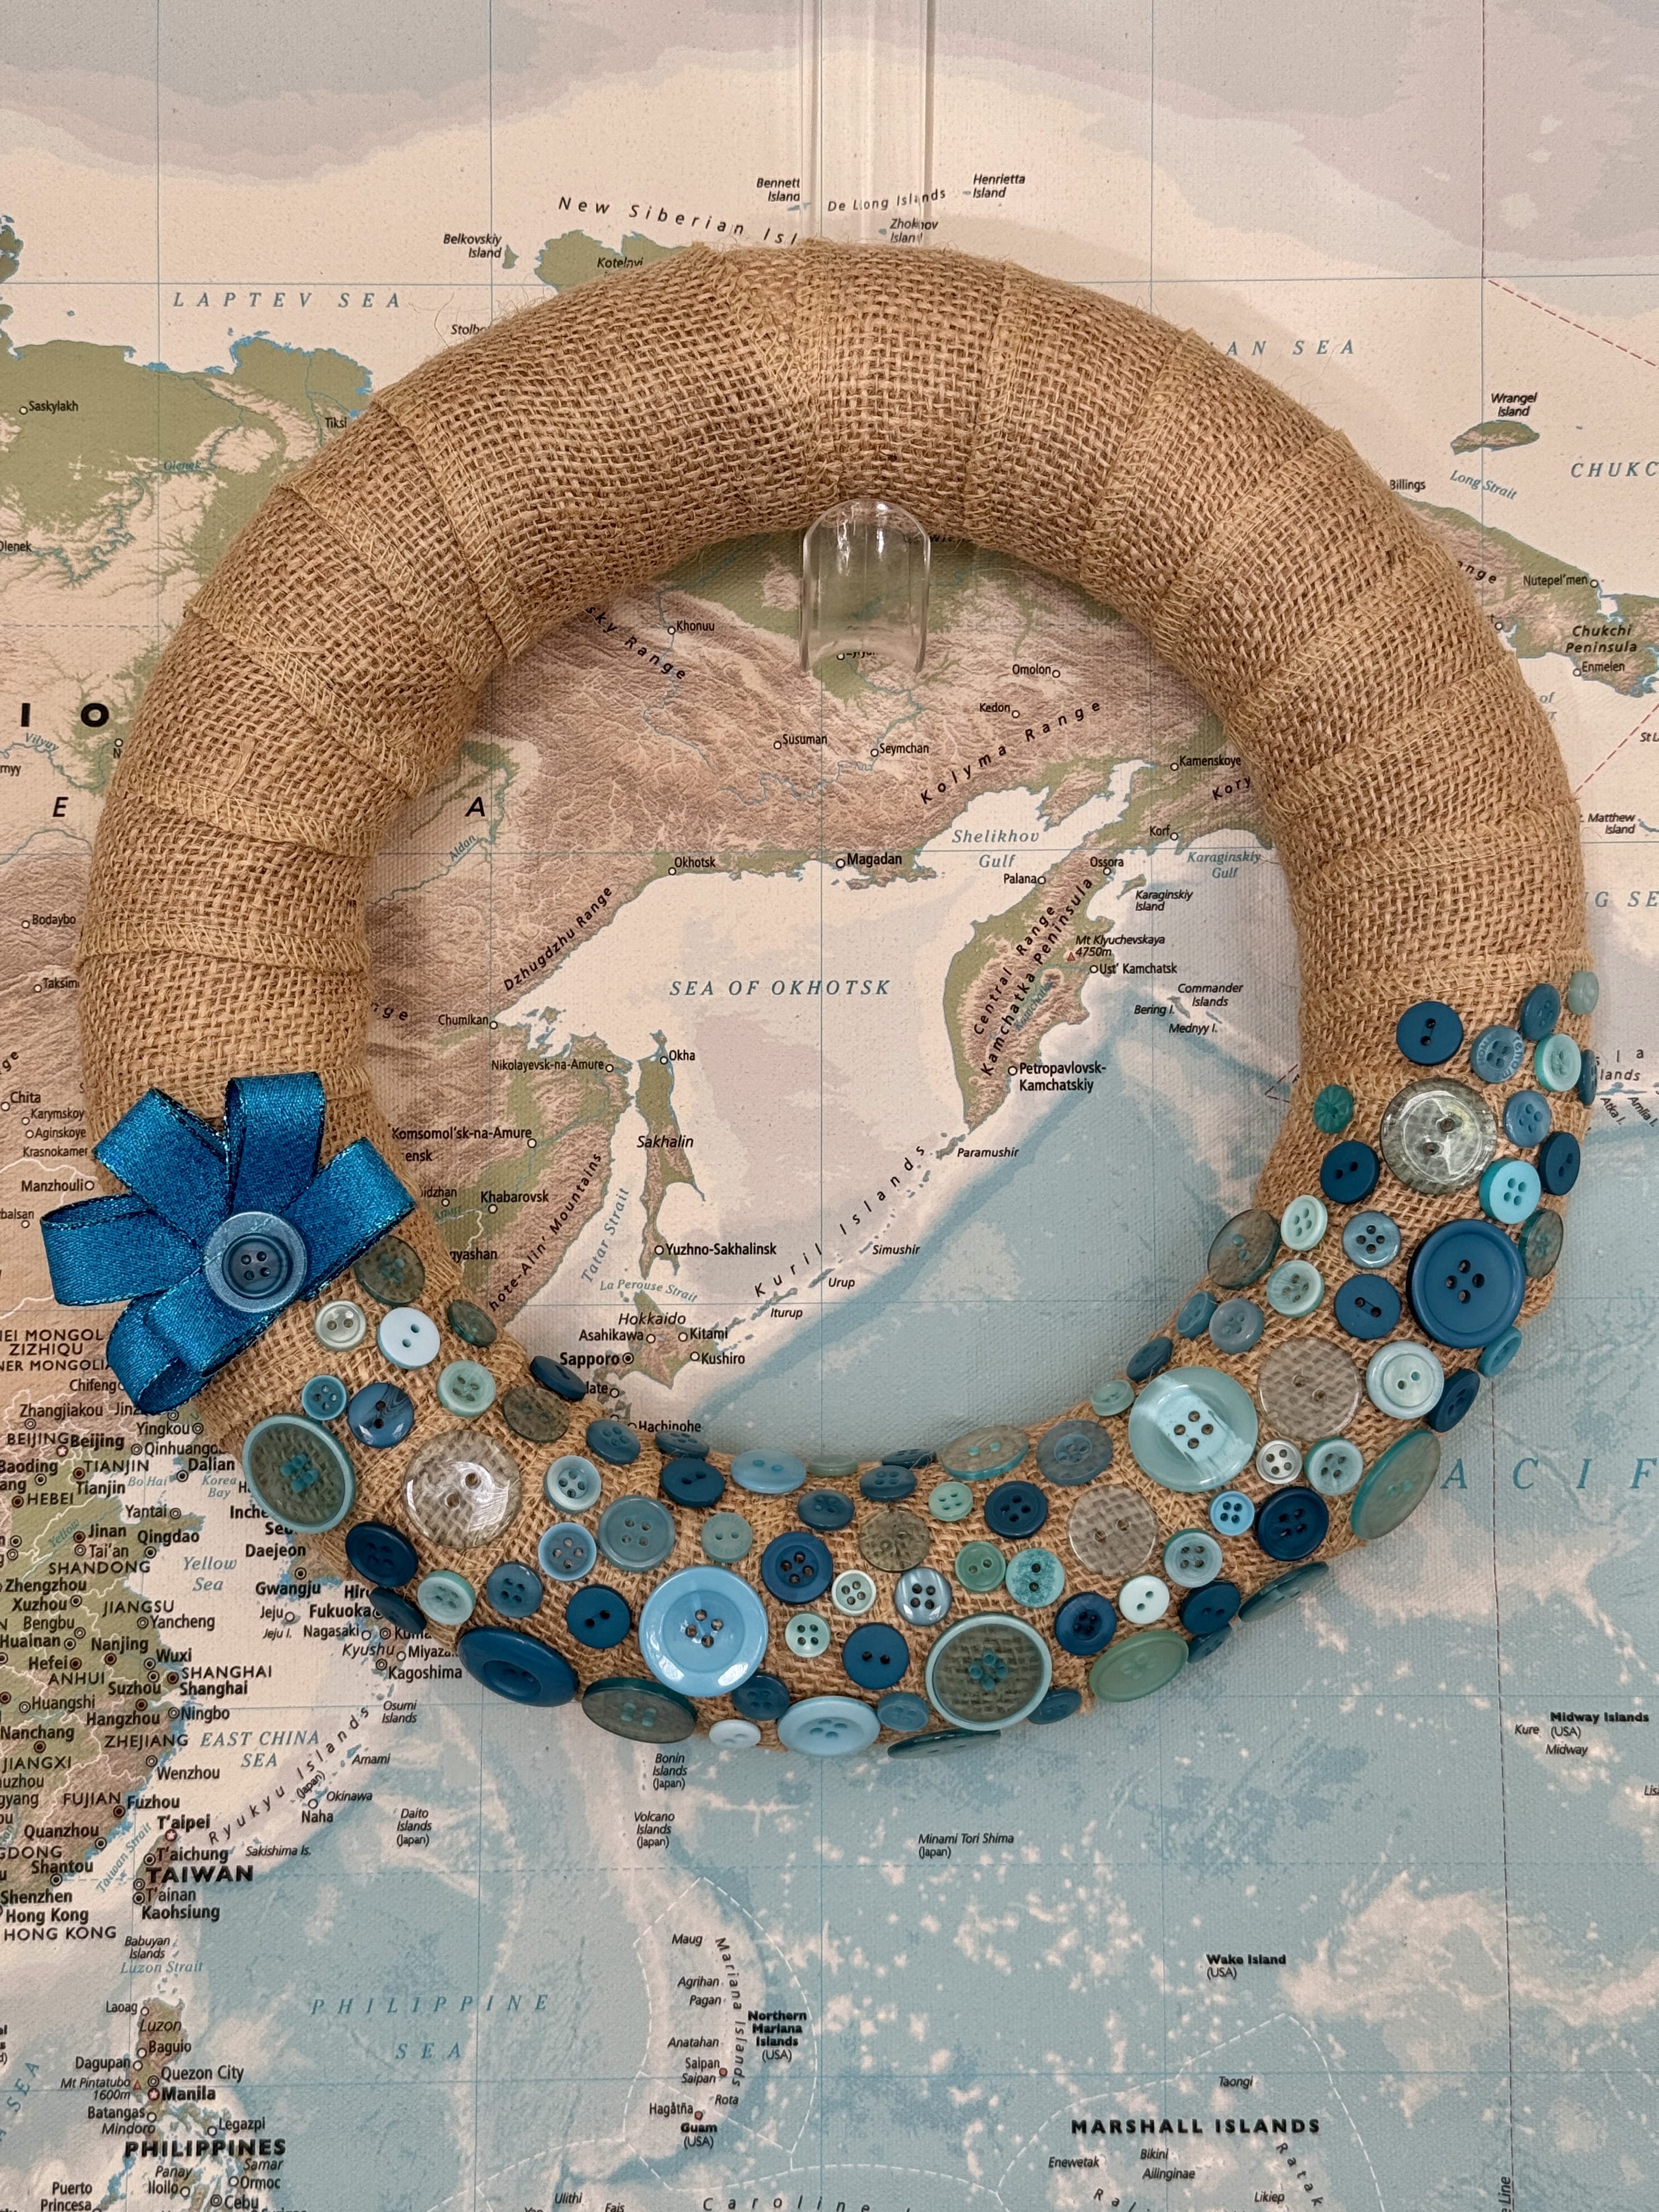
You can see how easily customizable this is–I suddenly have all sorts of ideas. In the meantime, I’m enjoying having some neutral-ish summer decor!