City Fireworks Hoop Art
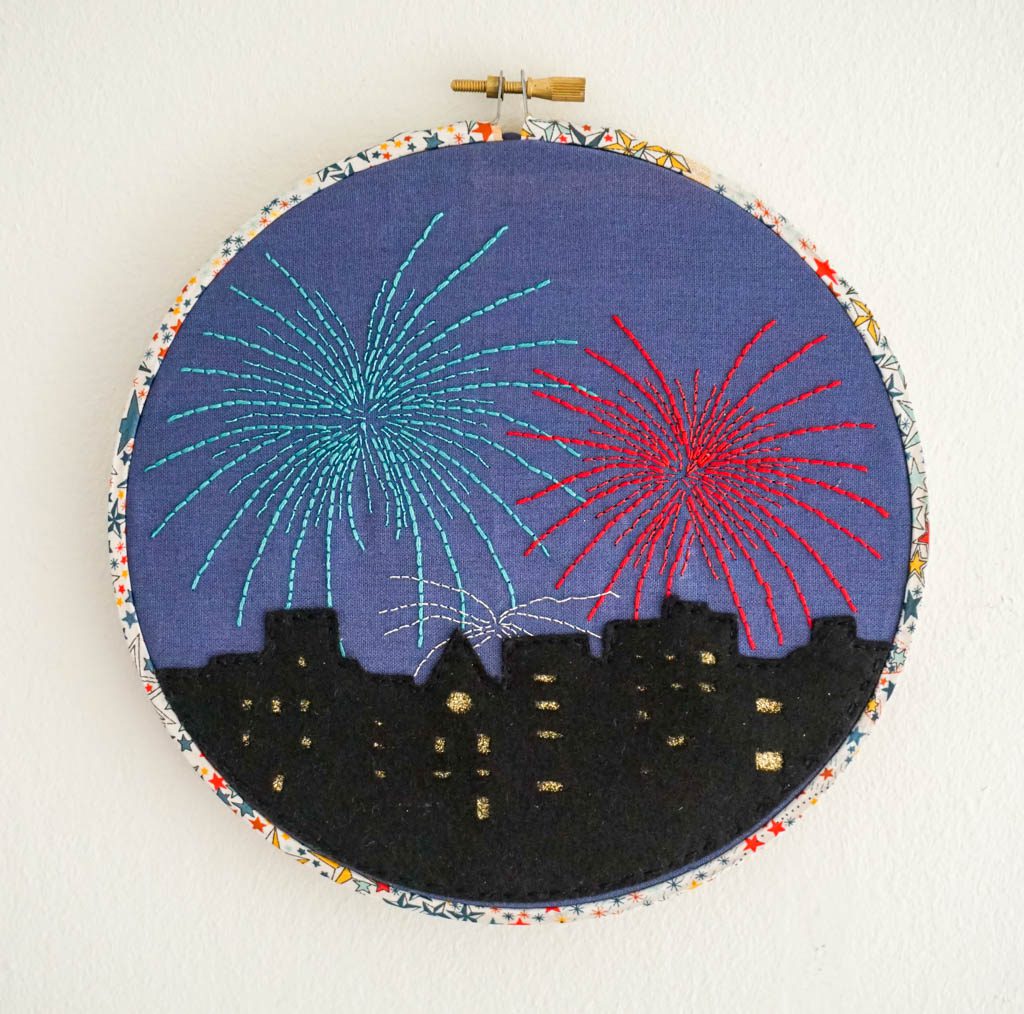
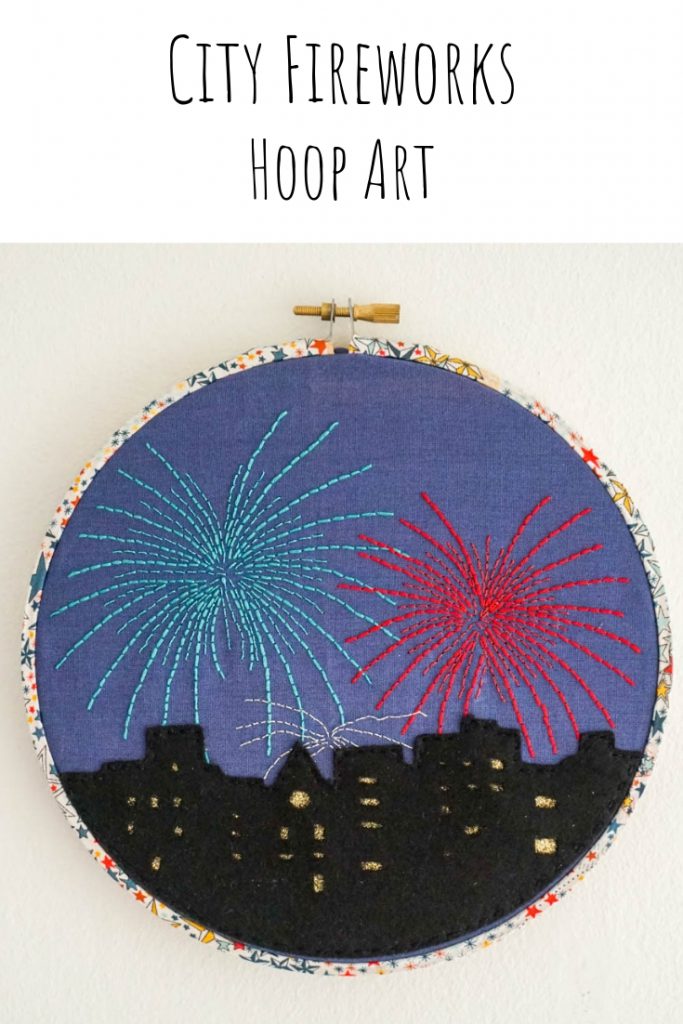
I love (and greatly miss!) summer fireworks. There’s something really special about getting together as a community or neighborhood and watching the explosions of colour in the sky. Some of my favourite fireworks memories are of watching the spectacular show Pittsburgh always put on in the middle of the city. They would be set off from a barge in the river and the combination of tall buildings, booming light, and oldies playing is something that has stuck with me. I made this fun City Fireworks Hoop Art using my Cricut Maker and some easy stitching. It’s a walk down memory lane for me. This post first appeared on Today’s Creative Life and I want to thank Kim again for having me guest post.
This post contains affiliate links.
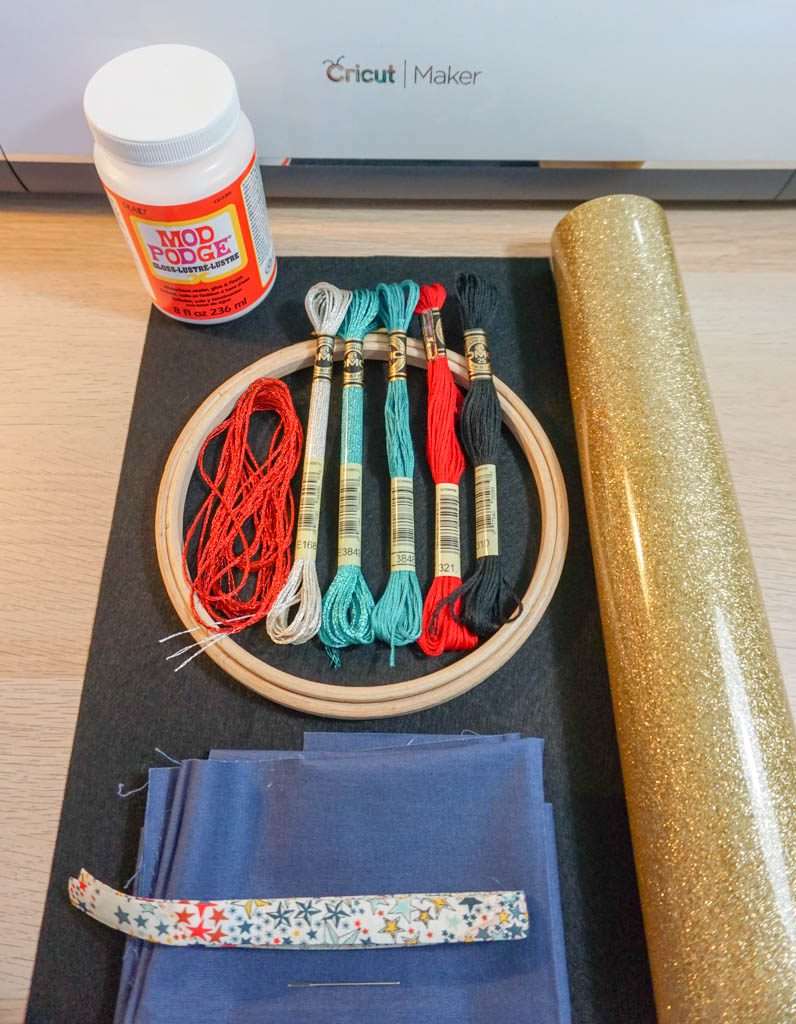
Supplies:
- Cricut Maker
- washable fabric pen
- blue fabric
- black felt
- gold glitter iron-on
- DMC thread in 310, 3848, 321, E3849, E168, E321
- embroidery hoop (I used an 8″ hoop)
- Mod Podge
- fun bias tape (I got mine from Bluebell Hill Crafts)
- foam brush
- needle
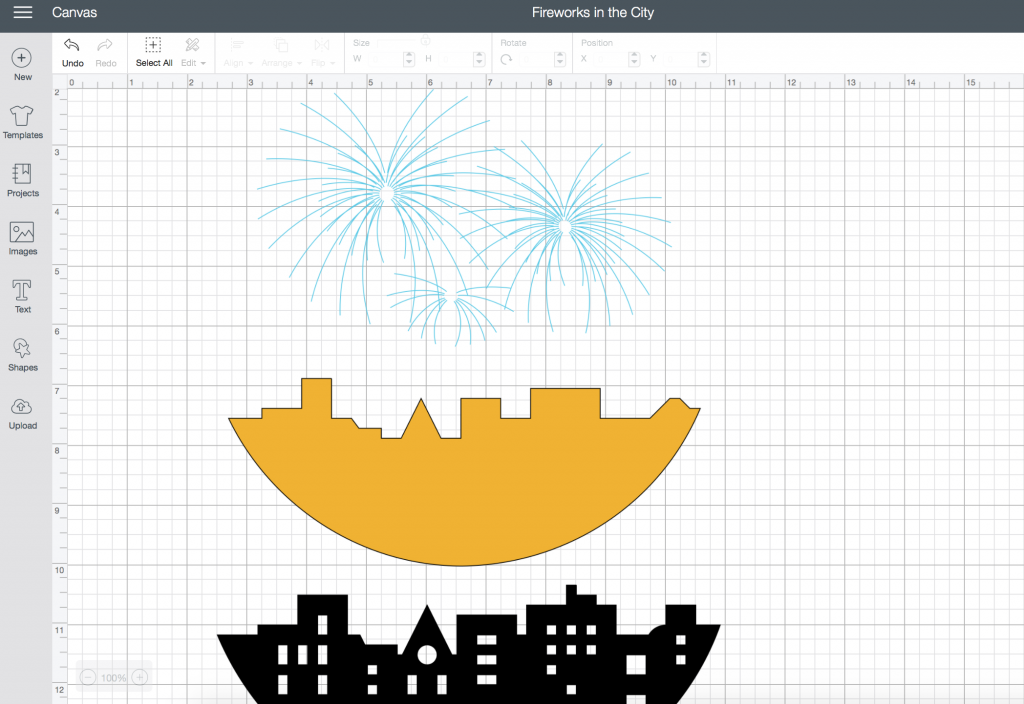
- Fireworks in the City SVG (click the link, save as, and download. Upload to Design Space!) or PDF
Instructions:
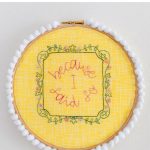
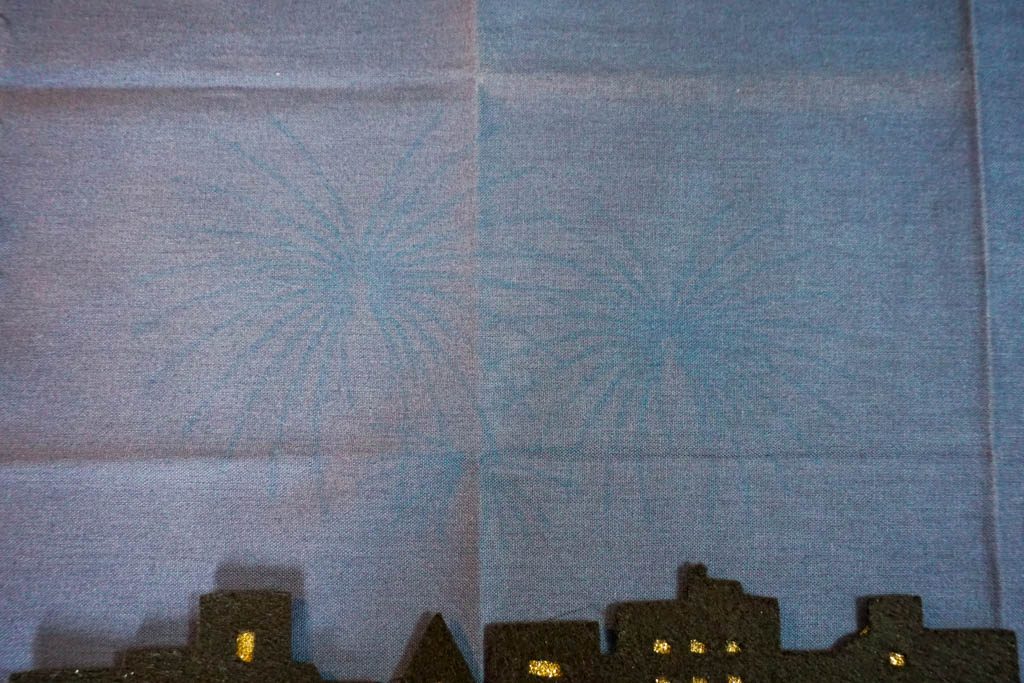
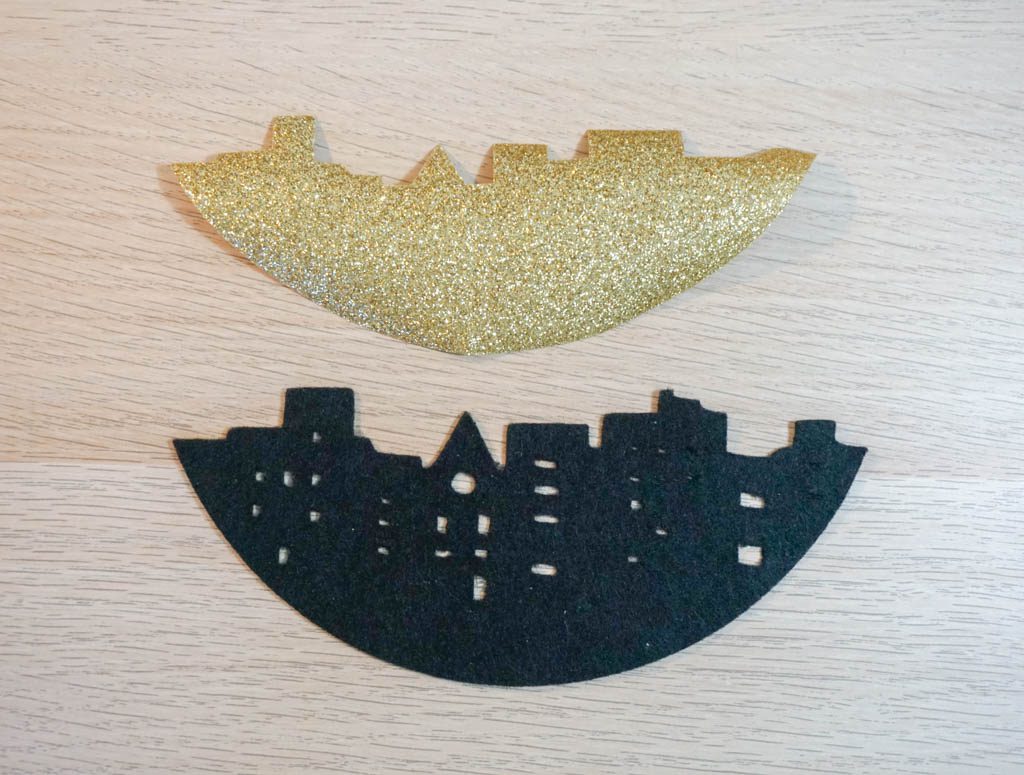
Upload the SVG to Design Space. The fireworks are drawn on with the washable fabric pen, I used the rotary blade for the black felt, and use the regular blade for the iron on. It’s almost one of everything, but they’re all super quick. You can also easily adjust the size of the images for a different sized hoop. If you don’t have a Cricut Maker or don’t want to do it this way, I included a PDF pattern that you can use as a template to cut out the pieces yourself and to transfer the fireworks. Whichever option works best for you! If you go the Cricut route, remember to mirror image the iron on. If this is your first time using the washable fabric pen, I have a quick tutorial with my Because I Said So Embroidery Hoop.
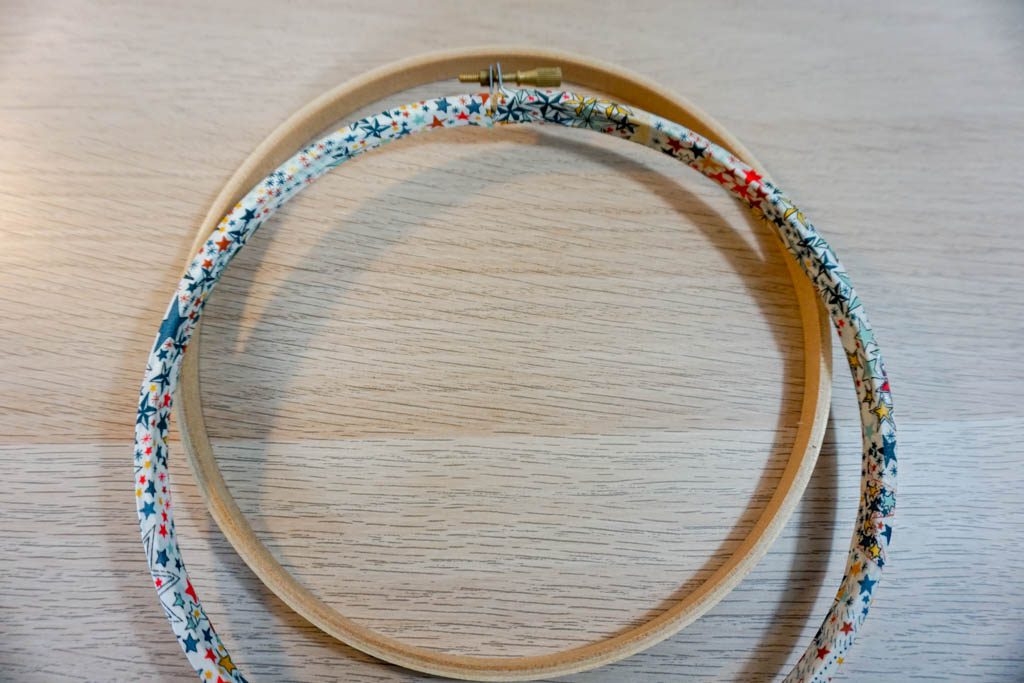
I’m a big fan of fun finishes for hoops and love using bias tape. It can be a bit messy to put on, but I think it’s worth it. It’s mostly a matter of Mod Podge and smoothing it out–here’s a full tutorial on how to finish a hoop with bias tape.
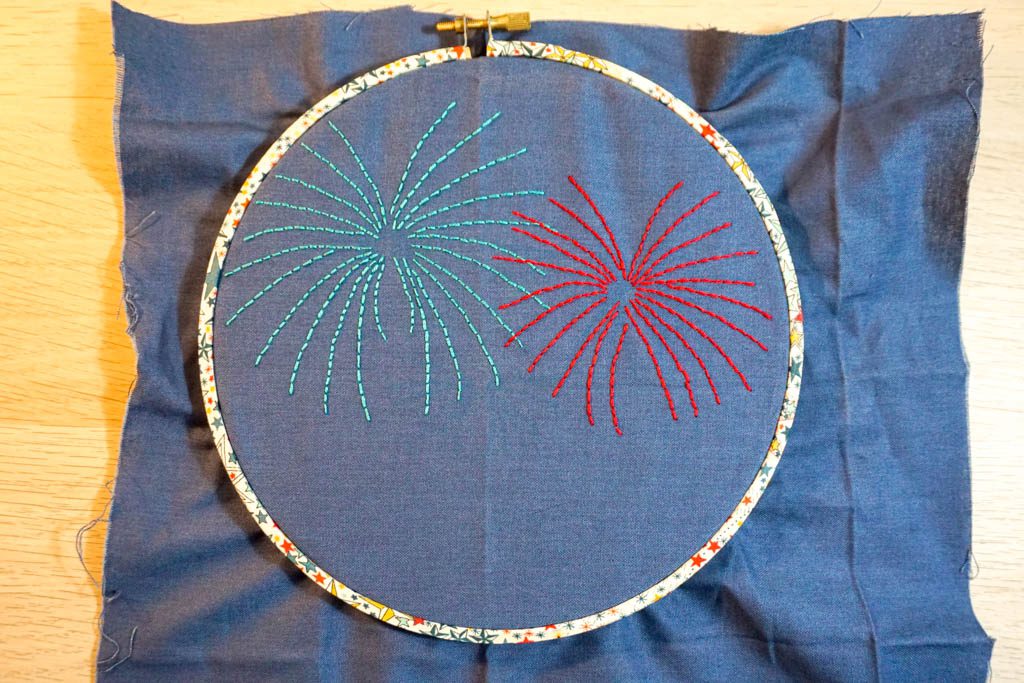
Use two strands when you’re stitching with the cotton floss. Do the larger bits of the two bigger fireworks first. If you’re having a difficult time seeing the lines on the darker fabric, try having a bright light shining directly on your work. The only stitch I used for the entire project was a basic back stitch.
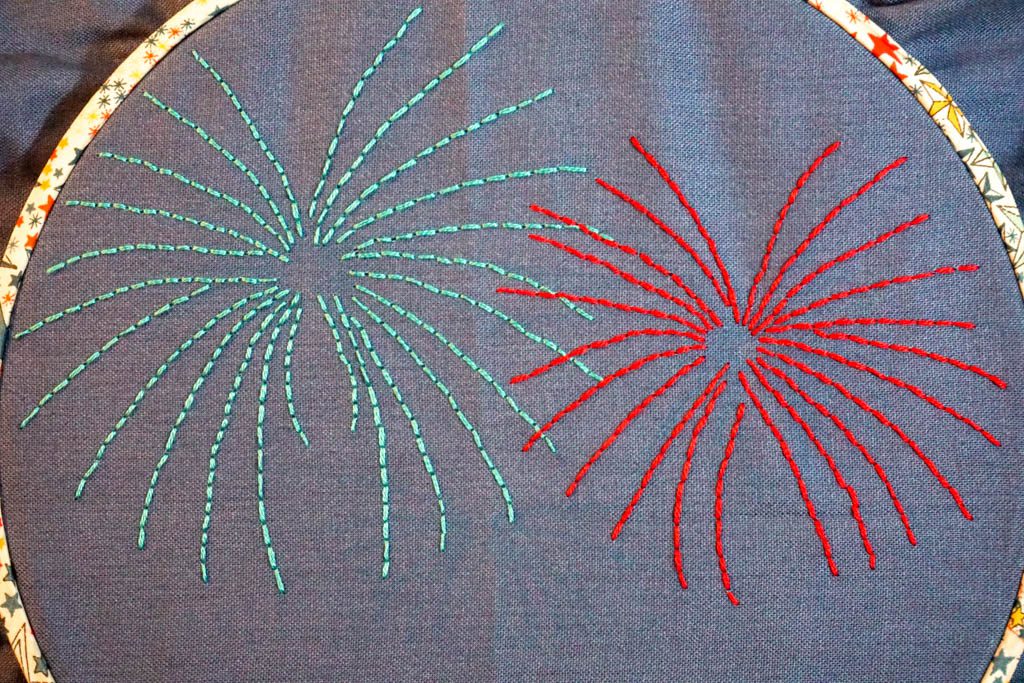
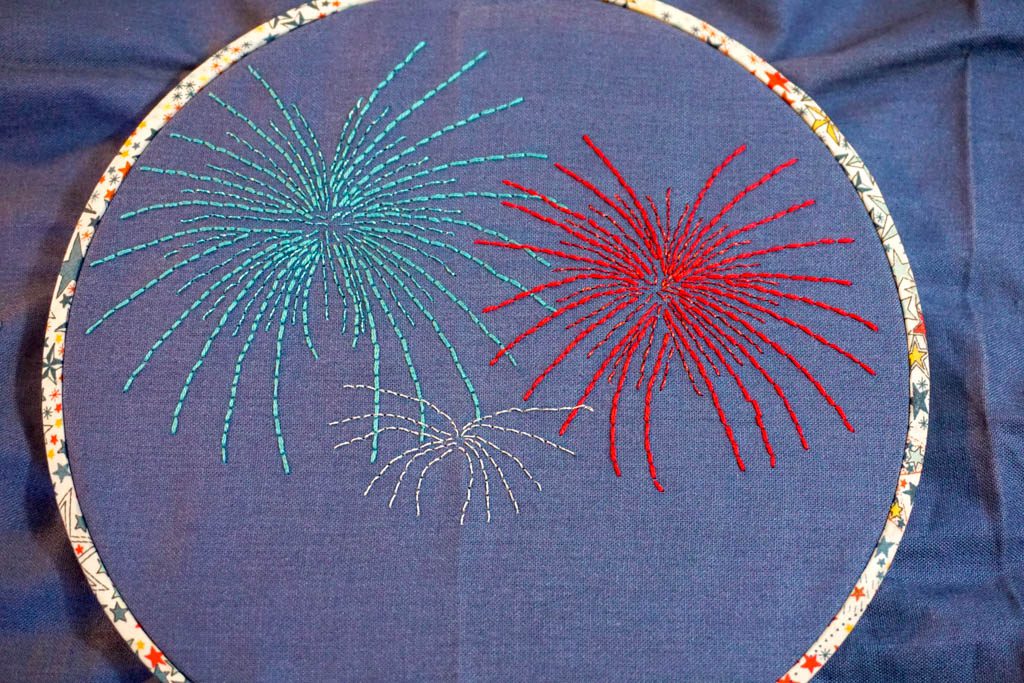
Add in the metallic floss using just a single strand. If you can no longer see the marked lines on the bigger fireworks, don’t panic! Just stitch between what you’ve already done. The lines don’t need to be perfect.
Take your fabric out of the hoop. Using the line left by the hoop, position the iron-on and felt and then iron the iron-on (say that three times fast!).
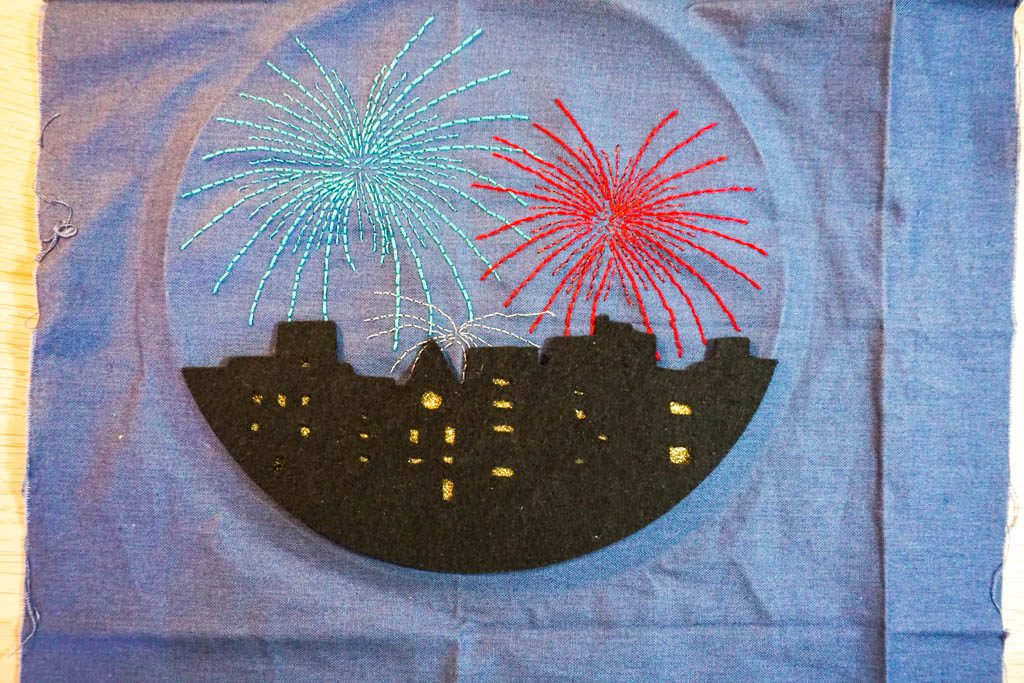
Put the fabric back in the hoop and stitch on the felt. If you’re tired of stitching at this point, you can easily use some glue to attach the felt. No judgment from me!
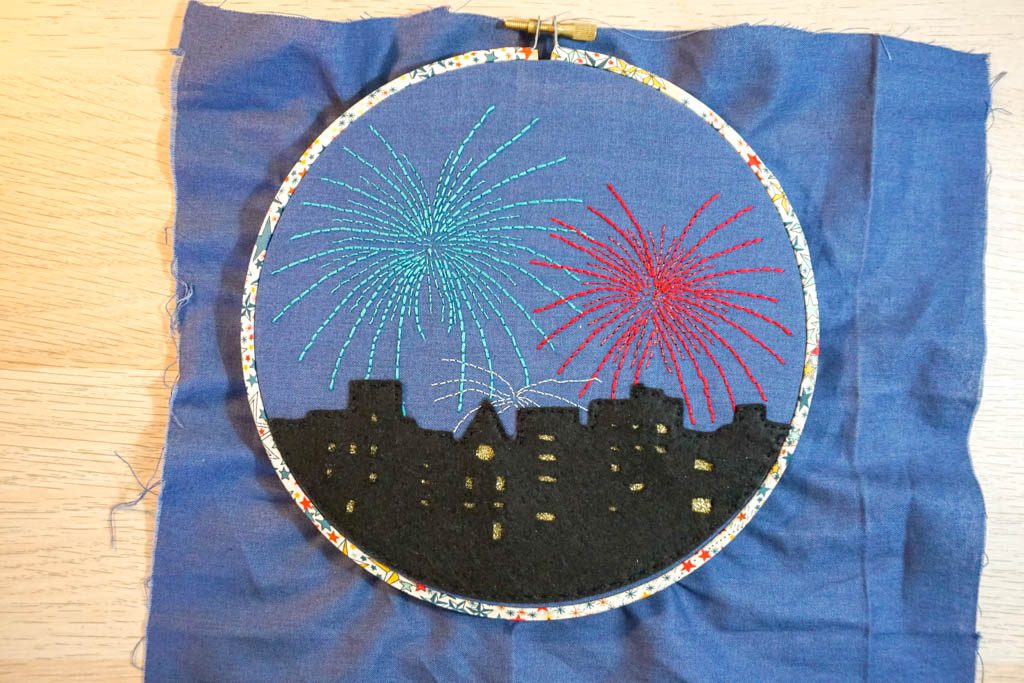
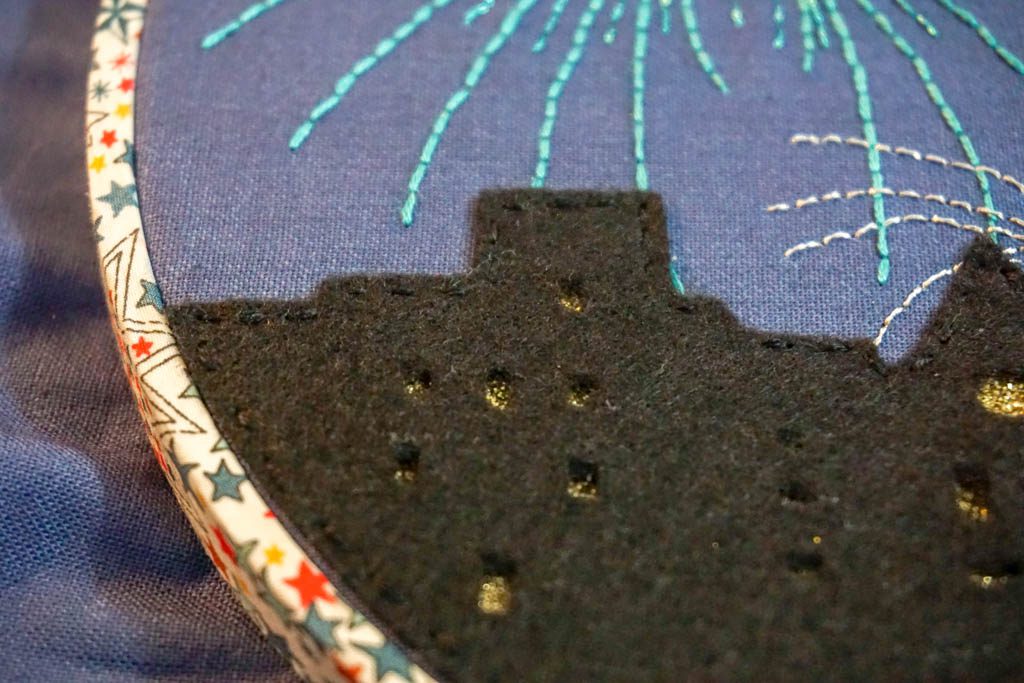
Finish your hoop in your favourite way–I’m a big fan of a piece of felt in the back.
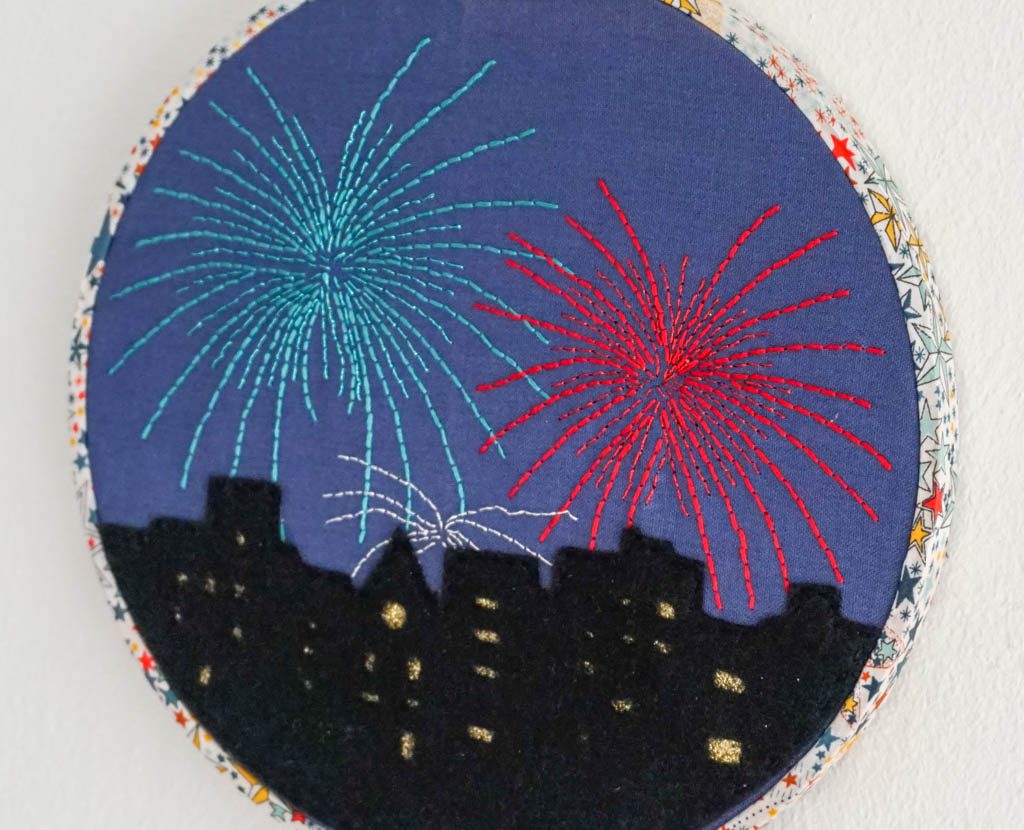
I love looking at my City Fireworks Hoop Art. It’s obviously intended as an example of patriotic hoop art but I keep mine up all the time. The glittery windows in the city skyline coupled with the bright fireworks bring back happy childhood memories.
