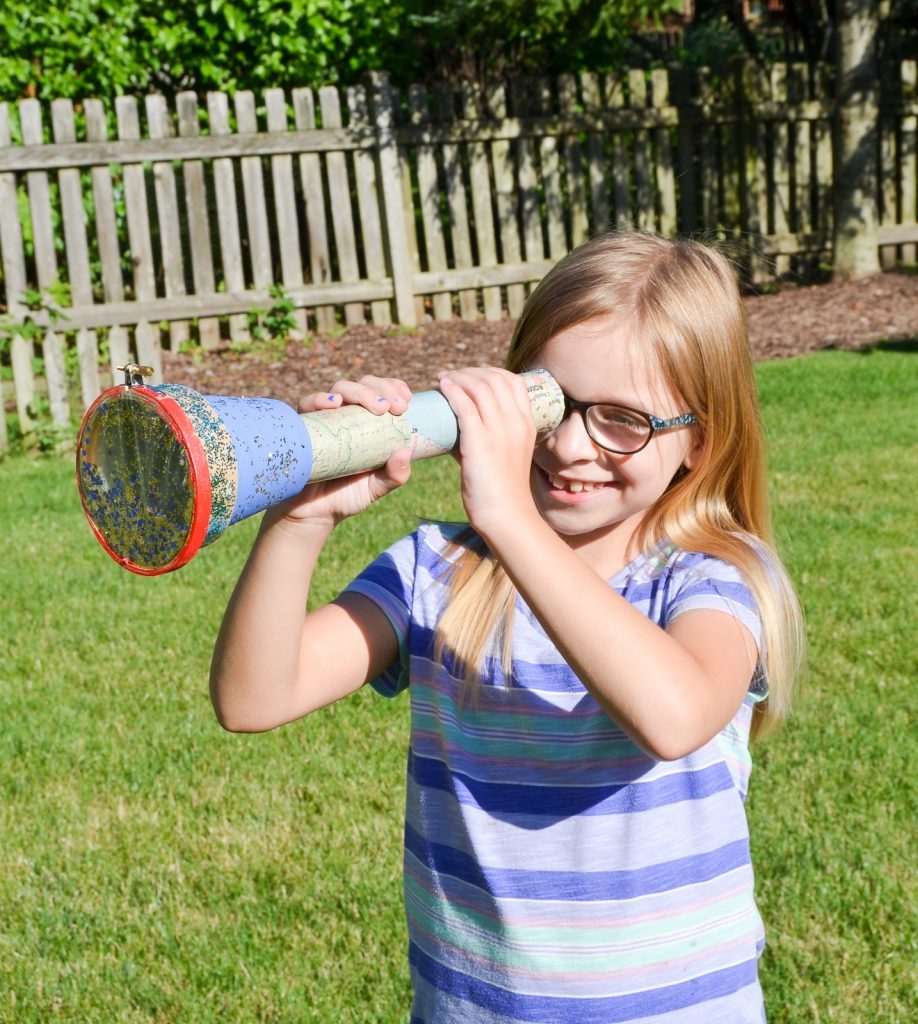
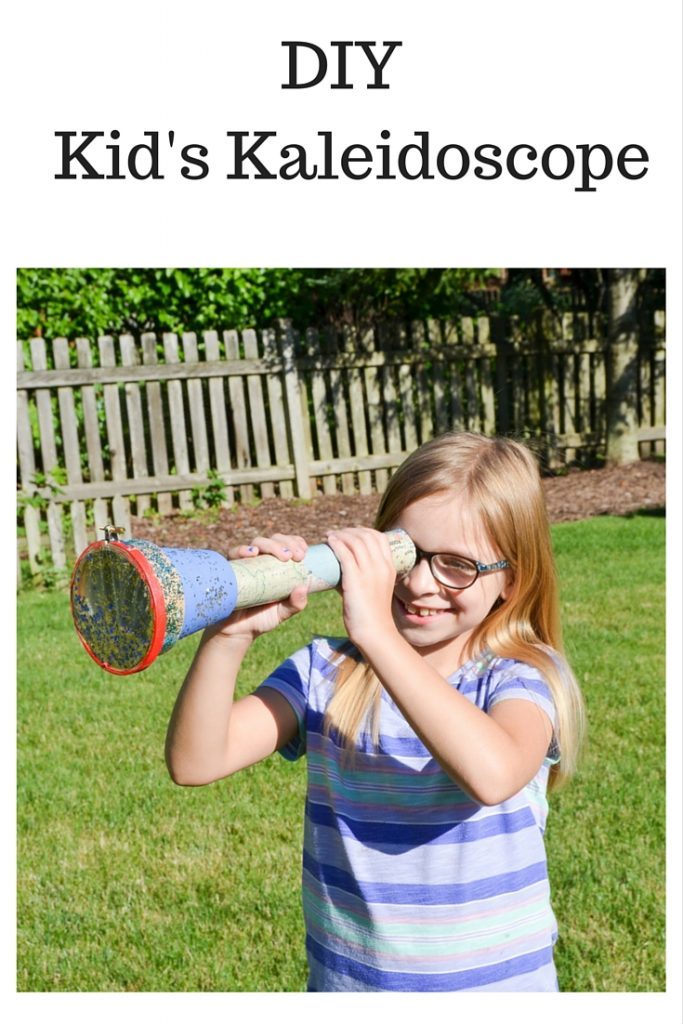
DIY Kid’s Kaleidoscope
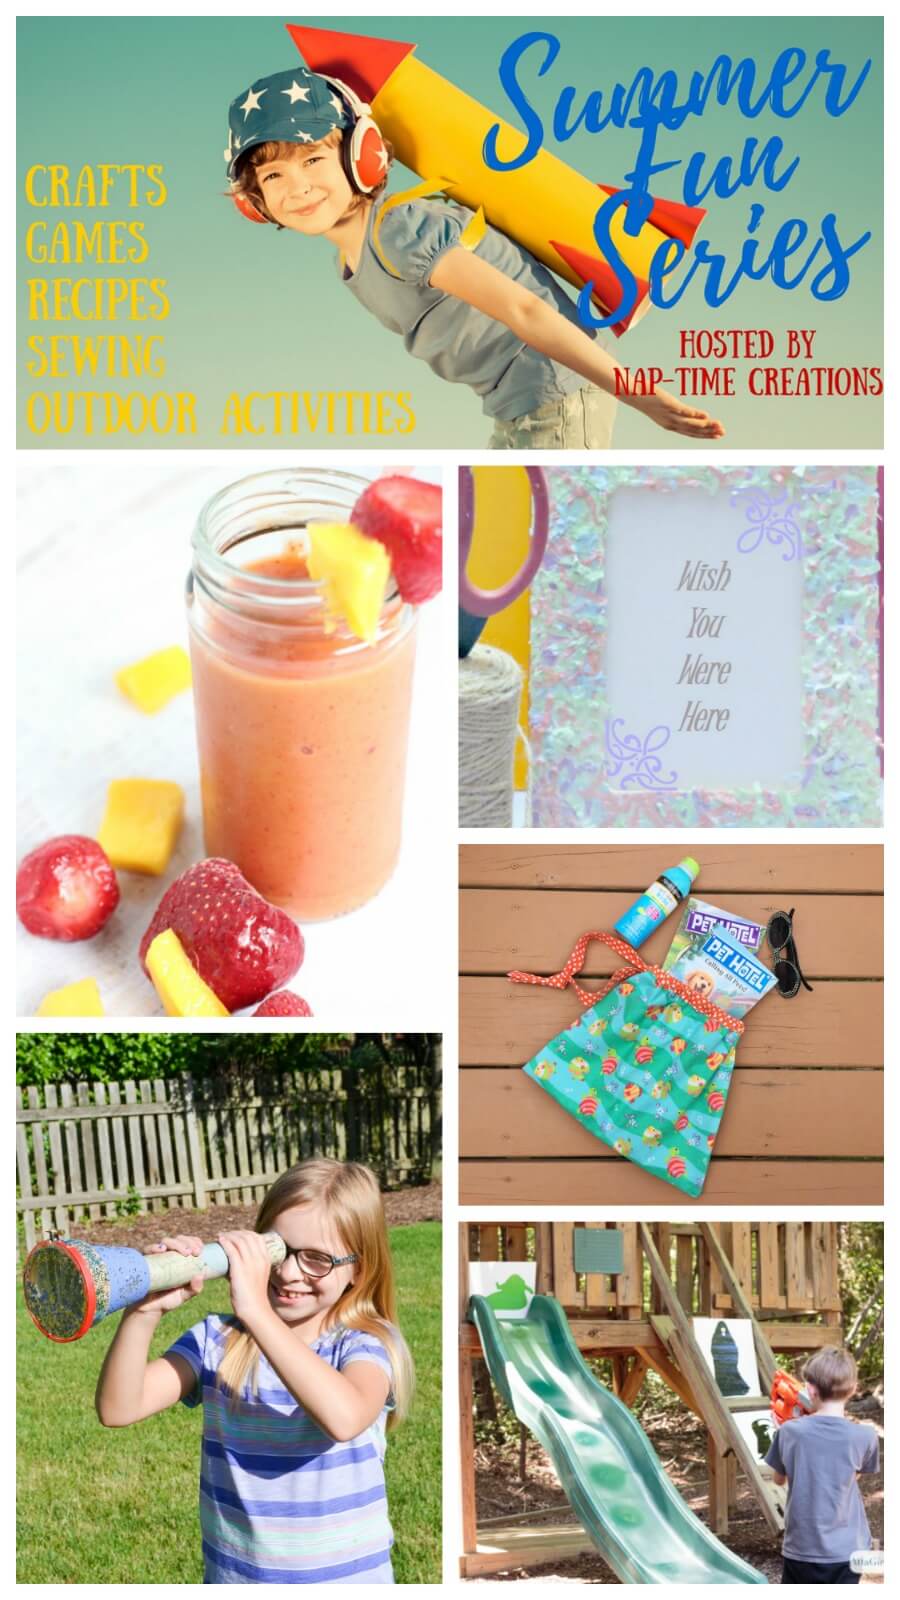
We’re one month into summer vacation here with almost another two to go. I’m all about summer fun with the girls, but with a break this long, I find myself running out of ideas or the girls want to do something new. Enter Nap-Time Creations and her Summer Fun series! There are new ideas featured every week and you won’t run out of fun things to do and make with your kids. Madeline and I made this fun DIY Kid’s Kaleidoscope together and I love how it turned out!
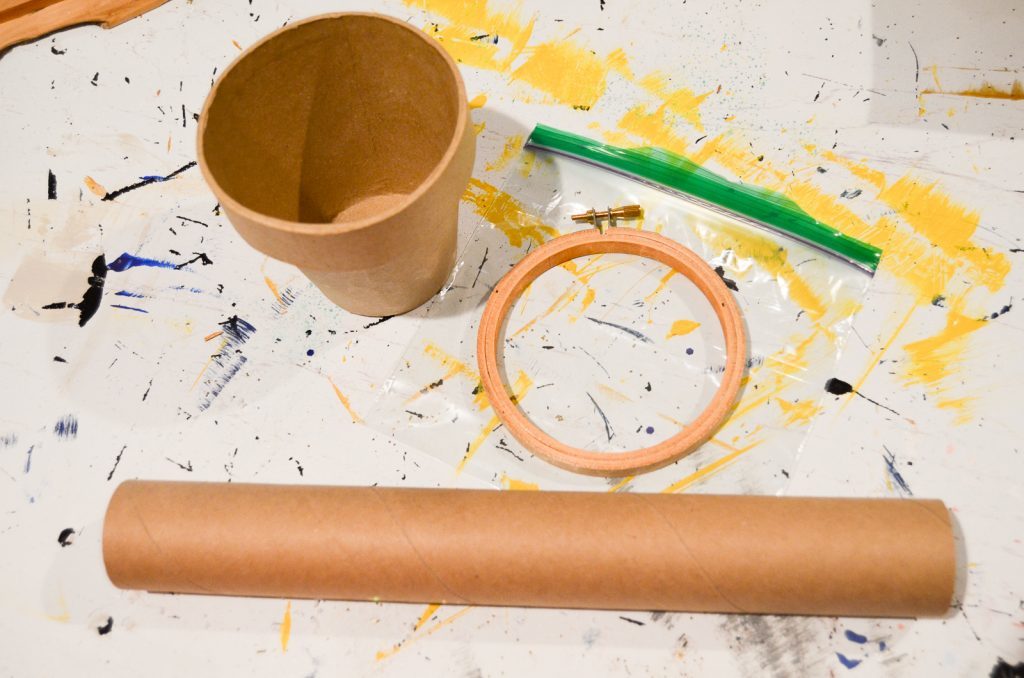
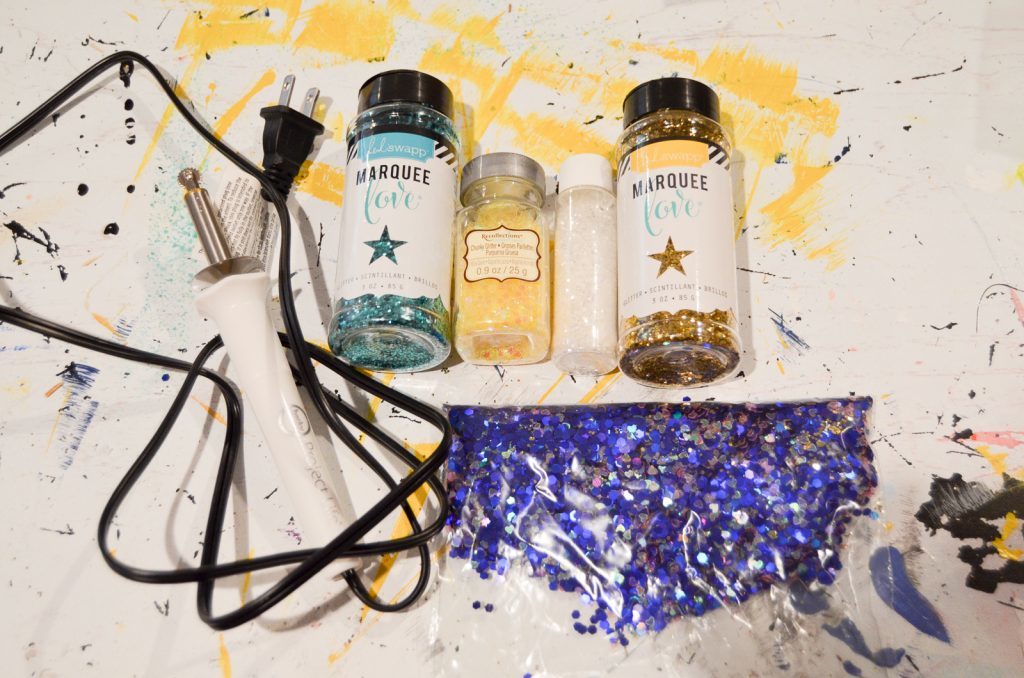
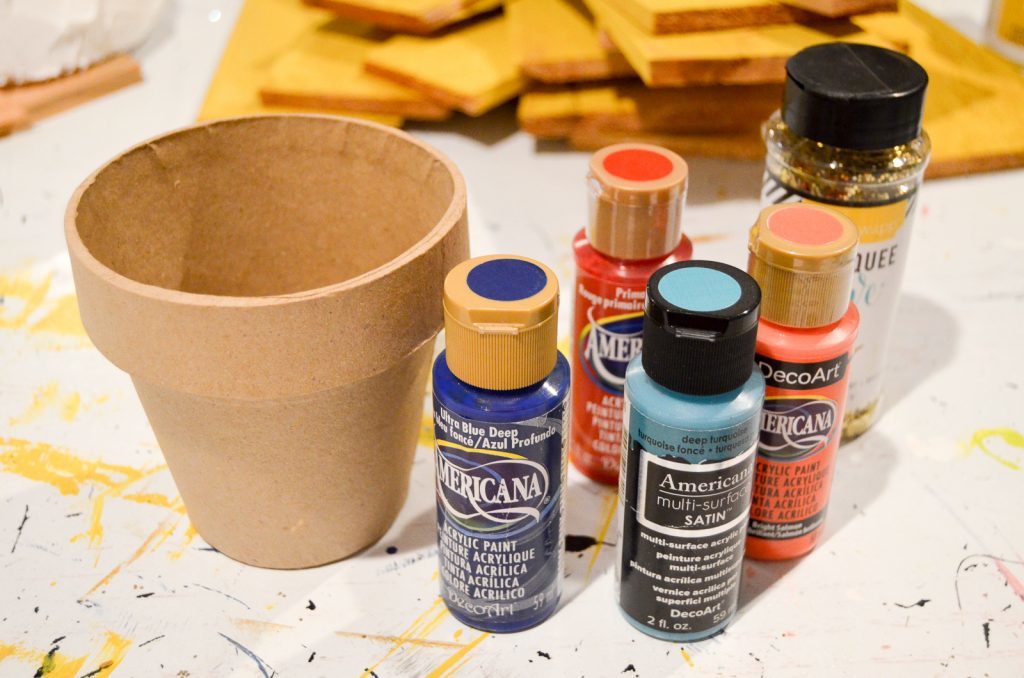
I think of this project as part stash buster. I have a ton of tubes that I’ve held onto that held paper or vinyl. I have more paint and glitter than any sane person should own. I basically put it all out to be used as she saw fit (and to be honest, I was surprised at how little she used!). My supply list included:
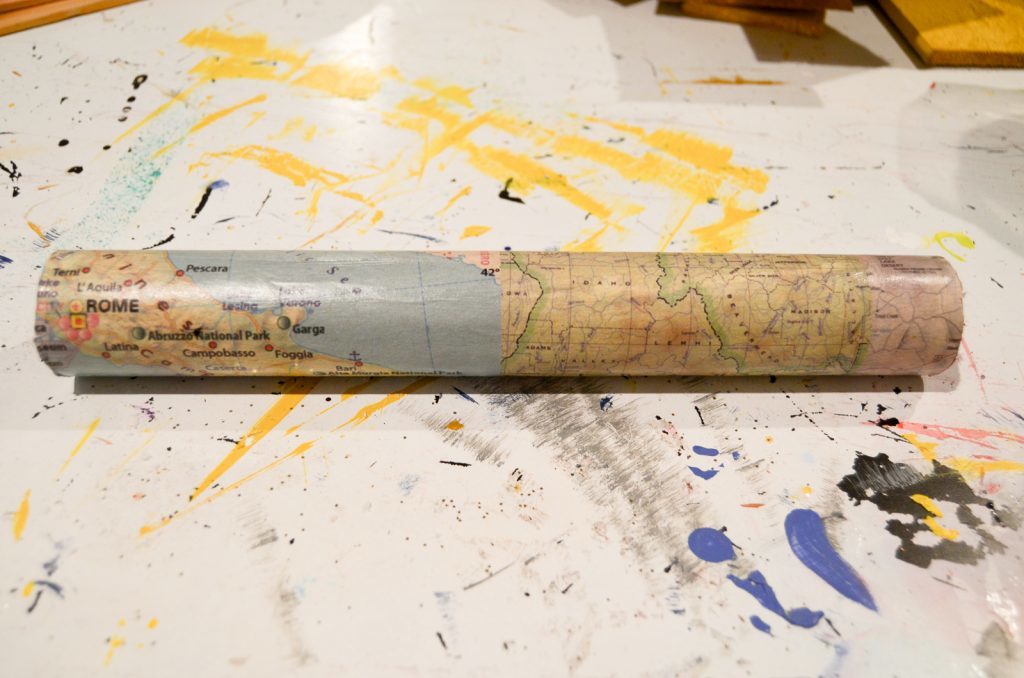
- cardboard tube
- paper mache flowerpot
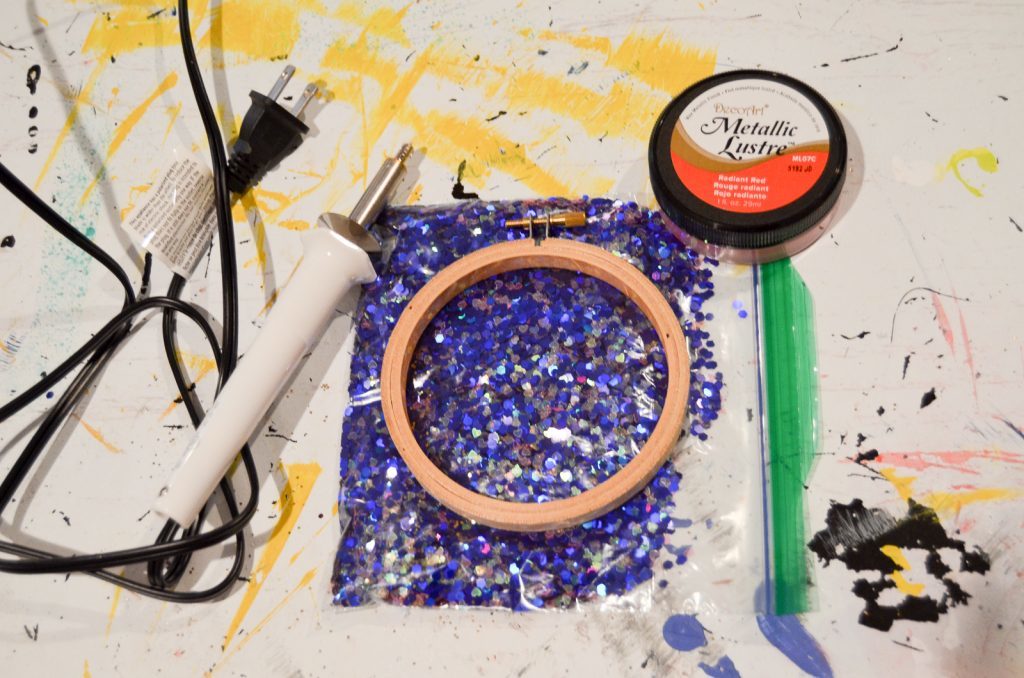
- embroidery hoop (6″)
- baggie
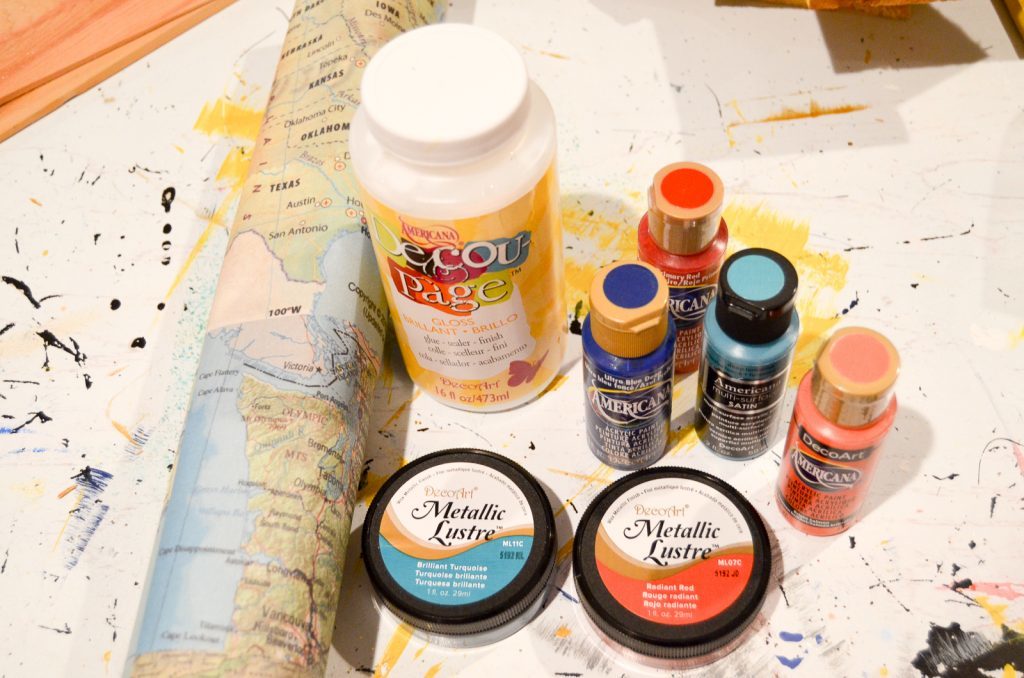
- assorted paint
- assorted glitter (I liked chunky glitter for this)
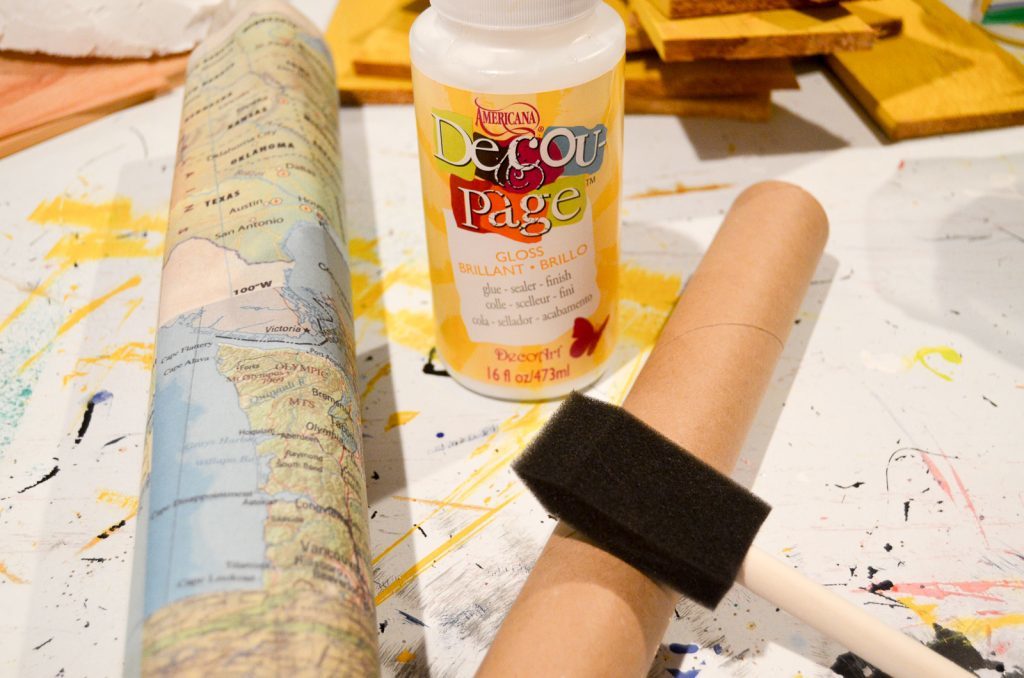
- decoupage
- fun paper
- scissors
- foam brushes
- fuse tool
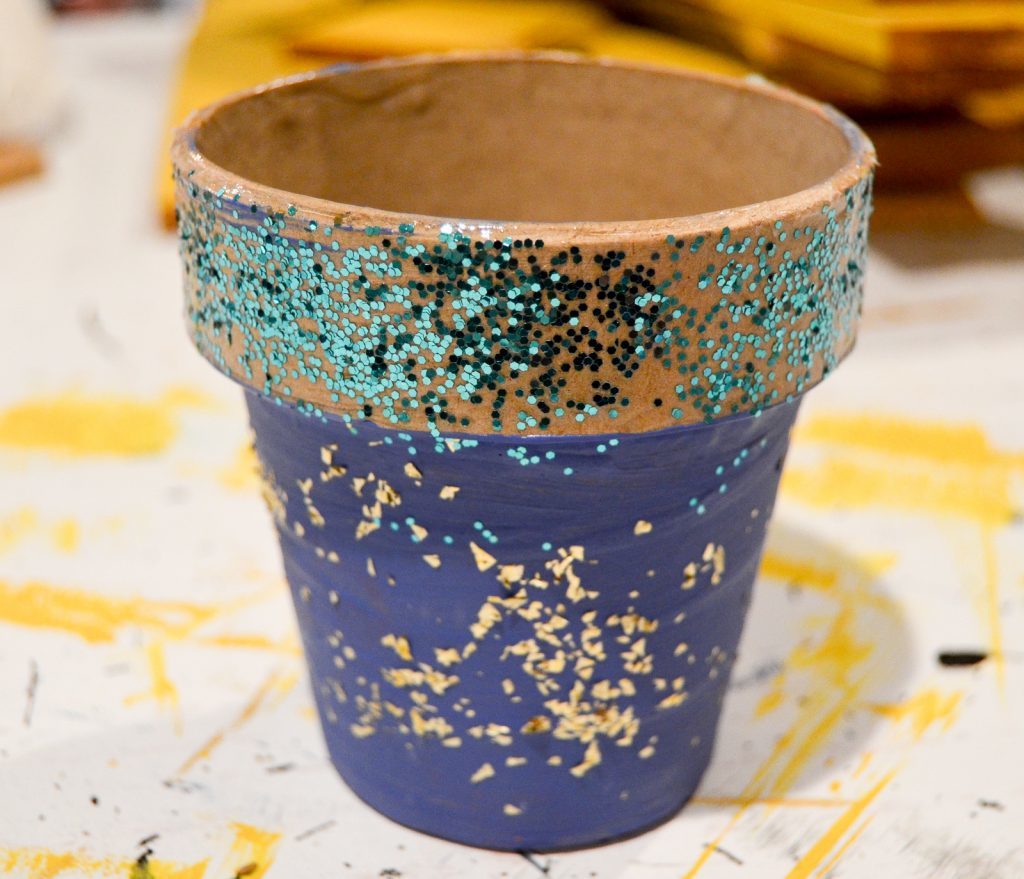
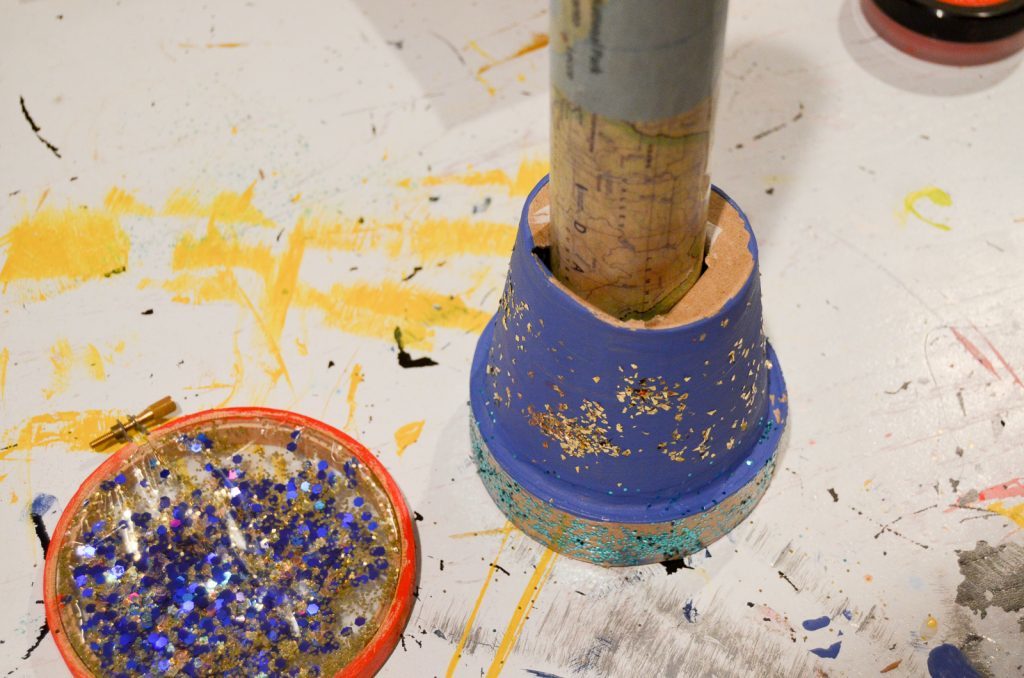
Madeline used a combination of paint and glitter for the flowerpot.
Paint the embroidery hoop. While that’s drying, put some glitter into the baggie. Put the baggie in the hoop and tighten. **This part is for adults.** Turn the hoop over and use the fuse tool to remove the excess baggie and seal it. If you don’t have a fuse tool, try gluing the bag to your hoop.

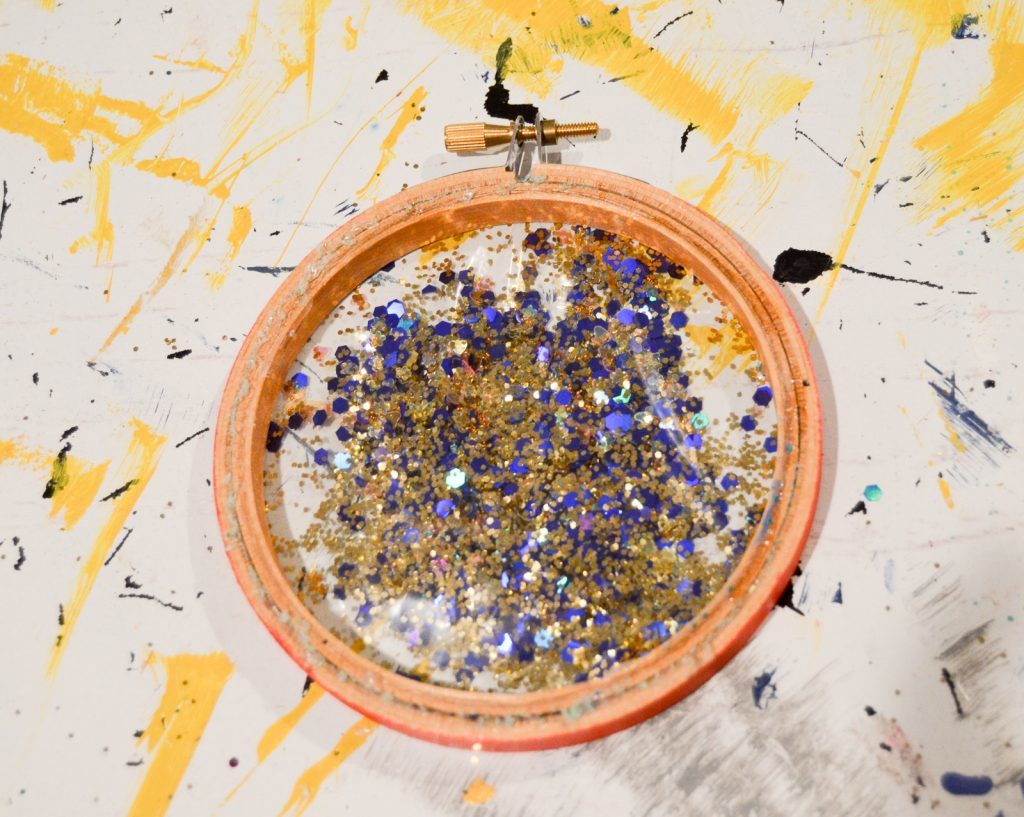
To put it all together, poke/cut a hole in the bottom of the flowerpot and insert the tube. Don’t glue it. This way, the flowerpot portion can be twisted to make the glitter move!

Glue the embroidery hoop to the top of the flowerpot.
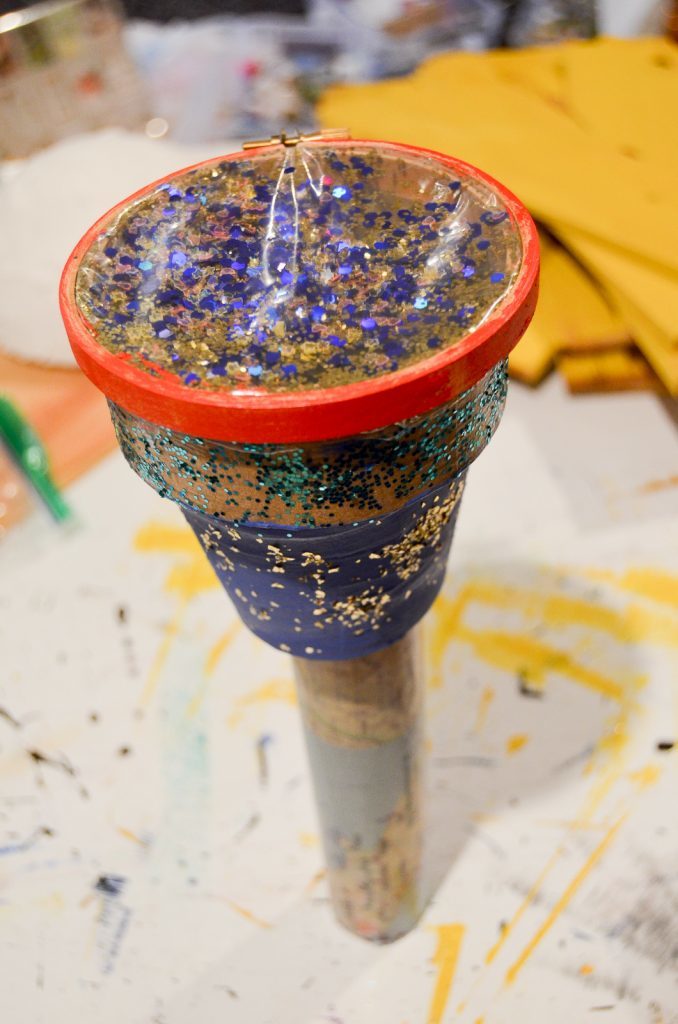
This DIY Kid’s Kaleidoscope was a lot of fun to make together. There have been rumblings to make more variations, so I’m sure this won’t be the last version of this project you’ll see! It not only made for a fun afternoon, but she has played with it every day since.