Easy Glitter Hoop DIY
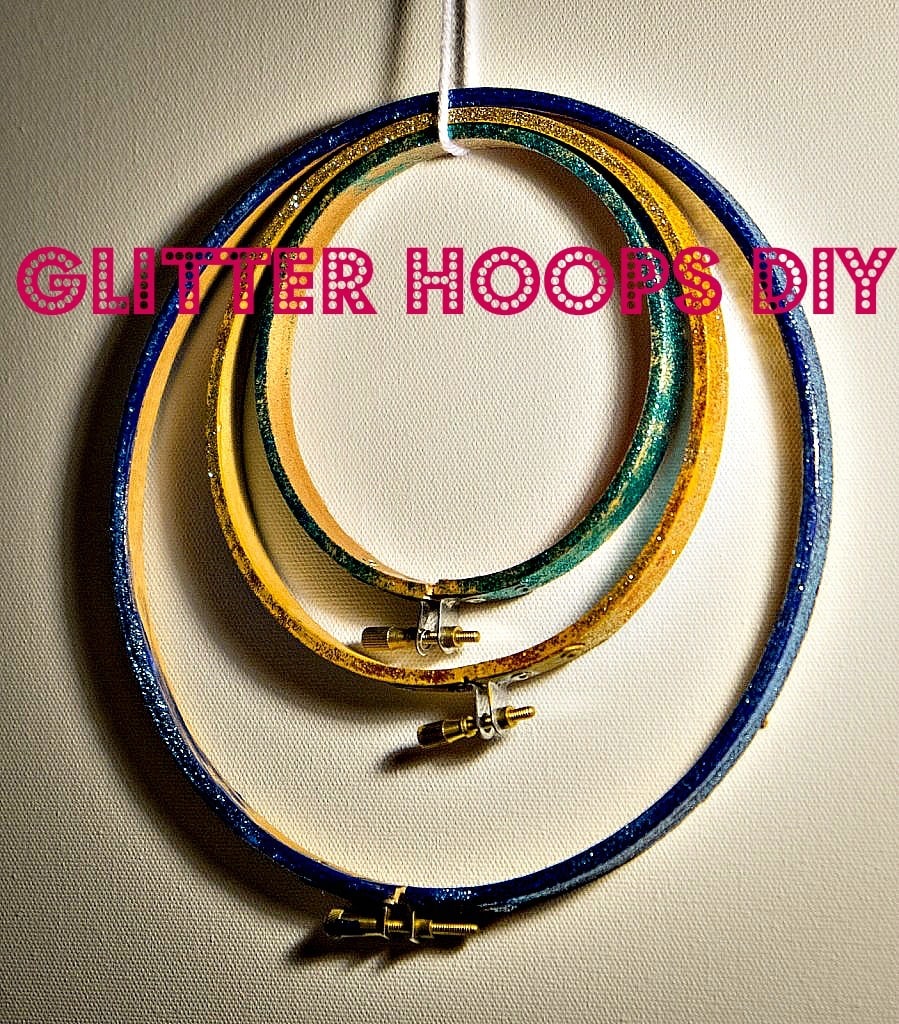
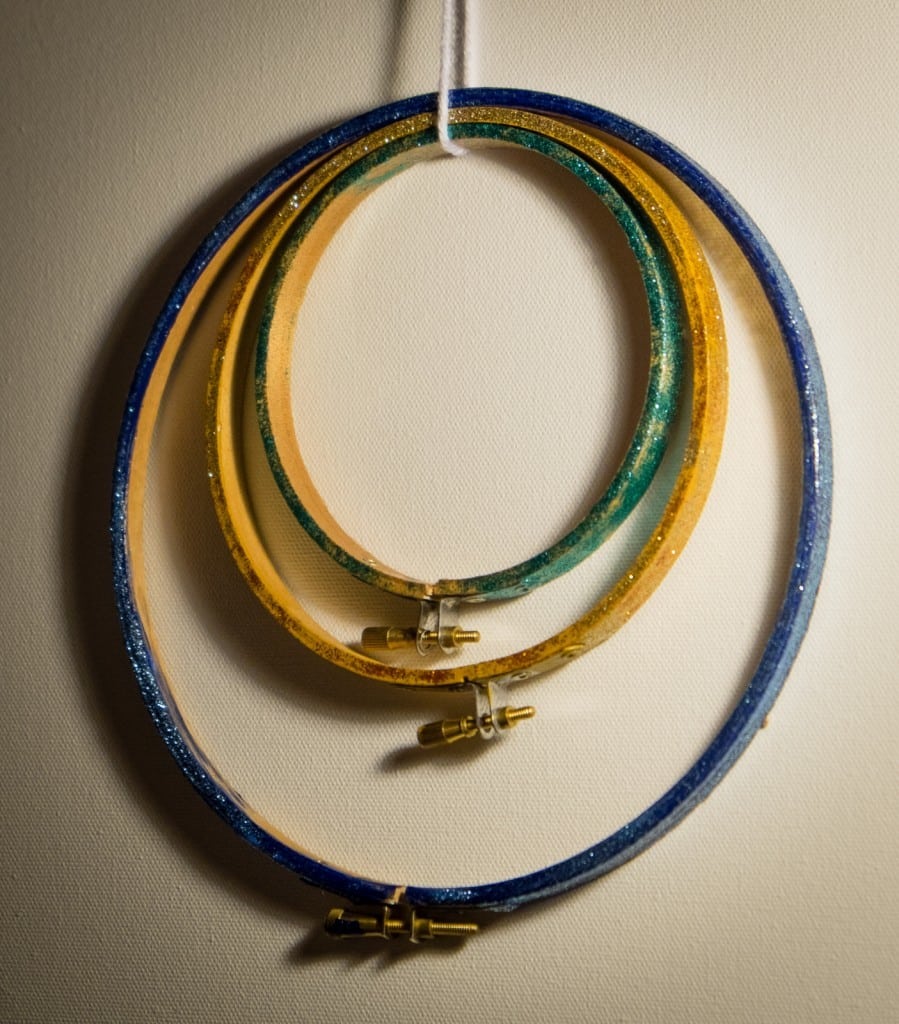
You know how sometimes you just *need* that super simple craft? Like how after you’ve been sick and need something easy to help you get back into the swing of things? I recently fought with a migraine and needed to do something in the hazy aftermath, but wasn’t up to anything major. I use my glitter hoops for a lot of my needlework and this was the perfect excuse to get a stack made for future projects.
*This post contains affiliate links. I will be compensated if you purchase items through them.*
My glitter hoops are almost embarrassingly easy, but I love how they turn out. They give my projects that extra pop and sometimes the simplest crafts can be the most satisfying. One of the fun things about making these is that you can do a giant batch all at once in any colors that strike your fancy. I love having an already done stash of glitter hoops that I can choose from when I finish another project.
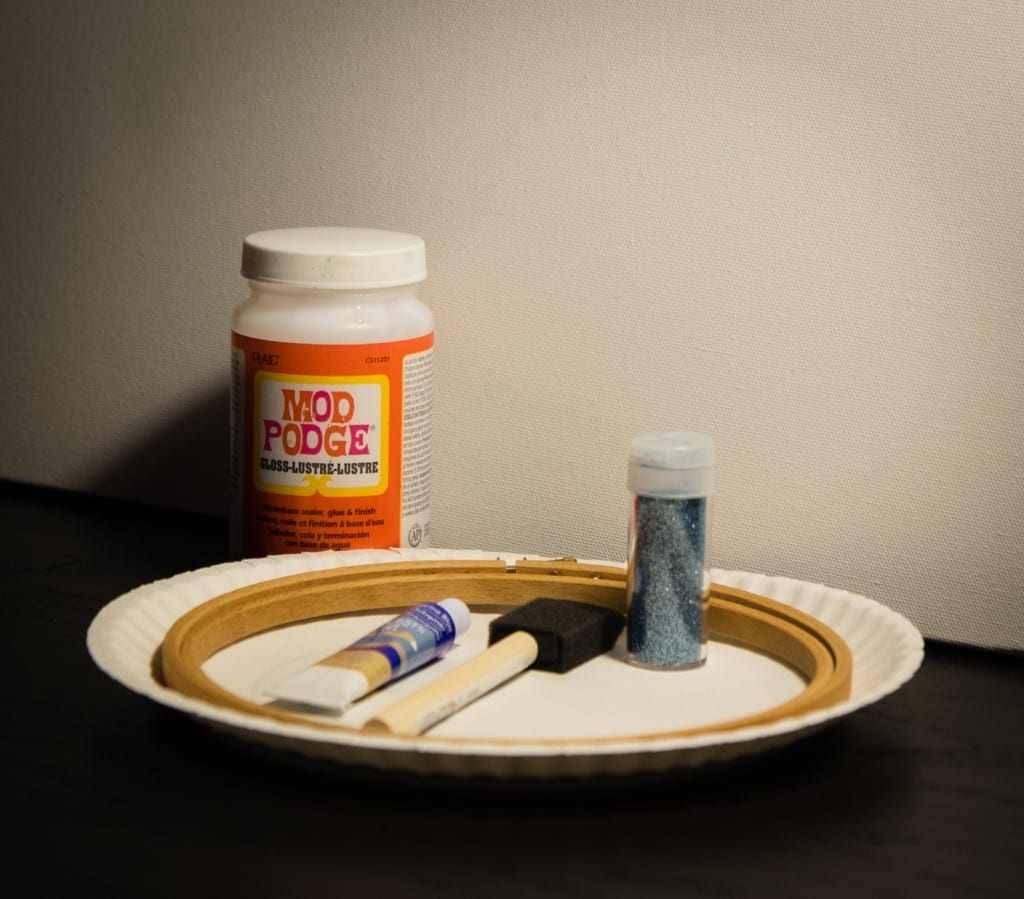 You will need:
- hoop
- craft paint
- glitter
- foam brush
- Mod Podge
- paper plate (or something to cover your work surface)
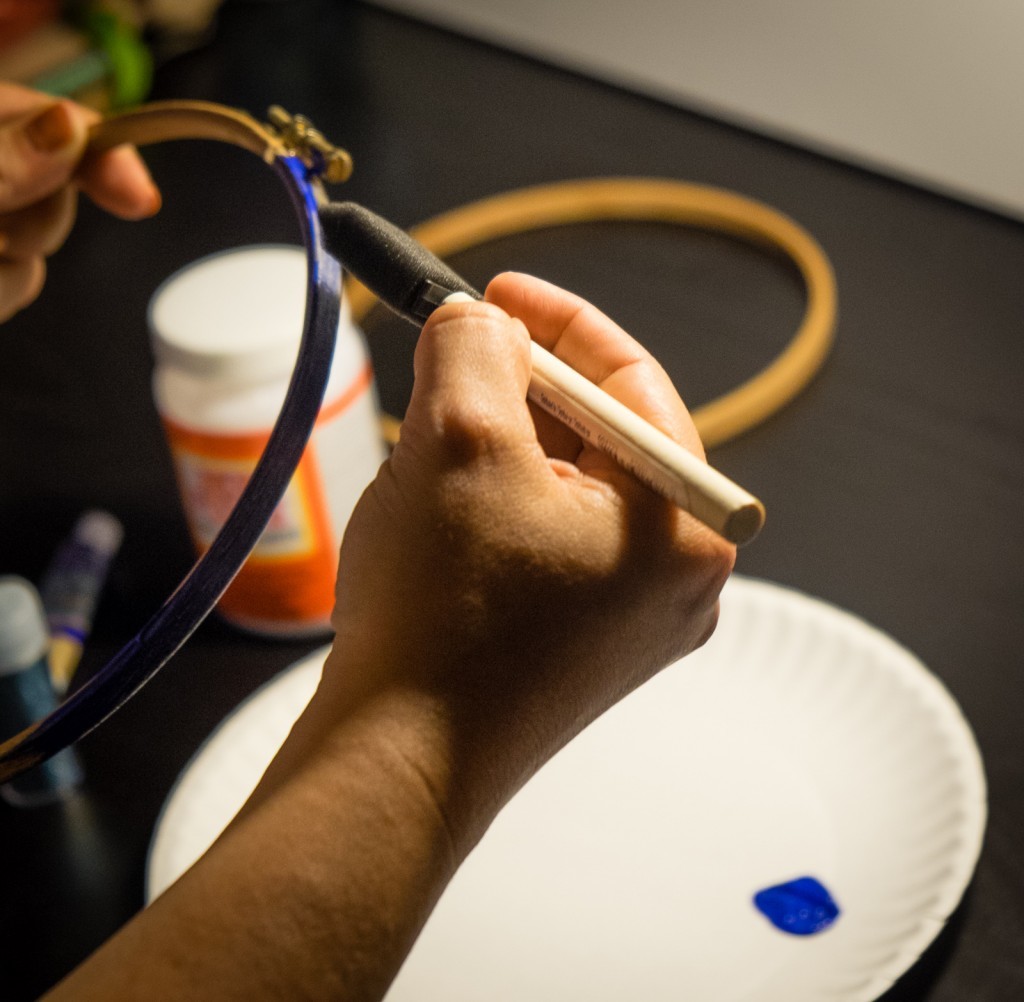 Use the foam brush and paint the hoop in the color of your choice. Don’t forget to paint the front as well.
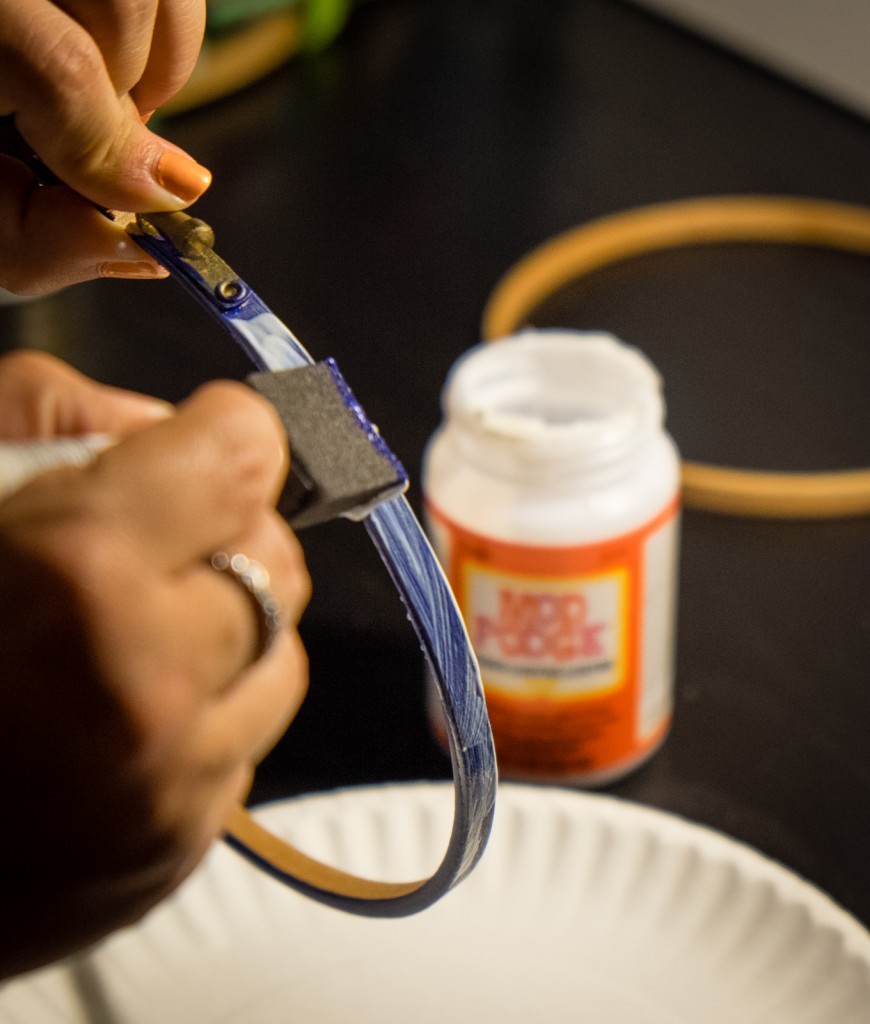 Once the paint is dry, paint a layer of Mod Podge onto your hoop.
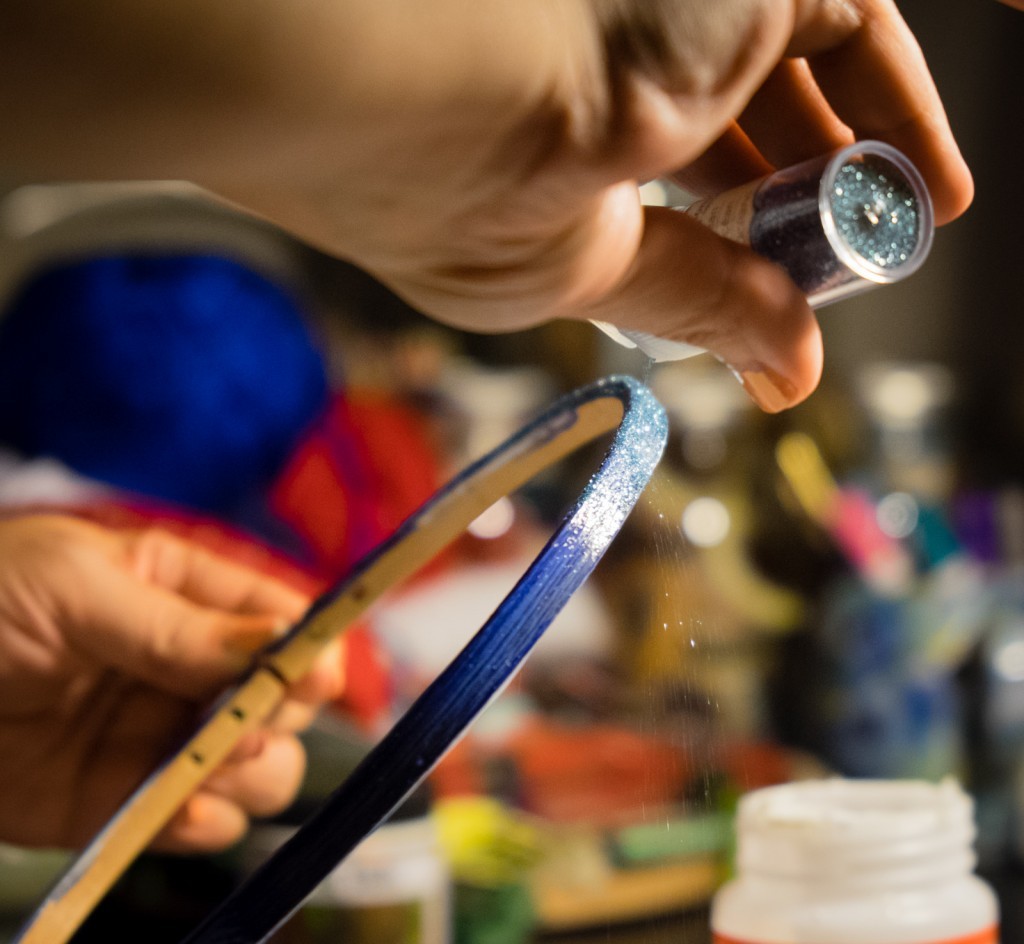 Shake the glitter onto your hoop, over the paper plate. If you’re using the plate, it’s easy to collect the excess glitter so you can use it again.
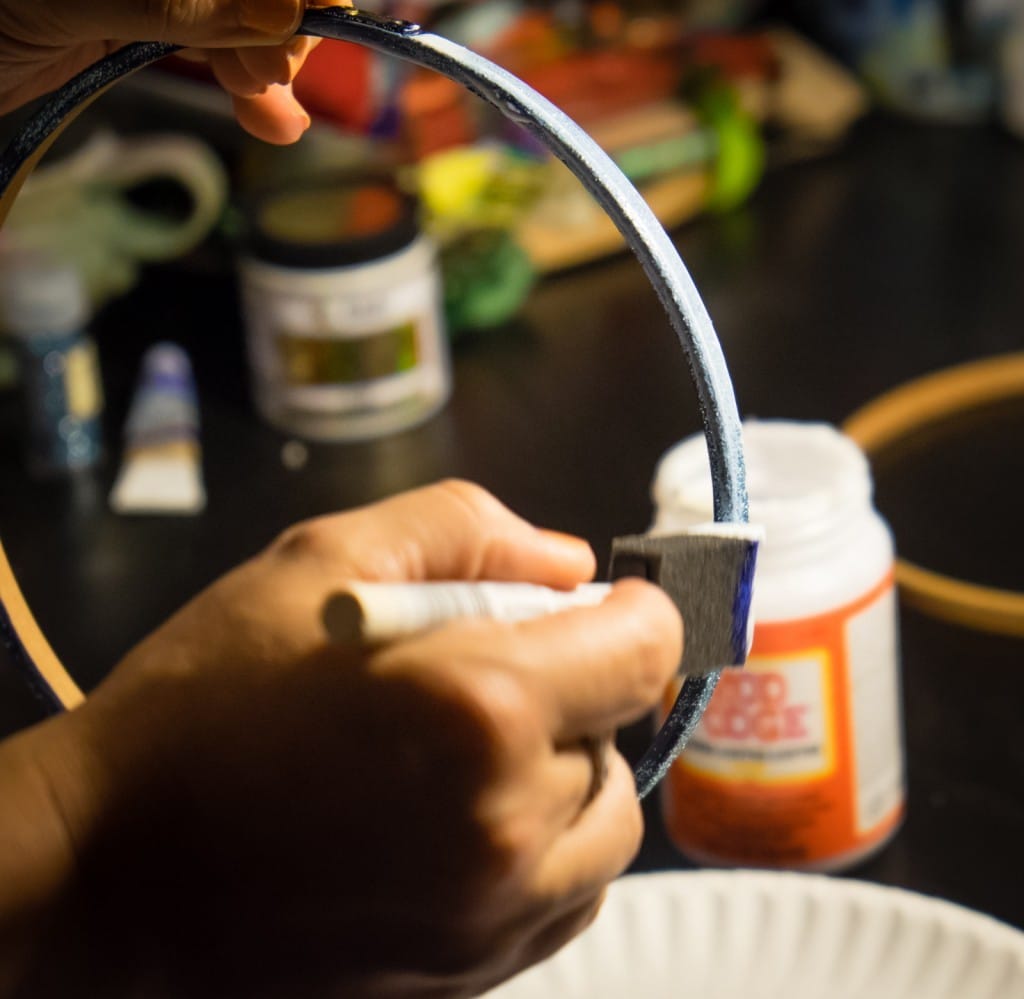 Put one final coat of Mod Podge on the hoop once the last layer is dry.
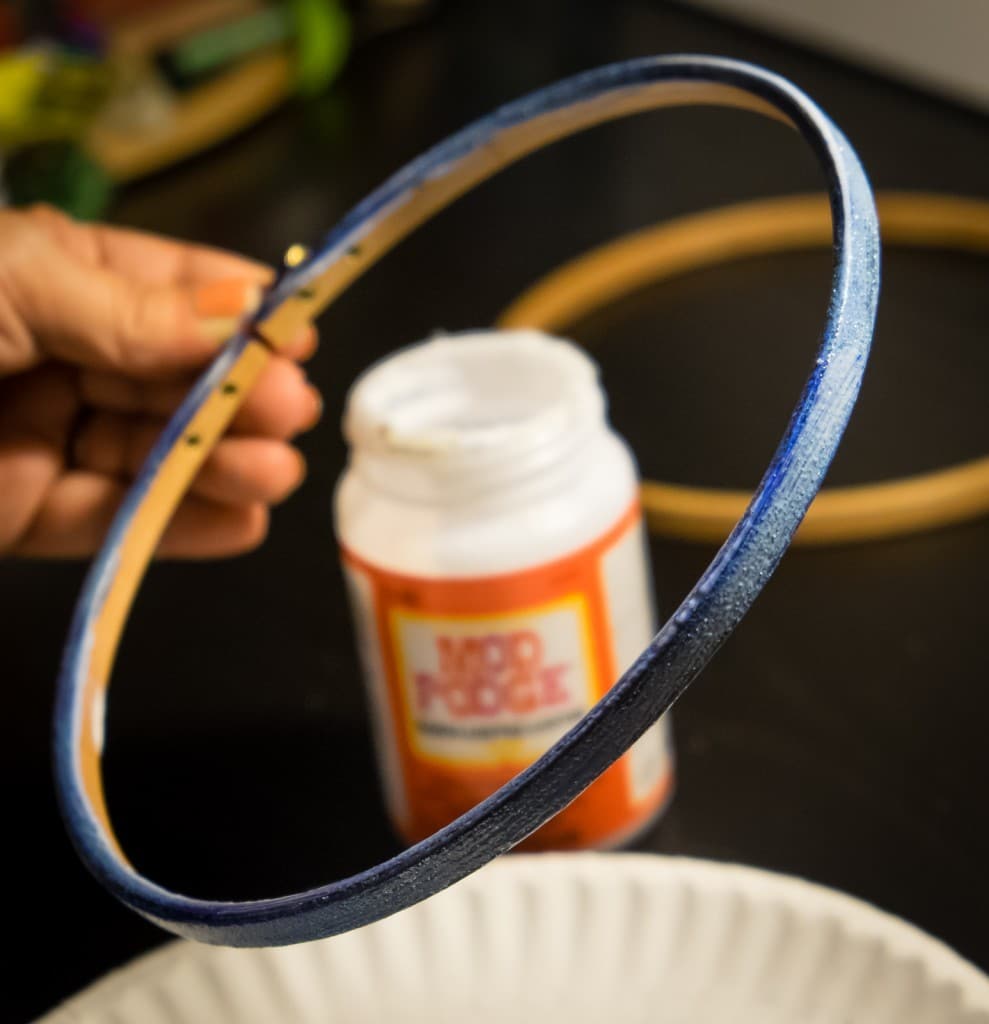 You can fully customize these. Whether you paint first or not. What colors you choose. Put blue glitter on blue paint or mix and match with the craziest combinations you can come up with.
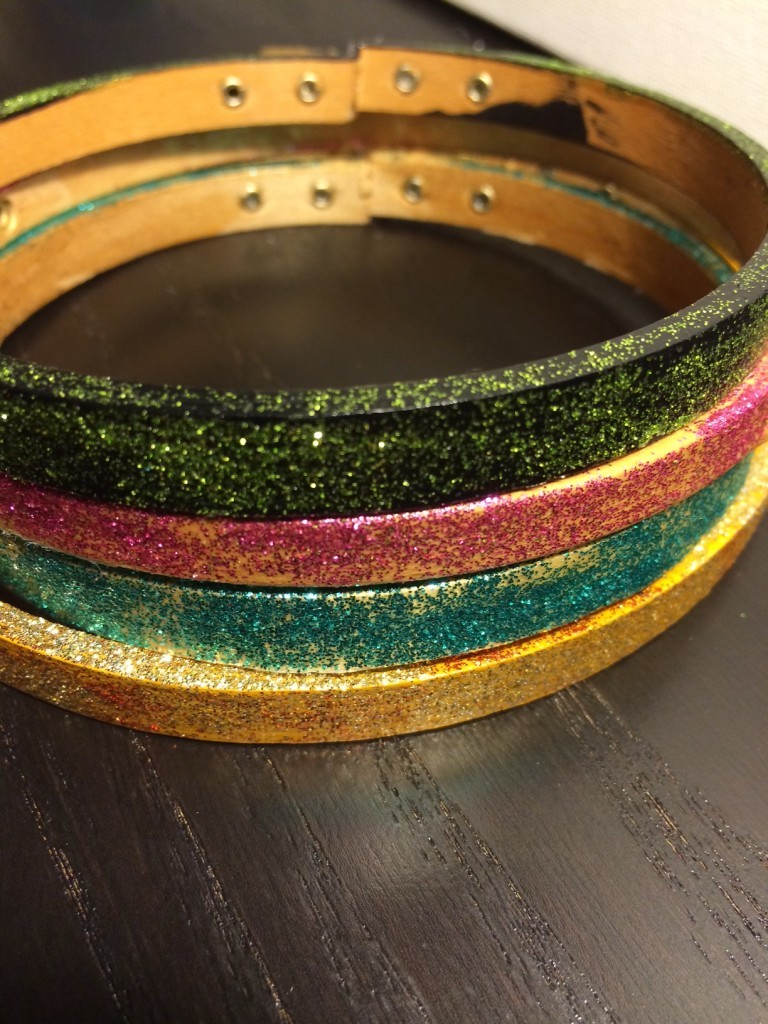 It’s so easy to make a bunch at once. It’s fun to play around with the color combinations.
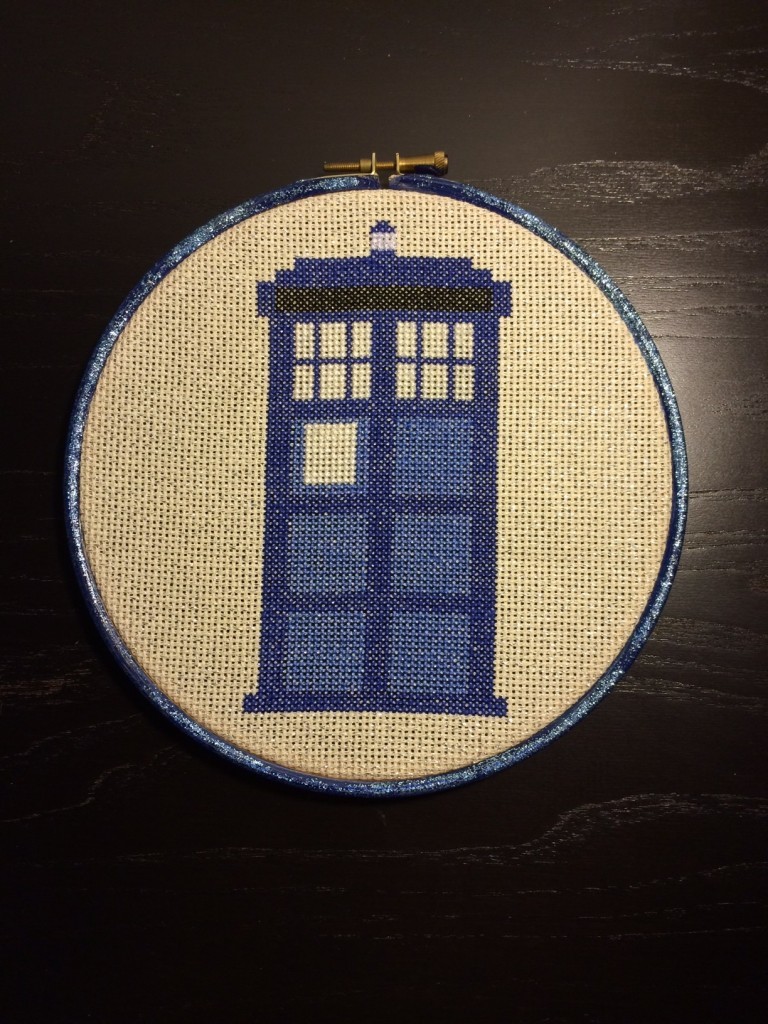 You can see how my glitter hoop gives my TARDIS cross stitch that extra punch.
I use my hoops mostly for my needlework projects, but there are so many more things you can do with them.
I’d love to see what you come up with!








ooo I love the Tardis cross stitch!!
Adelina Priddis recently posted…DIY Clarinet Lamp