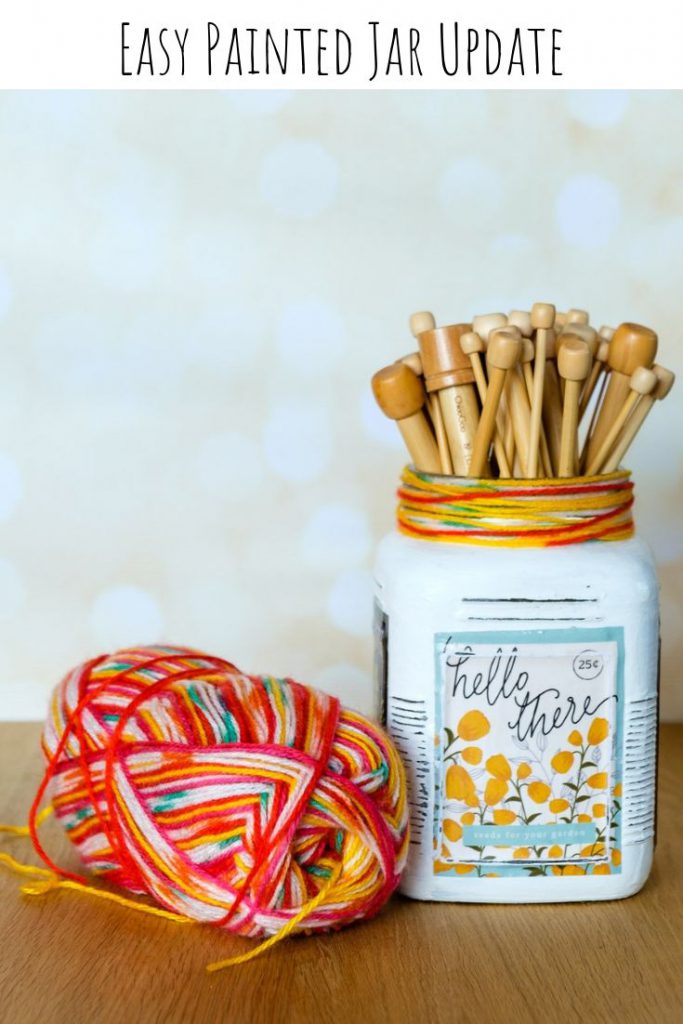
Easy Painted Jar Update
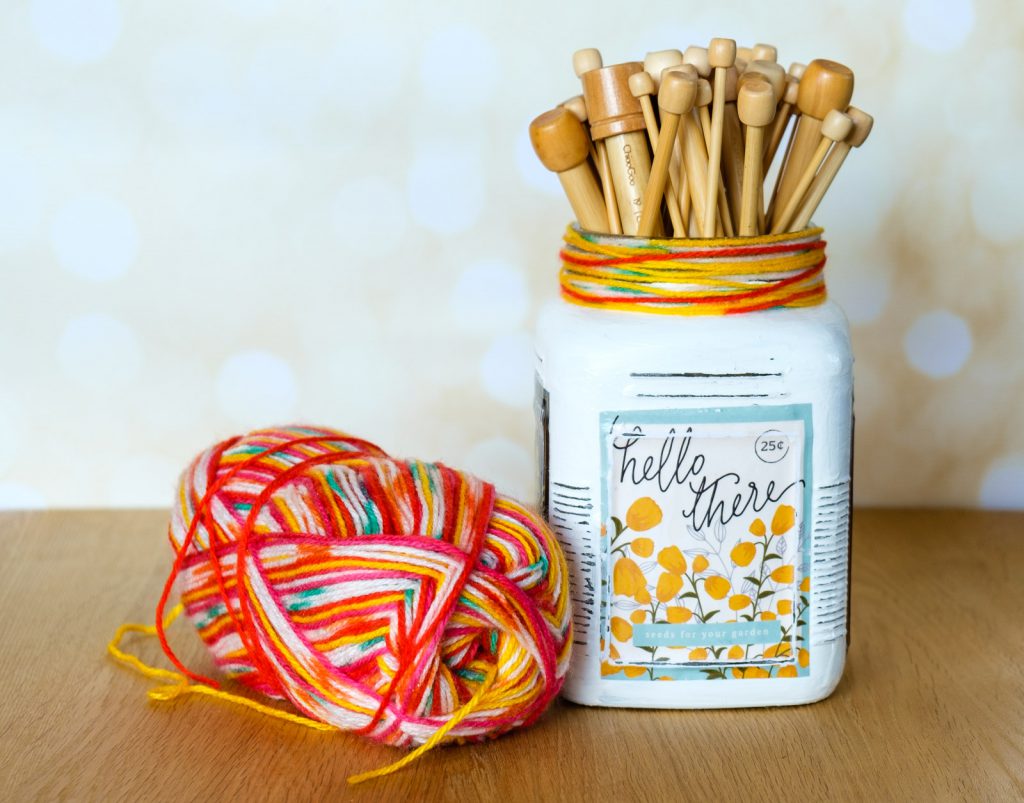
I’ve been slowly organizing my craft space one project at a time. It’s been a lot of fun doing small projects that are helping the entire space come together. I unpacked a boatload of knitting needles that stayed in a pile on the floor for a few weeks until I got tired of accidentally kicking them across the room. This easy painted jar update was just what I needed to keep me happy for a couple hours with the bonus of my knitting needles finally having a home. (I know, I know–another painted jar tutorial!)
Supplies:
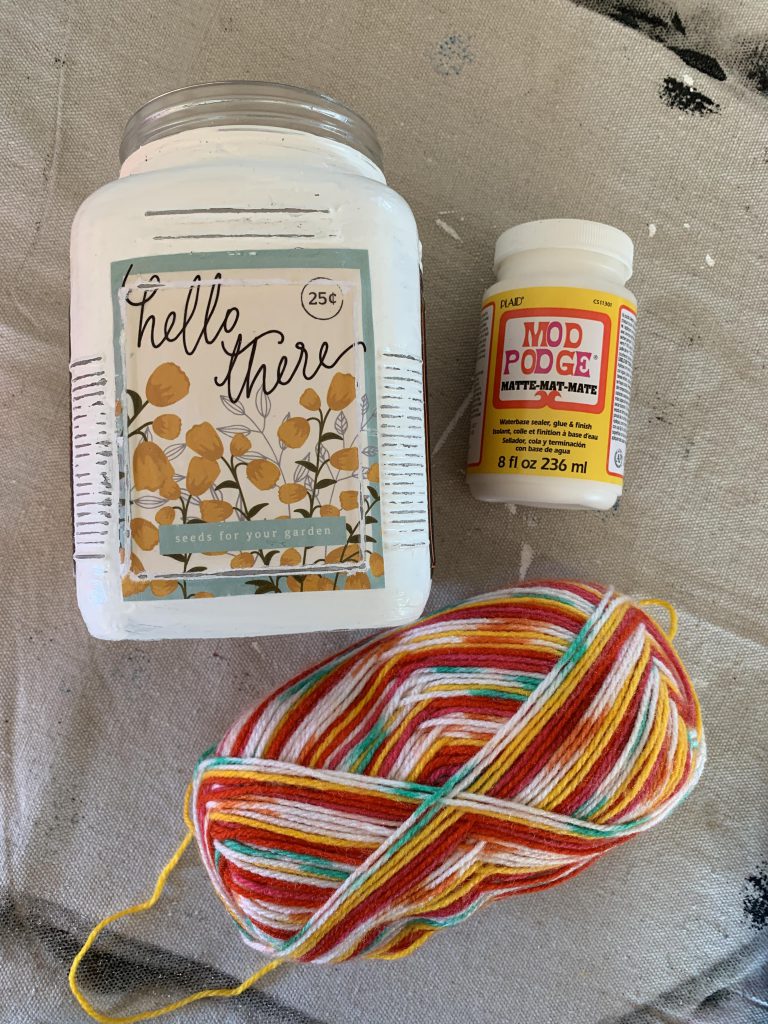
- glass jar
- white paint (I used a chalk paint)
- Mod Podge
- scrapbook paper
- yarn
- paint brush
- sandpaper/Dremel
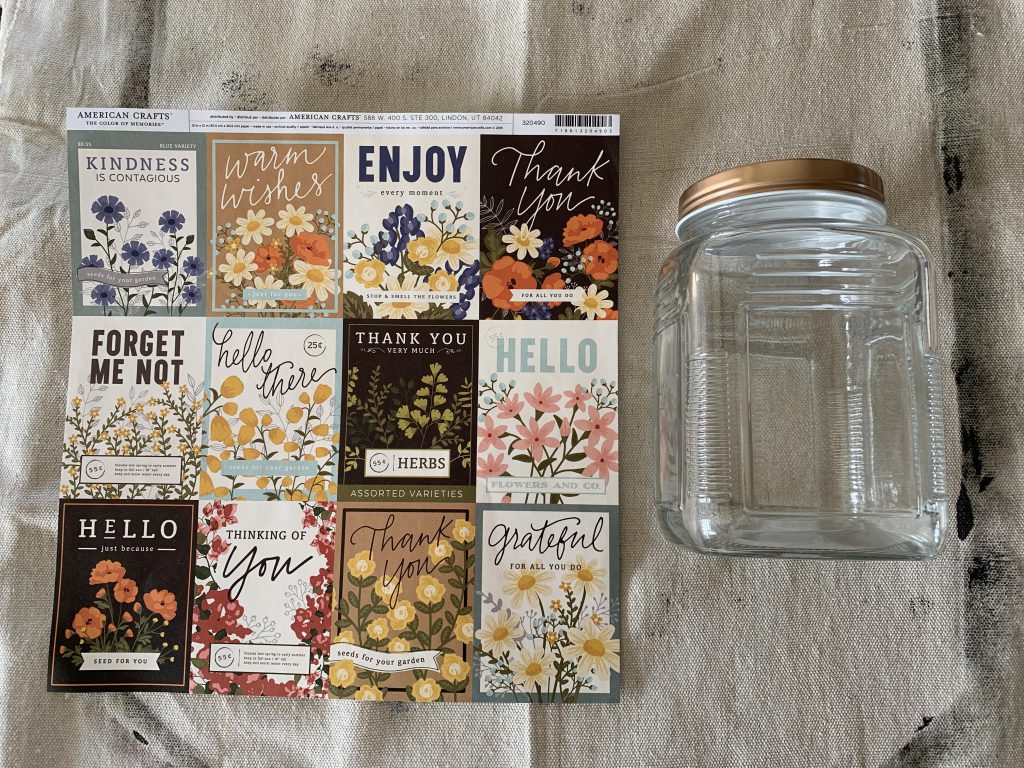
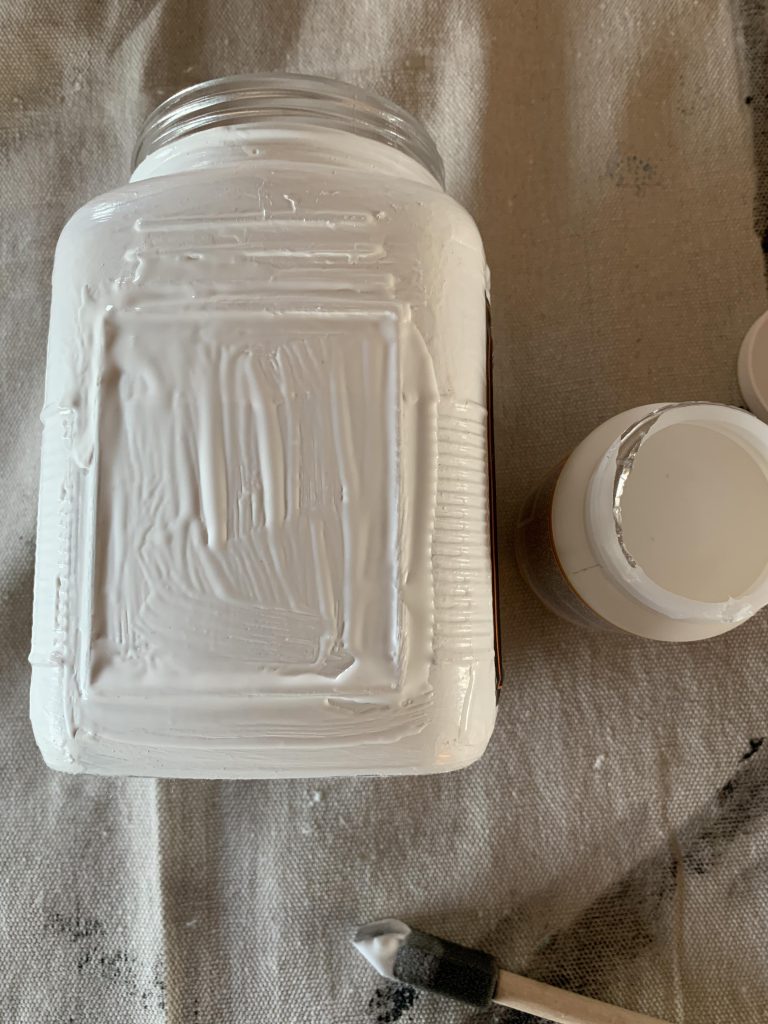
I found this fantastic glass jar at a local shop called Look Sharp. It’s similar to the various dollar stores in the States. The jar has great rectangular spaces on each side that were perfect with the sheet of floral paper I had. I cut out four images for my jar. After painting the jar (I only used one thickish coat) and making sure it was dry, I painted a layer of Mod Podge over the rectangle and placed one of the images on top, pressing down gently but firmly so that it fit solidly against the ridges. This was repeated for all four sides. Wipe away any excess Mod Podge.
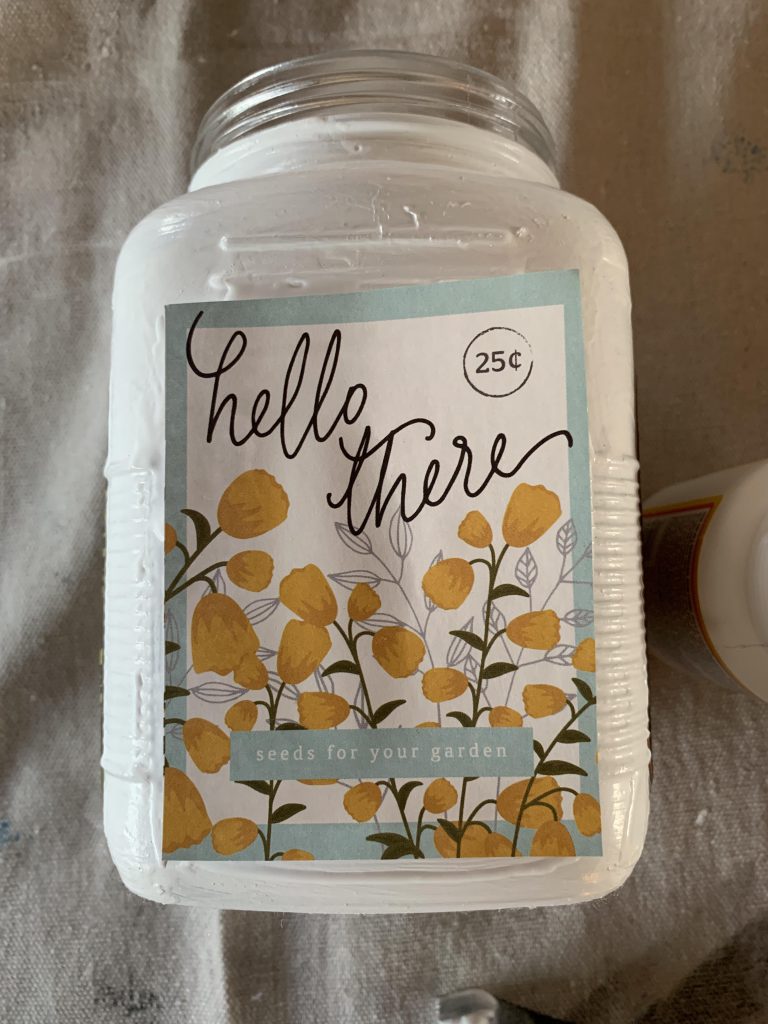
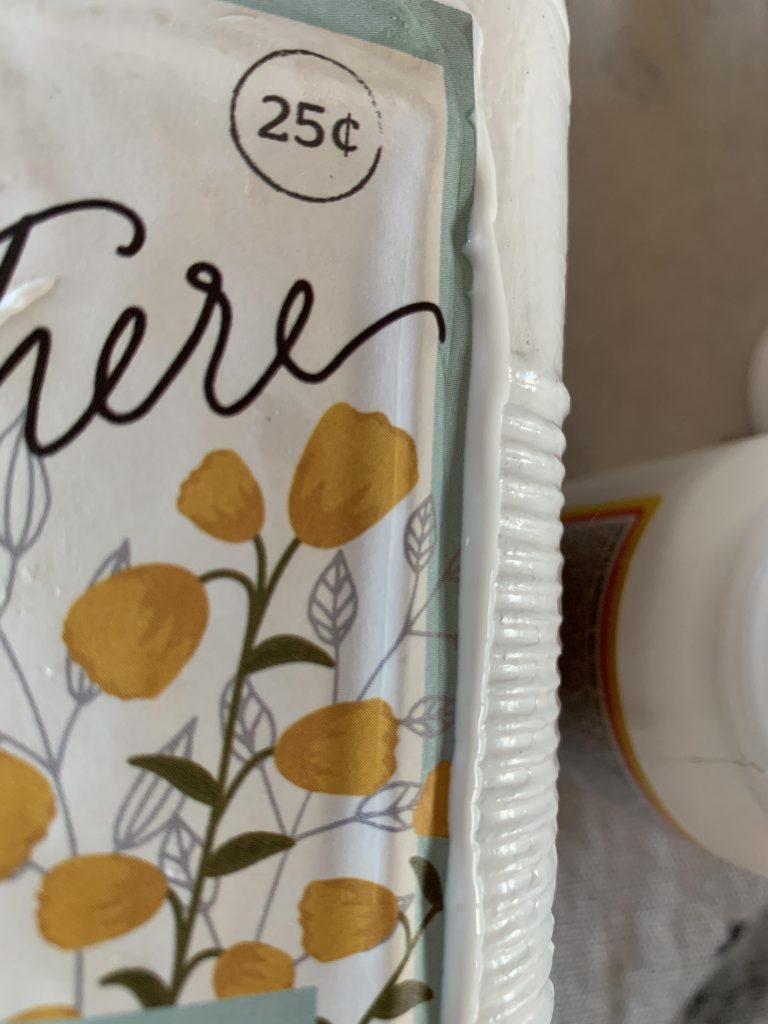
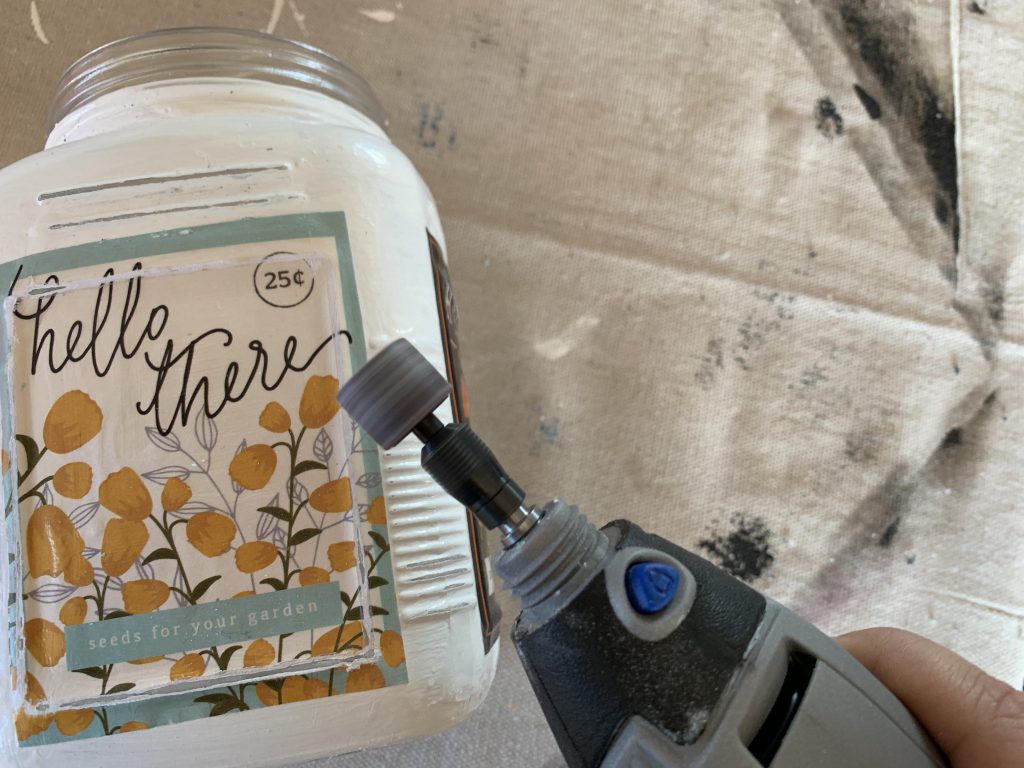
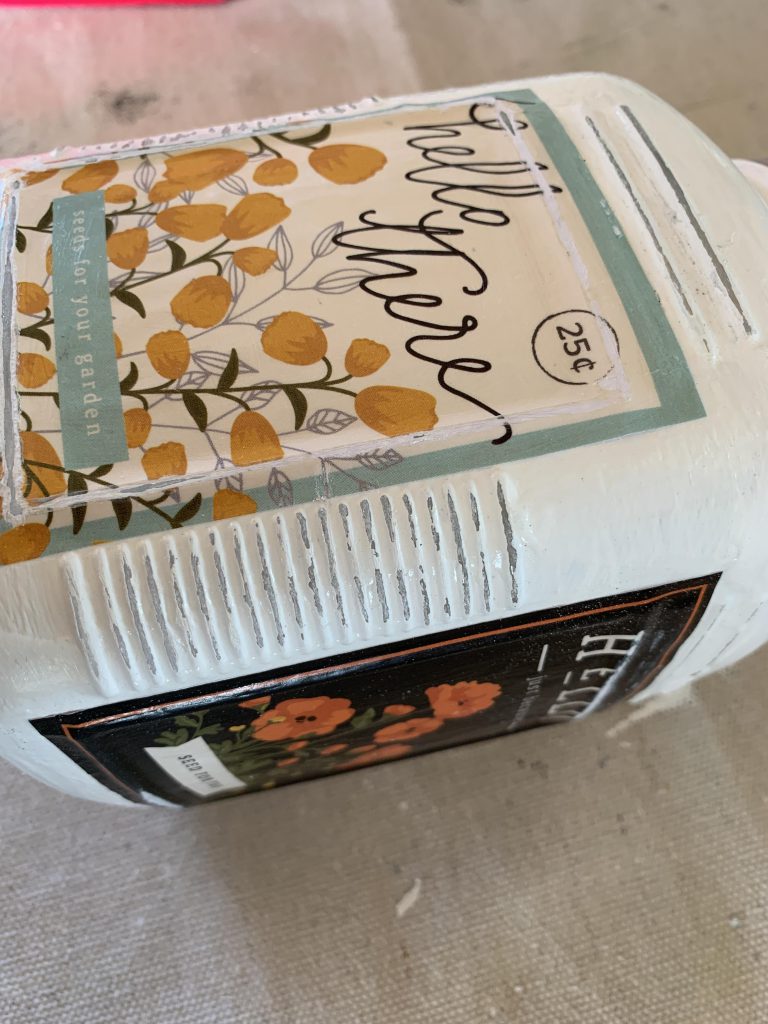
After the Mod Podge is dry, sand down any ridges. I used my Dremel because it’s my new toy, but a piece of sandpaper would be fine. Once you have the jar as distressed as you want, cover it with a final layer of Mod Podge.
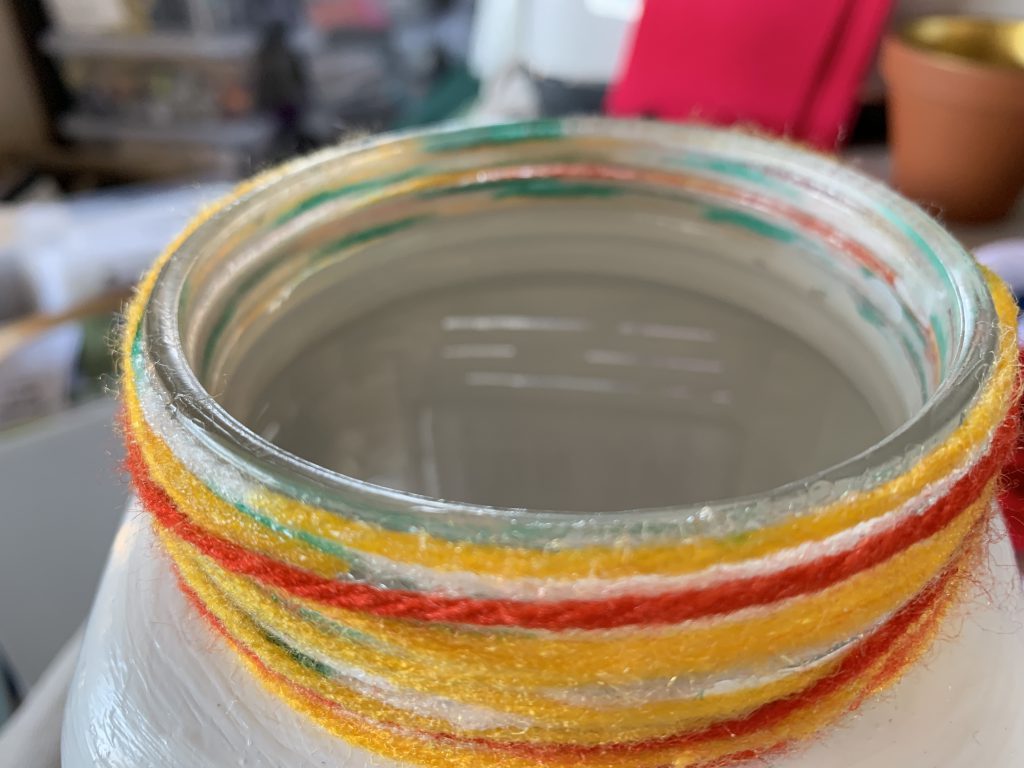
To finish off my jar, I wrapped some yarn around the top having first painted on yet more Mod Podge.
This wasn’t a big project or indeed anything new or mind blowing, but I love it just the same. I’m really enjoying the freedom to pull out some bits and pieces and make something that is both pretty and helpful in my new space. I’ve always found that I work better in a clean and organized space, and projects like this easy painted jar update get me closer to feeling fully functional again.
