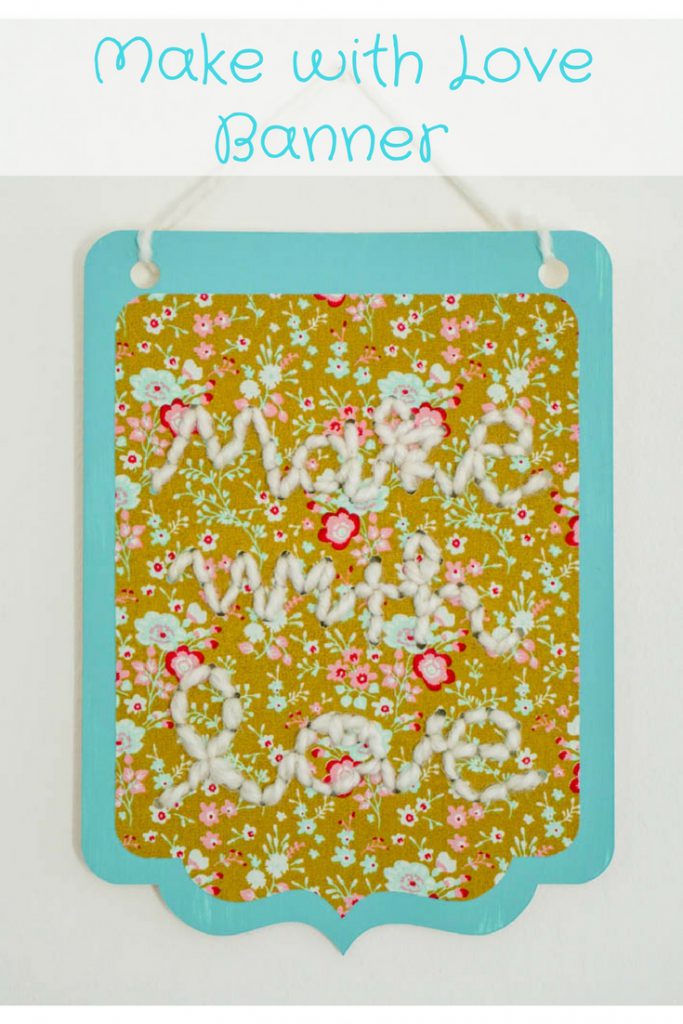
Make with Love Banner
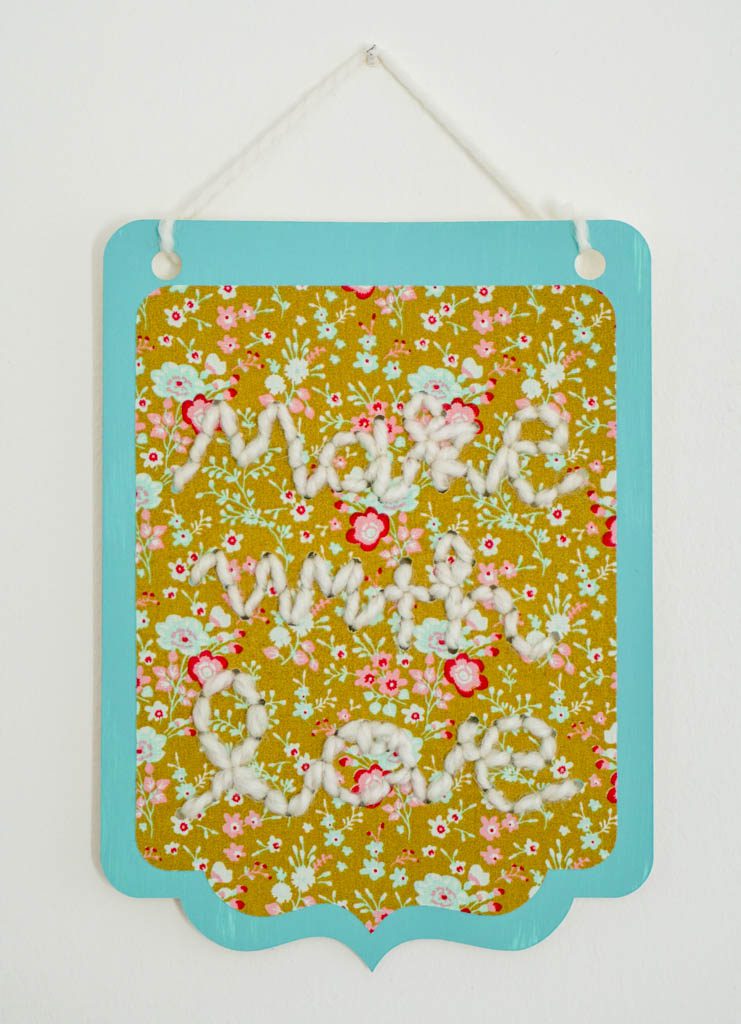
I’ve wanted to try my hand at a yarn-stitched banner for a little while now, but hadn’t quite gotten around to it. For February’s Create with Cricut challenge, the mystery material was cereal boxes. I thought that the sturdy-ish box would be firm enough for a base to try some stitching and my Cricut Maker would be perfect for cutting out the needed holes. My Make with Love Banner was a lot of fun to make and I can see many variations of it in my future.
This post contains affiliate links.
Supplies:
- Cricut Maker
- cereal box
- adhesive fabric
- yarn
- paint
- large needle
- Make with Love design
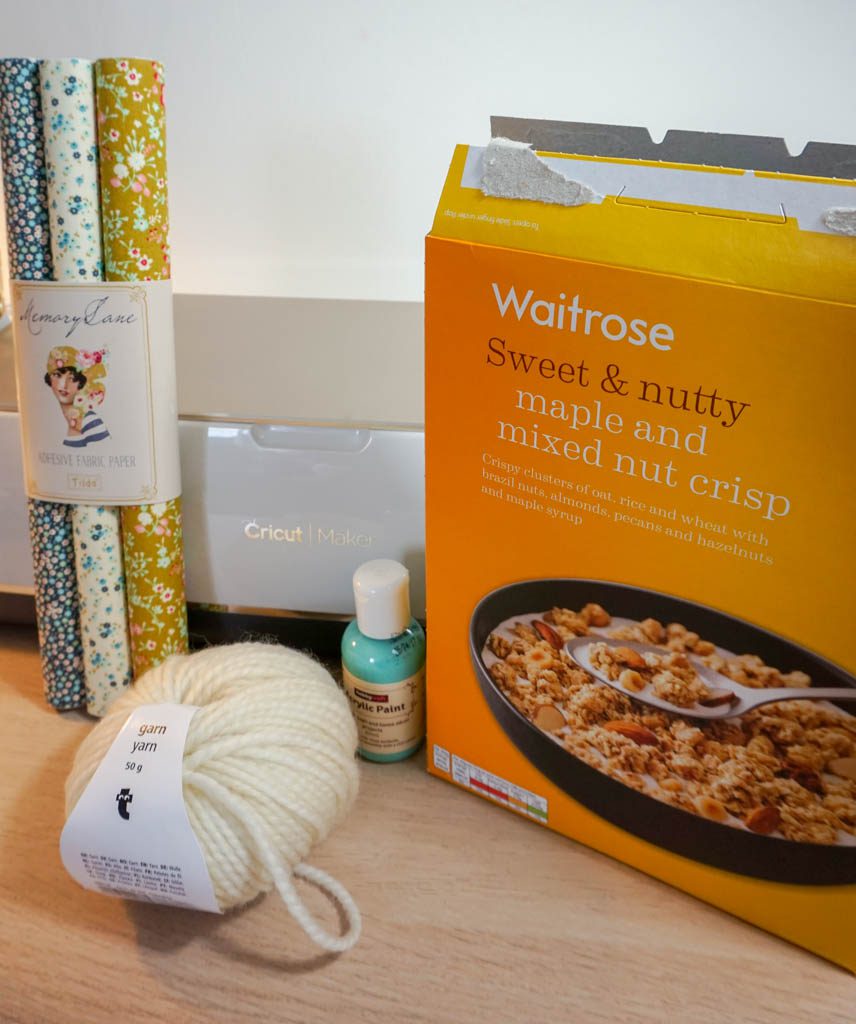
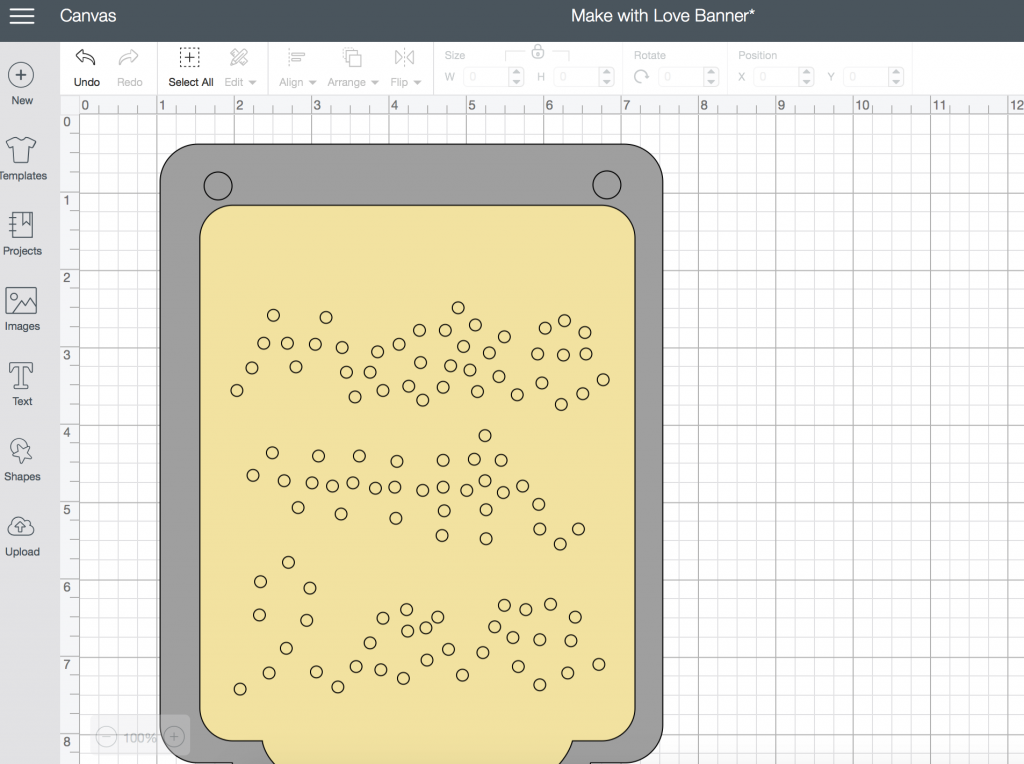
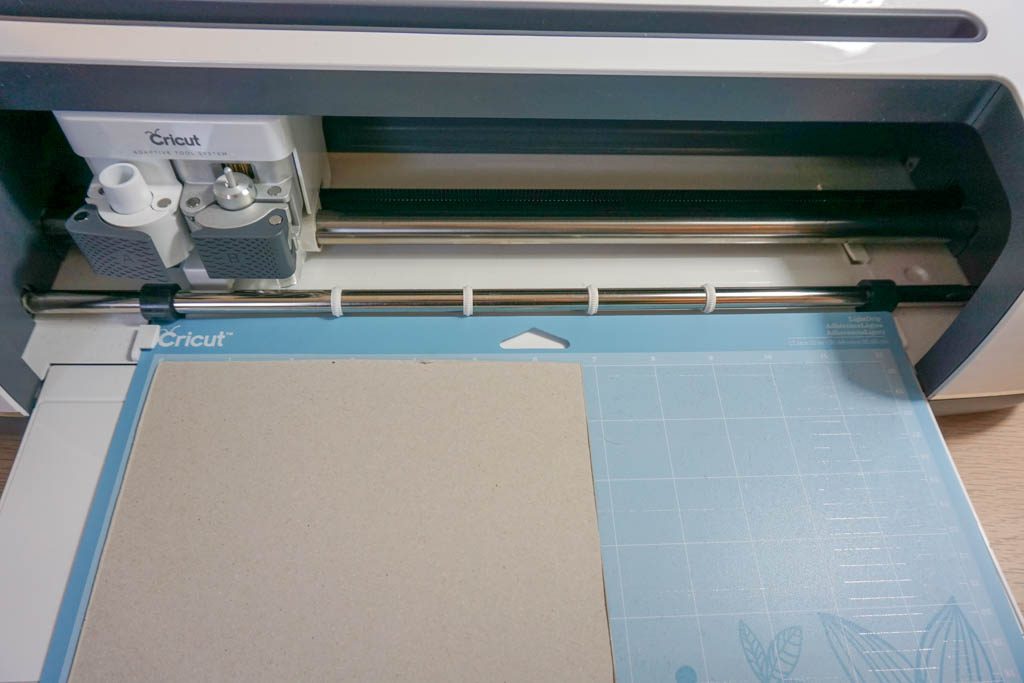
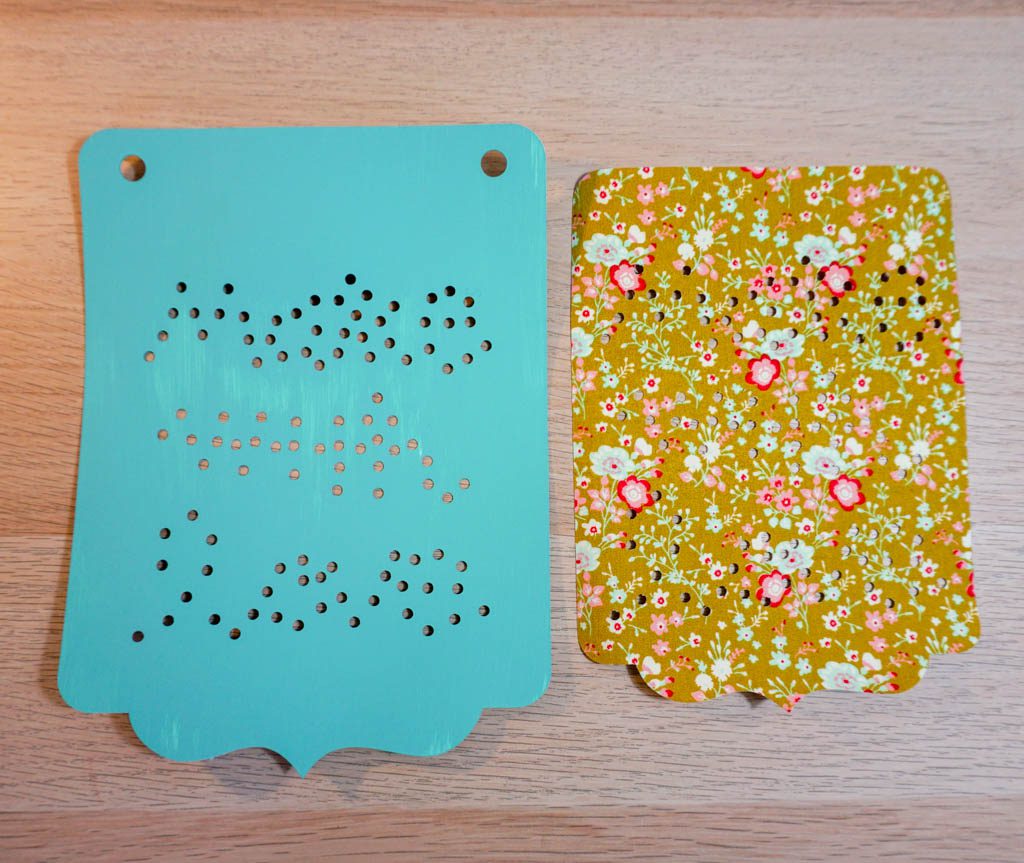
We don’t actually eat that much cereal, so this was an excuse to find an interesting sounding flavor. Take the box apart, cutting out one of the big panels. My box was on the small side, so my banner is 6.5″ wide. You can adjust your banner as needed. Place the piece of cereal box face down on your mat and cut out the bigger of the two designs. I used the cereal box setting, but it didn’t go through completely the first time, so I had to run it twice.
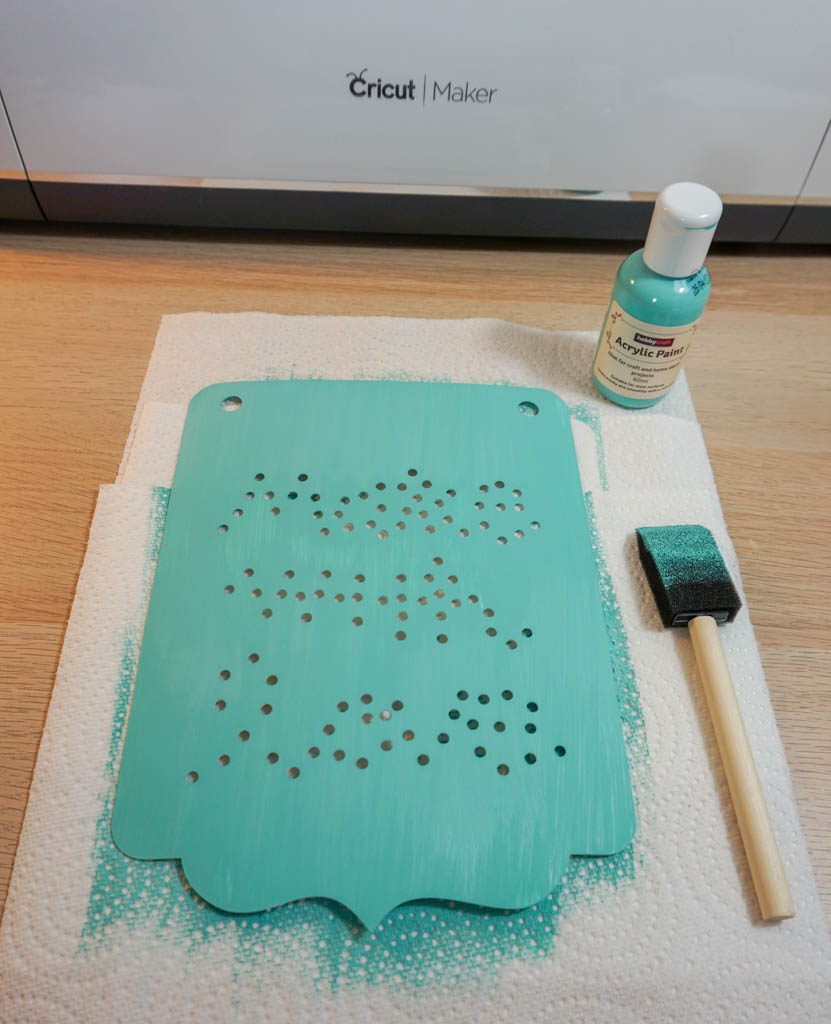
When it’s cut out, paint the box in the color of your choice.
Cut out the smaller design in the adhesive fabric. I used the bonded cotton setting and the deep point blade and it was perfect.
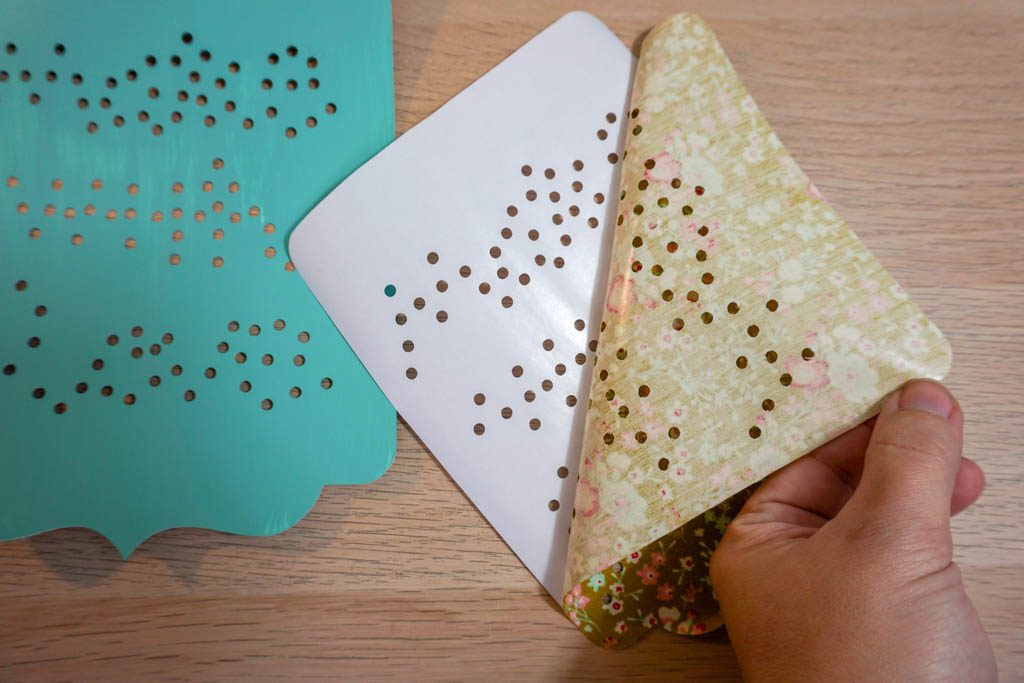
Carefully place the adhesive fabric onto the banner base, making sure to line up the circles. I started from the top and slowly peeled the paper away as I went.
Thread your needle and get ready to stitch!
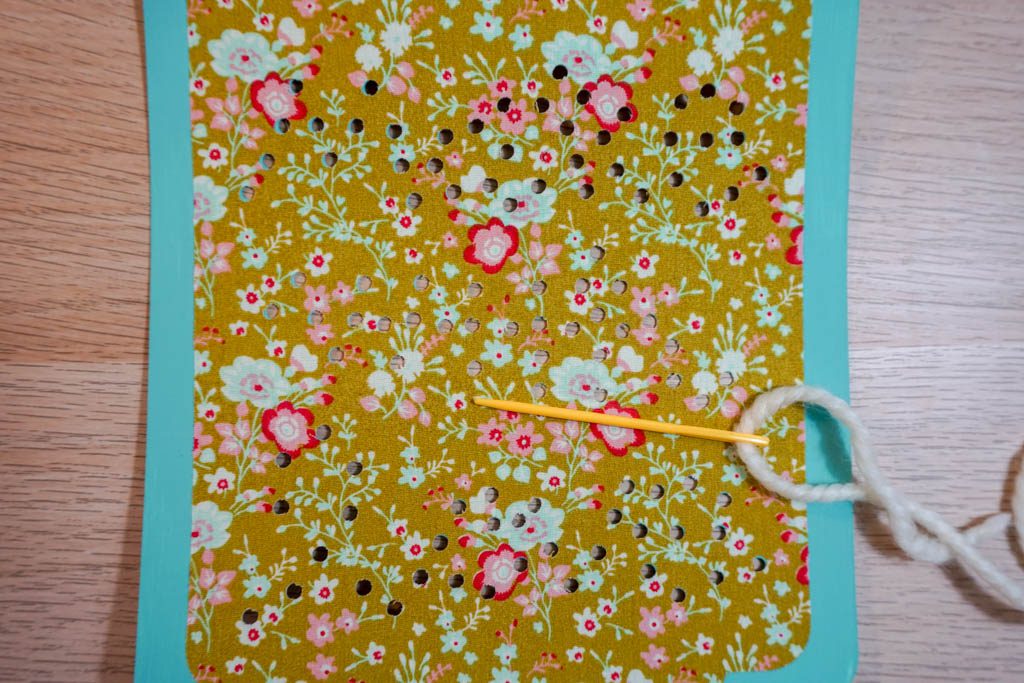
I used a basic backstitch as I went.
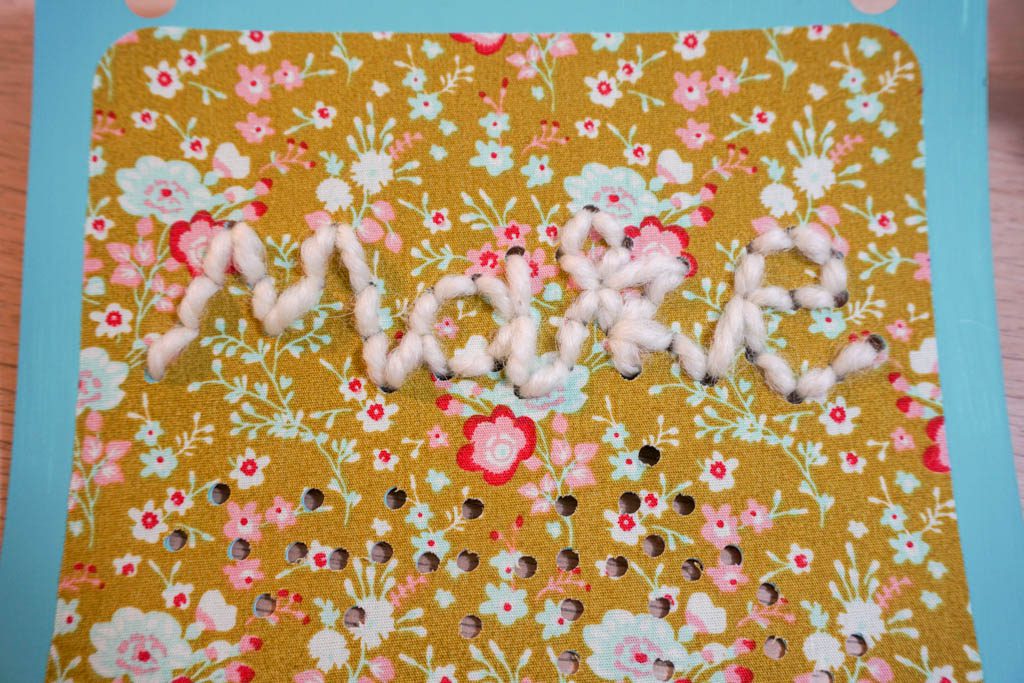
It’s a pretty quick craft to make and the possibilities are endless. Words, phrases, designs…this won’t be the last one you see from me!
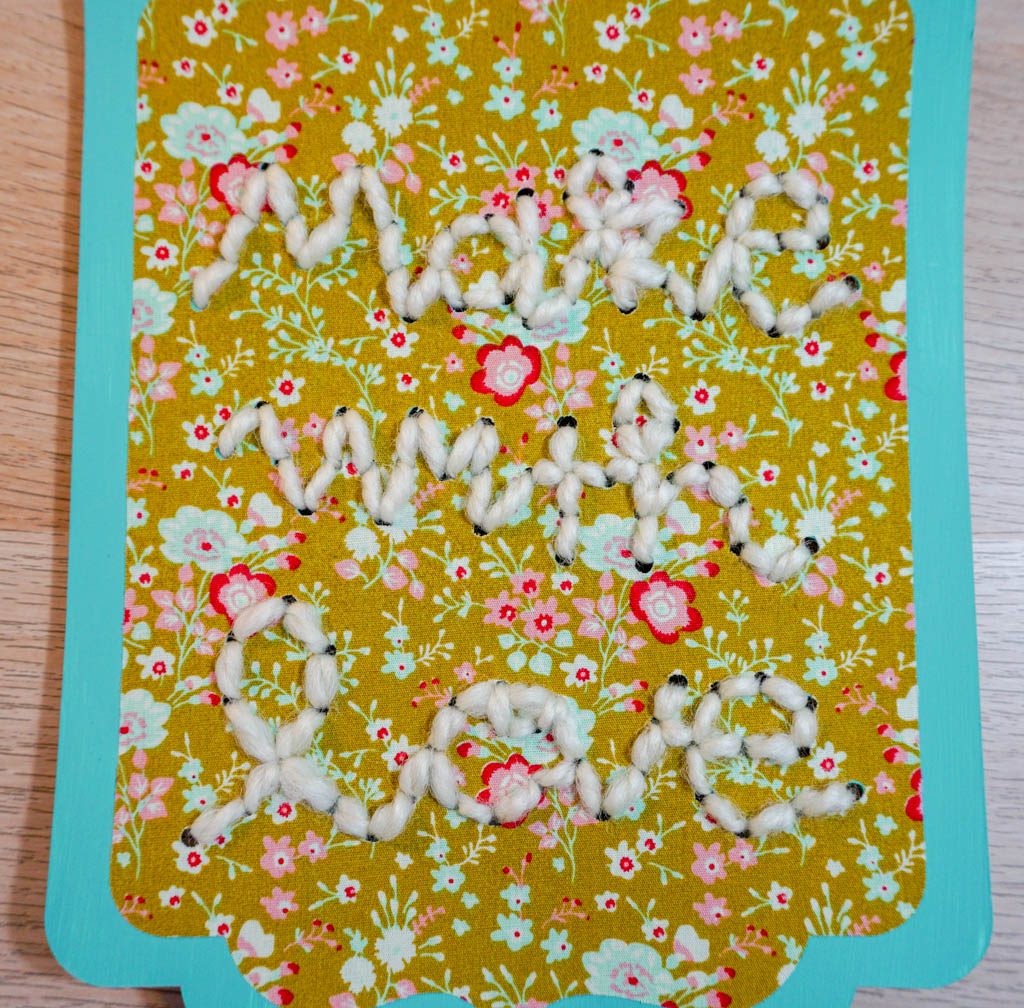
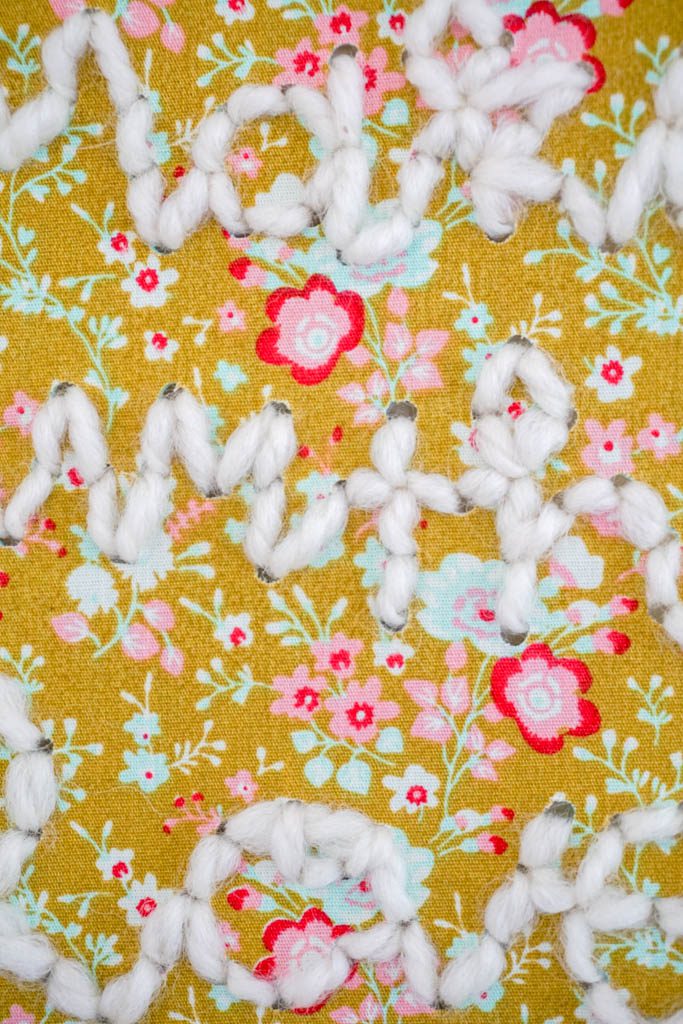
You wouldn’t guess that the base of this Make with Love Banner is a cereal box! It’s a fun craft and goes perfectly with my philosophy of making things that I love and make me happy.
