Mardi Gras Photo Booth
This post contains sponsored content and affiliate links.
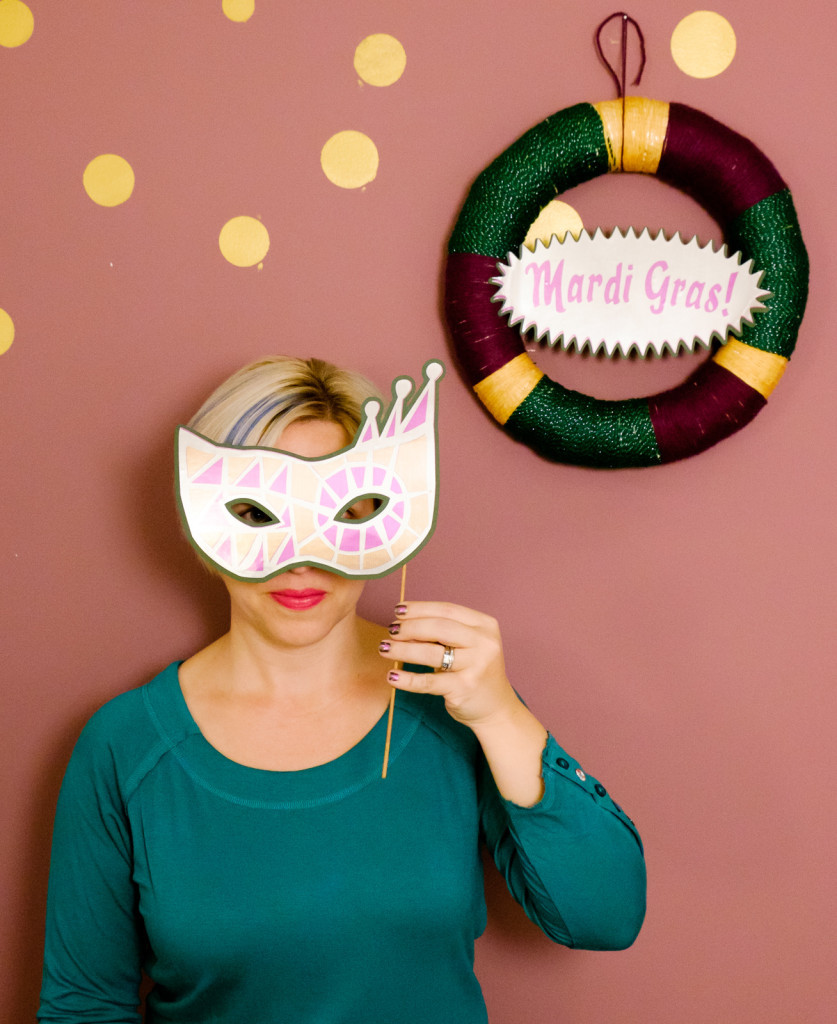
I have always loved the colors and fun of Mardi Gras, and there’s nothing I like better than a masquerade. It’s the perfect excuse for masks and props! A Mardi Gras Photo Booth is a great way to celebrate no matter where in the world you are. And it’s super easy to make fun pieces with my Cricut!
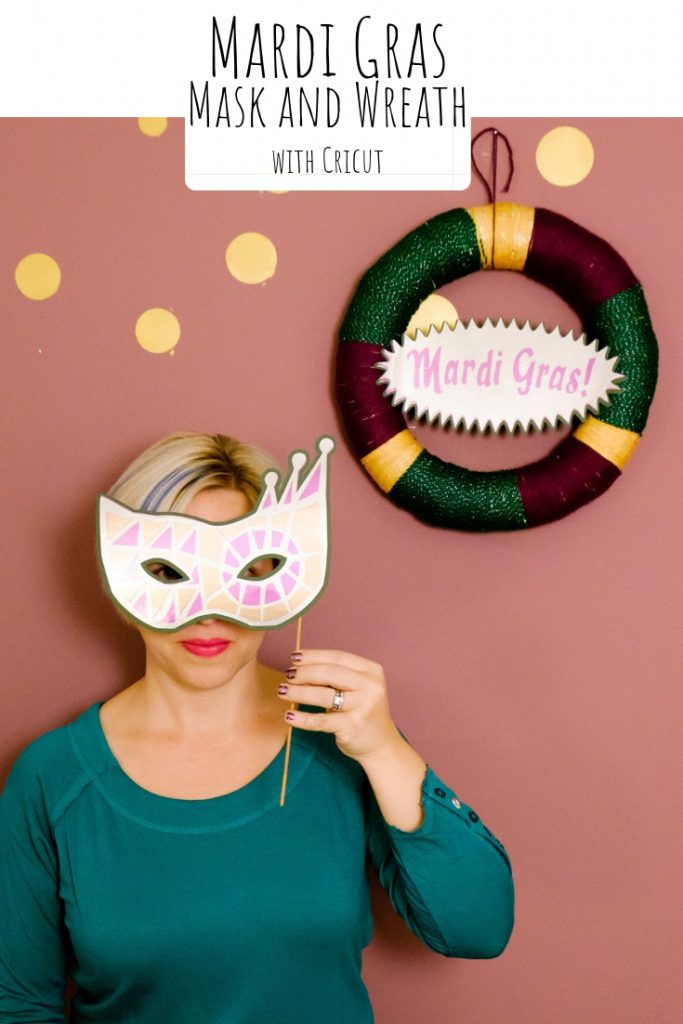
I used:
- Cricut Explore
- Forest Green cardstock
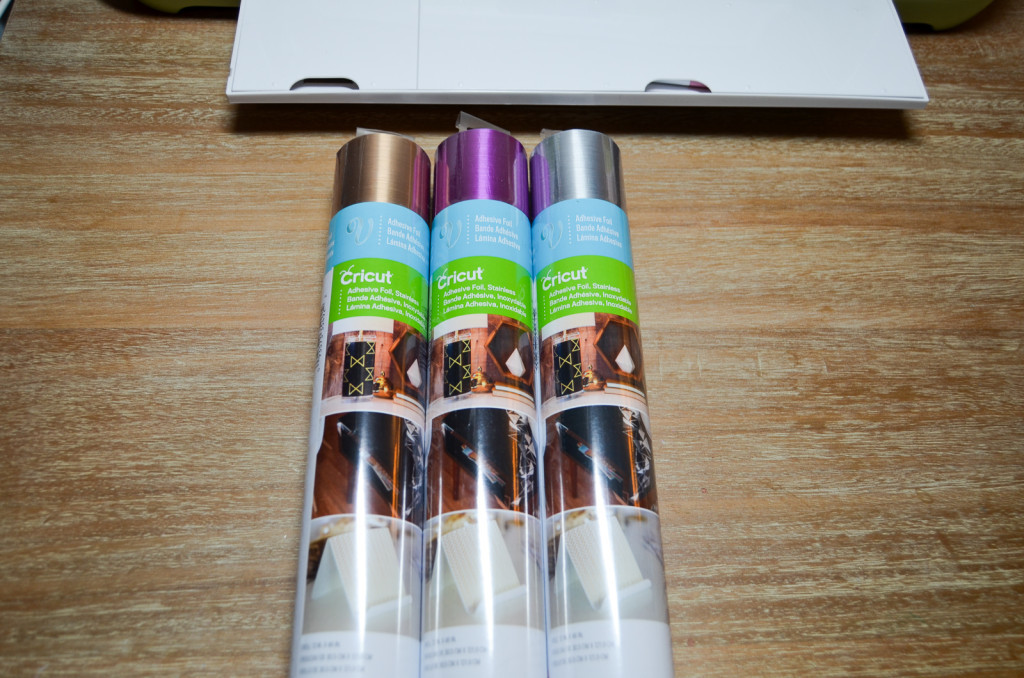
- Stainless Gold Adhesive Foil
- Stainless Silver Adhesive Foil
- Stainless Purple Adhesive Foil
- dowel
- tape or glue
- wreath form
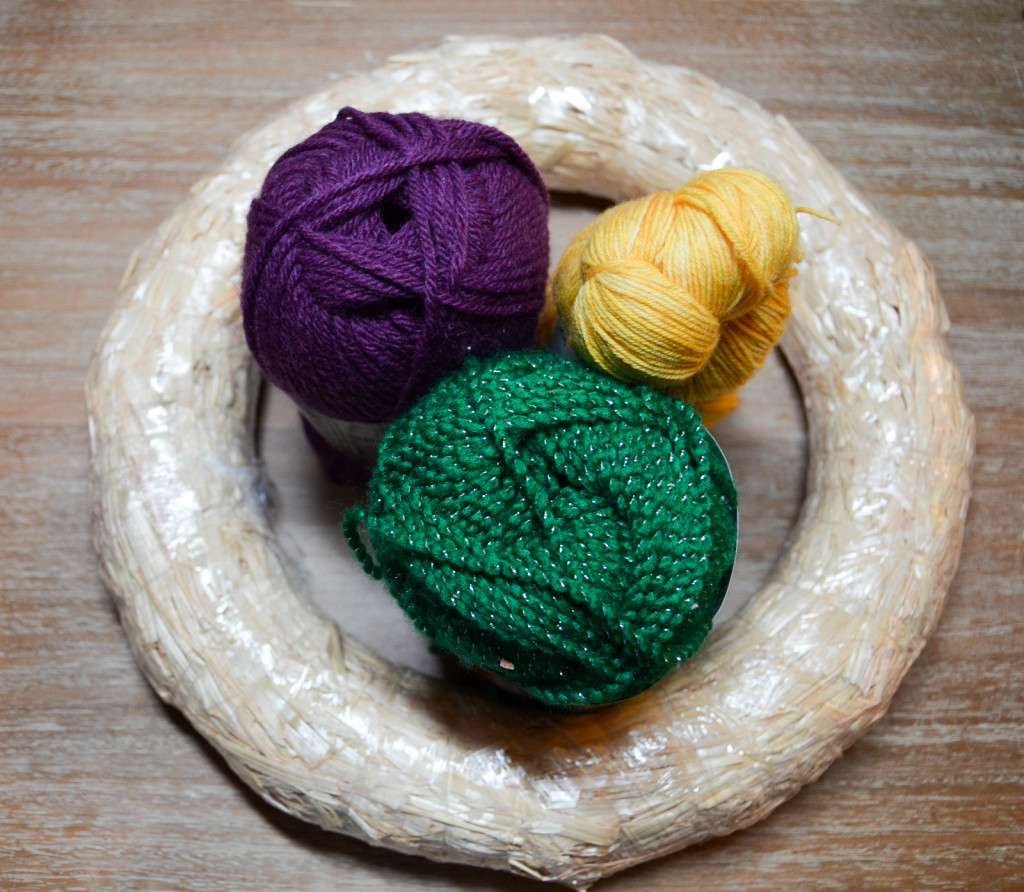
- green yarn
- purple yarn
- yellow yarn
- Mardi Gras Mask and Wreath Insert design
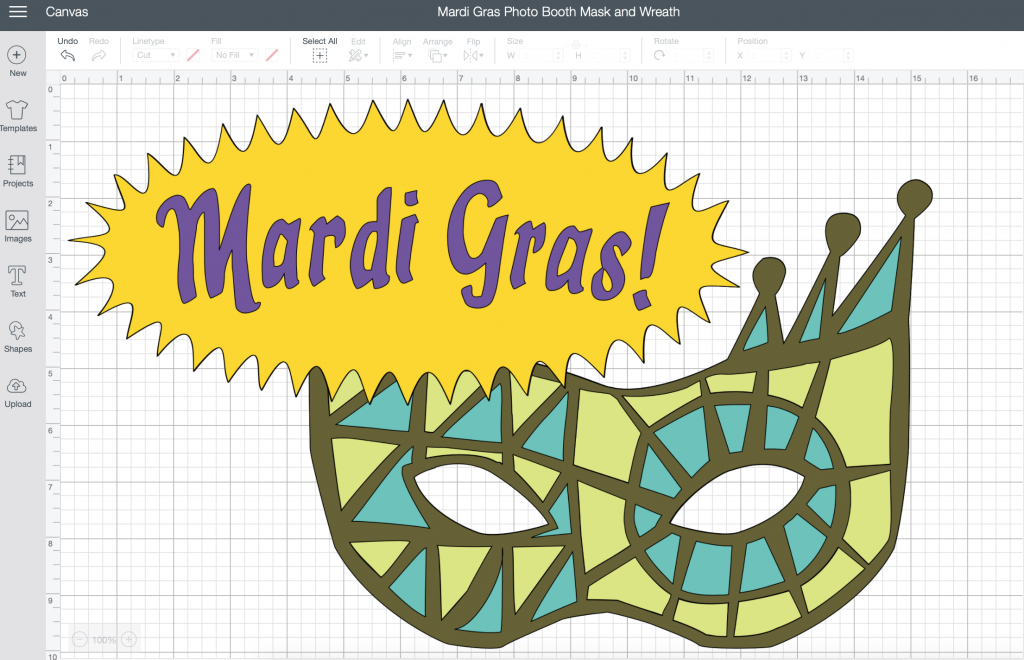
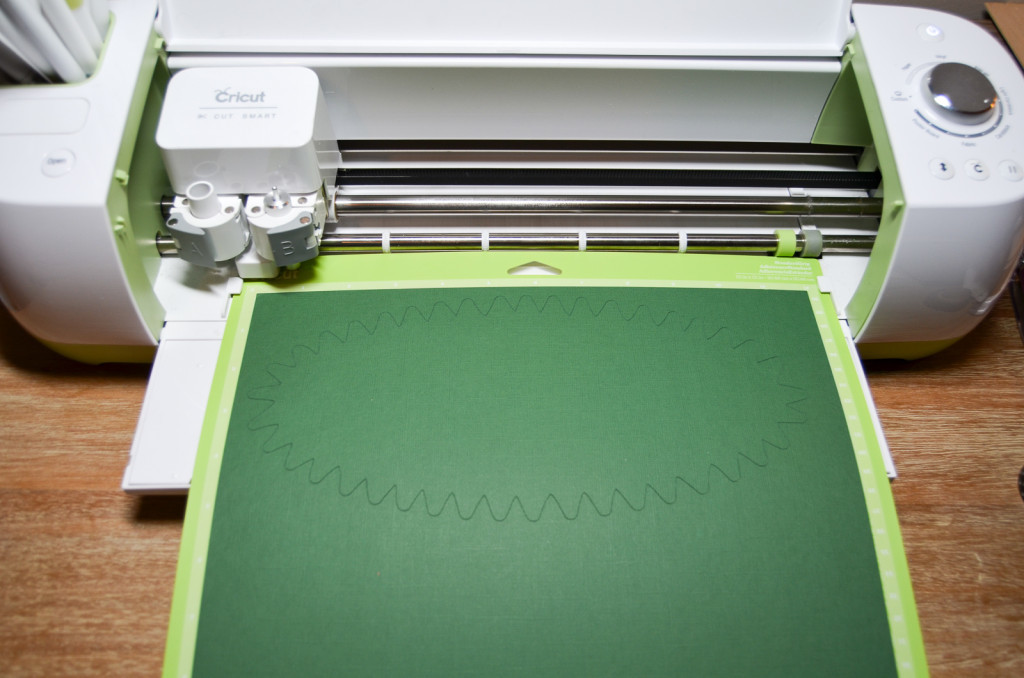
I cut the base layer of the mask in the green cardstock.
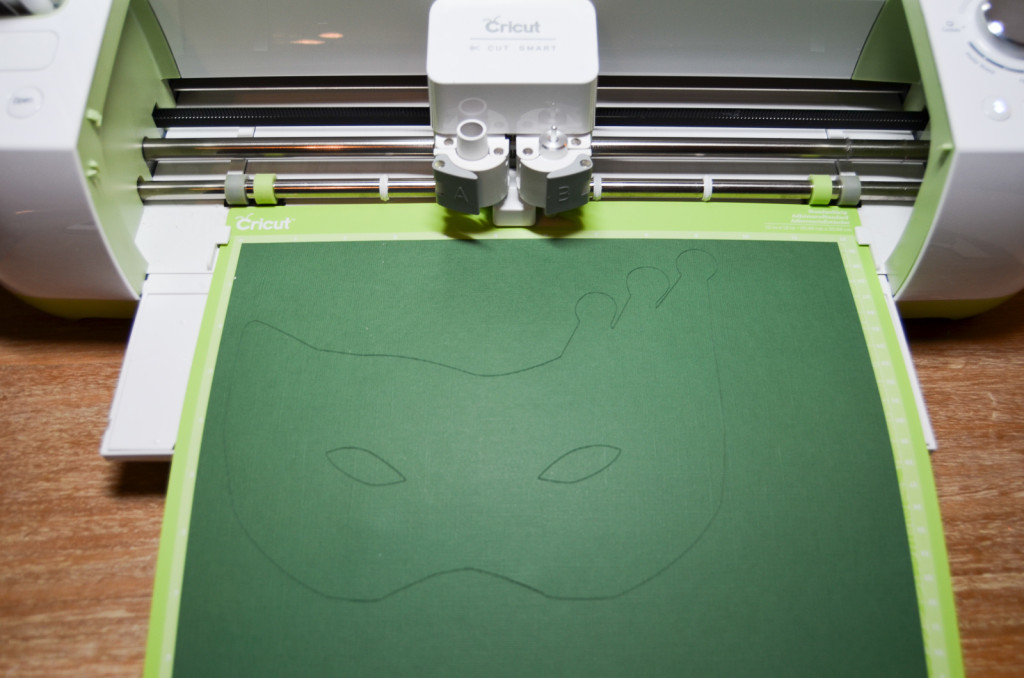
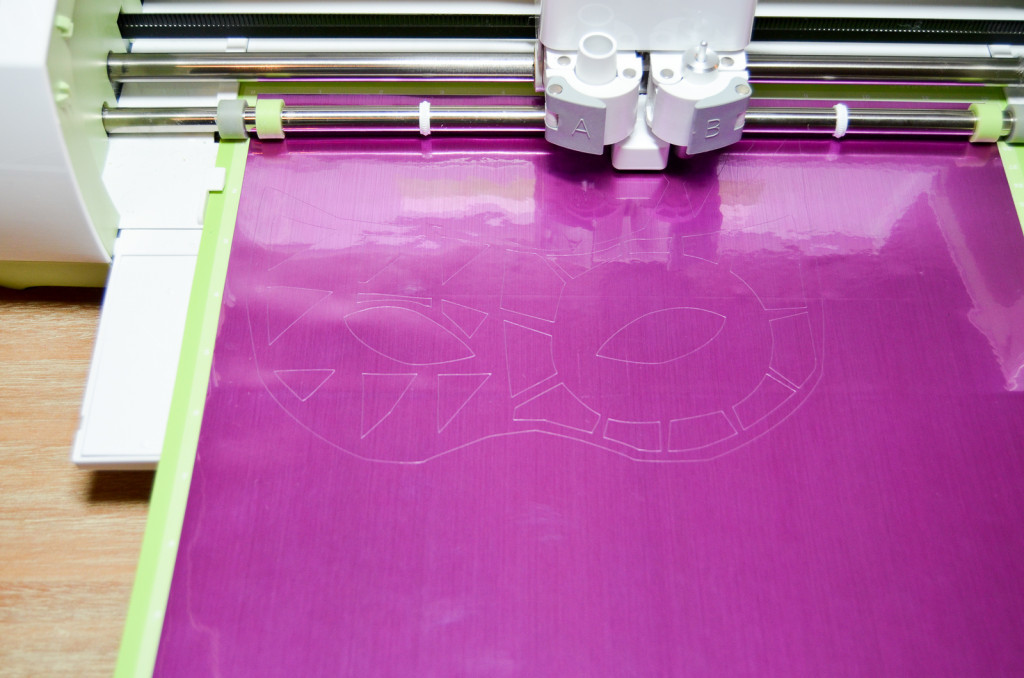
And then it was time to play with the adhesive foils! They have their own category when the custom menu is used. I used the green mat and standard blade. The foil cut like an absolute dream.
I cut each layer in a different color and put the mask together.
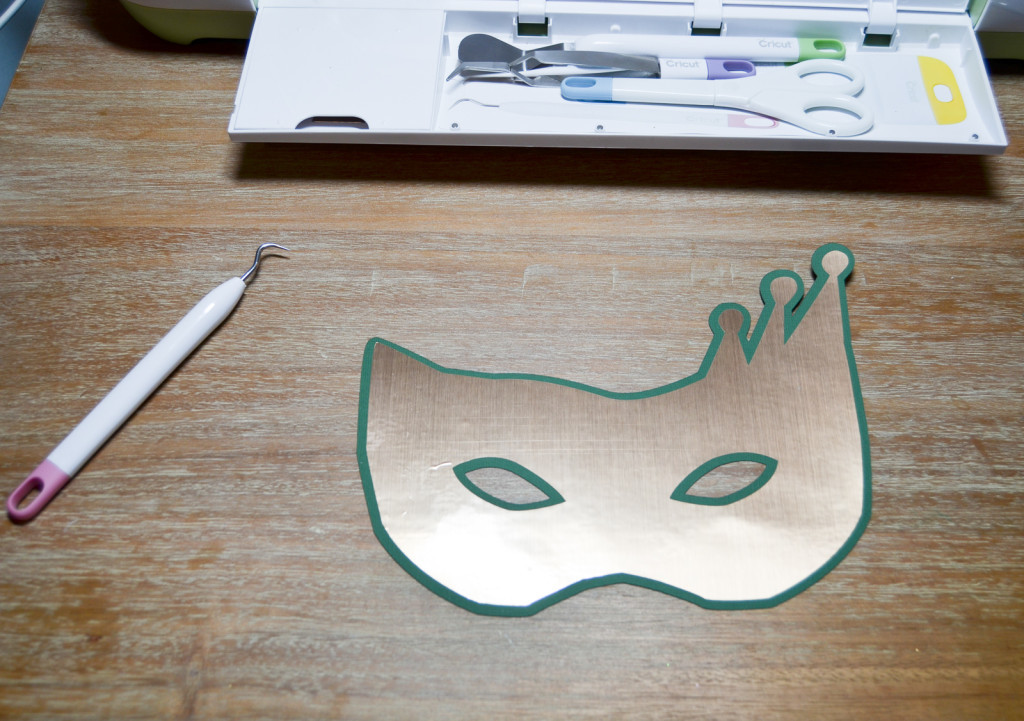
The adhesive foil is delicate, so be careful when you weed!
The foil layered beautifully. And let’s just talk about how shiny it is–it was difficult to take a picture without glare!
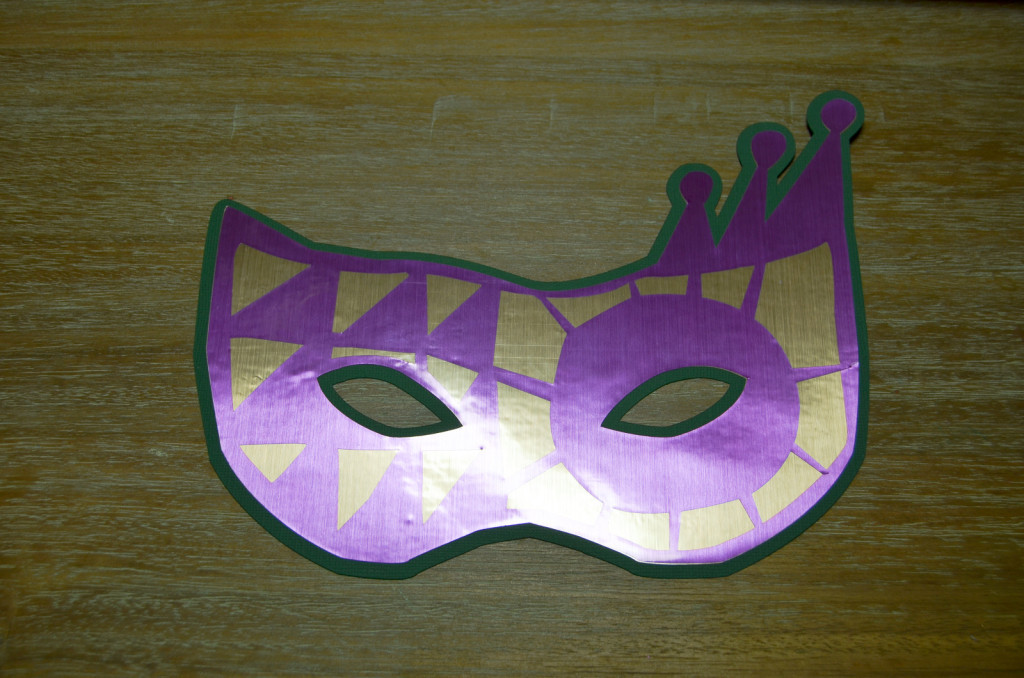
When all of the layers were on the mask, I placed a dowel on the back and attached it with some tape. You could just as easily use glue. And the Mardi Gras Mask is all set for the photo booth!
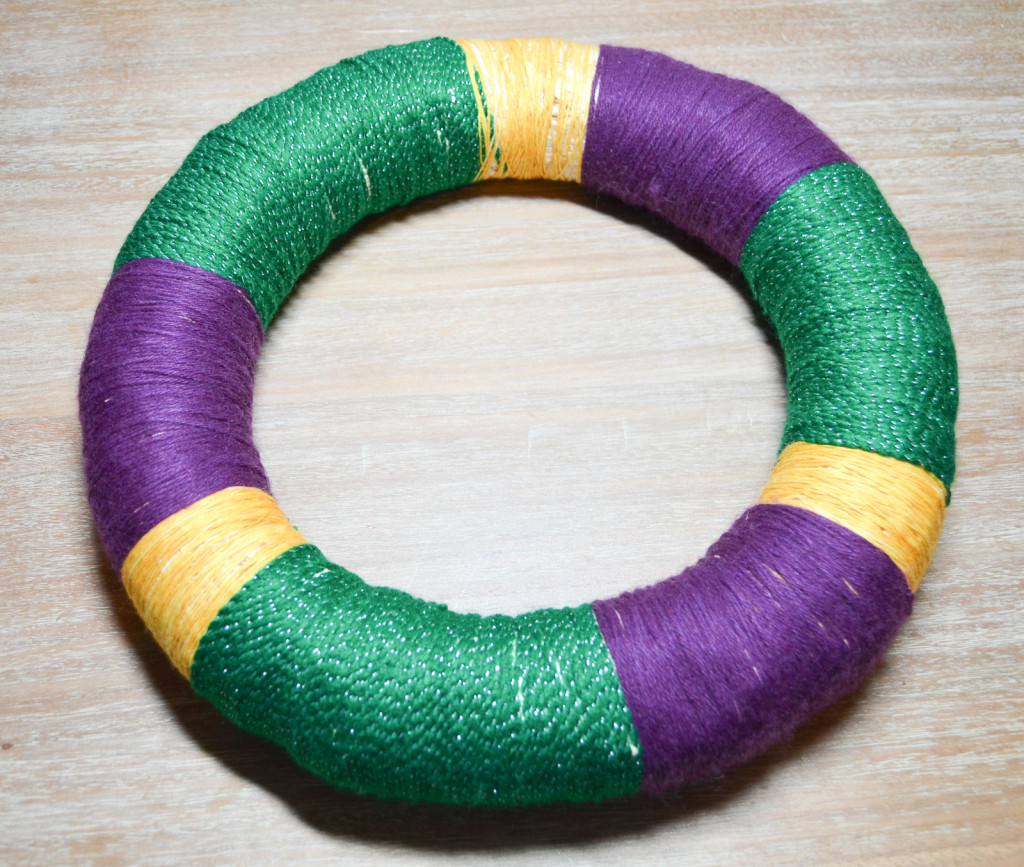
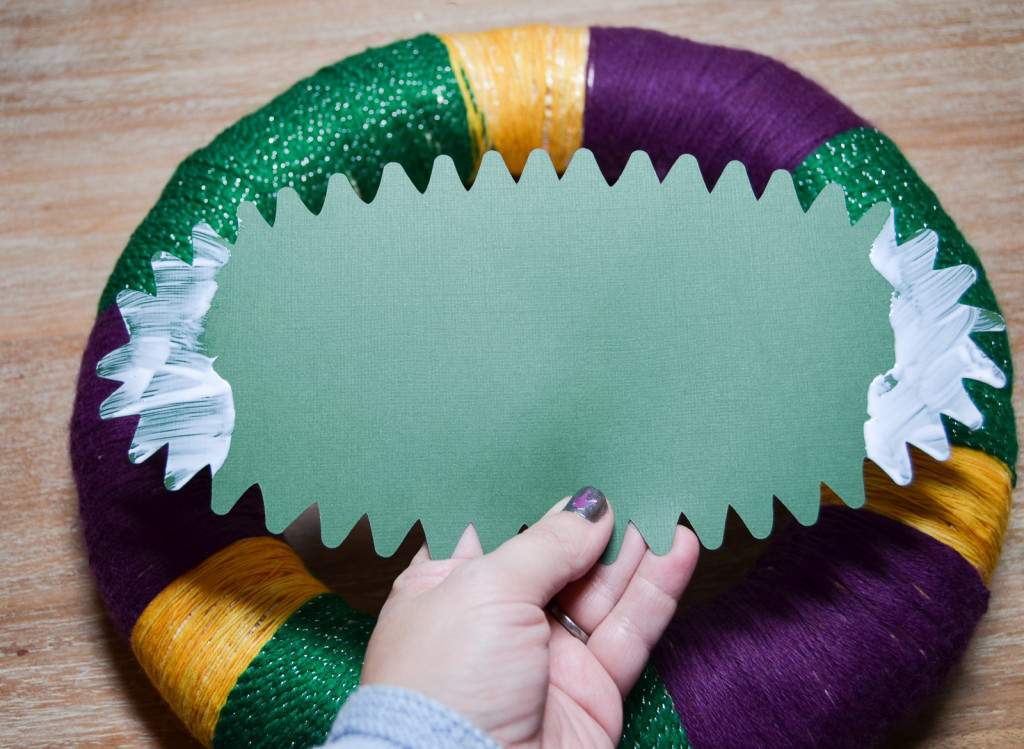
Props are important, too, and I always love the idea of a wreath. I took my wreath form and yarn and wrapped it in sections.
Cut out the Mardi gras insert for the wreath, using the green cardstock as the base layer as before.
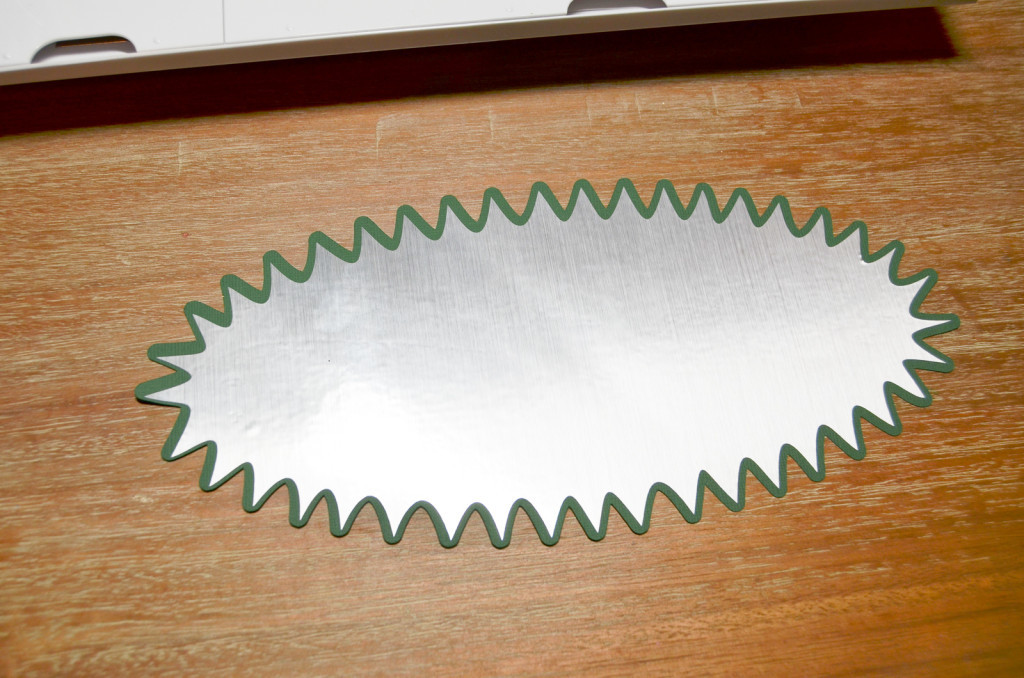
When all of the layers were on, I glued the back of the sign onto the wreath.
I had so much fun creating this Mardi Gras Photo Booth Mask and Wreath. My girls are asking for more masks but I honestly don’t need any excuse to play around some more! It was all so easy to make and I won’t tell you how long I spent just playing with the adhesive foil under the lights. Now, who’s ready for Mardi Gras??
