Statue of Liberty Embroidery Hoop
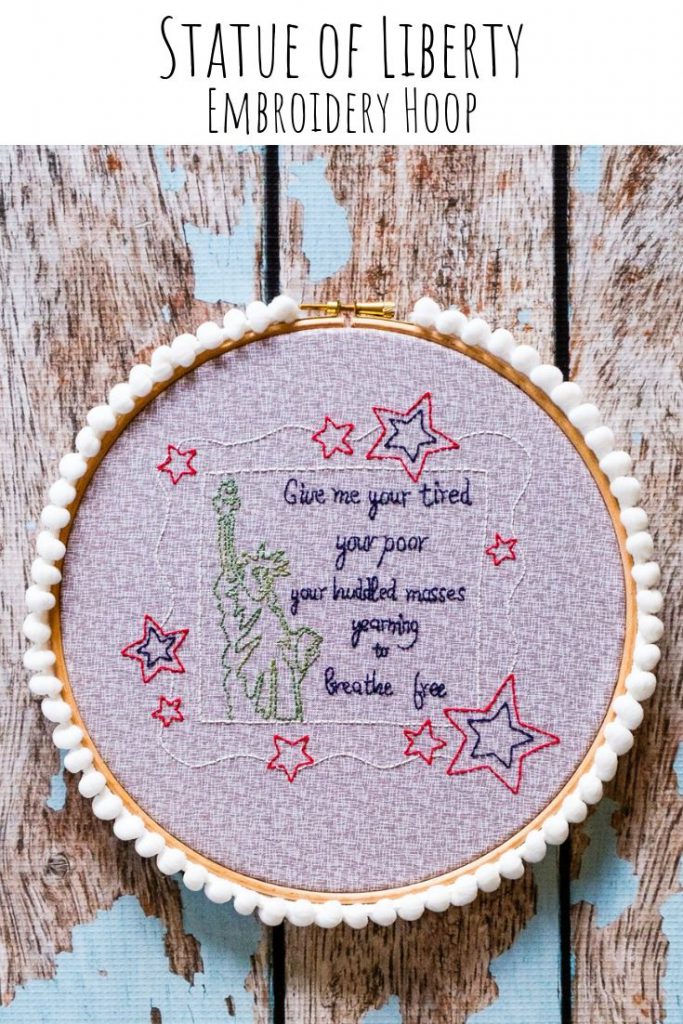
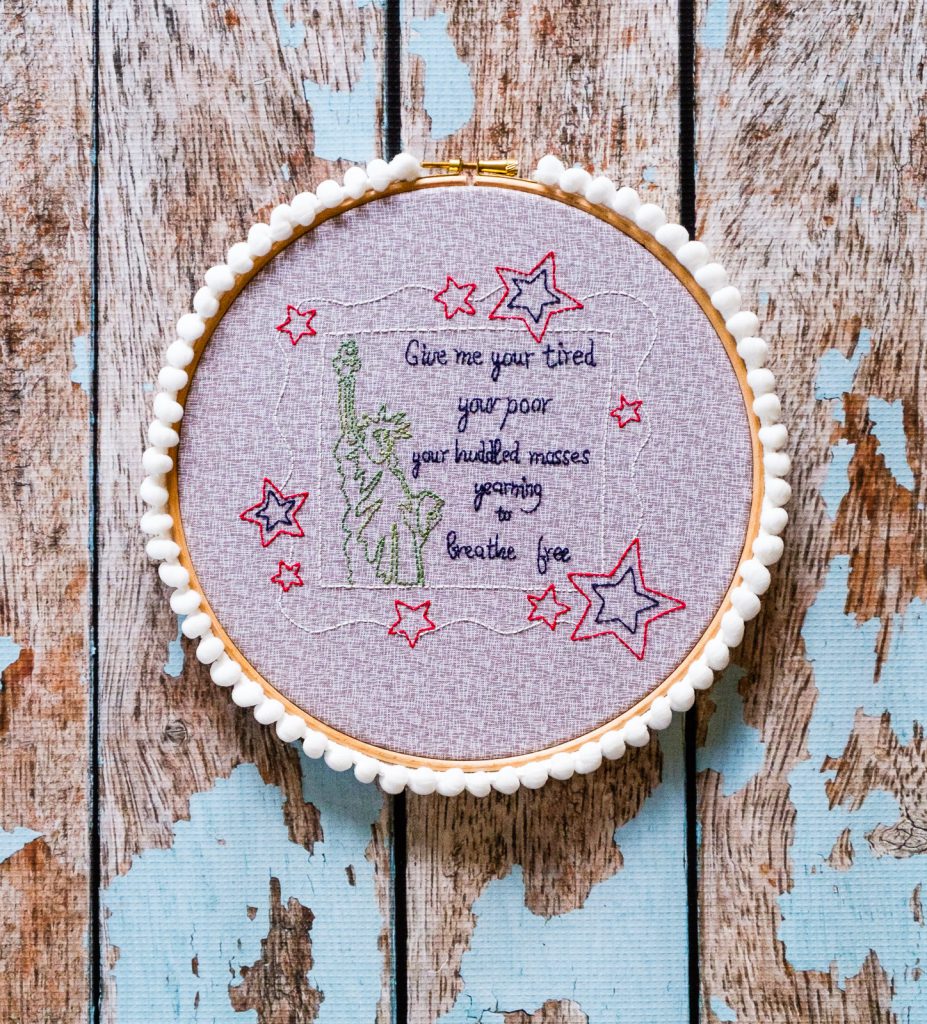
My first visit to New York City was for a school trip during my senior year of high school. We did all of the standard school trip stops, including visiting the Statue of Liberty. I absolutely fell in love–so much so that I returned for university the next year. My school was downtown and I spent many an evening wandering down to Battery Park and just watching the Statue of Liberty stand proud. If I were able to visit NYC tomorrow just for a day, I would go say hi to Lady Liberty. I stitched up this Statue of Liberty Embroidery Hoop in honour of her and what she stands for
This post contains affiliate links.
Supplies:
- Cricut Maker
- washable fabric pen
- pink fabric mat
- rotary blade
- DMC 321, 823, 824, 3865, 4045
- 9″ embroidery hoop
- Statue of Liberty Hoop design
- fabric of your choice
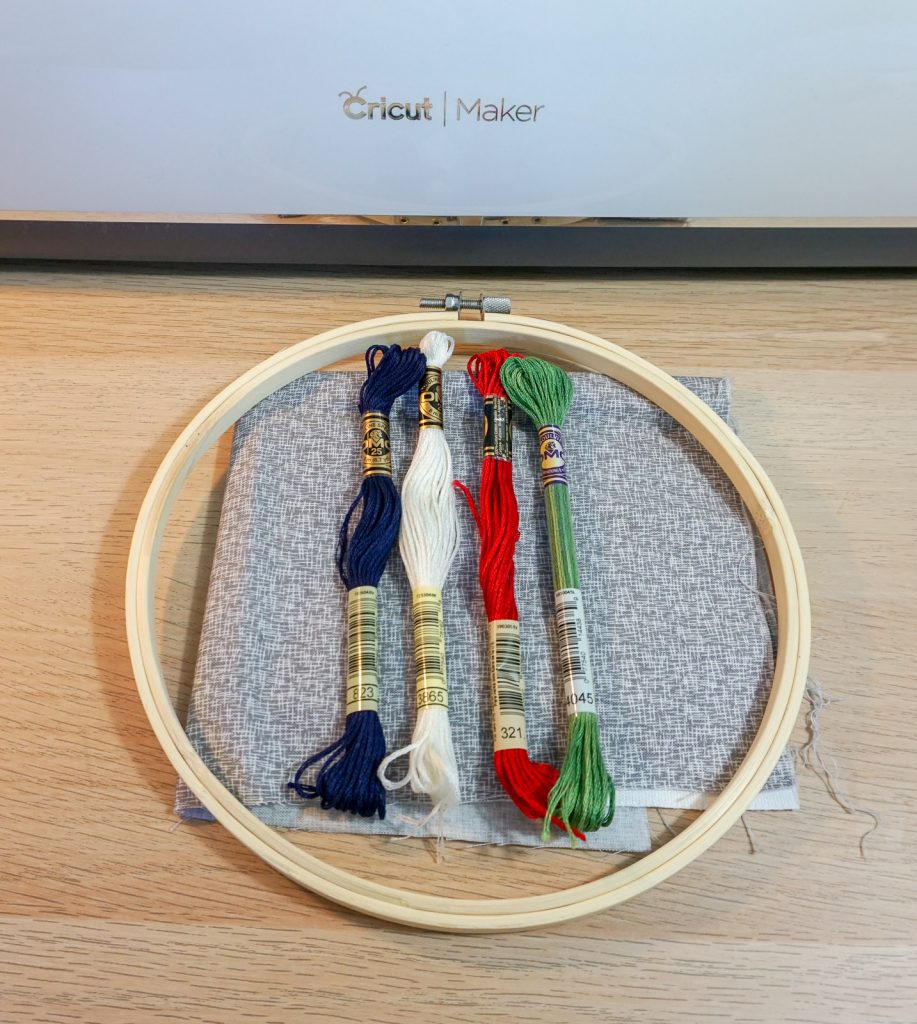
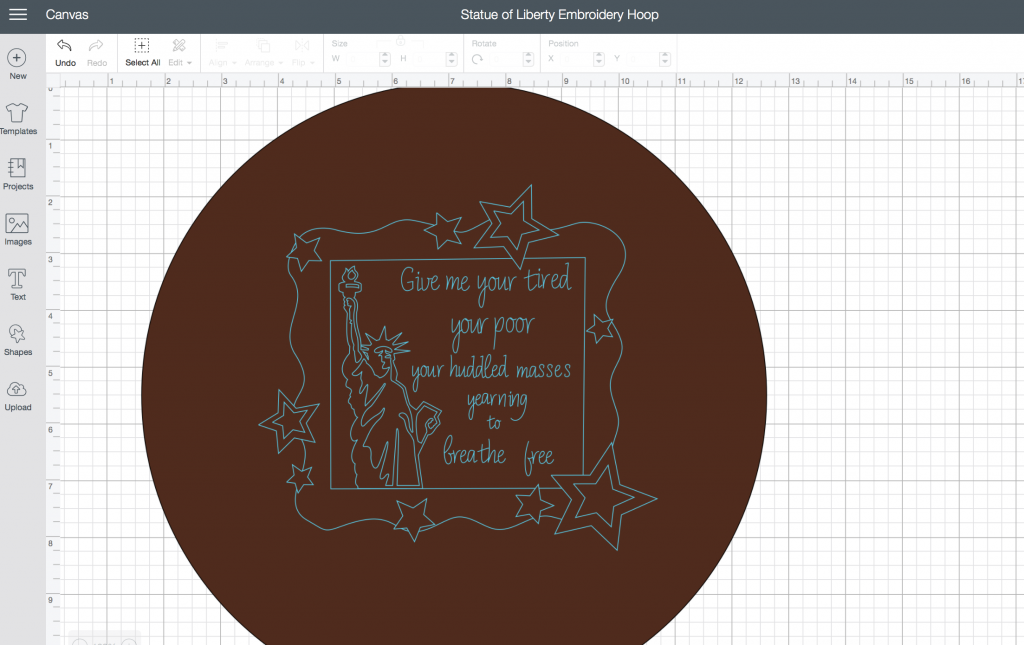
Load your Cricut Maker with the washable fabric pen on the left and the rotary blade on the right. Put your piece of fabric on the mat, go to the Design Space link listed in the supplies, and let the Maker do what it does best.
I used a simple back stitch for the entire hoop. DMC 4045 was used for Lady Liberty, 3865 for the borders, 321 and 824 for the stars, and 823 for the words.
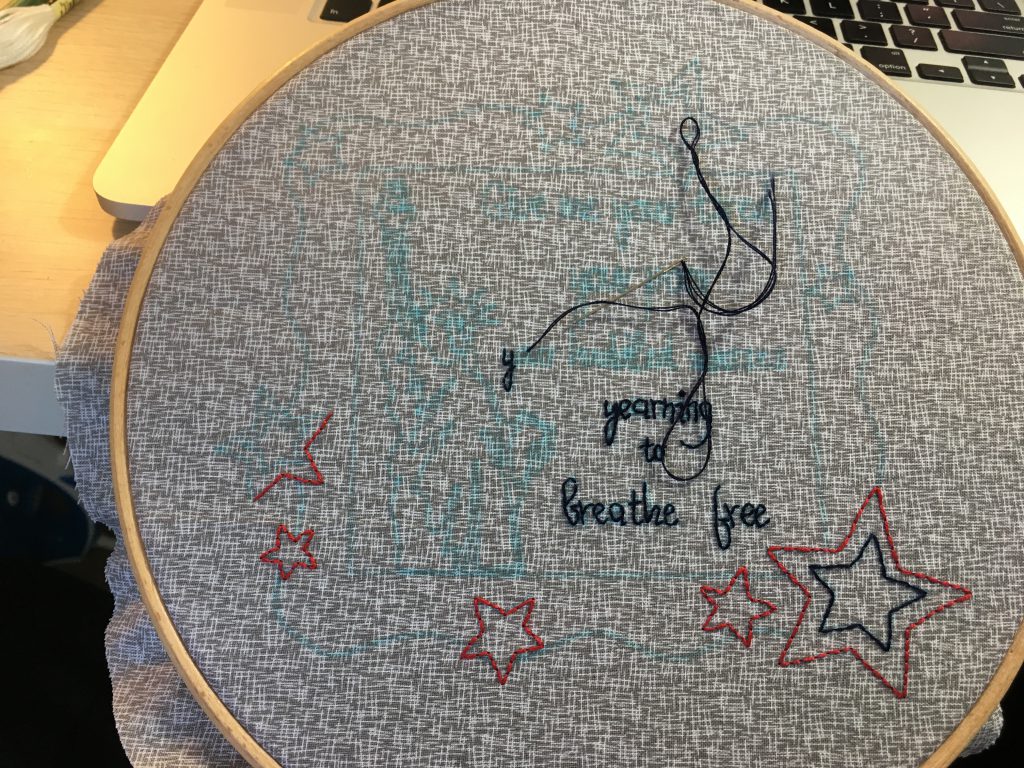
When you’re finished stitching, run the piece under warm water and then lay it on a towel to dry. This will get rid of the blue ink.
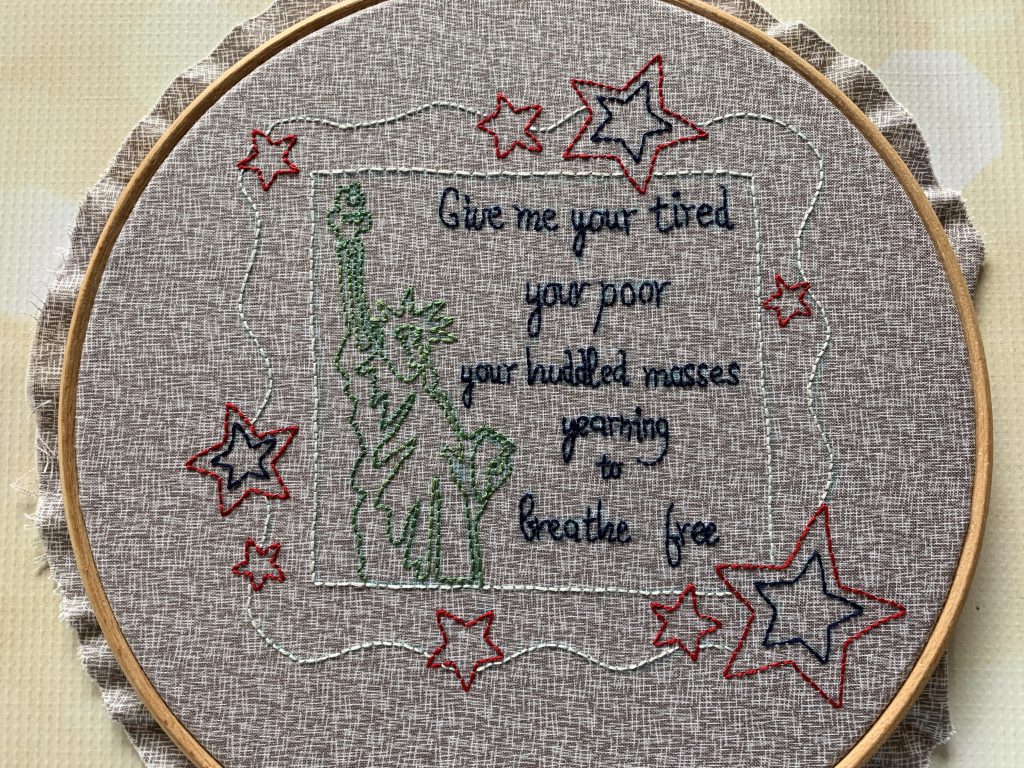
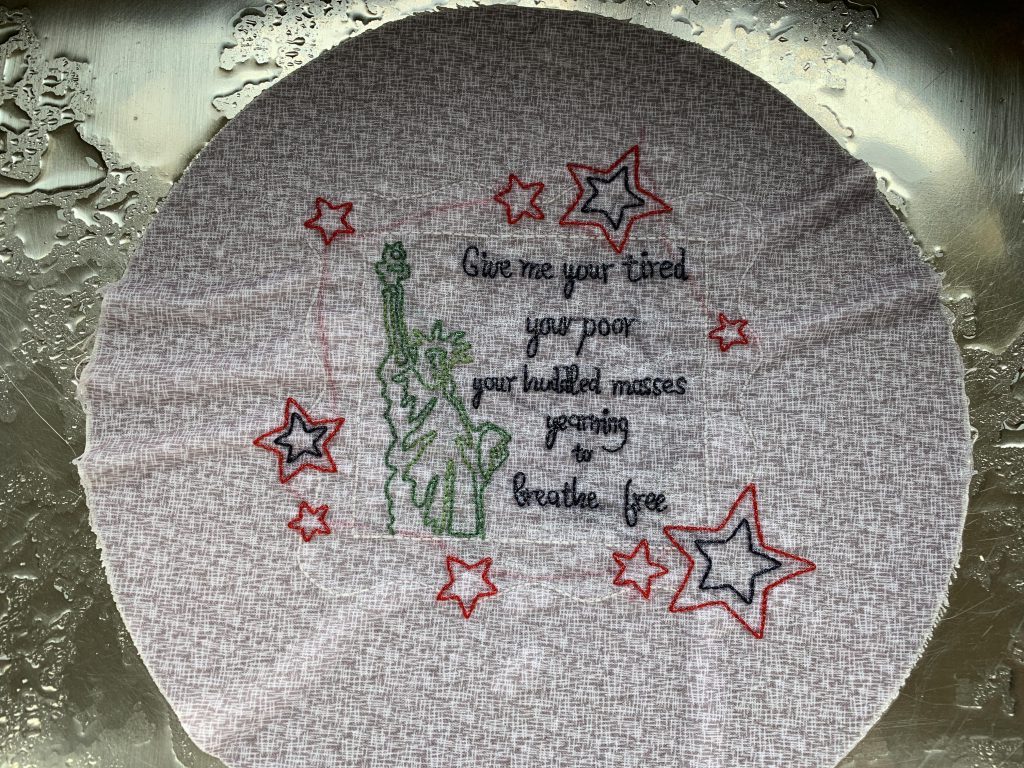 When the fabric is dry, place it back in the hoop and finish it however you want. I’m always a fan of pom pom trim! I loved stitching this hoop up. The statue was a little finicky, but the fun part is that it doesn’t need to be absolutely exact. I may not live in the States anymore, but the Statue of Liberty remains one of my favourite monuments in the world and I’m happy to have my Statue of Liberty Embroidery Hoop hanging on my wall.

One Comment