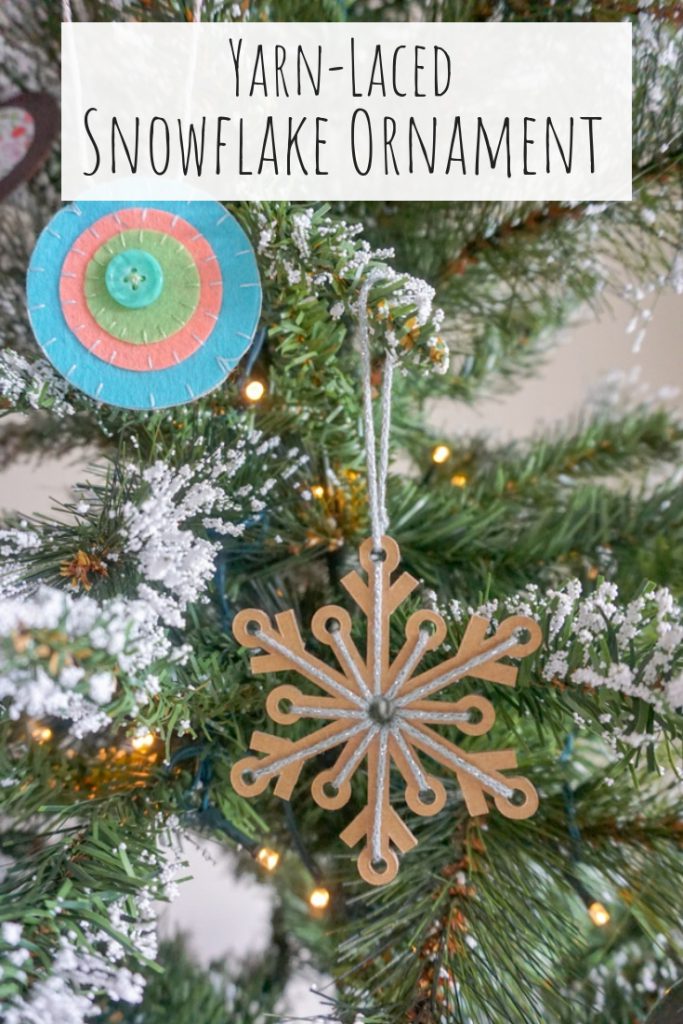
Yarn-Laced Snowflake Ornament
Sometimes the simplest ornaments look the best on the tree. I love this Yarn-Laced Snowflake Ornament because the Cricut Maker does most of the work and my kids can help put it together. The most difficult part of making the ornament is choosing which colour sparkly yarn to use (and it has to be sparkly!)!
This post contains affiliate links.
Supplies:
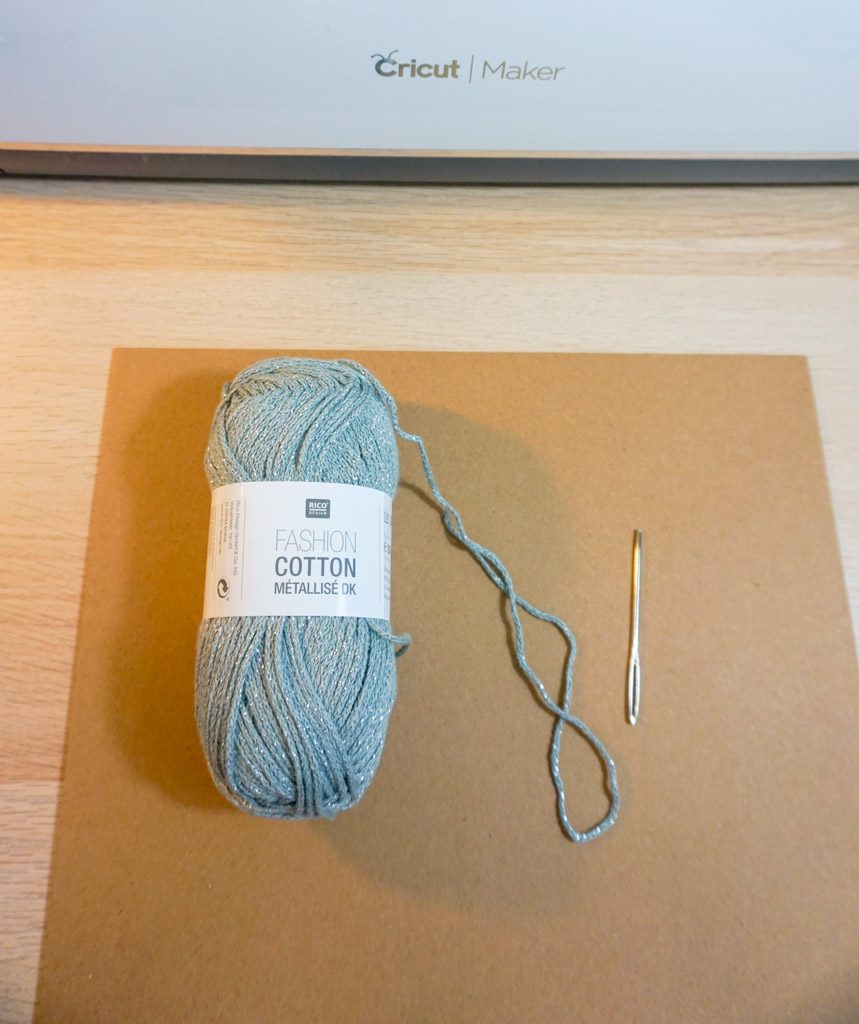
- Cricut Maker
- Cricut chipboard
- knife blade
- sparkly yarn
- large needle
- purple mat
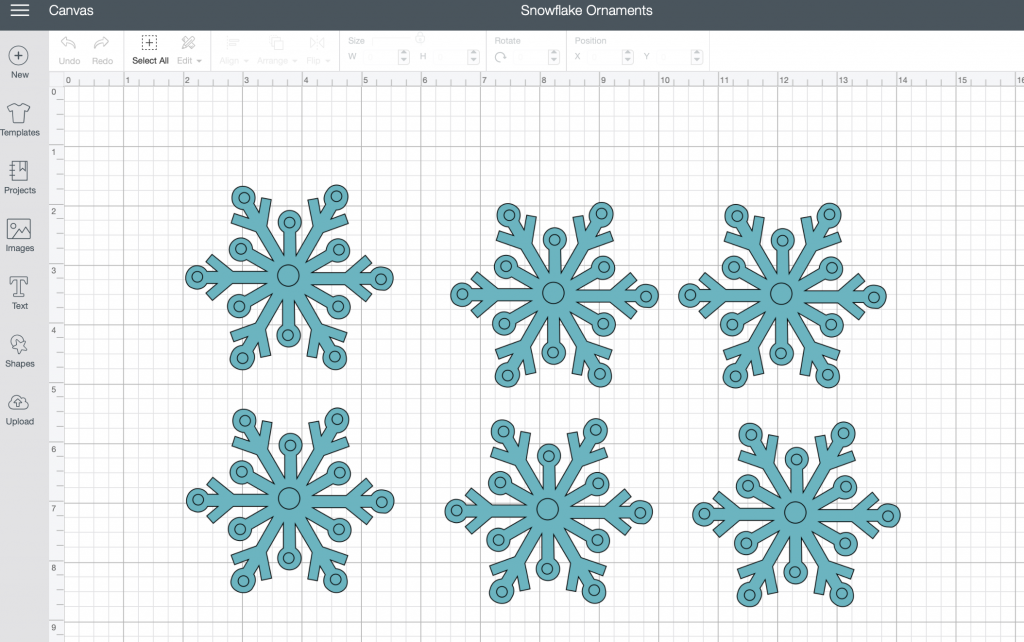
- Snowflake Ornament design
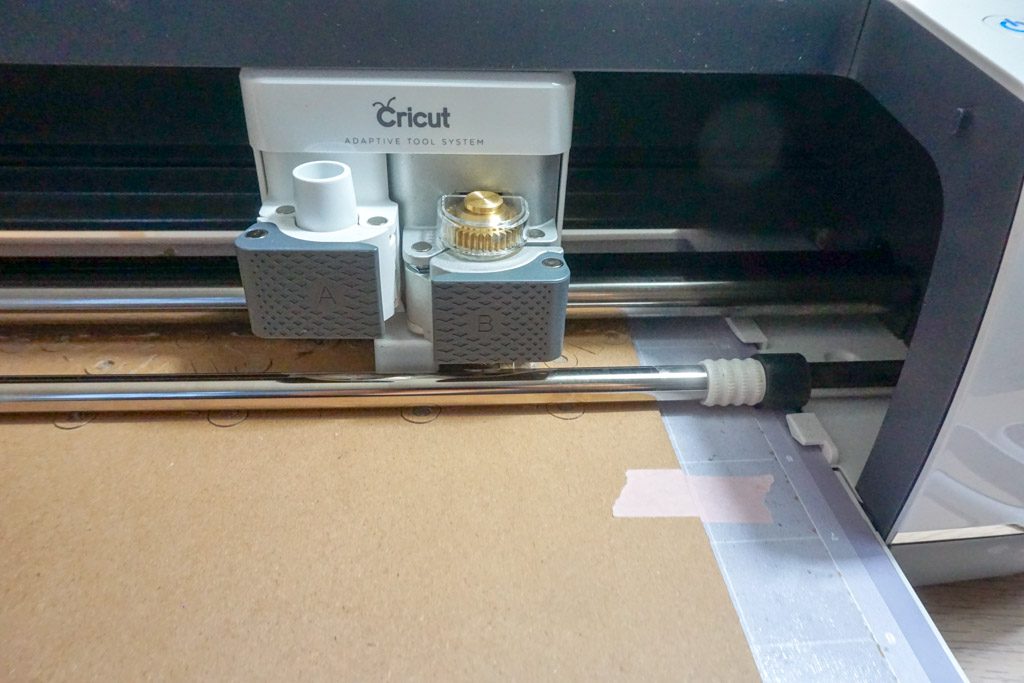
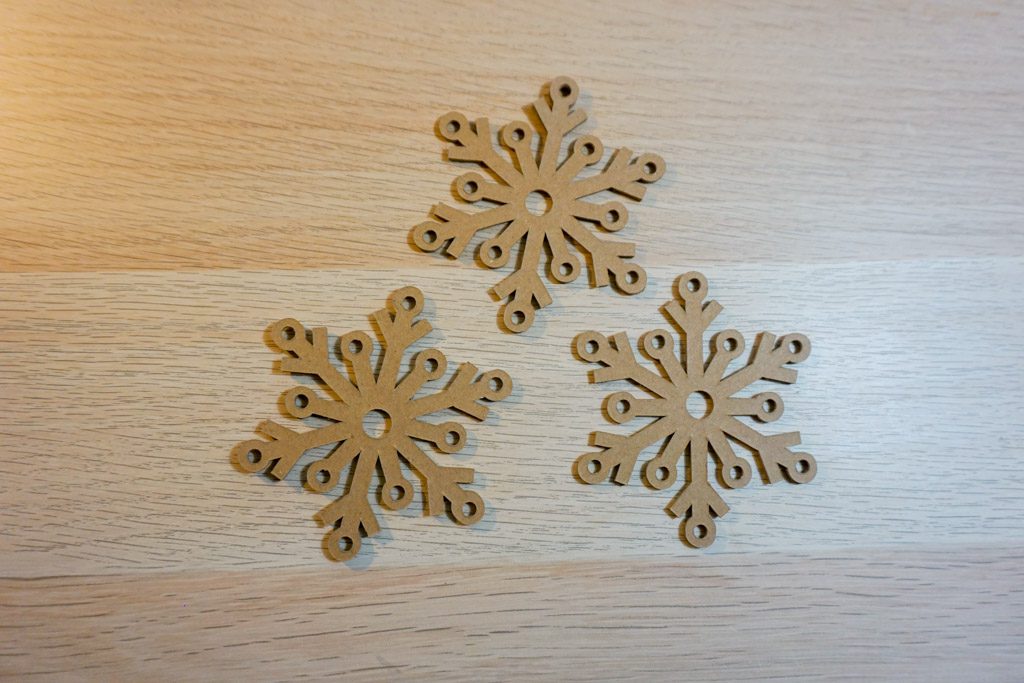
If you haven’t used the knife blade and chipboard before, it’s easy to cut chipboard on the Cricut Maker. Put the knife blade in the right hand slot (if it’s your first time using it, you’ll be prompted to calibrate it–just follow the instructions). Move the white star wheels all the way to the right (they’re on the front roller). If you don’t, you’ll get grooves on your chipboard that can ruin your design (I learned that the hard way the first time I tried!). Place the chipboard on the purple mat, making sure it’s lined up properly and doesn’t hit the black piece on the left hand side of the front roller. For extra security, tape the chipboard to the mat with masking or washi tape. It *will* take a while to cut through the chipboard, especially if your design is at all intricate or large. Cutting out these three ornaments took about two hours and I did regularly check it to make sure it wasn’t shredding. It’s ok to pause the machine every once in a while to clear an loose bits so that they don’t mess with the cut.
When the machine is finished, you’ll have sturdy snowflakes that are ready to be laced up.
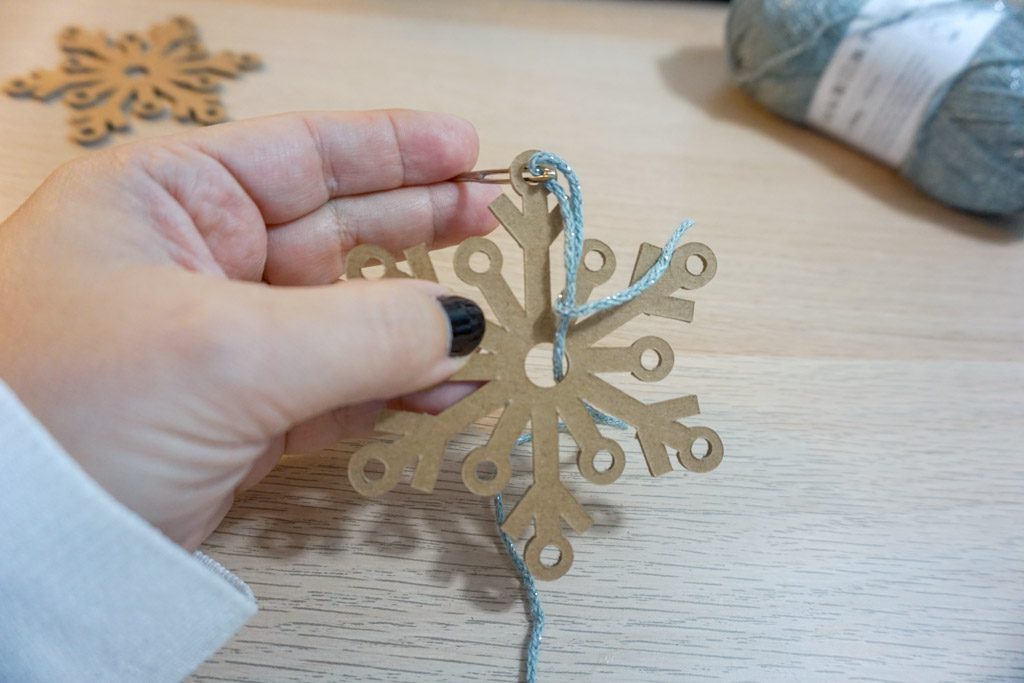
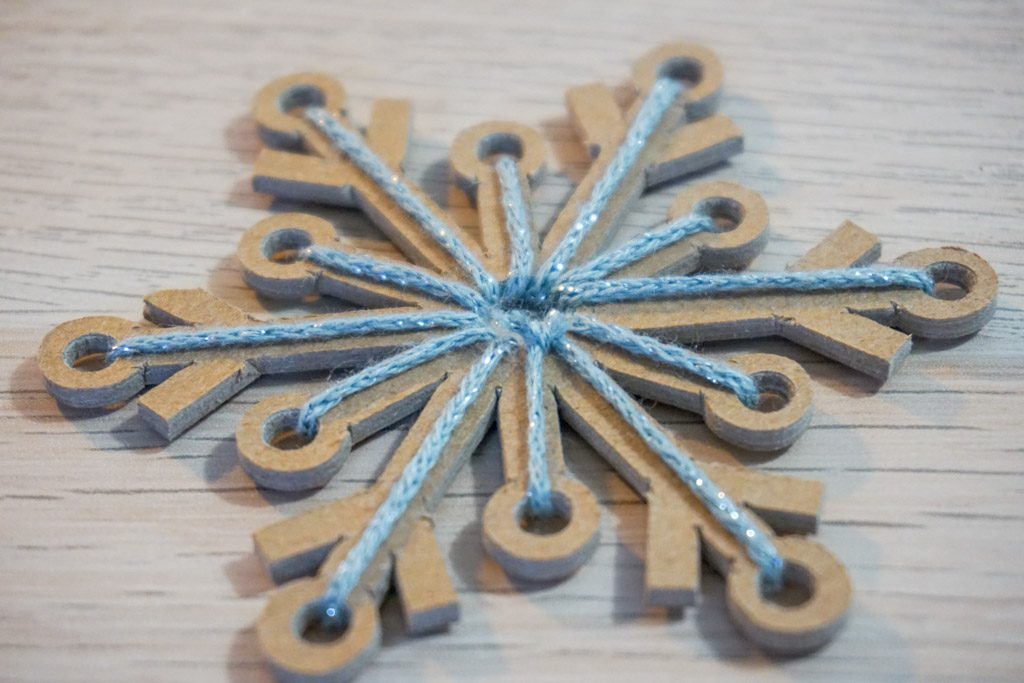
Thread one end of the sparkly yarn through your needle. Bring it up through the center hole and down through the hole at an end. Pull the yarn underneath, coming back up through the middle and down the next spoke (what do you call the arms of a snowflake??). Keep repeating that process until you’ve made it around the entirety of the snowflake. Tie the yarn tightly at the center and snip off any excess. Your snowflake should look the same on both sides!
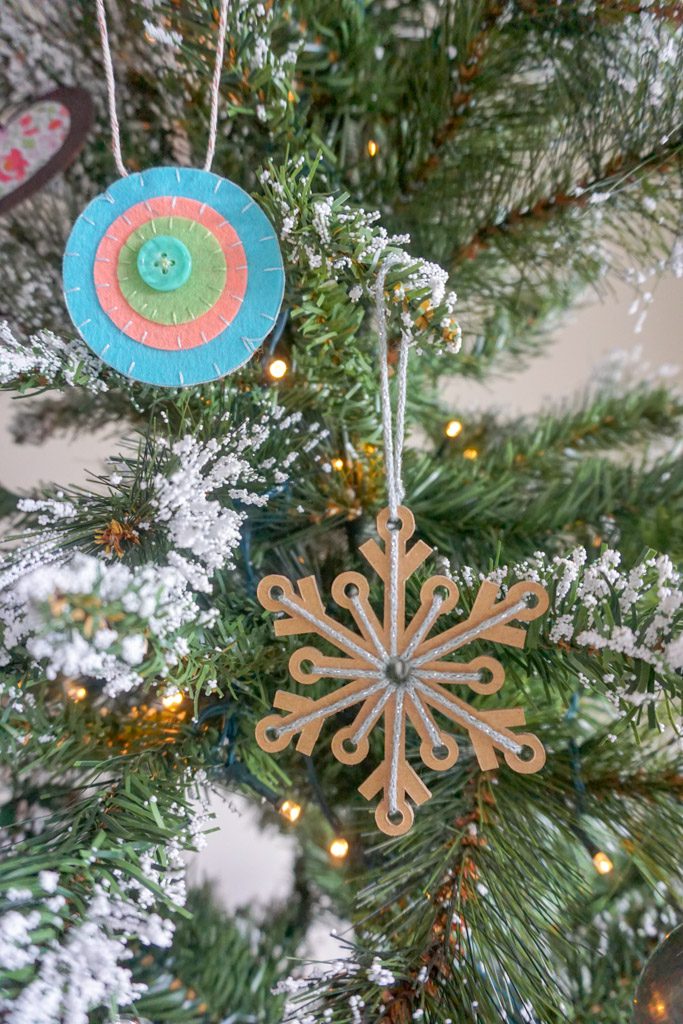
Make a hanging loop through one of the outer holes and tie it off tightly, snipping the excess again.

The cutting takes a while, but these Yarn-Laced Snowflake Ornaments are a lot of fun on the tree. The kids can help lace and you can use any colour sparkly yarn. Since they’re the same on both sides, these ornaments look great from any angle.


One Comment