Rustic Sunshine Art
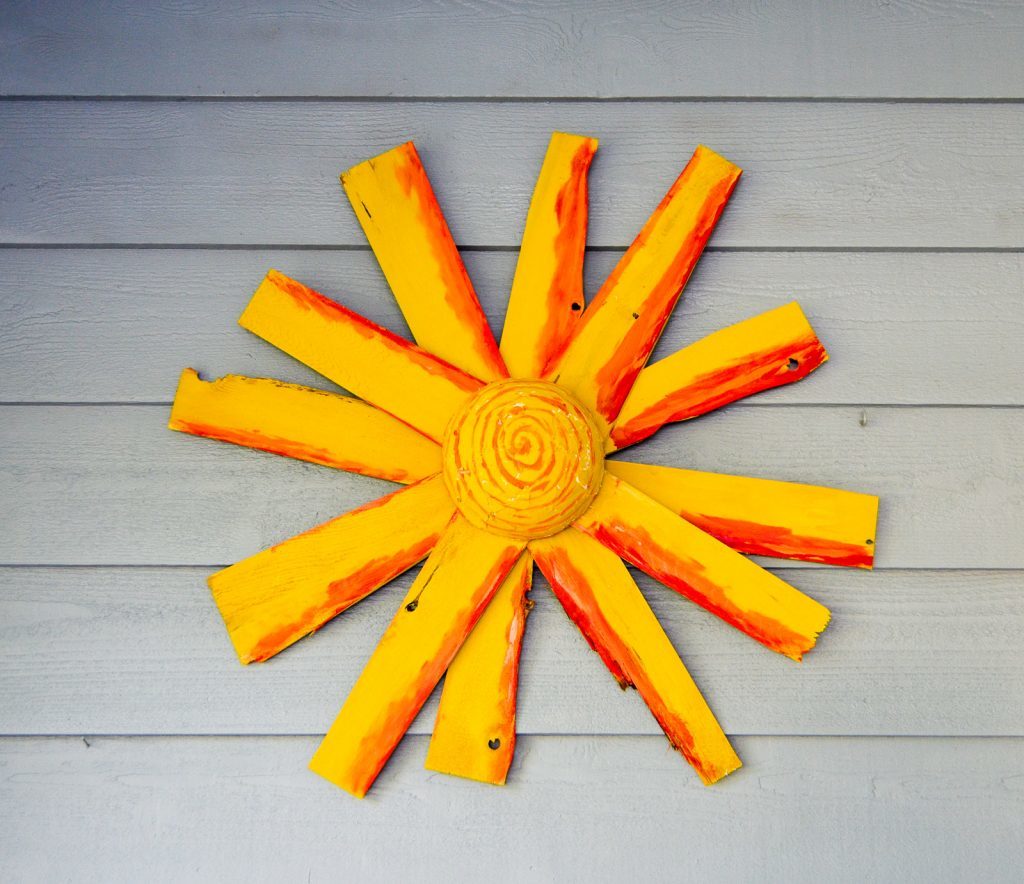
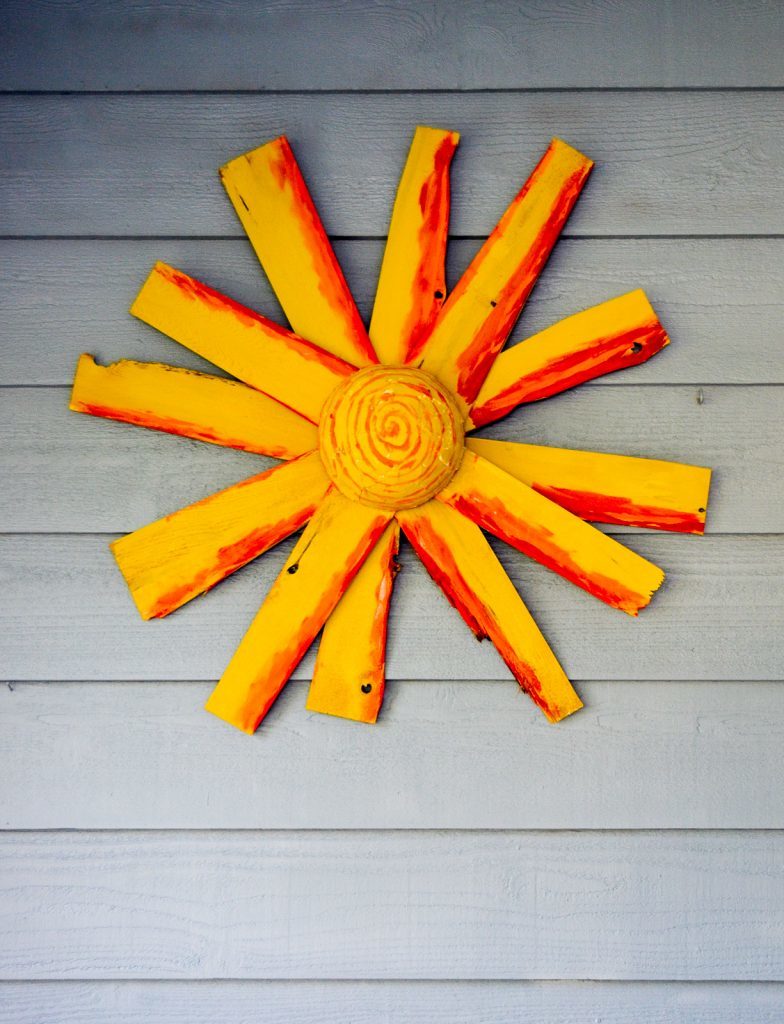
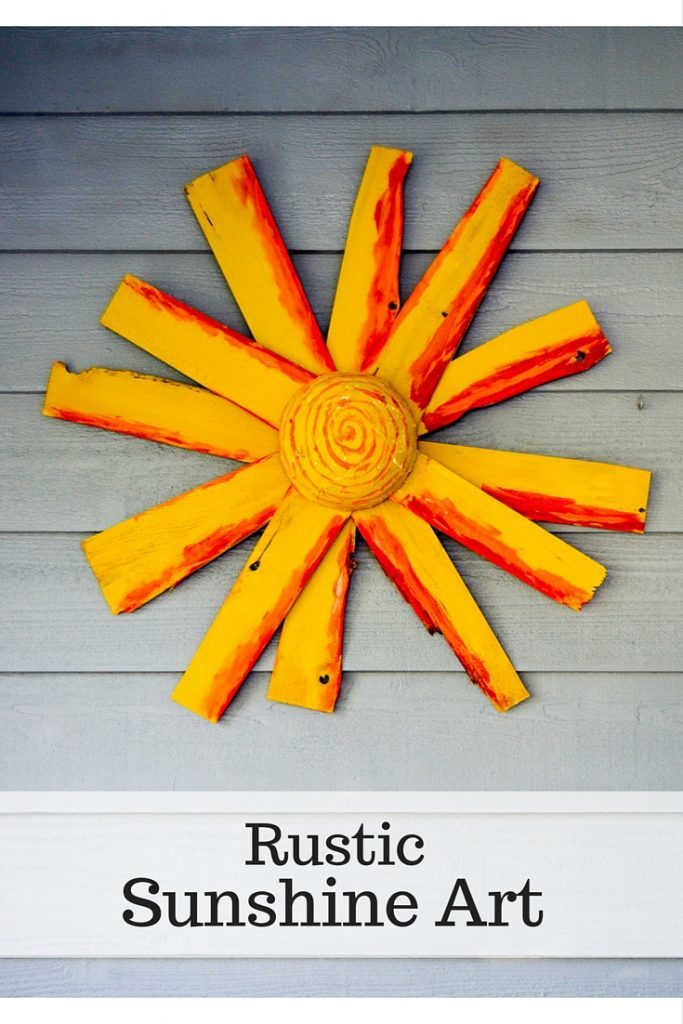
Summer and sunshine are two of my favorite words and we’ve been really enjoying our time outdoors this year. We live in Chicagoland, though, and it’s been known to get rather grey at times, which means we need to figure out how to bring the sunshine back. With this Rustic Sunshine Art that is painted with DecoArt Outdoor Living Paint, you can have some bright sunshine no matter what!
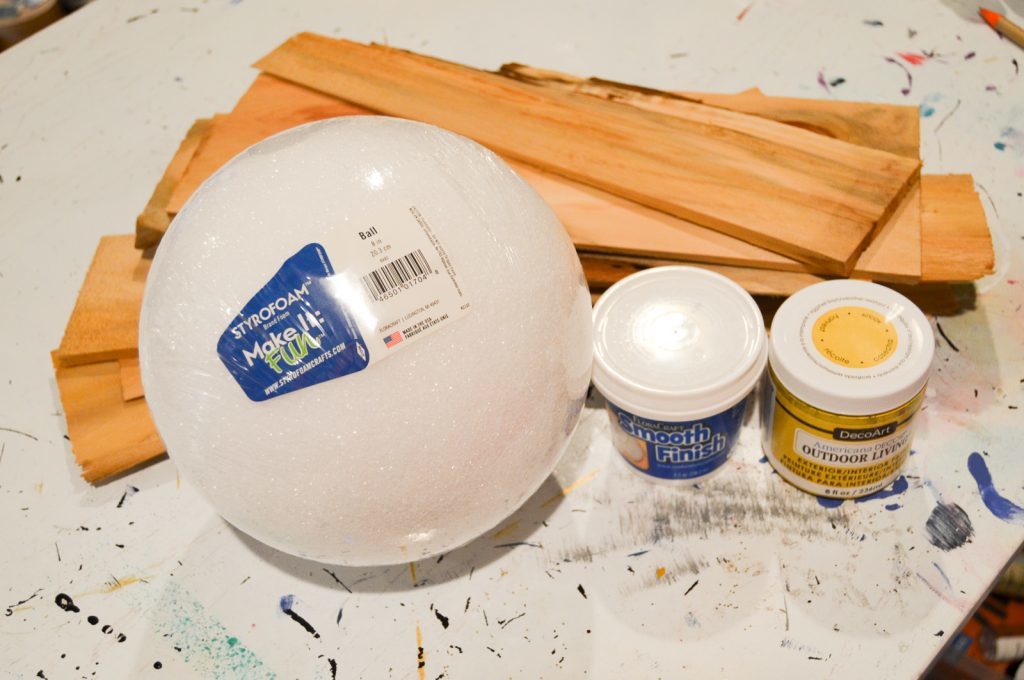
I used:
- shims
- styrofoam ball (8″)
- smooth finish
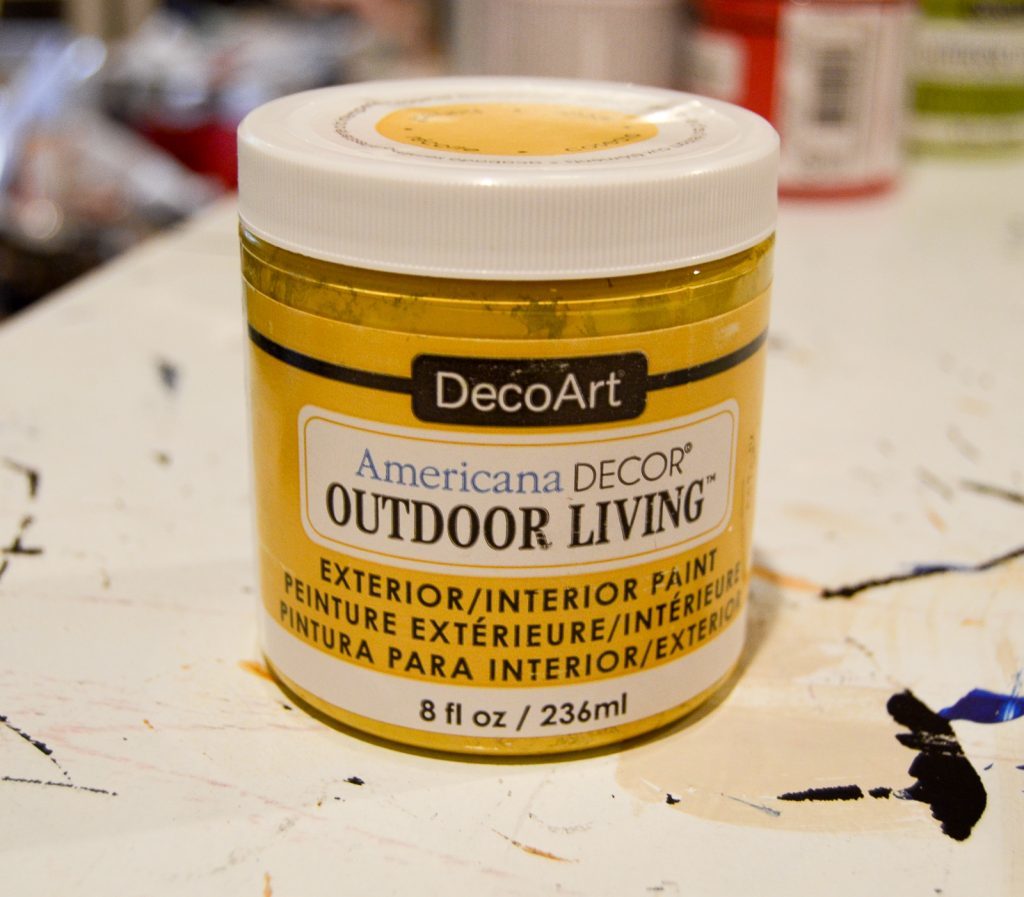
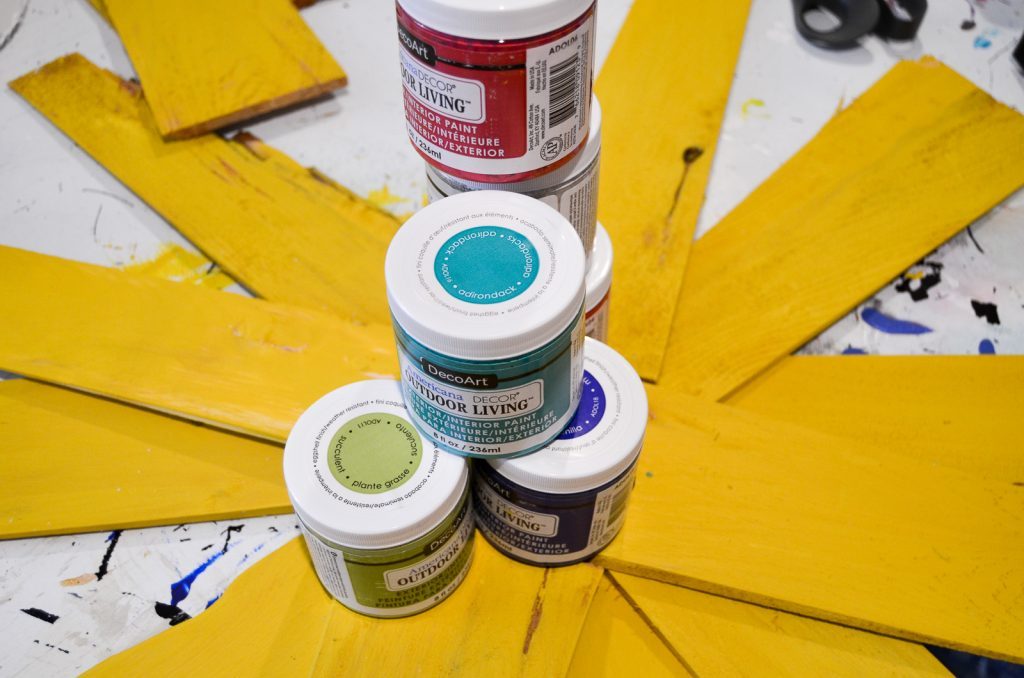
- Outdoor Living Paint in Harvest, Ladybug, and Garden Party
- brushes
- knife (for cutting the styrofoam)
- palette knife (or similar for spreading the smooth finish)
- picture hanging kit
- wood glue
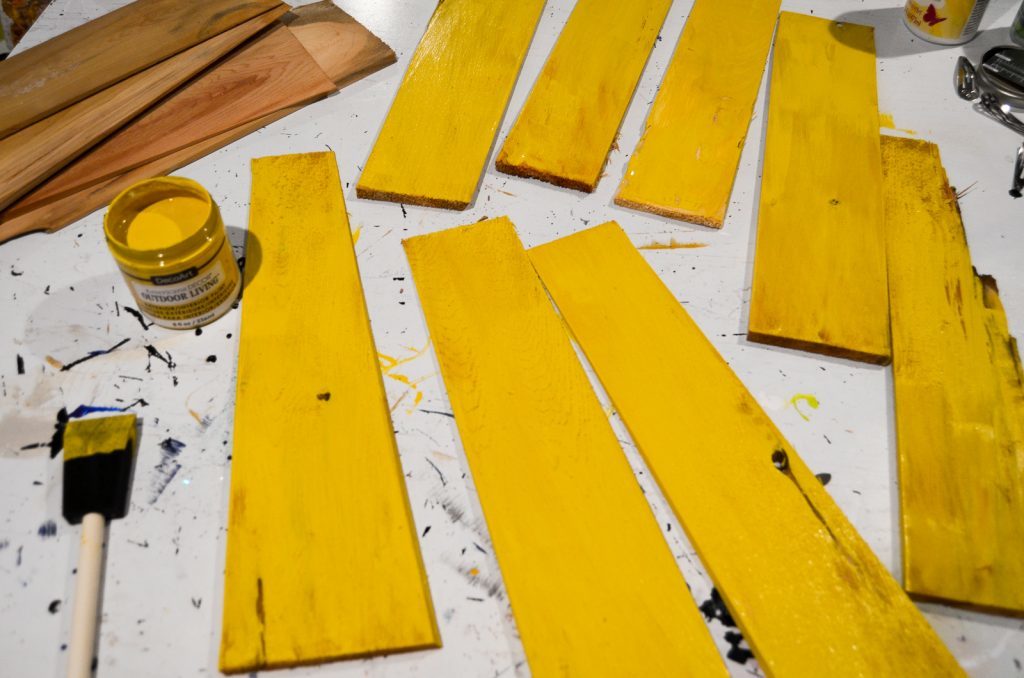
Paint the shims in Harvest.
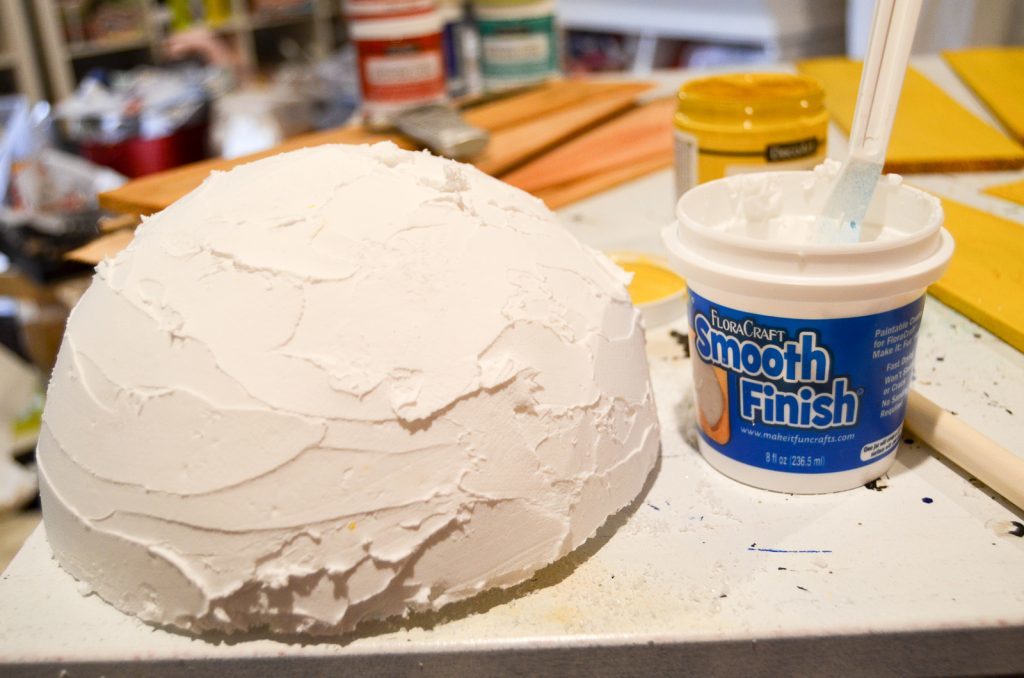
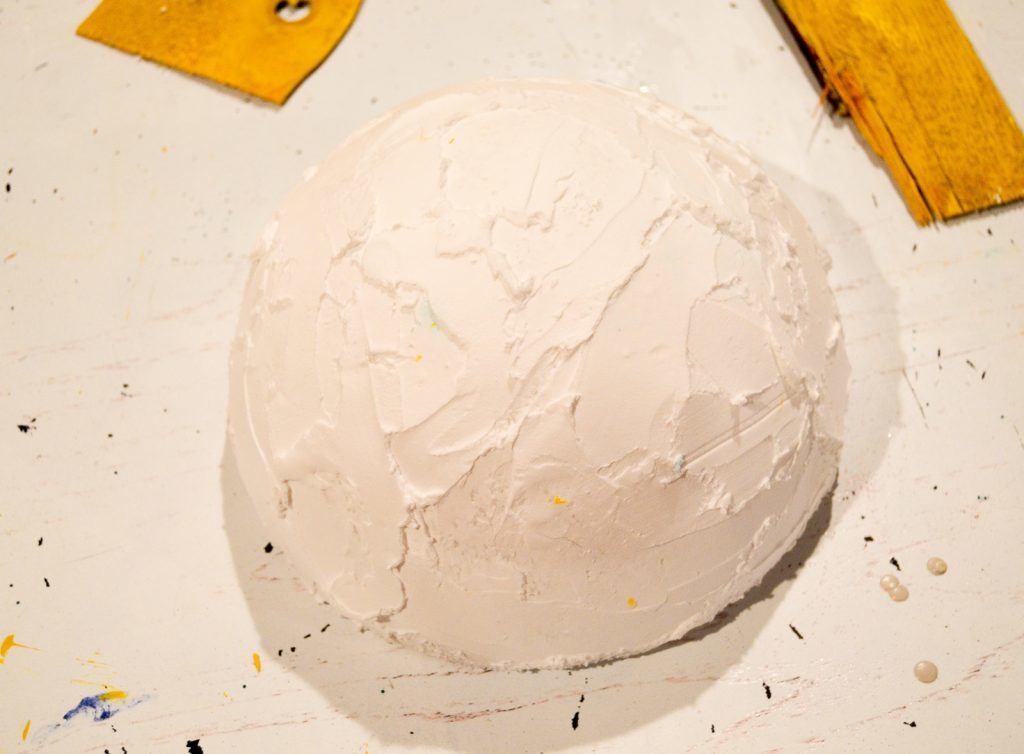
While the shims are drying, cut your styrofoam ball in half and cover it in Smooth Finish. I wanted texture, so I left ridges.
When the shims are dry, start gluing them together. I changed direction with each layer.
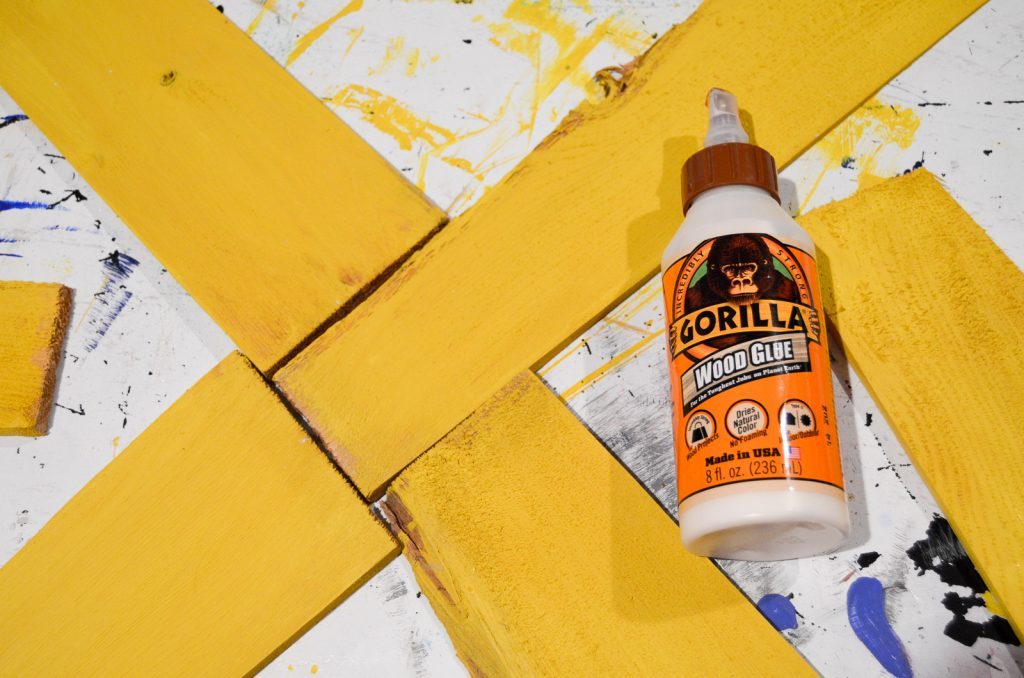
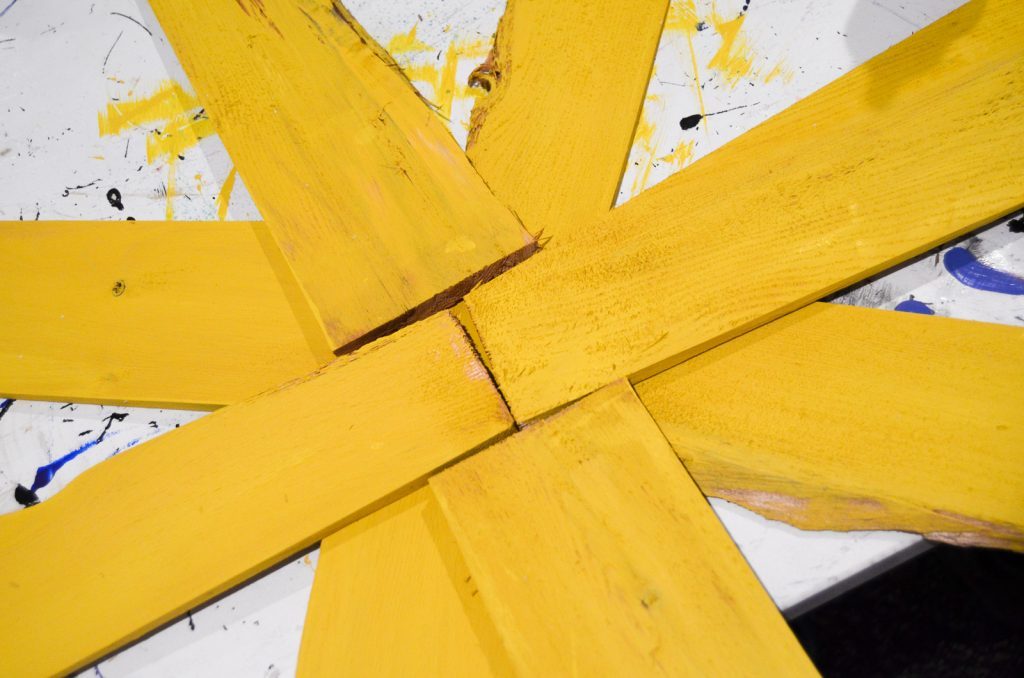
When I had all of my layers on, I put some weight on in the middle to hold it in place while the glue dried.
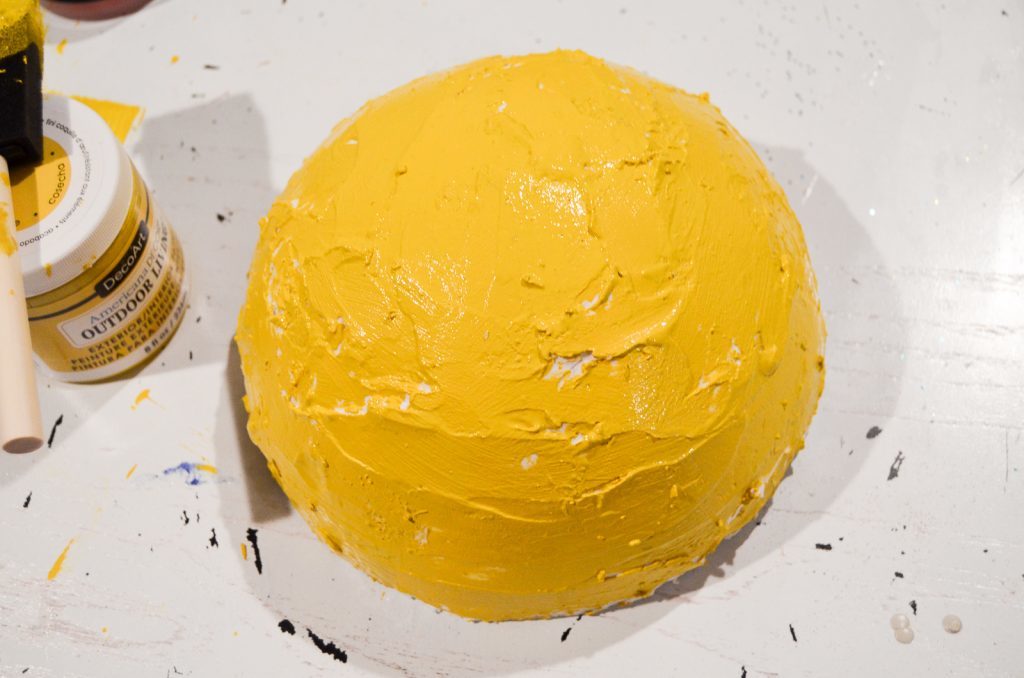
This project works nicely because while one part is drying, you can work on another. Take your styrofoam ball and paint it Harvest.
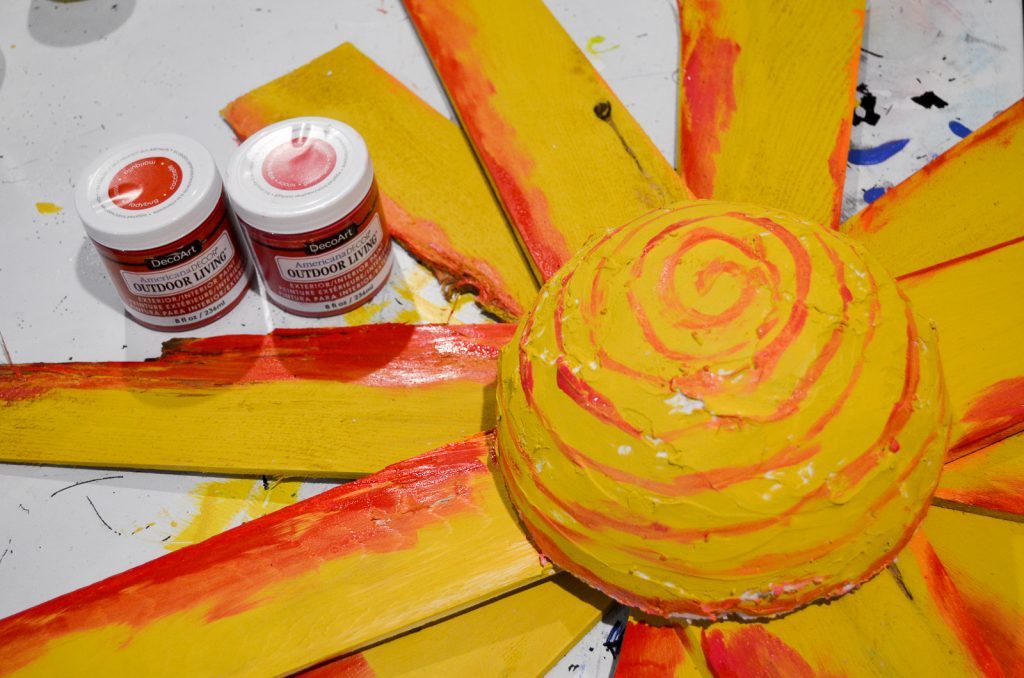
Glue the styrofoam onto the center of the shims. Add in some bright highlights with the Ladybug and Garden Party.
When everything is dry, attach a picture hanger of your choice.
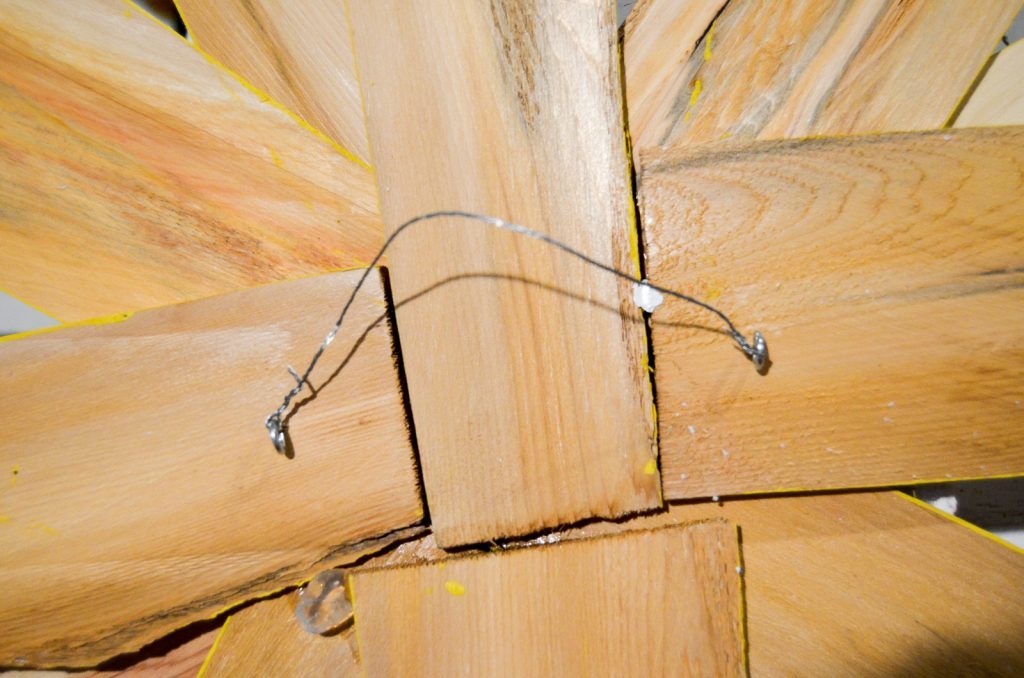
The Rustic Sunshine Art is a lightweight piece, so it doesn’t take much to hang it up. It certainly brightens up a grey day! It’s the perfect decor for that outdoor space that needs a bit of color.
