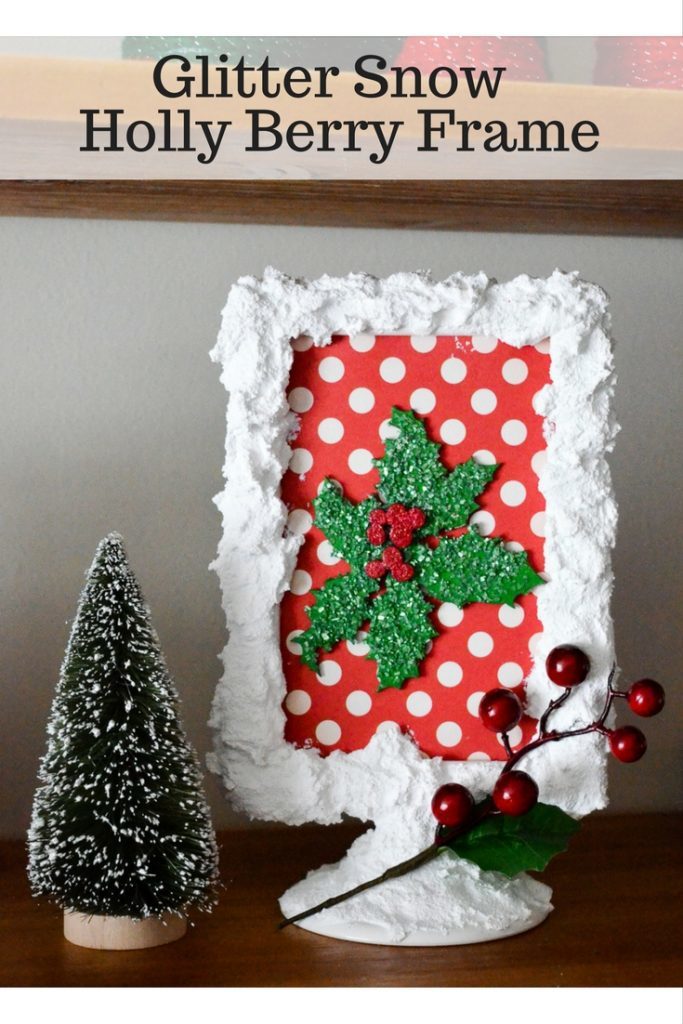
Glitter Snow Holly Berry Frame
This post contains sponsored content.
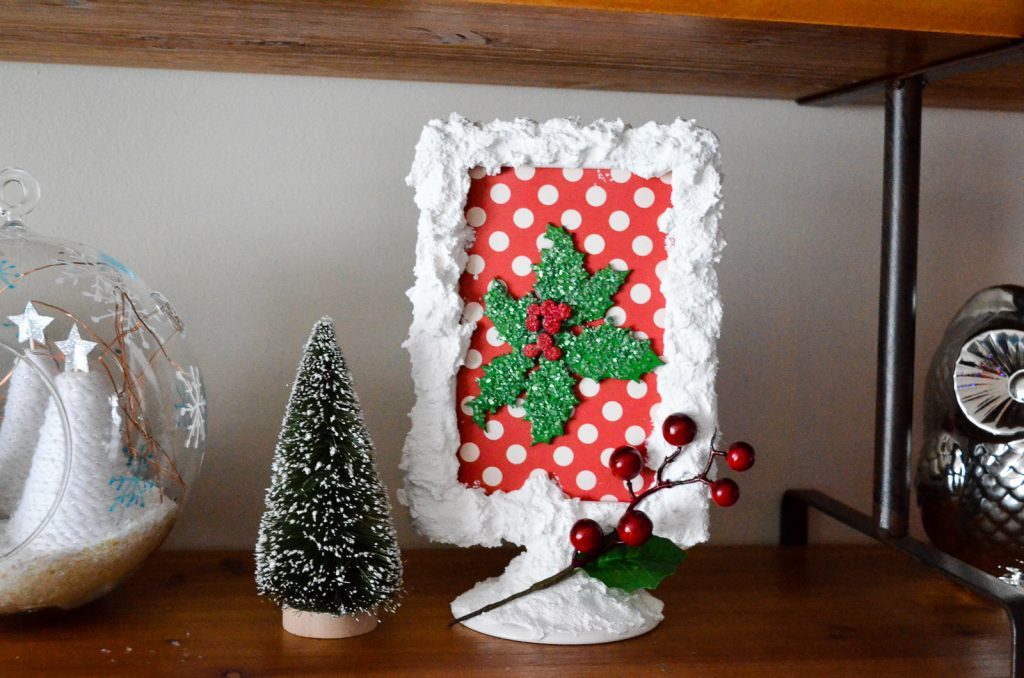
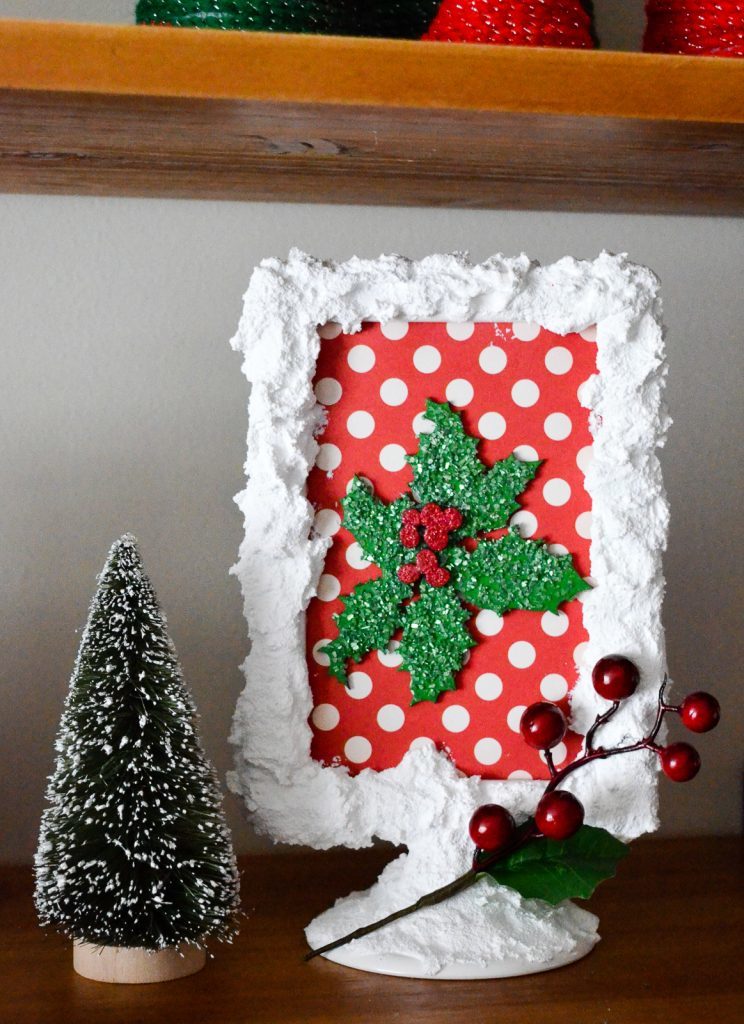
I can’t stop with my holly obsession this year. Every time I turn around, I want to make a new project featuring those rich green leaves and bright red berries. I wasn’t kidding when I said I was going to just keep filling up my shelves with projects this holiday season and today I have a fun and easy Glitter Snow Holly Berry Frame to share with you.
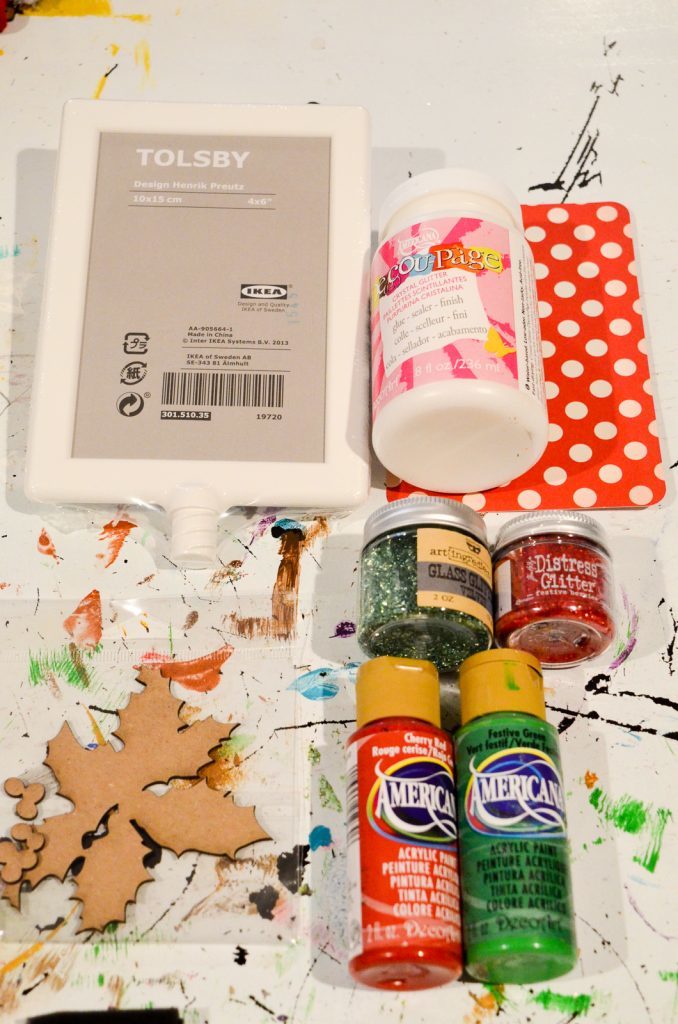
Supplies:
- Hobby Holster
- Torsby Frame (IKEA)
- 4×6 scrapbook card/paper
- red and green glitter
- red and green paint
- glitter decoupage
- holly berry cutout (similar)
- glue gun
- sprig of fake holly berries
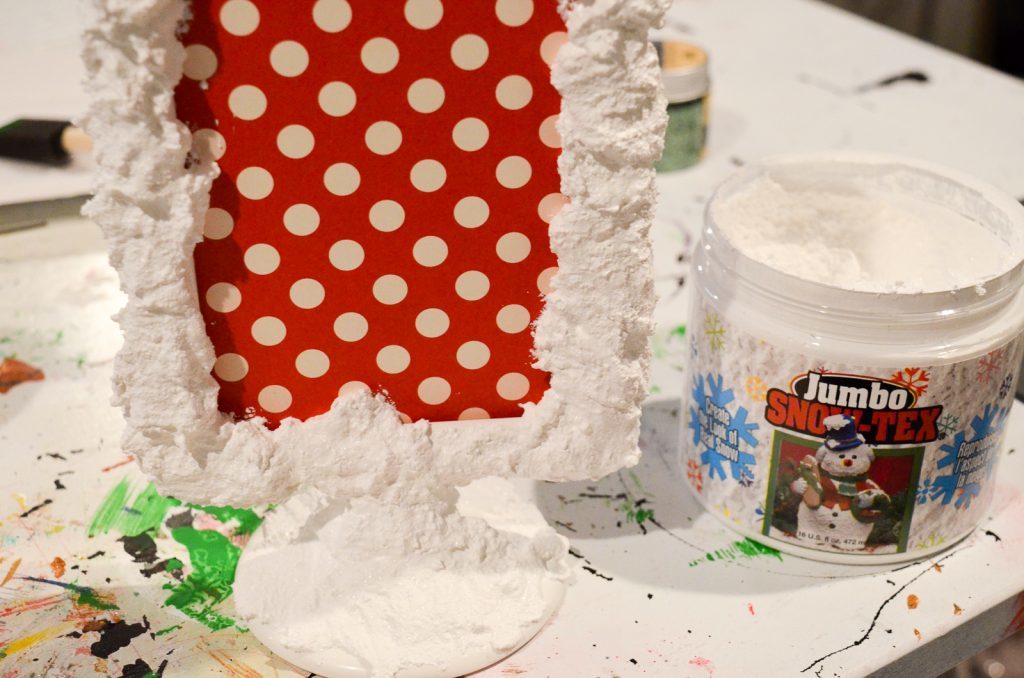
- Snow-Tex
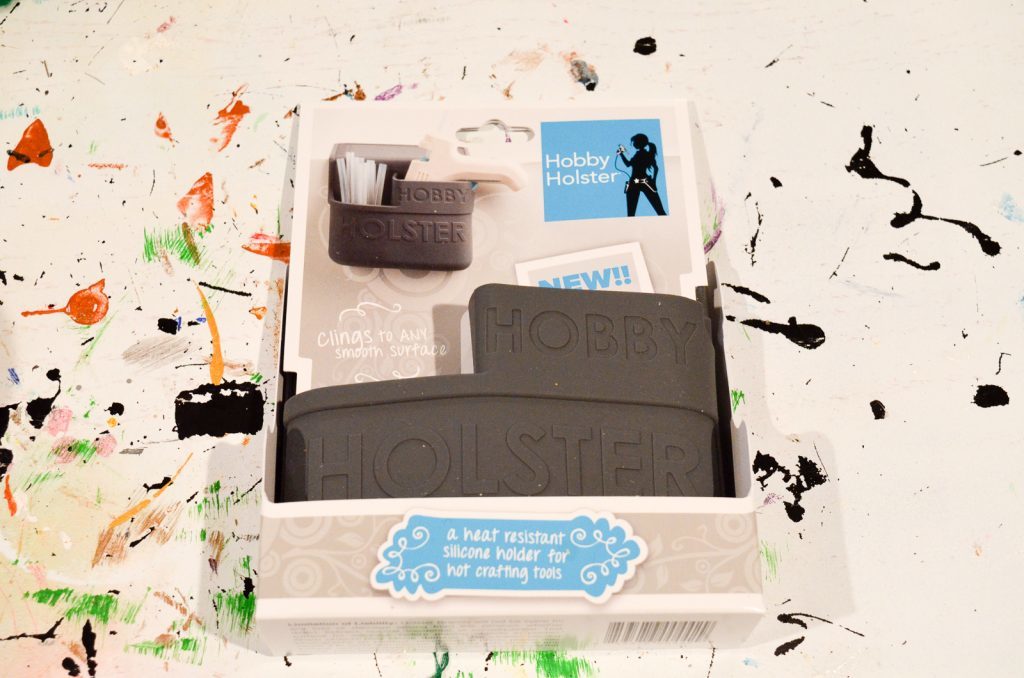
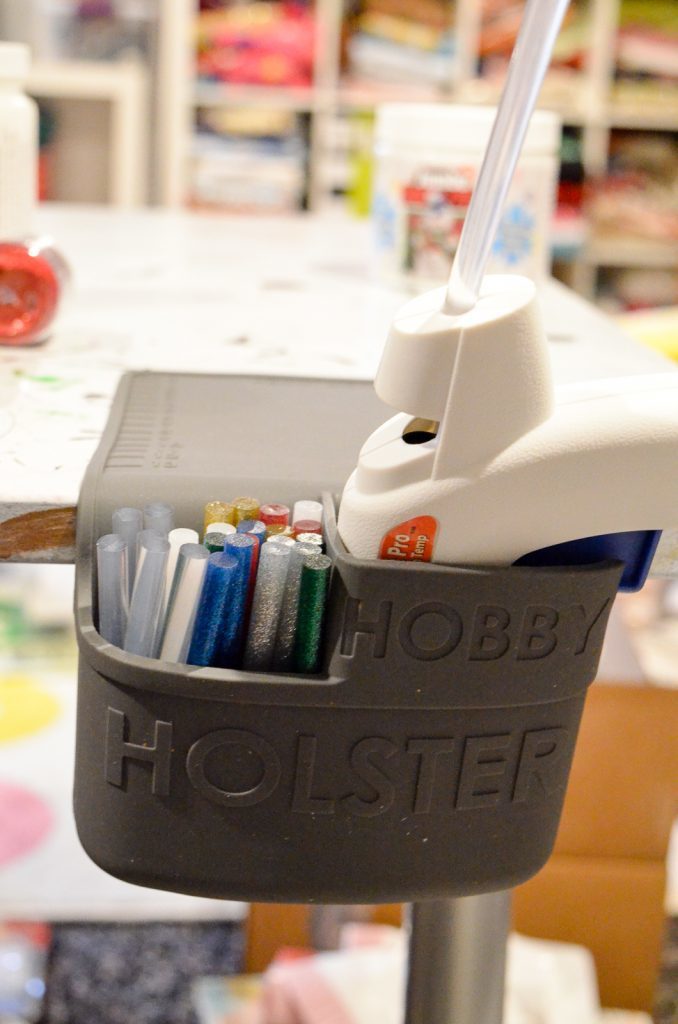
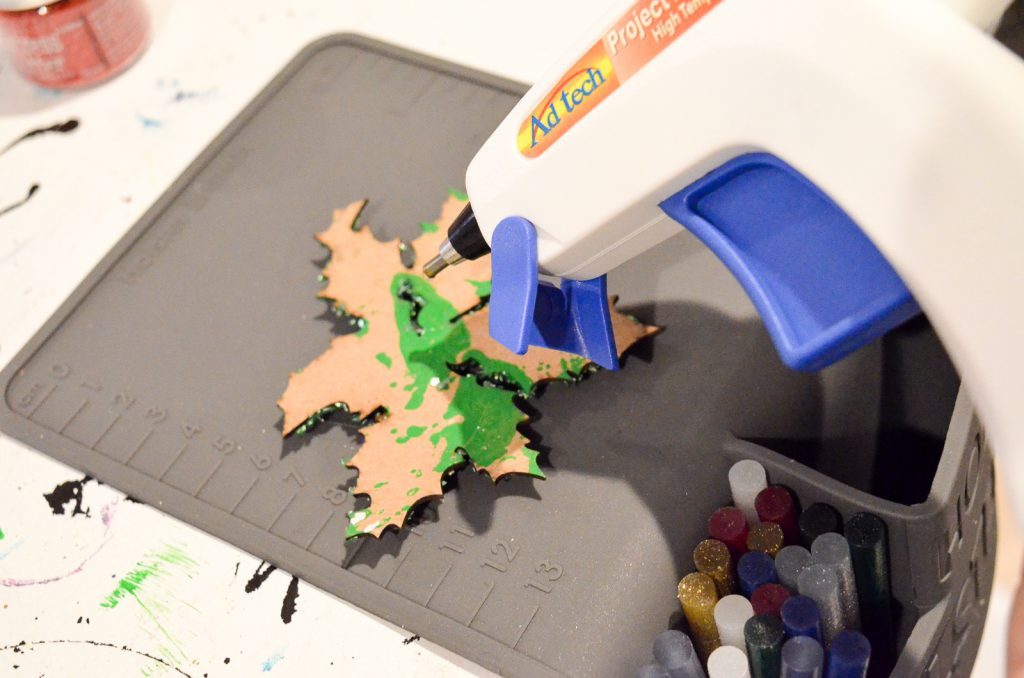
I’m not known for being organized and it’s the worst when I get going on a project and need to stop to heat up my glue gun or search for that last bit I need. The first thing I did when I started working on my frame was to set up my Hobby Holster and plug in my glue gun.
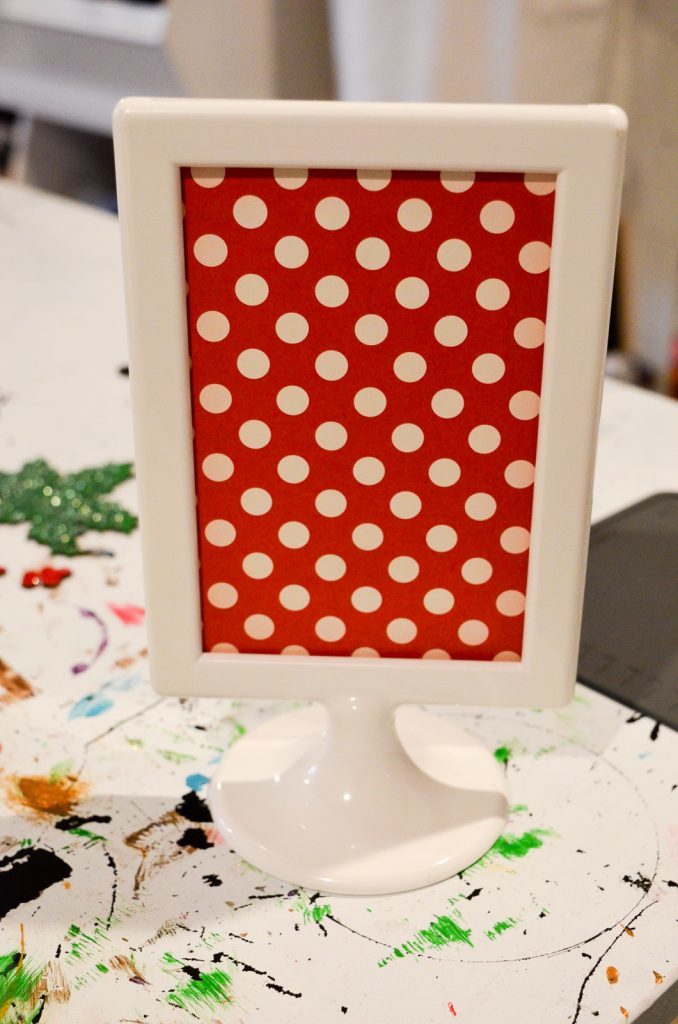
Attach the scrapbook card to the plastic with decoupage and insert it into the frame.
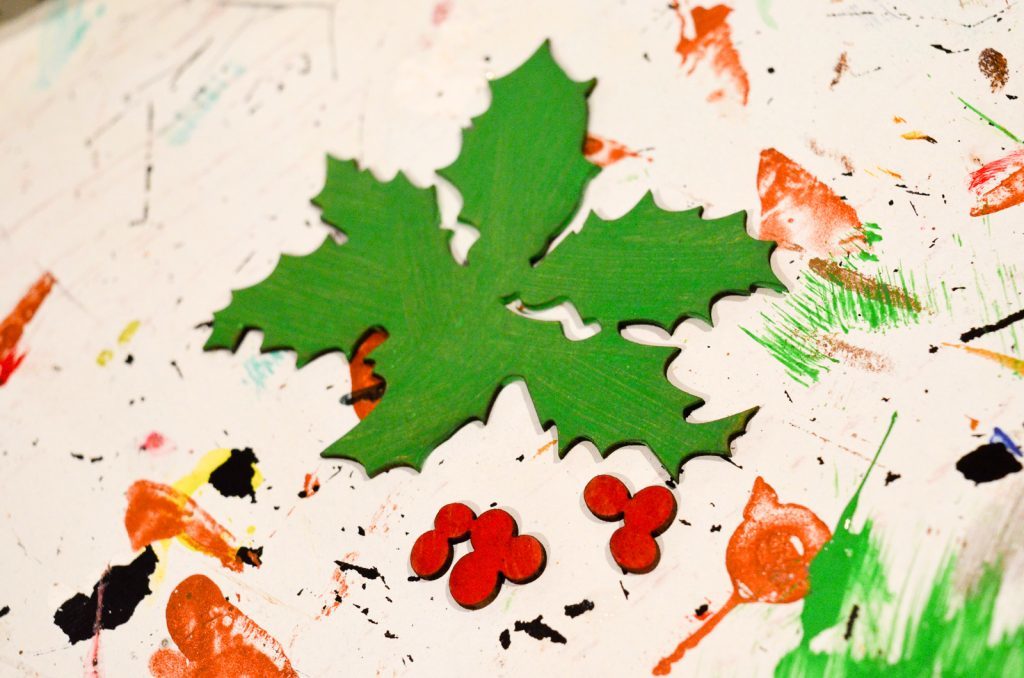
Paint the leaves green and berries red.
Paint a layer of decoupage and add the glitter. When the decoupage is dry, shake off any excess glitter and put on a top coat of decoupage.
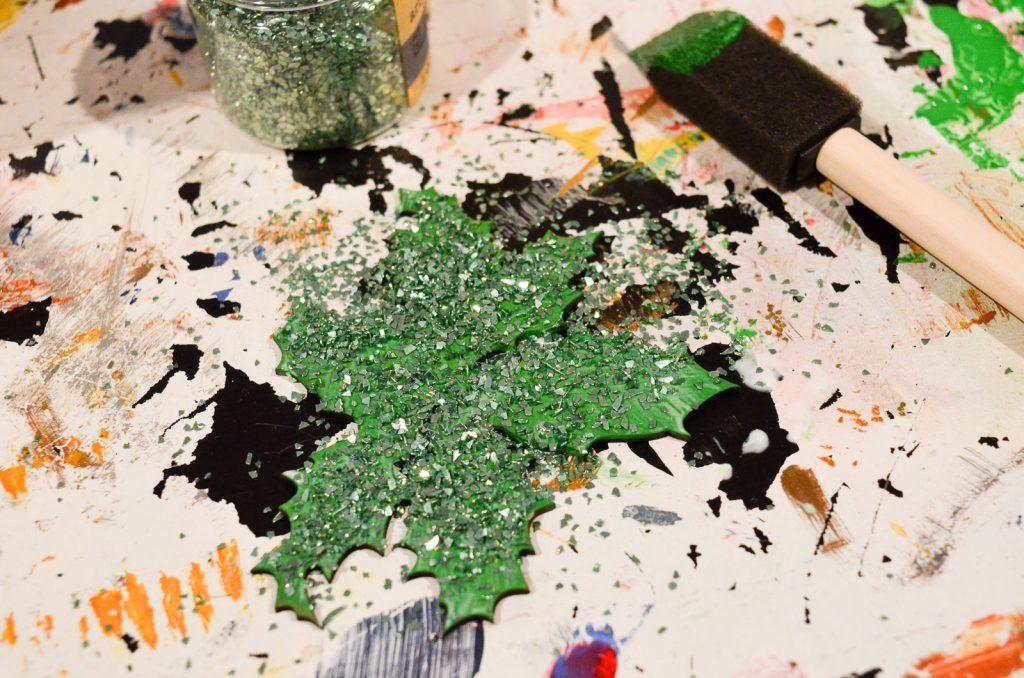
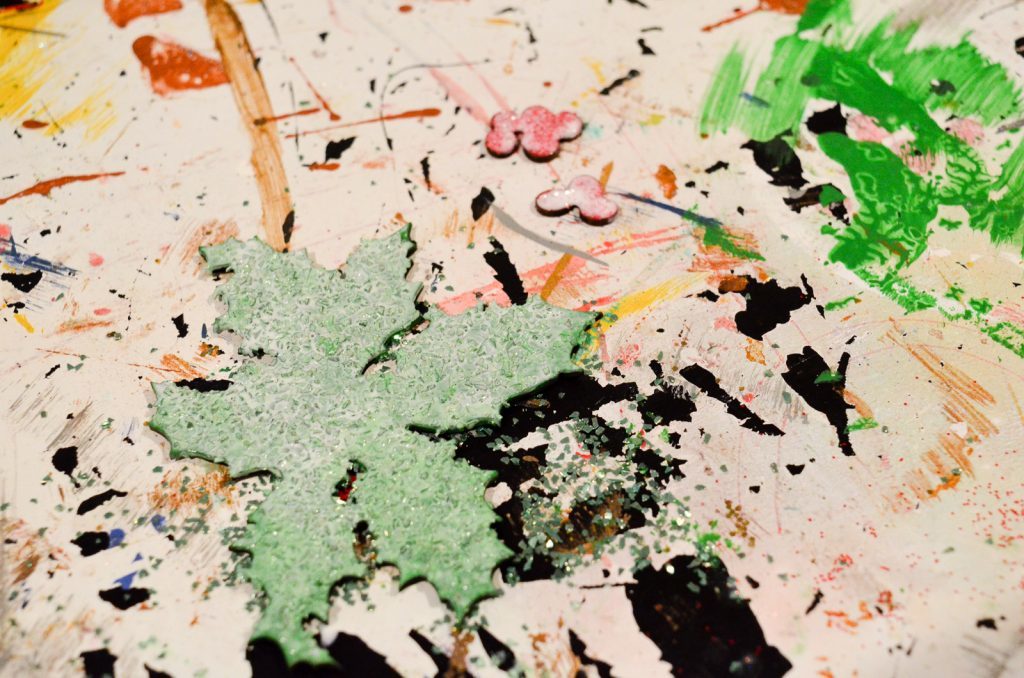
While the decoupage is drying, paint the Snow-Tex onto the frame.
When everything is dry, take your now heated up and easy to grab glue gun and glue on the berries.
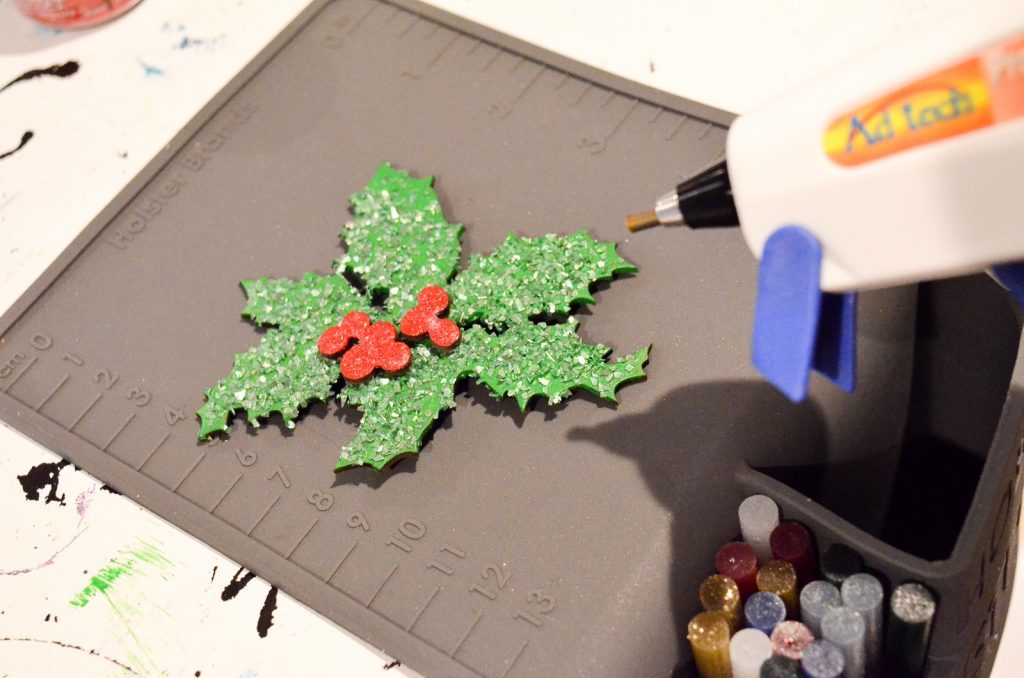
Glue the leaves onto the paper.
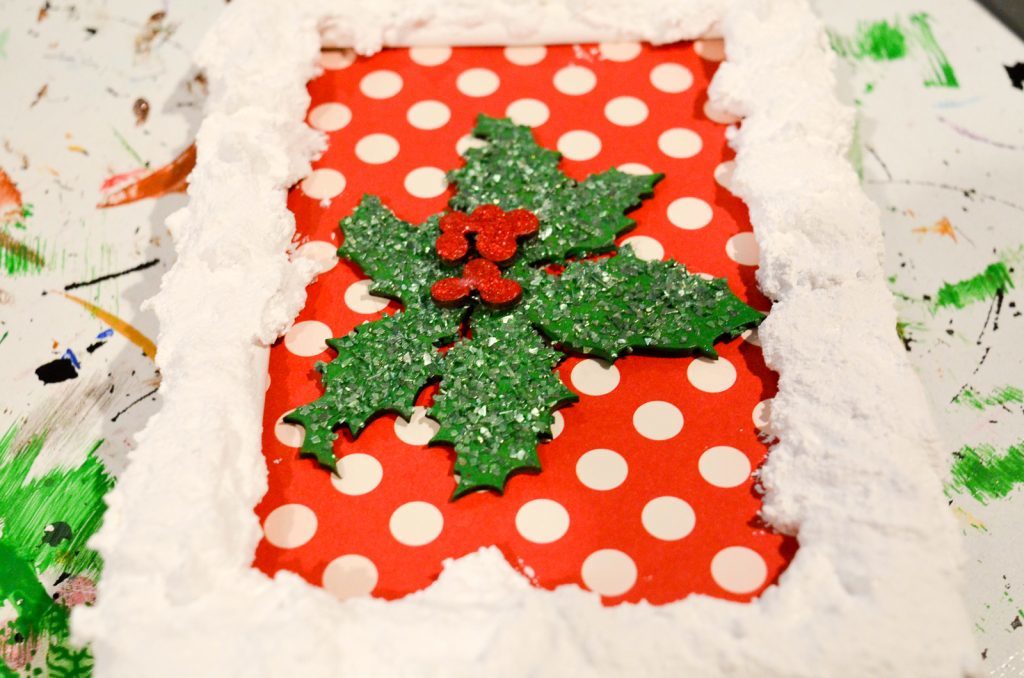
To finish off the Glitter Snow Holly Berry Frame, glue a sprig of holly berries onto the frame itself for that last pop of color.
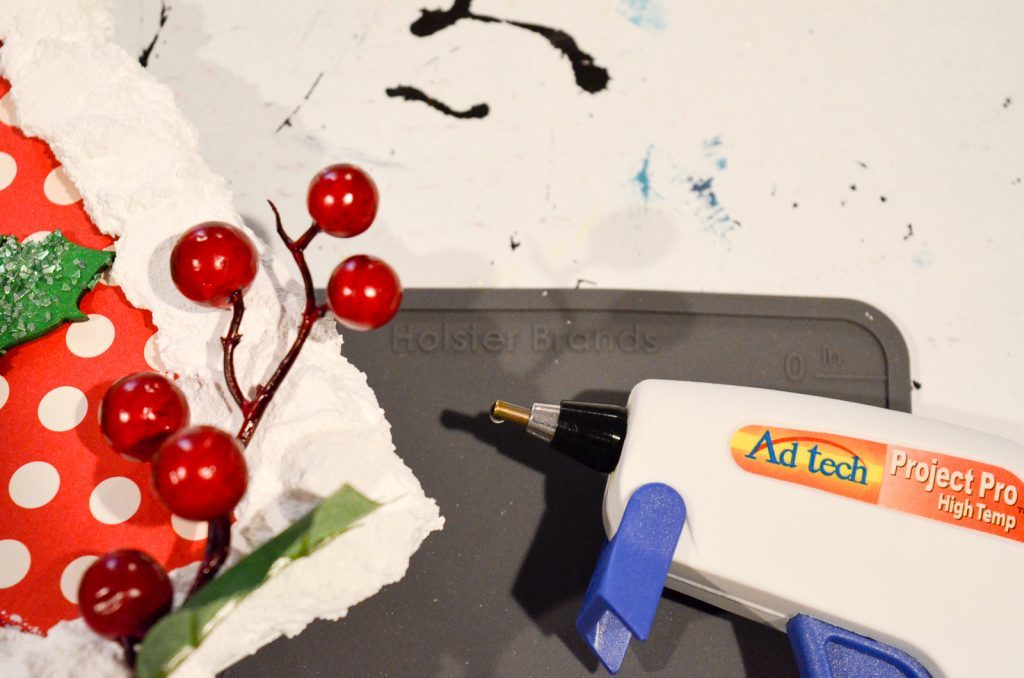
My Hobby Holster made it so easy to just keep going with my project instead of needing to stop, find what I needed, heat up my glue gun, clear a spot to glue, etc. I love that it made me feel organized and I ended up with a fun holiday project to add to my shelves!
