Felt Pocket Wall Organizer
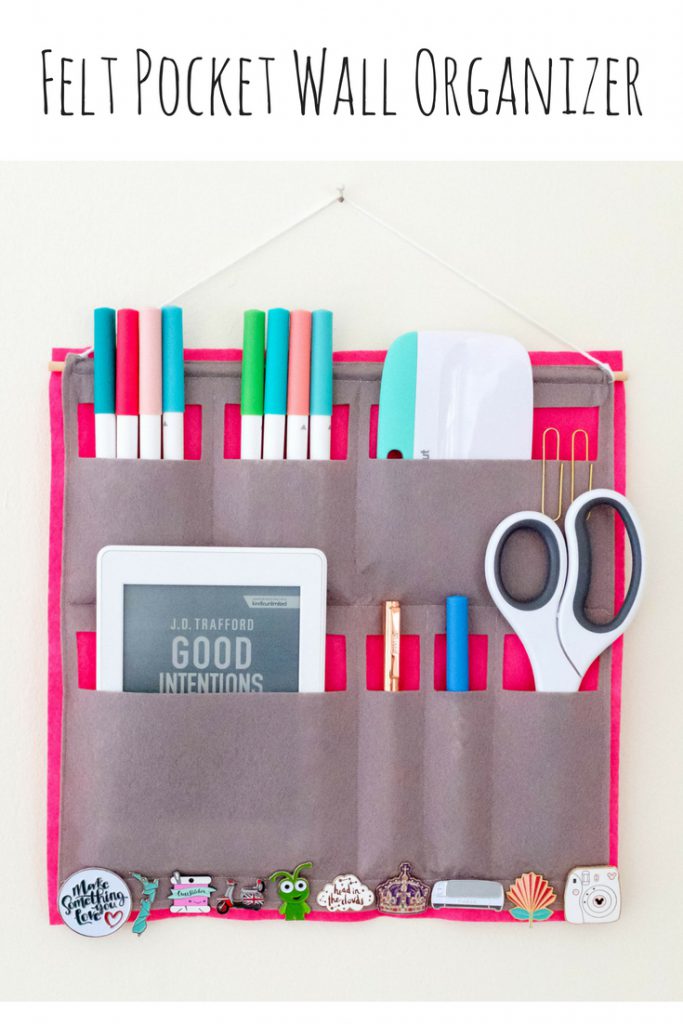
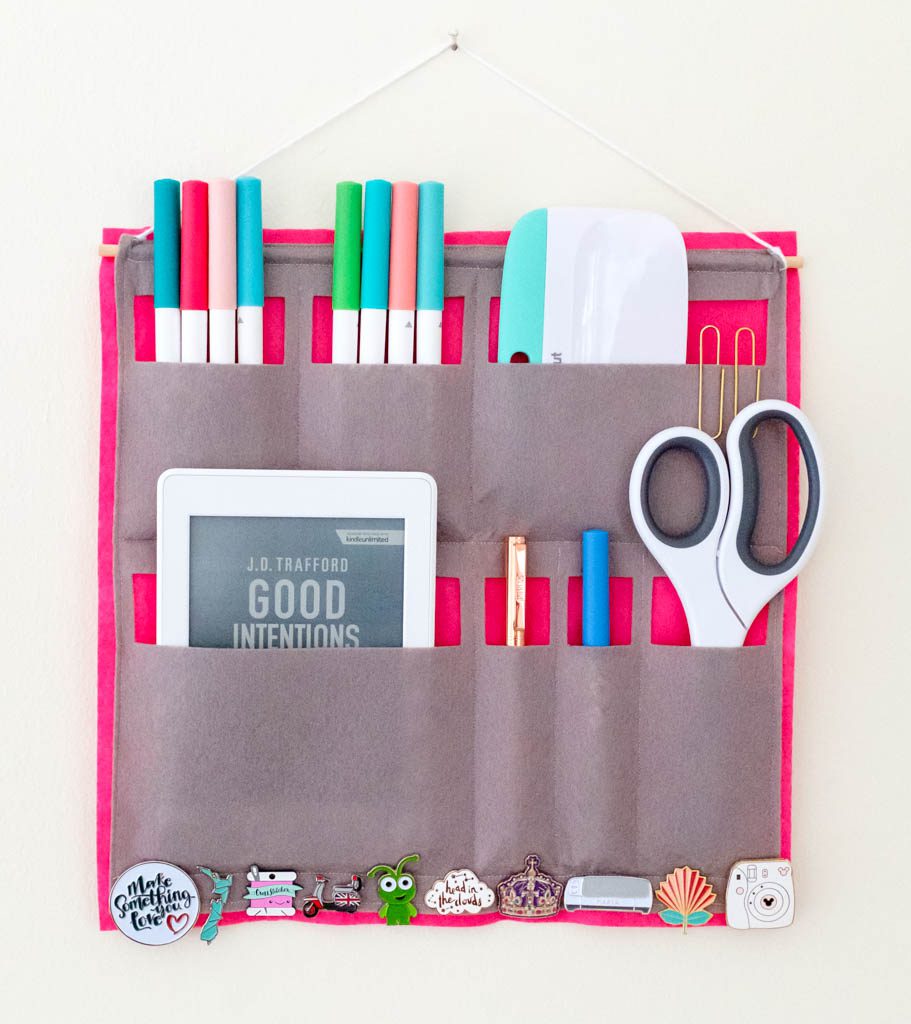
If there’s one thing I’ve never been known for, it’s organization. Goodness knows I try, but it’s not something that comes naturally to me. I’ve worked hard at it since being in the flat where furniture and space is at a premium. The thing we do have is wall space, so that’s where I’ve turned to. I made this easy Felt Pocket Wall Organizer that can work in almost any space we have–I made it for some of my crafting tools, but the girls quickly requested their own as well.
This post contains affiliate links.
Supplies:
- two pieces of 12×12 felt in the colours of your choice
- sewing machine
- dowel rod
- Felt Pocket Wall Organizer design
- Cricut machine
- washable fabric pen
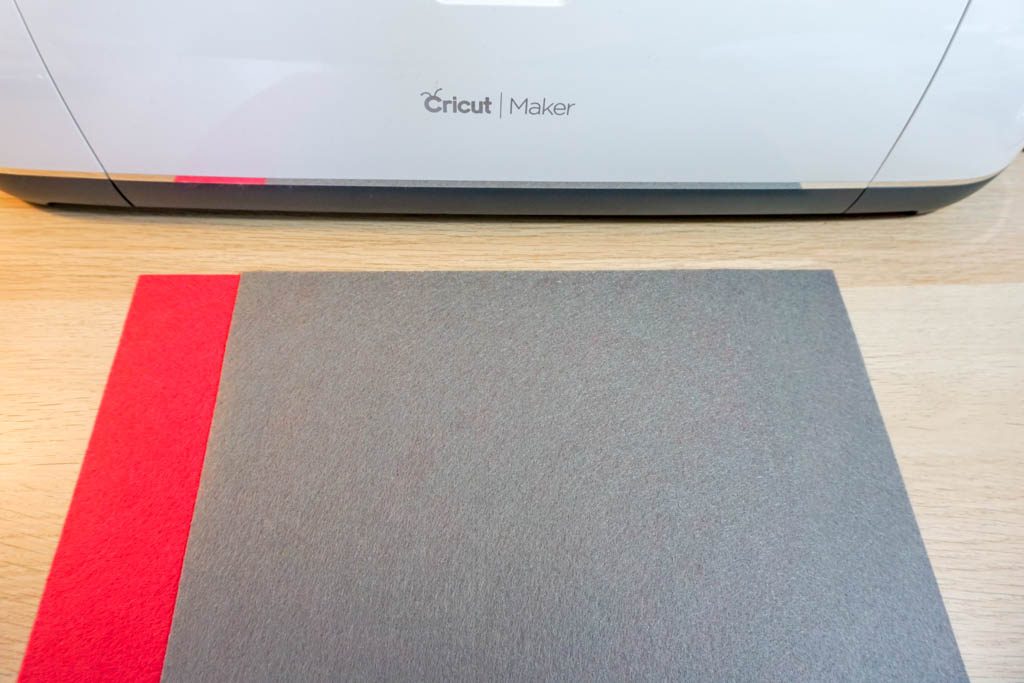
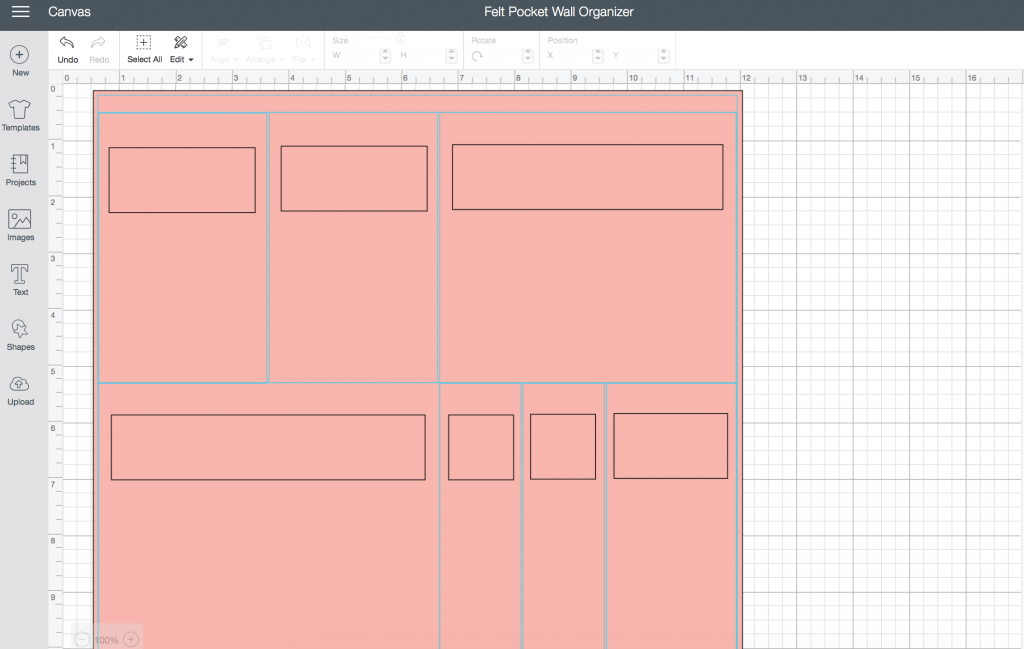
Load up your Maker with the washable fabric pen and fine point blade. Cut out the piece of felt that you want to be on top.
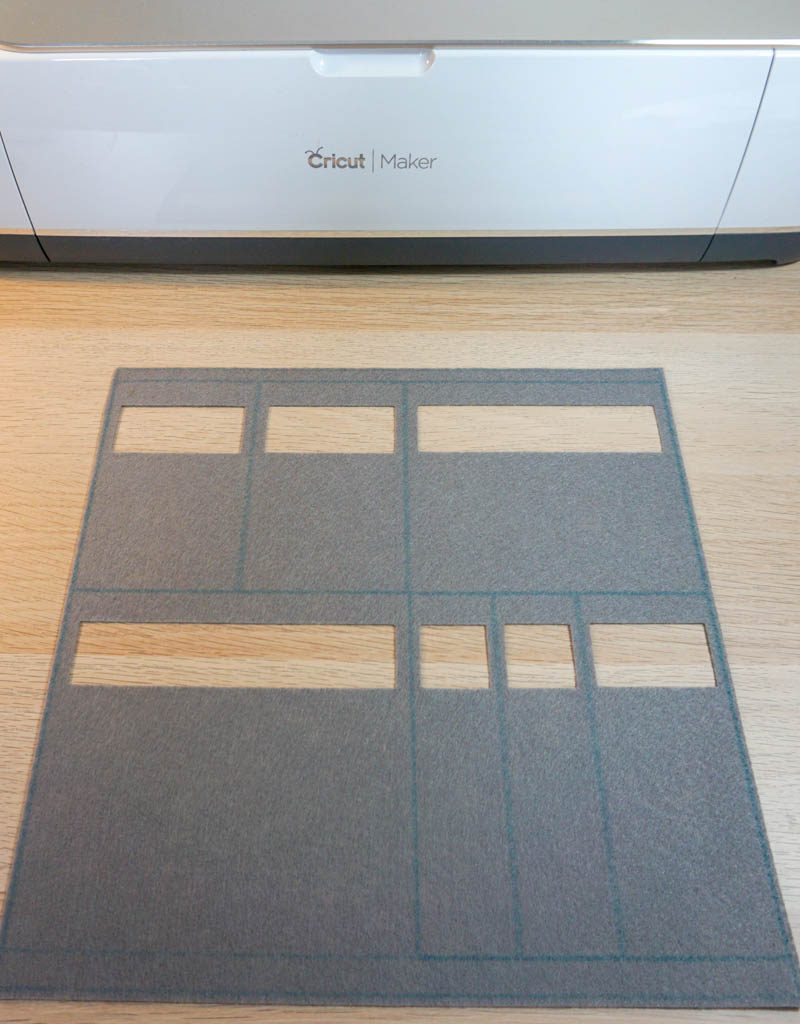
Place the cut piece of felt on top of the solid piece.
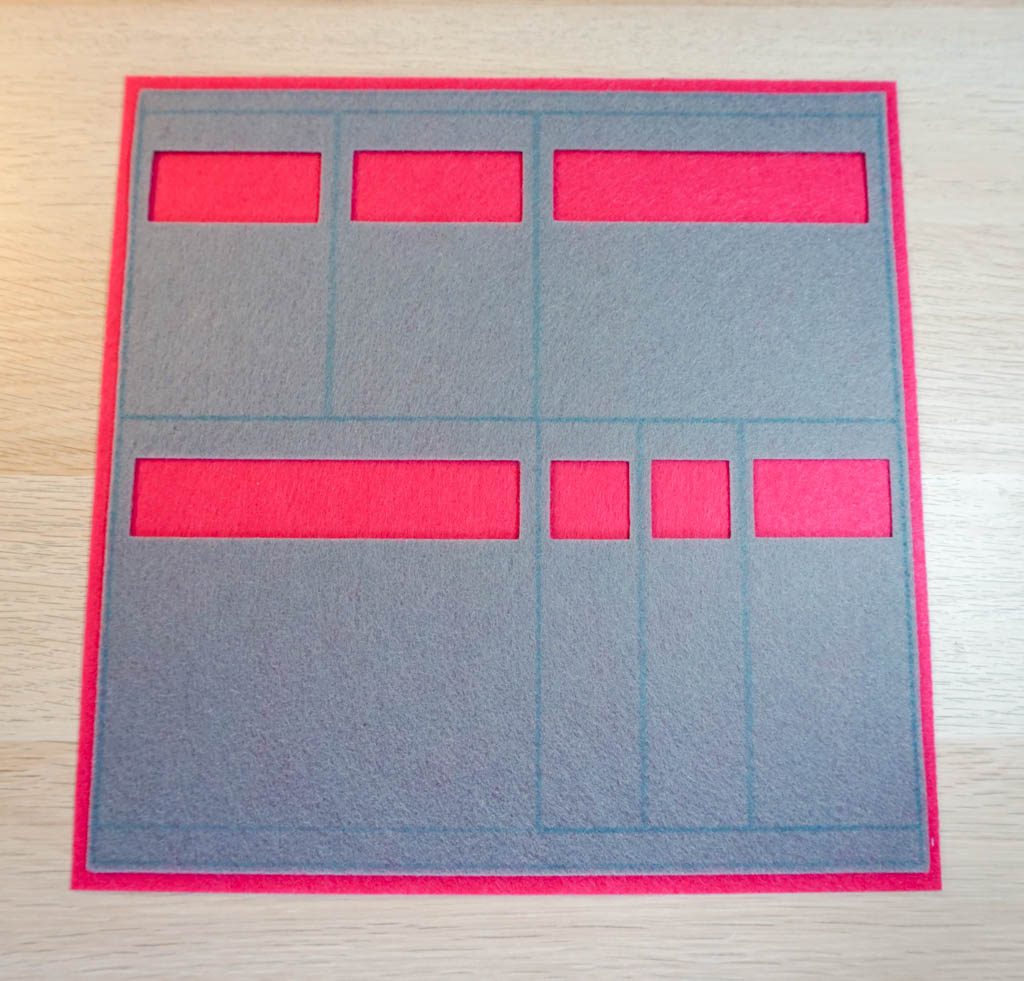
Sew along the lines! This is a great project for someone who is learning how to sew–all you need to do is follow the lines and you’re good!
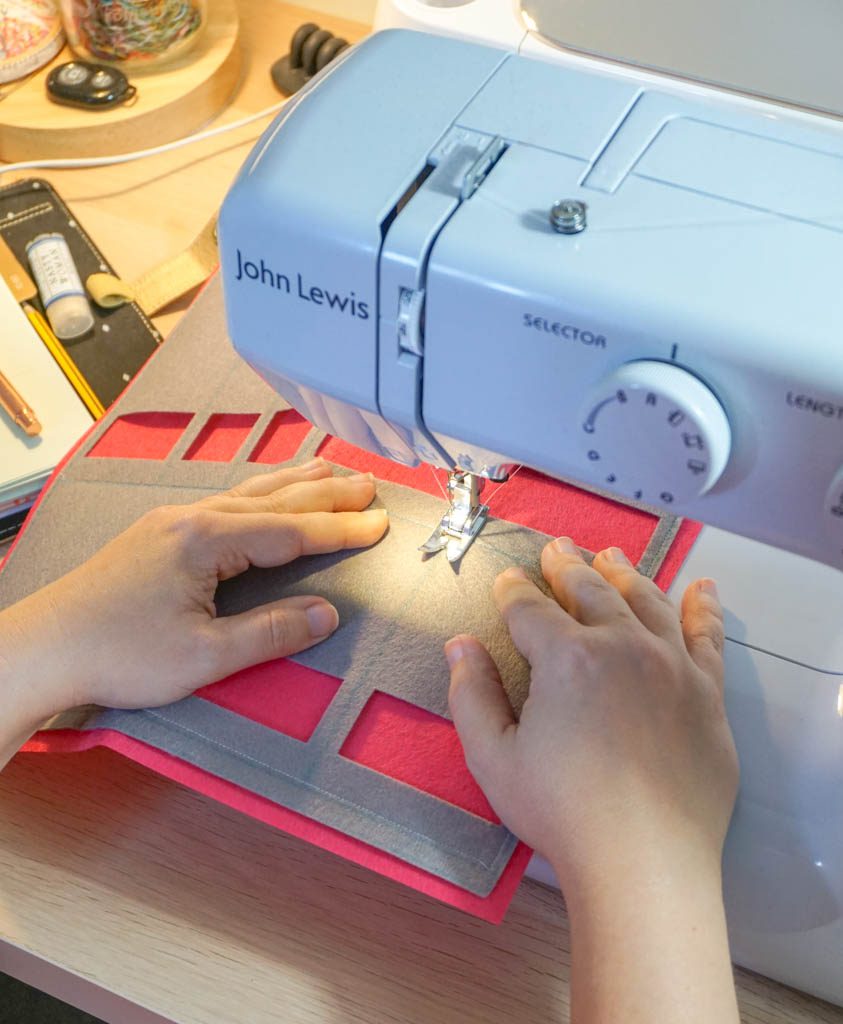
Now, I know there’s a line there, but don’t sew the little bit on the sides at the top. This is where your dowel rod will slip in. I used a small rod, but if you have a bit of a bigger one, you can adjust that pocket so that it fits.
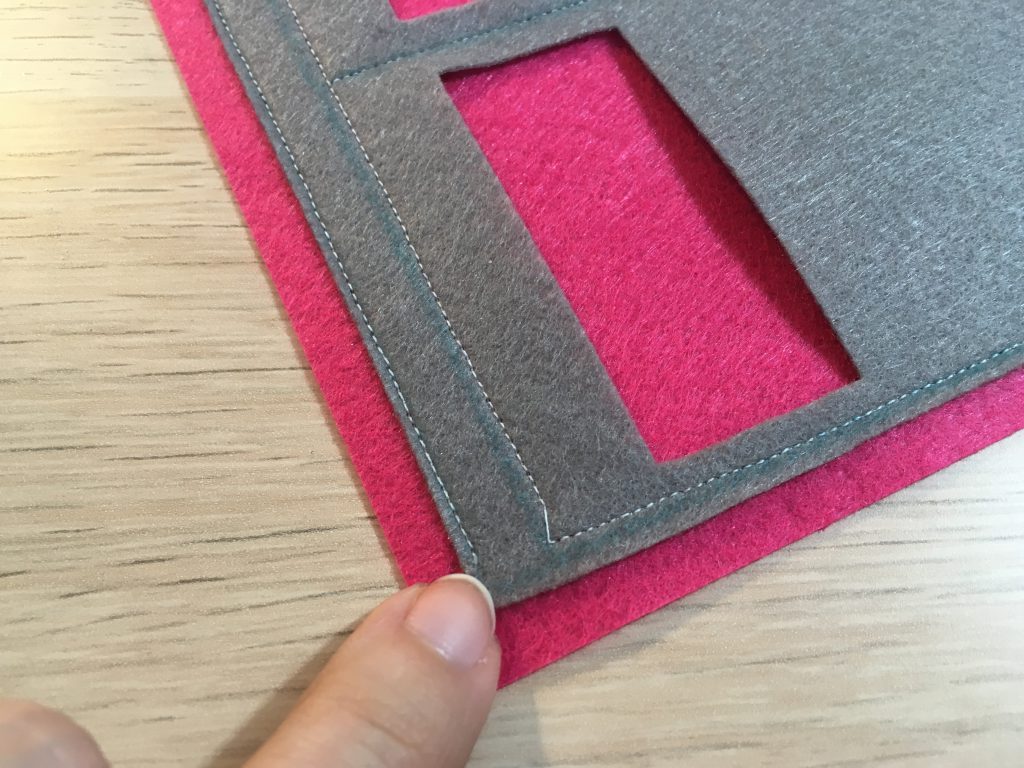
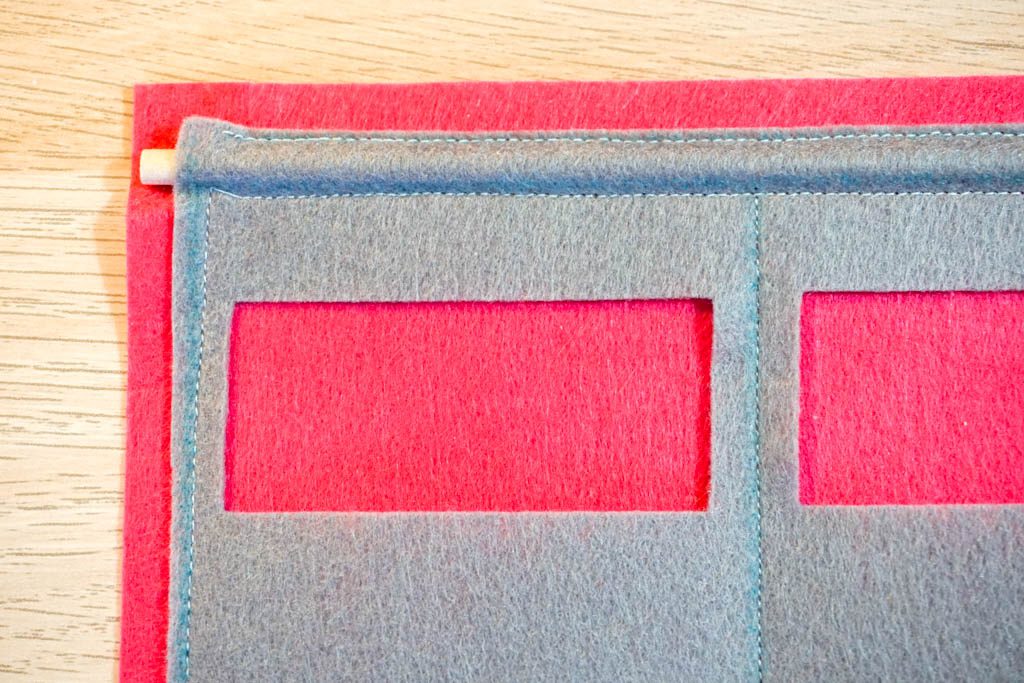
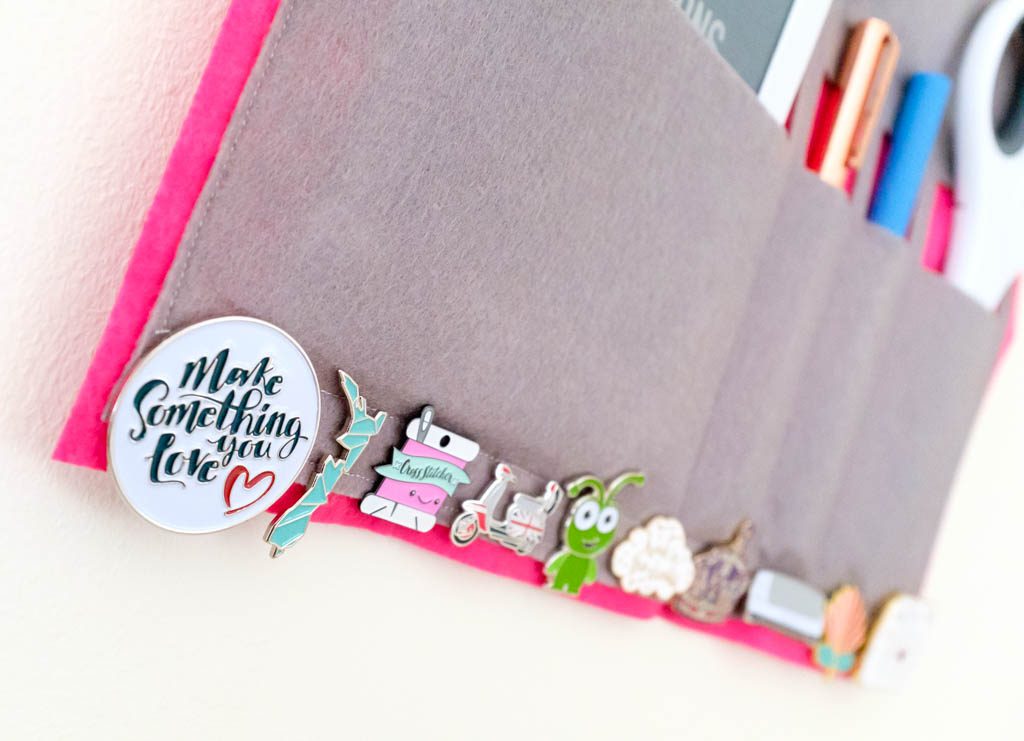
When you’re finished sewing, run the entire piece under cold water to get rid of the marker lines. Once it’s dry, insert the dowel rod and tie on your yarn/string/however you want to hang it. Start filling your Felt Pocket Wall Organizer with all the supplies you like to keep close! One of my favourite parts is having a place to stick some of my pin collection. This is such a fun little project to make and I can imagine it in all sorts of settings–craft rooms, dorms, and kid organization. It would be great as part of a kitchen command center! Just choose your colours and off you go!


One Comment