Easy Embellished Claw Clip
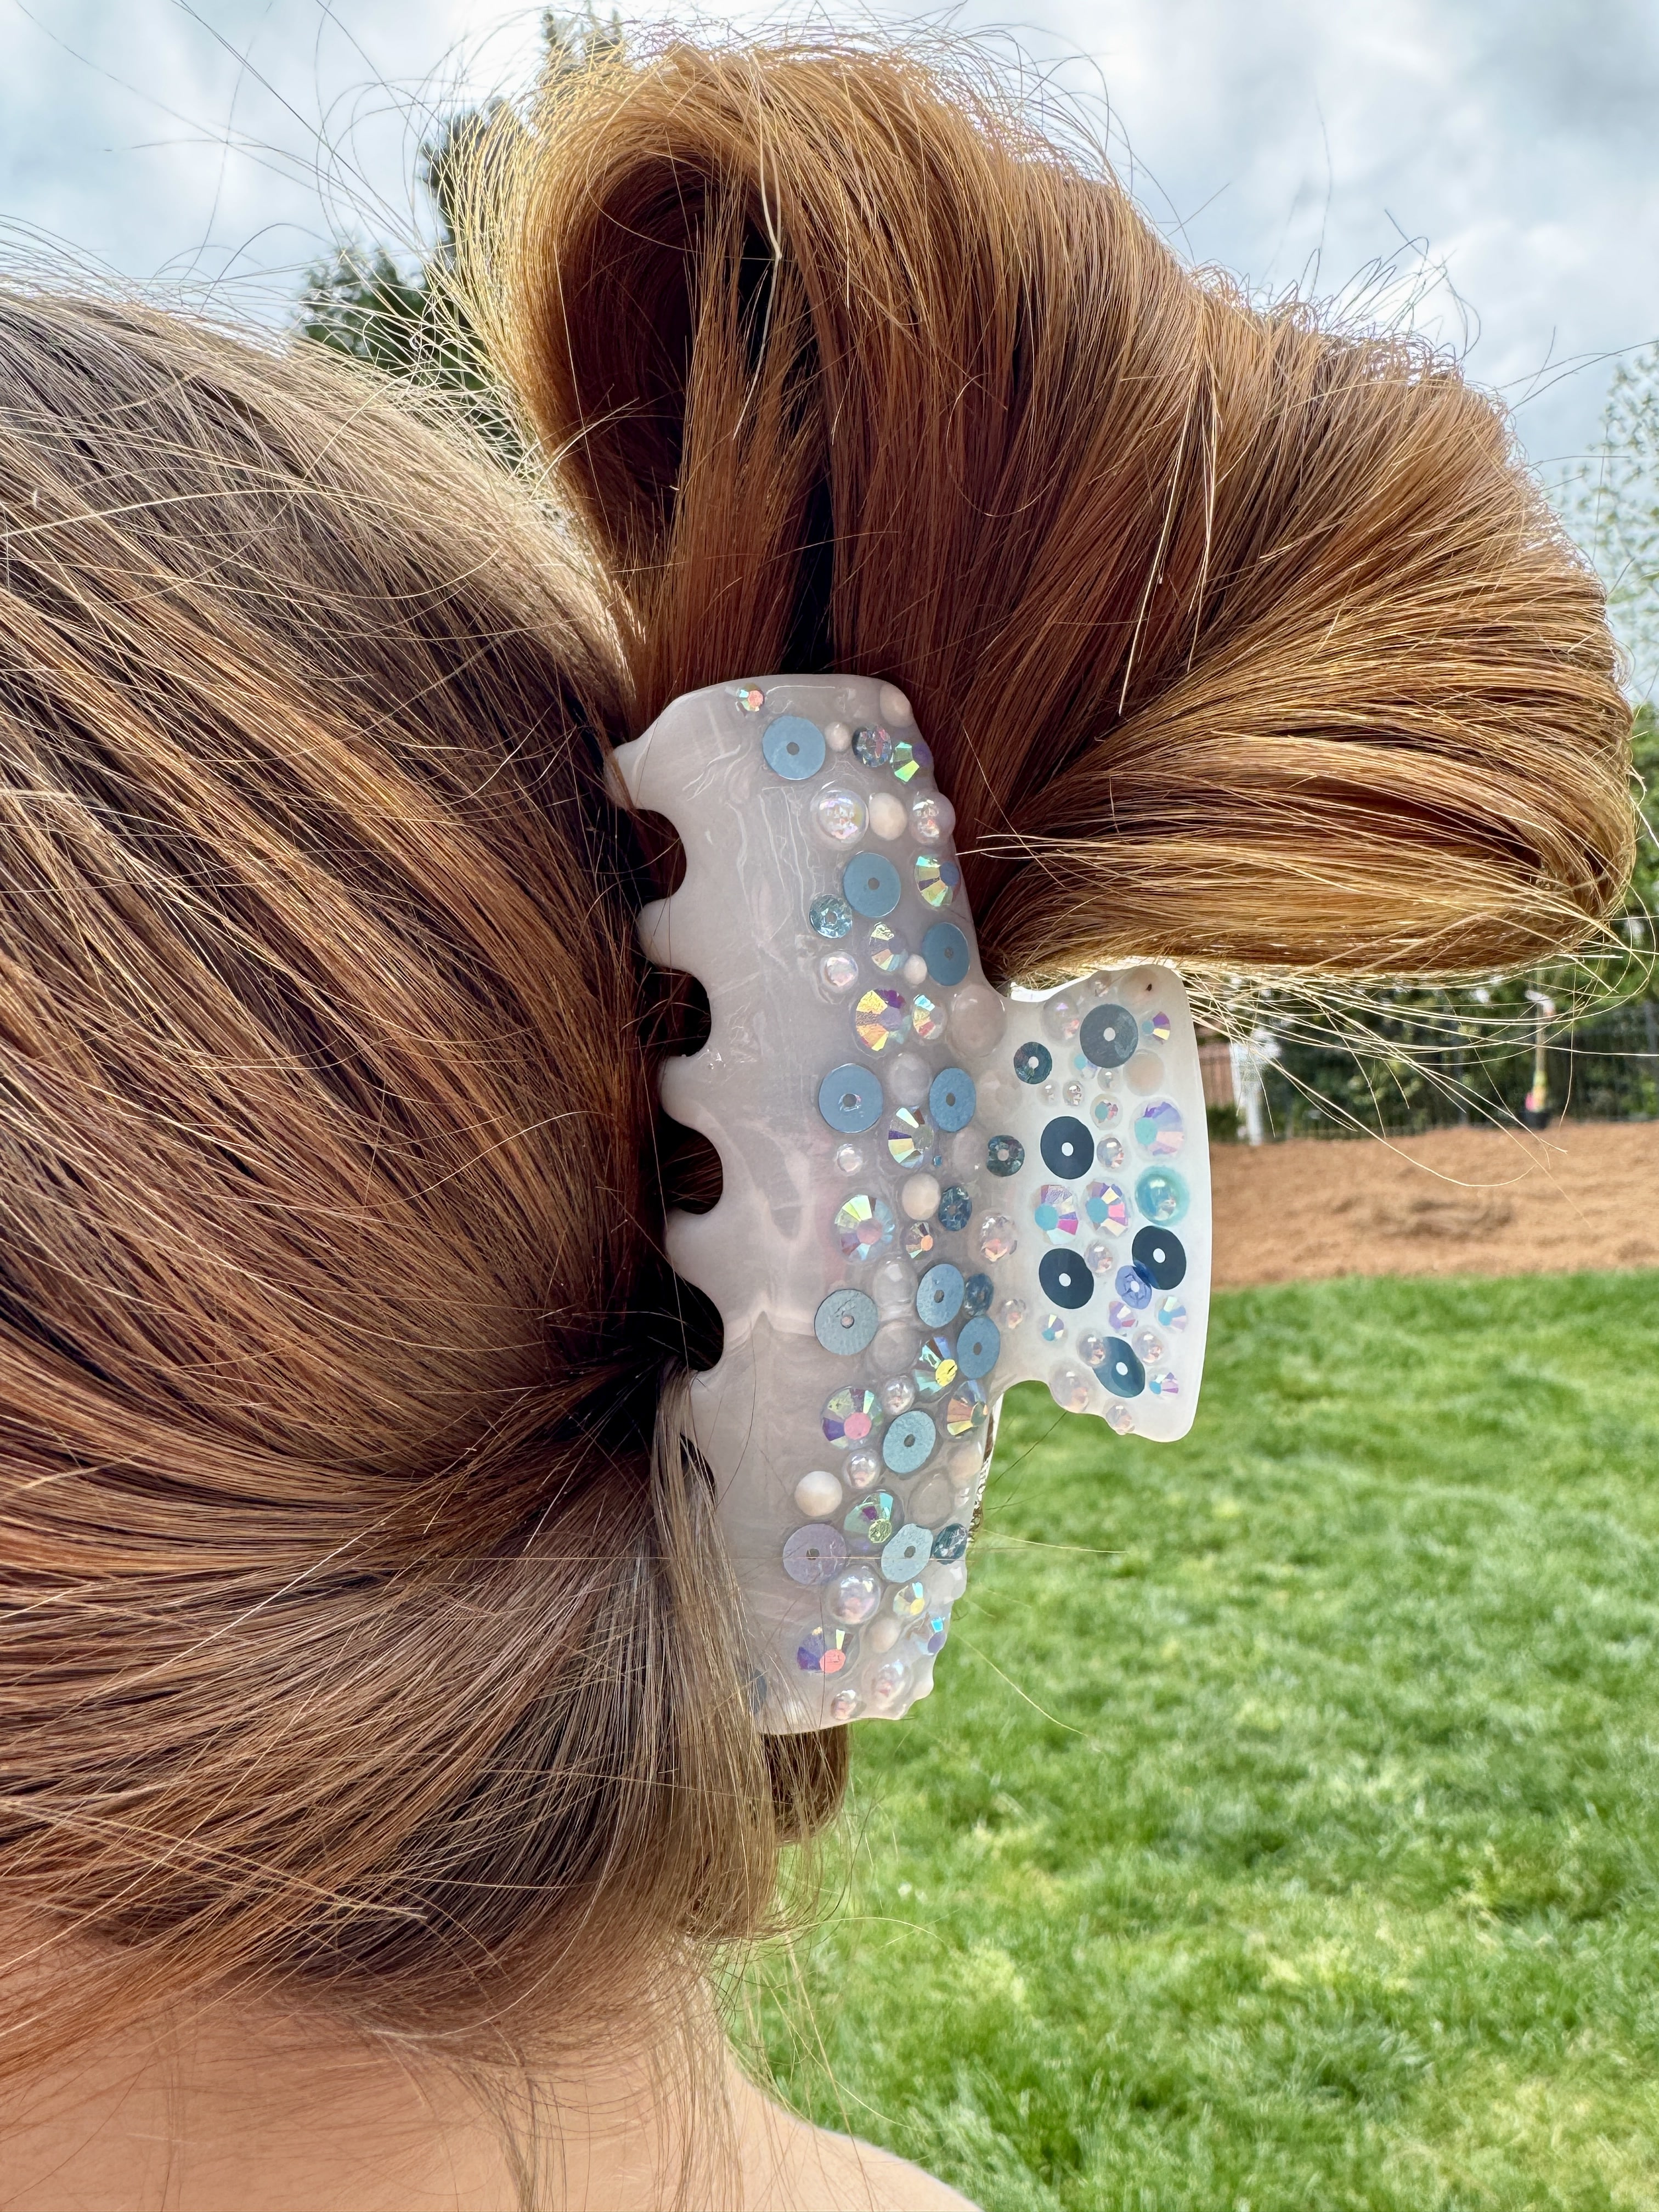
My hair takes forever to grow but I’ve finally reached the point where I actually need to pull it back sometimes. This is fun because I actually get to play with more hair goodies for the first time in many years. This easy embellished claw clip was a fun and quick project and I’m looking forward to getting to wear it–I used my daughter for the main picture and she stole it immediately. Alas.
This post contains sponsored content and affiliate links.
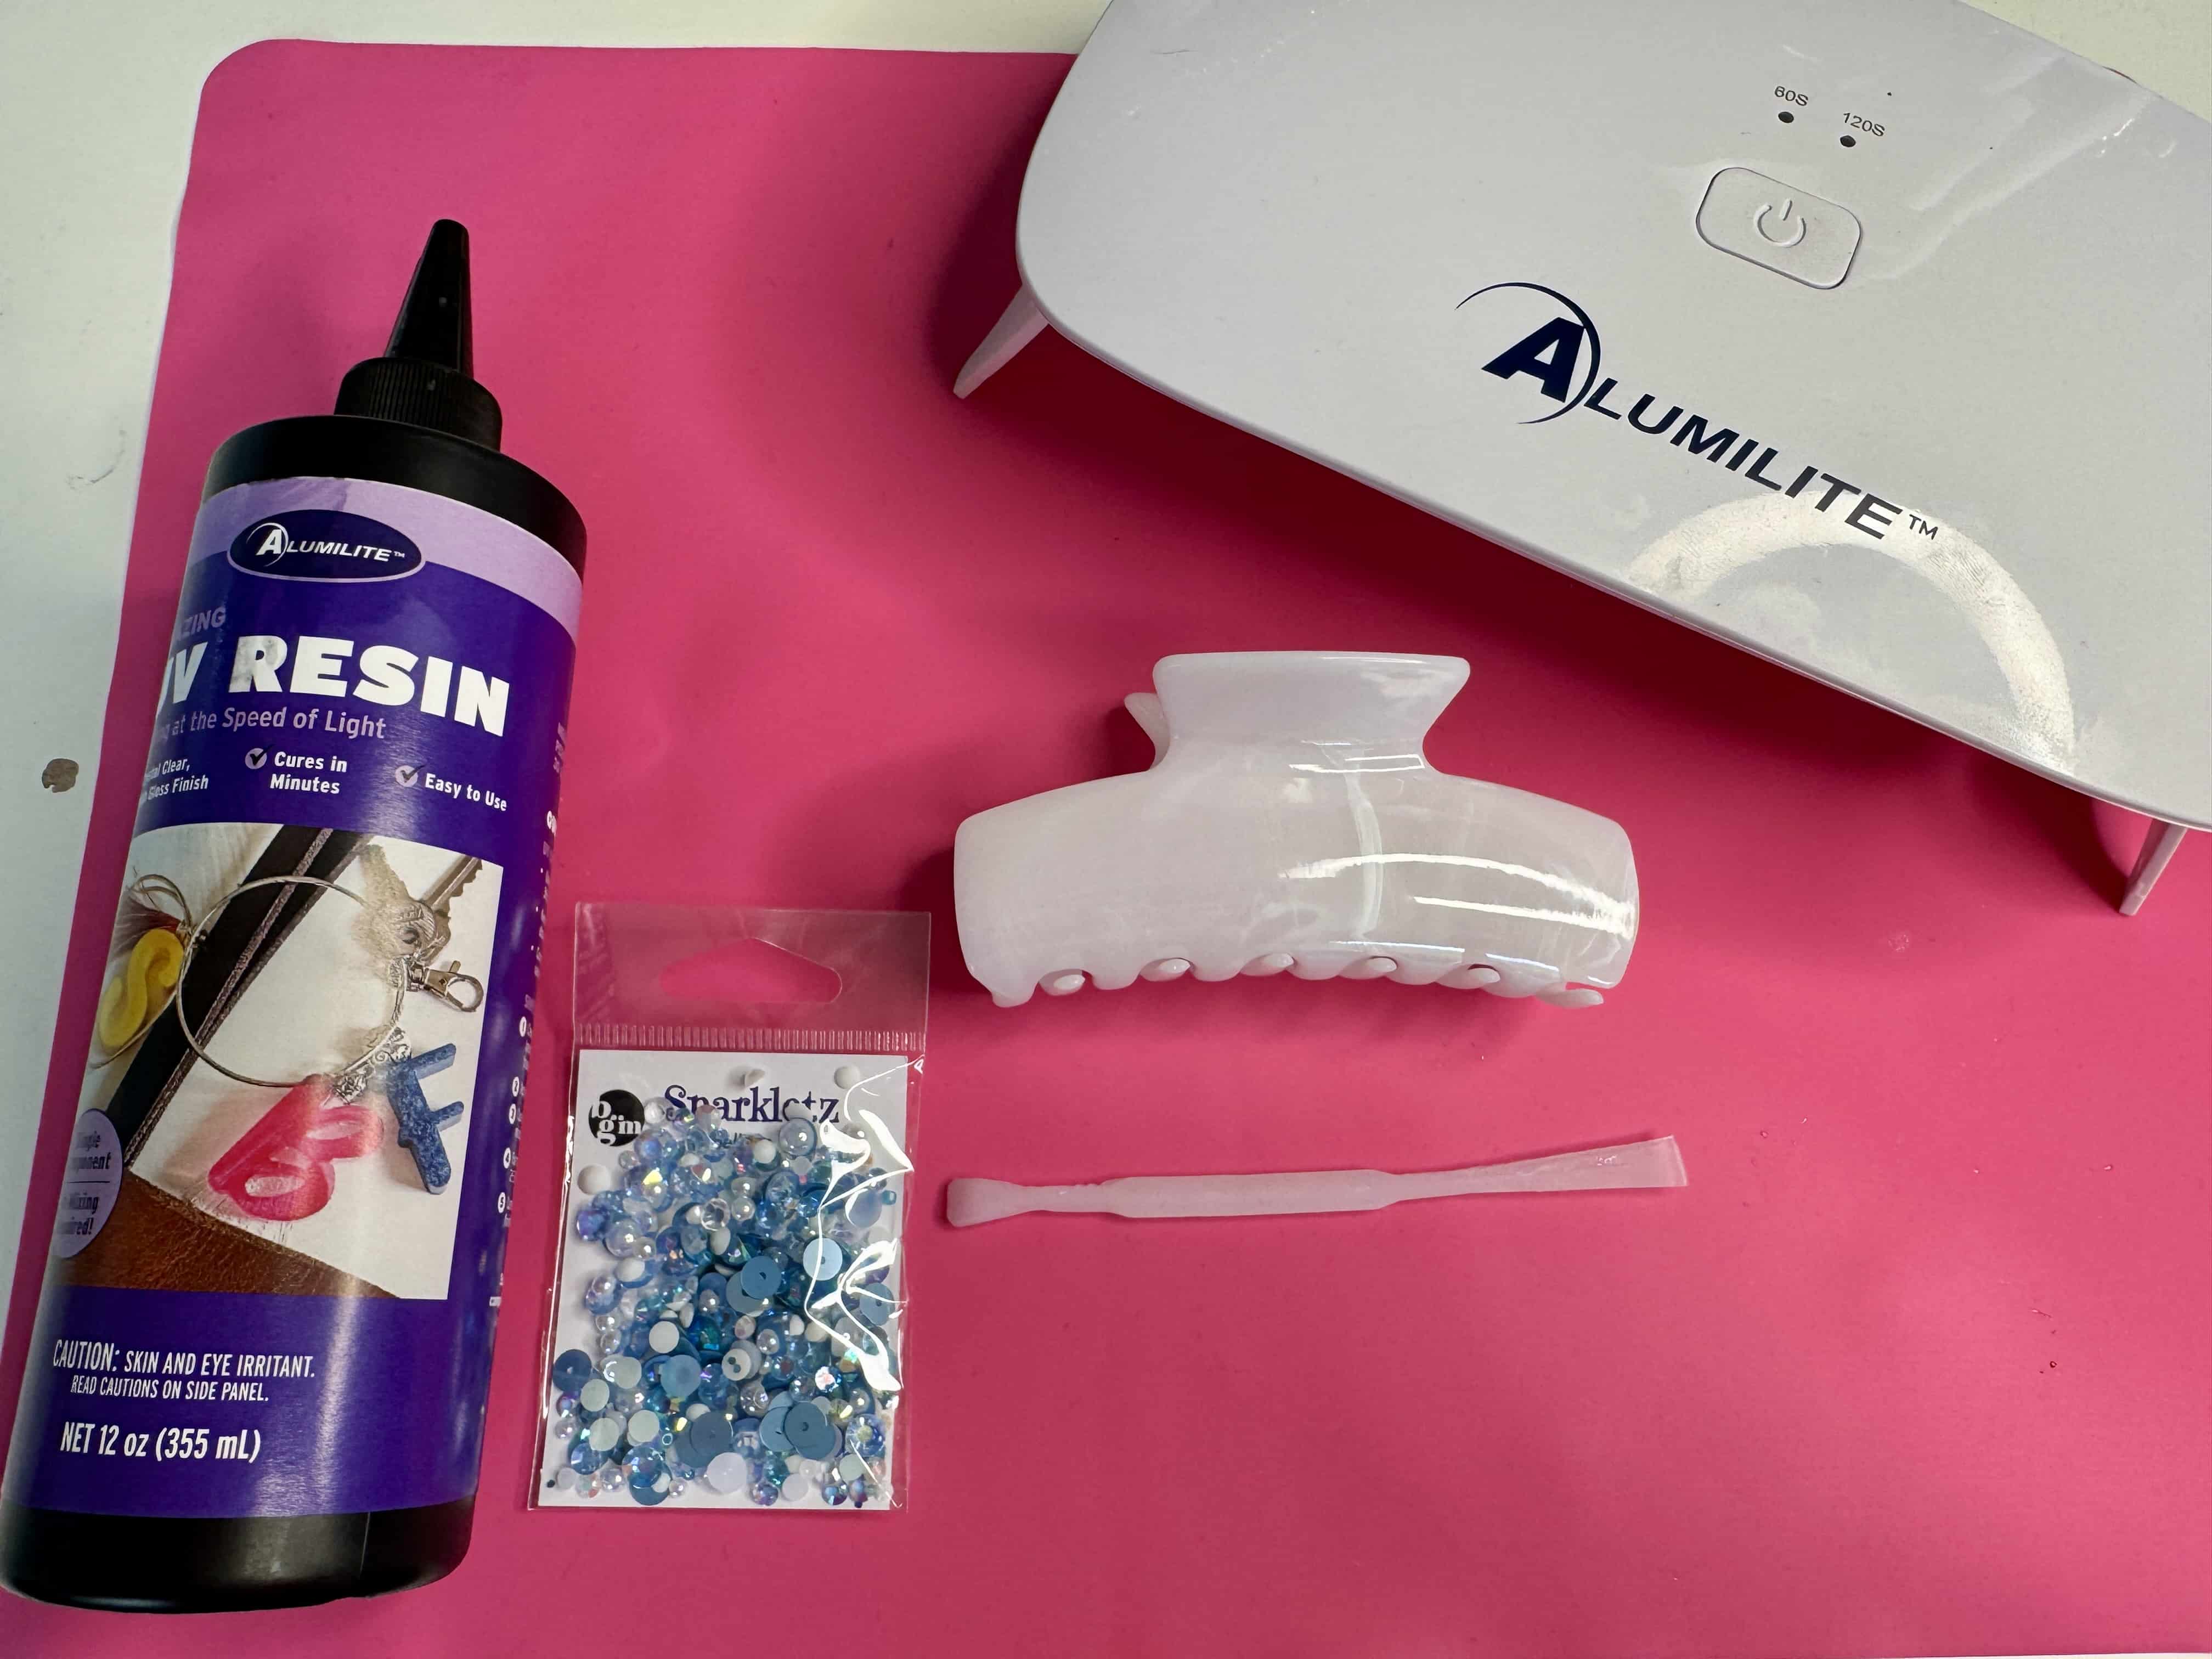
Supplies:
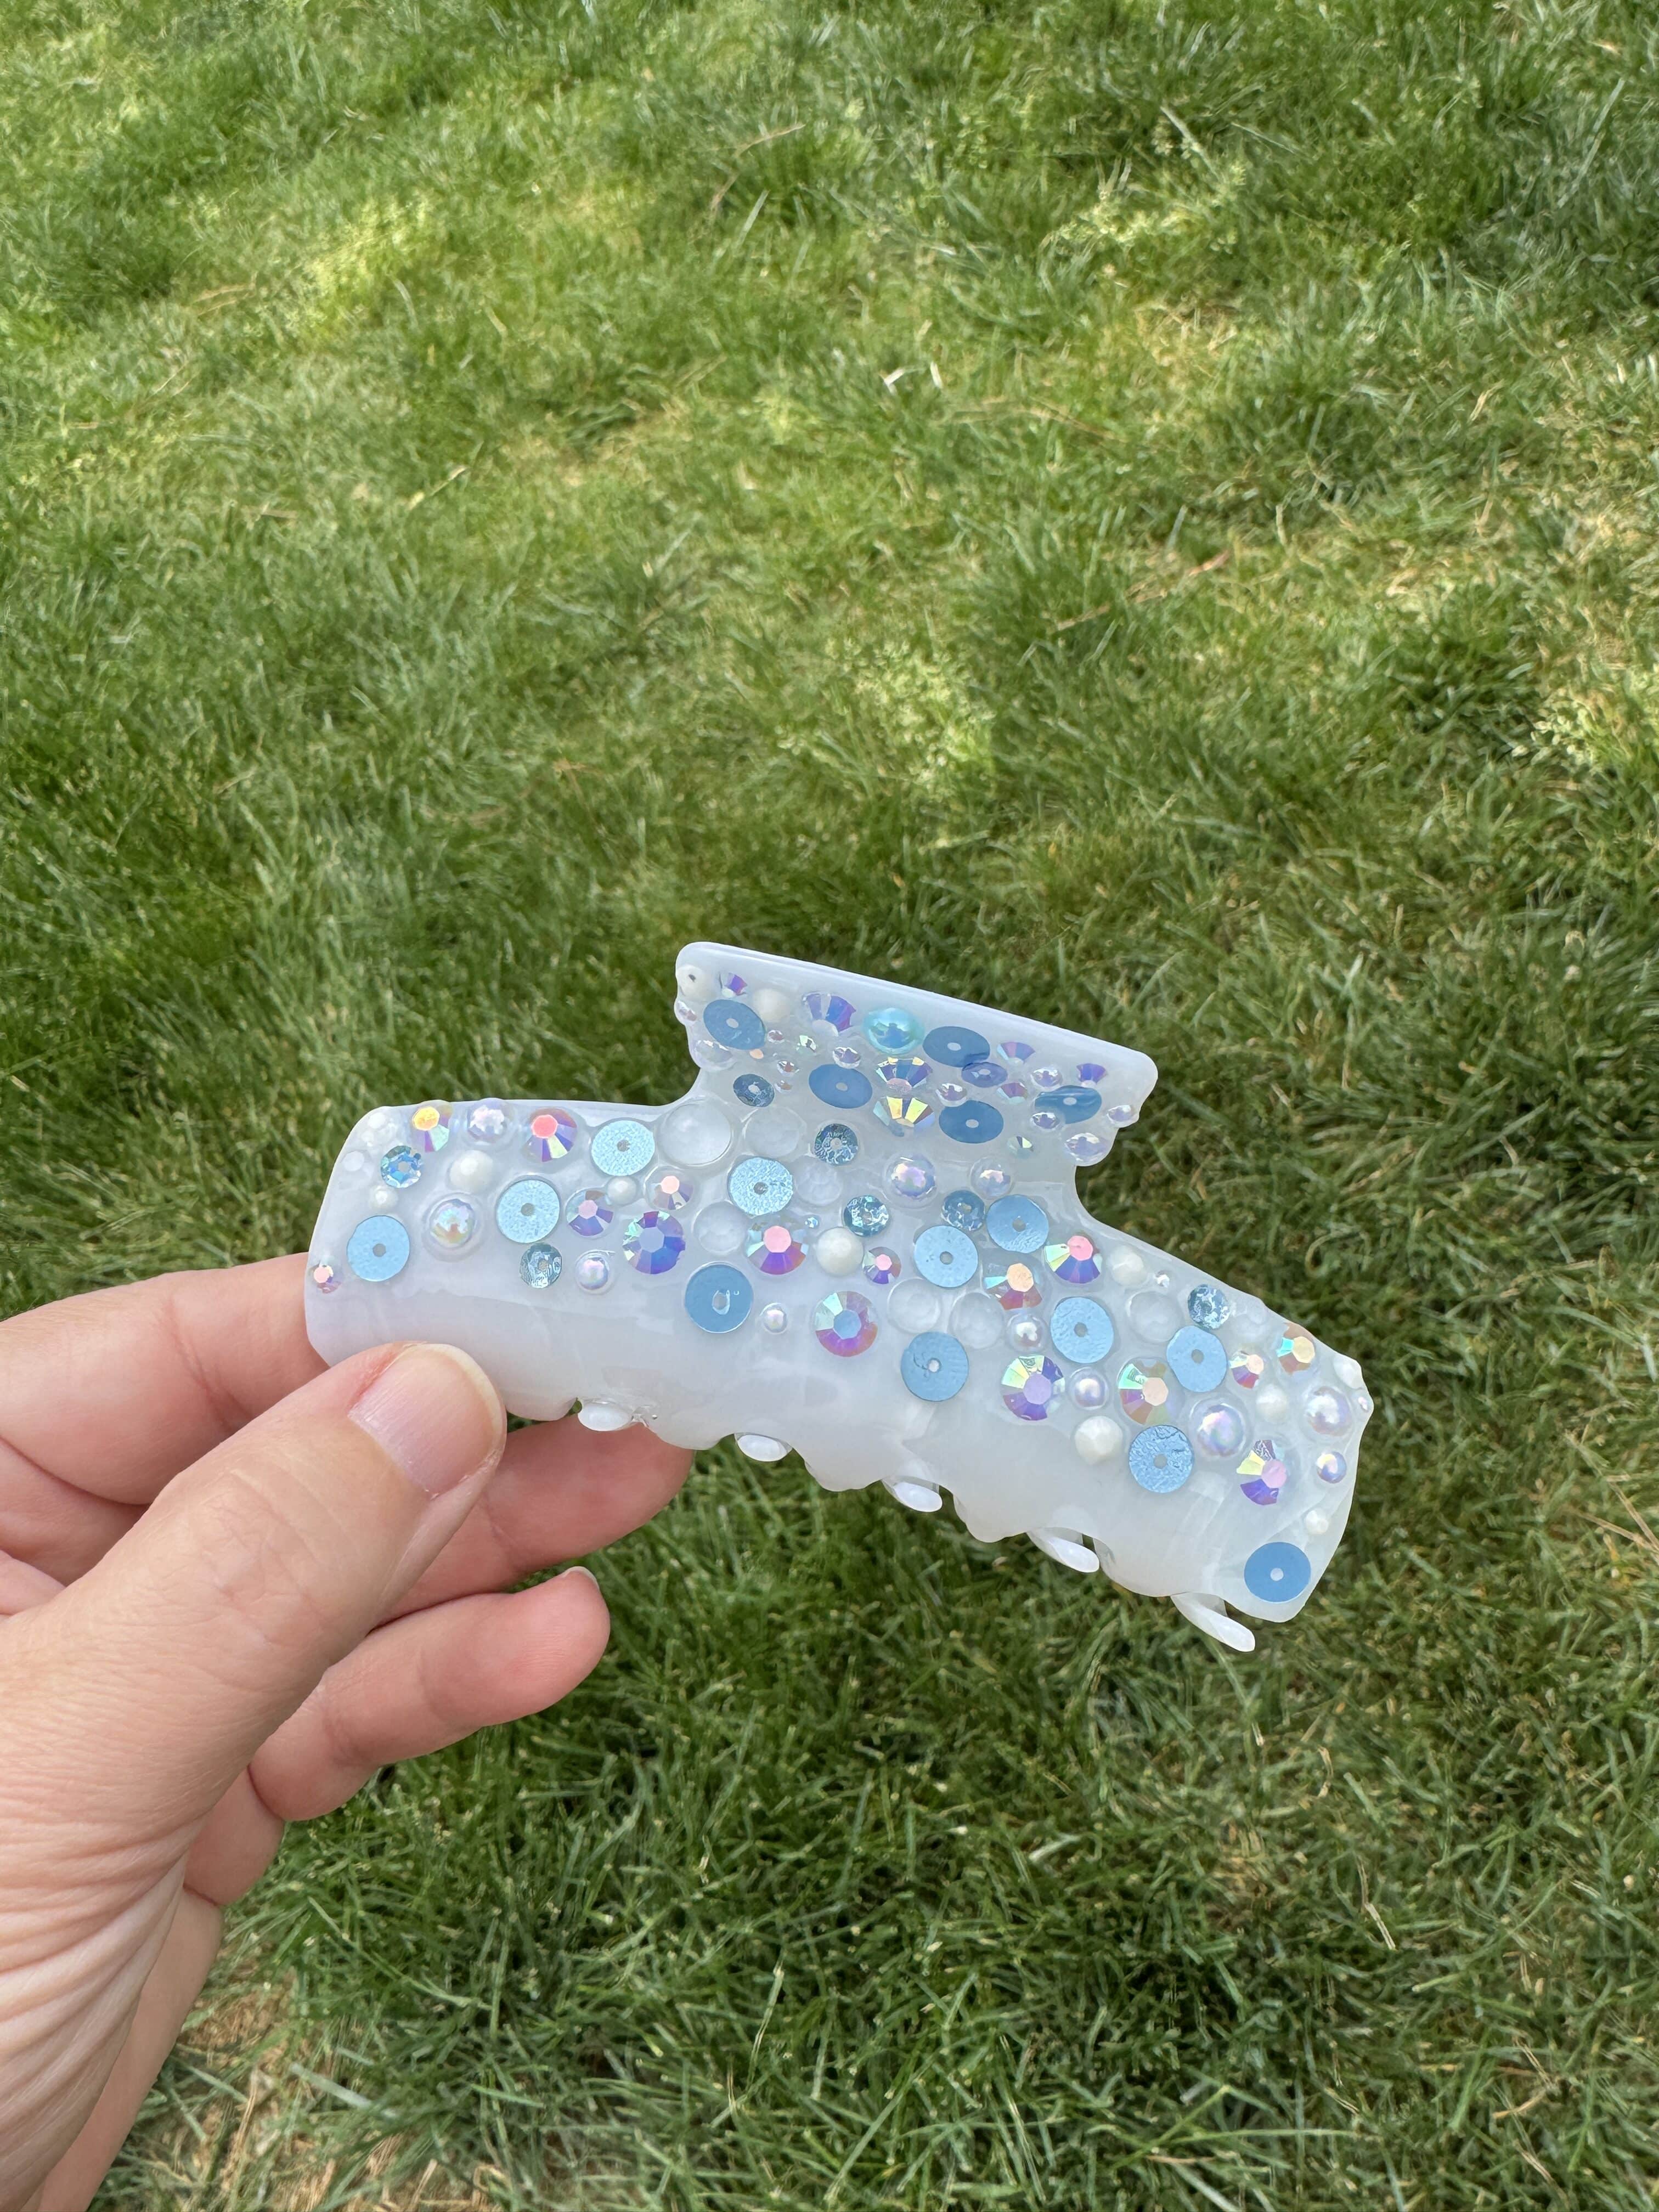
- plain claw clip (you want one with plenty of surface to decorate–this set is similar to what I used)
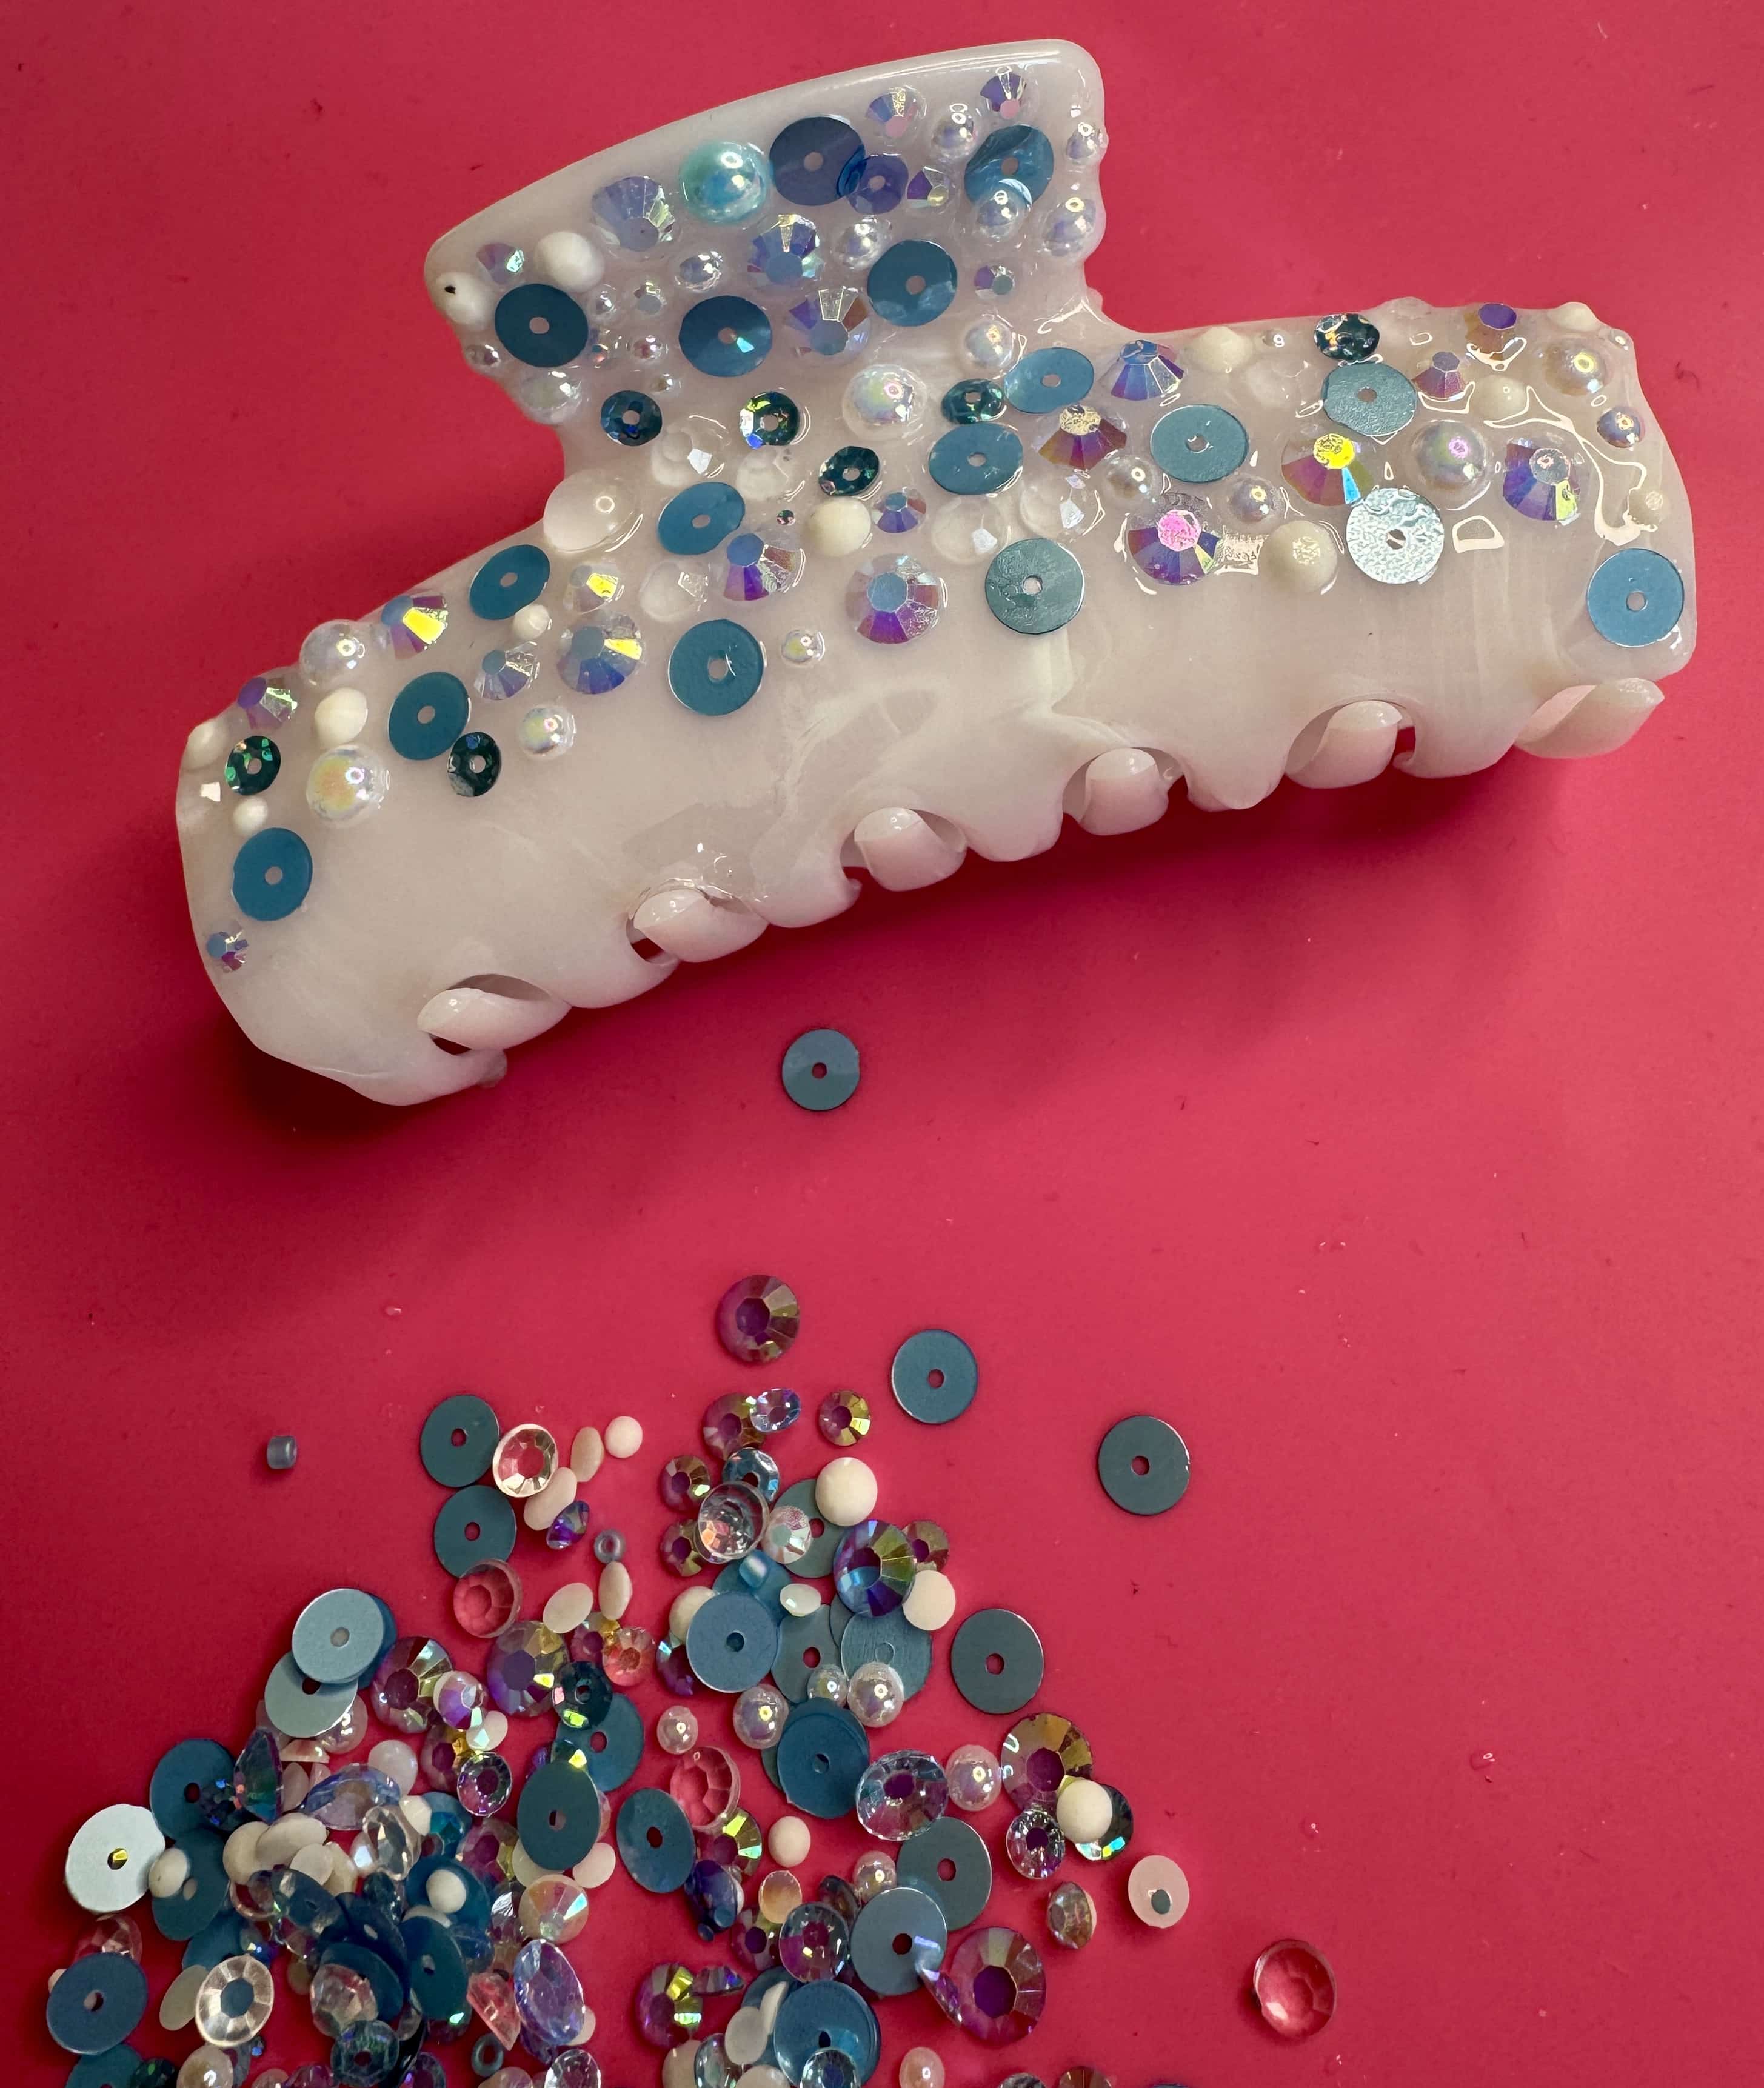
- Sparkletz in Ocean Waves from BGM Box
- UV Resin (I use Alumilite products)
- UV Resin Light
- silicone stick for resin (this set is similar to what I used)
- silicone mat
- long hair for showing off your new clip!
Directions:
I decorated my clip section by section. For each section, pour a small amount of resin onto the clip. Spread it to the edges with your silicone stick. If you put too much on, it will drip since the clip is curved. Less is more in this case. I know it’s hard to see, but I only put resin on the handle of the clip in this picture.
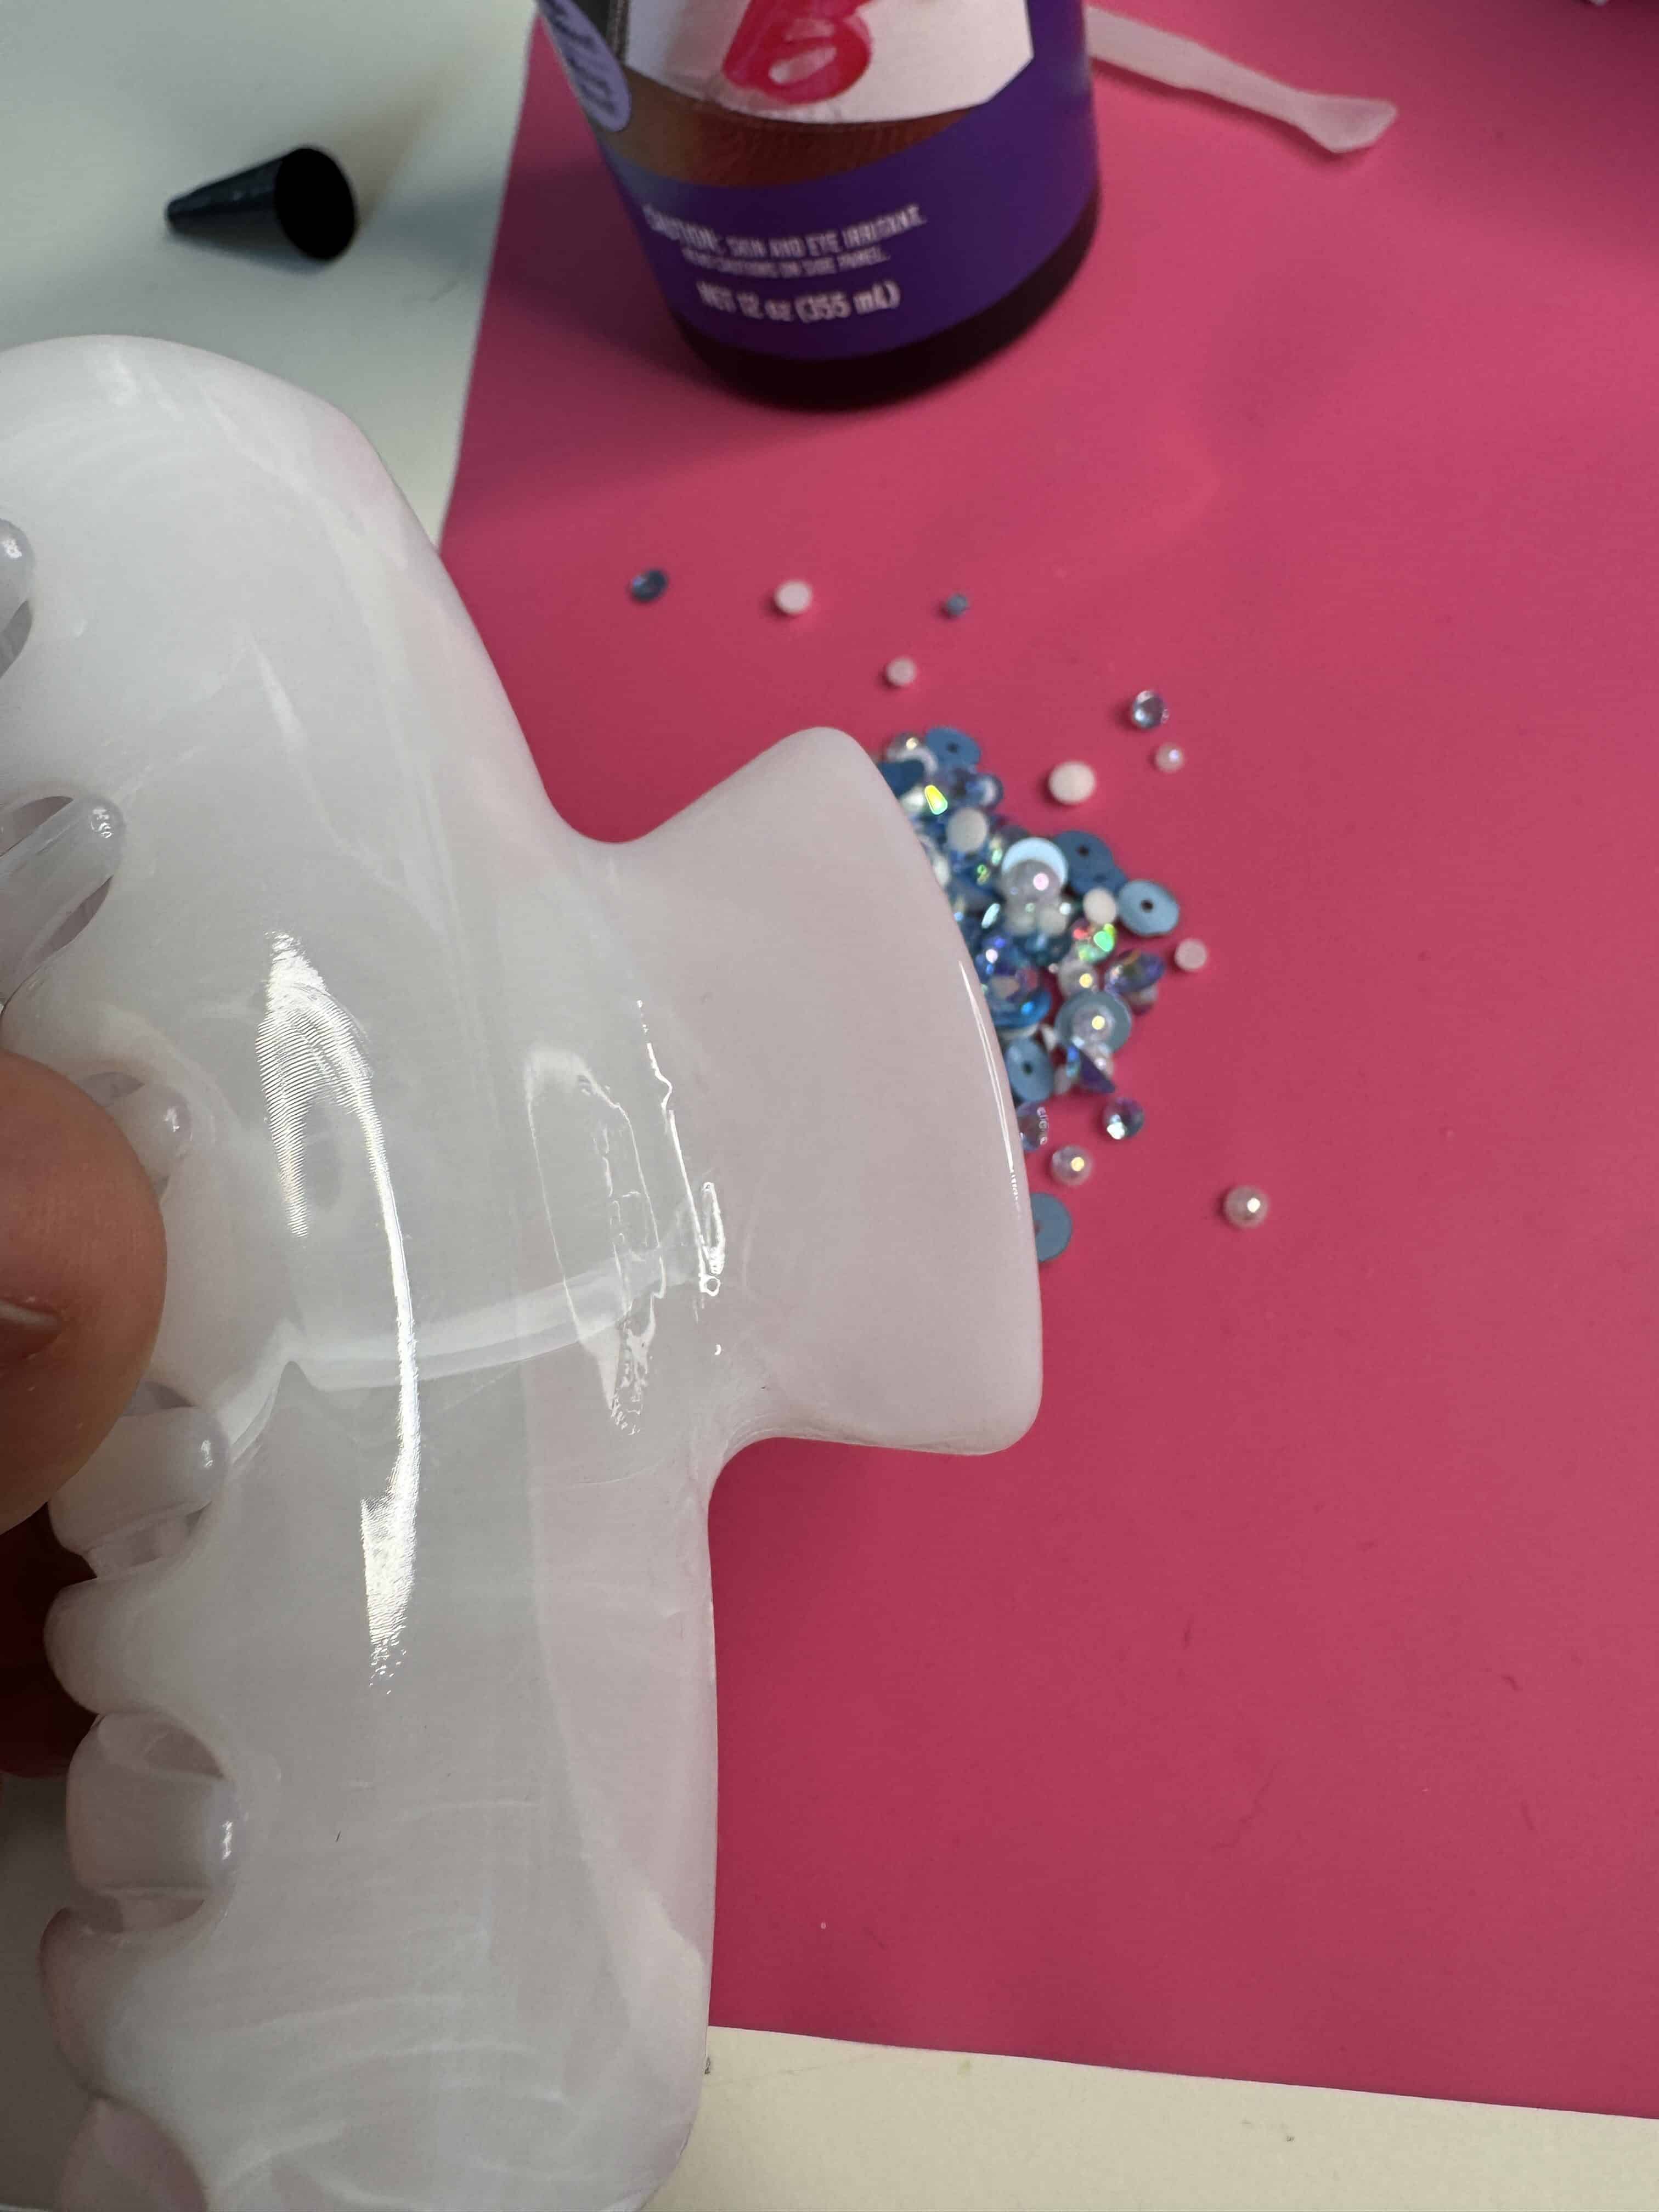
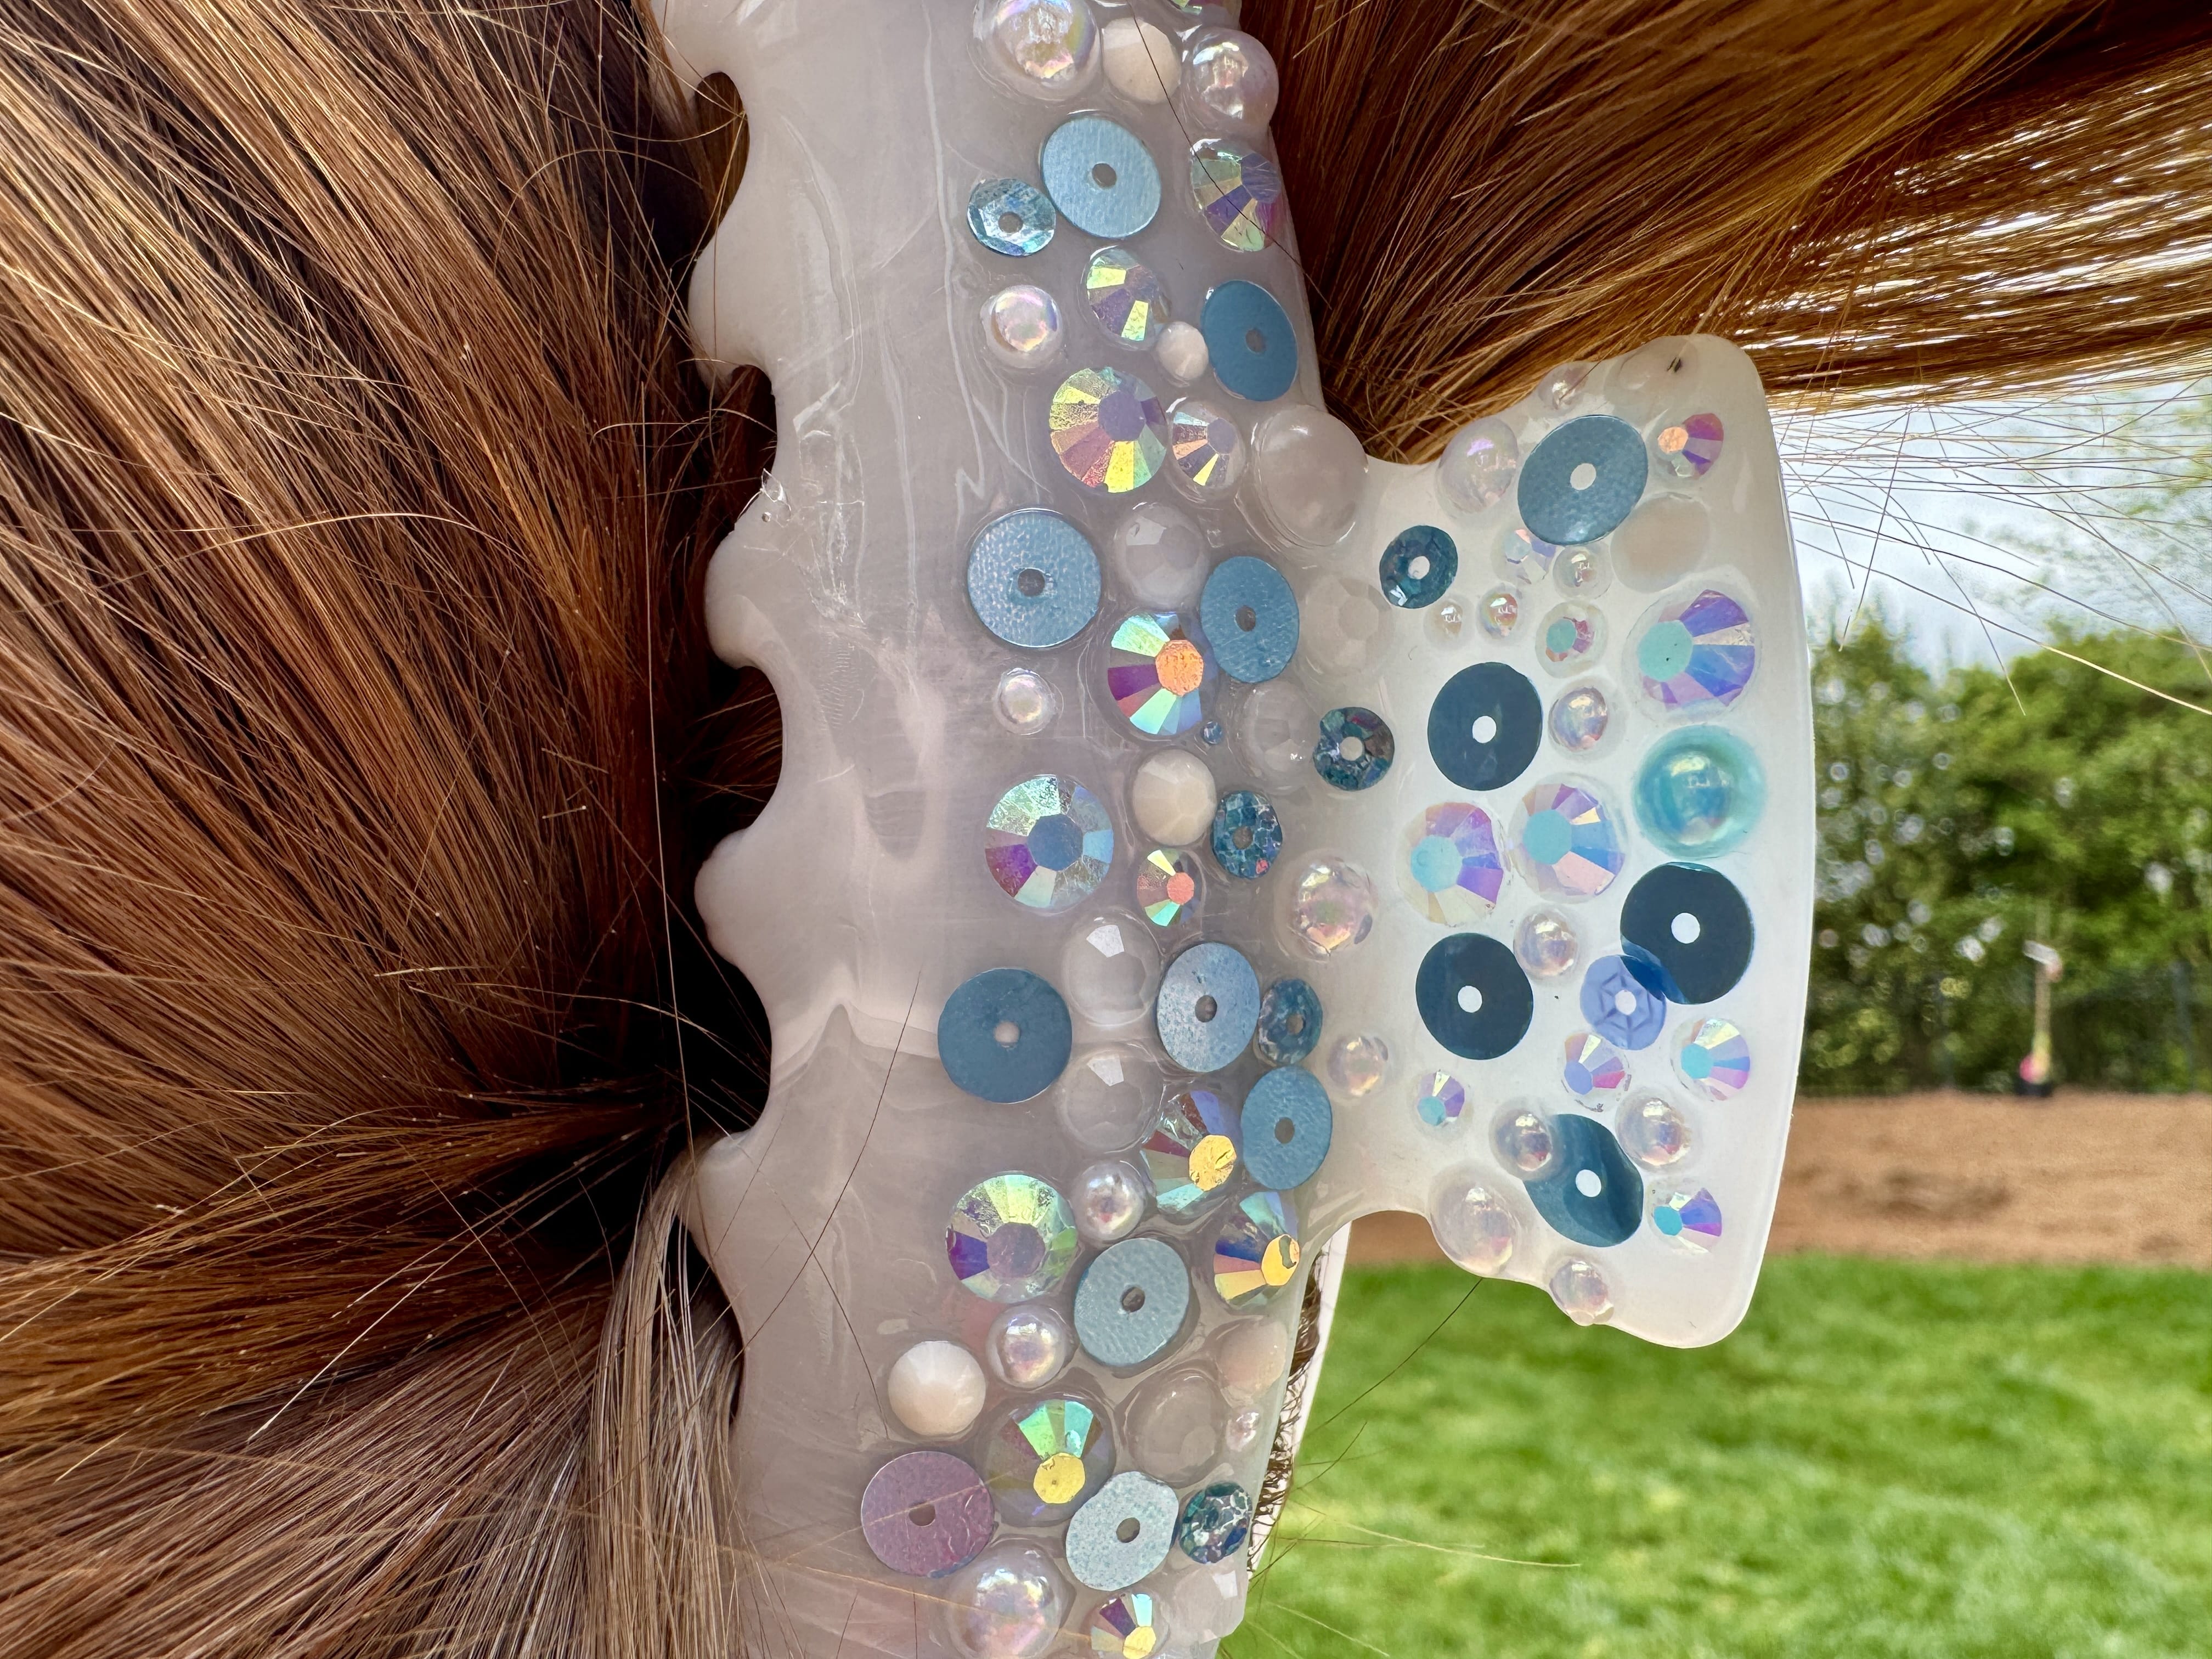
Place the Sparkletz onto the resin in whatever pattern you want–I was pretty random.
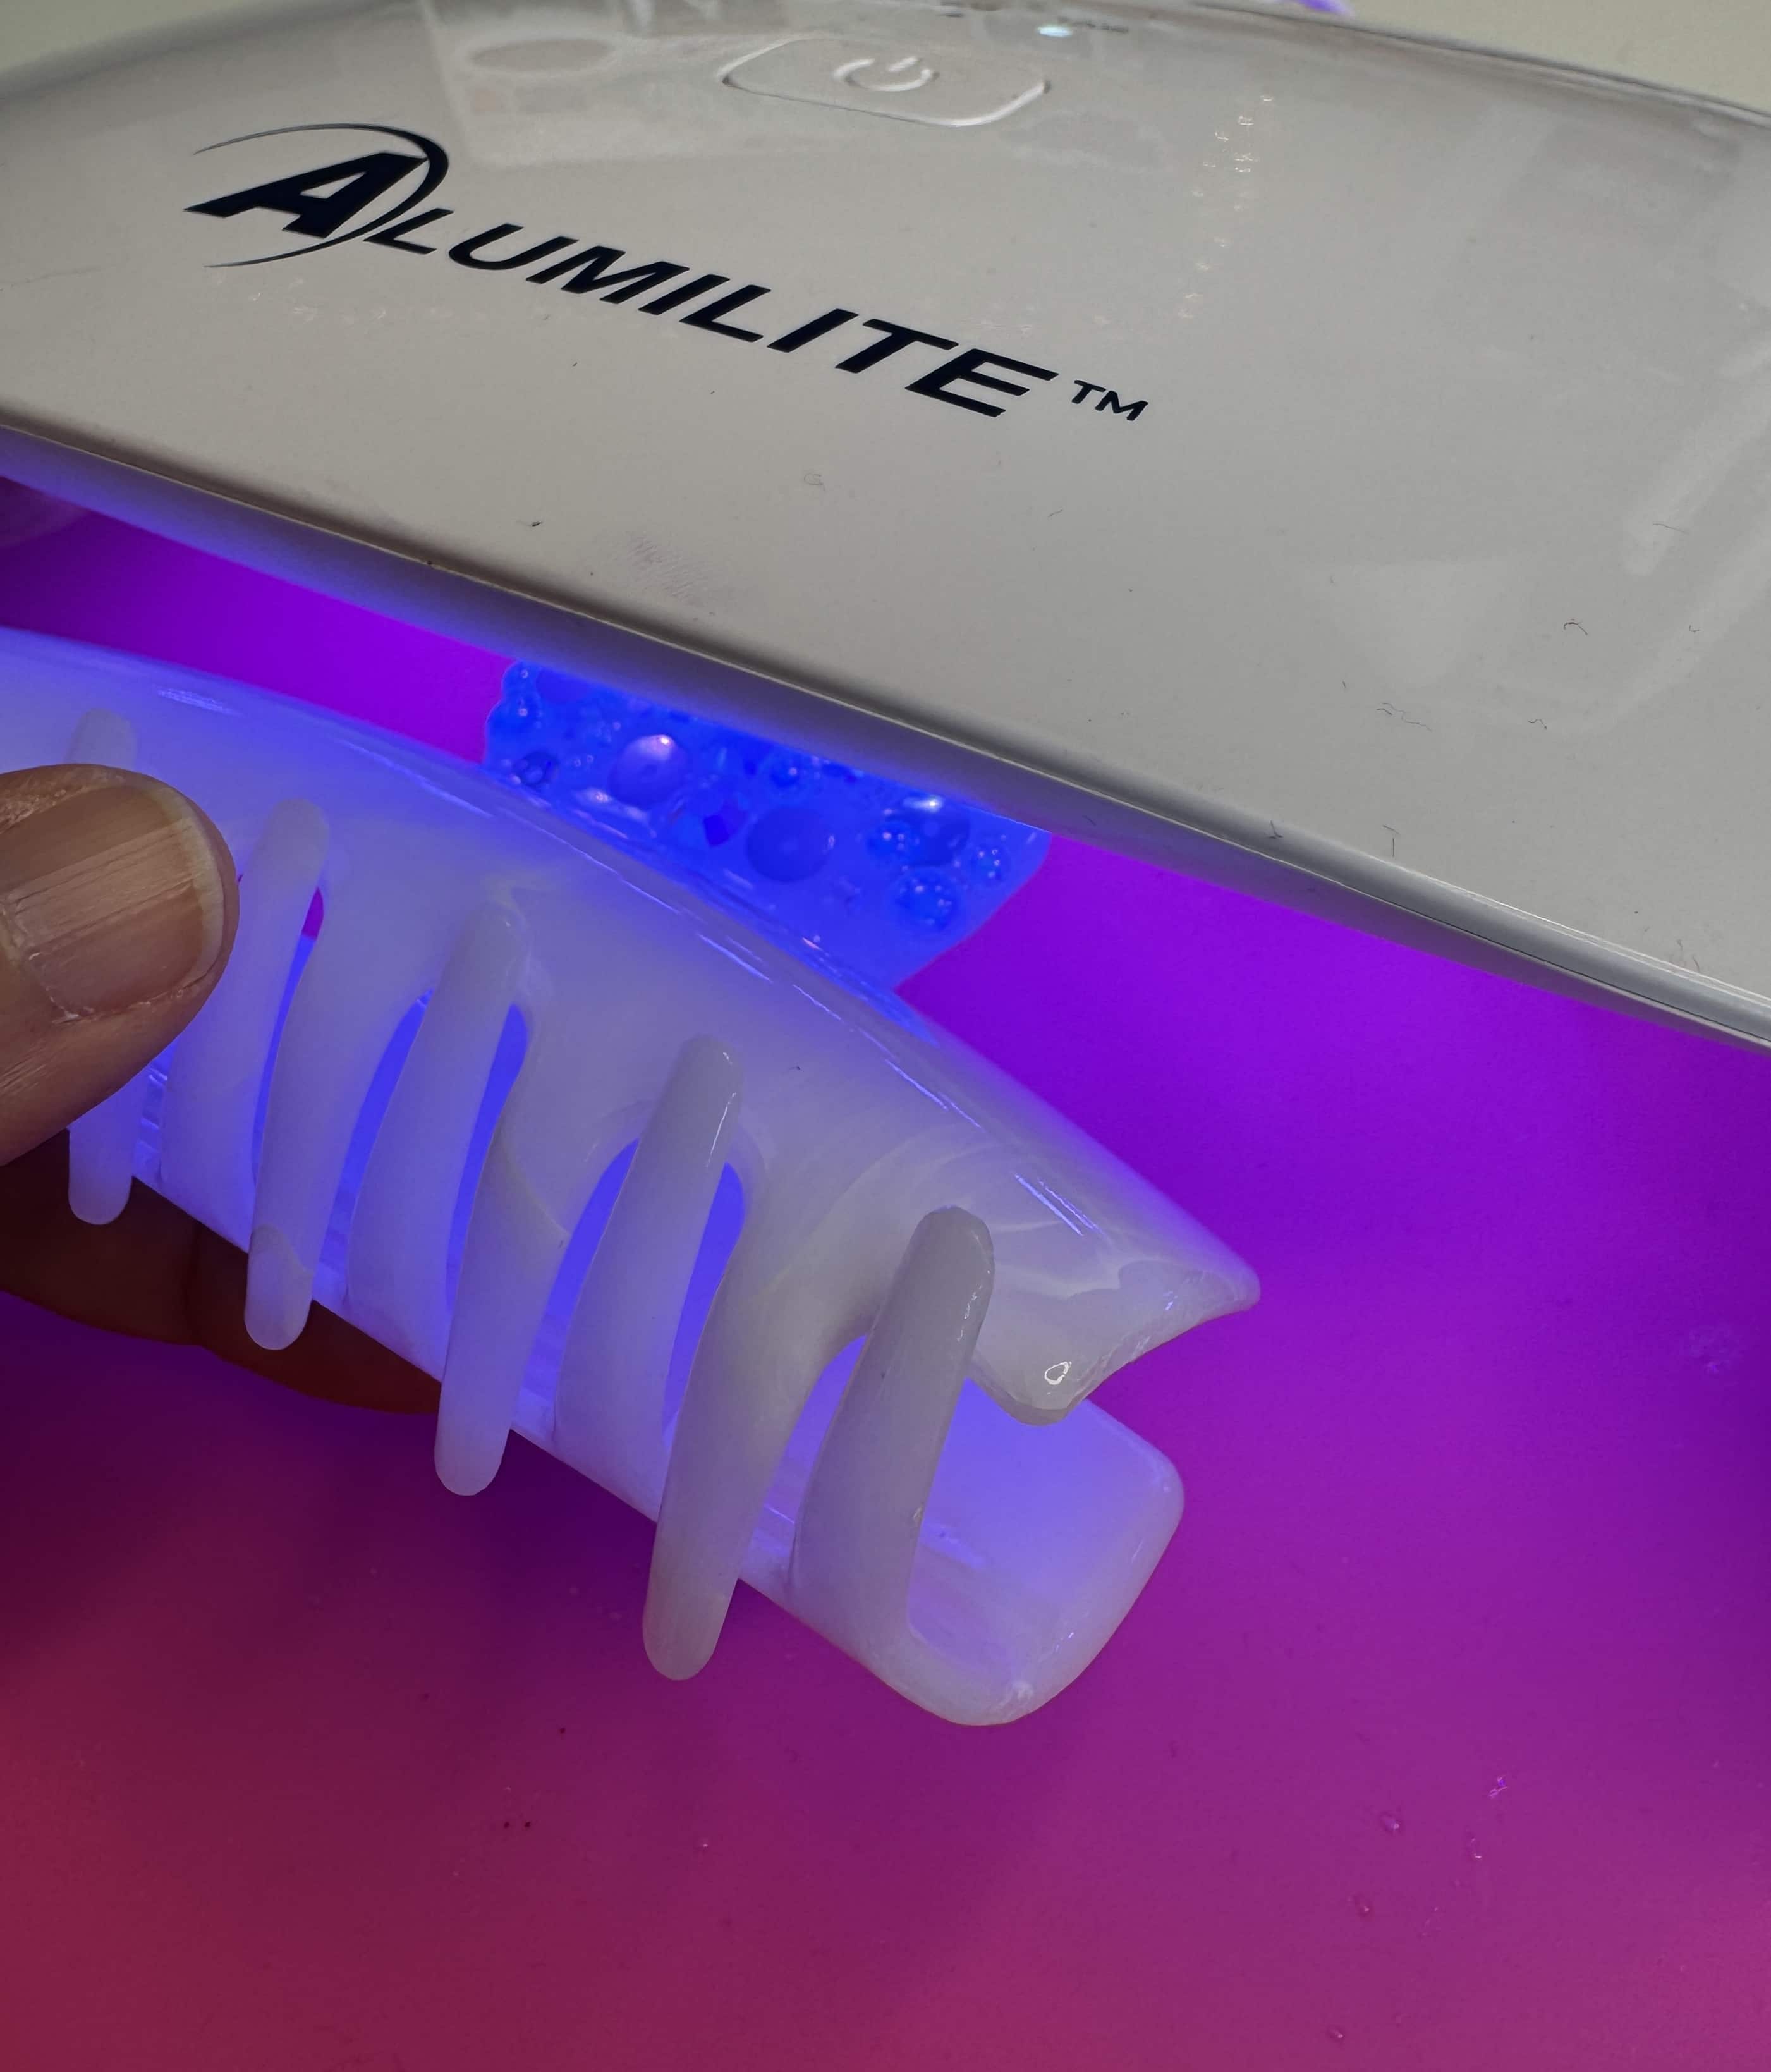
Place the clip under the light for 120 seconds. If the clip feels at all sticky, put it back under the light for another round.
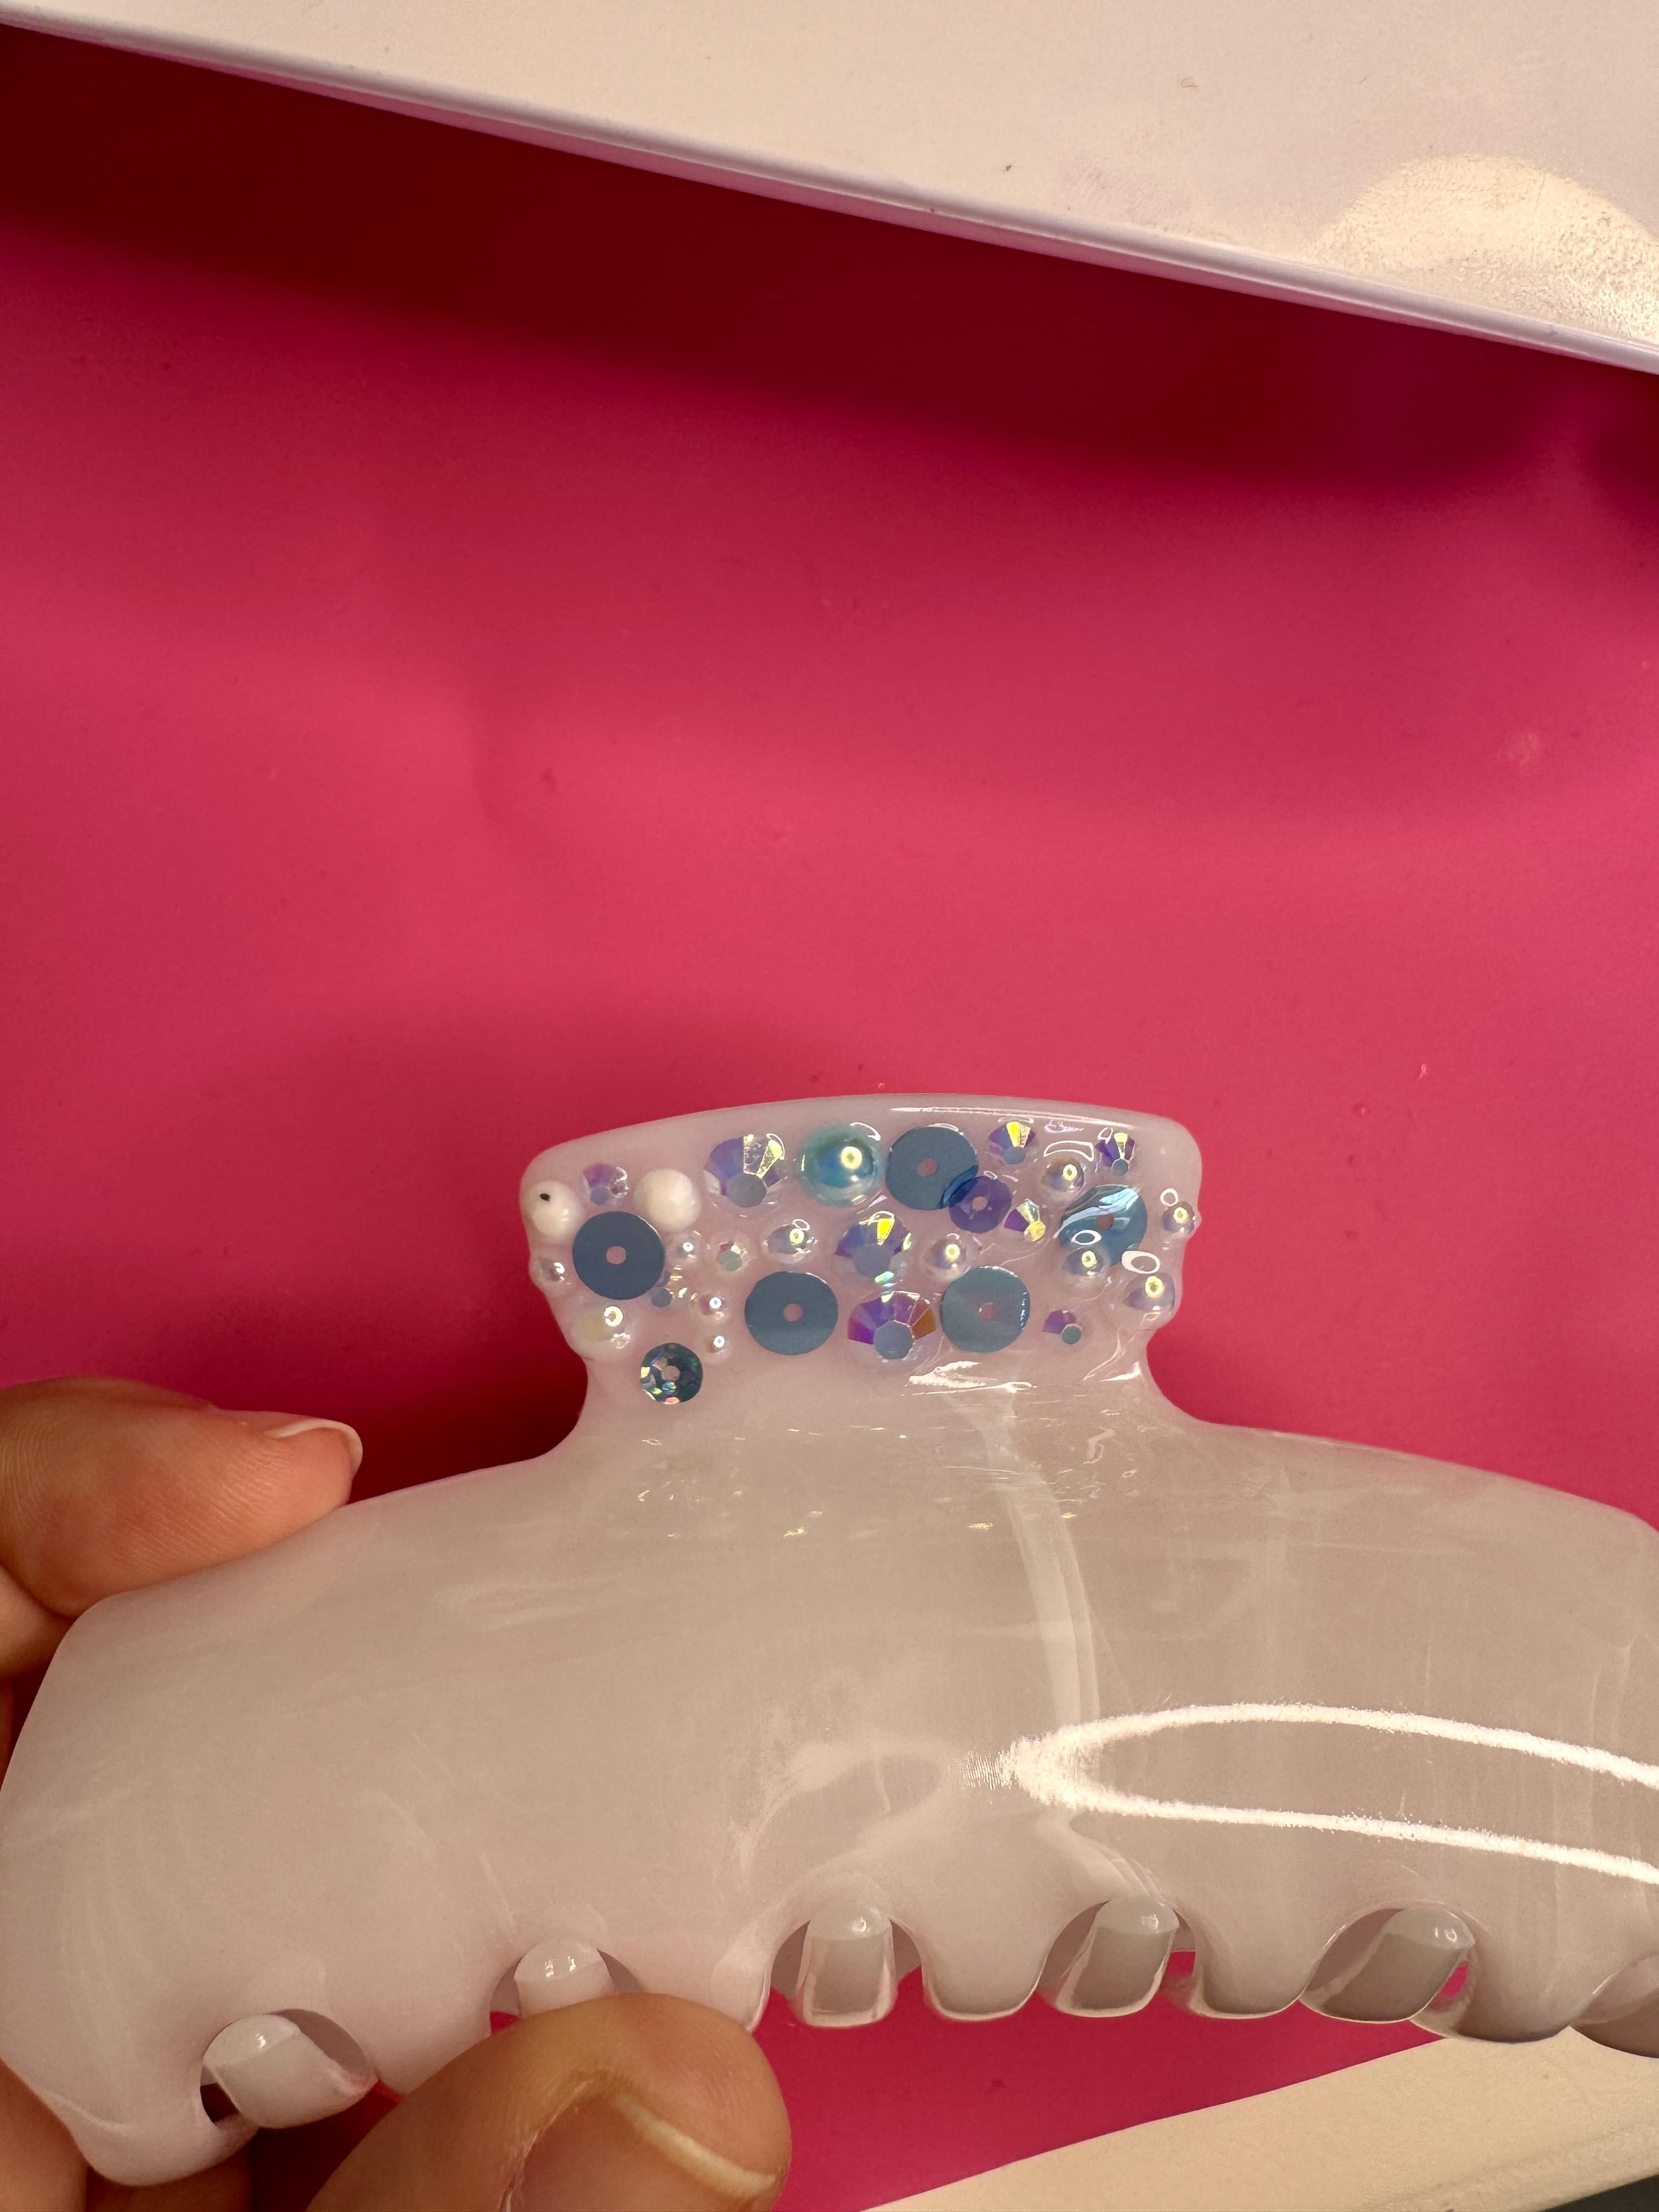
Continue this process section by section until you have the coverage you want. You’ll notice that I didn’t go all the way to where the claws started–this is because I didn’t want hair to get caught in the Sparkletz. It could be ok, but I have a habit of getting anything tangled if there’s the slightest chance.
And there ya go! This easy embellished claw clip is such a fun way to take your hair accessories to the next level. The overall project took me about an hour, and a lot of that was curing time.