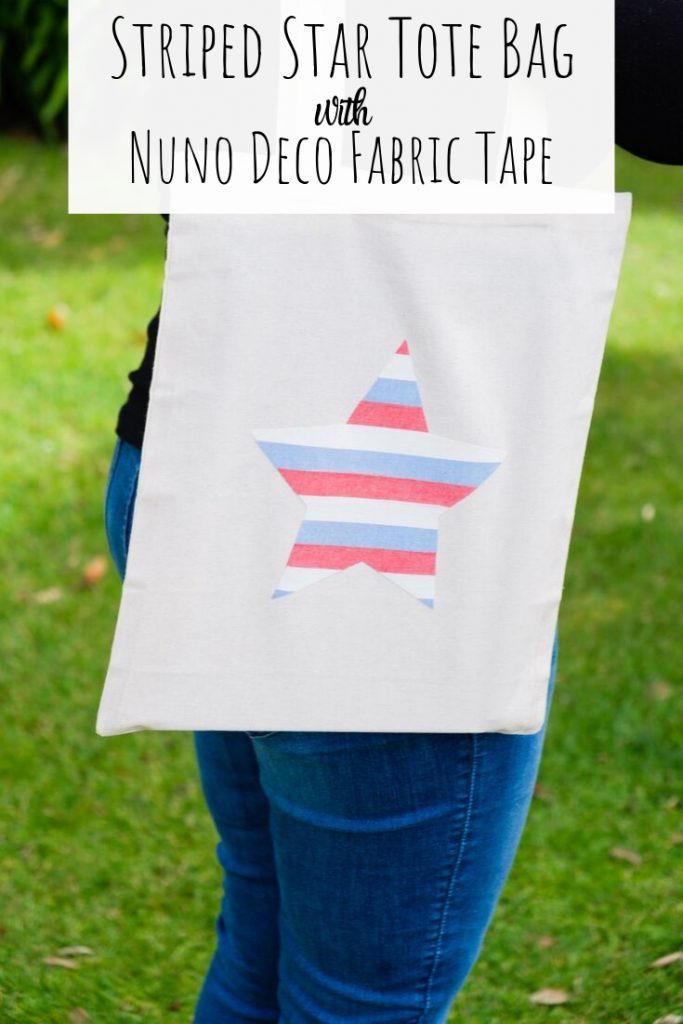
Easy Striped Star Tote Bag with Nuno Deco Fabric Tape
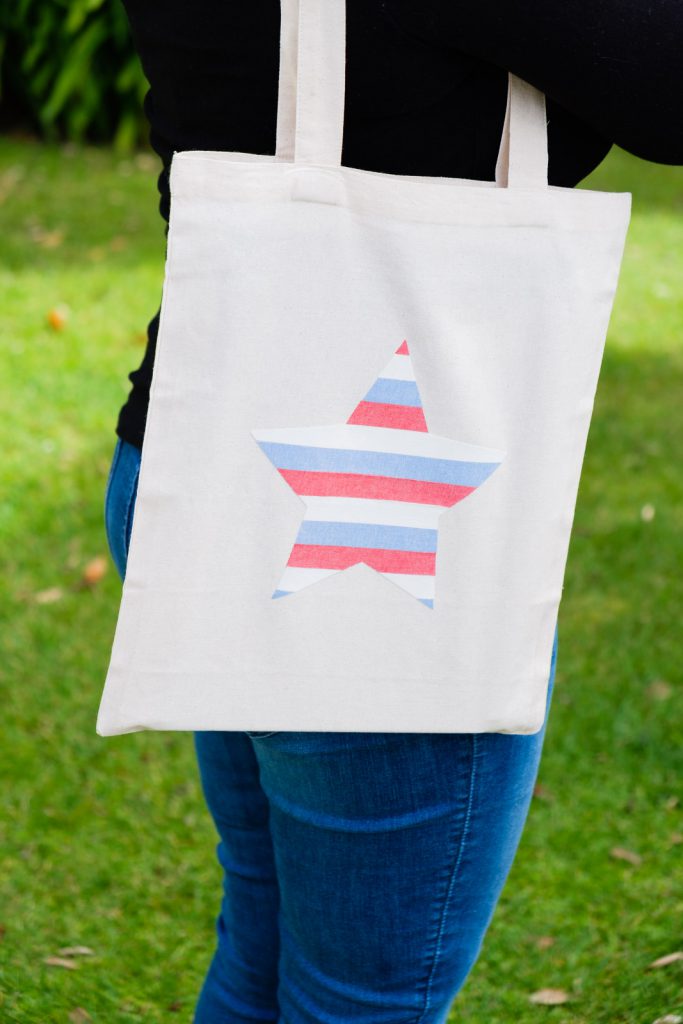
I LOVE discovering new crafting products and my newest obsession is Nuno Deco Iron-On Fabric Tape. It’s such a versatile and fun material to play with. I recently got to play with some and made this super easy striped star tote bag. I love how it turned out and now I want to add this awesome fabric tape to everything!
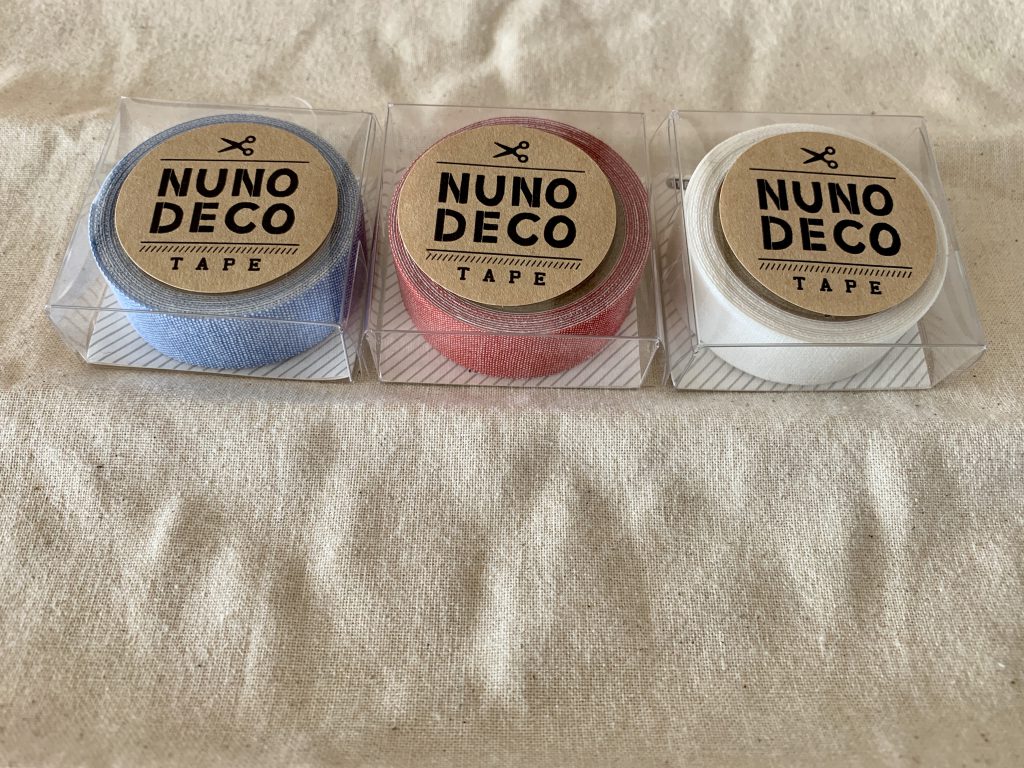
Supplies:
- Nuno Deco Iron-On Fabric Tape in blue, red, and white chambray
- canvas tote bag
- iron
- cutting machine/scissors
Instructions:
I used my Cricut Maker to cut out my star, but you can use anything you want–the basic principles are the same. Lay out the fabric tape in a patterned stripe. I put the tape directly on my cutting mat, but you can put it on a piece of paper and tape the ends if you’re using a stencil (just don’t peel the backing off yet!). The fabric tape is super user friendly, so you can play around with it to see what works for you.
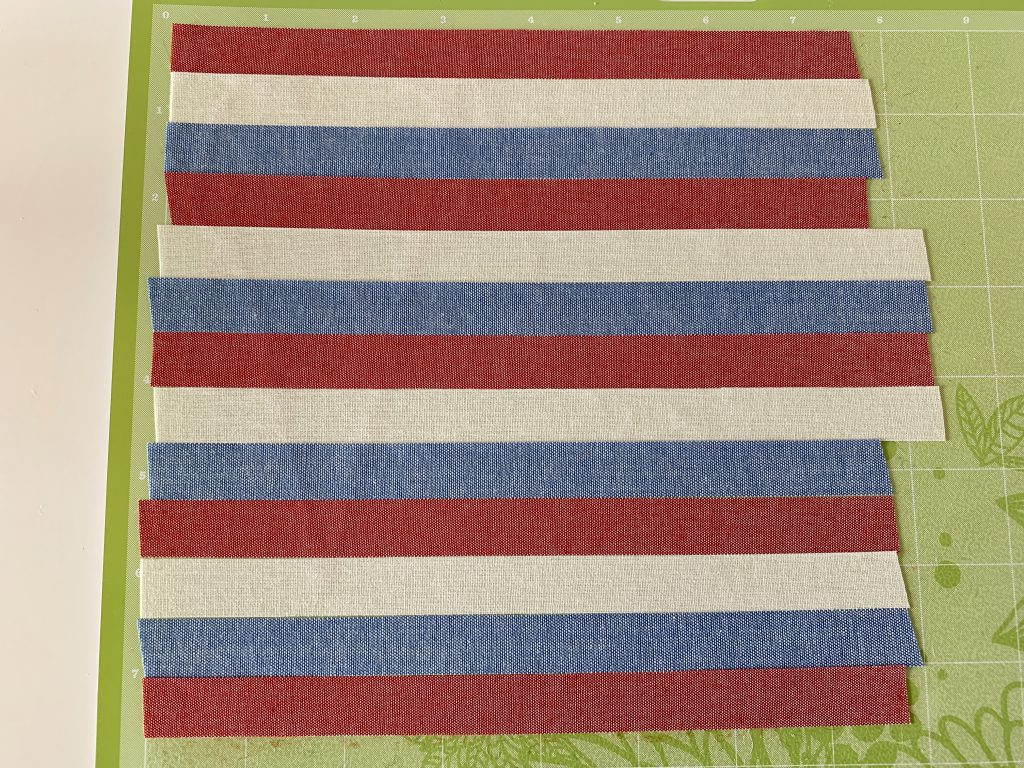
Cut out the star. Mine was about 7″ across, but you’ll obviously want to size yours to your tote bag.
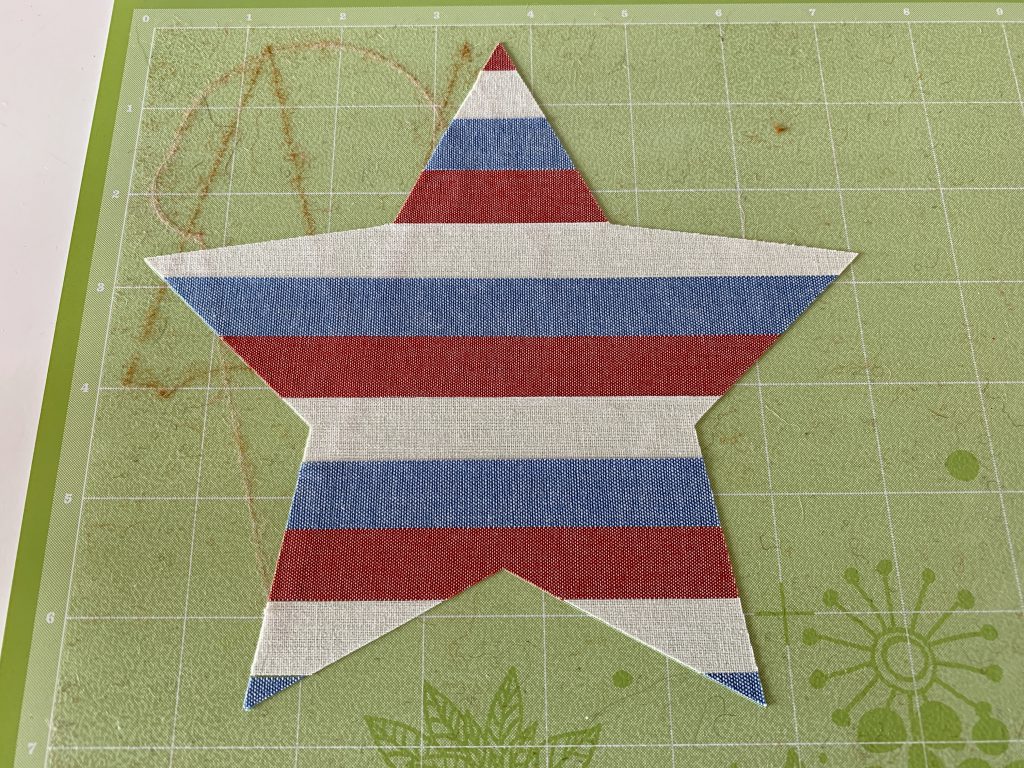
Because my star was on a sticky cutting mat and I had it fabric side up, I needed to pull each piece off individually and place it on the tote. It wasn’t a big deal and came off easily. The shape and cut made it easy to line up, too.
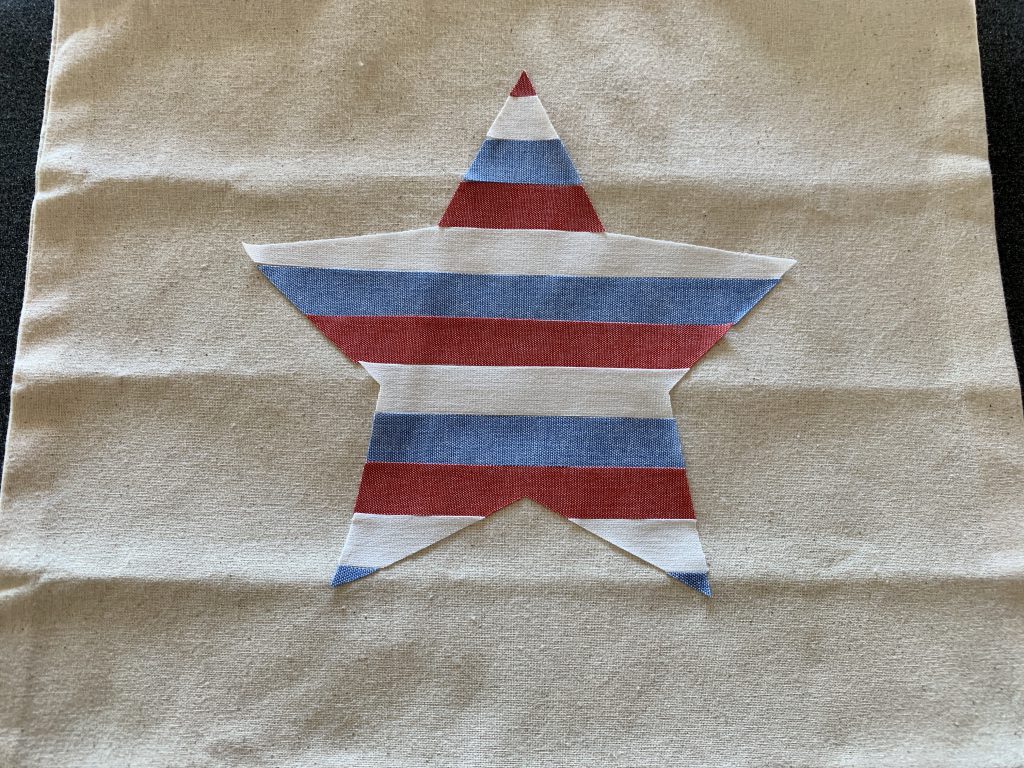
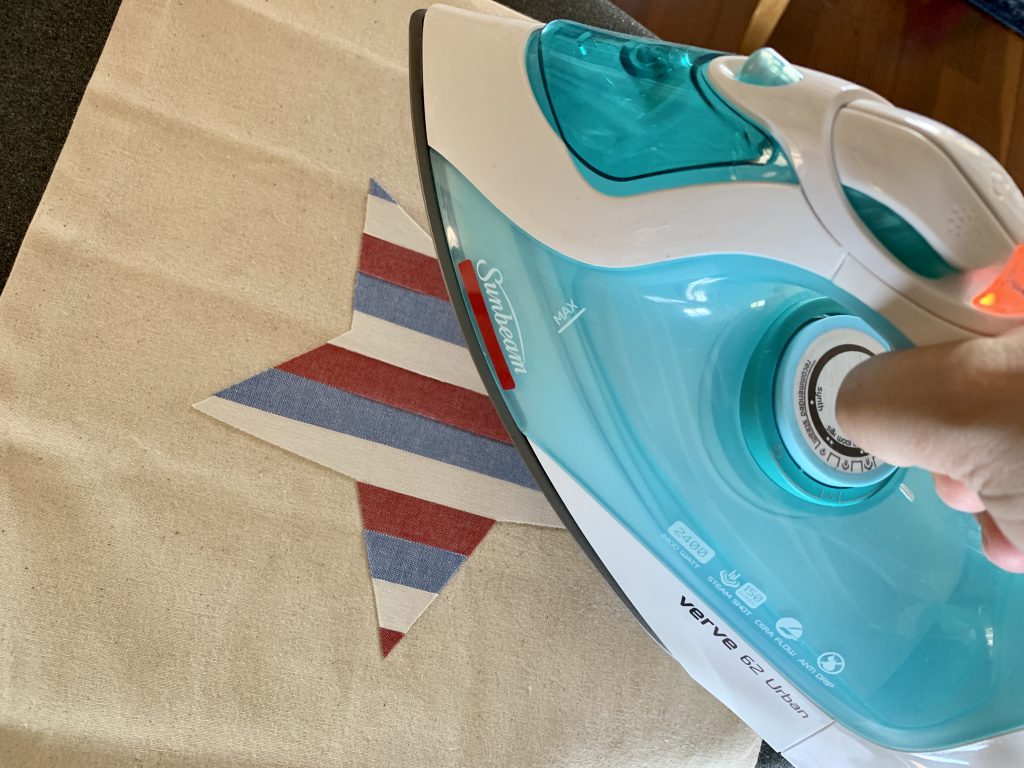
Iron the fabric tape to the tote. You can place the iron directly onto the tape–you don’t need anything in between. It doesn’t take long for the fabric tape to be fully adhered.
I’m obsessed with Nuno Deco Fabric Tape. It’s so easy to use and so much fun–you can’t mess up! My striped star tote bag is my favourite new accessory.
A huge thanks to Hands on Workshop for sponsoring this post and providing the awesome product used.
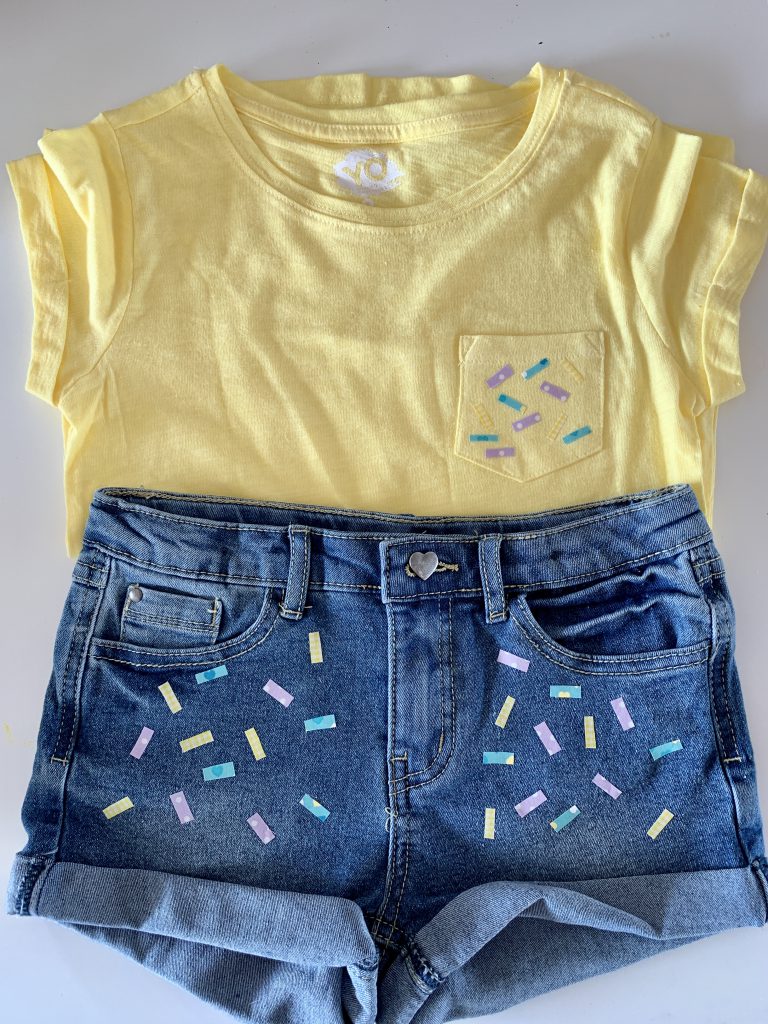
Want more Nuno Deco Fabric Tape projects? Check out this Fabric Tape Lampshade DIY and easy clothes update!
