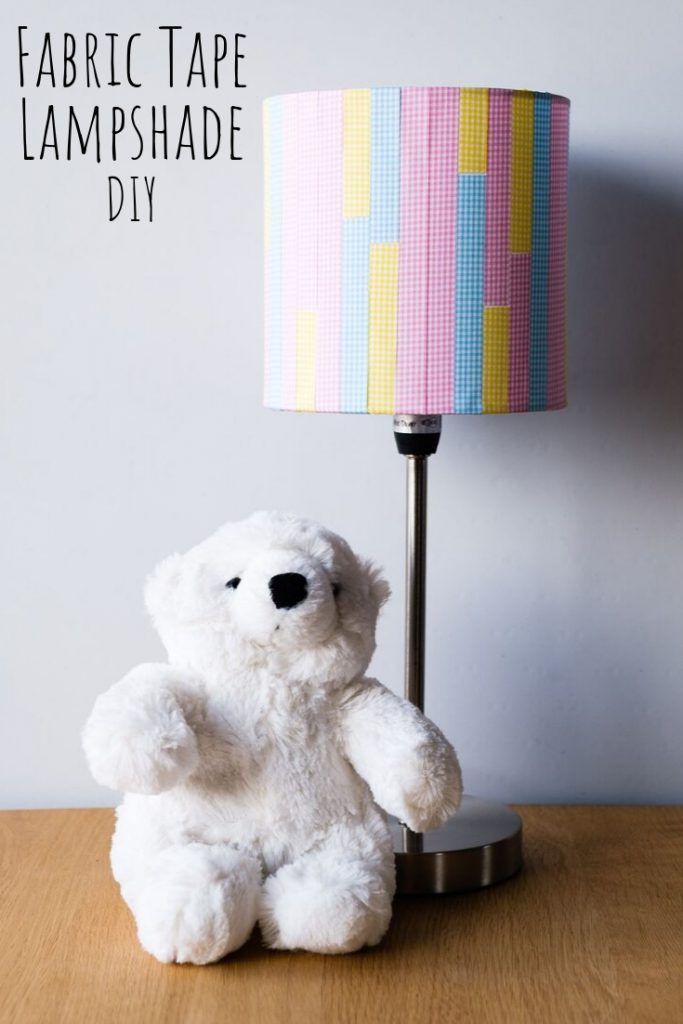
Fabric Tape Lampshade DIY
As you know, updating lampshades is one of my favourite projects to do to change up room decor. I wanted some kid-friendly but classic looks for Matilda’s new bedroom and have always loved the look of small checks. With a bit of Nuno Deco iron-on fabric tape, I made this super fun and cheerful Fabric Tape Lampshade DIY that we all love. It’s such a cheerful addition to her room.
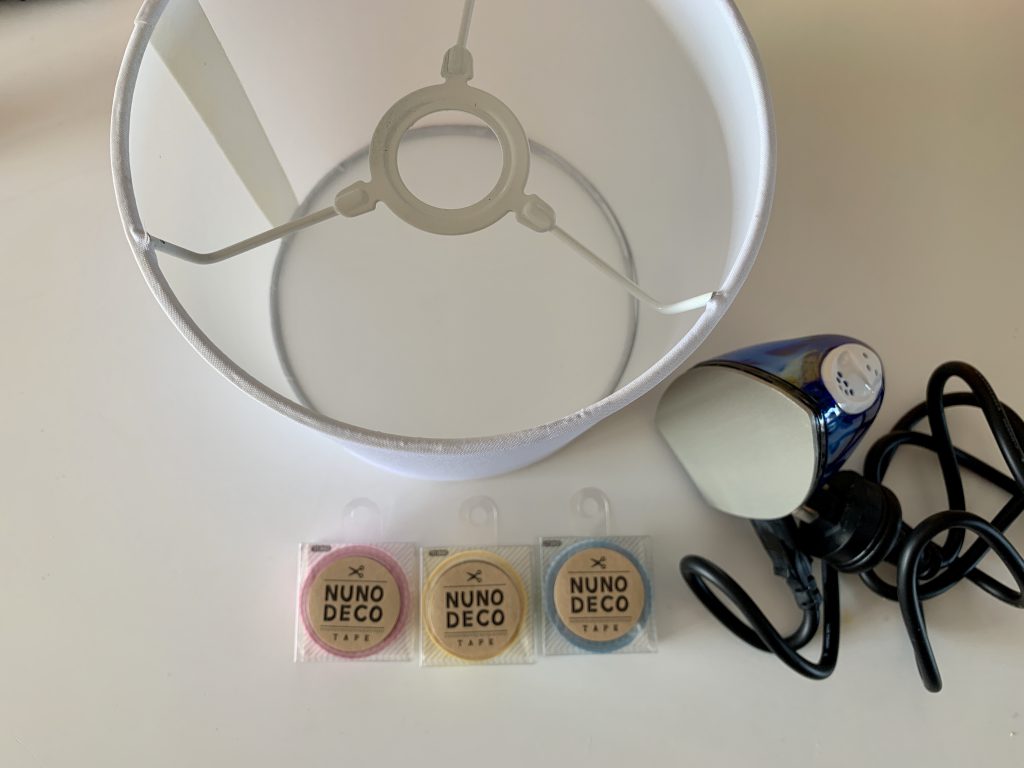
Supplies:
- lampshade
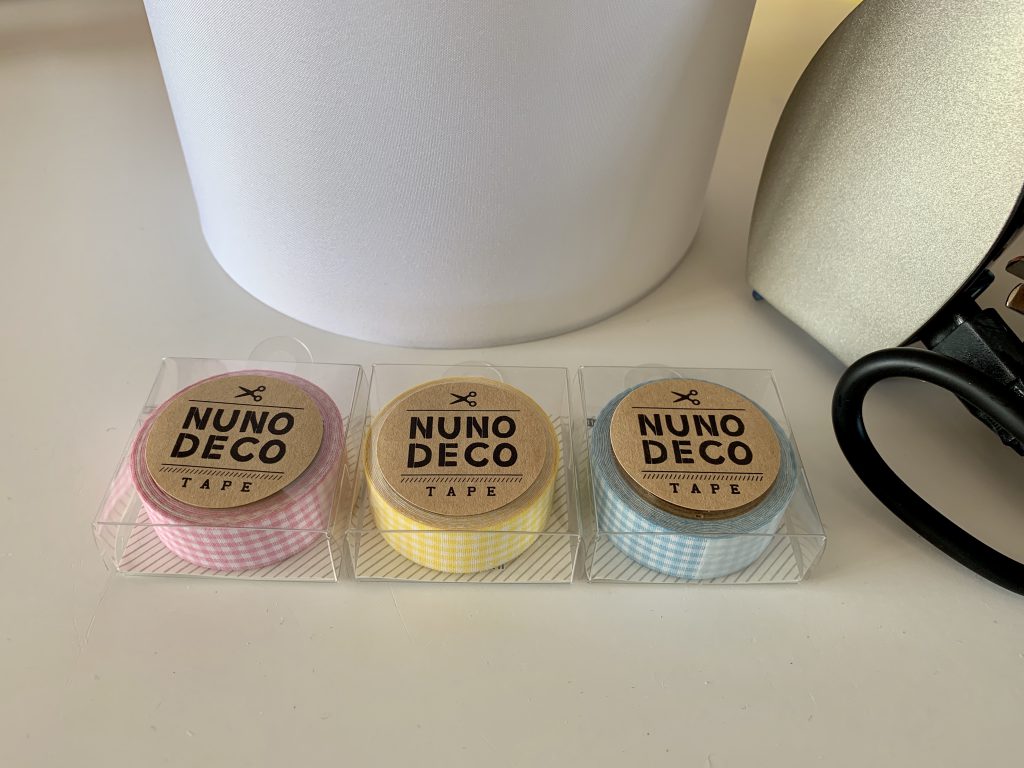
- Nuno Deco fabric tape in pink, yellow, and light blue check
- iron
- scissors
Instructions:
After peeling the back off the tape, start lining up the pieces making sure to keep them straight (I started at the join in the lampshade to help with that). Switch out the colours to make it interesting. Press down on the tape as you go–it will be secure enough until you iron it, but can also be easily moved if you need to.
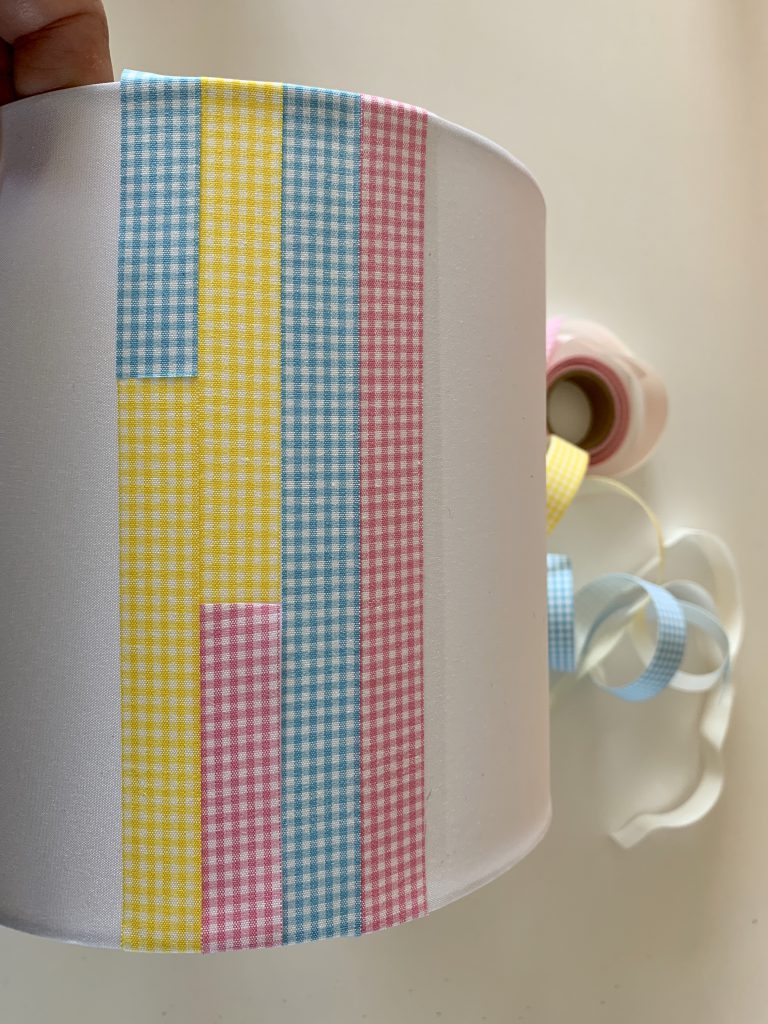
Make sure that the tape is going over the edge of the lampshade. This will give the edge a clean look.
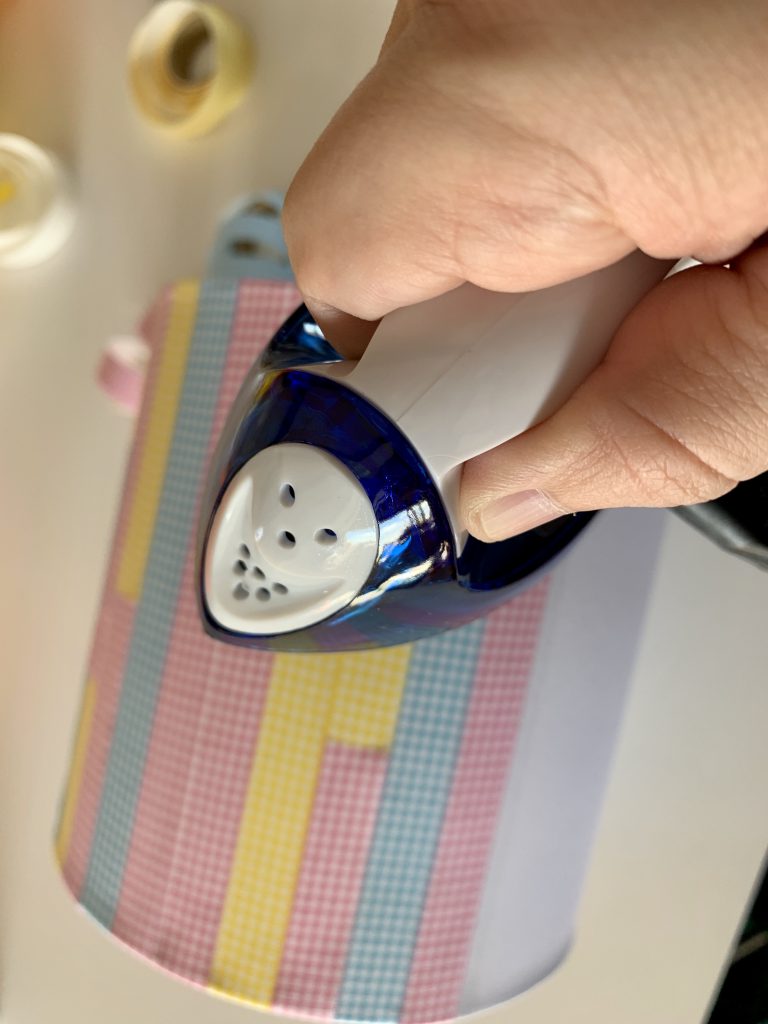
After every few rows, iron the fabric tape to the lampshade. You don’t need to use a lot of pressure and it just takes a few seconds to adhere. Make sure that you go around the edges!
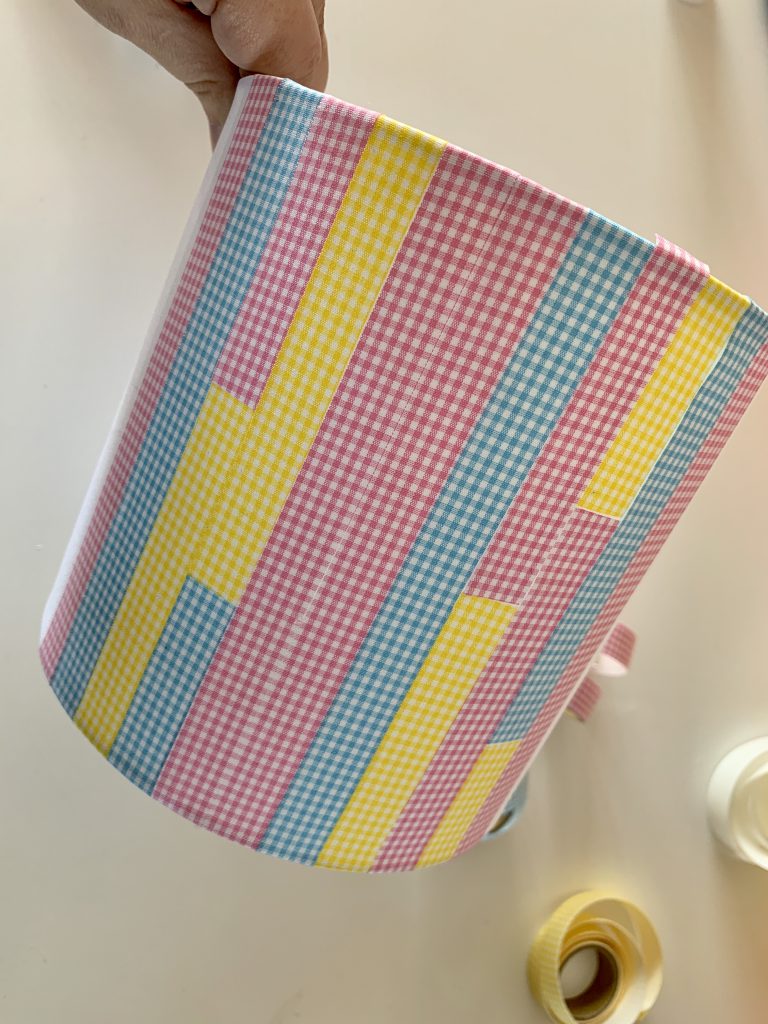
Continue placing the fabric tape and ironing until you’ve gone the entire way around the lampshade.
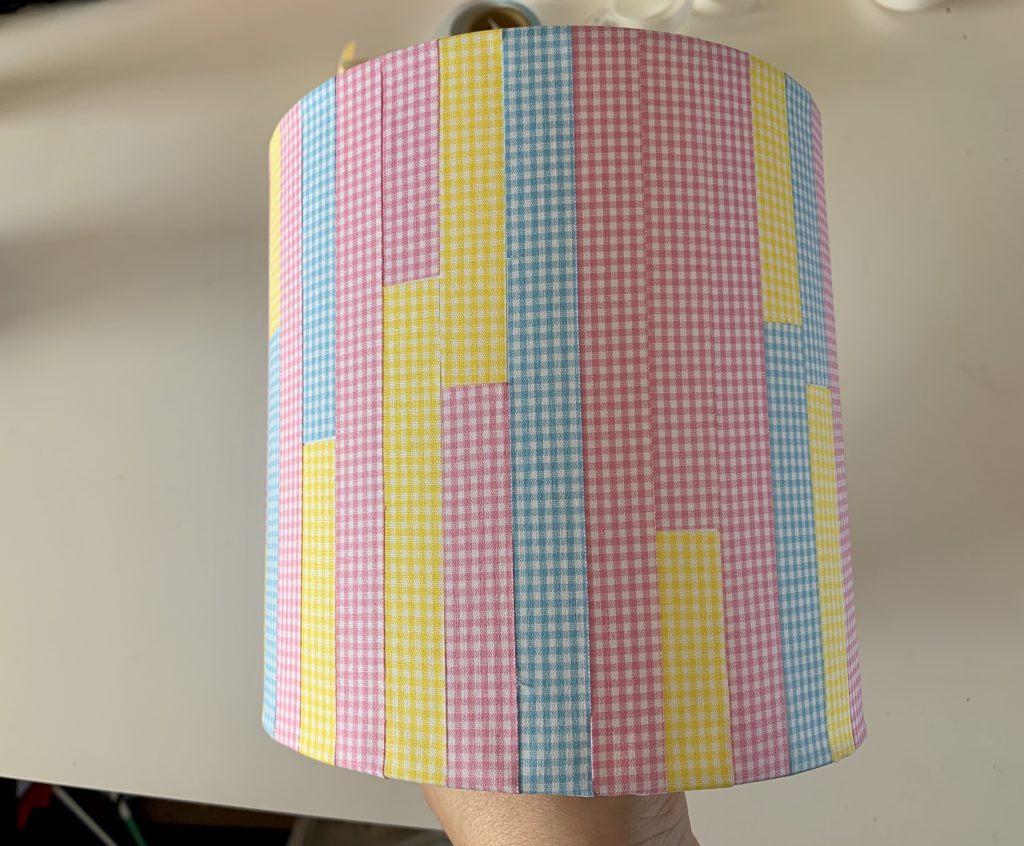
This Fabric Tape Lampshade DIY is such a fun update for a kid’s room. It’s cheerful, bright, and so easy! And what’s so fun about this fabric tape is that if you like this idea but not these colours, there’s a great variety to choose from to get any look you want.
![]()
A huge thanks to Hands on Workshop for sponsoring this post and providing the products used.
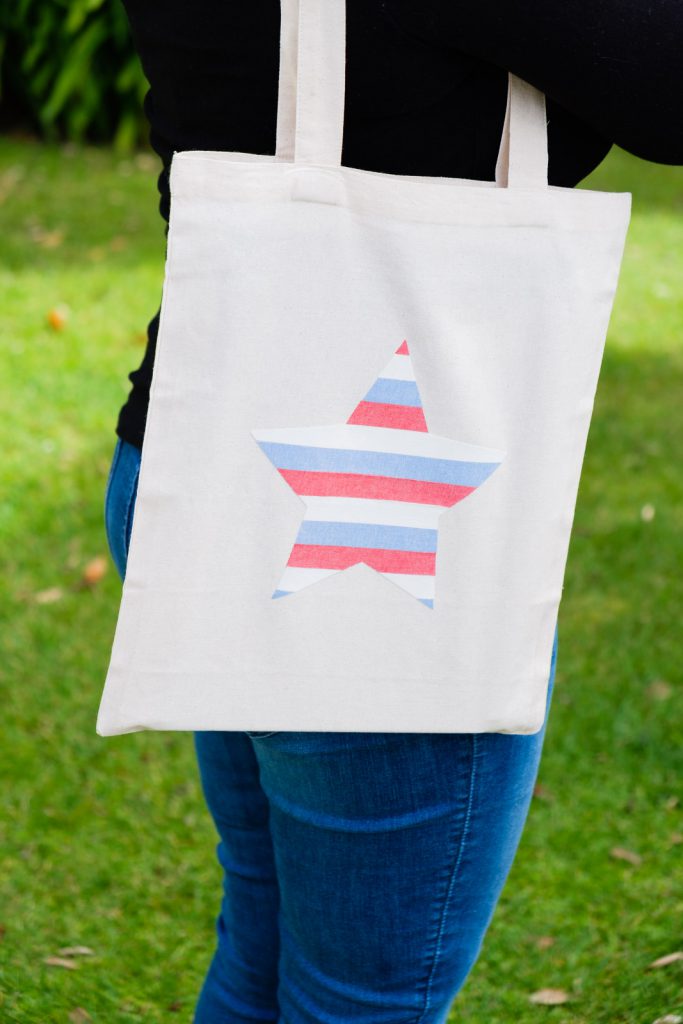
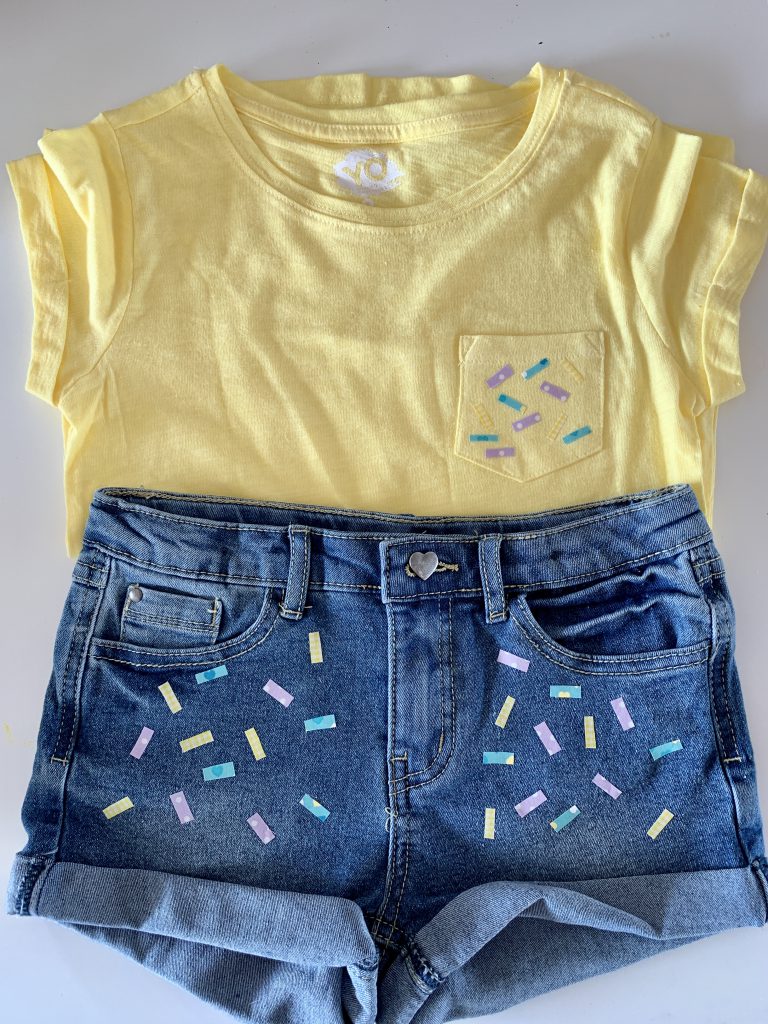
Want to see more projects with Nuno Deco tape? Check out this Easy Striped Star Bag and easy clothes update!