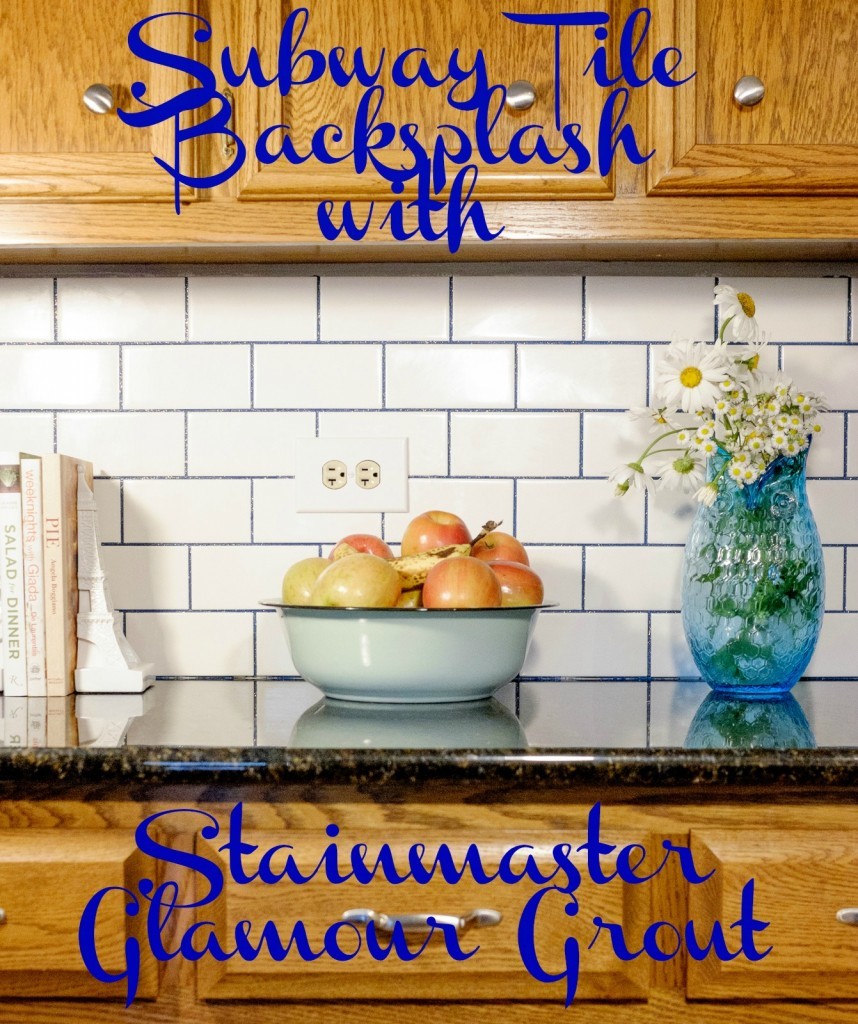
Subway Tile Backsplash with Stainmaster Glamour Grout
**This post contains sponsored content. All opinions are my own.**
When I was originally thinking about what to do with a batch of Glamour Grout, I was going to put it in the girls’ bathroom. They all love blue and glitter and it would be out of Scott’s daily line of sight. When I received the product, though, we were chatting about some of our bigger wish list projects and, as usual, our kitchen came up. We have agreed on putting up a tile backsplash for a long time now, but we wanted something both clean and bright to pretty up the kitchen. I, as always, wanted to introduce some color to our bland room and was thinking about using blue tile. Scott wanted a white or a grey. With a project this big in a room we’re always in, we wanted to get it right, so we’ve been putting it off. With Glamour Grout, we hit on an immediate compromise–white subway tile with the Sapphire+Gold grout. It immediately became a labor of love as we saw the Subway Tile Backsplash with Stainmaster Glamour Grout come together.
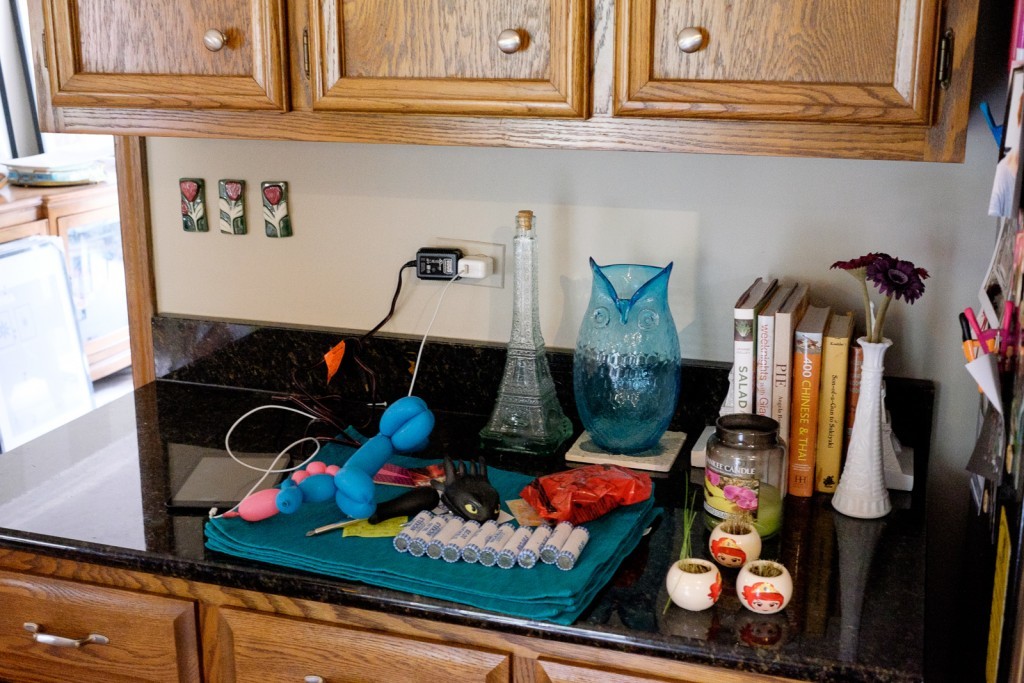
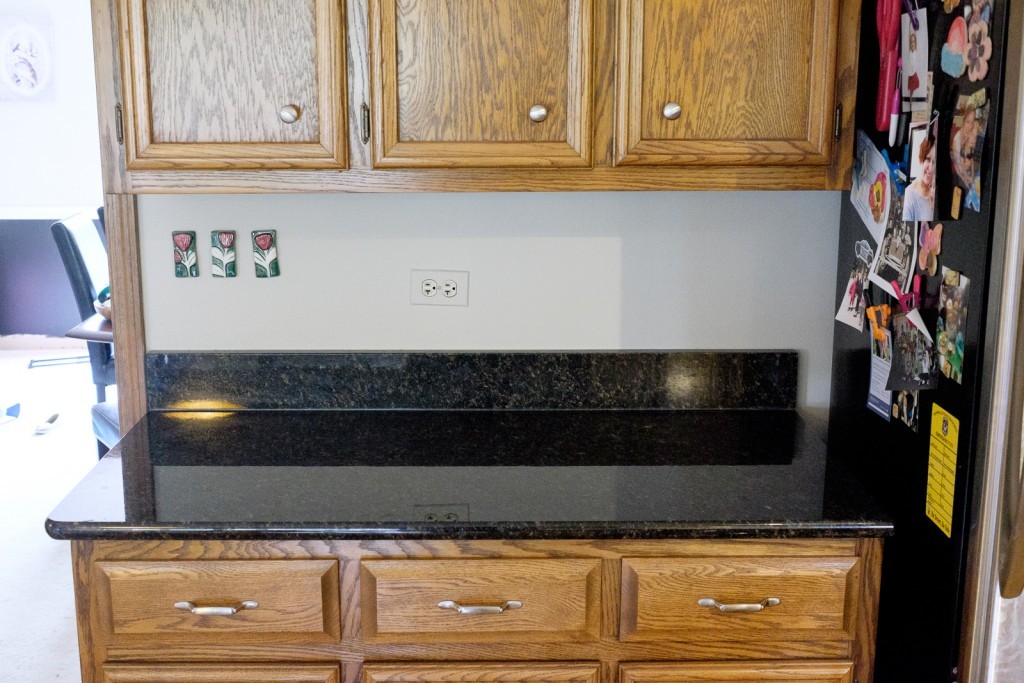
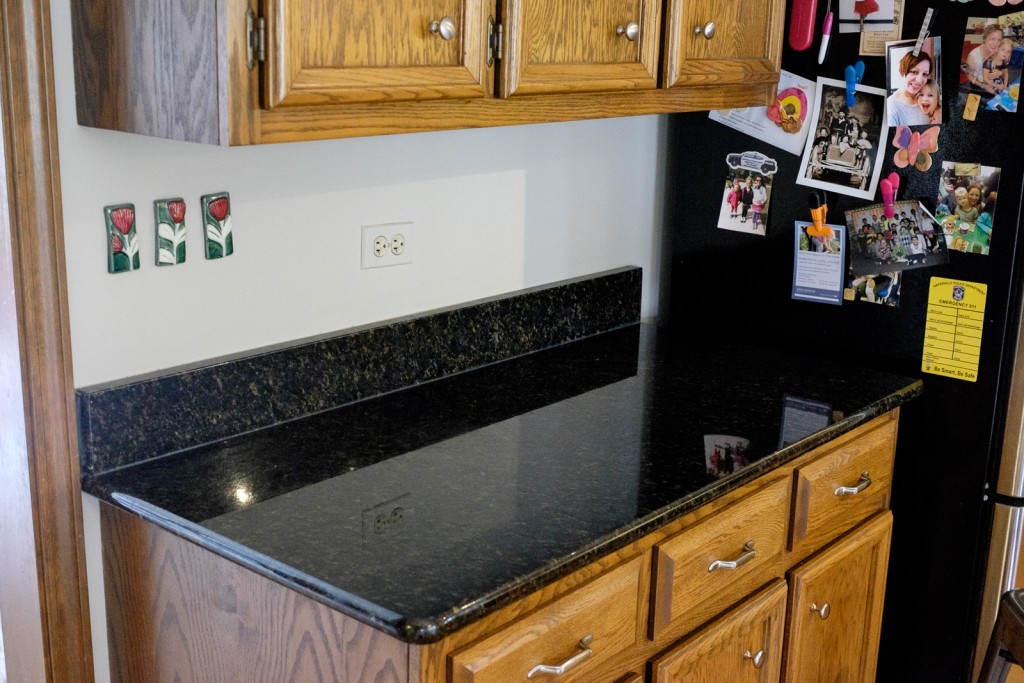
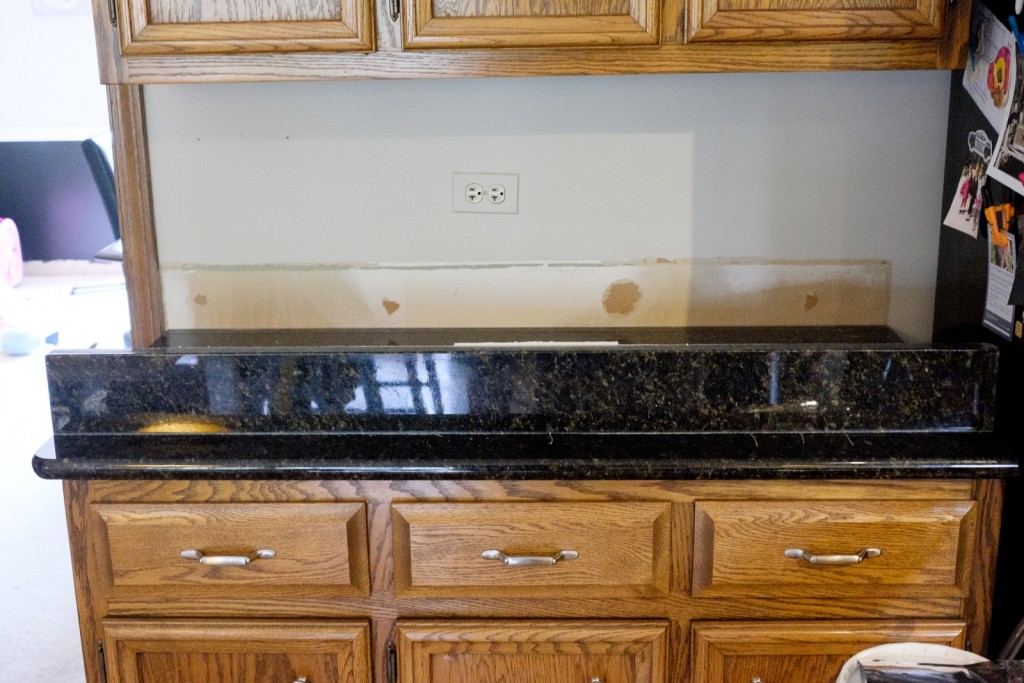
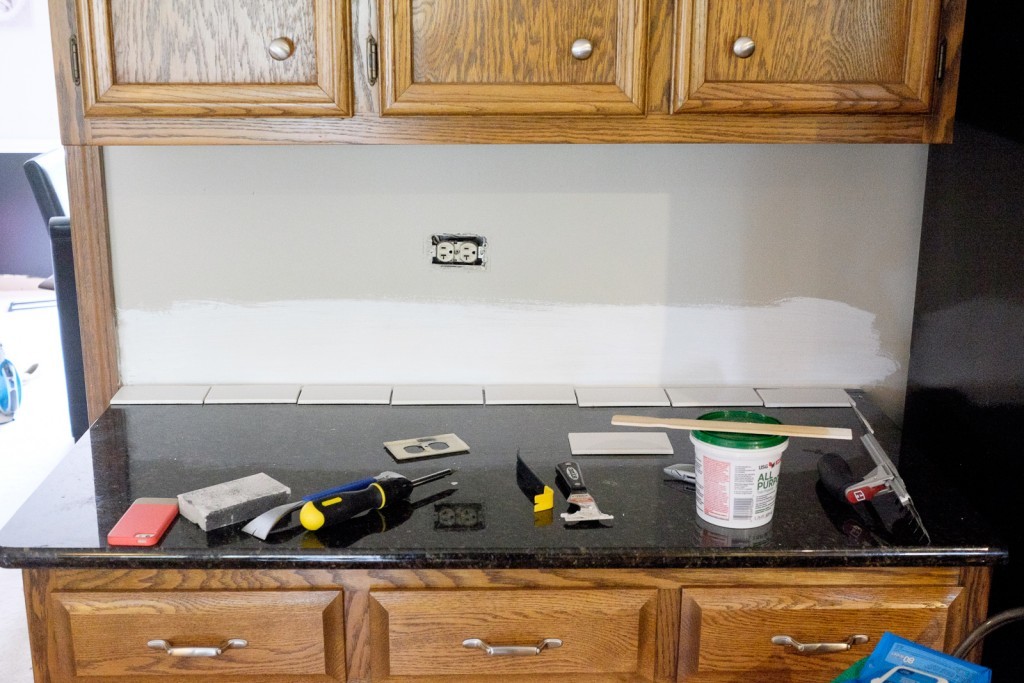
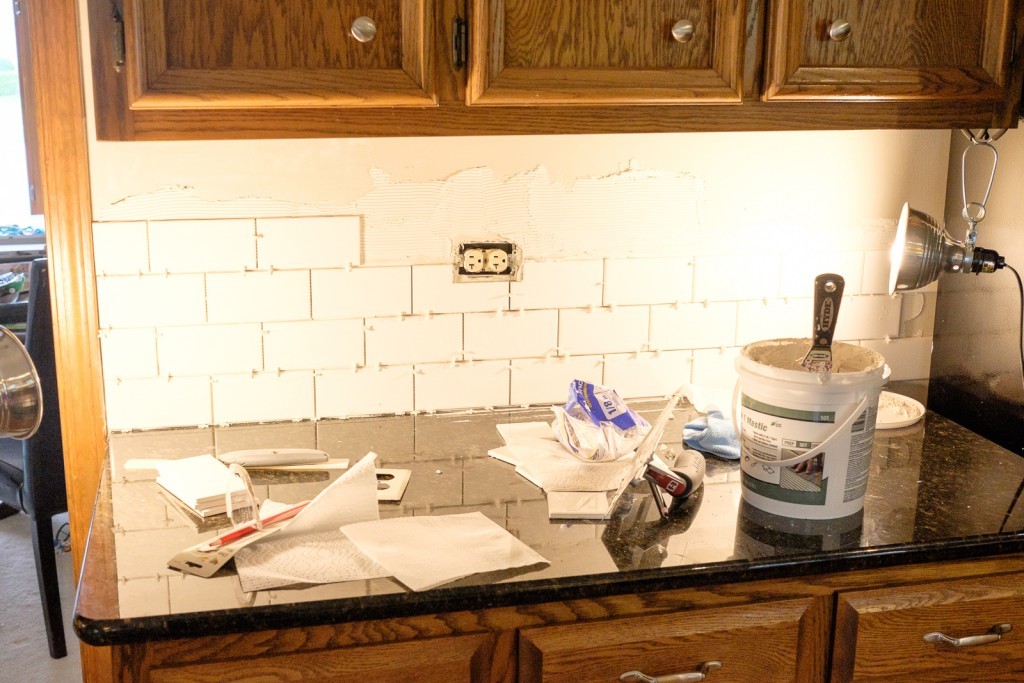
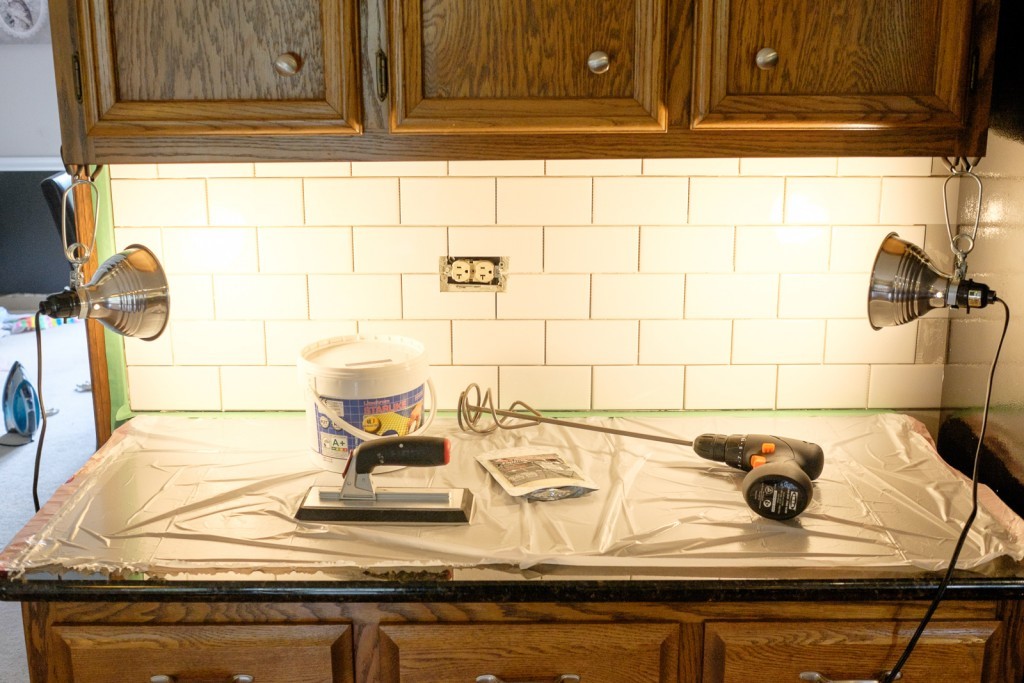
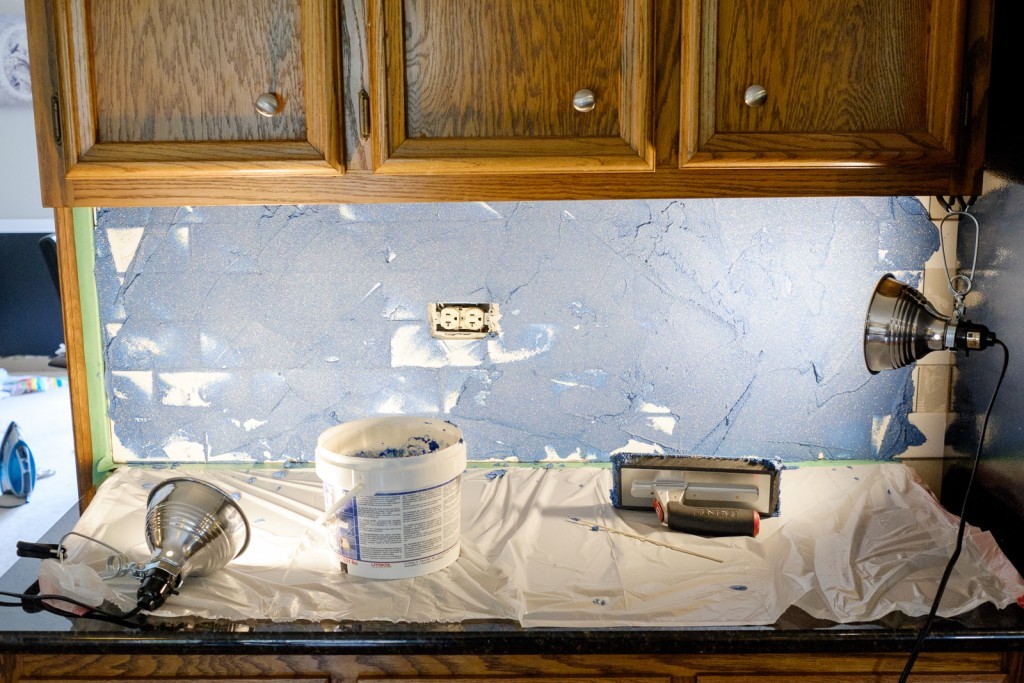
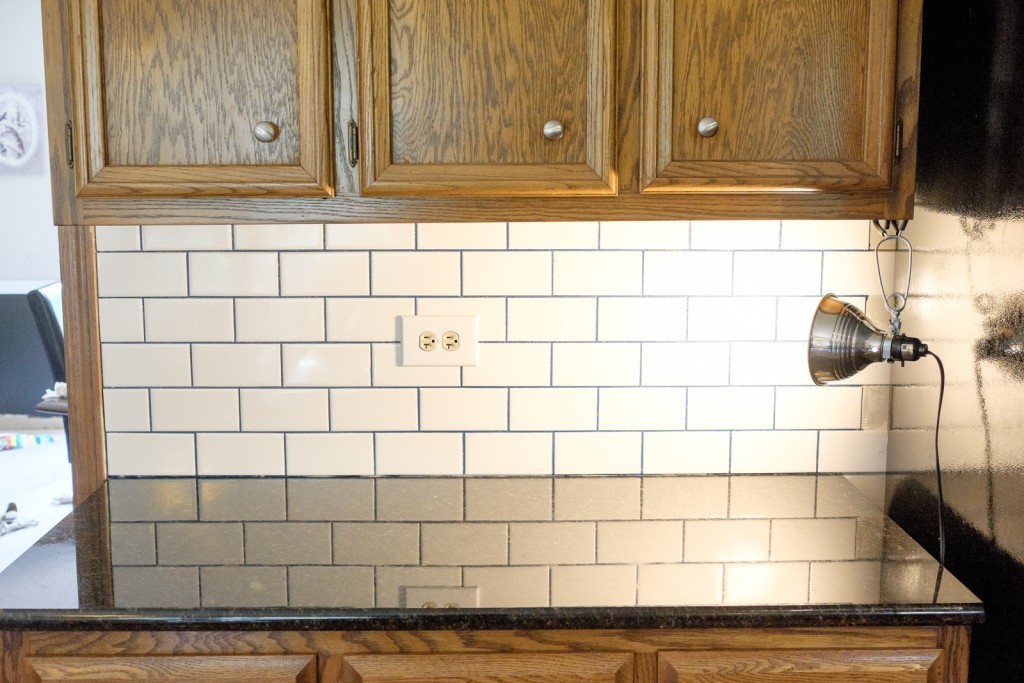
Our kitchen is classic dark late 1980s. We simply can’t change the black countertops in the near future and we can’t decide what to do about the cabinets. The walls are something we can control, though, and there isn’t a proper backsplash anywhere. We decided to take a section of counter to try out the subway tile and Glamour Grout vision we had in our head to see if it would work for the entire kitchen. You can see that it was very blah in the beginning.
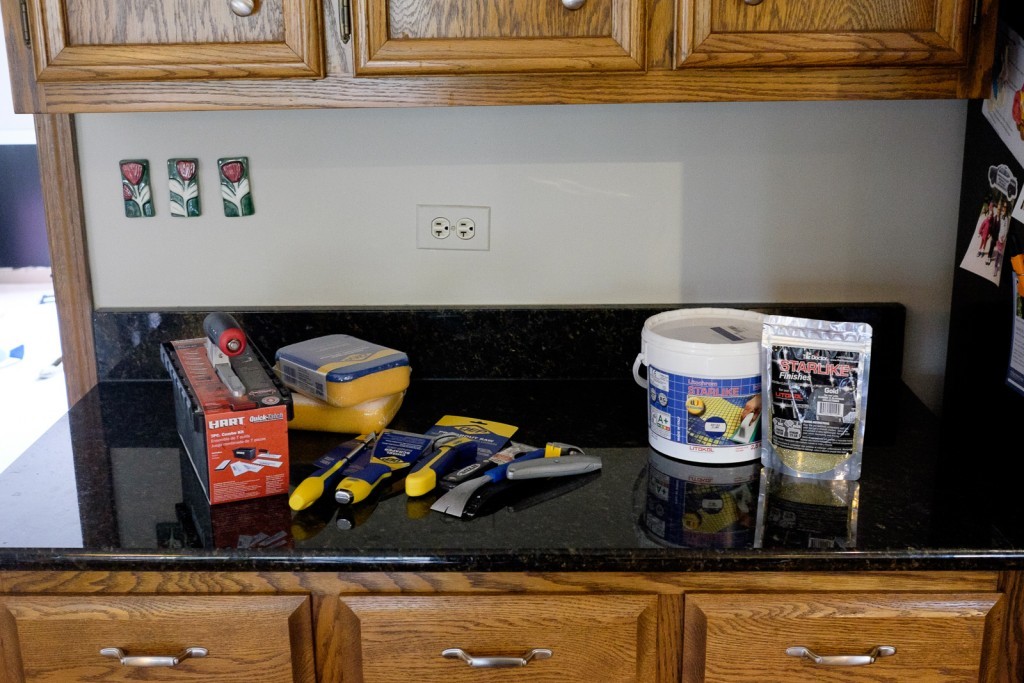
We hadn’t tiled before this project, so there was a definite learning curve. The outcome is absolute perfection, though! We started by gathering supplies.
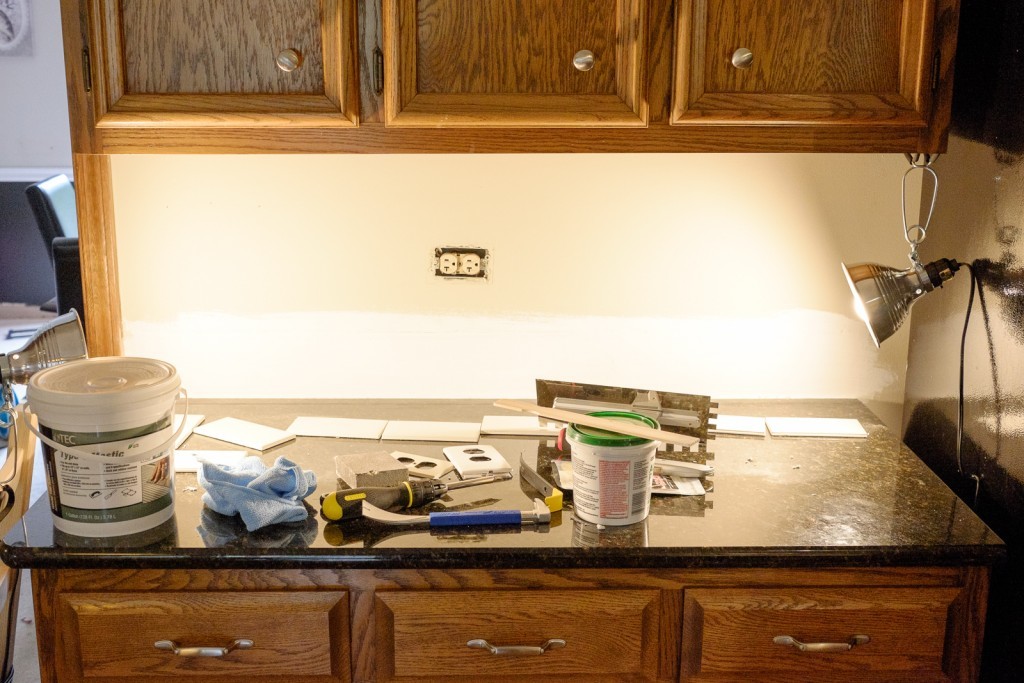
We wanted to give the wall a clean, modern feel, so decided to take down the little black piece on the wall. With just a bit of prying, the whole piece popped off.
We then filled in any holes and exposed paper with joint compound. When it was dry, we lightly sanded it.
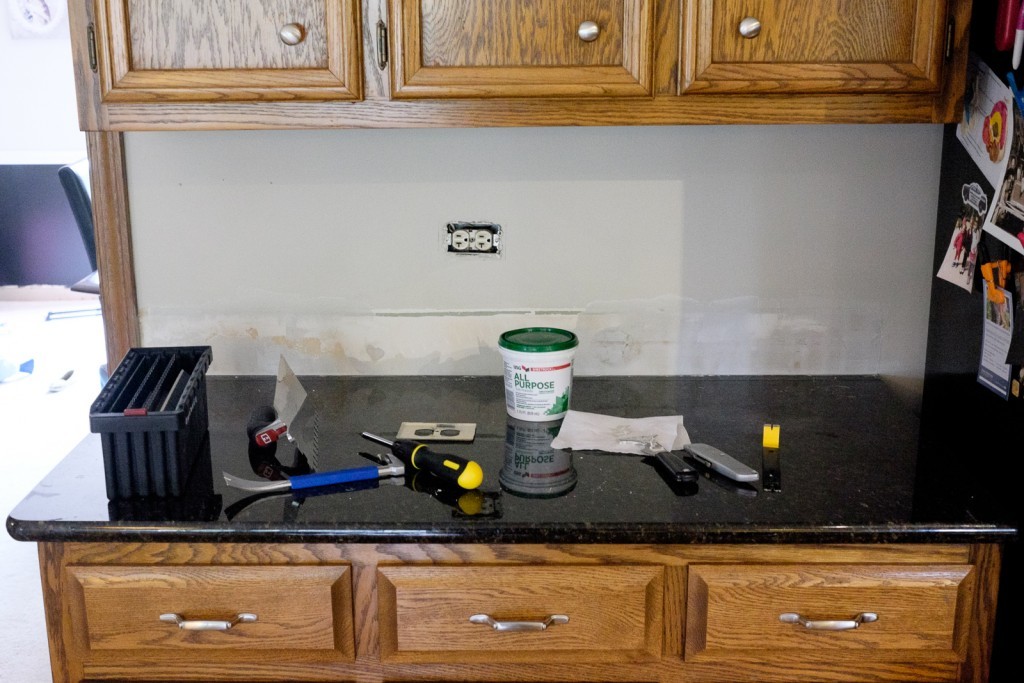
After sanding the putty, we put a light layer of paint on top. Once dry, we again sanded it gently, along with the rest of the wall so that the mastic would grip better.
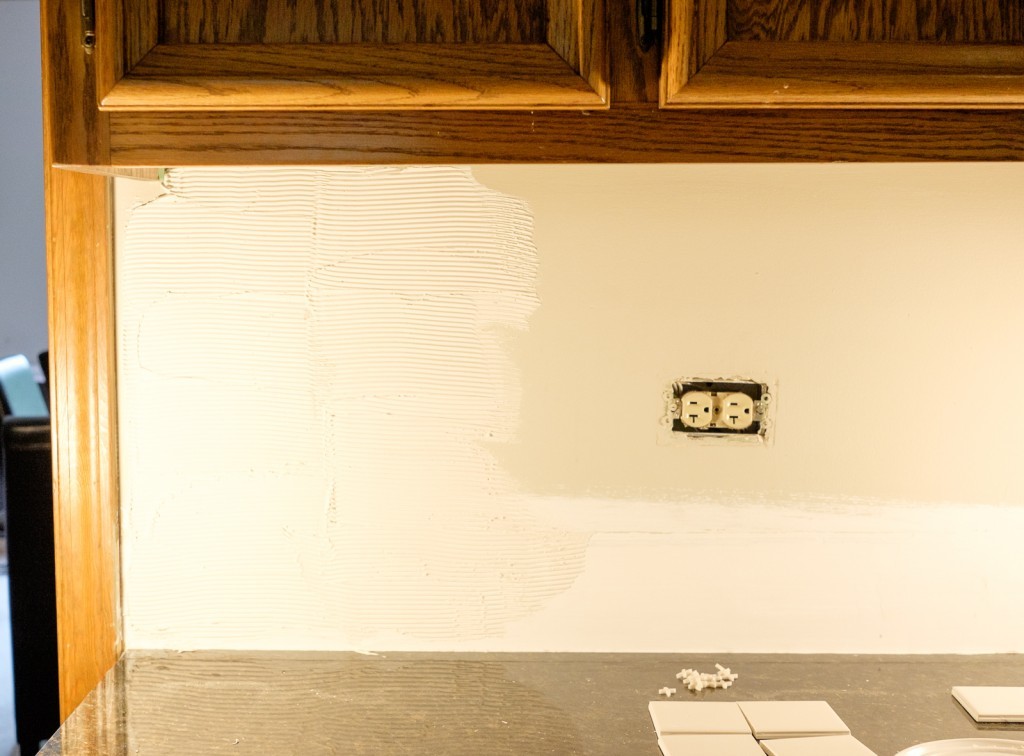
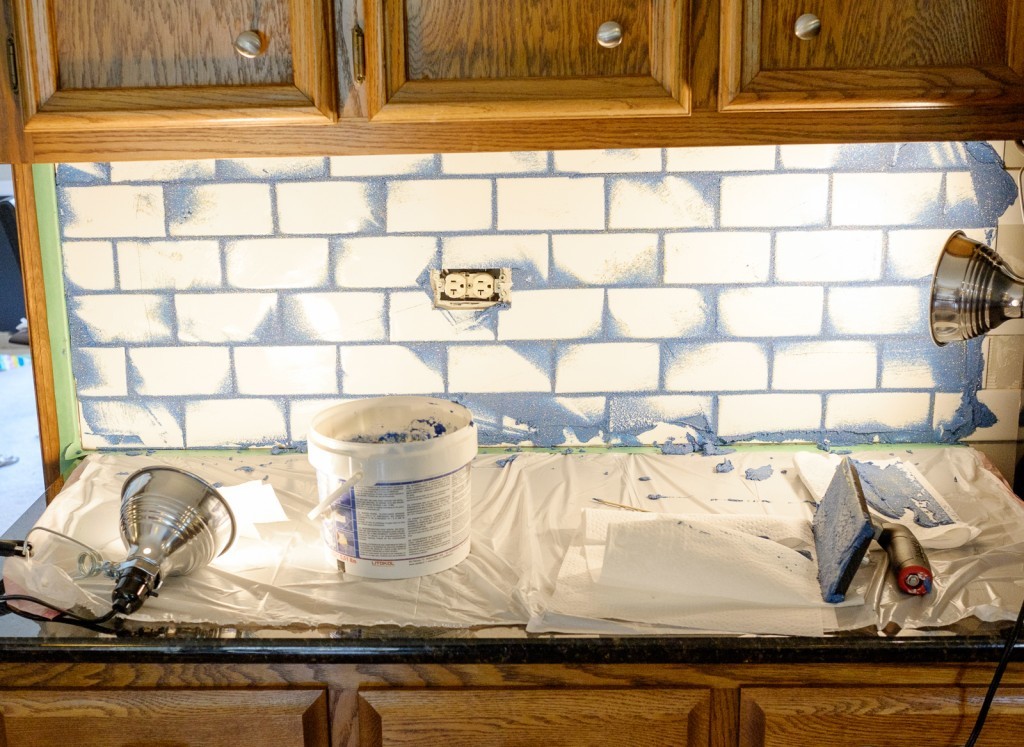
And now we were ready to start the actual tiling. There is something about spreading mastic that makes you feel like a real DIYer until you realize how quickly it dries and you need to do it line by line so it doesn’t dry before you get the tiles on. Or so I’ve heard.
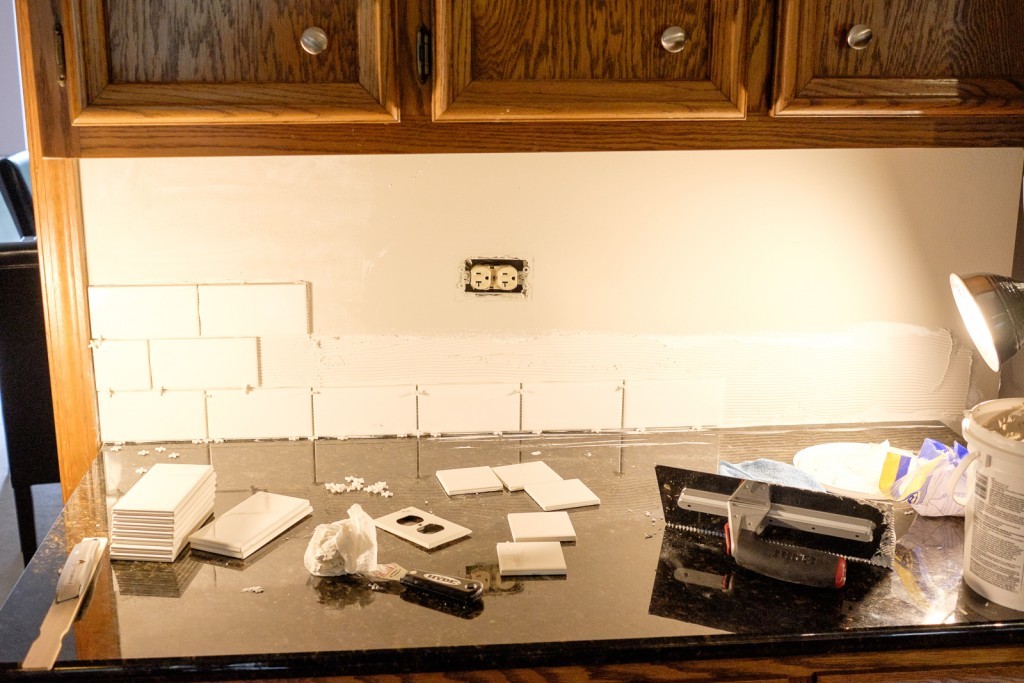
The bottom row of tiles went on easily and they were easy to position with the spacers. We cut the half pieces with a wet saw and alternated the first tile in the rows with them. With the wet saw, we cut the tiles to fit around the outlet (this gave us a great way to straighten it out!).
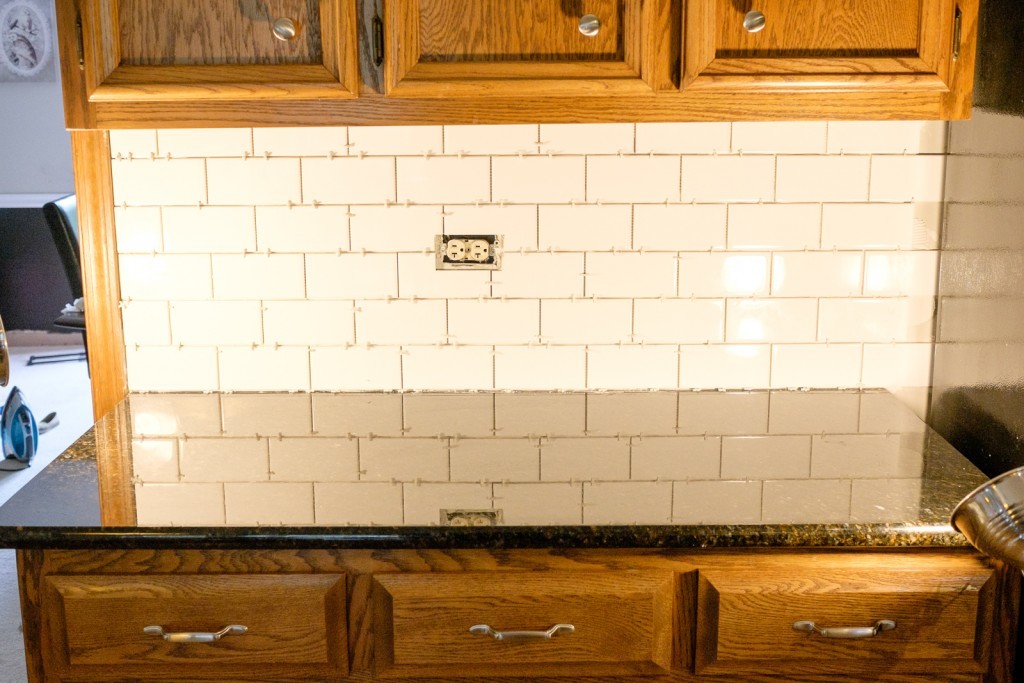
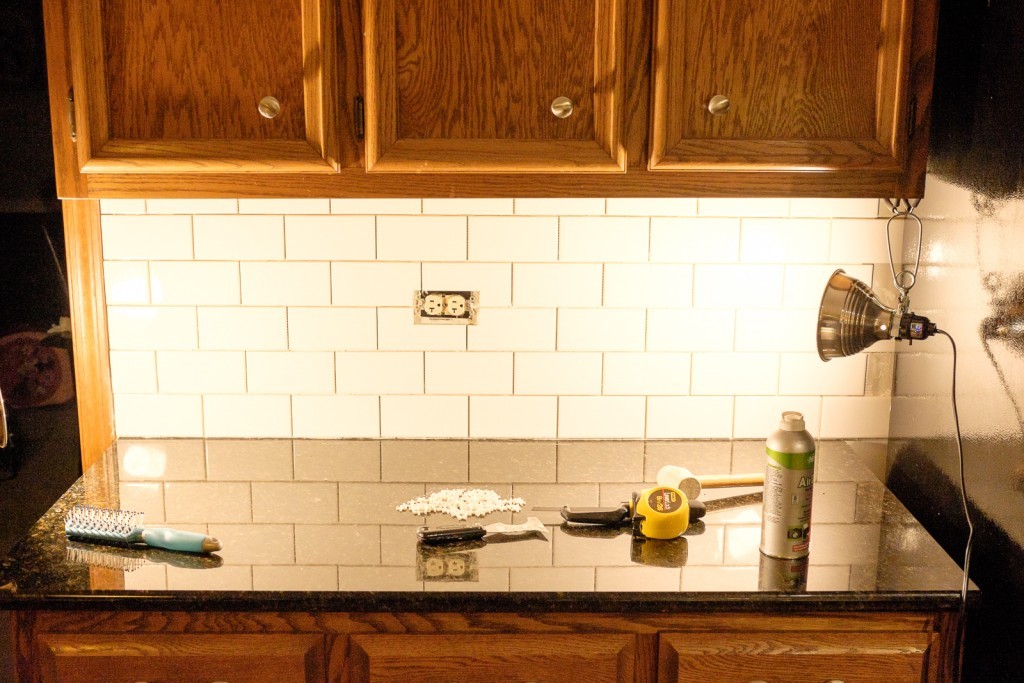
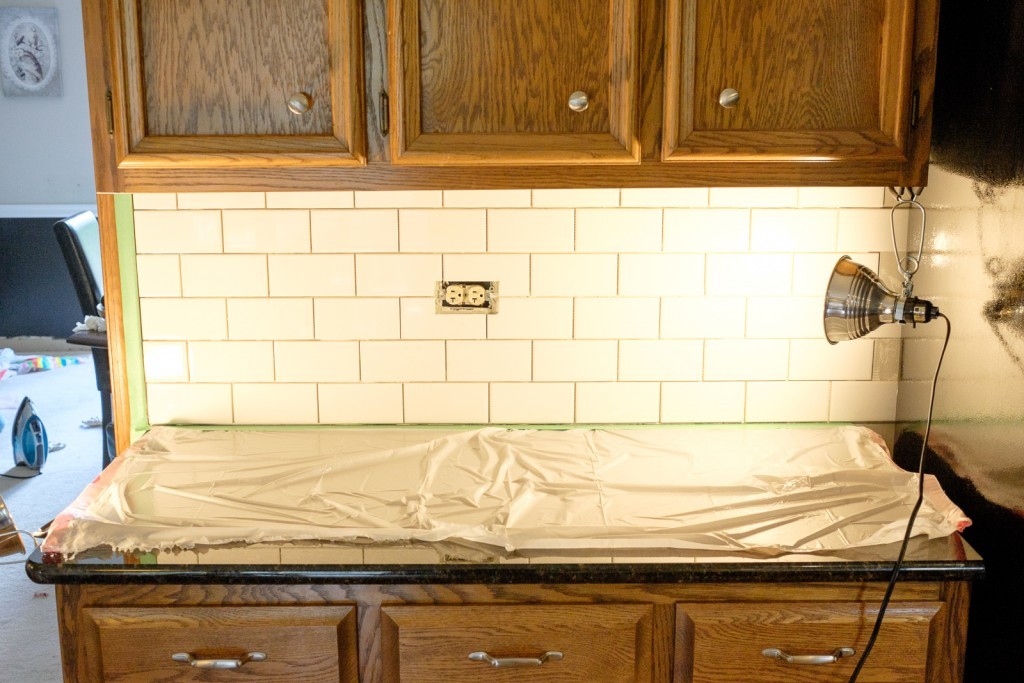
At this point, it was a matter of waiting for everything to dry. The instructions on the mastic said to wait 24 hours. Longest 24 hours ever! When it was finally over, we removed the spacers and put down a plastic sheet on the counter.
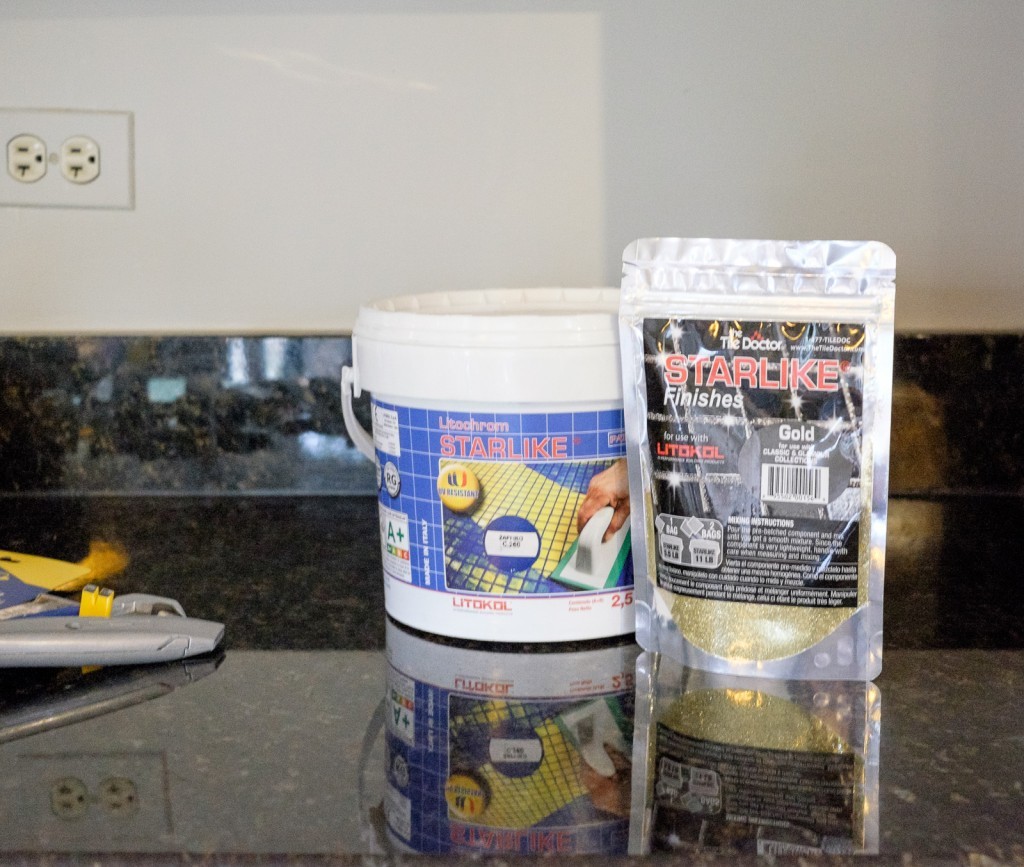
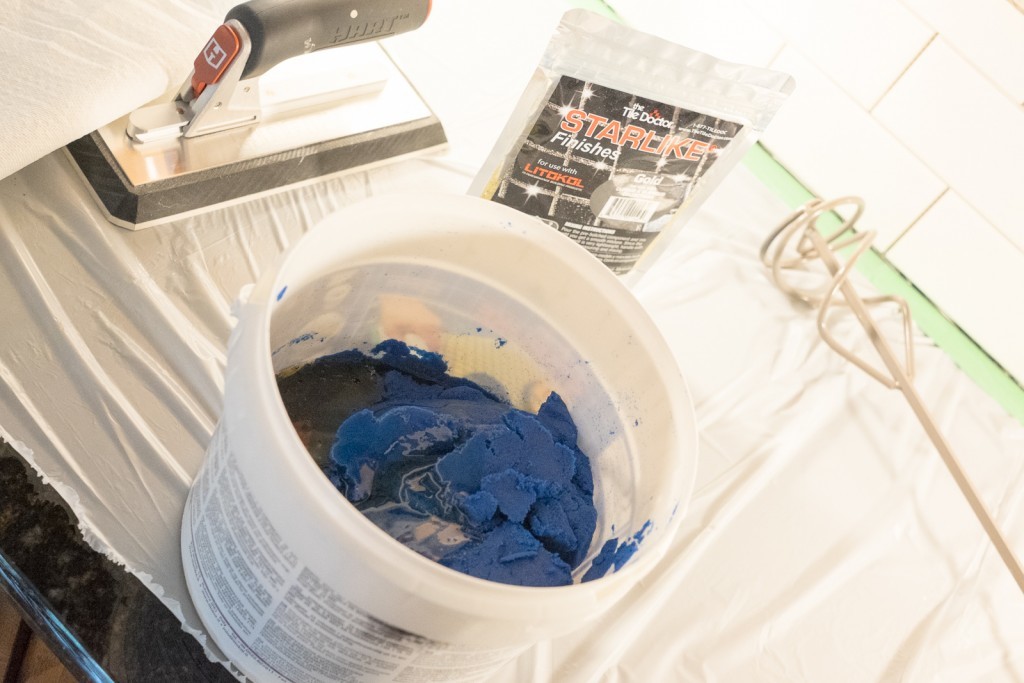
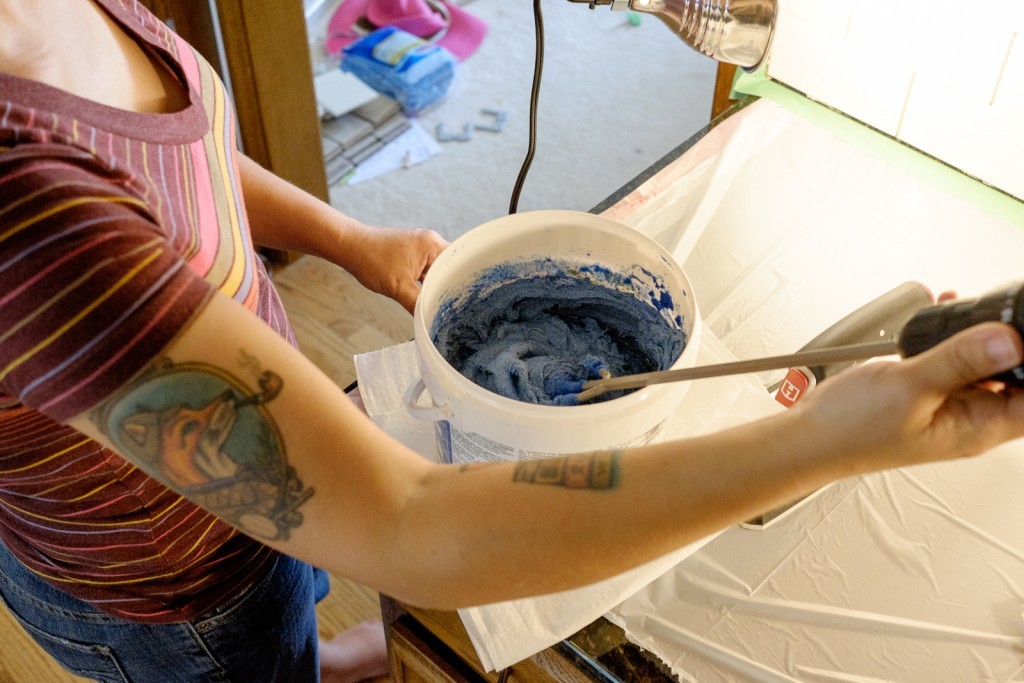
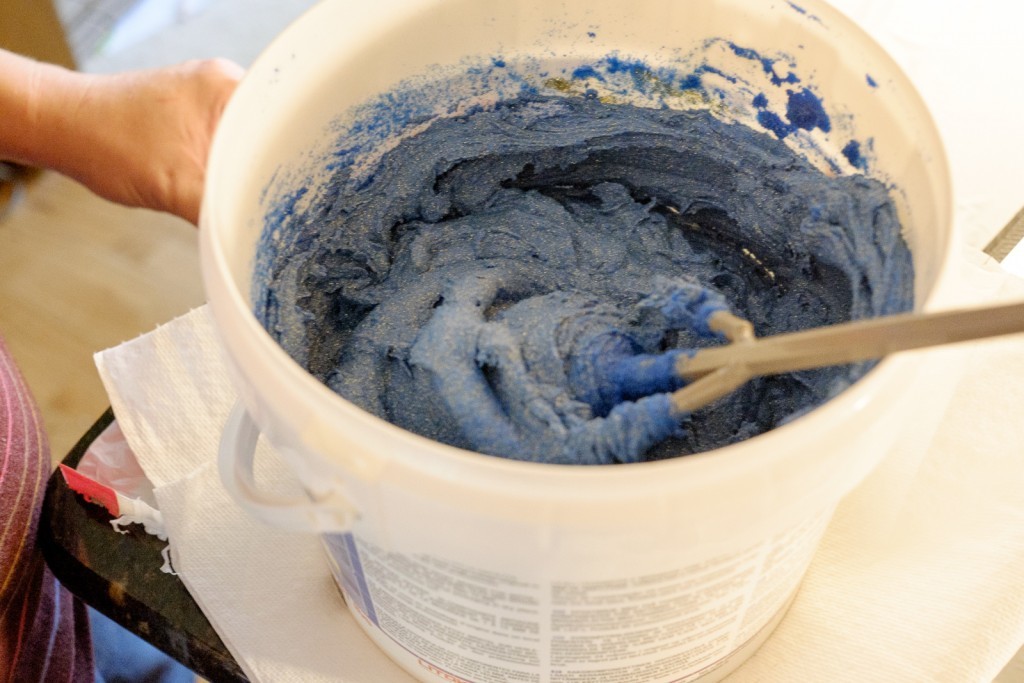
It was finally time to bring out the star of the show! We triple checked the directions on the Glamour Grout. Even if you’ve used grout before (which we hadn’t), I highly recommend following Stainmaster’s instructions. We opened the grout and began mixing.
After mixing just the grout, we added in the glitter.
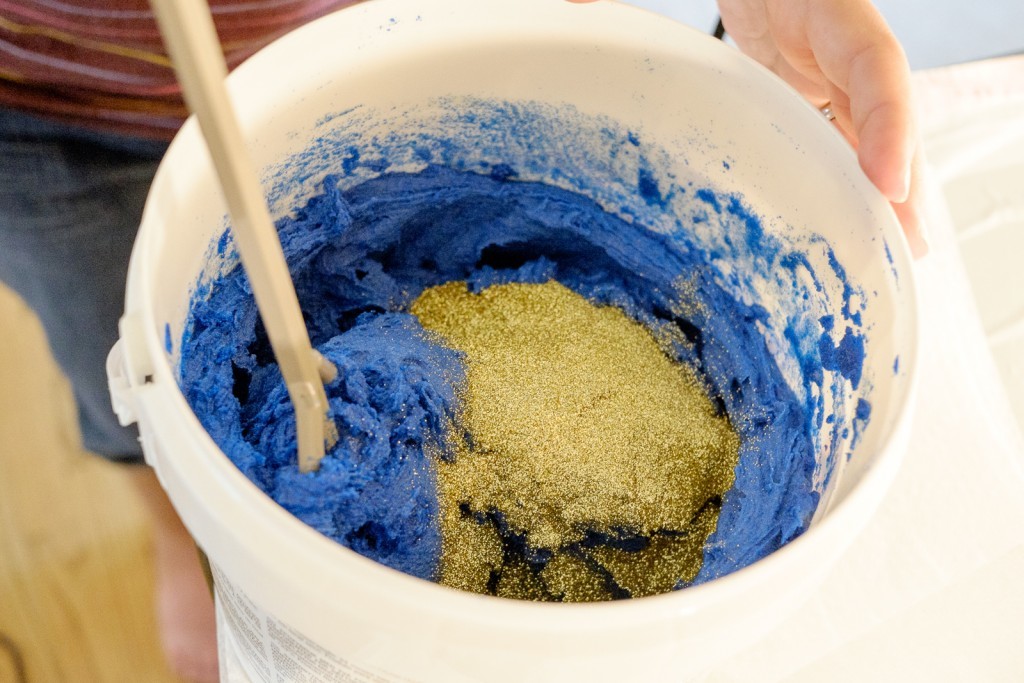
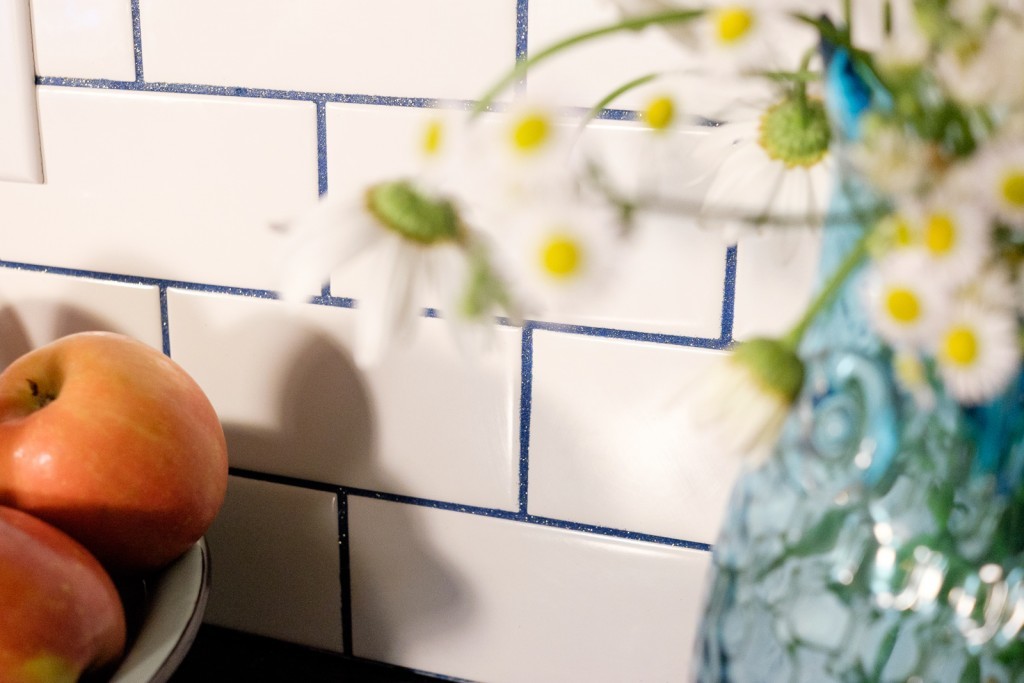
I loved how you could really see the glitter. I was afraid it was going to be something that you had to catch in just the right light, but the Glamour Grout was full on glitter. It didn’t take away from the blue and was gorgeous before it was on the wall.
We spread the grout on the wall. At this point, we were asking each other if there was too much or not enough. It was a bit nerve wracking as we inspected to make sure we didn’t miss anything.
When we started wiping off the excess, we knew we were going to love the finished look.
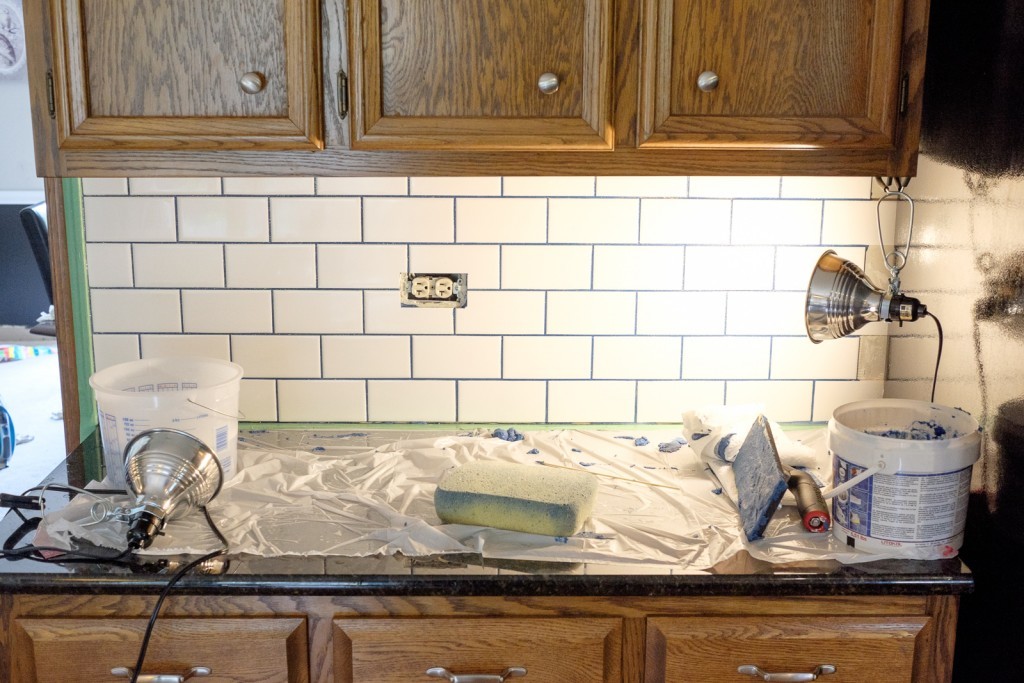
I have never been as excited to clean up a counter as I was at this point.
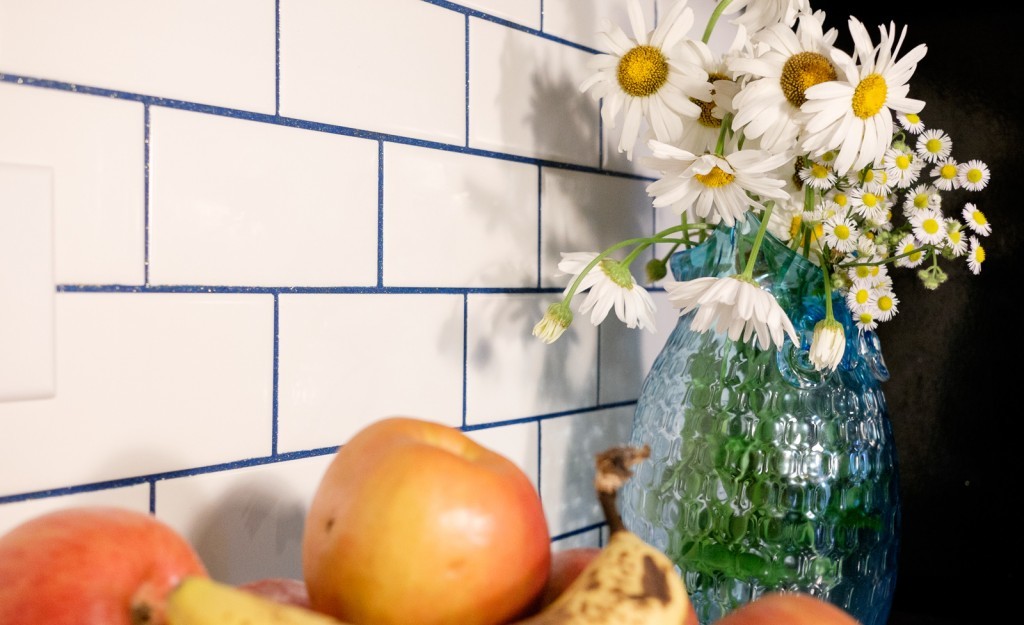
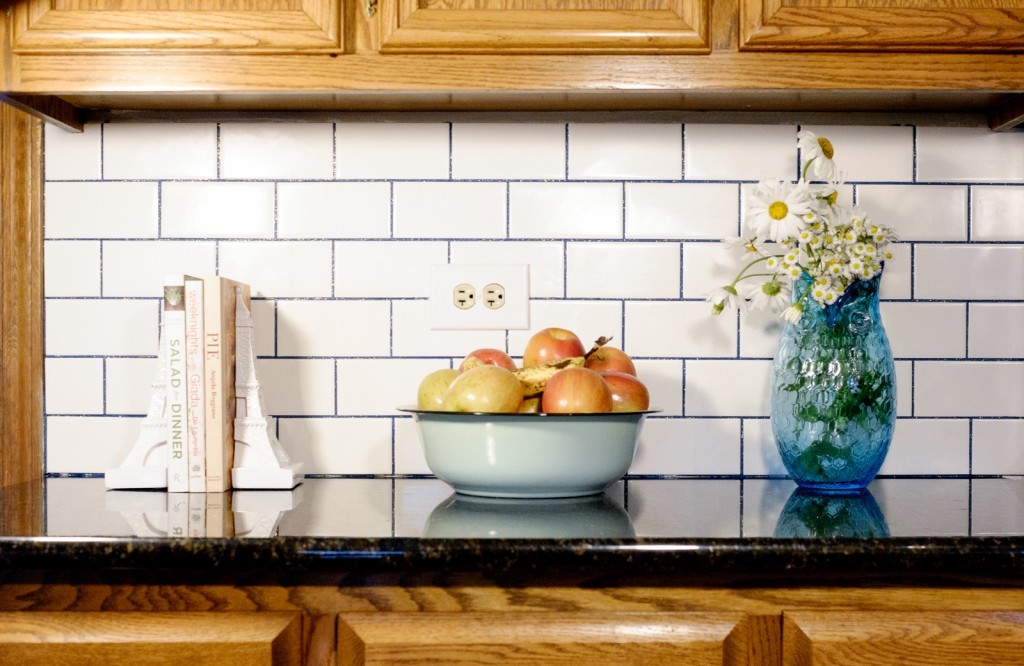
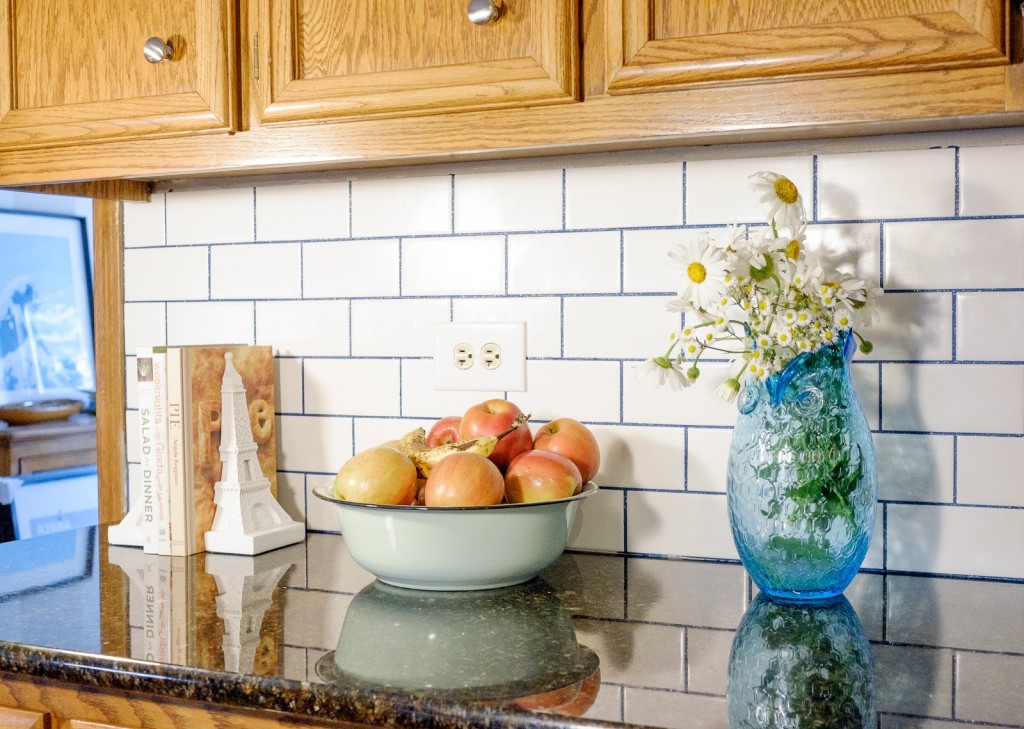
The sapphire blue + gold Glamour Grout was positively gorgeous. It was clean, pretty, modern, full of the pop of color I love, and sparkly enough to make my girls squeal. It has brought so much personality to our kitchen.
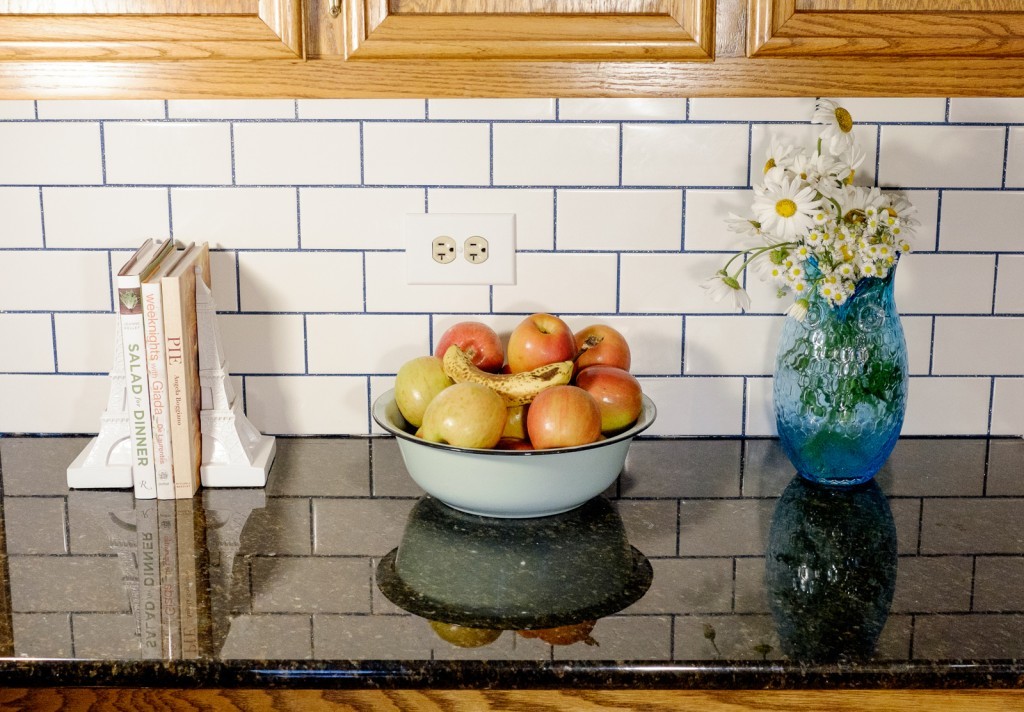
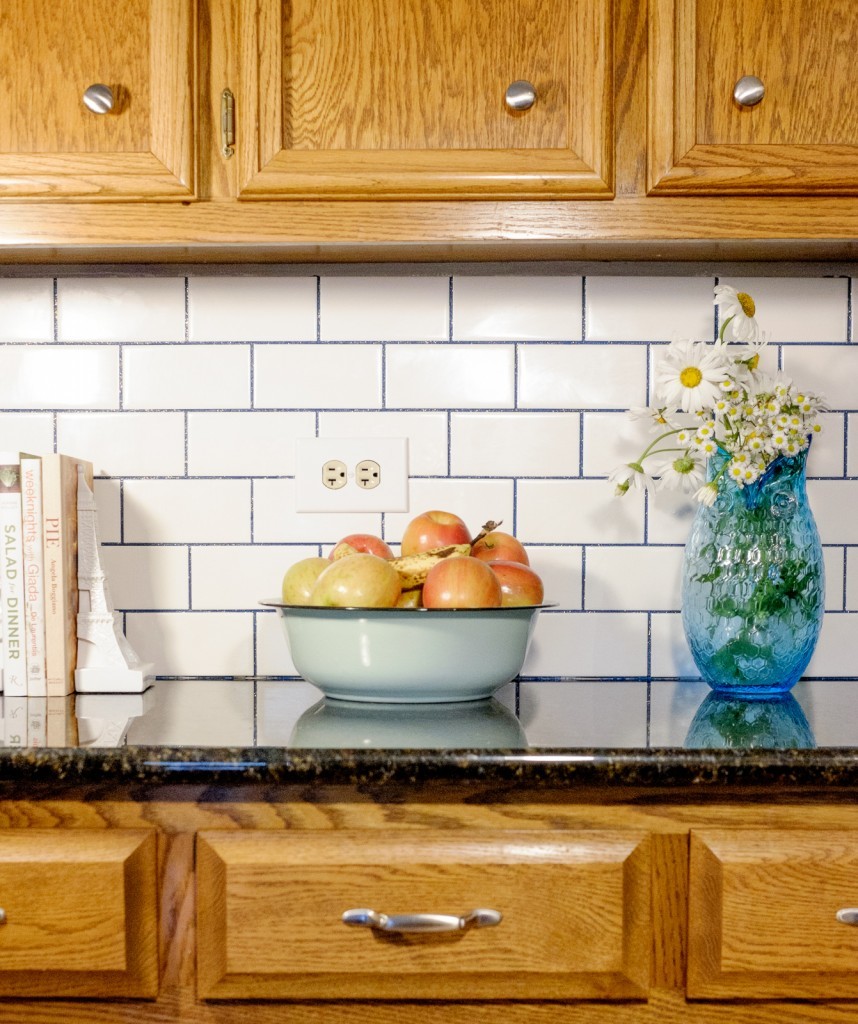
Our Subway Tile Backsplash with Stainmaster Glamour Grout has transformed our kitchen. We love this counter area now. Now we just need to carry it through the rest of the room (coming soon)!


great job Albion! I’m currently working on drawing up plans for a woman’s public bath in a commercial building in town, I’ll have to remember this product when the time comes.
mary beth at MBZ Interiors recently posted…Best decorating advice – Ever!
I would never have thought to use that grout with the light tiles but it looks absolutely amazing! Thanks so much for sharing with us at Share The Wealth Sunday!
xoxo
Lisa
Lisa @ Fun Money Mom recently posted…Meal Plan Monday Challenge #2
Great job! Thanks so much for sharing with the Thursday Blog Hop!
Pam@over50feeling40 recently posted…Victoria Jackson Makeup: A Dab of Confidence Goes A Long Way
Oh. My. Gawd. I am completely and totally in love with this look!! Just printed this post off and sent a copy of it via email to my property manager to beg and plead and ask for permission to do this to my kitchen!!!! Fingers crossed she says yes! OMG I can’t wait to hear back from her. My kitchen would look SOOOO much better with a beautiful back splash like this!!!
Kim Miller recently posted…How to Do a Family Vacation in London on a Budget
This looks beautiful! It gives the right amount of color and sparkle – love it! Thanks for sharing with #SmallVictoriesSundayLinkup 7/19/15
Heather @GeminiRed Creations recently posted…Bacon Wrapped Chicken {recipe}
What was your round about cost for all of the materials, & what materials do you exactly need really interested in doing this myself as well
I LOVE the colored grout. It really did make the space so much more modern. Thanks for sharing the process, and how you achieved such a cool look! Hard work can really pay off!
I love your colored grout!!! The headline of your post stated you can paint the original grout. I dint see any mention of this anywhere else in the post??? Can you give me some information on this? thank you
Hi! I’m not sure about painting the existing grout. I’m sorry for any confusion! The grout we used for this was already blue and we mixed in the gold sparkle.
Wow, awesome tutorial! I’ve never seen anything like Glamour Grout before, but now I need this for my kitchen remodel! The finished product looks so much better than what was there before, great work!
Does the grout come with the glitter or do you purchase it separately in the craft dept?
For this grout, the glitter came separately and you mixed it in. The glitter and the grout are the same brand–you just choose which color grout and which color glitter. I hope that helps!